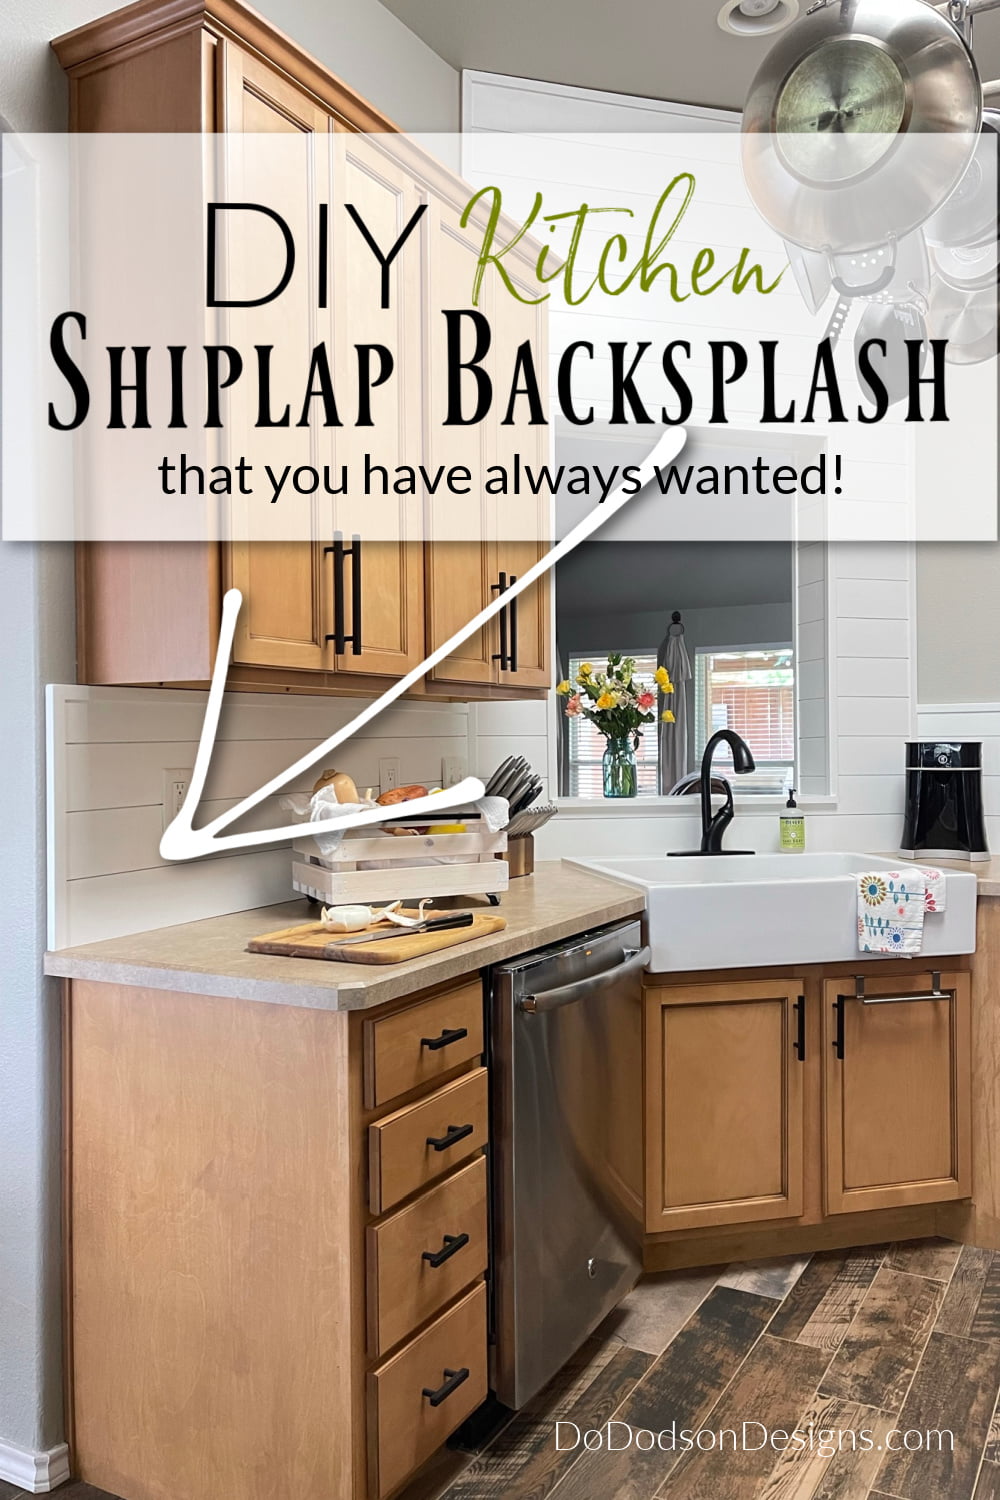
To say I was excited about this DIY update in my kitchen is an understatement. We’ve been in our home for 15 years, and finally, I’m getting the shiplap backsplash of my dreams in my kitchen. I weighed out the pros and cons of tile versus shiplap before the installation, and here’s what I found.
* As an Amazon Associate, I earn from qualifying purchases and through other companies. You are not charged extra to use any of the links, but any income I make helps me create more amazing DIY projects to share with you! To see my full disclaimer, click here!
Pros and Cons: Farmhouse Kitchen Shiplap Backsplash
After careful research, I came up with a list of pros and cons of shiplap backsplash. I thought you might want to know too.
Pros:
- An easy way to add interest to a space (my kitchen backsplash) and it’s paintable or stainable depending on the type of shiplap you purchase.
- Shiplap can be installed anywhere in your home but it will require a protective topcoat to prevent food stains or moisture damage. (living room, bathroom, ceiling, etc.)
- It’s inexpensive compared to tile and a lot less work for instalation.
Cons:
- My first complaint about the Shiplap we installed is that it is a magnet for dust. It catches dust in the grooves and can look dirty over time.
- If not installed properly, it can warp or rot over time.
SUPPLY LIST:
- Table Saw
- Jig Saw
- Pneumatic Air Compressor
- Finish Nailer
- Shiplap
- Speed Square
- Liquid Nail
- Carpenter’s Pencil
- Paint
In the end, we opted to use the primed nickel gap shiplap boards we purchased from Home Depot. After the installation, it will be ready to paint.
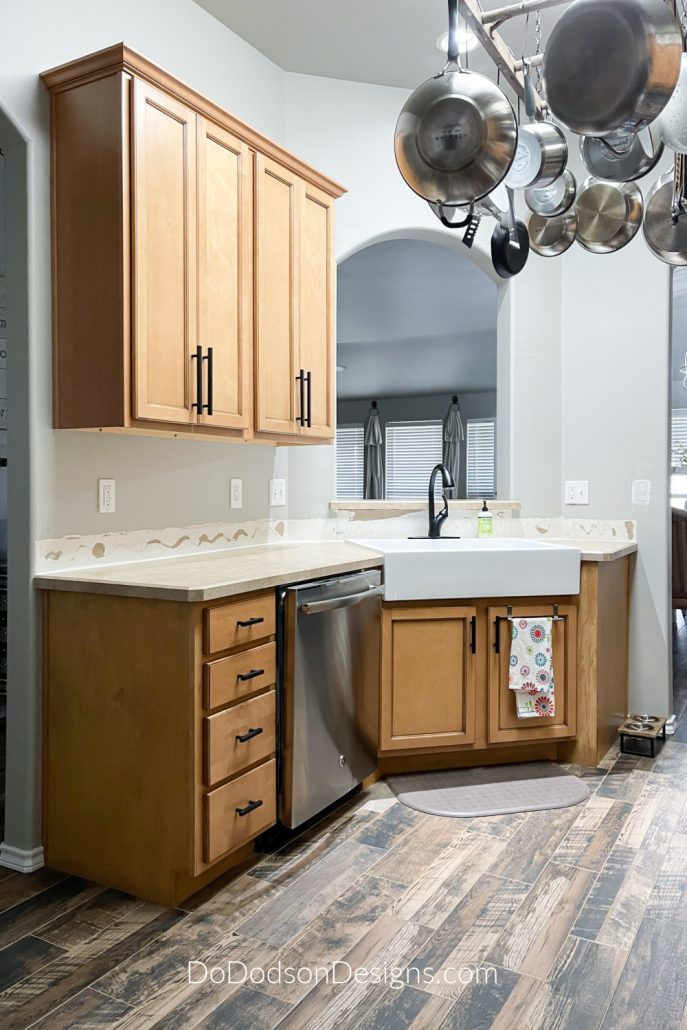
Before The Kitchen Shiplap Backsplash
The backsplash was pretty bland in our kitchen, and it needed some love in the worst way.
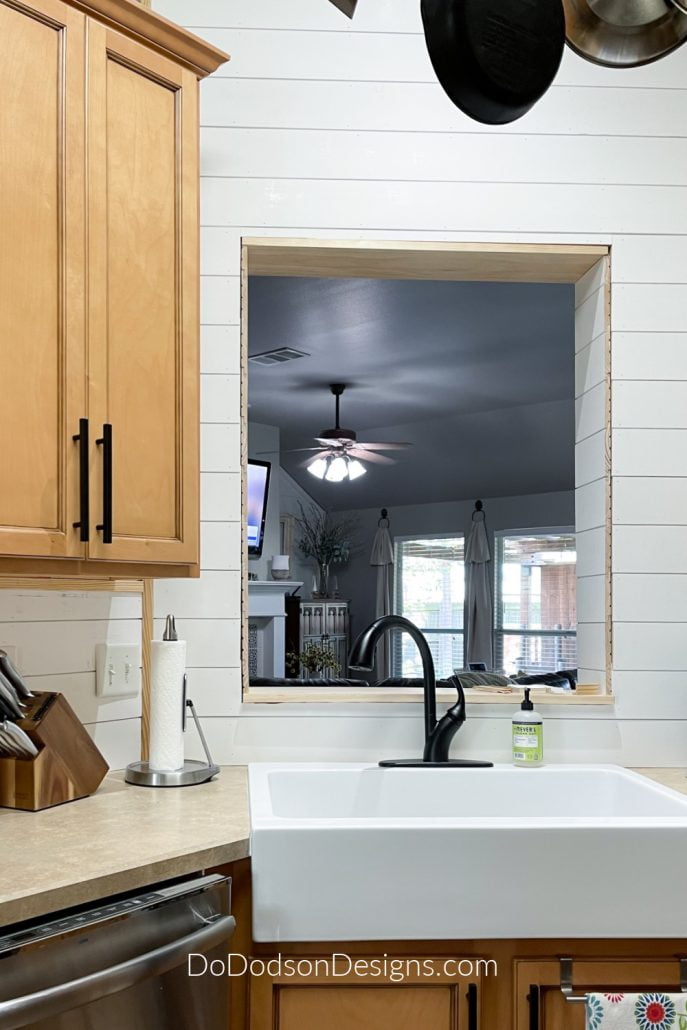
We did a few extra things with the shiplap that includes the arch over the sink that I won’t be going into detail about in today’s post, but I want you to pay close attention to that arched opening. It’s going to change. I have nothing against arches, but you be the judge and let me know what you think with the results.
That conversation between my hubby and me lasted for a few days until I convinced him that we could do this. I admit (not to him) that I sometimes don’t always know how we will accomplish our DIY projects, but there’s always YouTube. Our kitchen is small so that it couldn’t be that hard.
The Power Tools Recommended
For this DIY shiplap kitchen backsplash project, I recommend having some skills and knowledge of power tools. To get the best results, you’ll need a table saw, jigsaw, and a finish nailer. See the complete list above if you missed it. Use the right tool for the right project.
Do The Math
Do the math ahead of time to determine how many shiplap boards you will need to purchase for your project and allow for a few mistakes. You can always return any uncut material for a full refund.
We probably made 3-4 extra trips, but I quit counting. It’s always that way!
Mark The Wood Studs For The Shiplap Backsplash
Don’t miss this step! Be sure to mark the wood studs with a pencil on the backsplash wall before getting started. This will be your reference for nailing and can also be used if you choose to stagger the shiplap instead of using one continuous piece as we did.
Measure Twice Cut Once
The best advice I can give you with this DIY shiplap backsplash kitchen update is to measure twice and cut once. It’s good sound advice and will keep your budget in check.
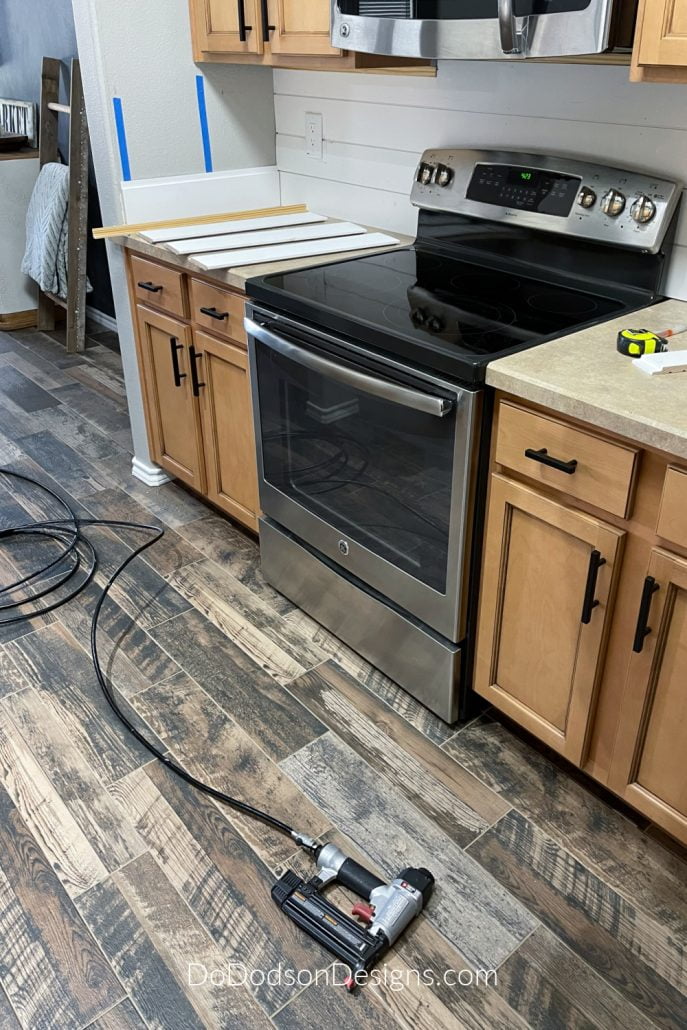
Start from the bottom of the cabinet and work your way up the wall when applying the shiplap. That way, if your boards don’t fit at the top, you can rip them the size, and the shiplap won’t be as noticeable at the top under the cabinets.
I cut each shiplap board and dry-fit them one by one into place first. The reasoning for this is that most walls are not square, and if you cut them all first, you’ll be making another trip to the home improvement store. My walls are not square.
For the electrical outlets, dry fit two pieces together (if the boards meet in the center of the outlet) and mark the area for the cutout. I used a jigsaw to cut an opening for the outlet carefully.
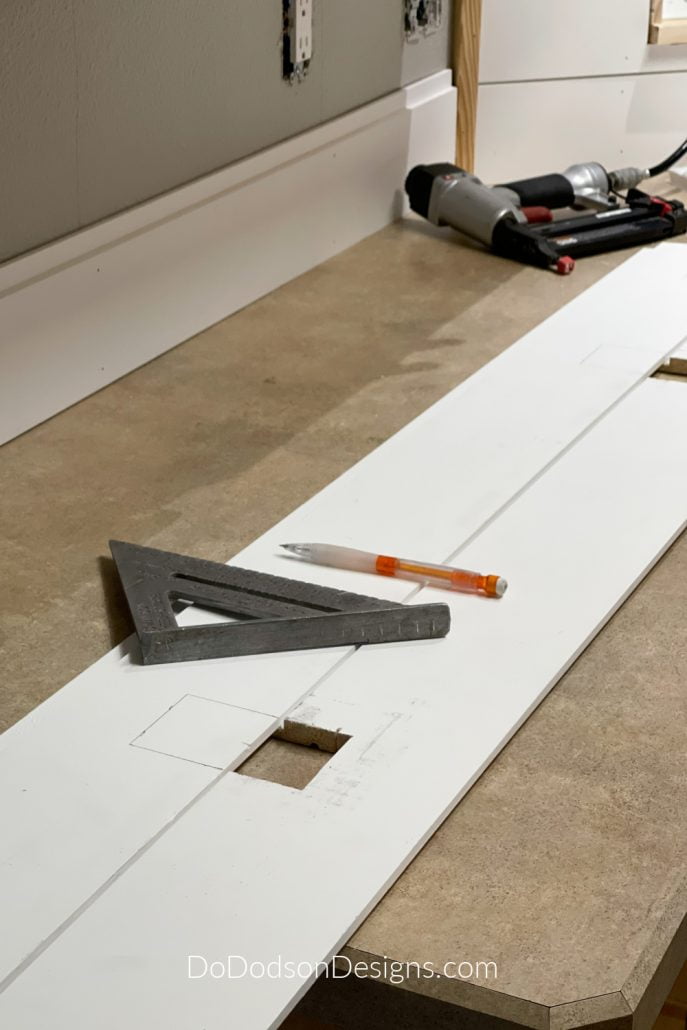
What does the term “dry-fit” mean?
To assemble and fit together before (gluing and nailing in place) the final installation.
Installation Of The Shiplap Backsplash
Once you have your shiplap boards cut and dry fitted, apply a bead of liquid paneling to the back of the board that will be placed (start from the bottom) in position first. Add just enough so that it will stick in place while you grab your nail gun. It helps to have an extra set of hands during this process.
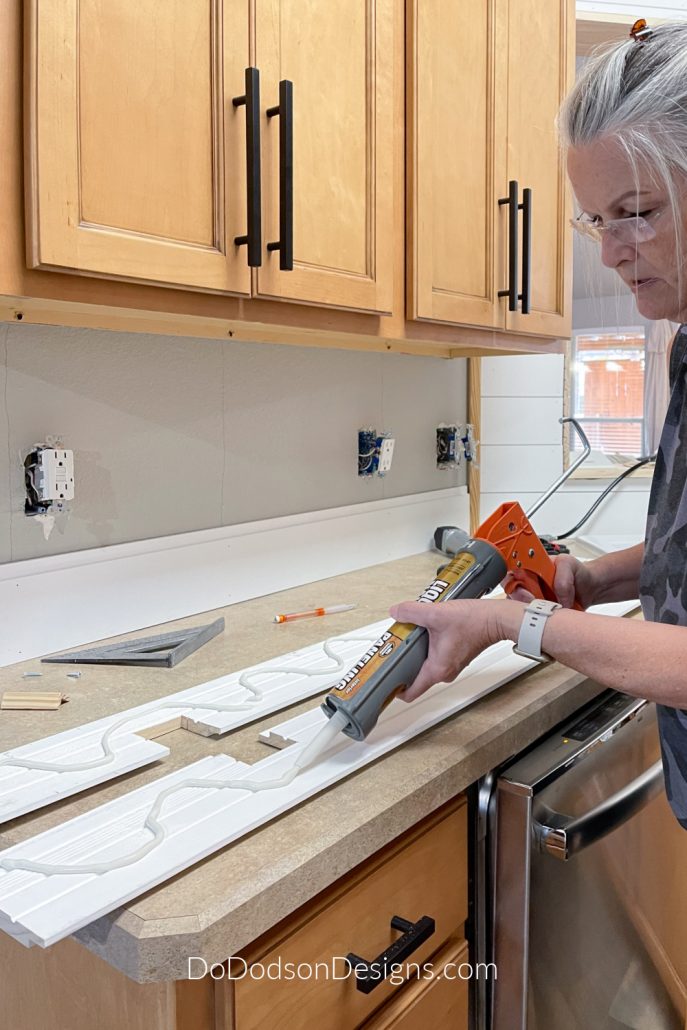
Carefully position each board on top of each other. There is no need for spacing because the boards are designed to fit perfectly together. The spacing will be perfect every time.
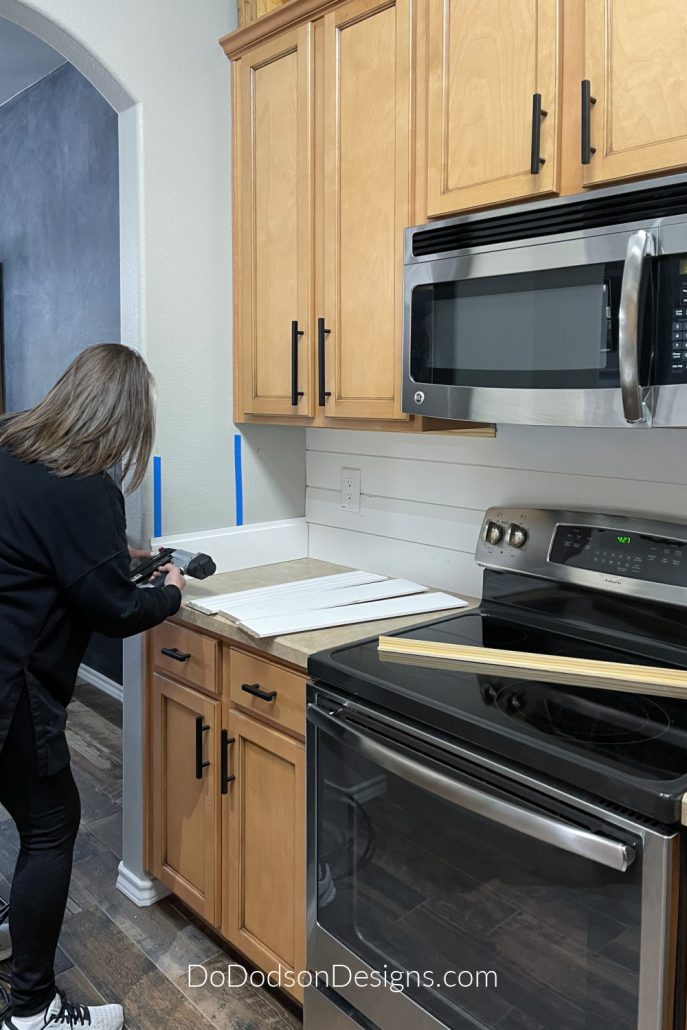
I have seen other DIYers skip this step and use the liquid nail (adhesive) for installation only, but I used a pin nailer to secure the boards to the studs in the wall.
It only takes a few nails on each board to secure them to the wall. I used wood putty to fill the holes before painting for a clean, flawless look. But if you like the rustic look, leave them as is. That’s a great look too.
Remember that arched opening over the kitchen sink? We reframed that opening and wrapped the shiplap around to the other side of the living area. We now have a shiplap accent wall from both sides that reaches the top of our 10 ft ceilings.
CLICK HERE to see our Christmas Home Tour, where I share the other side.
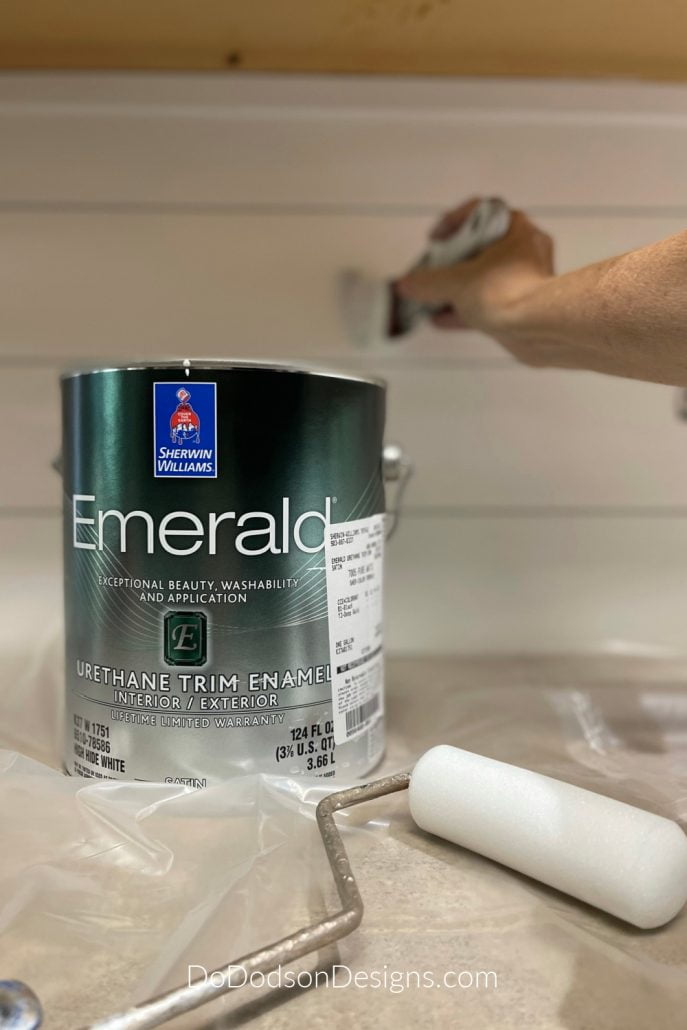
Painting The Kitchen Shiplap Backsplash
We chose a Sherwin Williams urethane trim enamel paint for its durability.
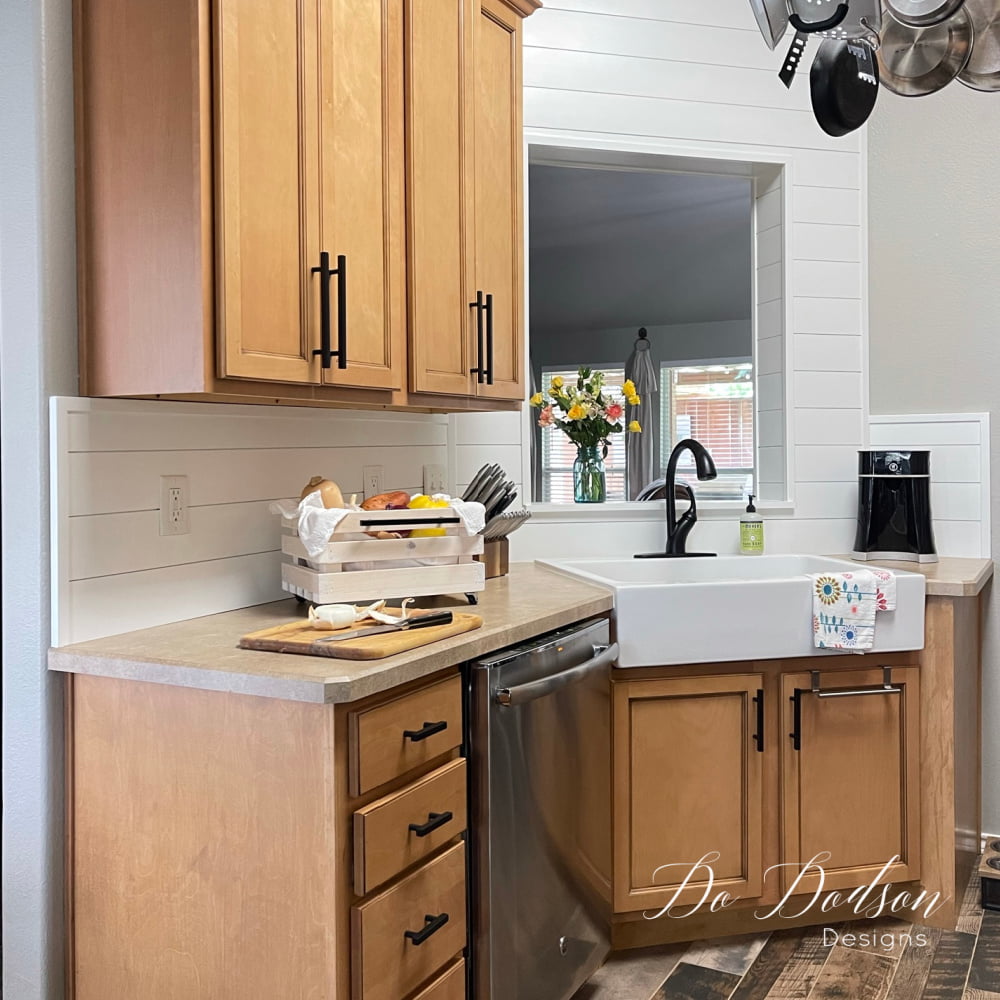
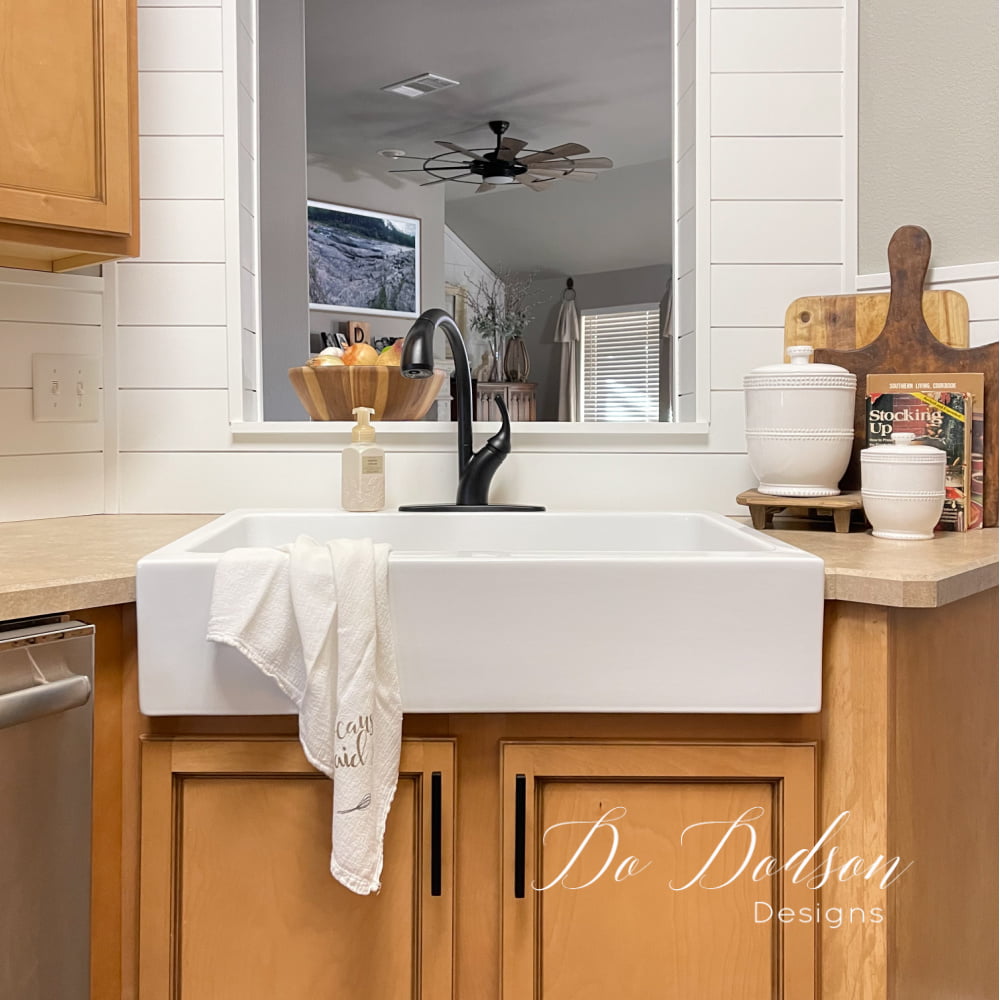
The Results
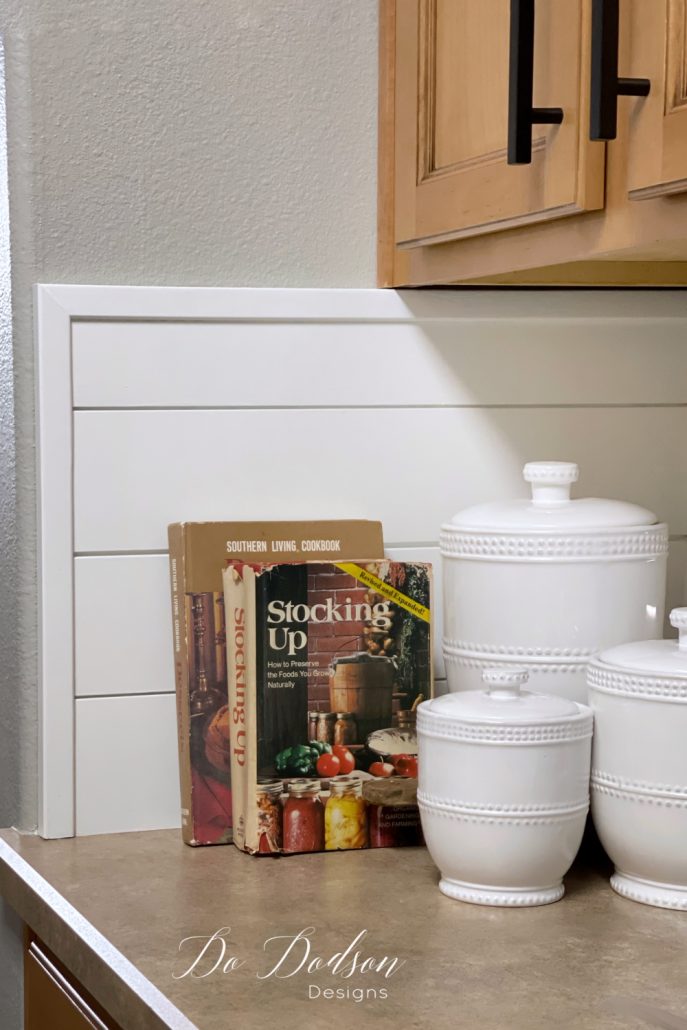
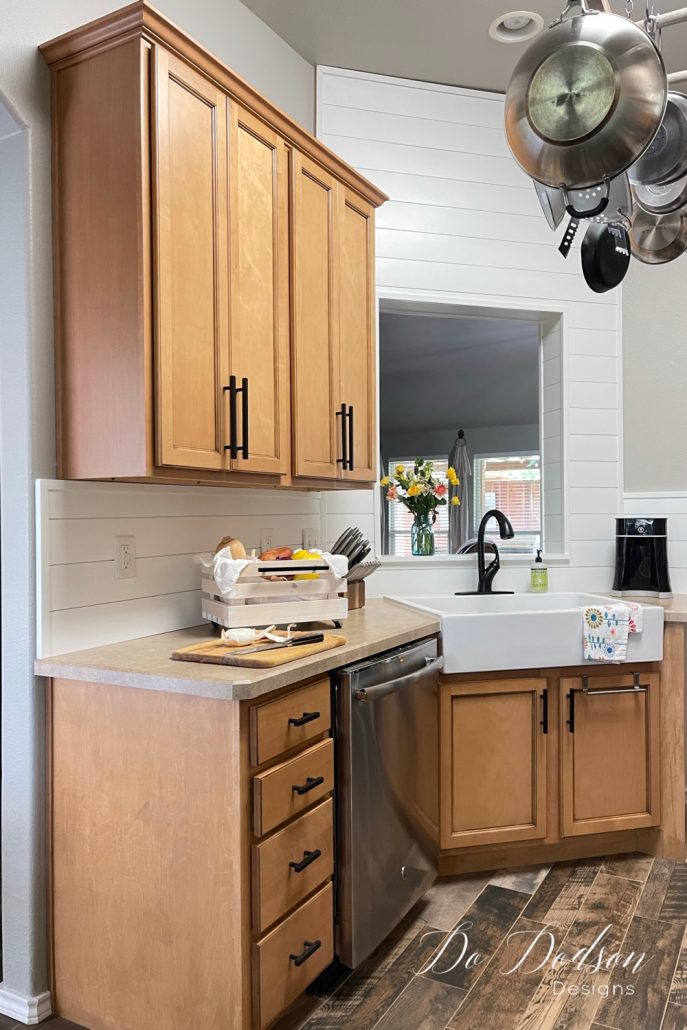
I L O V E the finished look! Adding a shiplap backslash to our kitchen was one of the best DIYs in our home, and trust me, there have been plenty. It’s so clean and fresh! My new favorite room for now.
Thanks for joining me today, and as always, I would love to hear from you. What do you think about this type of shiplap? Need to PIN this idea for later? PIN away on your favorite Pinterest kitchen board. Don’t forget to let me know you were here.
Until the next project… xo, Do


The shiplap backsplash is gorgeous Do! I didn’t know it came in PVC. That’s perfect for the backsplash! Pinned 😊
Yes, we are so happy with it, and it cleans up like a dream. I’m a sloppy cook sometimes. 🙂 xo
Wow! It looks amazing! I had no idea that there was pvc shiplap. Such a great solution for the kitchen and bathroom.
I know! I’m so glad we found it. I will be using it again in our new home. 🙂 xo
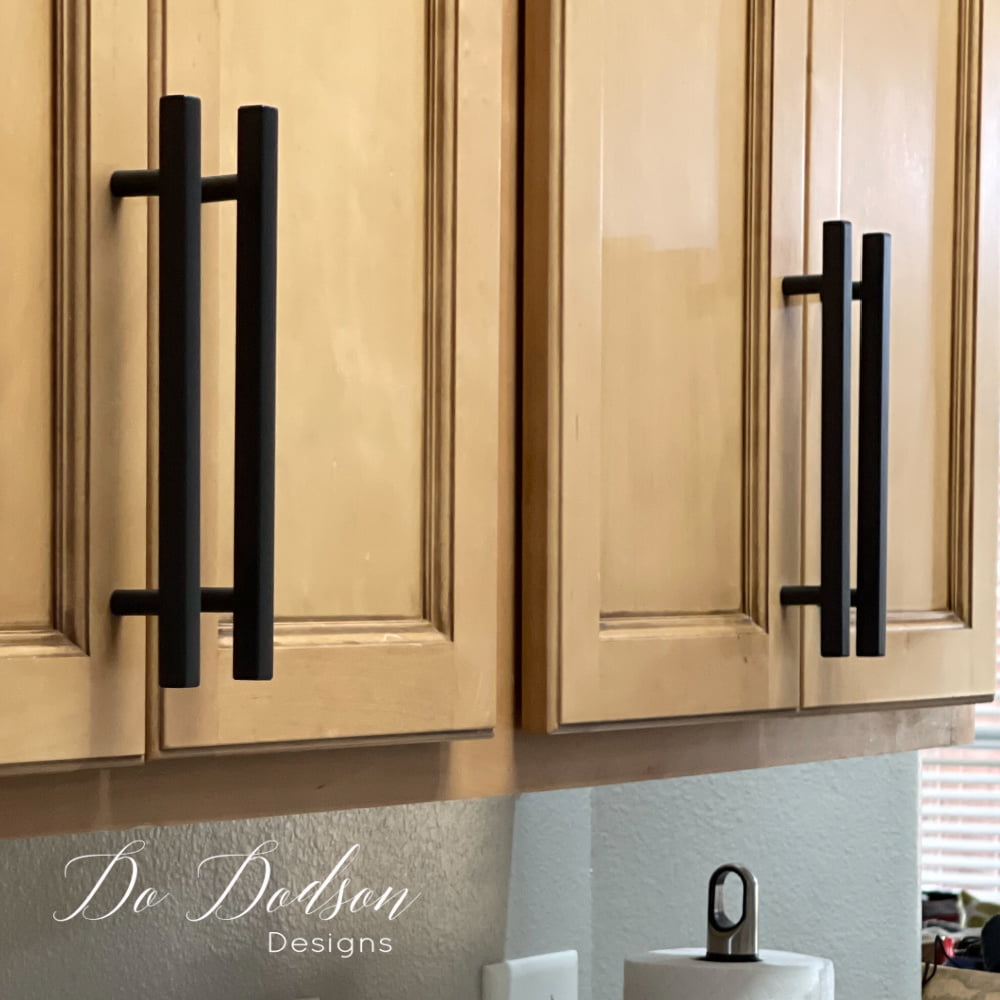
Your kitchen looks great Donna! It almost looks like my dream kitchen! Mine would have lighter floors and black granite counters though. But down to the light wood Shaker cabinets and the black hardware!
Thank you, Diana! That would also be a great look! 🙂 xo
Love the look. Your description of the conversations with hubby was priceless. Let me count them in our house….oops ran out of fingers and toes.
HA HA! You know those guys.
Wow, Do! I love the look of it. I had heard of PVC shiplap in the bathroom. I love it as a backsplash. It really adds to the kitchen. Beautiful job!
Thanks, Tammy. We love the look without the worry.
Gorgeous! Although I really loved that arch.
Thank you, Jackie! We are happy with the results. Have a blessed day. 🙂 xo
Hello!! Do you have a link to the trim you used to border the shiplap on the backsplash?? Thanks!
Hi Stephany,
I’m sorry I don’t. We had a hard time finding anything that would work in our kitchen, so we used a corner trim piece and ripped one side down to fit. I hope this helps. 🙂
I have been looking into shiplap for a backsplash in my kitchen. I love the look in your kitchen. Did you put anything at the bottom like a clear caulk? Did you put any type of clear coat on it to make it waterproof?
Hi Linda,
I did seal the the edge where the shiplap meets the counter top with a caulk that is made for kitchens. I used white because it matched the paint I used. The paint I used was a water based latex. I was more concerned with water at the base of the shiplap than on the backsplash itself. Most paints are durable and will hold up to a splash from time to time. We love the look of the shiplap backsplash and it’s holding up very well. 🙂
What did you use for the trim around the shiplap?
Hi Step,
We couldn’t find trim to fit, so we ripped ours to fit. Not every kitchen is a like and sometimes you have to make those custom pieces. I hope this helps. 🙂
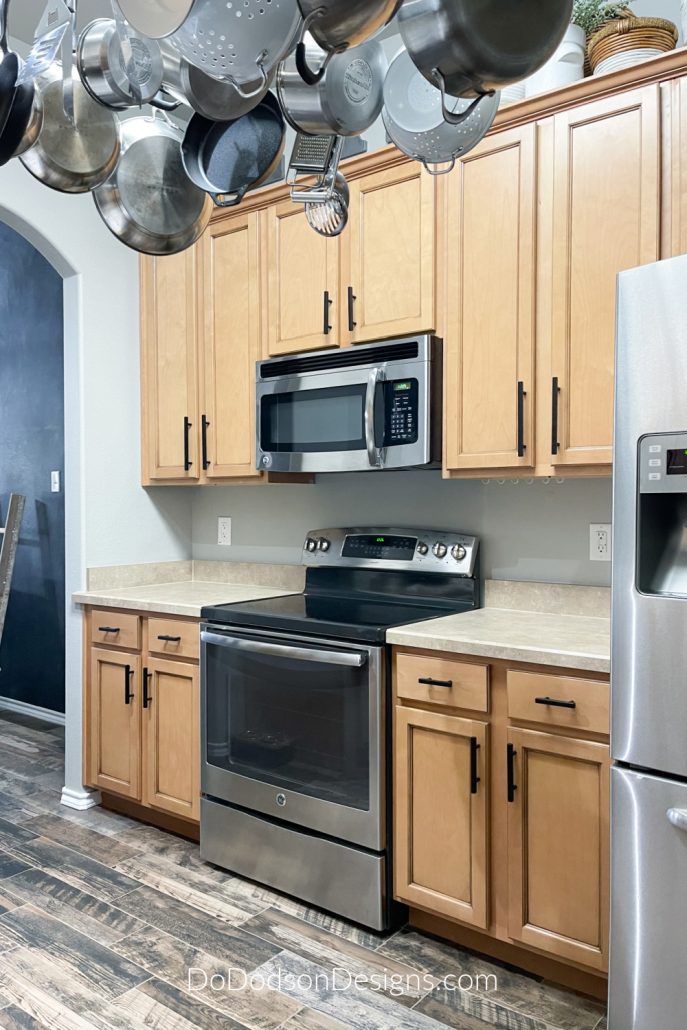
Anything special for shiplap behind and/or around the stove?
Hi Tori,
I’ve never used it behind a cooktop or stove. Cleaning could be an issue unless your a super neat cook. My only concerns are the groves and if grease and grim gets stuck.
I have some ideas for renovating my kitchen. It is an add on to a 1960’s home. I will be using the PVC shiplap wall/backsplash. However, in reconfiguring the appliances, my stove will have a brick wall behind it. I love the idea, but need suggestions on how to protect the wall from grease, etc. Two ideas I am tossing around include putting a large plexiglass on the wall or painting/putting a protective coating on the brick. I’d love to hear your suggestions.
Great plan Karen!
I love the idea of the painted brick in the same color as the shiplap. I guess it depends on how heavily you use your kitchen stove top. Of course you can seal it and it would be washable but are the bricks smooth. If so I yes go for it. Plexi glass will protect it if you’re not bothered by the aesthetics. Way easier to clean too. I hope this helps and best of luck with your add on in your 1960’s home. It sounds charming. Send pics! 🙂