Hello creative friends! I love this time of the year, especially when I have an excuse to get creative with my Christmas decor. Today I’m sharing another wood church project that will allow you to get creative and think outside of the box. I’ll show you how to make a blank wood canvas to create the easiest DIY Christmas decor you’ll ever DO! In a few hours (if the paint dries), you’ll have the cutest little Church. You’re going to want to make several.
This post contains a few affiliate links to help you find the products I use. You are not charged extra to use any of the links, but any income I make will be used for more amazing DIY projects to share with you! To see my full disclaimer, click here!
DIY Wood Church Craft -1 board Decor
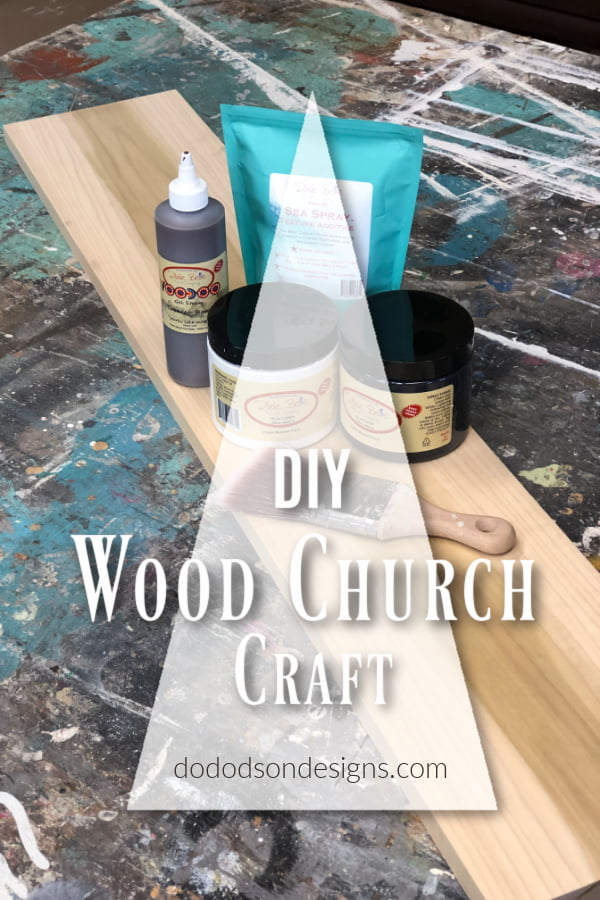

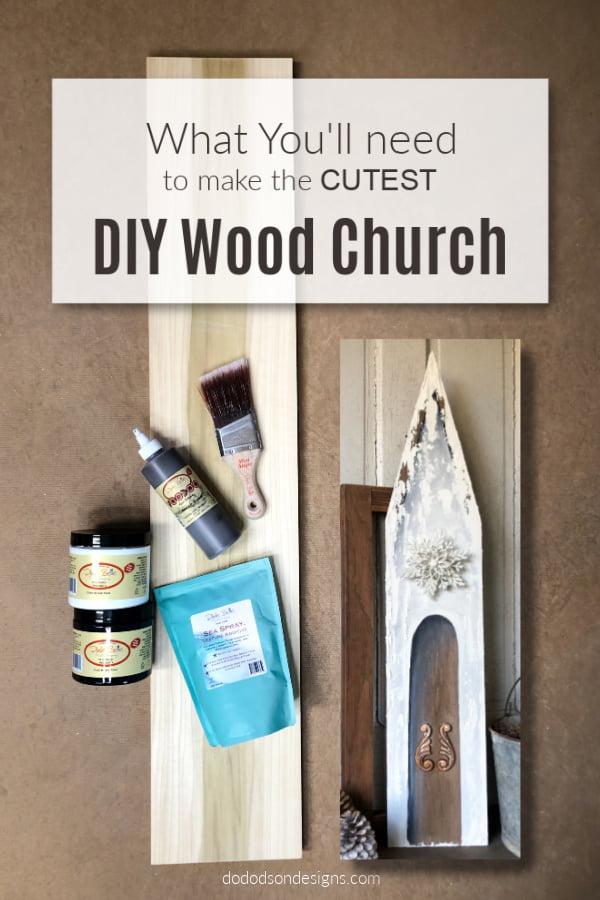
Gather Your Supplies
- 1 X 8 X 3 ft board
- Circular Saw
- Protective Eyeware
- Gloves
- Tobacco Road (water-based gel stain)
- Cotton (chalk mineral paint)
- Caviar (chalk mineral paint)
- Paintbrush
- Painters Tape
- Artist Paintbrushes (for fine details and blending paint)
- Sea Spray (texture additive for paint)
- Sanding Block or Sandpaper
Making The Cuts For The Perfect Wood Church Steeple
One board is all you need to create this wood church. You can use any size board you have, but the width determines how big your church will be.
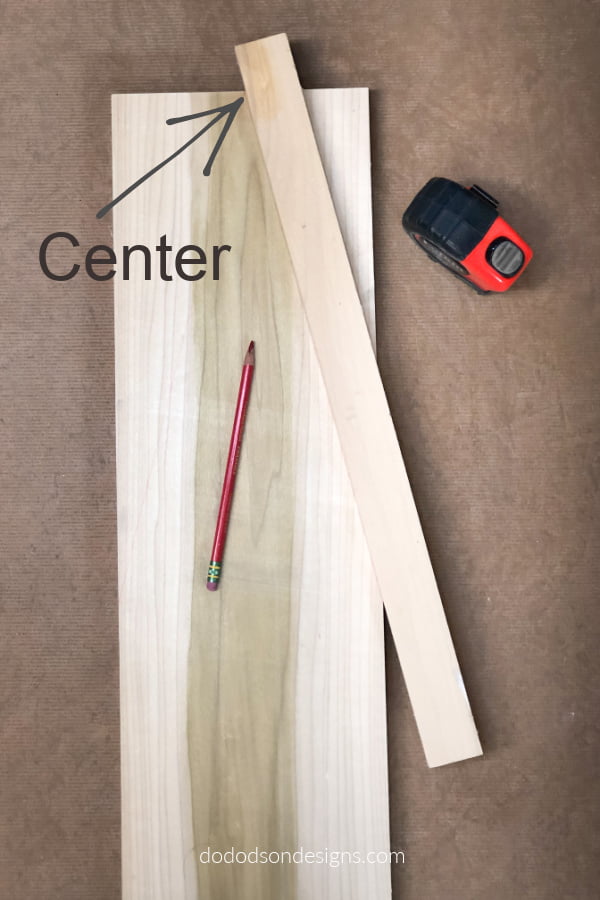
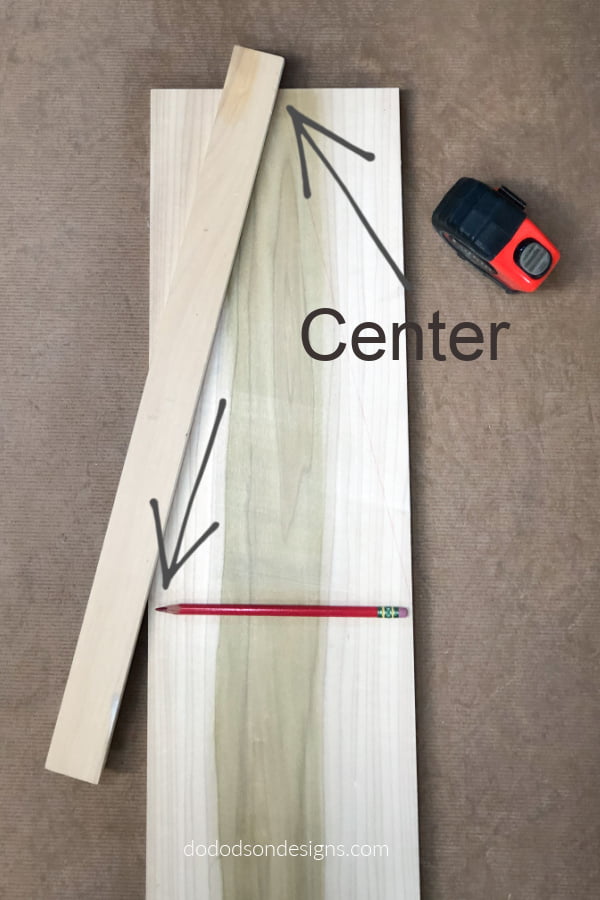
- Find your center on your board.
- Use a straight edge to create your steeple by marking the board with a pencil on both sides equally.
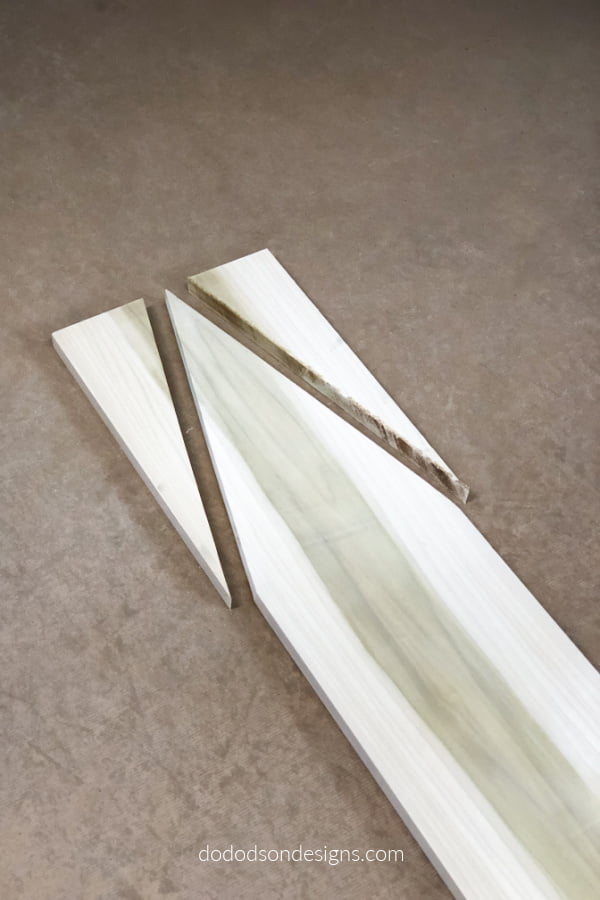
- Cut away the marked areas using a circular saw (or get your neighbor’s hubby to do it for you). If you’re not experienced in using this kind of saw, please get supervision and be safe. Always use protective eyewear when cutting wood.
- After cutting your board, sand the rough edges with a sanding block or sandpaper.
Getting Creative With Your Wood Church
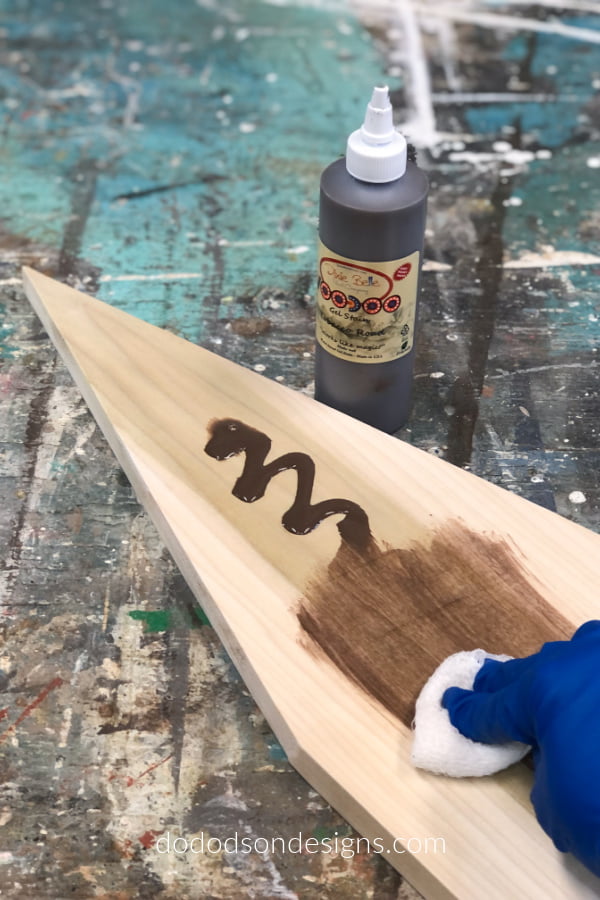
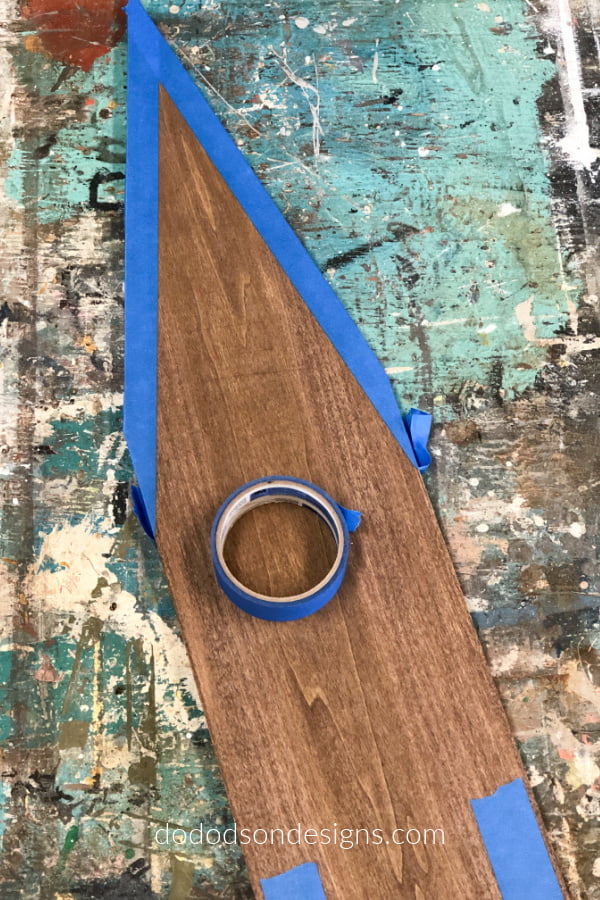
Now that you have created the outline of your wood church, it’s time to get creative with paint and whatever else you can dream up. To begin with, I’m using a water-based stain called Tobacco Road. This stain color is warm and inviting, and it will compliment the paint to give it that rustic old church vibe. Consider using painter’s tape to create the roofline and the outline of the door. That’s what I did here.
Add Paint!
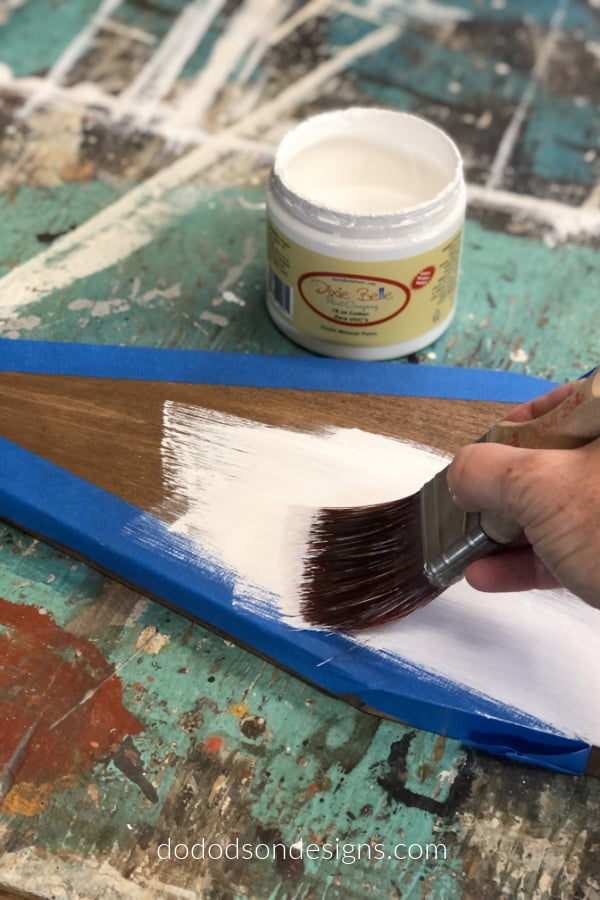
Next, paint over the whole wood church to create a two-toned wood and paint combo for a rustic country look. Don’t worry about being too perfect with the paint. Just get it on there. Remember, you’re having fun. Remove the tape immediately after painting before it dries.
Adding Textured Snow To The Roof Top
Before the next step, which is the last step, paint the door and roofline if you chose to. This isn’t necessary, but this is where that creativity you have comes in. Practice blending the two colors of cotton and caviar to add shadows for a realistic look on the door and the eaves of the roofline.
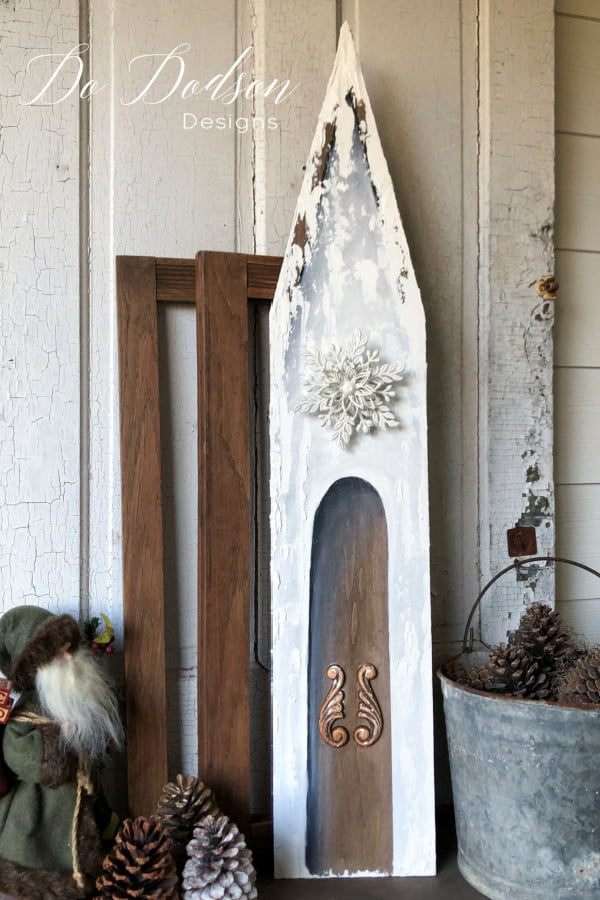
To make the textured snow, add a small amount of Dixie Belle Cotton chalk mineral paint in a small disposable bowl and add enough of the Sea Spray texture additive to create a paste. I don’t measure this stuff ever. Just add a little at a time until you get the desired consistency you want. With a craft stick, mix it well and apply it to the rooftop of your wood church. I got a little carried away here and almost did too much. It’s a whiteout this Christmas!

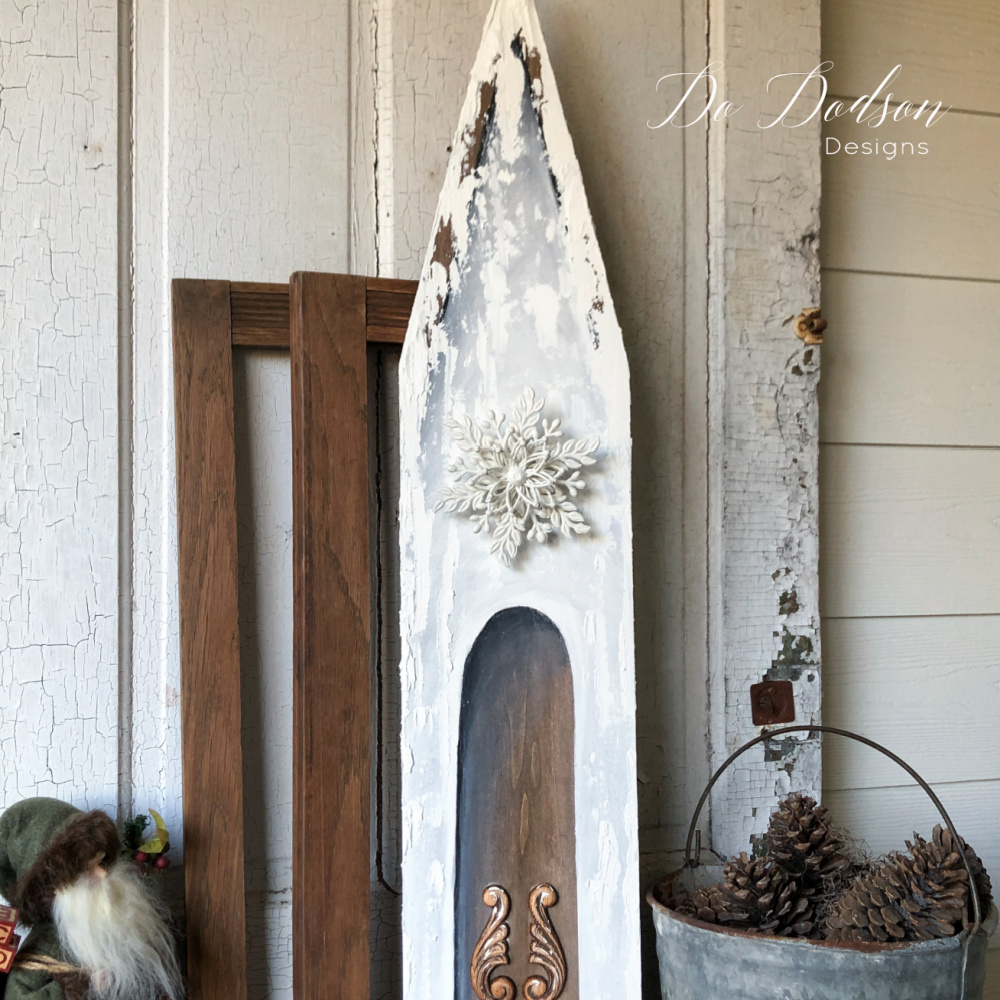
Up-cycled With Embellishments
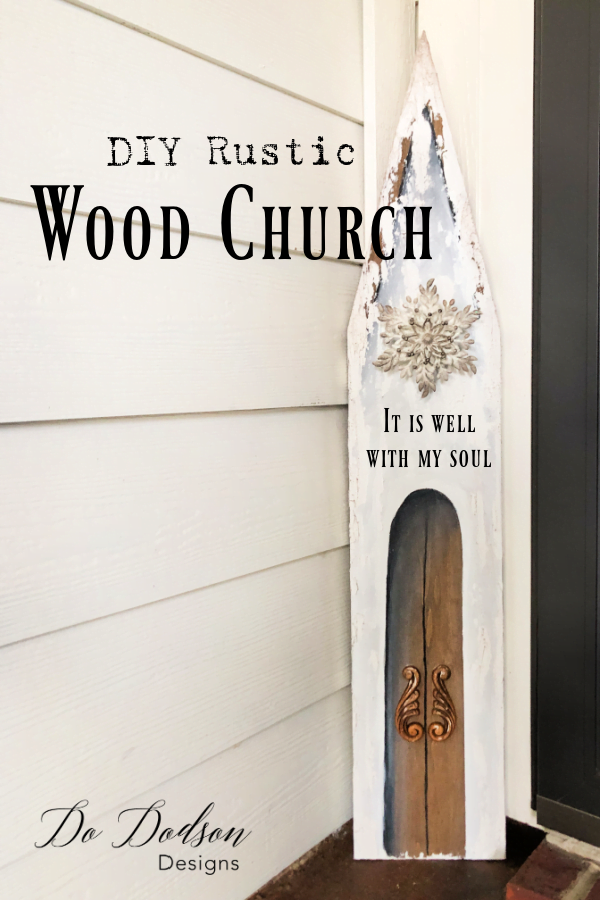
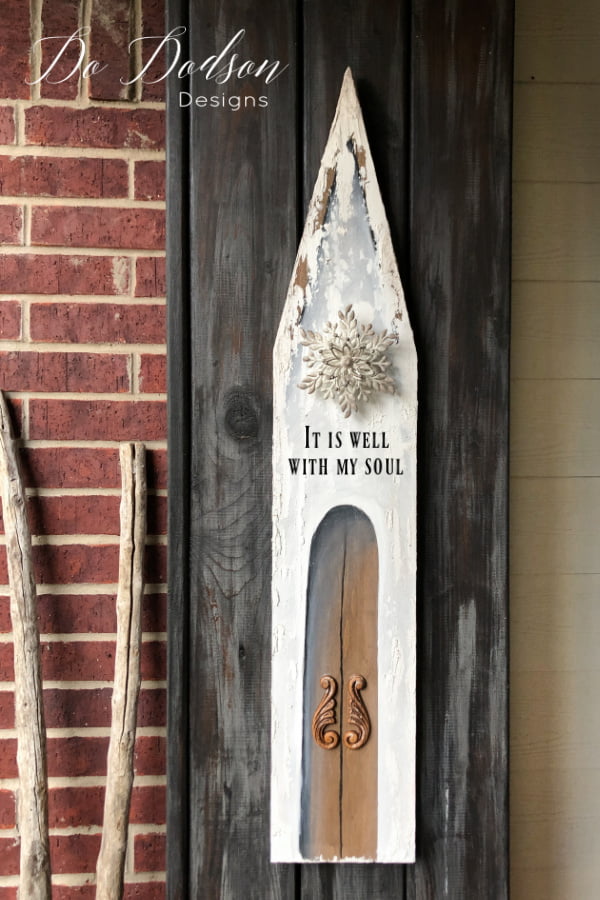
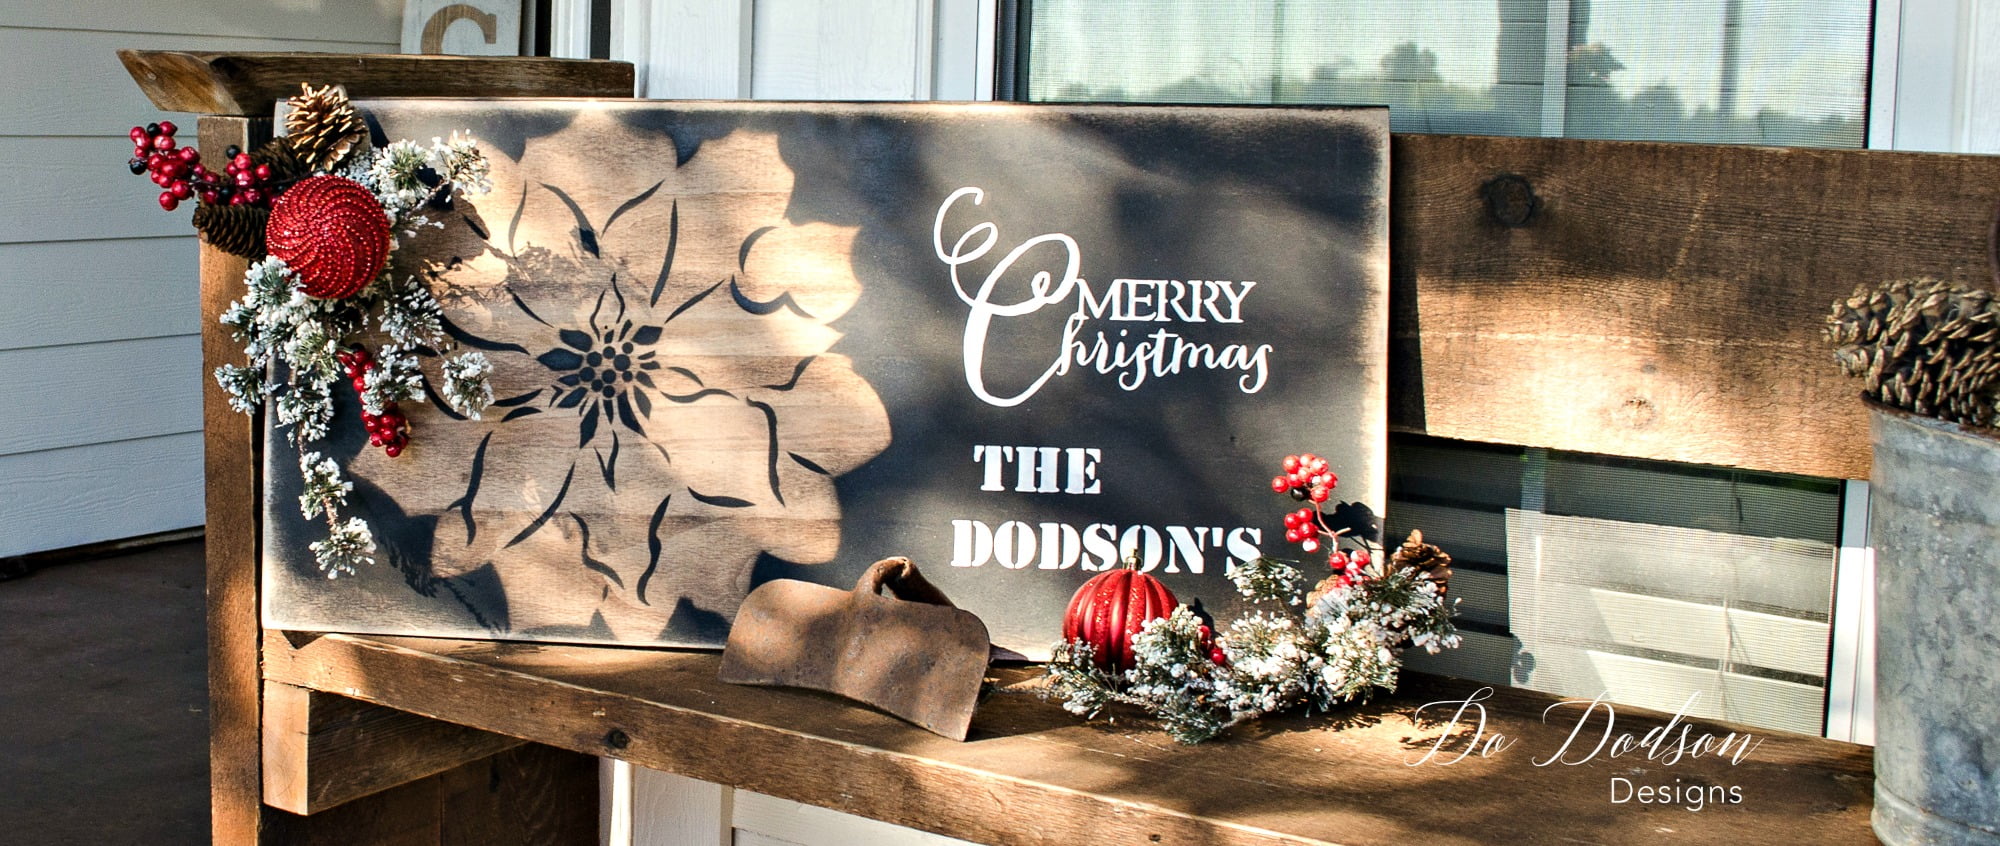
Now, add even more interest; try adding Christmas ornaments, wood accents, or your own personalized message. However, you can also personalize it with your family name. Wouldn’t this be a sweet Christmas gift? Do you see where I’m going with this? This is your wood church, and you decorate it with the things that you love. I added salvaged wood appliques from a furniture project on the door to add some visual interest. Endless possibilities!
All The FEELS!
1 board… the easiest DIY Wood Church I’ve ever done! So, are you ready to make one??? How about a girl’s craft night? That would be so F-U-N.
As always, thank you for stopping by, and I hope that this will inspire you to live your best DIY life and make everything around you beautiful. Above all, enjoy the process.
I’m going to make everything around me beautiful and that will be my life.
Elsie De Wolfe
Until the next project… xo, Do

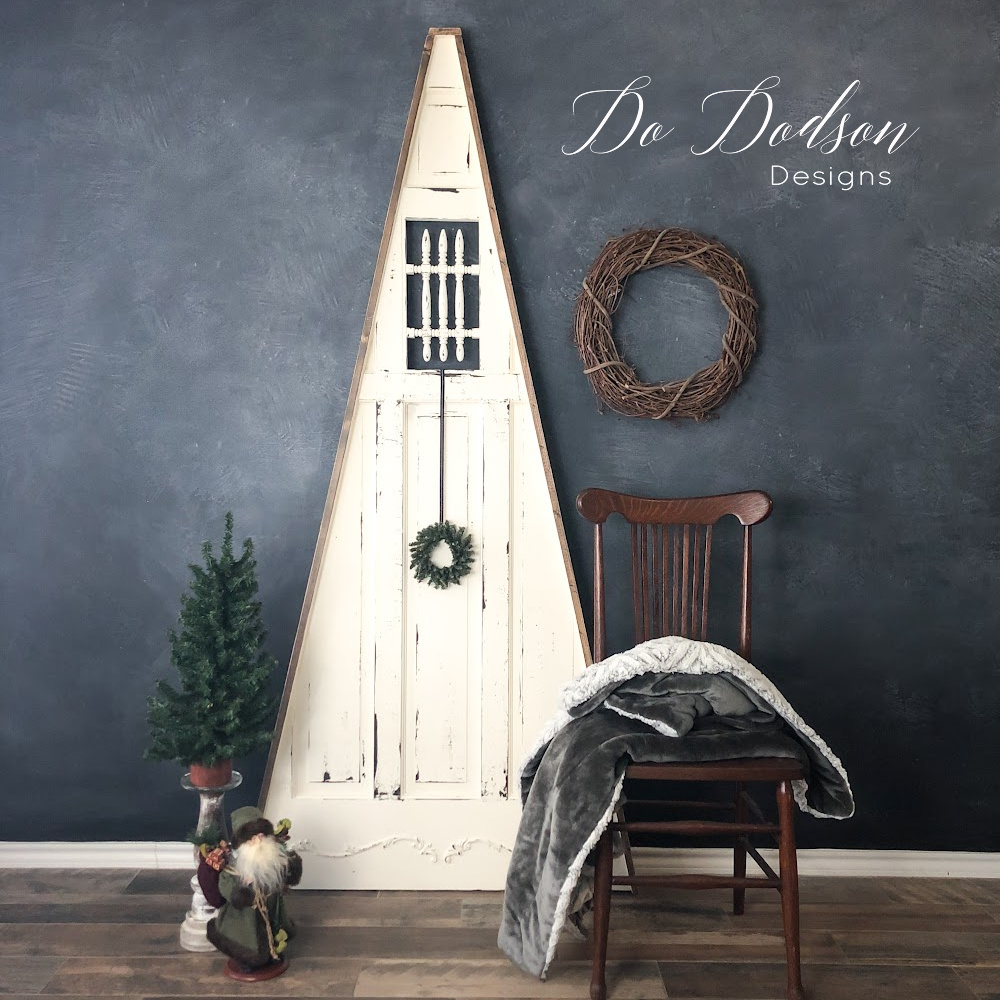
I LOVE this wooden church!! I actually thought you added the door until I read the whole thing and realized you just used painter’s tape and shadowing for the effect of a door!!! NOW, I think I could probably tackle this project🤨!! Thanks for sharing this simple project with great end results!!
Thank you so much, Karolyn! I’m sure you can re-create this… and isn’t it amazing how a little paint can create such an illusion. FUN stuff! xo 🙂
Oh, I am so making this. As a matter of fact I am doing it right now!! I’m loving it.
Alright! You’re gonna love these… I just know it. Merry Christmas. 🙂
Love the church! I’m going to make several for Christmas gifts. You are very talented!
Thanks, Jeri! I’m so glad you liked them. Christmas will be here before we know it.
This little church is fantastic! I can’t wait to tackle one, two…maybe three. I think they would sell great around my area for I live in the Bible Belt area of the south. Thanks for inspiring us with your awesome talent.
Hi, Susan! I think so too. So cute!
i love the churchs that u did going to try it out
Thanks, Judy! It’s a great way to use up some scrap wood. Thanks for stopping by. 🙂 xo
We are planning a Ladies craft night for our women’s ministry next month and we are doing This Church!!! Everyone is so excited!! Thank you for your creative idea!!!❤️💒❤️
That’s a great idea, Gayle. I’m sure the ladies will have a blast. I would use mod podge because it dries quicker. 🙂 xo