
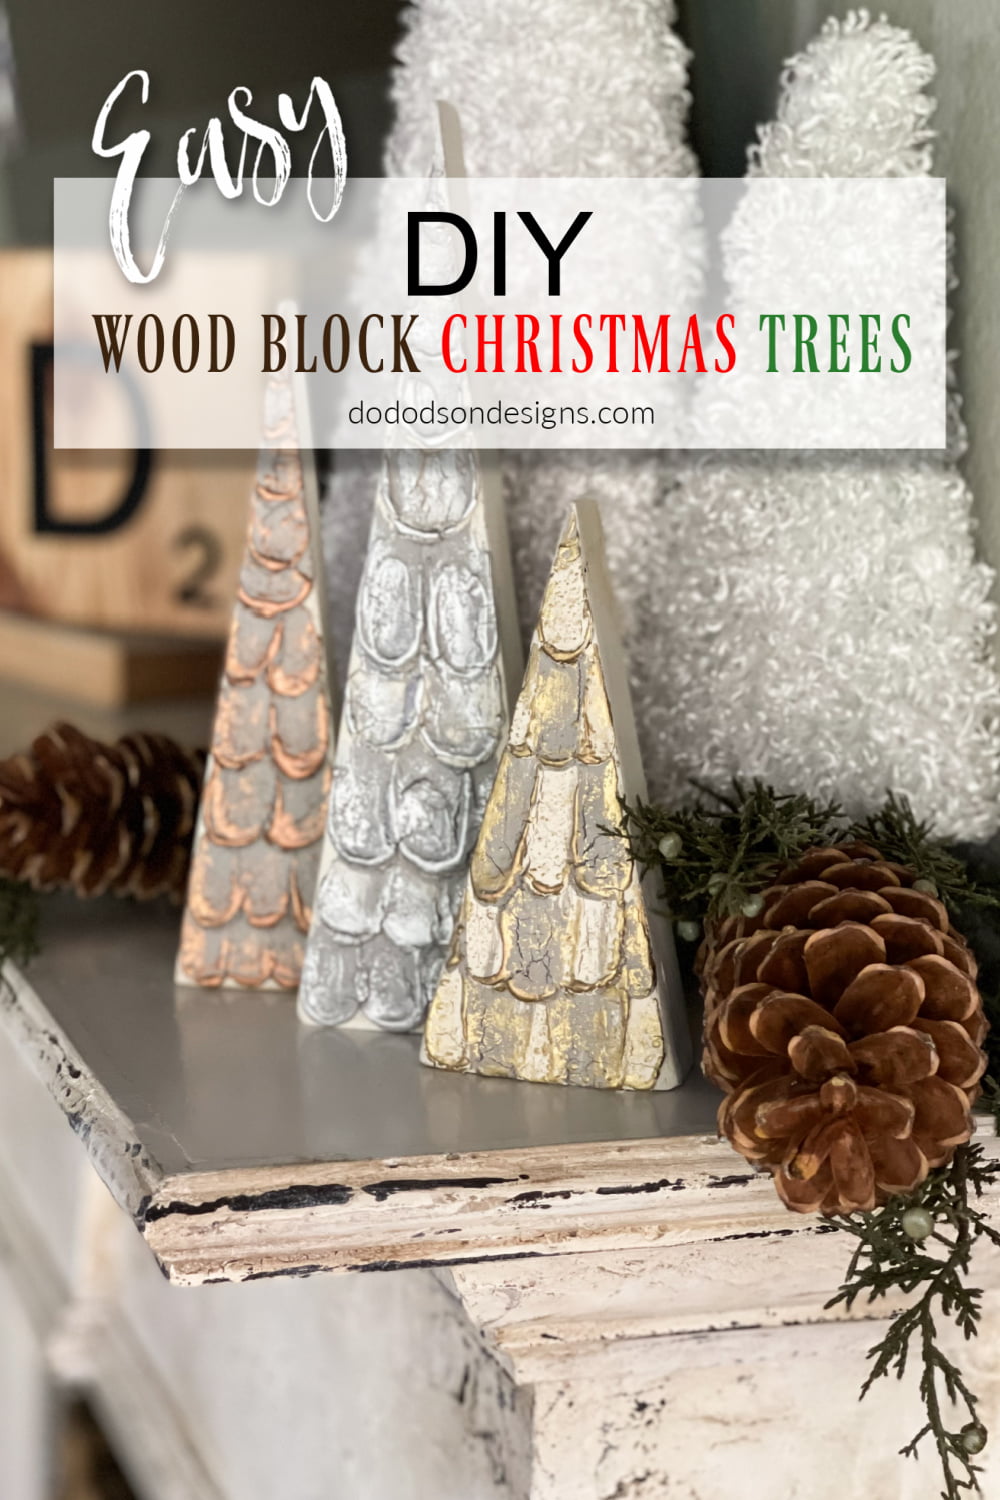
If you’re looking for a fun holiday woodcraft project, you’ll love this one! These DIY wood block Christmas trees look great on a mantel or anywhere in your home. You’ll be surprised how easy they are to make!
Today is the monthly heart friend’s blog hop, where we share creative ideas. Be sure to look at the details at the end of this blog. You don’t want to miss this!
* As an Amazon Associate, I earn from qualifying purchases and through other companies as well. You are not charged extra to use any of the links, but any income I make helps me create more amazing DIY projects to share with you! To see my full disclaimer, click here!
Wood Block Christmas Trees | Scrap Wood Craft
Every year, I add to my DIY scrap wood crafts. This year, I’m taking it to the kitchen. Well, not literally, but a cookie inspired these DIY wood block Christmas trees. You’re going to want to make them all!
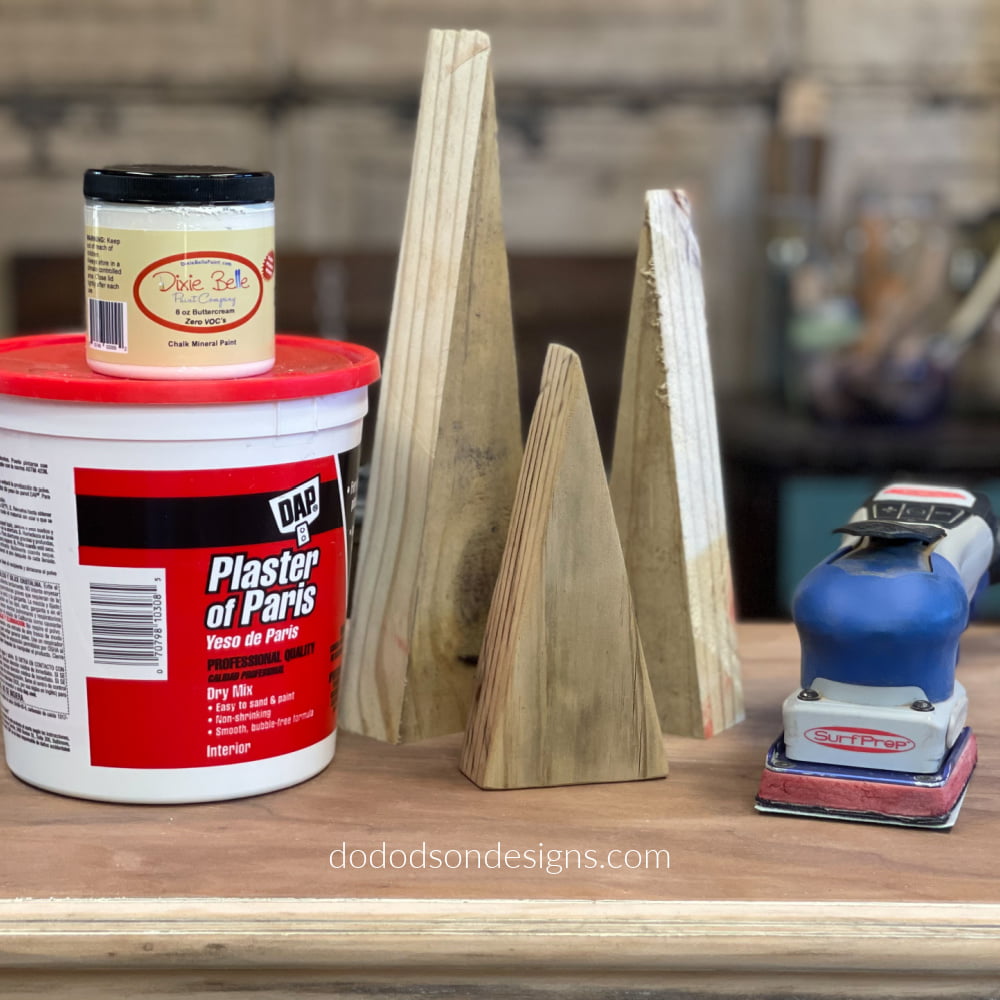

STEP 1: Gather The Materials
- SurfPrep Sanding System (use my discount code DOIT10 to receive 10% off your purchase) or sanding block
- scrap wood (2x4s)
- circular saw
- ziplock baggies
- scissors
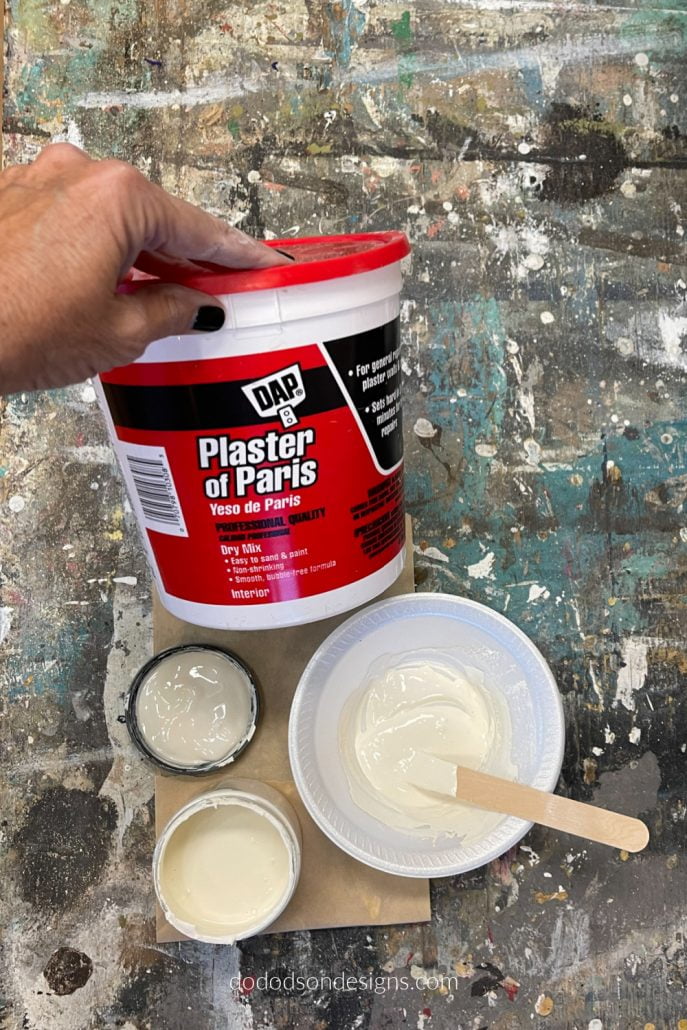
- plaster of Paris (to thicken the paint)
- butter cream and driftwood Dixie Belle Chalk Mineral Paint
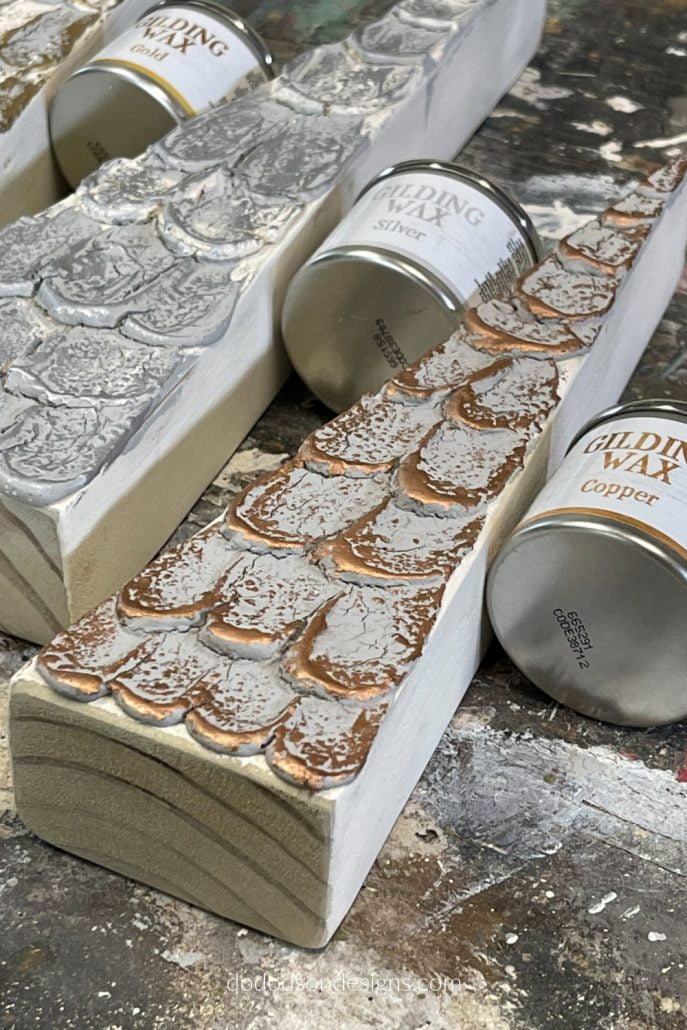
- gilding wax gold, silver, and copper
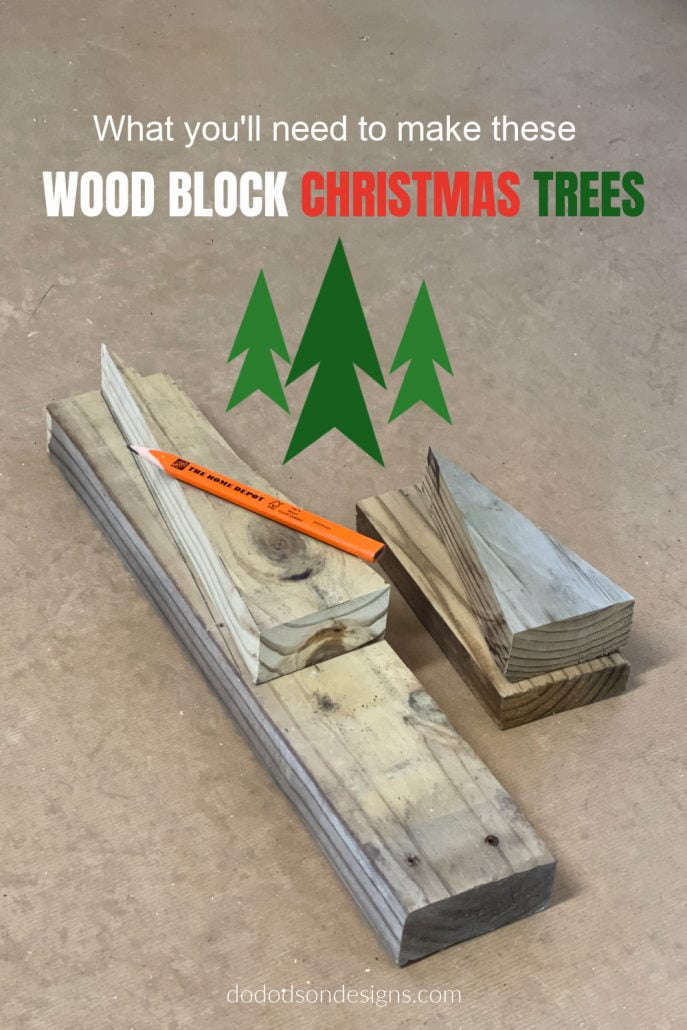
STEP 2: Cut The Scrapwood Pieces
Start by finding some old scrapwood 2x4s. These boards make perfect shelf sitters, and your trees will not fall over. After cutting the first tree, I used it for a pattern to create more. Go ahead and cut more wood blocks than you think you’ll need because you’ll want to make some for Christmas gifts. Trust me!
STEP 3: Sand The Wood Pieces
After cutting your wood Christmas tree blocks, it’s a good idea to give them a light sanding with 220 grit sandpaper to smooth the rough edges. I use my SurfPrep Sanding System to get the job done quickly. Sanding blocks work well too.
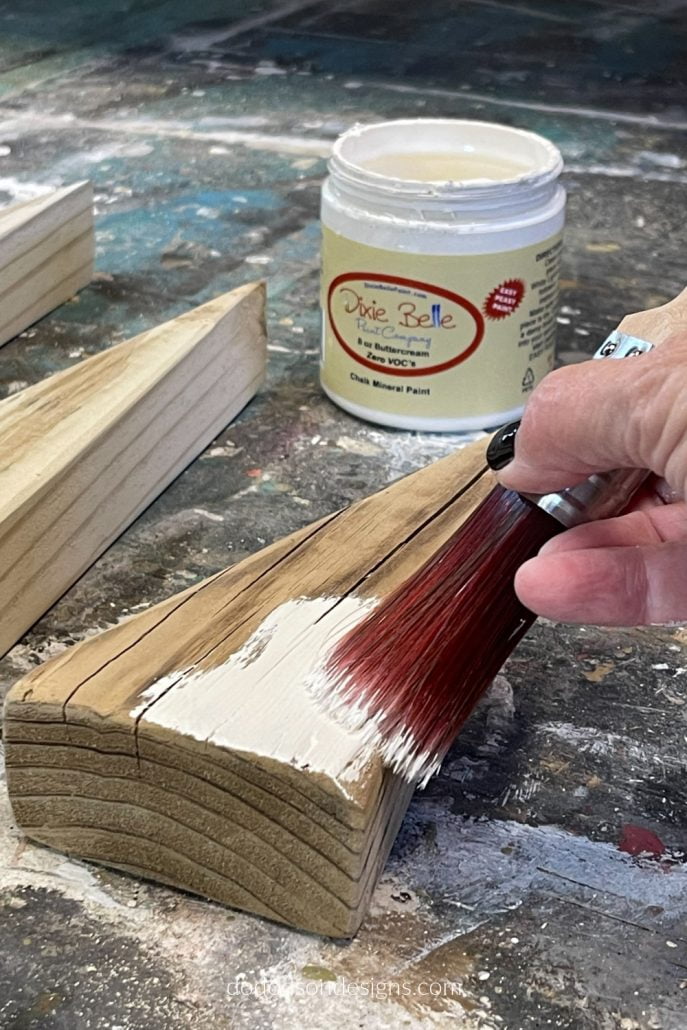
STEP 4: Paint The Wood Blocks
The next step is to paint the wood blocks. Usually, I would skip this step, but go ahead and paint first since I tried and failed my first attempt. Painting the wood blocks first will give the paint mixture (later in the blog post) something to adhere to. Dixie Belle Paint sticks well to wood.
STEP 5: Adding The “Paint Icing” To The Christmas Tree Blocks
Part 1 Mixing
Let’s do some paint icing to decorate the wood block Christmas trees!
This is the fun part, and I would have never thought of it if I hadn’t seen a video on decorating cookies. I thought to myself, why not use this same idea and apply it to wood decor for Christmas? And that’s what I did.
It’s so simple! To make the “paint icing,” add a small amount of Plaster of Paris to chalk mineral paint. I didn’t measure, I’m sorry. Because the viscosity of paint varies depending on many factors, it’s best to eyeball this recipe.
Add your chalk mineral paint to a small disposable bowl first, and then add the plaster of pairs powder and stir well until you get a runny icing mixture. Thick enough to stay in place but thin enough to spread. Feel free to use any color you like and multiple colors for those that love multi-color. I’m a neutral gal.
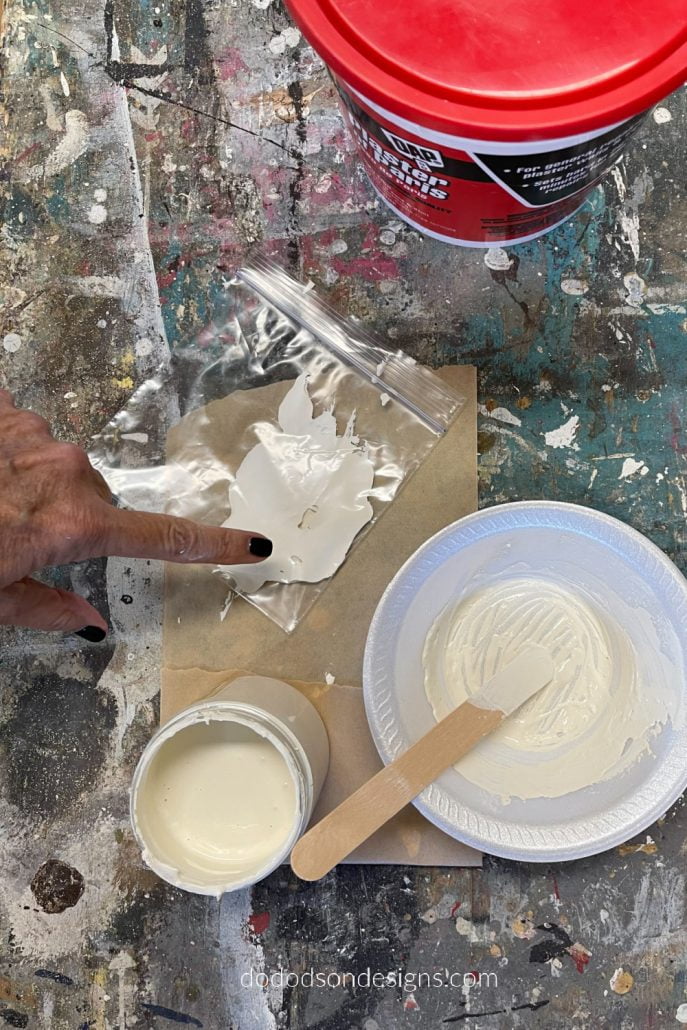
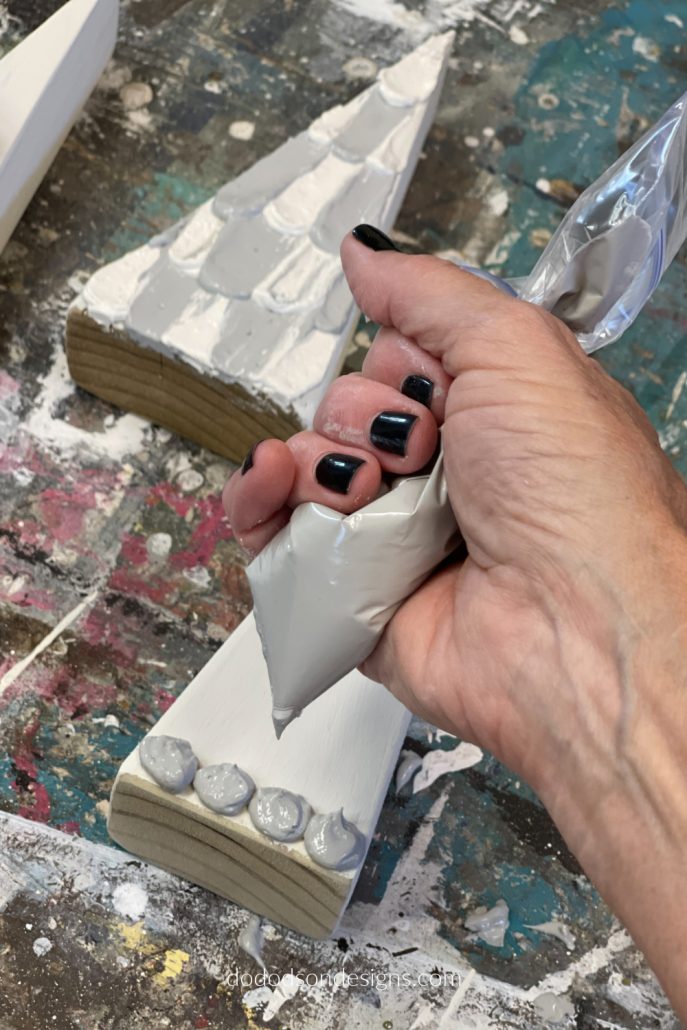
After you have the mixture ready, add it to a ziplock baggie. DIY icing bag. Don’t wait too long as the mixture will start to set up, so move swiftly. Once it’s in the baggie, zip it up and mix your next color.
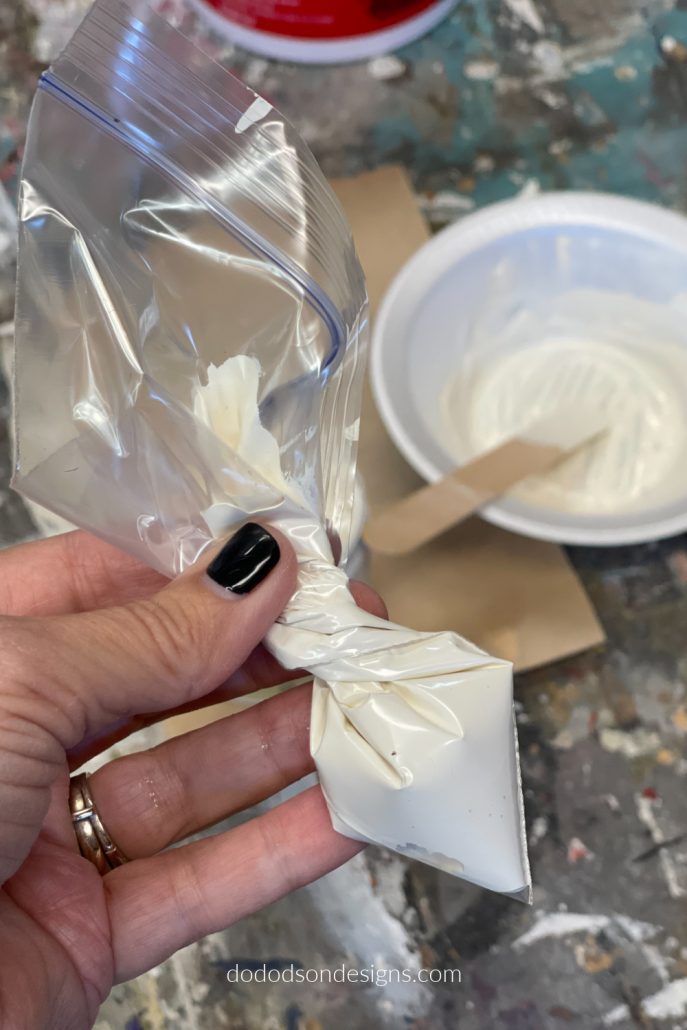
Twist the baggie to form an icing bag. You know this trick.
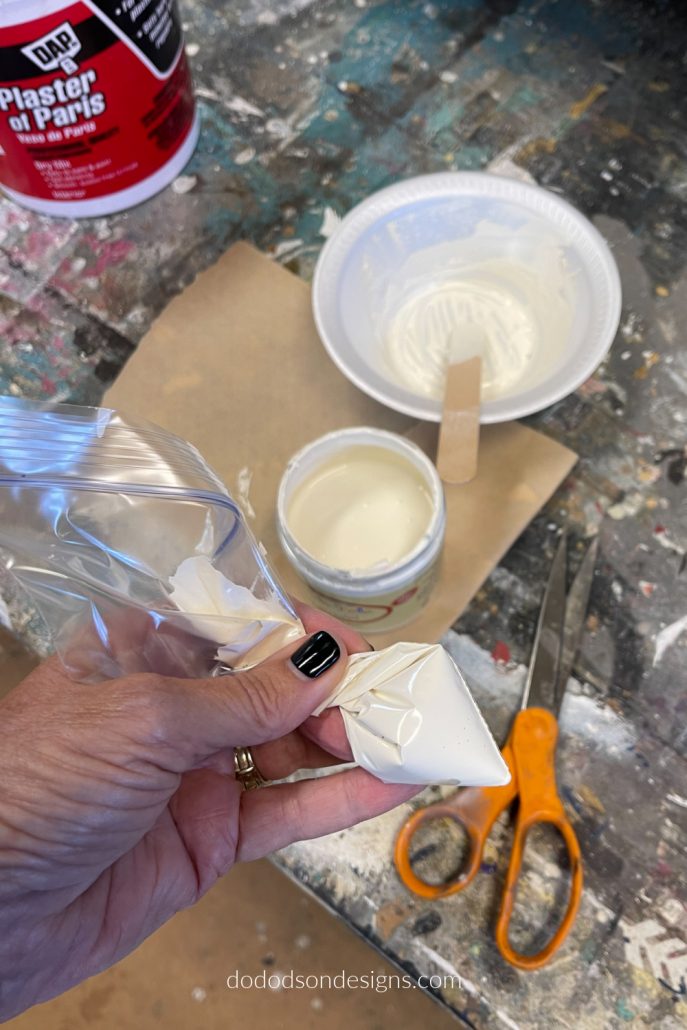
Now, snip the tip off the end of the baggie, but be careful not to remove too much. First, cut off a small piece with your scissors and test it to ensure you have the correct size hole opening. You can always cut away more if needed.
Part 2
Let’s decorate the wood trees!
With the DIY piping bag in your hand, start at the bottom of the trees and place your paint icing in equal (for better words) dobs. I’m no pastry chef! Just a DIY hot mess.
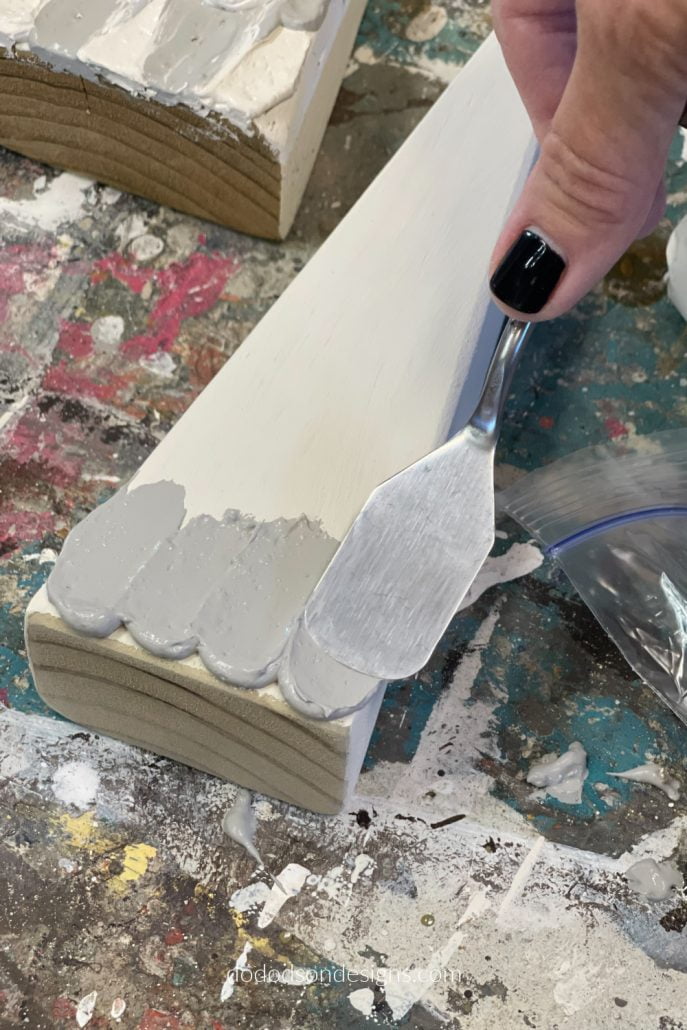
Use whatever you have. I just happened to have a set of paint knives, but a small spoon would work too.
Drag your tool of choice from the bottom up, creating a drop-and-drag swoosh. That will be the first row.
I felt like Gordon Ramsey spreading a delicious sauce across the bottom of a plate for display. LOL
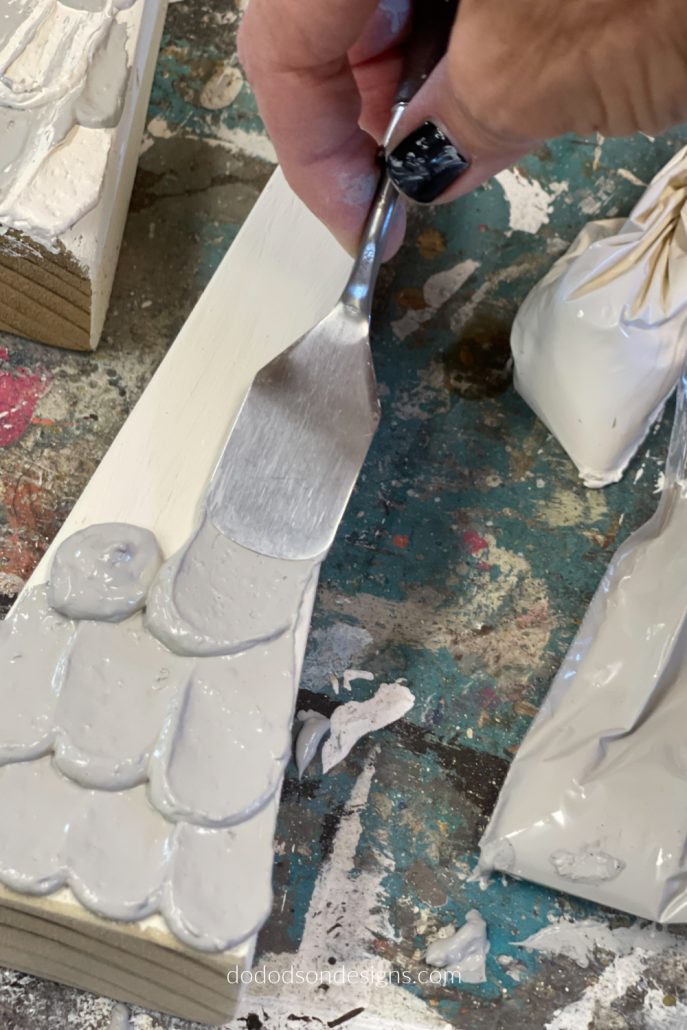
For the second row, I added the paint icing between the first four dabs of paint icing. With each line, I continued the swooshing of the mixture to create the look of icing or snow on the wood block Christmas trees.
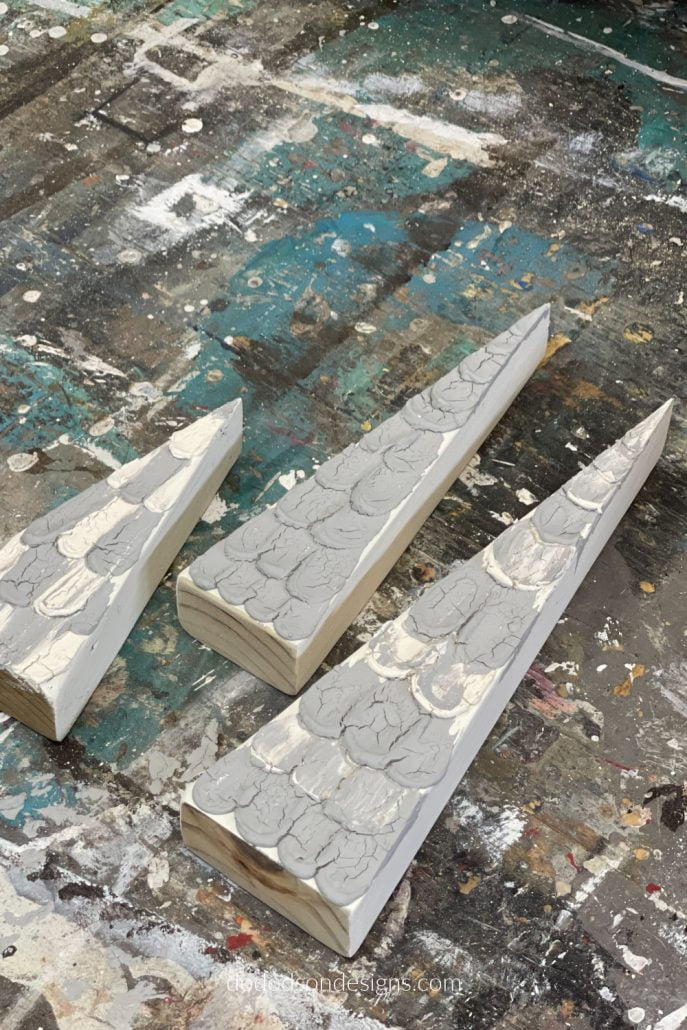
STEP 7: Let The Trees Dry
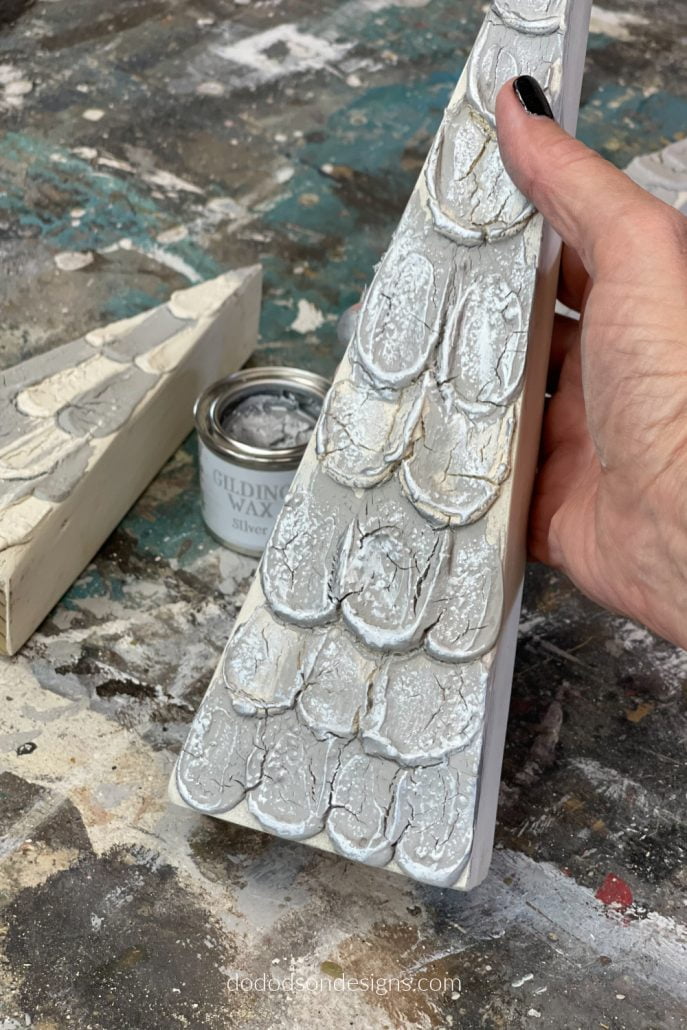
Allow the pain icing to dry for at least 24 hours. Afterward, you will notice tiny cracks in the paint mixture.
At first, I wasn’t happy with the results, but I didn’t let that discourage me. We DIYers will find a way to make it work, and I did.
STEP 8: Decorating
Here is the solution to the problem. Gilding wax! I grabbed several wax colors and added some highlights with my fingertips to make the paint icing stand out even more.
The End Results
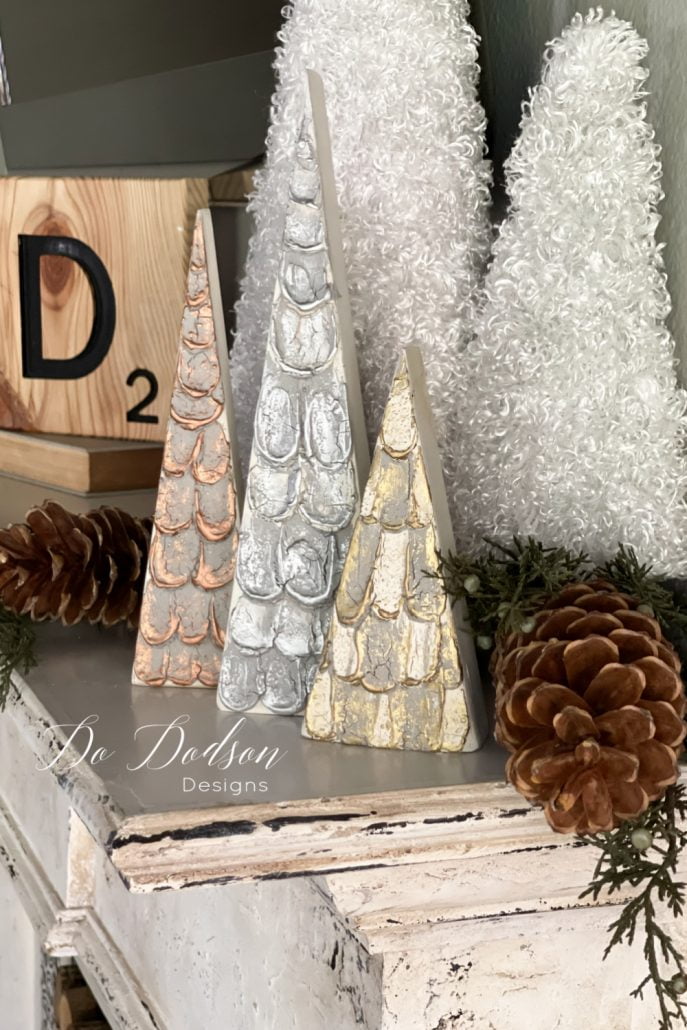
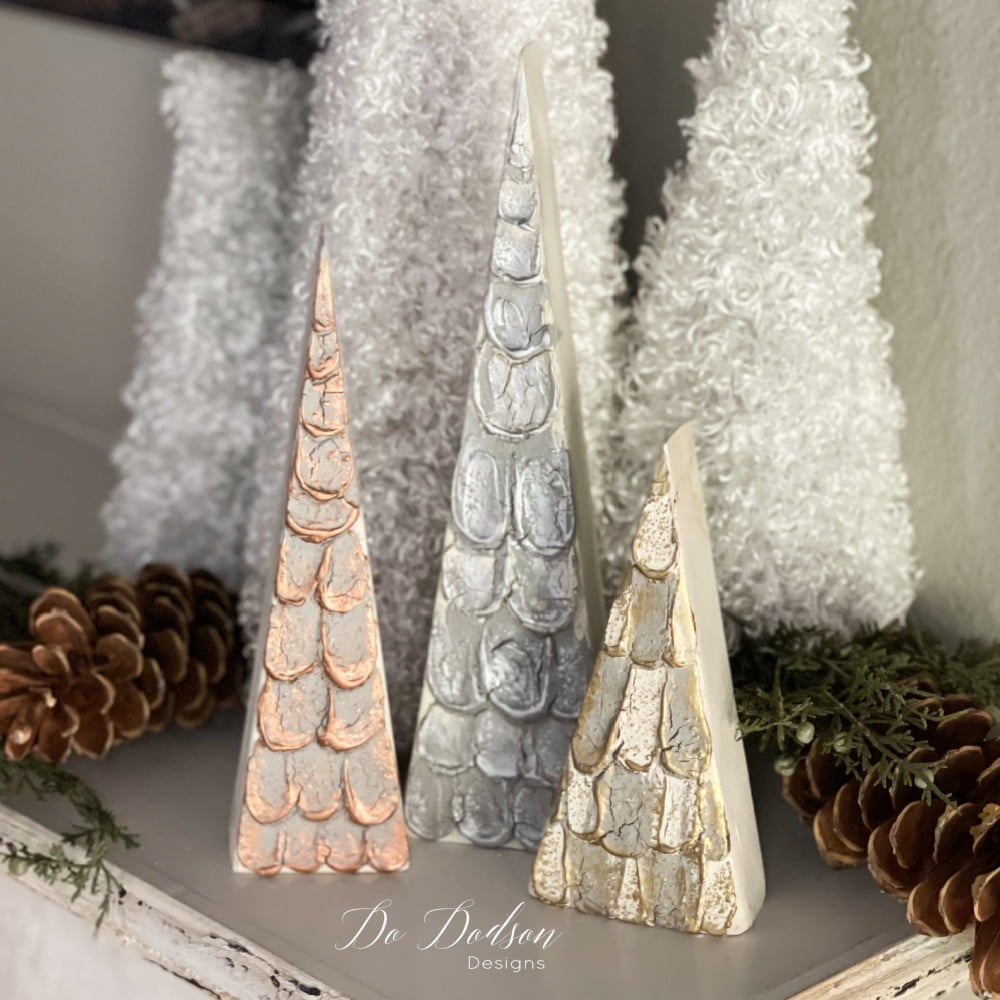
Talk about quick and easy; these DIY wood block Christmas trees are sure to be a big hit with your family and friends. But I’m warning you now, get ready to take orders because everyone will want a set. They would make excellent Christmas gifts too.
So, what do you think? Let me know in the comment section below, or say hi and let me know you were here. Oh, and don’t forget to pin this to your DIY Christmas Decor idea board on Pinterest so that you’ll have it for later.
Until the next project… xo, Do
And now for… Blog Hop With My Heart Friends

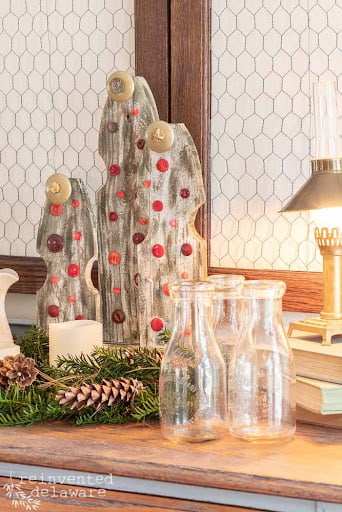
And if you’re hopping over from Cindy’s Blog at Reinvented Delaware, thanks for joining me here.
Now, head on over to Tammy’s blog at The White Lilac Farmhouse – She has the cutest mini DIY Christmas Tree Decor Idea! CLICK HERE
Or you can CLICK the photos below to check them all out!


Your Christmas trees look amazing! What a great project. You need to sell these.
They would sell well. I’ll have to add these to my blog post on woodcraft items that sell. Thanks for the idea. 🙂 xo
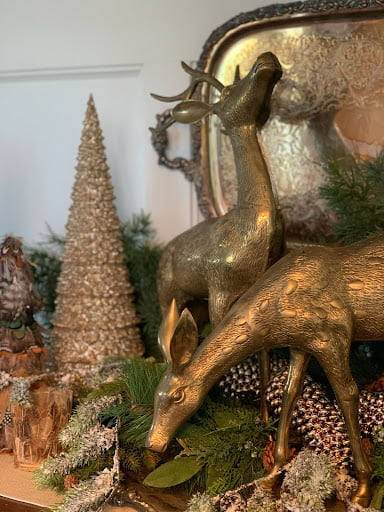
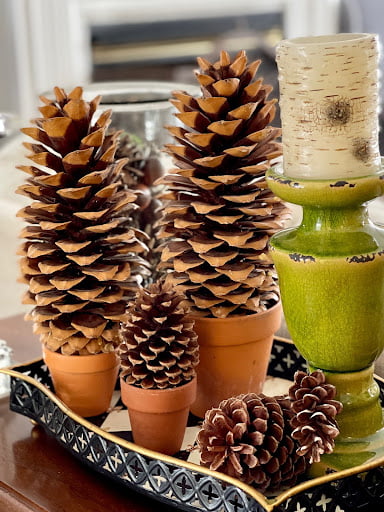
Oh, Do! These are gorgeous! I haven’t tried plaster of Paris on wood or gilding wax! I think I may have to try these! A gilded version of my pinecone theme…perfect!
Thanks, Leslie! This was a fun round-up and your idea was brilliant. 🙂 xo
They are beautiful!!!
Thank you, Donna! 🙂 xo
So creative! Love these, Do. You’ve inspired me to do some of my own, so thank you!
Yours look so cute. Wendy! I can’t wait to see how you paint them up. 🙂 xo
Love this Christmas tree idea. Can’t wait to try!
Thanks!
I’m so glad you enjoyed it, Kathy! I’d love to know how yours turns out. 🙂 xo
Omgoodness Do, you have done it again!! This project is so adorable – I’m going to have to make a whole forest of them! Pinned!!
I could totally do a forest on my mantel! What a great idea! Thanks, Cindy. 🙂 xo
Oh wow! These are gorgeous!! How tall did you make these trees? I would love something like this for my mantel.
Hi Dawn, the smallest was 7 inches, and then it varied up to 14 inches. I like to stagger the height. Thank you so much. Glad you enjoyed these. 🙂 xo
Oh my goodness! I love this. What a great idea to add the plaster and paint!!! Definitely going to give this a try!
Hi Crystal! Thanks so much for joining me here. I think you’ll have a lot of fun with this DIY. 🙂 xo
These trees are awry! I’m going to try and make some. I love the scalloped detail and the shimmer. Well done, my friend.
Thanks, Renea! Super fun to create. Glad you enjoyed them. 🙂 xo
Oh good heavens, Do! These are awesome!!! I’ve never used gilding wax, but it is definitely on my must-have list now. Thanks bunches!!!
Hi Diane! Thank you. I think you’ll have fun creating these. I’ve decided to make a forest! LOL 🙂
I love these and definitely making them. Never heard of Glide Paint though. Is it found in craft stores or special order? Again, thank you for the inspiration.
Hi Pam! Do you mean the gilding wax? Yes, you can find many brands in crafts stores or you can order through my affiliate link with Dixie Belle Paint Co. here. https://dixiebellepaint.com/gilding-wax/?aff=80
I recently discovered your blog.. I love it. I have made a couple of your ideas and I am attempting the trees today. Thanks for sharing.
Hi Mary! I’m so glad you found me. I love sharing what I do, and it gives me the warm fuzzies to know others are enjoying it. 🙂 xo
I love your trees! I kinda did the same thing but I used caulking. It’s my new thing now! I’m caulking everything!! Lol.
Love all of your creative ideas!
Hi Tammy! I thought about using paintable caulk too. Good to know it works. Thanks for sharing. 🙂 xo
Hi Tammy, I love this idea for next year, might be a good idea for a class….thanks for sharing!
Best Regards,
Margie
It would make a great class! You’re welcome. Happy New Year! 🙂 xo
Too cute!! I’ve been looking for some different trees for my little house village. The little bottlebrush trees can be pricy and I don’t really like them in my village. I think if I made them small enough these would look so much better. I have tons of scrap wood so I’ll be making lots of these, only tiny..lol. Thanks Do you’ve done it again!
Hi Shirley, I think these trees would look great with a village scene too. I can’t wait to see what you create. Send photos. xo 🙂
Please don’t stop inspiring us!!! I just found your page and love it all. Thanks for sharing your ingenuity!
Hi Sandra! I’m so glad you found me. Nice to (virtually) meet you. 🙂 No worries, my head is full of stuff I want to share. xo
These are adorable! Made a bunch of them, but the plaster chips off the edges. Any idea how to get them not to chip off? Maybe not the right consistency? Too much plaster? I used regular acrylic paint.
Hi Myra,
Hmmmmm, it could be the acrylic paint. Did you seal the texture paint? Sealing the paint should harden the texture and prevent chipping. It could be a consistency issue as well. So far, mine have held up well with no chipping. This will be the second year since creating them.
Love them all! Do, you have the magic 🙂
Awe, it’s not magic. It’s just acting on the crazy ideas in my brain. LOL, I’m glad you enjoyed this DIY. Have a fantastic week. 🙂 xo
I love these trees. You are so talented.
Awe, thanks, Jo! I do enjoy working with wood. 🙂 xo
HI Do. Love your trees! I’m hoping to make some for Christmas 2024. Any updates for me? How tall is each tree? Thanks for your help. K.
Hi K!
Oh goodness! I haven’t gotten them down from the attic for Christmas just yet. But the tallest is 12 inches with the other two stair stepped. Probably 12, 11 and 10 inches would be my best guess. These were so fun to make and I think you’ll enjoy them for years to come. They make great Christmas gifts too. 🙂