Whimsical furniture made simple… When I first thought about creating an out-of-my-comfort zone whimsical design, I wasn’t so sure about it. My style is NOT whimsical but I admire the other whimsical artist and how their minds seem to flow with colors, texture, and designs. So, here’s my take on adding a bit of whimsy to my furniture and making it fit my design style.
This post contains a few affiliate links to help you find the products I use. You are not charged extra to use any of the links, but any income I make will be used for more fun projects! To see my full disclaimer, click here.
Testing My Whimsical Furniture Design
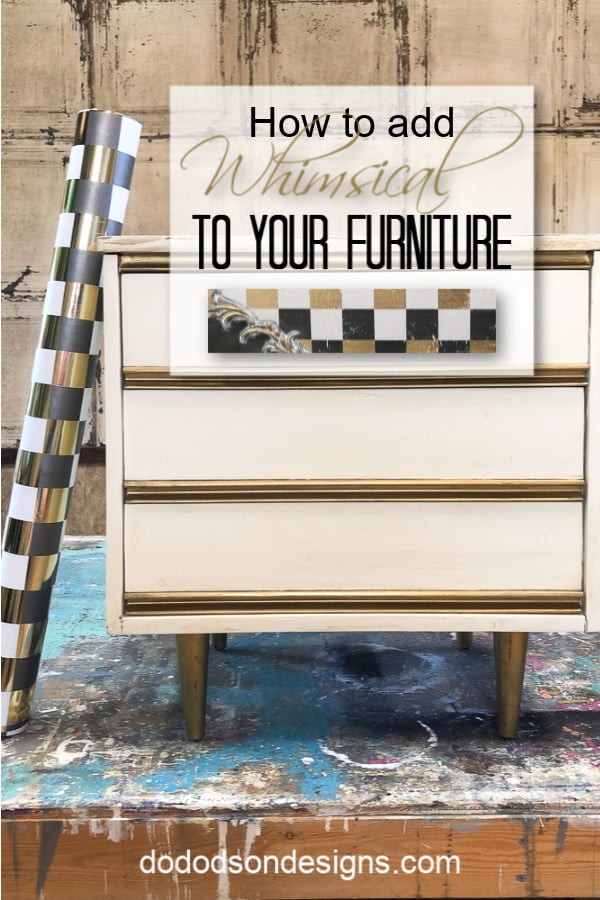
Supply List:
*Click on the products below to find where to purchase them for your next furniture makeover.
- Wrapping Paper (leftover from Christmas)
- White Lightning
- BOSS (Stain Blocker)
- Top Coat (Satin)
- Gravel Road (Chalk Mineral Paint)
- Moonshine Metallics (Gold Digger)
- White Best Dang Wax
- Gilding Wax (Warm Gold)
- Paintbrush
- Moulds (decorate trim)
- E6000 Craft Glue (Permanent Bond)
- Hot Glue Gun
- Hot Glue
Adding Whimsical Paper To Furniture
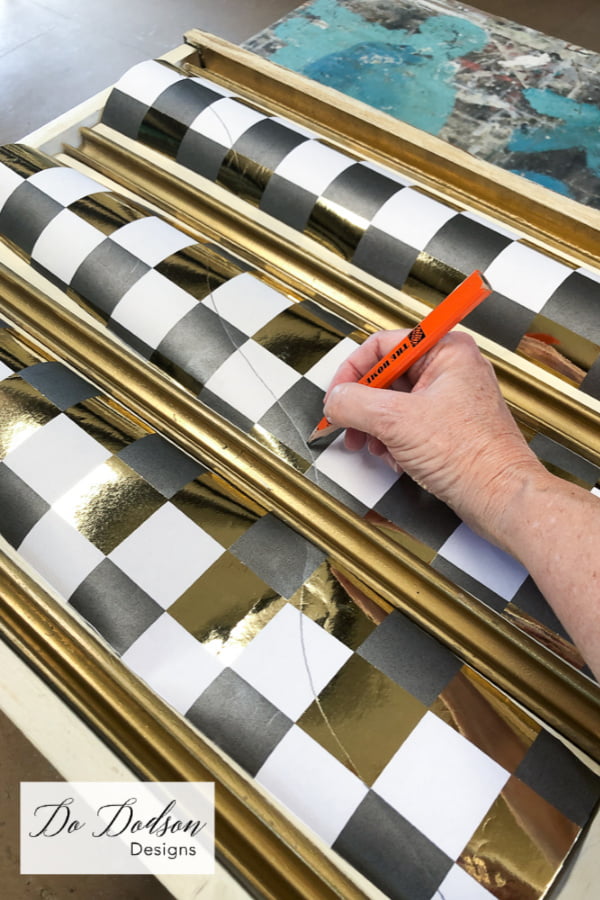
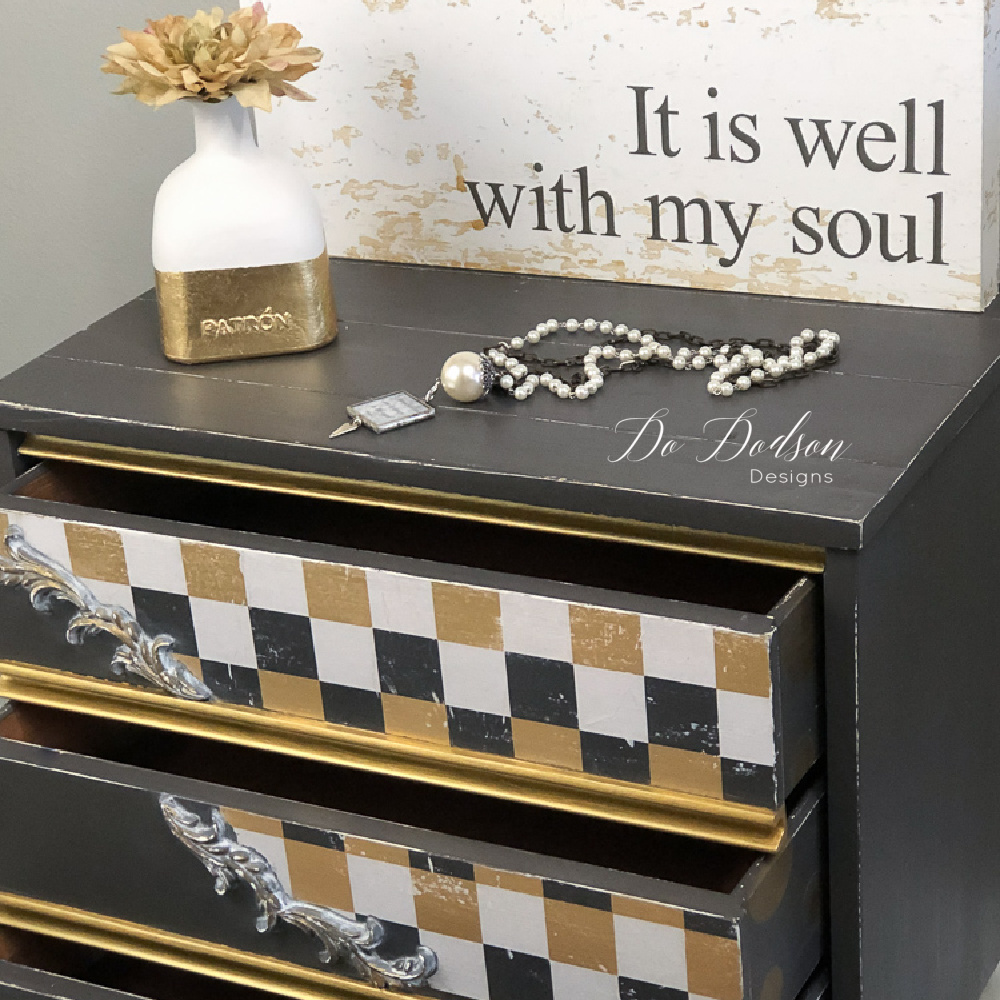
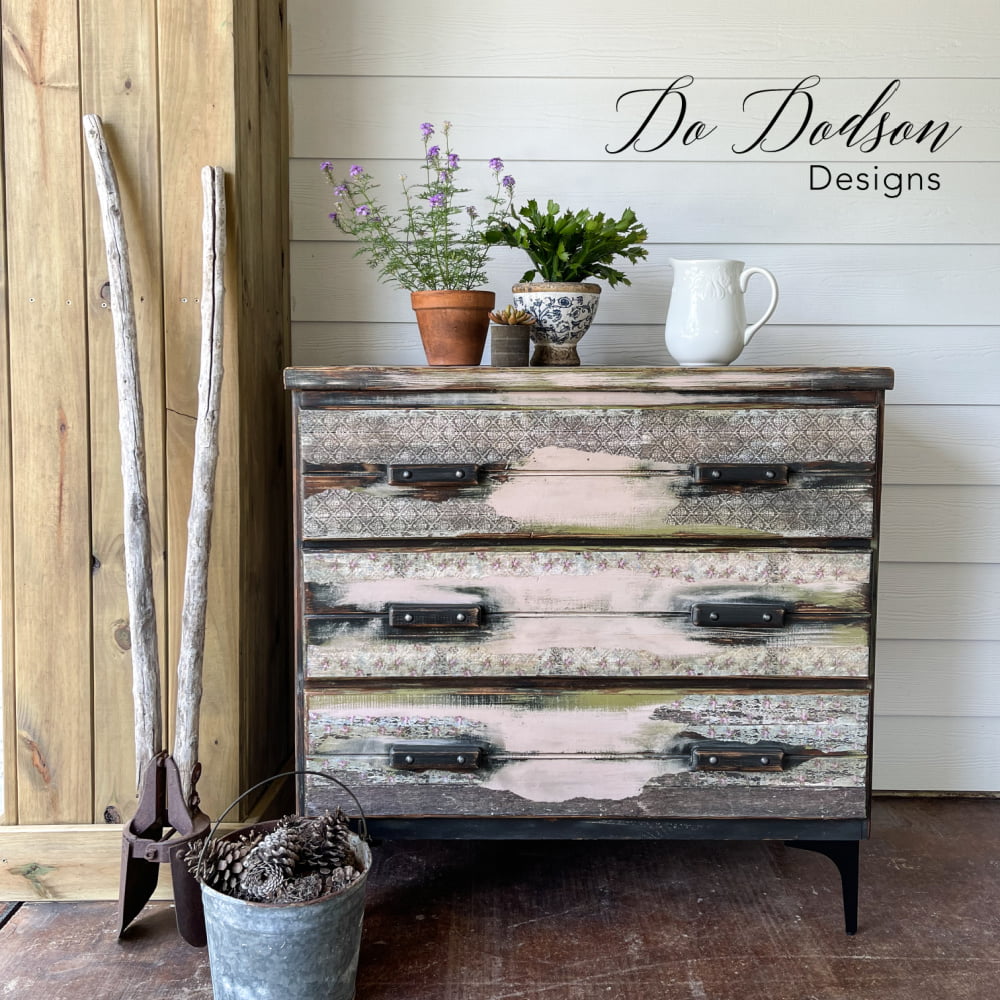
Step #1 Cut the wrapping paper (design of your choice) to the appropriate size for your furniture. For this makeover, I cut the paper to fit the drawers first and then outlined my design with a pencil. Use scissors to cut out your design or just paper the entire drawers. That’s a beautiful look too on whimsical furniture.
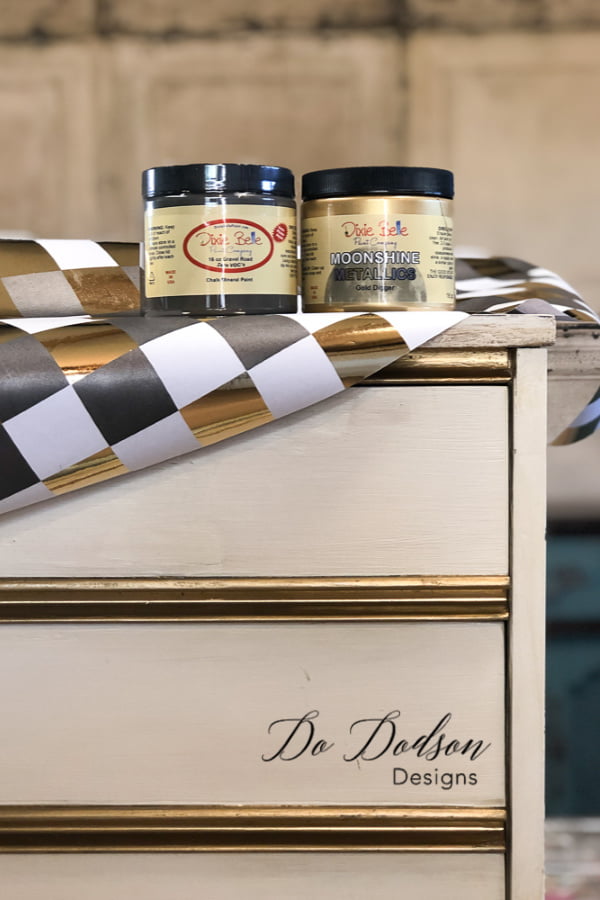
Step #2 Always clean your furniture well before painting. I use Dixie Belle’s White Lightning. Since this piece had been previously painted and I could visibly see some bleeding of wood tannins through the paint, I also used a stain blocker called BOSS in clear. The nightstand was painted with Gravel Road and Metallic Gold before the paper was applied. To learn more about the application of the paper AKA decoupage. CLICK HERE.
Adding Decorative Mouldings To Your Whimsical Furniture
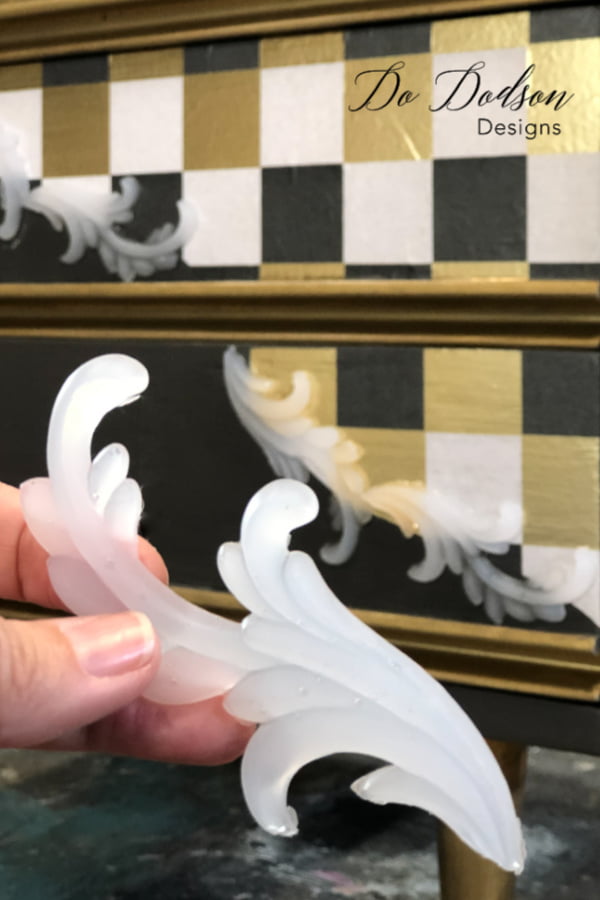
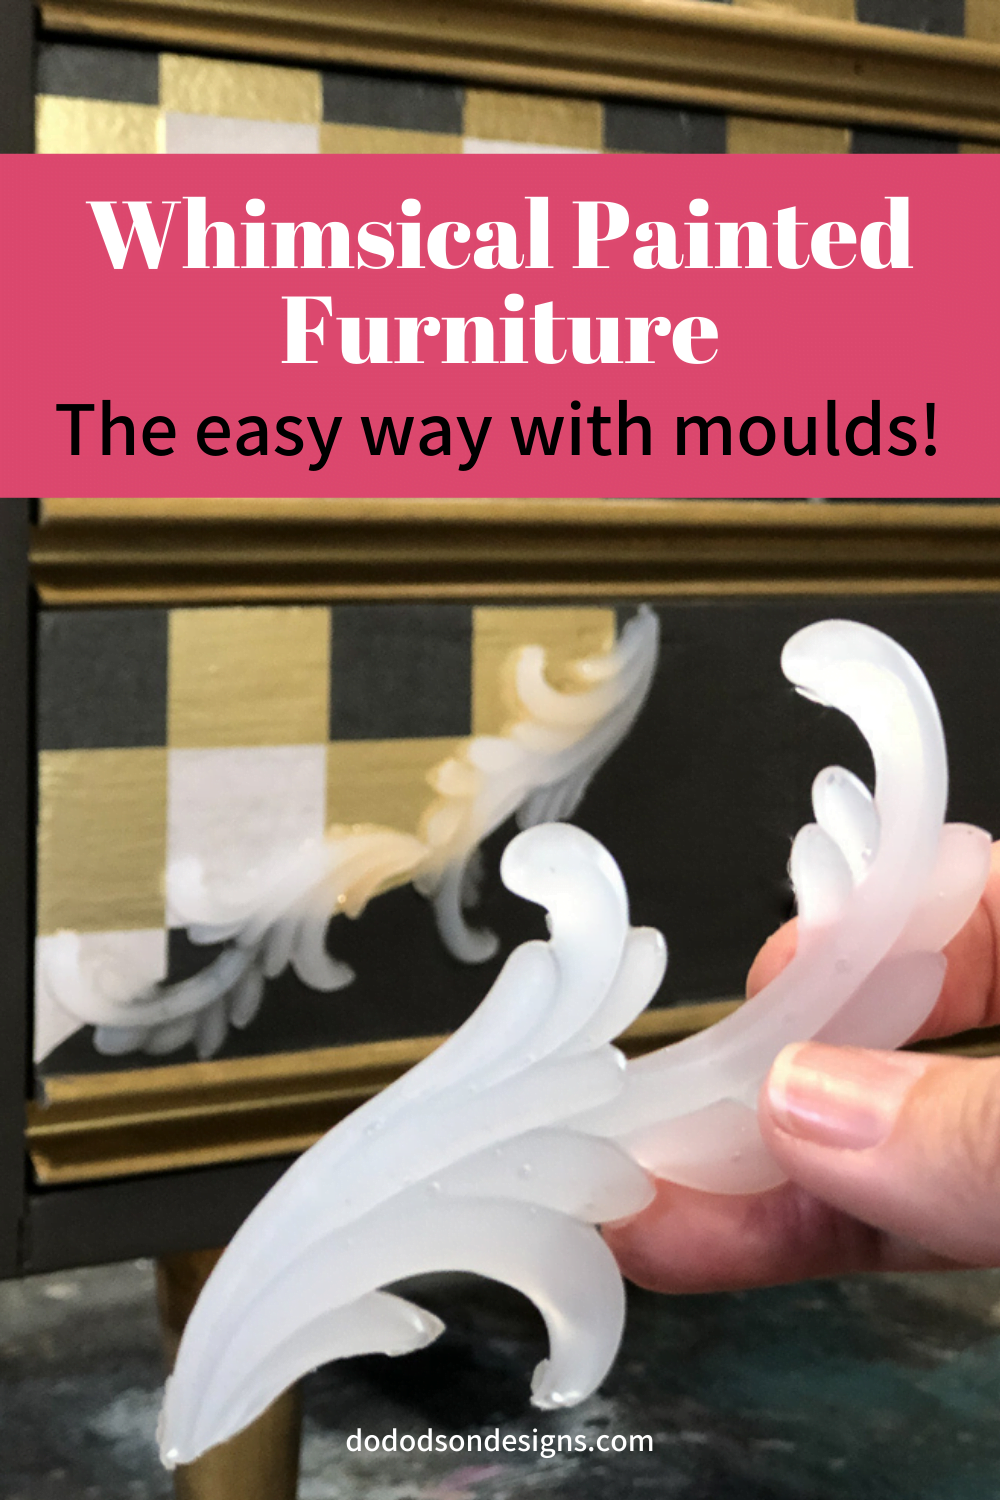
Step #3 Create amazing details with a hot glue gun and moulds. Super simple… fill the moulds with hot glue and allow them to cool. The moulds are bendable and perfect for uneven surfaces. Remove the decorative beauties from the moulds and attach them to your furniture. I used E6000 craft glue to attach them to the furniture along the lines of the design that was cut from the whimsical paper.
Painting And Detailing The Moulds
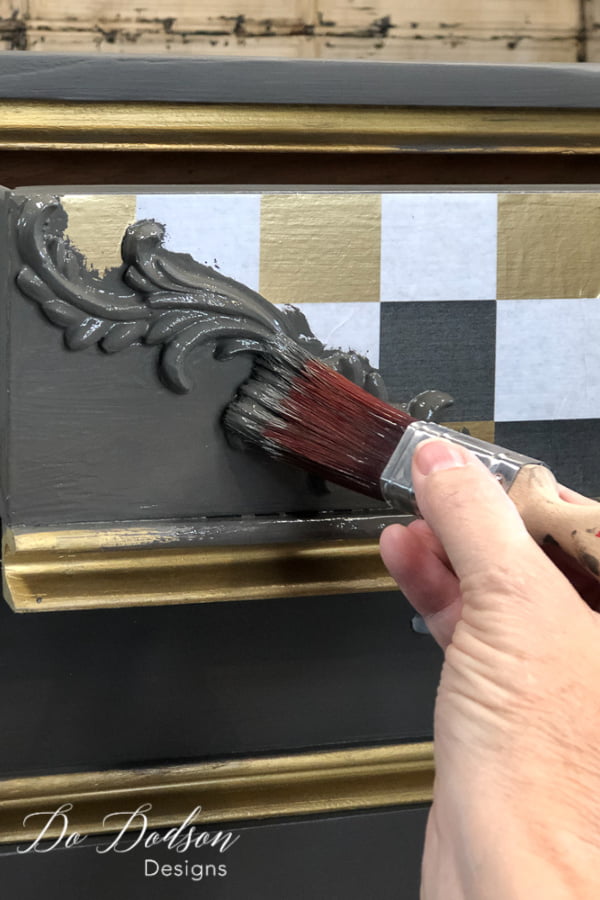
Step #4 Paint over the decorative moulds with your choice of chalk mineral paint and allow ample drying time. I painted two coats on these moulds because I wanted a thick coverage and allowed the paint to fill any tiny imperfections. White wax was applied liberally and wiped back with a soft cloth to leave the white wax in the corners and crevices. The crowning touch was the GOLD gilding wax that I applied with my fingertip to highlight the moulds.
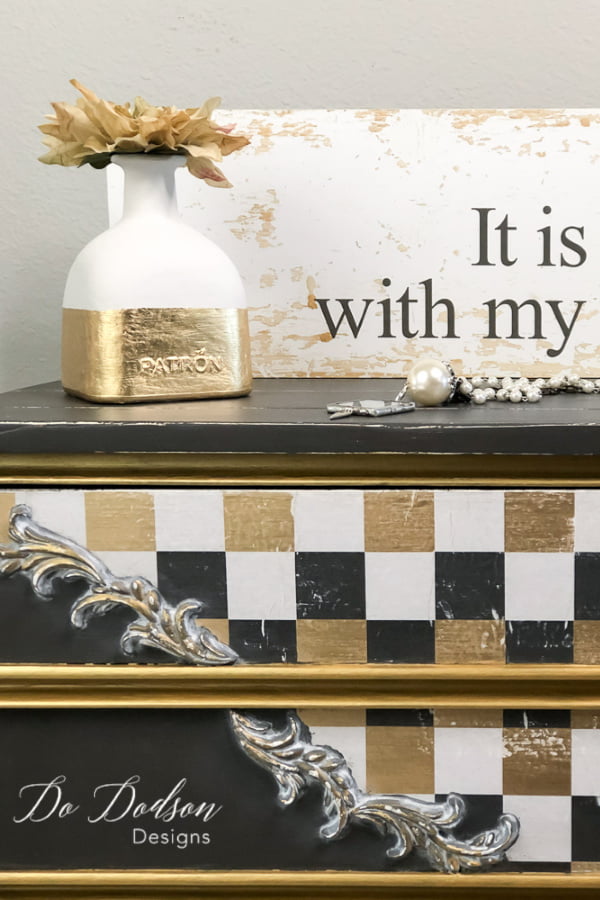
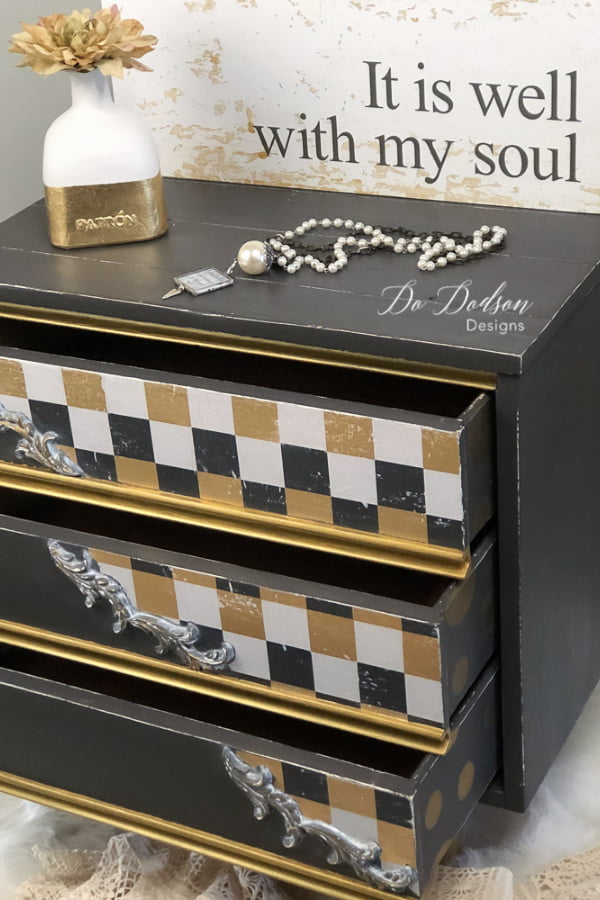
It Is Well With My Whimsical Soul
.
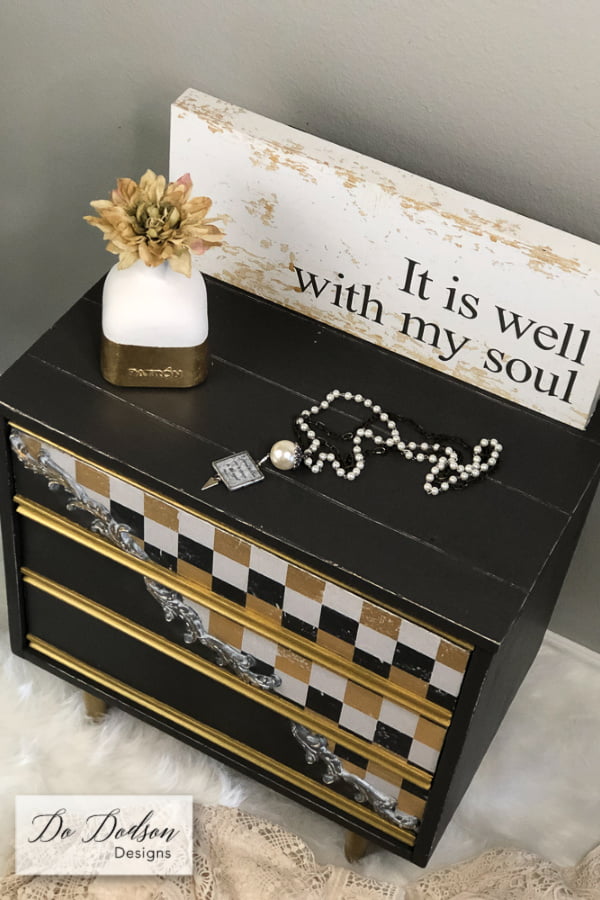
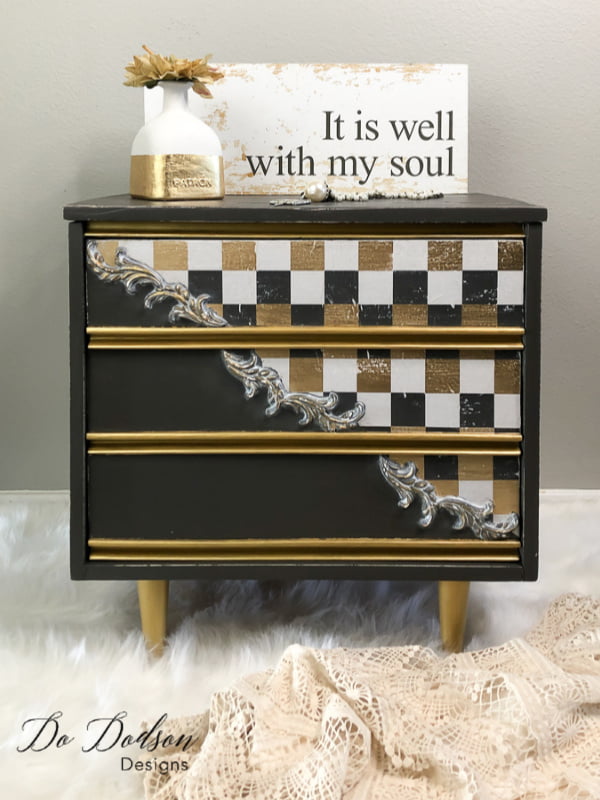
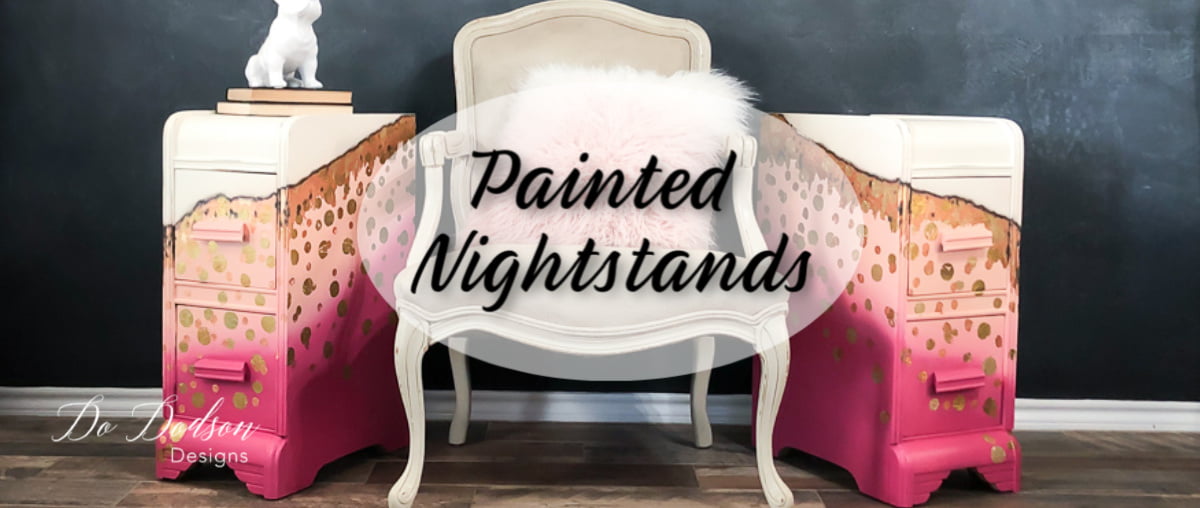
After all the worries… stepping out of my comfort zone wasn’t uncomfortable at all. It was fun… even if I’m a neutral girl. I’m thinking my Granddaughter just might need a new piece of whimsical furniture. If you’re a HOT PINK lover, check out these adorable nightstands.
Hey, thanks for joining me today. I really appreciate you (my readers) and I would LOVE to hear from you. If you have a comment or a suggestion, please drop them below. Inspire me!
Until the next project… xo, Do

I love this piece, it’s gorgeous. Brilliant idea!
Thanks, Wendy!
Isn’t it funny how we buy things and it sits for years until just the right project comes along? I guess that’s the normal creative process. Well, I’d like to think I’m normal. 😉
xo, Do
What a gorgeous whimsical design Do! And congrats on your new blog design.
You’re the best, Denise. I hope you know how much you inspire me. xo, Do
Do, this is absolutely stunning. Doesn’t look difficult and turned out great. I may need to step out and try it .Thanks for sharing your work and your talents. Loretta
Hey there, Loretta! I appreciate your kindness and commenting. It means a lot.
xo, Do
Love the whimsical look and the flourish mouldings added the finishing touch. Thanks for sharing.
Thank you so much, Sue! I appreciate your kindness.
xo, Do
Hi Donna! Love this! But then again I love most of your pieces!! Wanted to let you know the new website is just beautiful! We will all be waiting for the finished design. I hope you have a better week!
Thank you so much. Terry! 🙂
Blessings xo, Do
Thank you ! For sharing I Love this piece of furniture and what you did with it. ! I have not been brave enough to do this i have 3 tables that i want to try this on. ? when i get brave enough. Now that i have your expertise. I will get to them
Hi Patricia! Now you have no excuse. 🙂 You can do it! I would love it if you would share a photo when you get it completed with your feedback on the process. Thank you so much for your kind words.
🙂 xo Do
I absolutely love this but two questions?
First of all, why didn’t you paint the “trim” before you attached it?
Secondly, it shows that you got paint on the paper. How did you clean it off? I must be missing something.
Great new site!
Rebecca
Hi Rebecca! Great questions… you didn’t miss a lick. Sharp! I didn’t paint them first because I was pretty sure I would have to retouch them up after applying. Also, I knew that adding white wax would cover a lot of that up too. The extra paint that was on the paper was wiped away with a baby wipe. I use them all the time for removing oops. Remember, I added a topcoat over the paper before painting and that made it easy to wipe it back before it dried. I would love it if you share your decoupage project with me and give me your feedback on the process. I’m always looking to improve.
Thanks for making me think. Writing down step by step can be tricky. I appreciate you. xo, Do
Hi Do
That’s look great, i’d never thought it would be paper, before i saw your steps i’m thinking it was a stencil…wow, i’m thinking how many beautiful papers are out there!
Now you have me thinking! Can’t wait to get a piece to work on.
Love your outcome…
Blessings
Annette
Right?! So many options with paper. Thank you! Let me know if you try it. xo, Do
I’m just starting to think it’s time for me to try painting furniture. This tutorial is perfect and the project turned out beautifully! Thanks for sharing your talent. ?
Thanks, Alexis! You can totally do this. xo, Do
Hey there! I admire your piece, all of them, and have just been commissioned to do a “whimsical” piece, but it’s sooooo out of my ‘norm’, I’m so thankful to have a master to guide me. My question is, if the moulds are made of hot glue, do we not run the risk of them, well, melting? I live in NC and it gets pretty hot, and I was thinking what if it got left outside or put in storage?? Anyway, any insight would be so appreciated!
Xoxo Laura
Hi Laura,
Yay! Good for you. Great question! In my opinion, furniture should never be stored for long periods of time in extreme conditions. This will cause damage. I always educate my clients on the care of painted furniture. You could even write up a “how to care for your furniture” and give it to them when they come to pick it up. It’s up to them at that point to decide if they want to take the risk. Use this as an education opportunity. Best wishes to you. Happy painting! xo
Decoupage and hot wax molds! Who would have thought!? Thank you very much for sharing!!
Thanks, Jeannie! Happy to share with you. 🙂 xo
Happy to see you doing furniture. Not that I don’t enjoy your crafts – especially the fall ones. I tried a decoupage once with wrapping paper and DB topcoat. It was a disaster. Up til then I had done a fair amount of decoupage. This turned out great! I love the black/gold/white.
Hi Fran! Thanks for reading.
When I grabbed the checkered paper, it got me excited. Not my usual style but it sure was fun to watch it evolve. 🙂
I love this whimsical piece. It is beautifully done.
Thanks Jo!
It wasn’t what I was looking for when I was going through my papers but I sure glad I grabbed this one. Have a beautiful week. 🙂
This is so unique with the checkered paper and mouldings! – I LOVE it, Do! PINNED XOXO
Hi Denise,
It’s definitely different. I like looking back at some on the designs. Thank you. I hope you have a wonderful week, my friend. xo