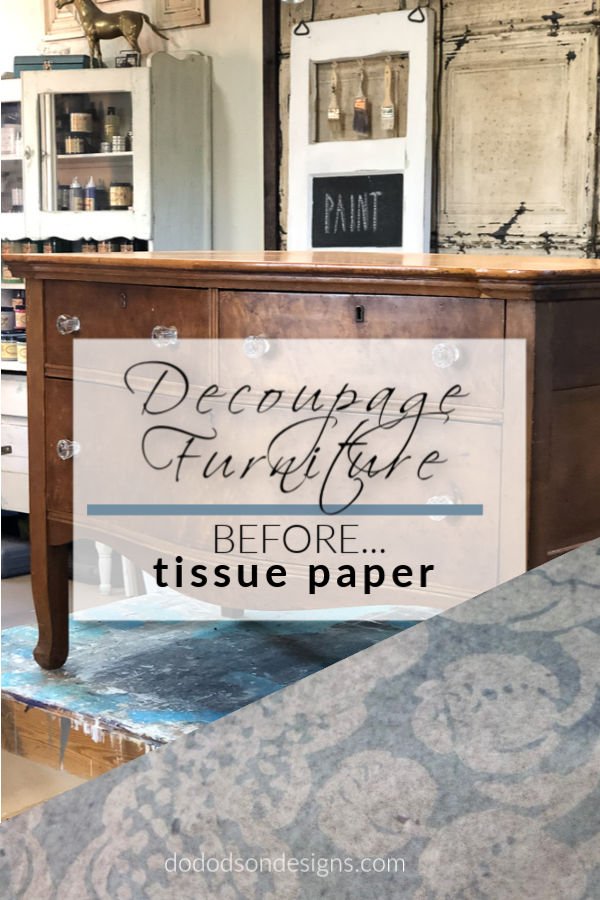
Decoupage furniture??? Where have you been all my life? Last week I went thrifting and came across this perfect little rounded front dresser. Oh yeah, decoupage tissue paper is going down!
This post contains a few affiliate links to help you find the products I use. You’re not charged extra to use any of the links, but any income I make will be used for more fun projects! To see my full disclaimer, click here.
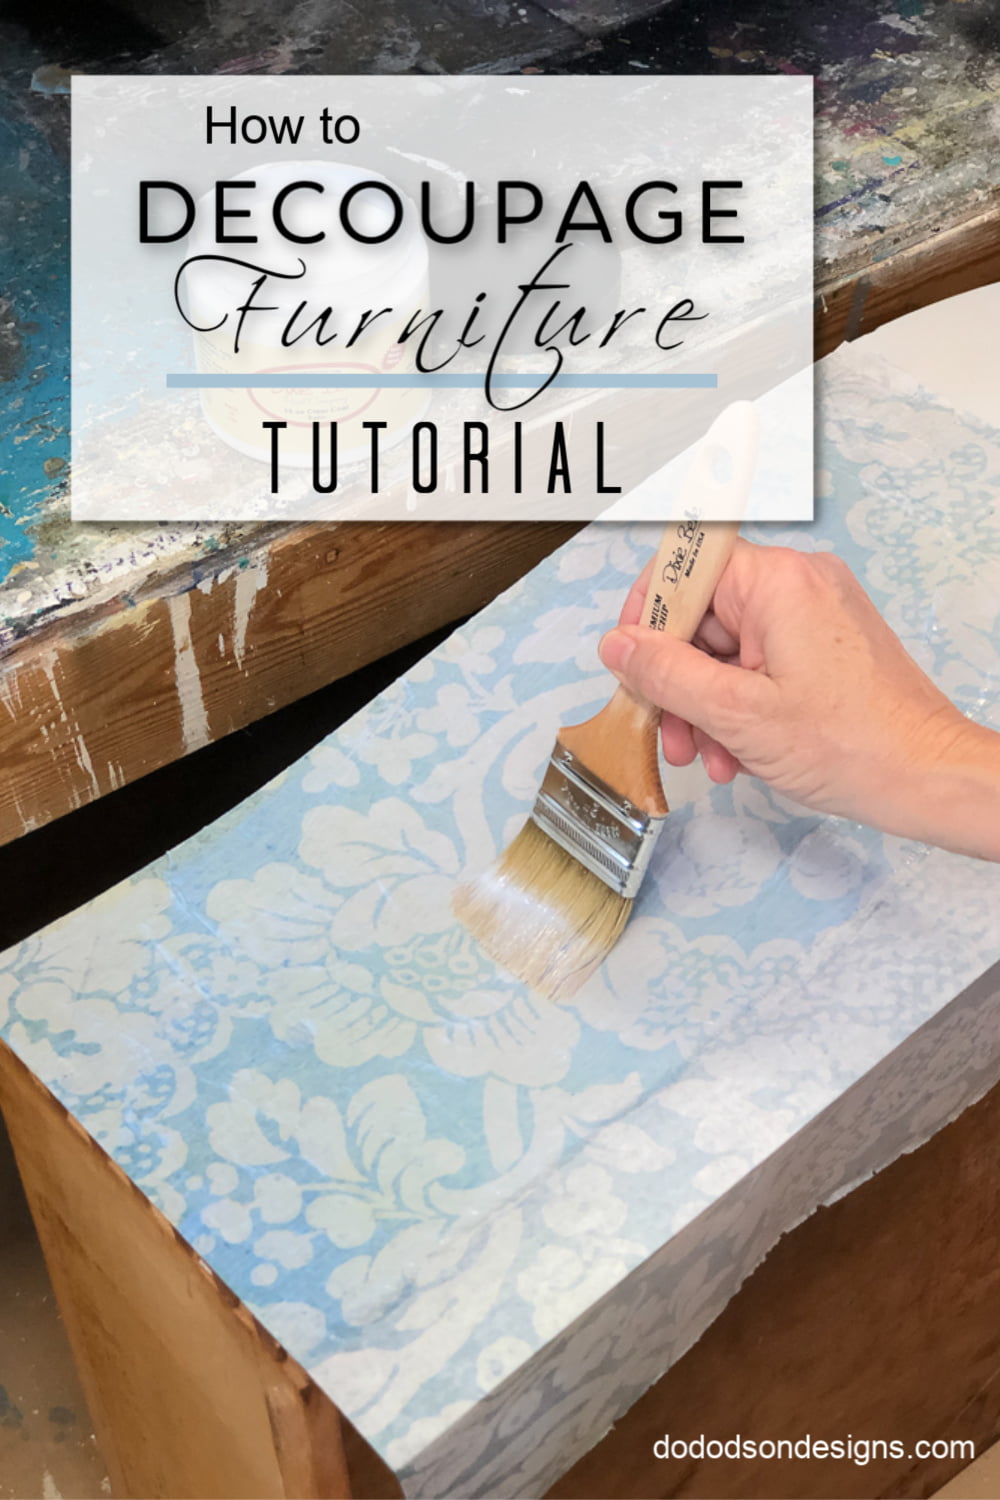
How To Decoupage Furniture Tutorial
Supply List:
Click on the products below to find where to purchase them.
- White Lightning (wood furniture cleaner)
- Spray Bottle (for White Lightning mixture)
- Baby Wipes
- White Wax
- Wax Brush
- BOSS Clear (stain blocker)
- Decoupage Tissue Paper (Demask 20×30)
- Sawmill Gravy (chalk mineral paint)
- Top Coat – Satin (aka decoupage glue)
- Chip Brush (premium)
- Paintbrush
- Sanding Block (220-320 grit)
- SurfPrep Sander (optional)
- Gator Hide Top Coat (sealer for the wood top)
- Replica Antique Glass Hardware D. Lawless Hardware
Watch The TUTORIAL HERE!
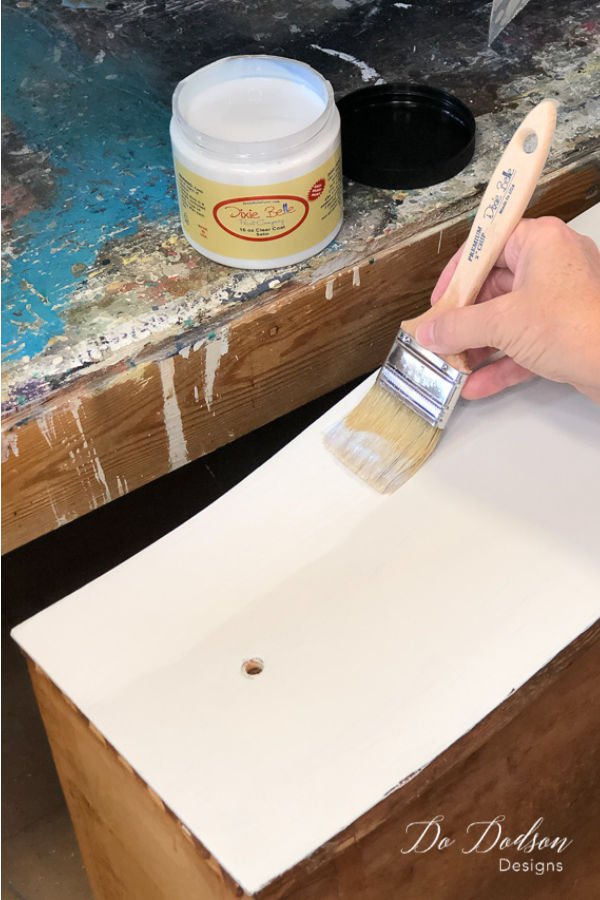
Applying the Top Coat AKA Glue
*Before painting furniture, don’t miss these steps. CLICK HERE to learn more.
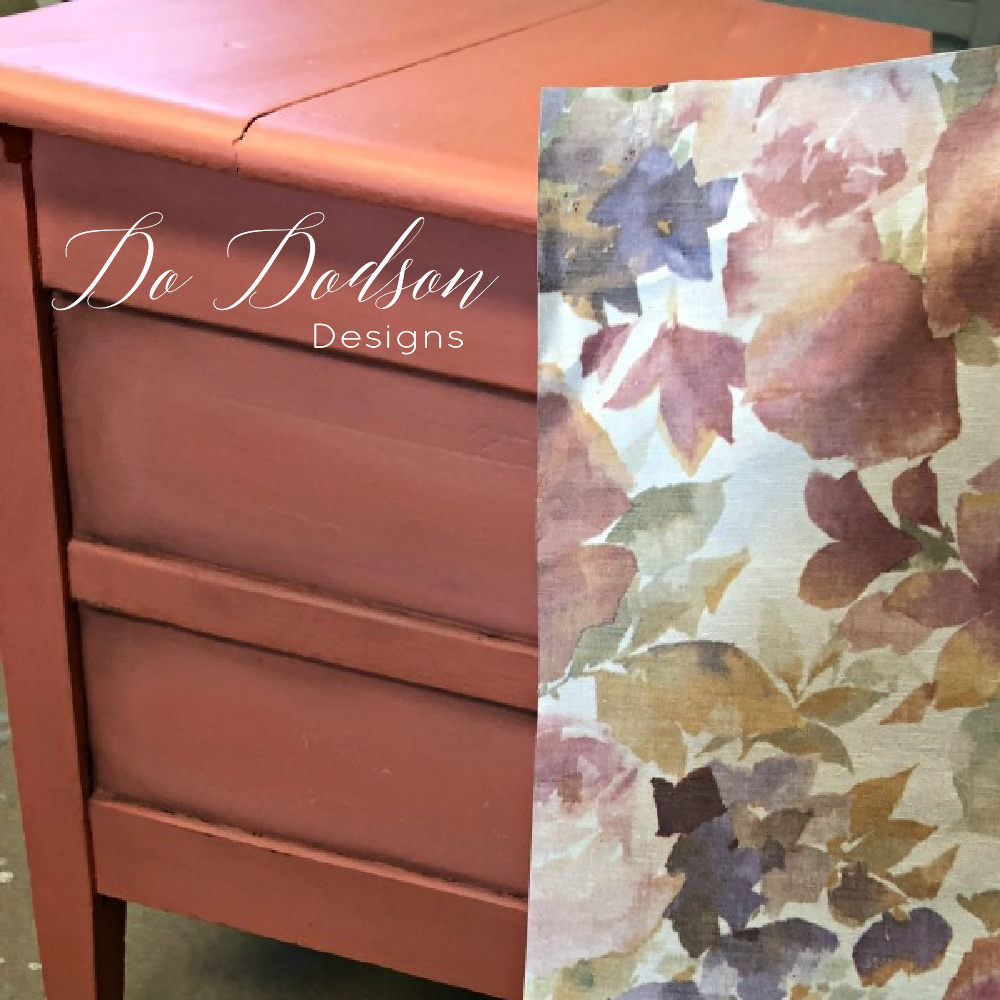
Step #1 Apply a liberal amount of the Top Coat (aka glue for this project) to your surface. For this project, I painted the drawers with a light color first because the tissue paper is so thin. Keep in mind that with tissue paper, the color behind the paper can change the appearance of the paper due to its transparency once applied.
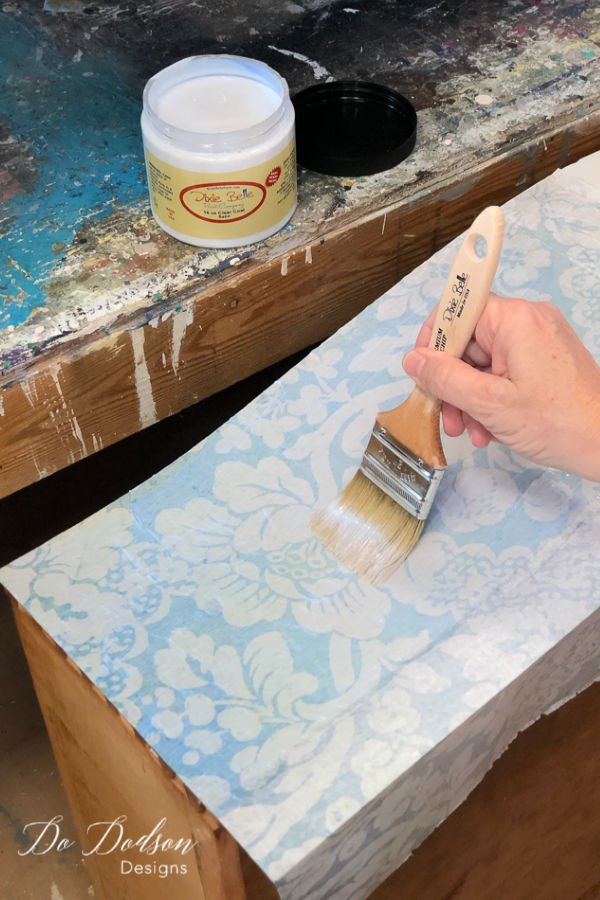
Step #2 Apply the tissue paper over the topcoat. The tissue paper will draw itself into the topcoat quickly. Kind of like toilet paper to water… just be ready for it to absorb into the topcoat quickly. After applying the tissue paper, brush the topcoat over the tissue paper on the decoupage furniture to seal it in place.
Imperfections In The Tissue Paper
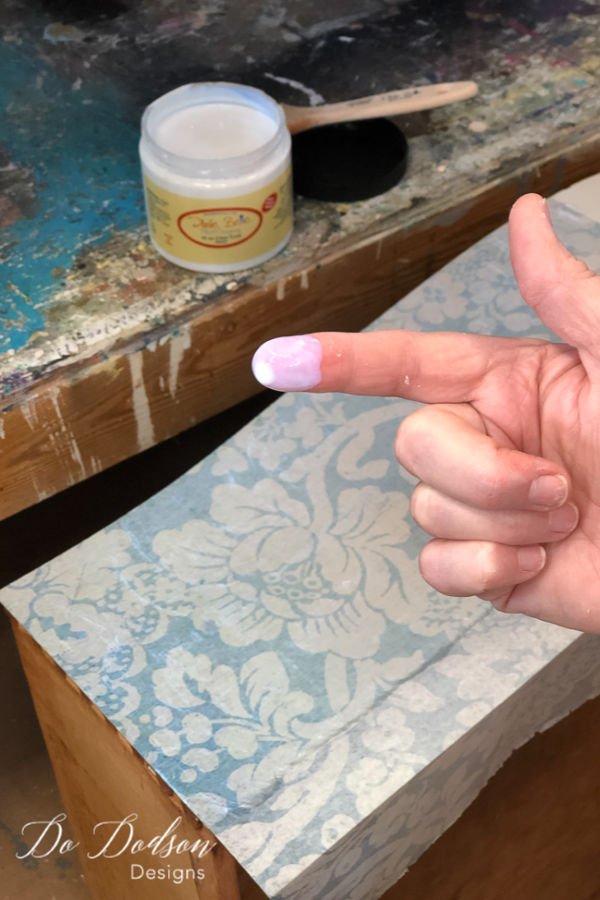
Step #3 Apply a small amount of the topcoat to your fingertip then use your finger to smooth any air pockets or tiny lines that have surfaced upon the paper of your decoupage furniture. You’ll see a fair amount of bubbles and lines but with a little patience, you can work the majority of them smooth. Apply another topcoat over the paper and smooth it in place.
Trimming The Tissue Paper On Decoupage Furniture
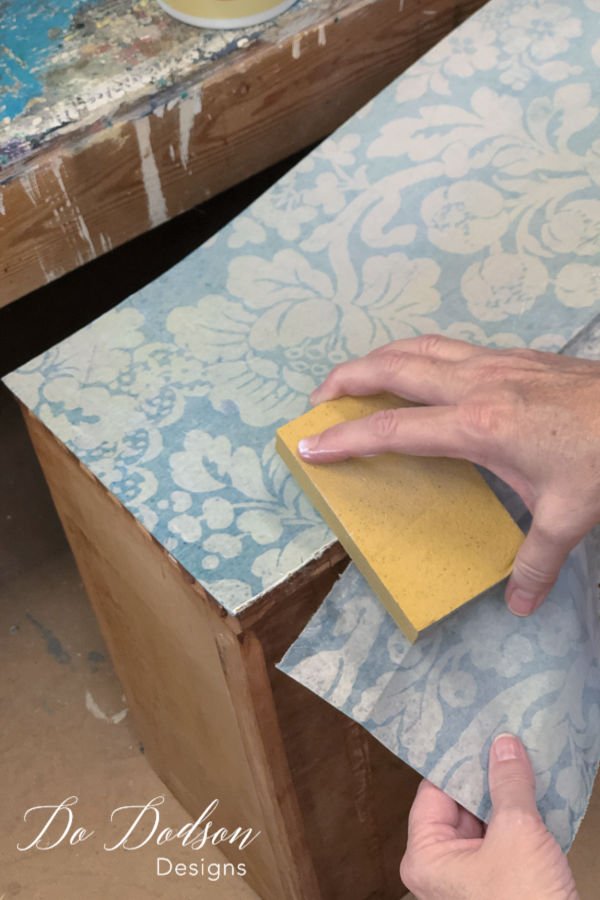
Step #4 With a 220-320 grit sanding block, trim the decoupage tissue paper by brushing away from the paper on the edges that need to be trimmed. The wet paper will easily tear away and create a clean smooth edge where the paper was applied. After the topcoat has dried, apply a second coat of the topcoat for extra protection. Use the same sanding block to smooth any rough edges after the topcoat is dried.
Chose A Complimentary Color
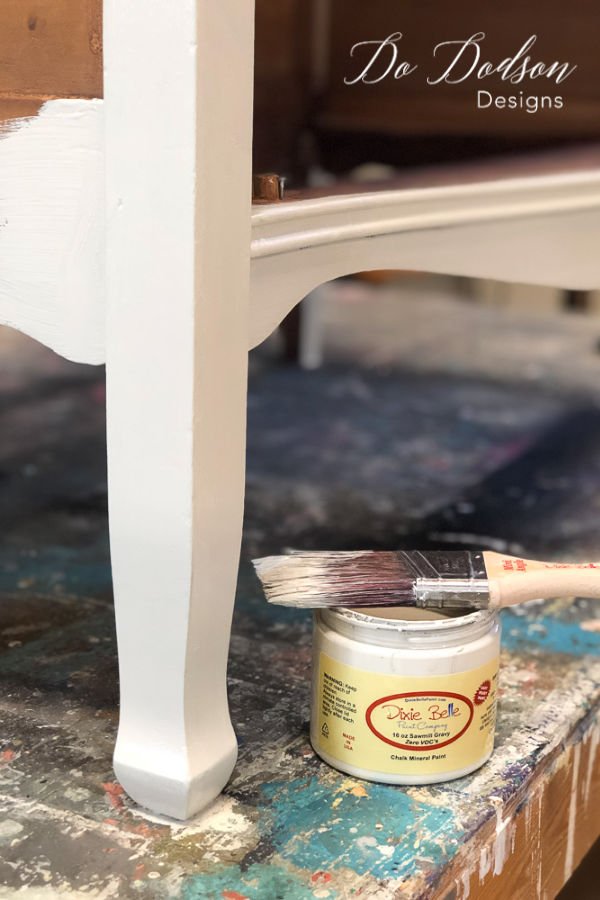
Step #5 Chose a complementary paint color if you’re painting the remainder of the decoupage furniture. For this project, I chose Sawmill Gravy because of its vintage color.
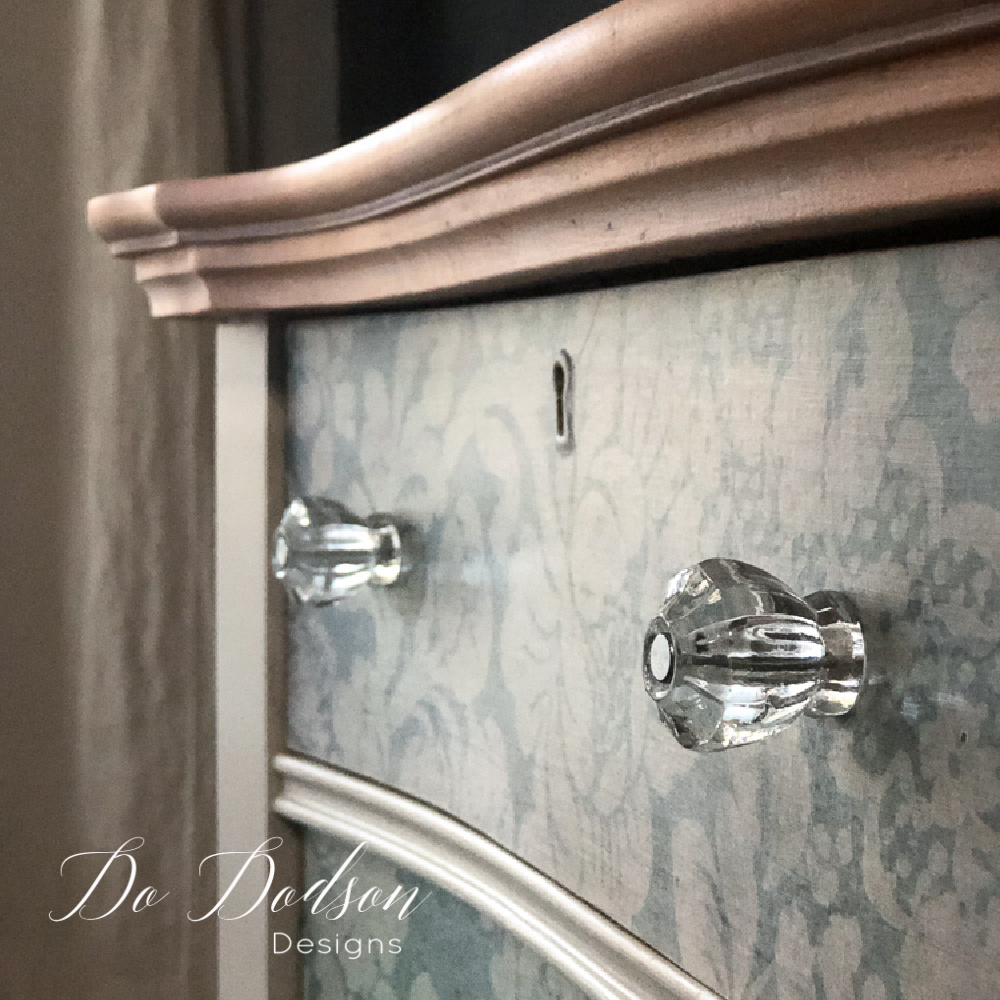
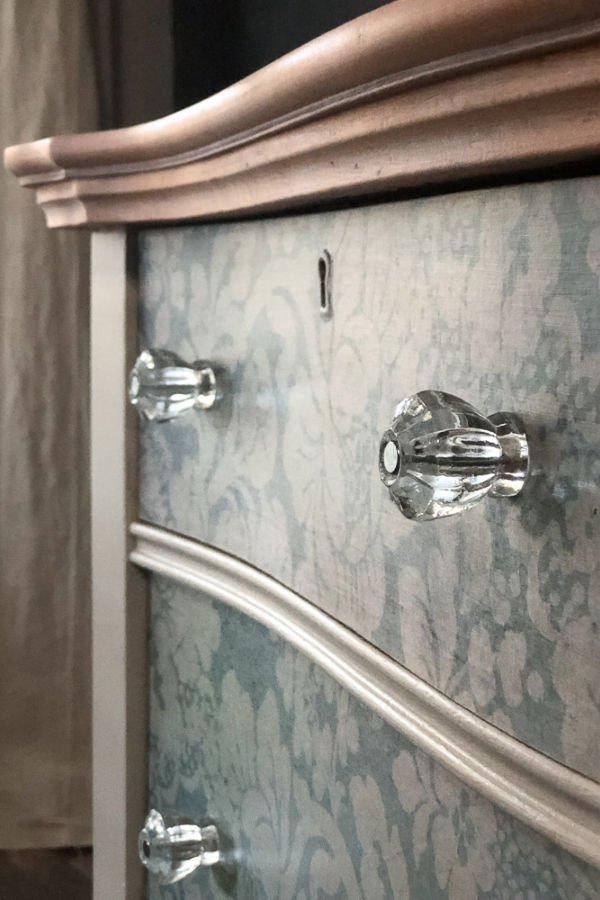
Choosing the Right Hardware

The vintage tissue paper really needed just the right hardware. These old fashion antique style clear glass knobs (depression glass knobs) are just like grandma had on her kitchen cabinets and drawers. The glass knobs are made with original antique glass formulas, so they may age to a mellow champagne color over time when exposed to sunlight. You accelerate this process by placing them in the strong direct sun outside. You can find these and other amazing hardware by CLICKING HERE for your next decoupage furniture makeover.
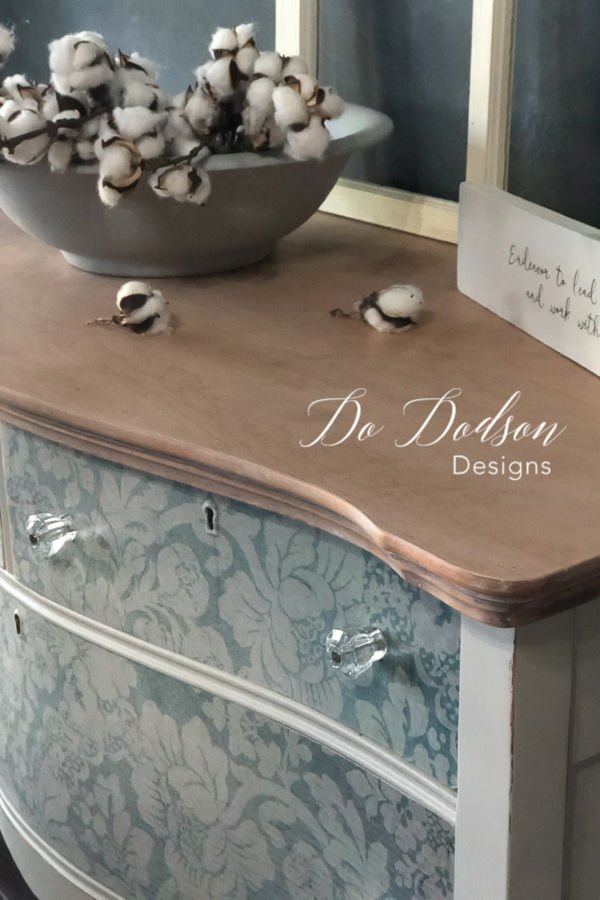
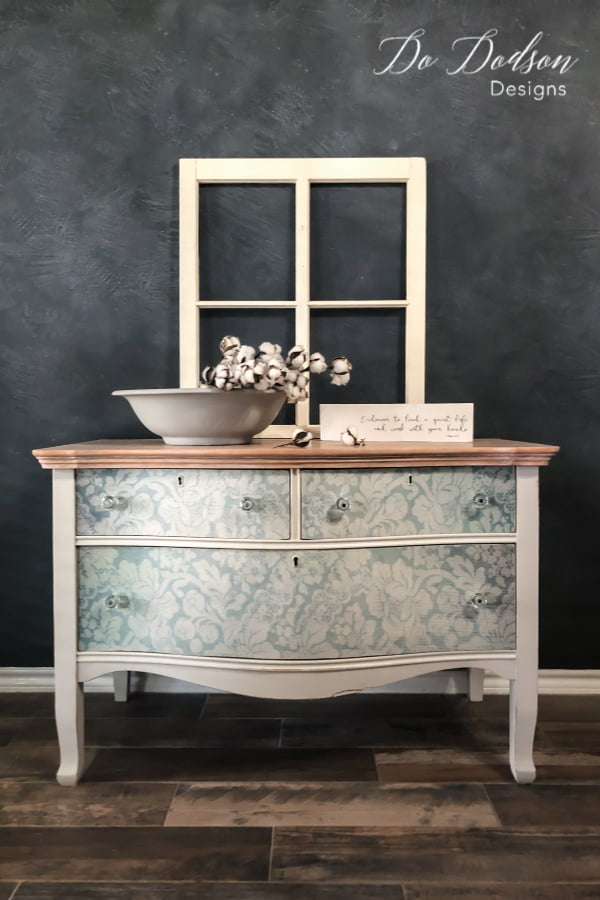
Wow! Do you love the way this little dresser turned out? I’m really happy that I kept some of that beautiful wood to complement the vintage look. I’m still pretty new at this paper stuff, but it’s really pretty straight forward. And the options for colors, patterns, and textures are endless. Are you a fan of tissue paper? I’d love to hear what you think about this makeover or even your experience with decoupage furniture. Drop me a comment below. Or check out this decoupage makeover on this vintage door! Let me know what you think.
Until the next project… xo, Do


Hi Do Dodson! I love this dresser and the way you left the top wood. I have decopauged a couple of drawers but it was hard and I am currently trying again. I will try your way and see if I have better luck
Thank you Do
Hi Cheryl! I think you will be pleasantly surprised. I was. 🙂 xo
Do,
Absolutely love the way the dresser turned out. Beautiful!!
Thank you, Gayle! 🙂 xo
I love everything about this makeover Do! The wood top and the tissue paper from Zazzle… just beautiful! Have a super week my friend. XOXO
Thanks, my friend! The paper sure is fun to work with. xo 🙂
Hi Do
This was a wonderful decoupage video. I have been decoupaging for along time. The only thing I do differently is I put my hand in a plastic bag, Just make it comfortable and smoothing wrinkles and air bubbles makes them just go away.
Great tip! I’ll surely try that with my next attempt. Thank you so much! xo 🙂
Oh my GOODNESS! I love this! THANK YOU for sharing how you did it. I have just the project to do this on. ❤️❤️
Hi Jackie! I LOVE to decoupage! It’s such a quick and easy way to transform your furniture. And so many options with designs. Thanks for stopping by.
Happy painting. 🙂 xo
I want to do this but, not sure where to find the tissue paper and it seems it would just tear up. Thanks, Suzanne
Hi Suzanne,
Thanks for stopping by. Yes, decoupage isn’t a technique for those that are a perfectionist. If that’s not you, you can master this. The tissue paper I used is in the products list on this blog post. Just click on the paper and it will show you where you can purchase it. If you need more details, I also have a private video subscription where I teach this technique and many others. You can learn more here. https://members.dododsondesigns.com/join-the-art-of-painting-furniture-subscription-group/
xo, Do 🙂
Thanks so much!
You are welcome, Suzanne. So glad you enjoyed it. xo, Do
Love Love Love Love it.
Thank you, thank you, thank you, Louise! 🙂
Wow! Gorgeous! I am 66 and this brings back memories of doing this when I was a teenager! I need to try it again.
Hi Marcia! It sure does and it’s still as much fun as it ever was. You definitely should try this. xo
Question: Could I use Gator Hide in place of the Clear Coat for the transfer paper? Thanks for the tutorial. I can’t wait to try this technique
Hi Darlene,
Unfortunately no. The consistency of the Gator Hide (in my opinion) would not work well. Not saying it wouldn’t but the Top Coat is easy to work with. Have fun with your project! 🙂 Do
Hi. Did you have to use two pieces of paper on the top drawer? I have the same dresser and the same paper however the paper shows a line down the middle in the middle of the roll where it looks different. Thank you.
Hi Deb, Yes, the paper was cut in half and pieced together. I reversed the pieces on each side so the seams looked more like a patchwork.
You are a wonderful craftsman.
patience “patients” tissue “issue”
Only pointing these out because I work with algorithms and don’t want you to lose out to those customers who engage in sights based on judgement bias on typos and spelling errors. There could be more–our basic spell checks do not pick up on words that are spelled correctly but used incorrectly.
Thank you, Karen! I appreciate you so much. 🙂 Blessings
I just spotted one in my comment–“sights” vs “sites”
It’s easy to miss.
Love love this, never tried, however think I will give it a try❤️
It’s a lot of fun. 🙂
This is lovely! I love the colors and tones you’ve chosen. I’ve been following your posts since I started painting furniture four years ago, and they’ve been a huge blessing.
Thank you, Mary Ann! I love getting feedback like this. It’s been a journey to log every project, but it makes it all worthwhile when I get comments like yours. Blessings to you. 🙂 xo
Love this. Can you stain over the tissue paper ? Currently working on an egg and want to do a peak a boo with tissue and the wood (medium size wooden egg that is). Then my plan is to top coat with epoxy to give it a glass like appearance
Hi Kelly,
Yes, you can stain over paper too for an aged look. It sounds beautiful! Now you have me thinking. 🙂 xo
Before you use the sand block on the edges, do you let the top coat dry or do you use the sand block when it is still wet?
Hi Donna,
Gently rub over the paper while it’s wet. It’s the best way to get a clean edge. Good luck with your project! 🙂 xo
Gorgeous results!! I really love how this dresser turned out!
Your directions are clear and simple. Many thanks!
Questions:
1) What are the advantages to tissue paper over heavier paper?
2) Forgive me if you answered this for someone else –Will ModgePodge work as well?
Hi Lisa! Thank you so much.
Responding to question #1. It is purely a preference. I find that the tissue paper melts over the surface and gives it a smoother finish.
#2. Yes, Mod Podge will work but dries quicker with less work time.
I hope this helps.
Have a great rest of your week. 🙂 xo
Hi there,
I just did decoupage of an old car on a dresser and when I went to add the top coat of decoupage, my tissue started to bubble up and tear. It seems like once it was re activated, it kind of went to mush. What am I doing wrong? I have followed all of the instructions. Modge podge first, then laid tissue and smoothed out, sanded edges smooth and then tried to add the top coat of modge podge. hmmm..help!
Hmmm, maybe it’s the mod podge. I use a water-based top coat when applying rice paper because it’s so thin. Here’s a blog post I wrote about applying rice paper. I hope this helps. https://www.dododsondesigns.com/rice-paper-decoupage-on-wood-furniture-tutorial/
I h.ave decoupaged a few small pieces now using tissue paper and rice paper. I’m about to tackle my first large piece of furniture and wanted to know if rice papers can be overlapped or layered.
Thanks Sue
Absolutely Sue! Because the rice paper is super thin, it blends nicely depending on the patterns. Florals do well overlapping. Have fun with your project. 🙂 xo