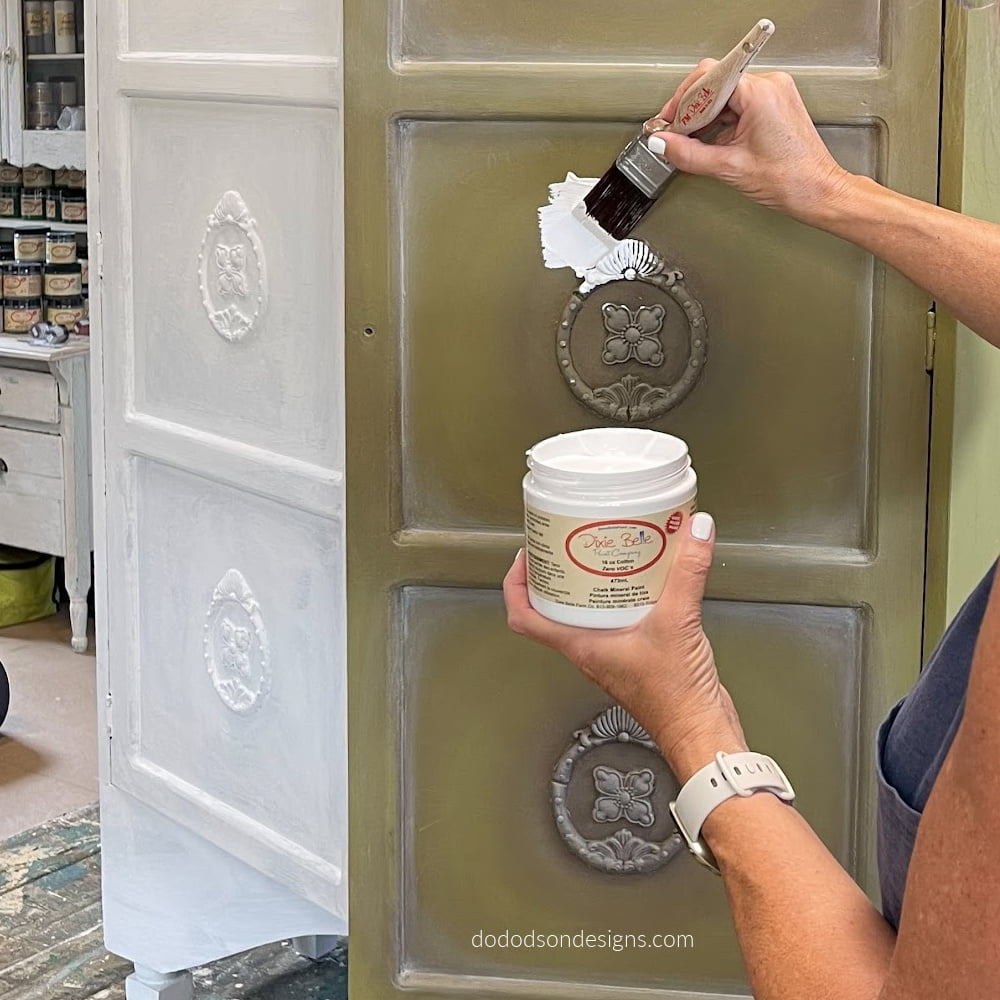
Hello, creative friends! Have you ever considered repainting chalk-painted furniture? You know, the chalk-painted furniture you find for a great price that doesn’t look so good. Hey, it happens. And then you think about the wax finish that may or may not have been applied… am I right? Well, I am here to tell you that YES, you can. Here’s how I DO it!
* As an Amazon Associate, I earn from qualifying purchases and through other companies as well. You are not charged extra to use any of the links, but any income I make helps me create more amazing DIY projects to share with you! To see my full disclaimer, click here!
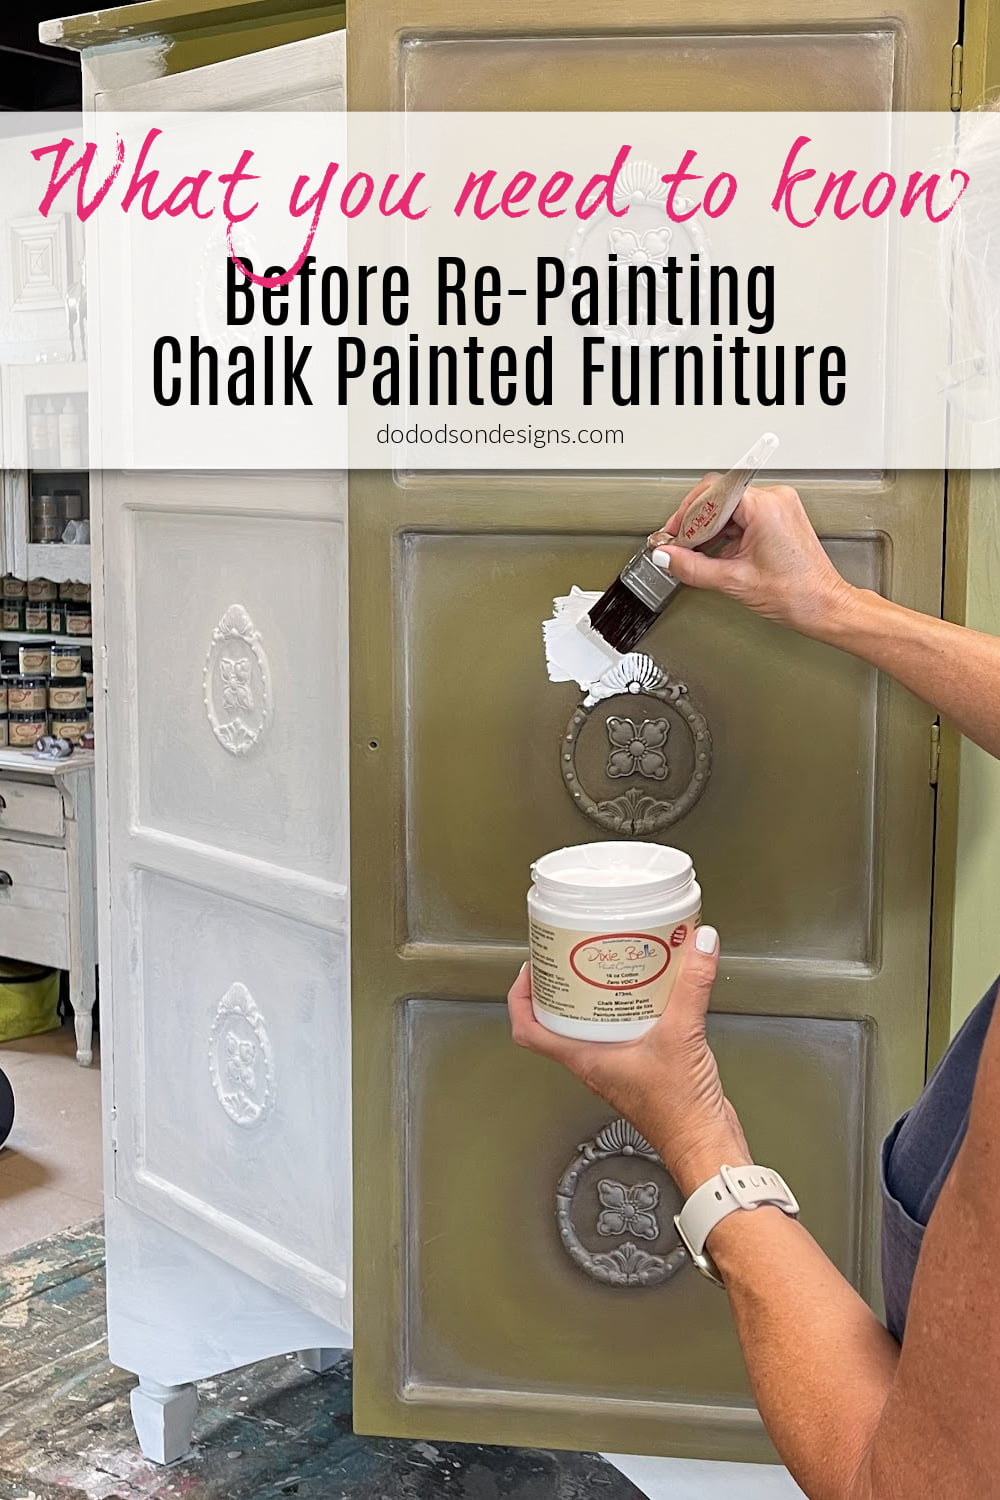
Before Repainting Chalk-Painted Furniture
Yes, you can paint over chalk-painted furniture, but you need to know one thing before you do. Has it been waxed or not?
The biggest issue I see with repainting chalk-painted furniture is that it usually has been sealed with wax. The issue with painting over a wax finish is that most waxes on the market today are meant to be permanent. In addition, wax and water don’t mix (most paints nowadays are water-based); therefore, you must remove the wax before repainting, or you’ll have a potential hot mess on your hands or better known as a failed finish.
The only exception to painting over a wax finish is if the wax used is Dixie Belle’s Best Dang Wax or their Easy Peasy Spray Wax. Once the wax has fully cured (about 30 days), they are safe to paint over without removing the wax finish. That’s why I use it! I like to change the colors in my home pretty often.
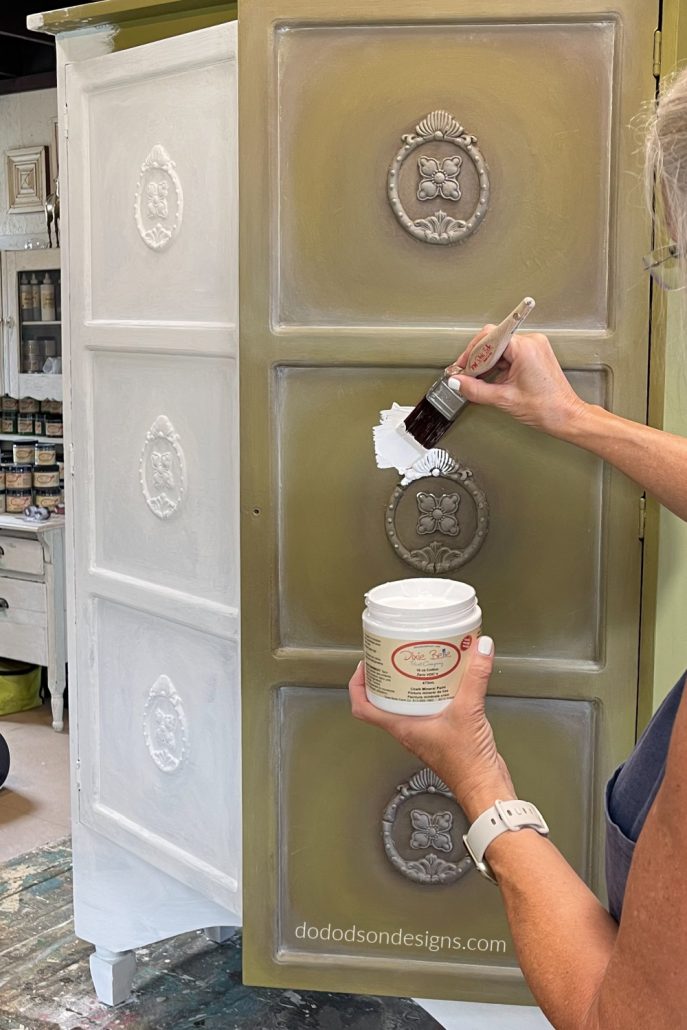
Learn about the decorative moulds I applied to this cabinet by clicking HERE. And there’s a VIDEO!
Sometimes it is difficult to tell if a piece has been waxed or not. If you’re unsure, it is better to be safe than sorry and take the steps necessary. Watch this video 👇 and learn how to remove furniture wax before re-painting chalk-painted furniture.

SUPPLY LIST:
- odorless mineral spirits
- super fine steel wool
- disposable cloths or paper towels
- Cotton chalk mineral apint
- Holy Guacomole chalk mineral paint
- paintbrush
- tiles stencil
- painter’s tape
- foam roller (to apply stencil)
- sanding pad (for distressing the stencil)
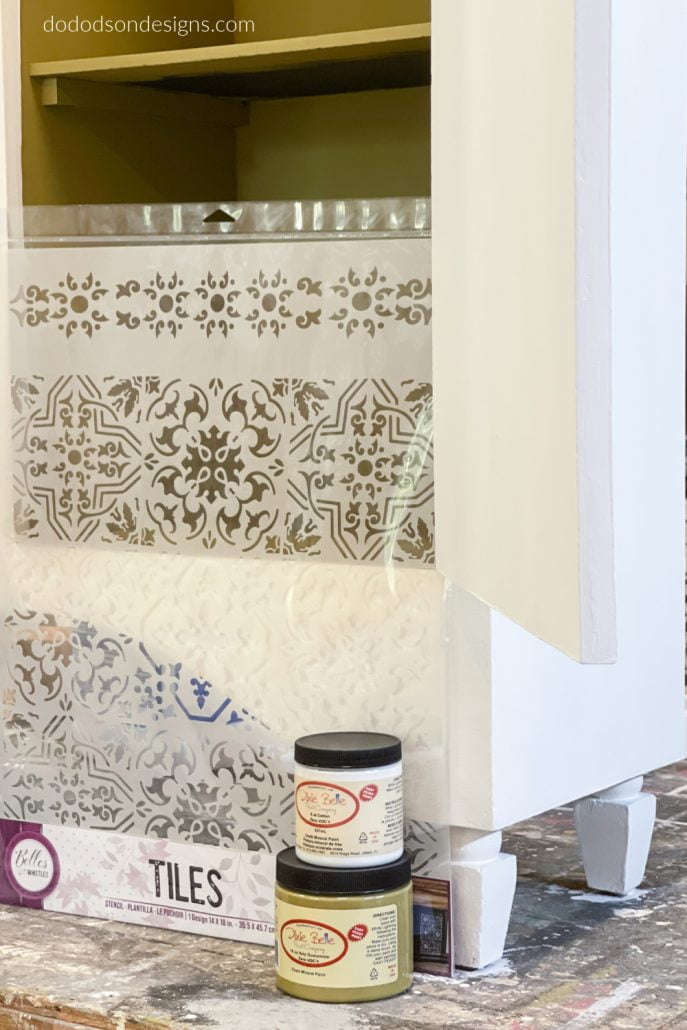
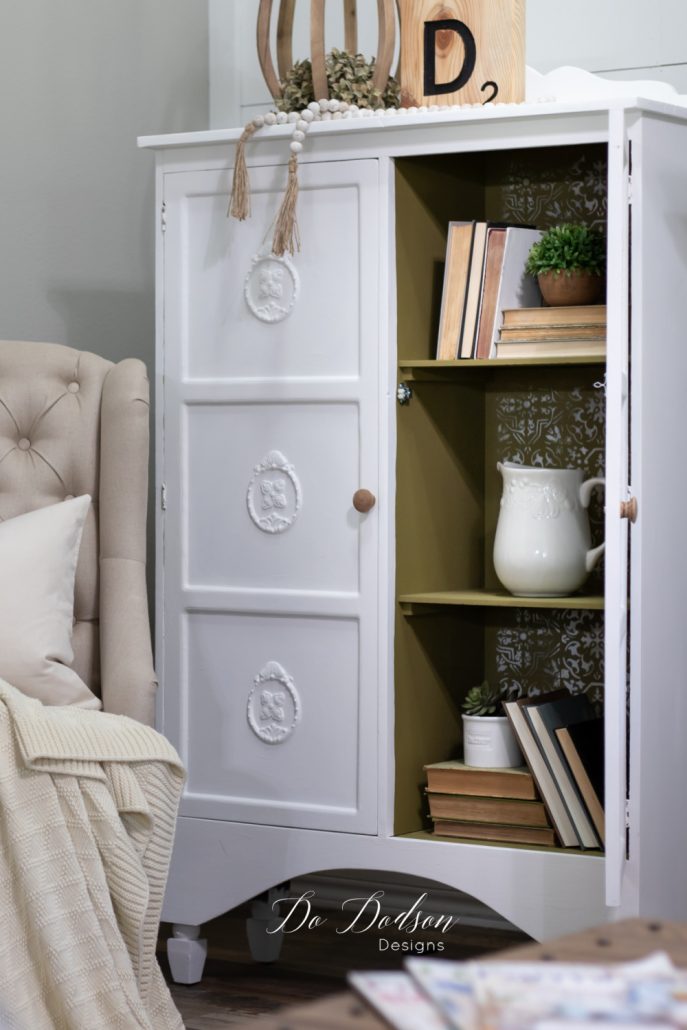
Adding A Tile Stencil After Repainting Chalk Painted Furniture
I know it may sound funny, but I repainted the inside of this cabinet the very same color that I painted over on the outside. I LOVE this color of green but was looking to brighten up the outside of this piece. So, I repainted it with Cotton chalk mineral paint on the outside and added my favorite green color Holy Gucolmole to the inside. And yes, it really does look like Guacamole! 🙂
To spice things up a bit (not that the color Guacamole wasn’t spicy enough), I decided to add this beautiful tile stencil for added interest—a little eye candy when I open the cabinet door. I see no reason why the inside of furniture can’t look pretty too.
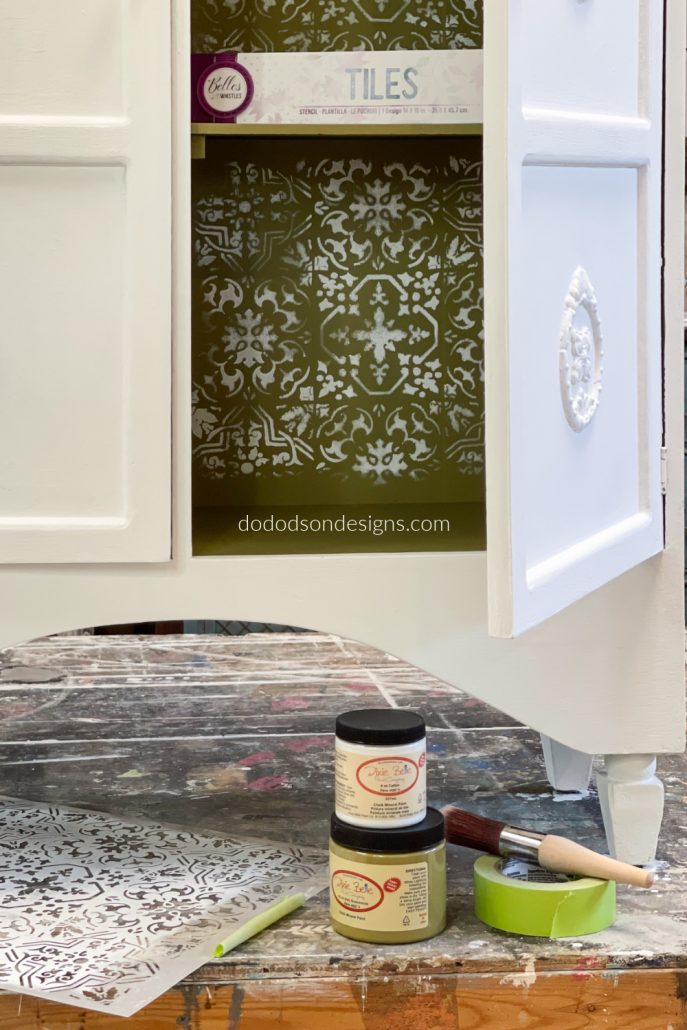
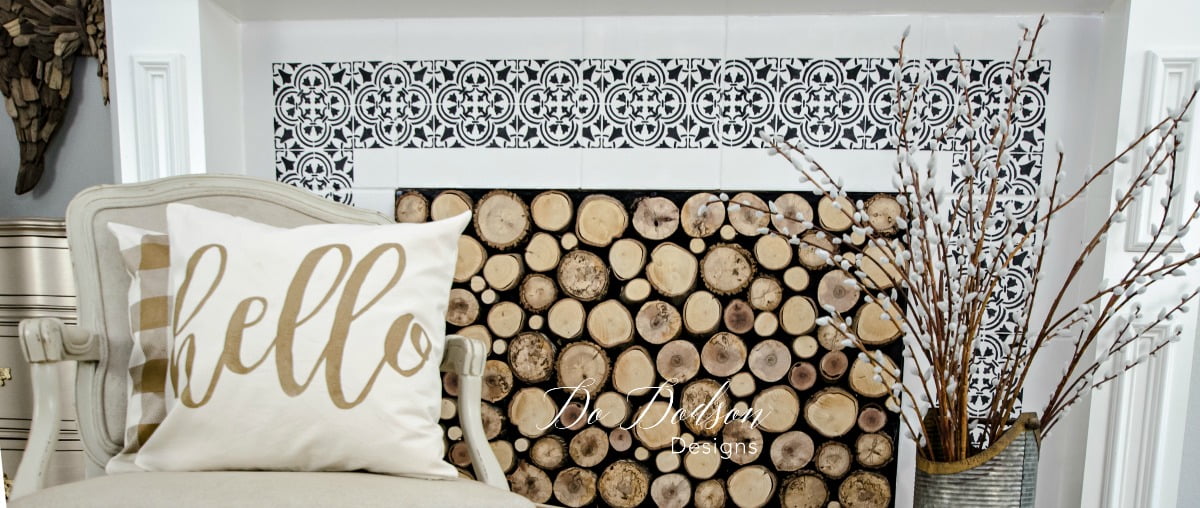
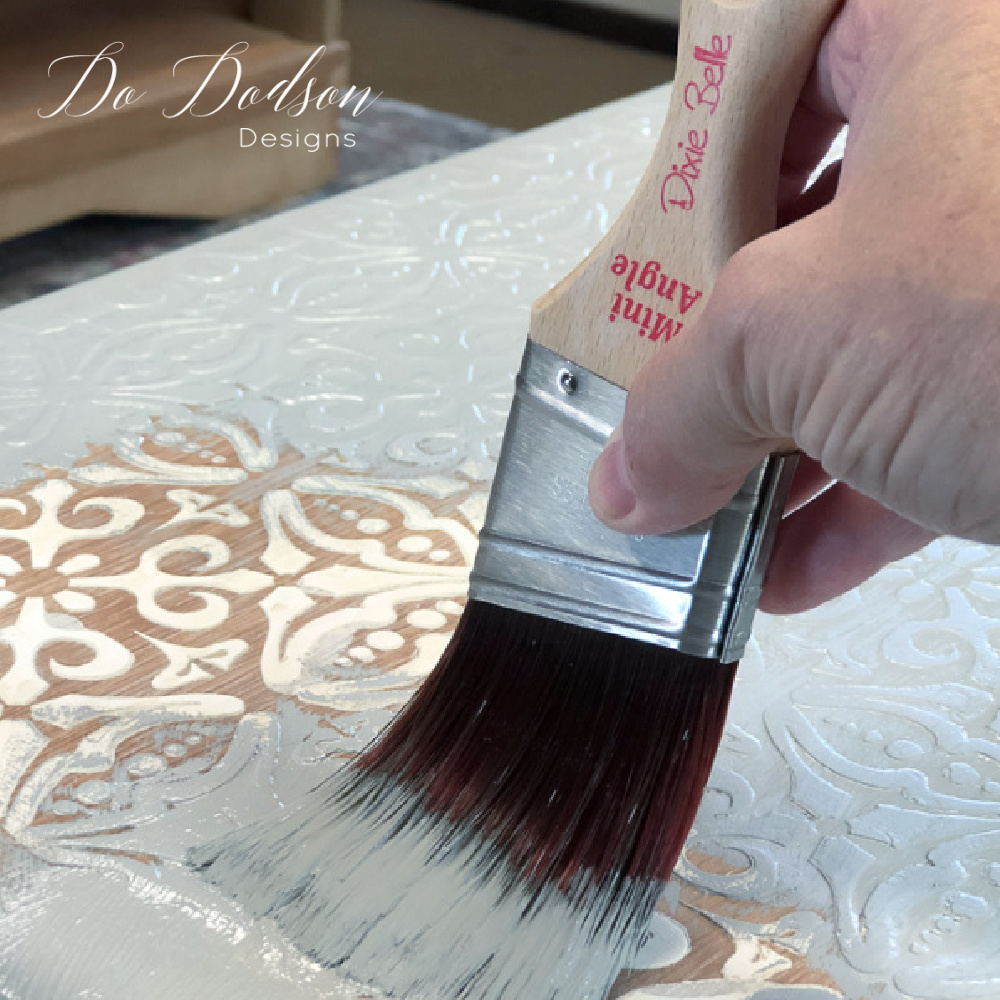
How To Apply A Stencil On Chalk Painted Furniture
The stencil is super simple to apply.
Lay your stencil over the area you want to stencil and secure with painter’s tape to prevent slipping.
I like using a foam roller to stencil large areas, and today I’m using chalk mineral paint.
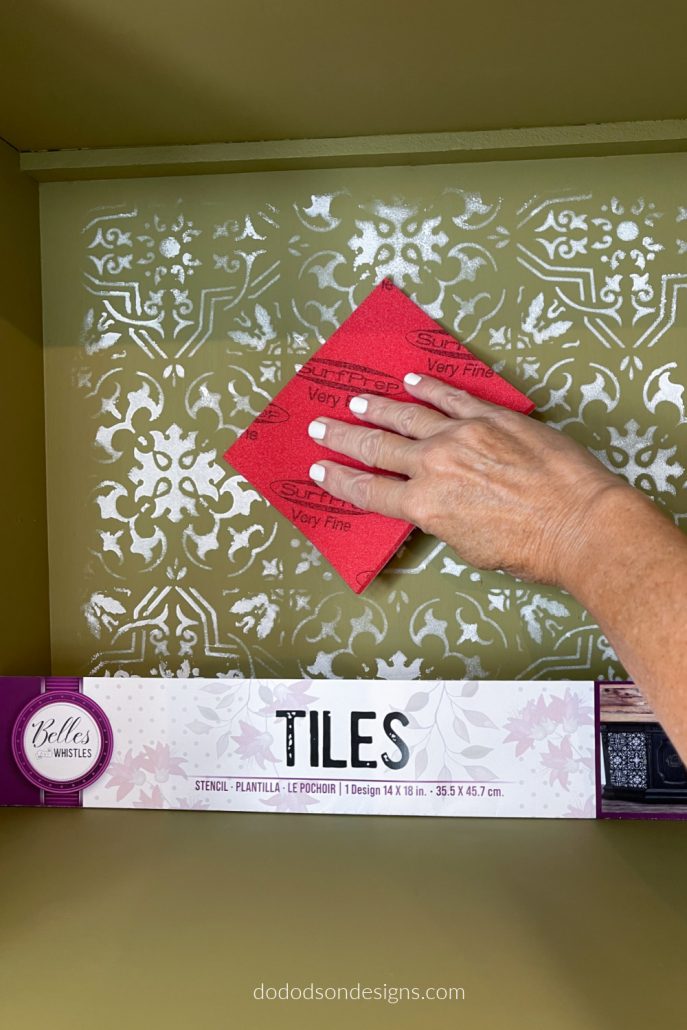
Add a small amount of chalk mineral paint (the color of your choice) to a disposable paper plate, load up the foam roller. Less is more with this method of stenciling. Before rolling the paint over the stencil, offload the foam roller on another surface (another paper plate). Using too much paint on your foam roller can result in ugly bleeding under the stencil pattern, and your pattern will lose its design. Then roll it over your stencil. It’s that simple.
After the paint on the stenciled design dries, it’s not uncommon for me to pull out a sanding pad and distress the design. This is a great way to add a vintage-worn look to your newly stenciled designs.
You can also use gilding waxes over the stencils using a stencil brush for a more subtle look. Imagine the possibilities!
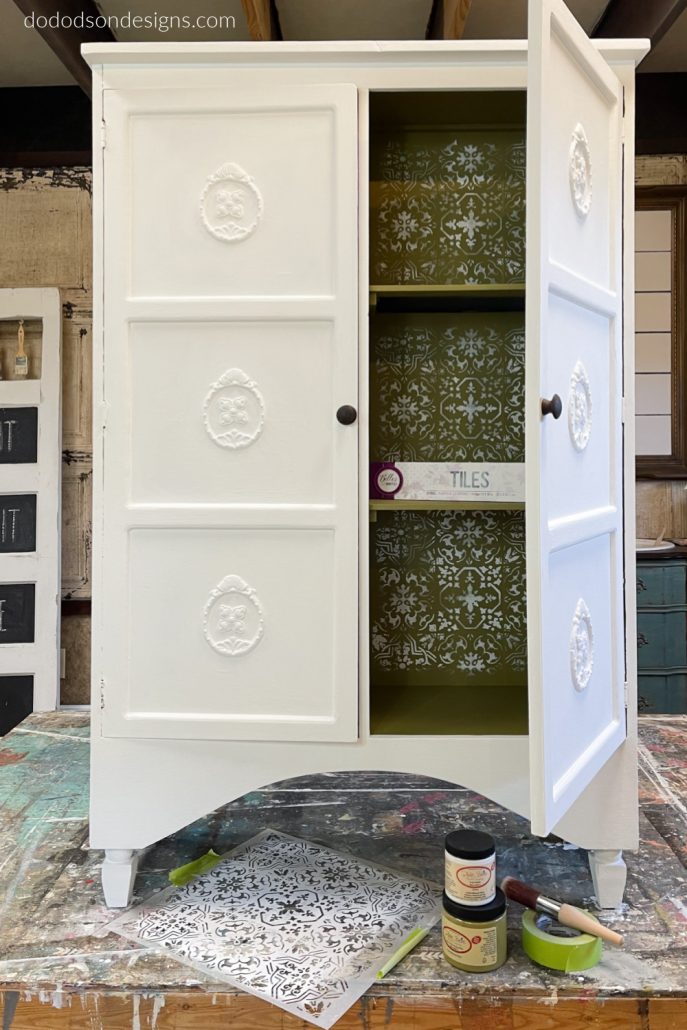
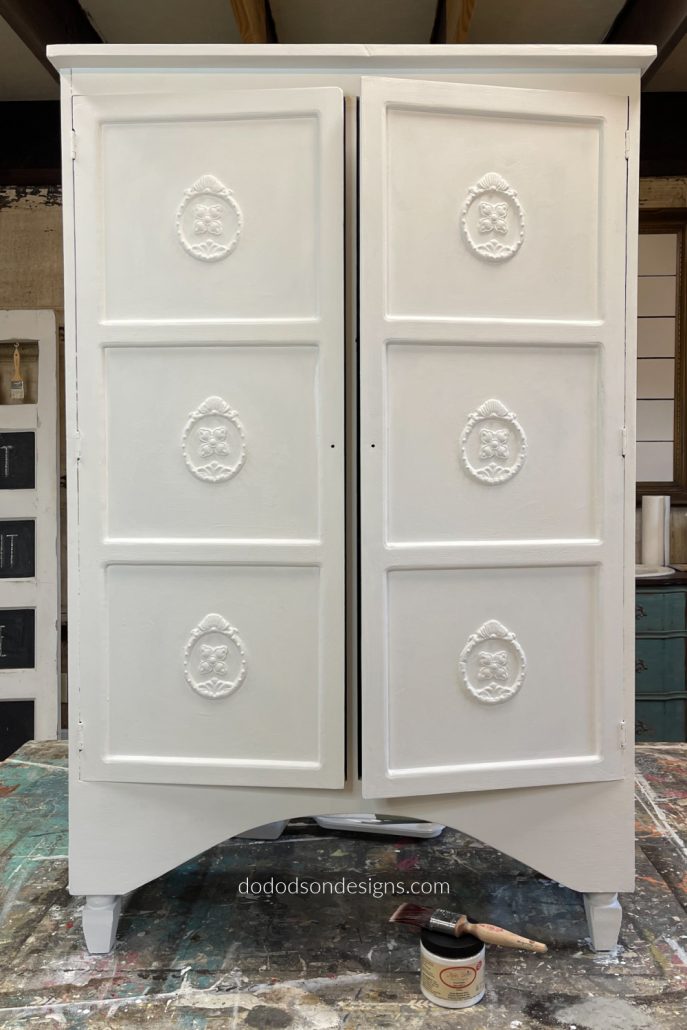
With just 2 paint colors and a stencil, I have a brand new fresh look on my previously painted piece.

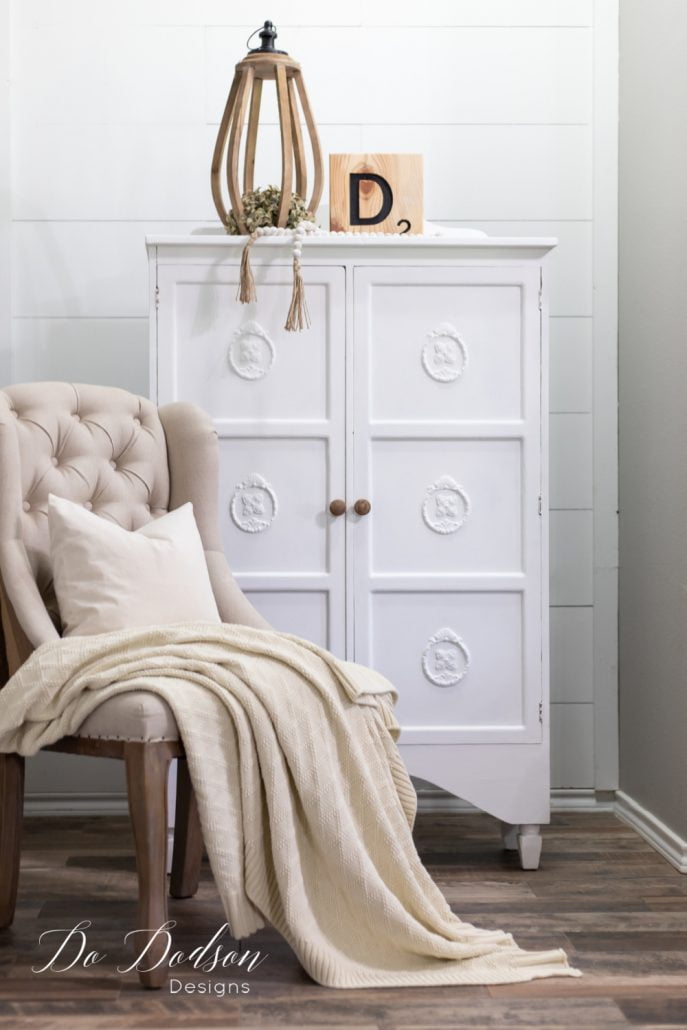
Call me crazy, but I love the clean, fresh new look. It’s just so farmhousey! But clean and fresh doesn’t have to be boring when you can add a pop of color and a beautiful design inside your cabinets that you can open up anytime you need some color.
And yes, I have been known to leave the doors open on my cabinets just because it’s pretty.
So, I’m curious… have you ever painted over a previously chalk-painted piece? Leave me a comment below, or as always… just say hello and let me know you were here. I’d love to hear from you.
Until the next project… xo, Do

Hi Do! I love that new stencil. I have never used Holy Guacamole . It reminds me of baby dodo but it look fabulous on the inside of that cabinet. The perfect pop of color. I must have that stencil. 🙃
Hi Cheryl,
It’s a beautiful stencil for sure. Thanks for stopping by. 🙂 xo
Thanks for the tips about removing wax from furniture pieces. I’ve used this technique and it works perfectly! Loved your video too! The background in your studio is so adorable!! Pinned this post!
Thank you, Cindy. It has always worked for me too. 🙂 xo
Do, I love watching your tutorials. The timing is perfect. I was about to take mineral spirits to my piece that had white chalk paint. So glad that I am doing it right. You pieces are always so amazing.
Perfect timing indeed. I can’t wait to see your project. 🙂
Just when I think I’ve seen every piece of furniture you’ve painted. Haha! Isn’t the inside creation just as fun as the outside!?! Well done, Do!
Ha, ha! I snuck one in on ya, Wendy! Glad you enjoyed it. 🙂 xo