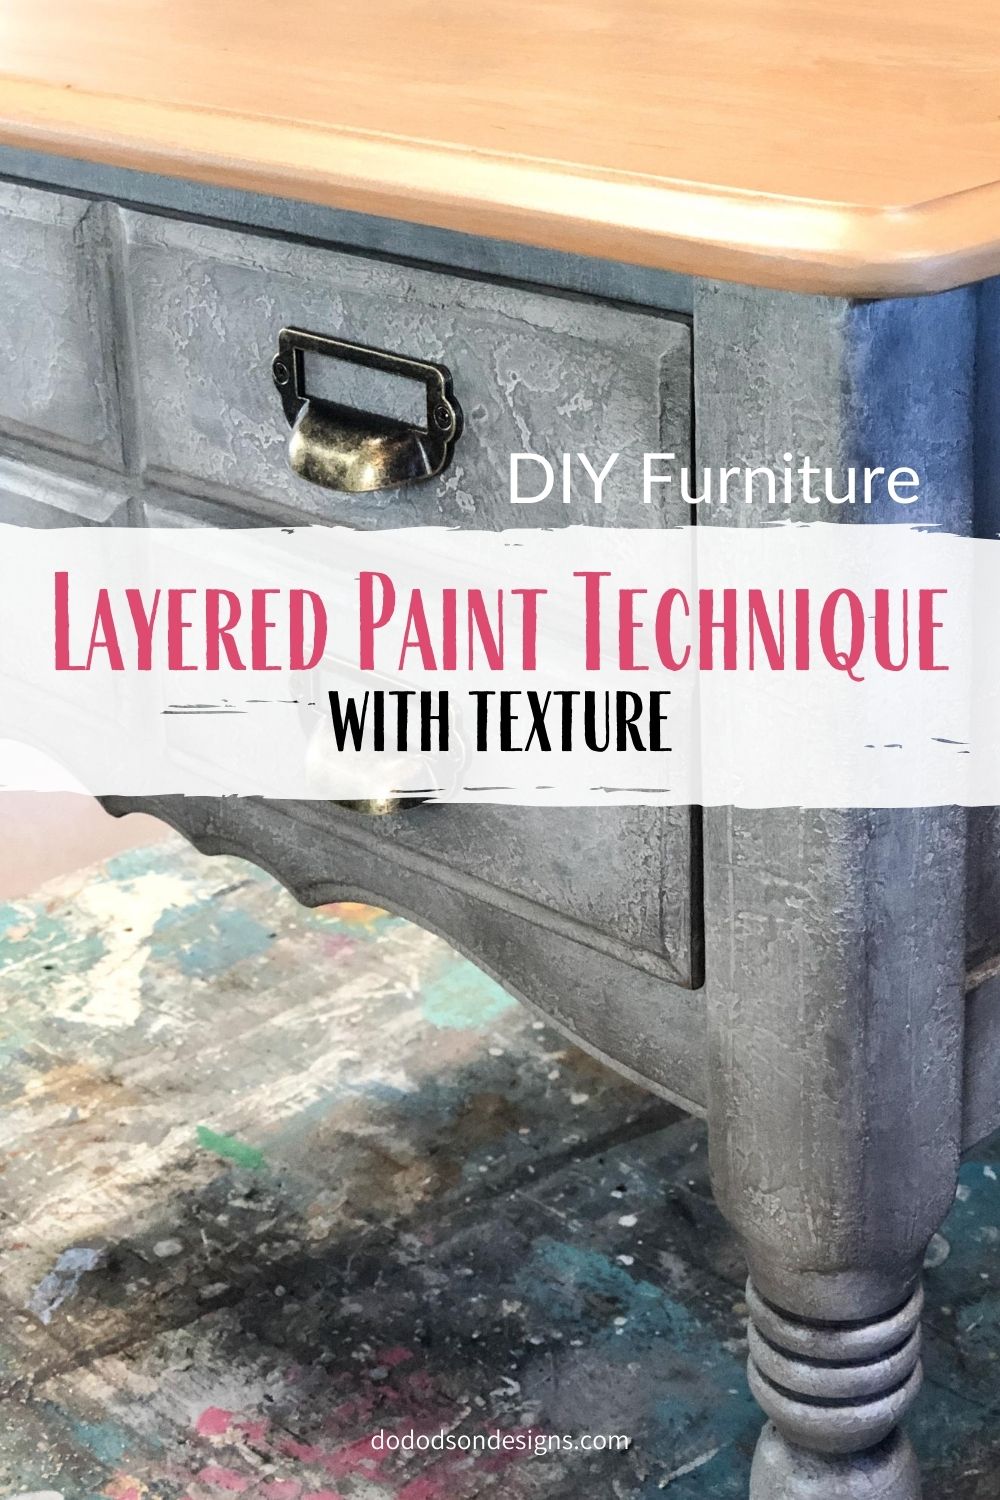
When your wood furniture has so many chips and dings, and you want to burn it and start over with new… try this layered paint technique with texture. It covers a multitude of sins on crappy furniture. Well, you know what I mean.
This post contains a few affiliate links to help you find the products I use. You are not charged extra to use any of the links, but any income I make will be used for more fun DIY projects that I can share with you! To see my full disclaimer, click here.
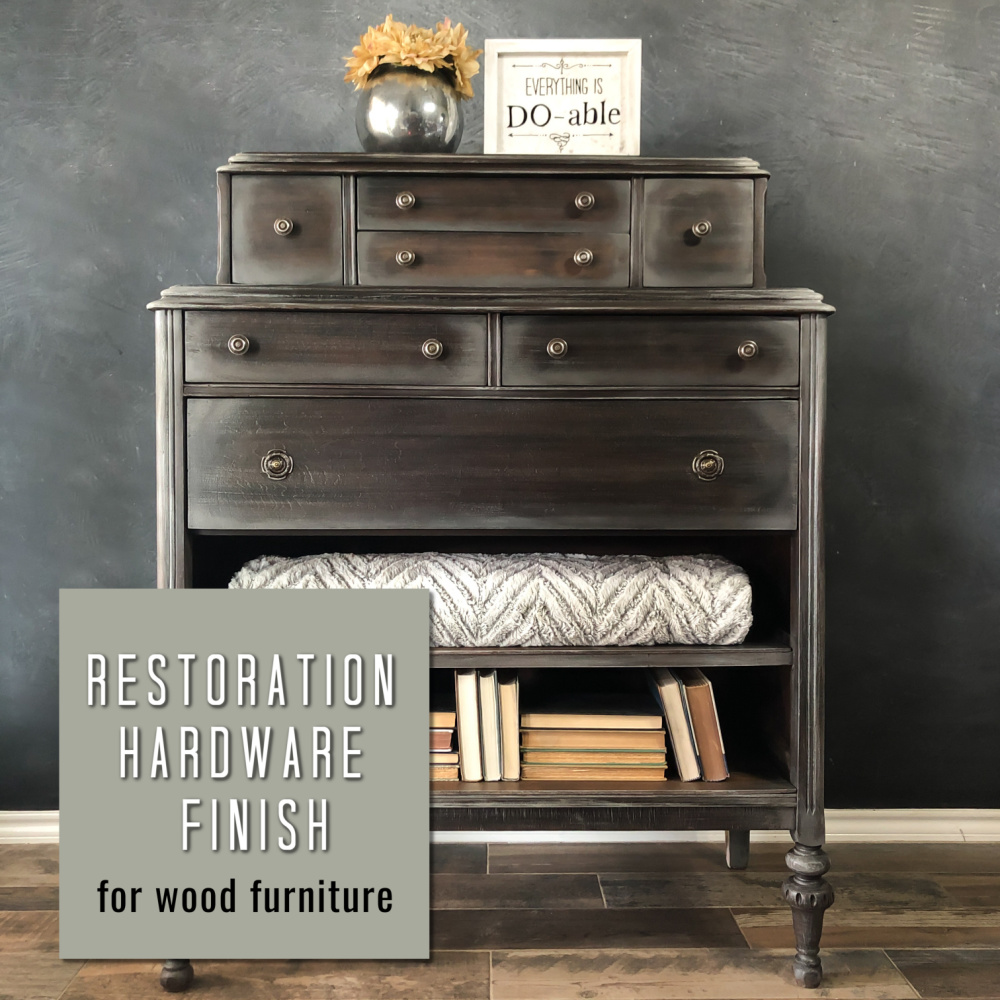
Layered Paint Technique – Restoration Hardware

SUPPLY LIST:
- Spray Mist Bottle (water for bending chalk mineral paint)
- Gravel Road (chalk mineral paint)
- Hurricane Gray (chalk mineral paint)
- Drift Wood (chalk mineral paint)
- Chip Brush (disposable for texture paint)
- Disposable Container (for mixing texture)
- Paper Towels
- Sea Spray (texture additive for chalk mineral paint)
- Cardboard (or anything with a smooth edge for spreading texture)
- 220 Grit Sandpaper (or electric sander)
- Car Wash Sponge ( Walmart has them too)
- Pearlescent Glaze (Dixie Belle)
- Black Wax (best dang wax)
- Dixie Dirt (charcoal gray)
- French Tip Brush (or Chip Brush)
- Card Catalog Hardware (apothecary-style)
Base Coat Color
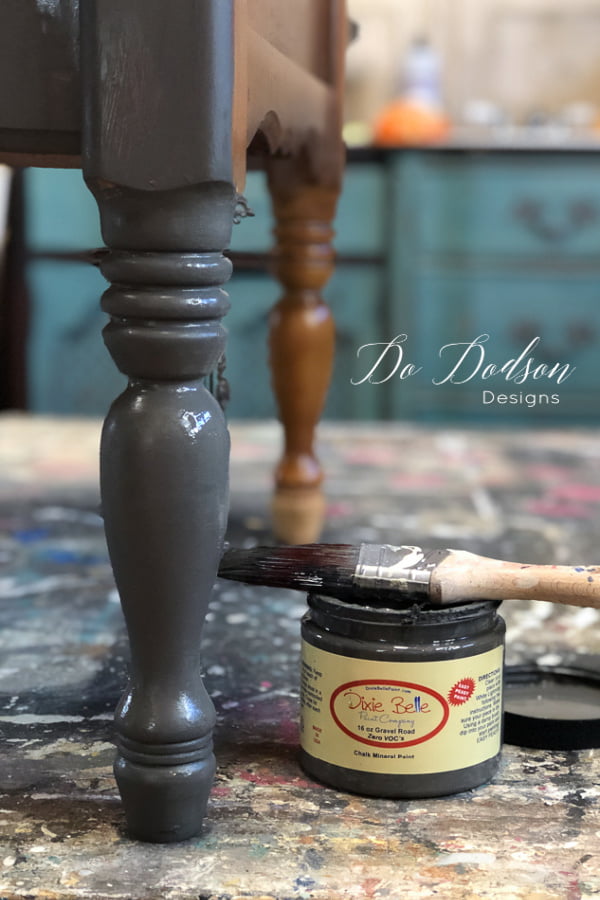
Step 1:
Begin with painting a dark base coat over your piece. Don’t fuss about getting the paint perfectly smooth, as we are using a lot of texture with this makeover. So, slap that paint on! One coat of Gravel Road dark gray chalk mineral paint is all you will need. Allow drying completely before the next step. The coverage is fantastic!
Since this is a layered paint technique, you will want to have contrast and depth. Using a darker color as your base adds interest and gives that depth. As we progress with this technique, you’ll see what I mean.
Adding Texture To Chalk Mineral Paint
Step 2:
Next, you’ll want to choose a color in the same shade but just a bit lighter in color. Hurricane Gray medium gray chalk mineral paint is what I used. Mix your chalk mineral paint and Sea Spray in a disposable container. The mixture will be the consistency of brownie batter or something like that. This isn’t an exact science, so don’t fuss over this step too much. The thicker the texture paint is, the thicker your texture will be on the final product.
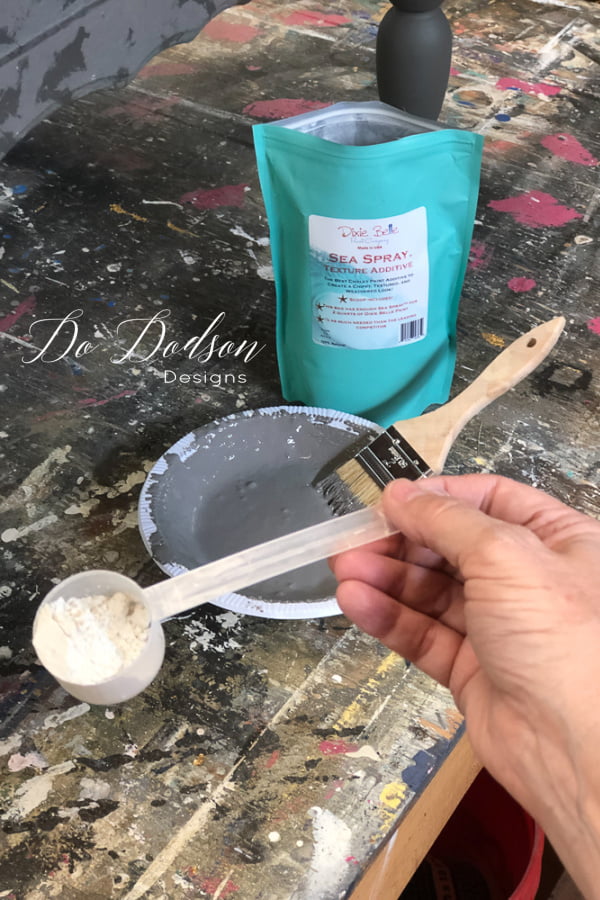
Recipe For Texture Paint
- 8 oz of chalk mineral paint
- 2 heaping scoops of Sea Spray
Mix in a disposable container and wait about 5 – 10 minutes before applying. This will allow the two ingredients to co-mingle and thicken a bit.
Layering Texture Paint Technique
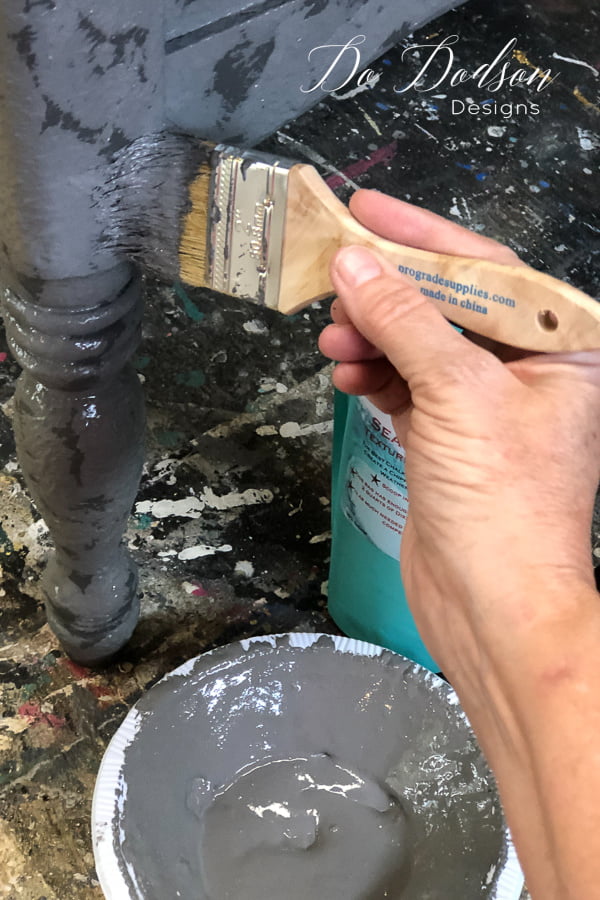
Step 3:
Using a disposable chip brush, dab (layer) the texture paint over the first coat of paint you applied to leave some of the darker paint to show through. This part of the layered paint technique is gonna look like a hot mess, but this is the creative process. *See the explanation of the creative process below.
THE CREATIVE PROCESS 🤣
- This is awesome!
- This is tricky.
- This is CRAP!
- I am crap.
- This might be okay.
- This is AWESOME!
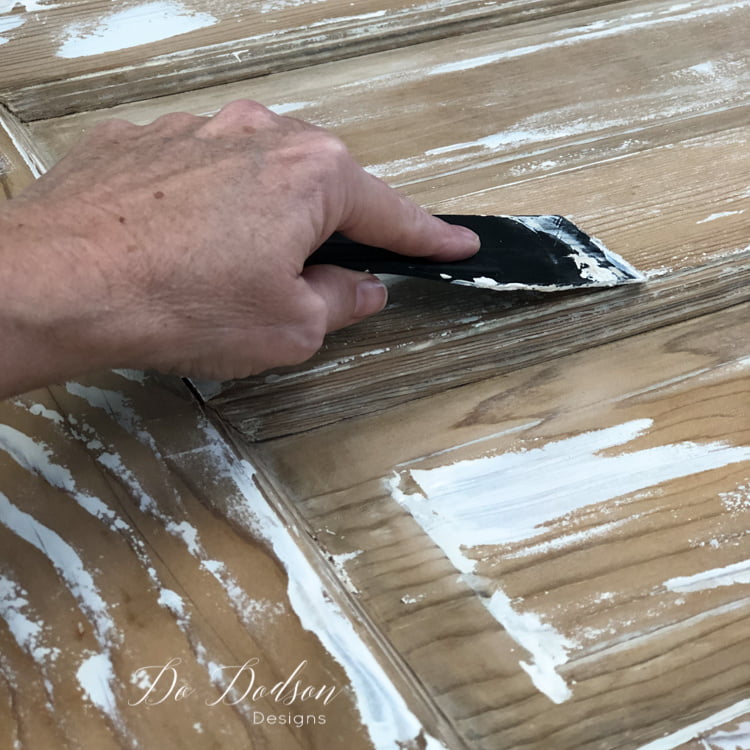
Step 4:
With a piece of “cardboard” (that’s what I used) or any flat smooth edge, trowel over (float over) the texture to smooth the raised areas to create a rough layered texture with the paint mixture. If you have ever watched how the texture is created on a new sheetrock wall before painting, it is similar to that but rougher. You can also use a large plastic tape and a bed knife. Seriously, I’d use whatever I could find at home. You’re just spreading texture. Allow the texture to dry overnight. The next step will smooth everything out.
Sanding The Layered Paint Technique Texture
Step 5:
This is the fun part! The creative process #5 starts to kick in now.
Now that the texture is dried, use 220 grit sandpaper (you can use your electric sander) to smooth out any rough edges. Oh, there will be a lot. After sanding, you can run your hand across the texture, and it is somewhat smooth to the touch but still leaves the texture behind.
Step 6:
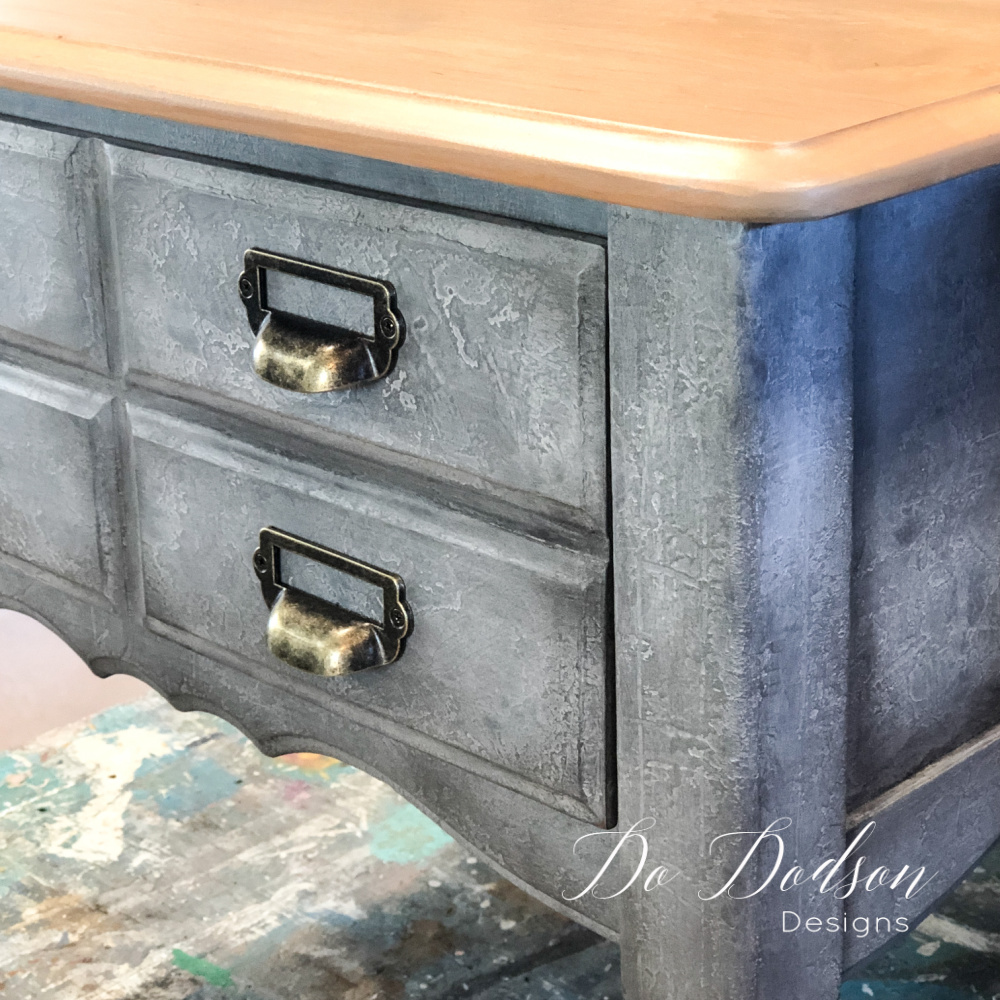
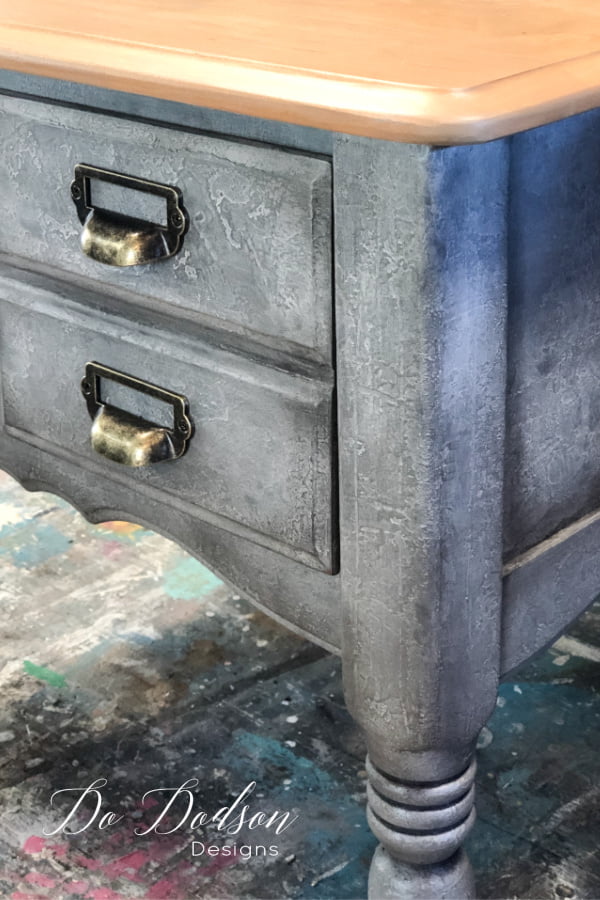
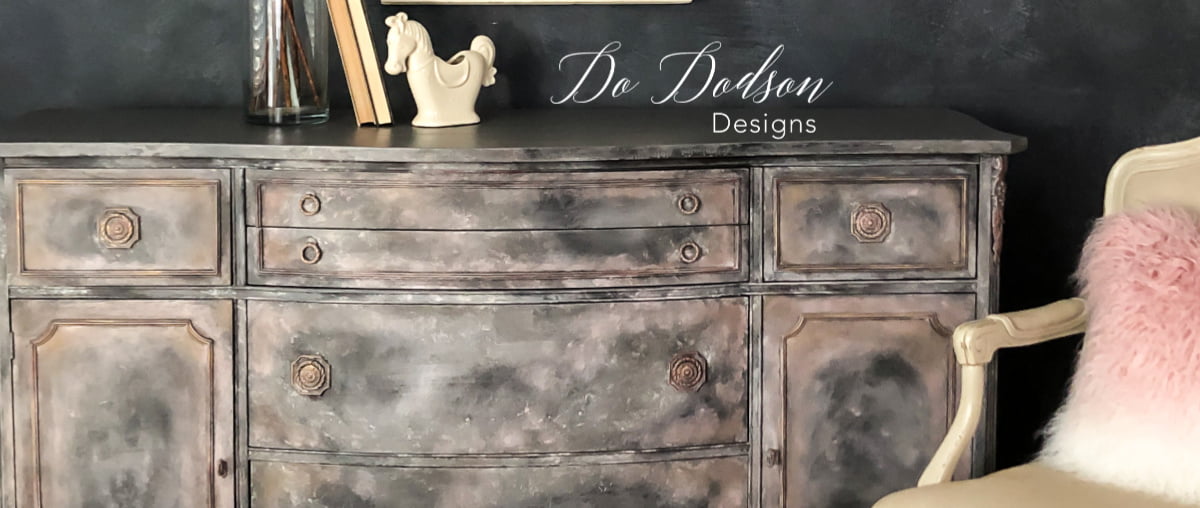
We made it! This is awesome! To finish off this lovely layered paint technique with texture, I used a whitewash technique with the Drift Wood light gray chalk mineral paint. Basically, I diluted the paint with water, applied it with a carwash sponge, and then wiped it back with a paper towel until I got the look I wanted. Wipe on, wipe off. Don’t miss this step. The whitewash gets caught in all the textured edges and really brings out all the texture goodness here.
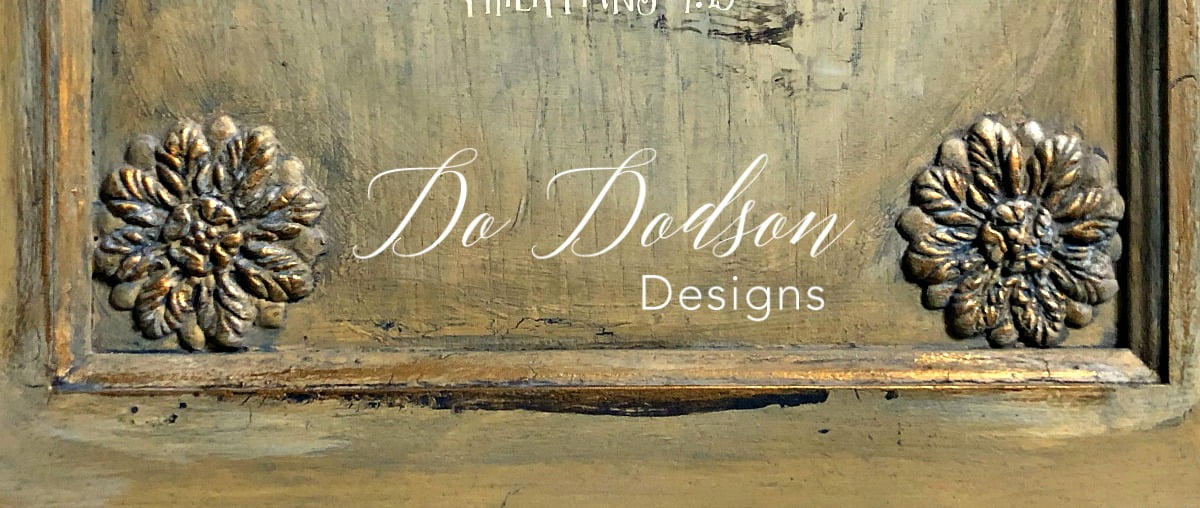
Add a topcoat if you want, or you can take it a step further. I used Dixie Belle Pearlescent Glaze over the layered paint texture, and it looks amazing. The glaze really highlighted the high peaks on the texture.
* The legs and inside corners of these end tables were accented with black wax and dirt.
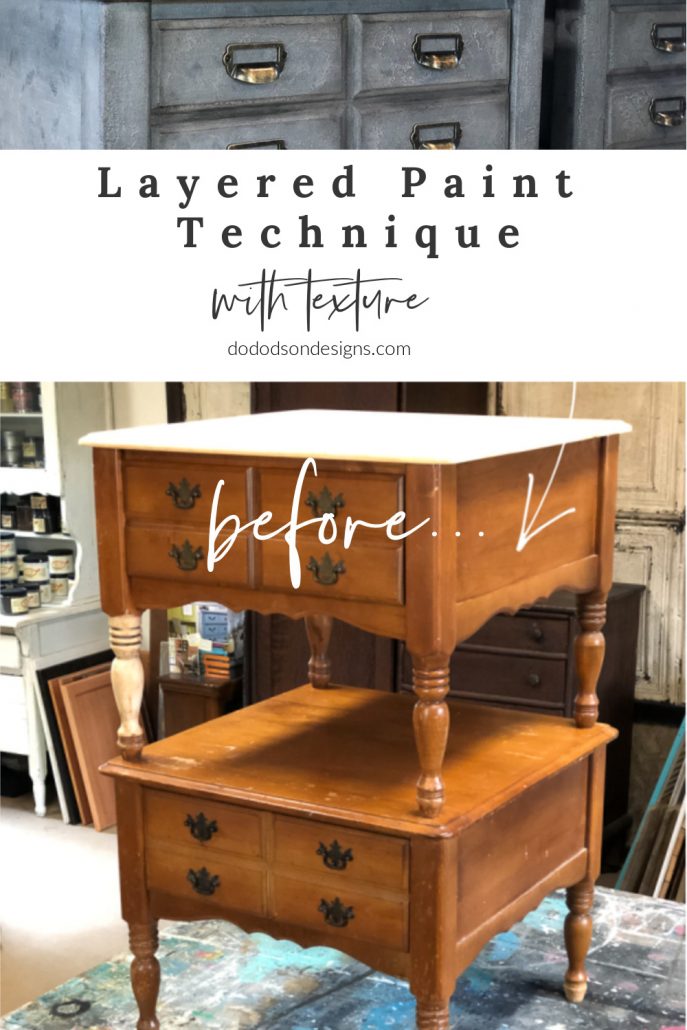
Restoration Hardware – Layered Paint Technique
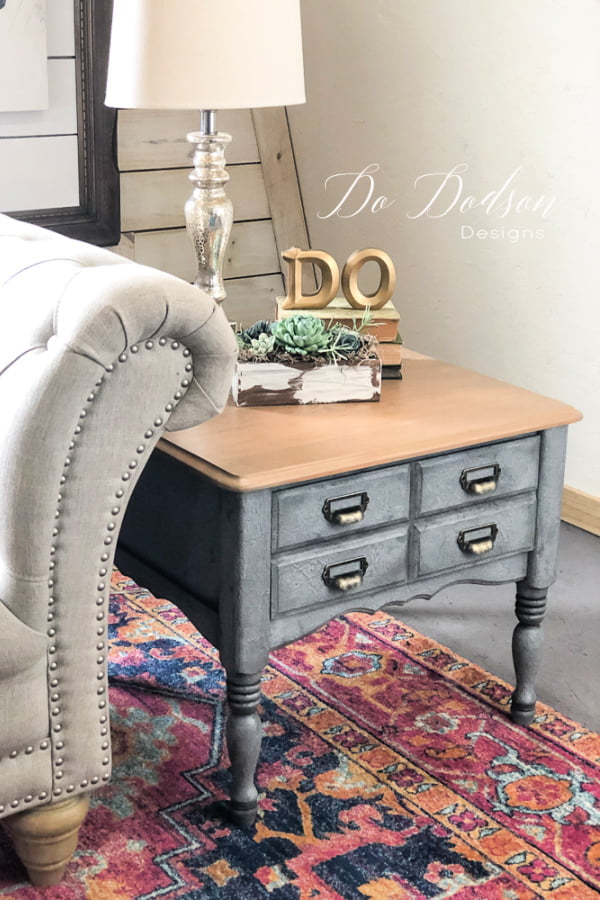
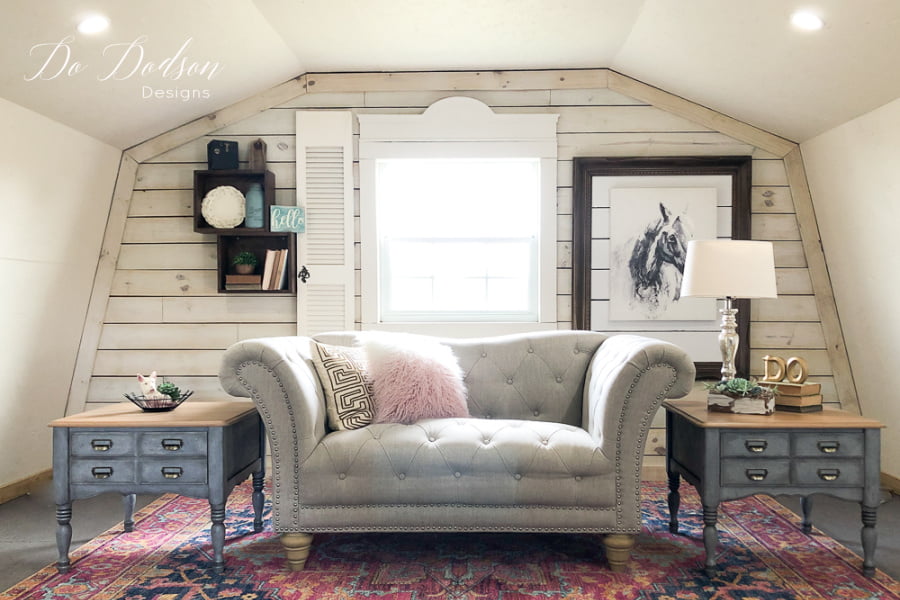
I know!!! My sofa stole the show. Sorry end tables, but you can’t be pretty all by yourself. I just wanted to give you a visual of how they look in my guest room AKA “room above my studio,” in case I need to take a break… or nap between projects. *wink *wink
Thank you for joining me today, and I hope you enjoyed learning about this layered paint technique with a texture additive. What do you think about the texture? Like the look??? Feel free to leave your feedback in the comment section below. Or say, hey! I’d love to know that you’ve been here.
Until the next project… xo, Do
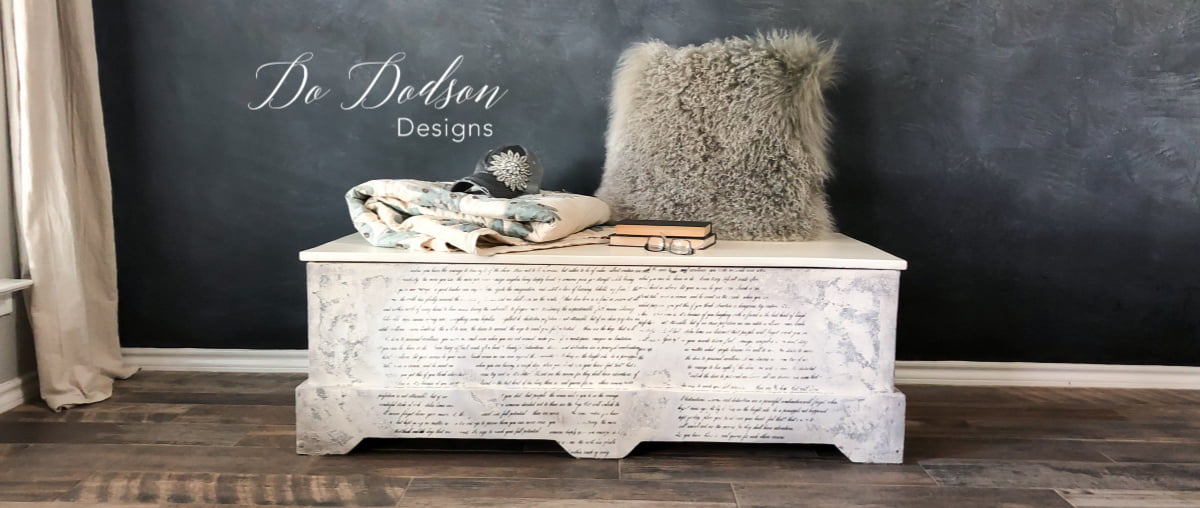
Ps… this layered paint technique works well on home décor too.
Looking good my friend… love this layered look! XOXO
Thank ya, Ma’am! 🙂 xo
LOVE IT!! <3
Thank you, Shelley! I appreciate you. xo, Do
Oh my goodness! I love all things texture, this is beautiful! Thank you for sharing your talent. ❤️
Yes, I love the texture too. Just makes everything so much more interesting. Thank you, sweet friend. 🙂 xo
Love the rustic farmhouse look. Thanks for sharing the different looks you can achieve. I enjoy all of your projects. Thanks again.
Thanks, Pat!
So glad you’re enjoying them. The farmhouse style is near and dear to my heart. Always will be. Have a blessed week. xo, Do
Love it! We just bought 2 end tables that are a bit rough looking, and I think this technique will be awesome on them. Also, really appreciate your creative process steps! Intend to get stuck at #4, glad to know I’m not the only one that goes through that!
Hi Bobbi,
Step #4 is a bogger for sure. It’s super easy. Just trust the process and have fun. xo, Do
Grazie per aver condiviso questa tecnica.
Sei molto brava e speciale.
In Italia non ho trovavano la pittura a gesso Dixye Bell, spero di poter ottenere lo stesso effetto con qualche altra pittura a gesso.
Ancora complimenti e che Dio ti benedica🙏
Sorella in Cristo😘
Hi Anna! Thank you so much for the kind words. Unfortunately, it isn’t available in Italy. But you can create this same look with other chalk paints by adding plaster of Paris or calcium sulfate for a thickener. Blessings to you. xo
hi Donna! These look amazing! So does the couch. i love using Saltwash (Sea Salt) but reading how do it it right sure does help. Thank you!
Thank you, Cheryl! It’s always so good to hear from you. Saltwash is super fun to play around with. 🙂 xo
I love how this turned out! Yes I think i would be stuck at #4 also! I think I might try this!
Thank you!
LOL, we all get stuck on #4. It’s an easy finish if you can weed through the ugly. Good luck, and let me know how it turns out. 🙂 xo
Love it!
What did you paint the top with?
Hi Pattie! Honestly, I can’t remember. But, more than likely, it was a paint wash (diluted paint) and then sealed with a top coat. Sorry, I wished I could remember. It was a few years ago. 🙂