Hello, my creative friends! Thank goodness that the rain has subsided, and I finally get to venture outside again. Guess where I’m headed? Shocker! Right to my stash of scrap wood to try this new DIY wood vase holder project. Not my original idea, but I’m going to put my own rustic spin on it. Let’s DIY DO this!
* As an Amazon Associate, I earn from qualifying purchases and through other companies as well. You are not charged extra to use any of the links, but any income I make helps me create more amazing DIY projects to share with you! To see my full disclaimer, click here!
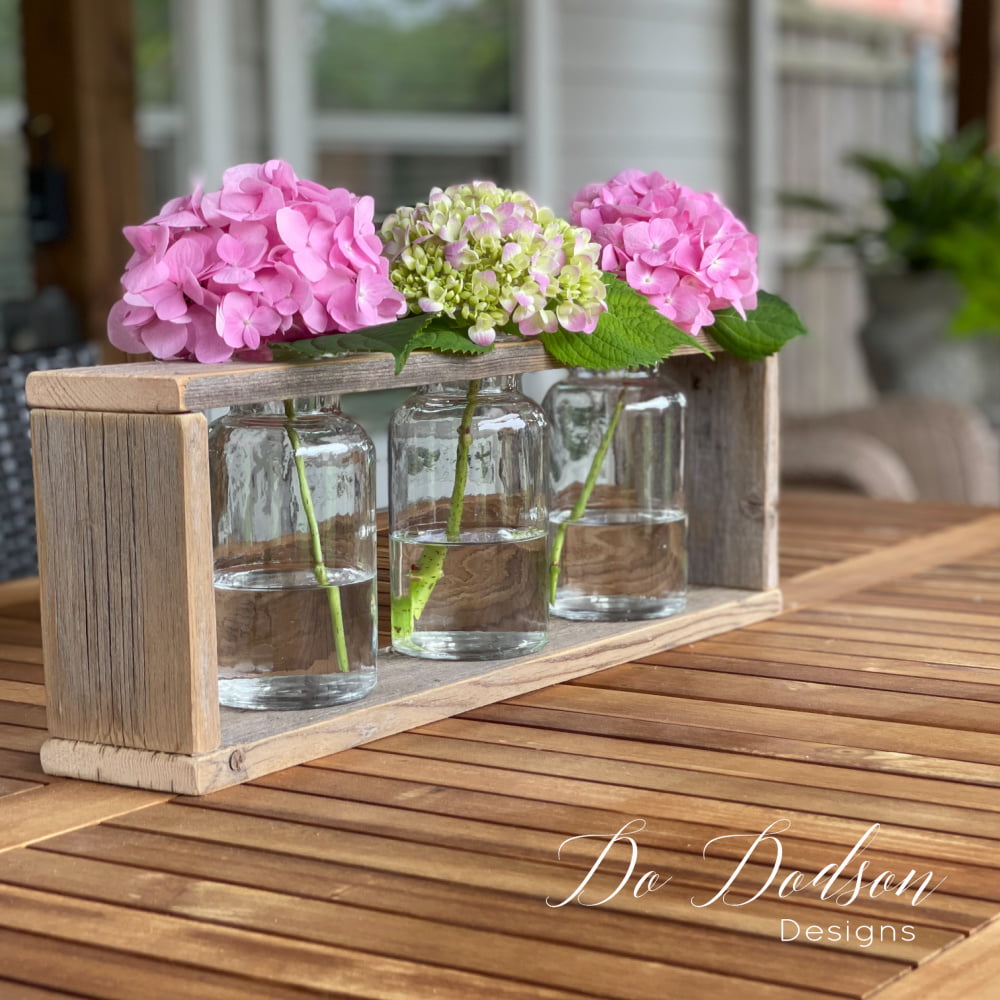
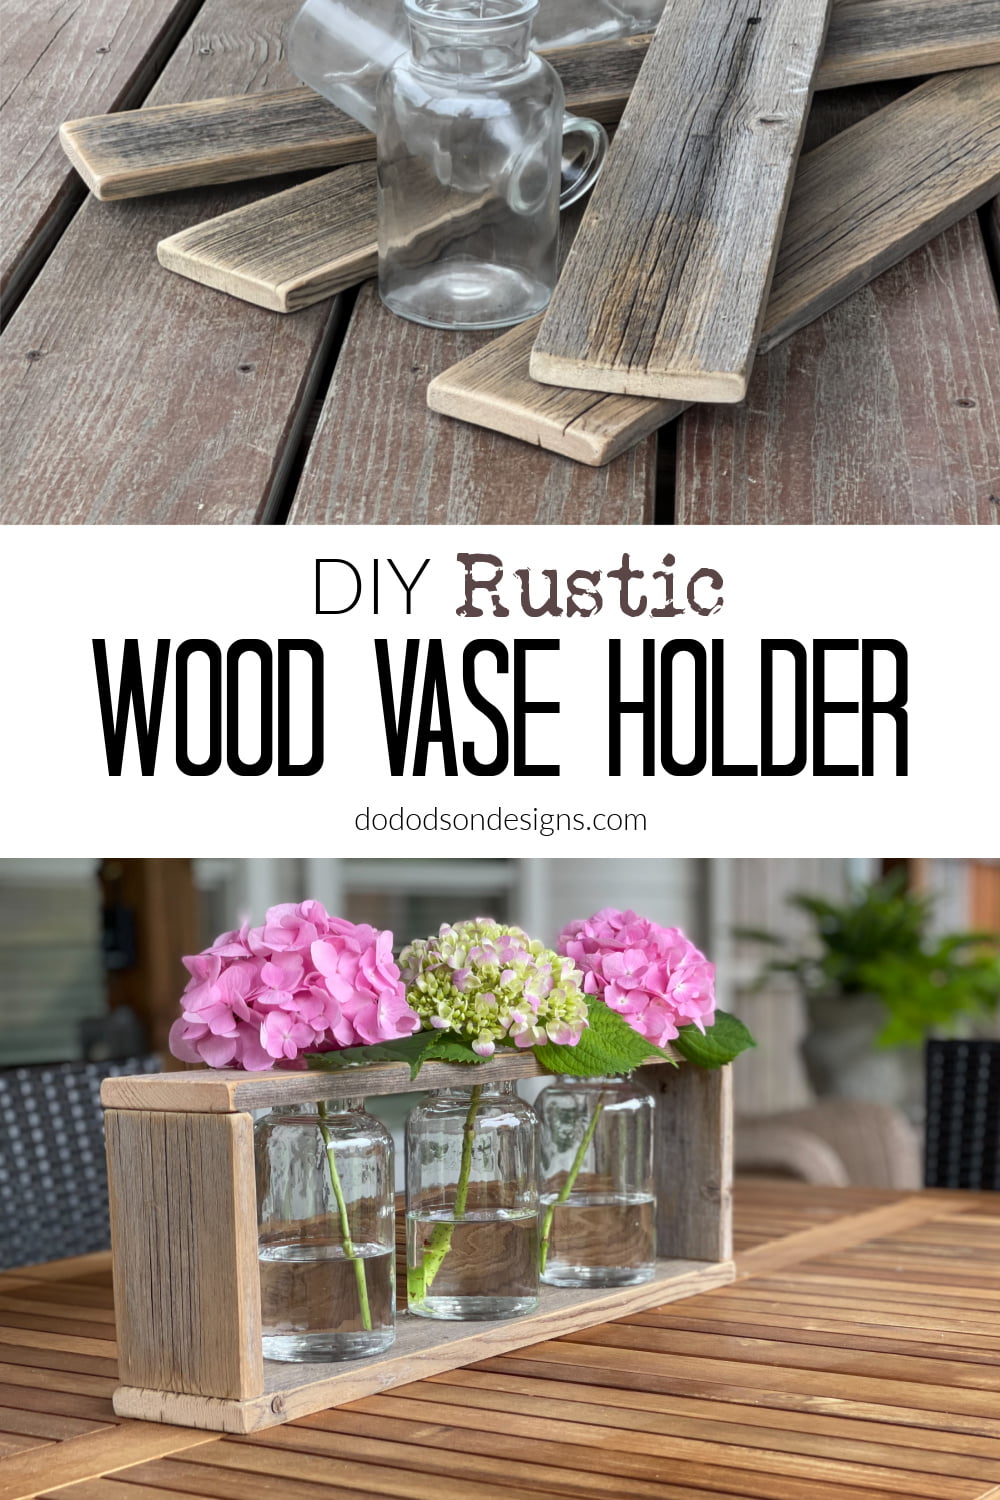
DIY Rustic Wood Vase Holder
You’ve heard me say many times to save those pieces of scrap wood, and here’s one reason why. I was looking for a vase to put my hydrangea cuttings in, and a plain ole glass vase wasn’t cutting it for me. Once again, I was inspired by a big brand name selling them for… well, let’s say it wasn’t in my price range.
Here’s what you need to make this DIY rustic scrap wood vase holder.
SUPPLY LIST:
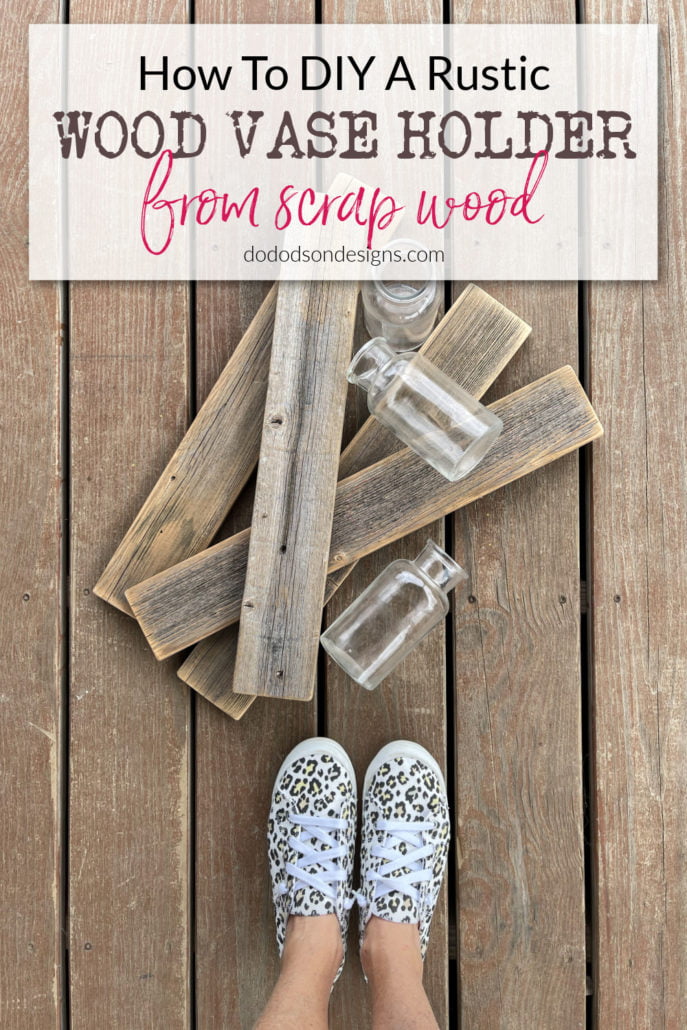
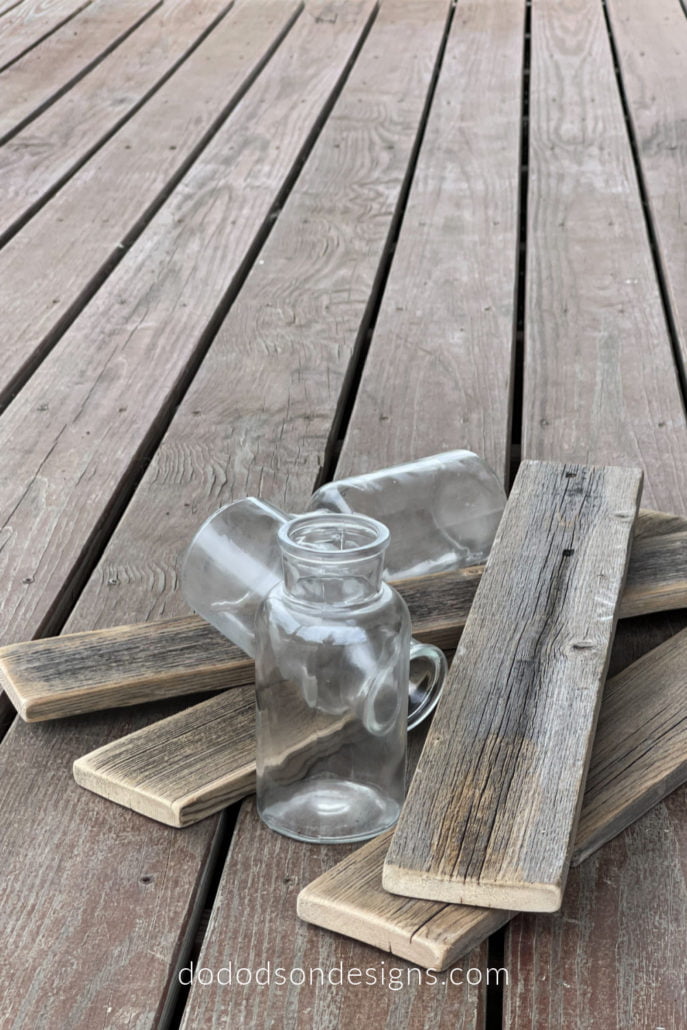
- Scrap wood ( I used old fence pickets)
- hole saw kit
- drill
- wood glue
- glass vases or bud vases
- nails
- hammer
- sanding blocks or SurfPrep Sanding System (Get a 10% discount when you use my code DOIT10)
Can you see what I see? Glass and wood are always a winning combo. Now to make the magic happen.
How To Make A DIY Vase Holder In 4 Easy Steps
Step 1
The first thing you will need to do is decide how many vases you want to display in your wood vase holder. I think 3 or 5 vases look nice, depending on the length you want or the size of the vases. For this project, I chose to use 3 vases I already had on hand, but I intend to do one with 5 vases for my 8-foot dining room table. I just need to find them.
You can pick up glass vases for almost nothing at garage sales. I like white bud vases with long skinny necks too.
Measure the vases you want to use and cut the fence pickets to the length that works to build a frame around the vases. If you want the vases to be removable for cleaning, cut the holes a bit larger than the vase’s neck so they can be slipped out easily. Cut them to fit if you don’t care and are using artificial flowers.
I did a test run and pieced the wood together, making a frame first.
Cutting The Holes For A Wood Vase Holder
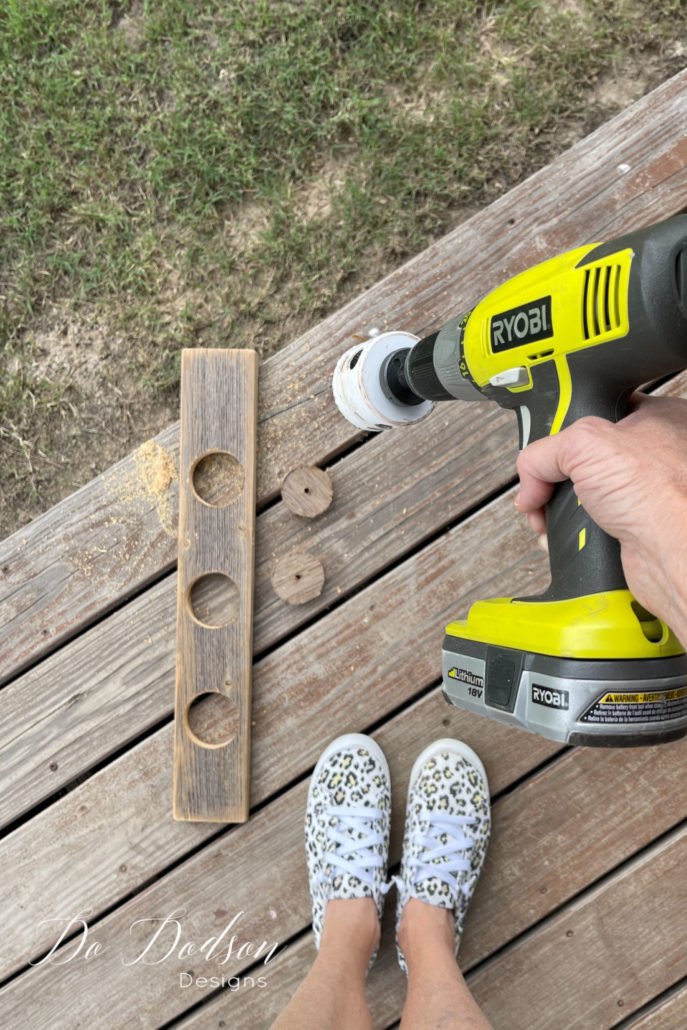
Step 2
Once you have the wood, cut it to size and measure where you want your vase opening to be; the best way to do this is to center the first vase on the board and then measure the placement for the other two with equal spacing. I used a pencil to mark the vase’s opening and cut a hole using a hole saw. These holes will vary based on your hole saw bit, but you can also use a jigsaw.
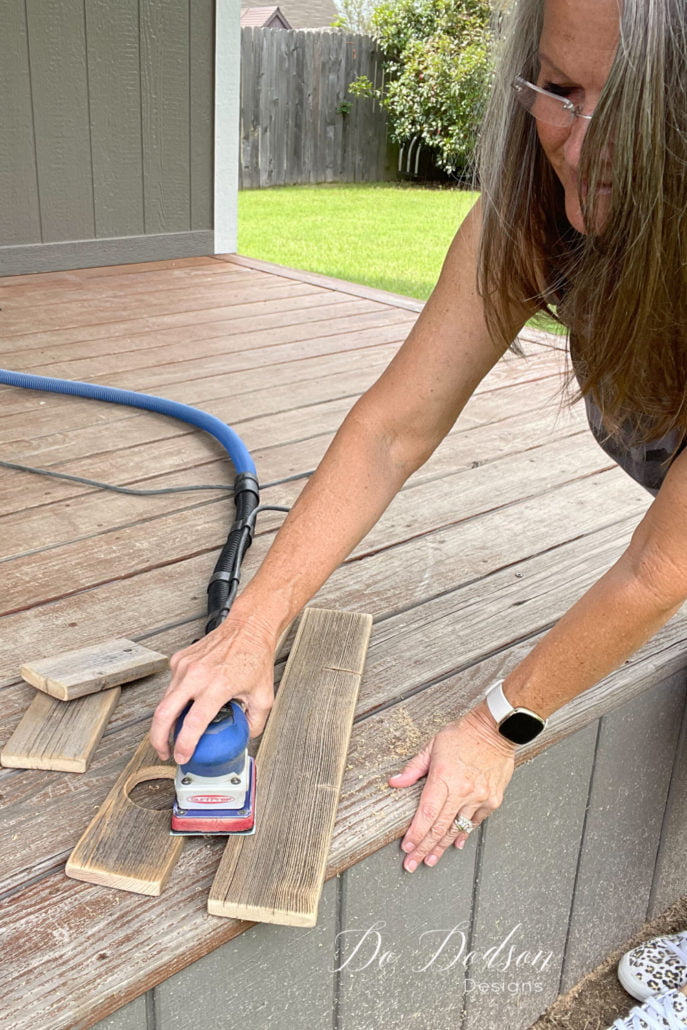
Step 3
Now is a good time to smooth out any rough areas on the wood after cutting the holes. For this project, I choose to leave the wood rustic as is. But there is no reason you couldn’t paint it pretty or add your style to a wood vase holder.
How To Assemble Your Wood Vase Holder
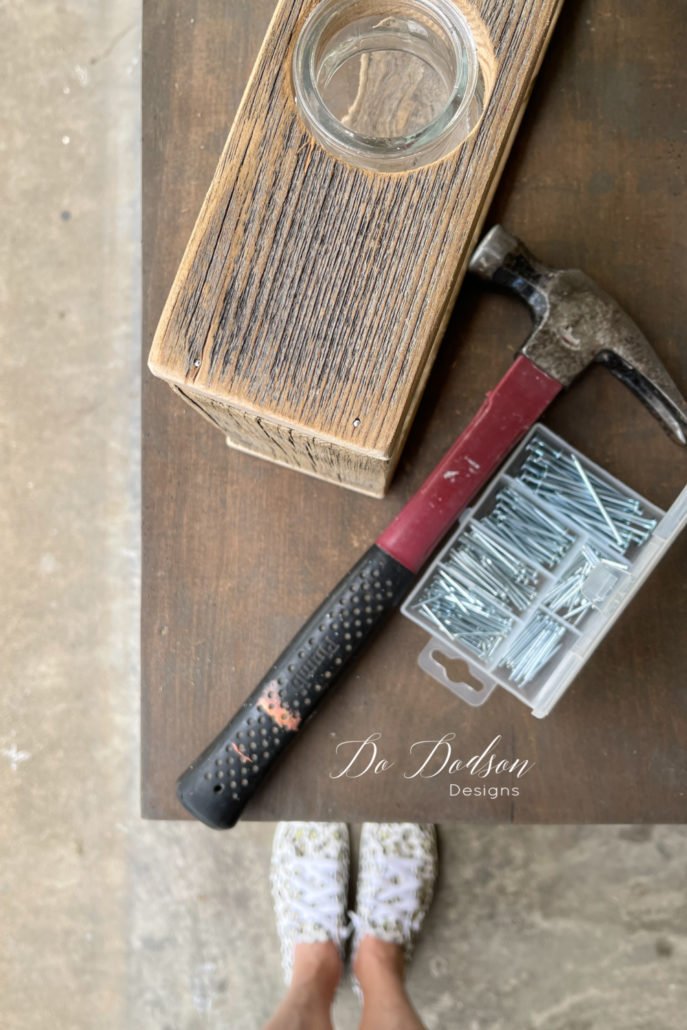
Step 4
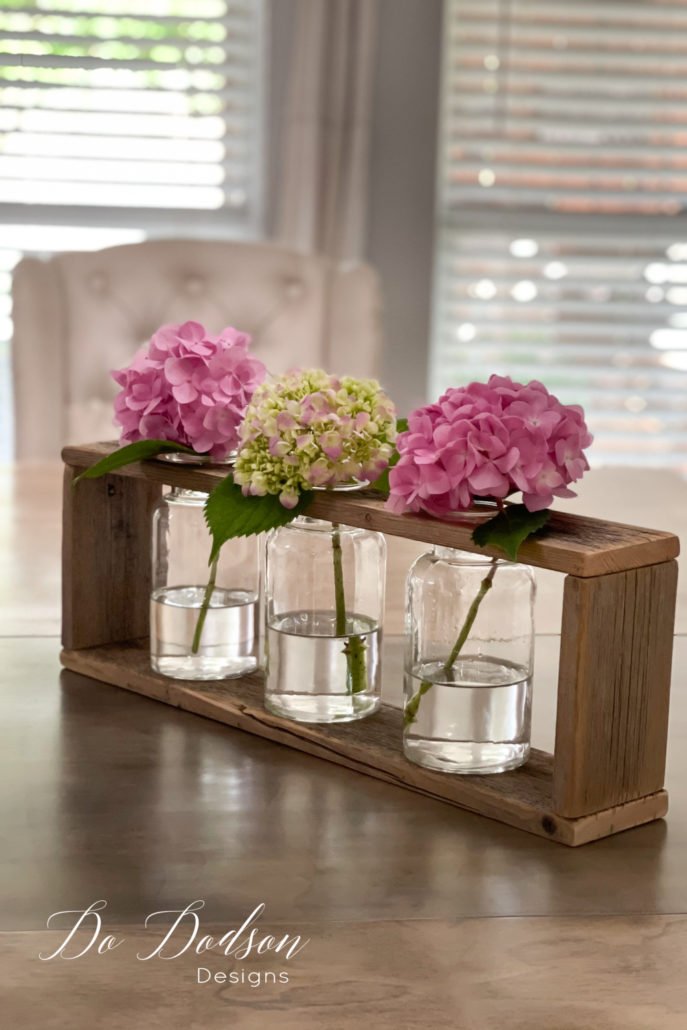
Building the frame for your wood vase holder, it’s pretty easy. I used wood glue to join the ends and secured them with a couple of nails on each joint. Nothing difficult. Allow it to dry overnight, slide the vases in their proper place, and then add your favorite flowers.
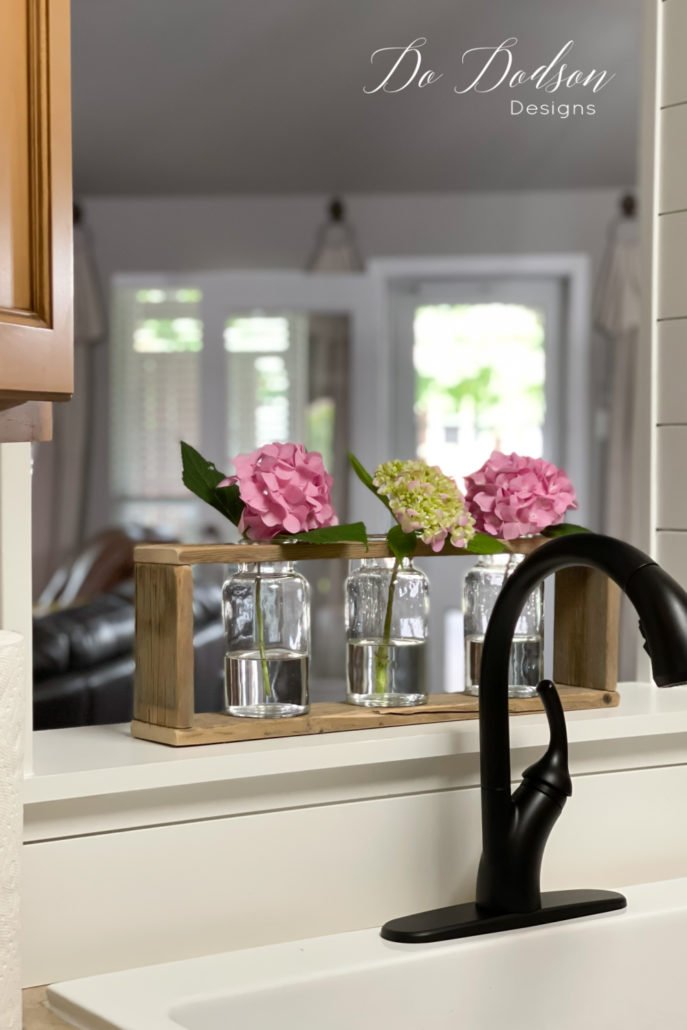
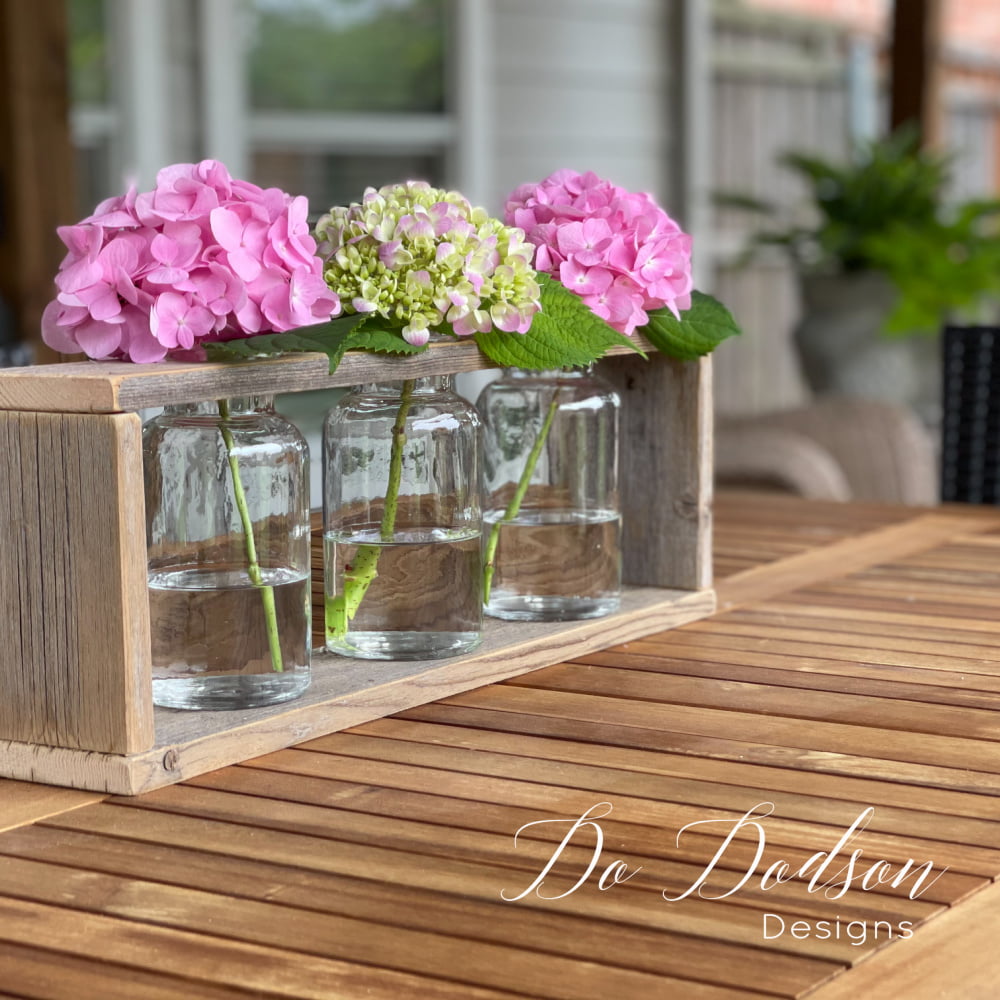
Oh my goodness, these are too stinking cute! Immediately I placed the wood vase holder in the opening of my kitchen passthrough. L-O-V-E them so much! Now I can enjoy my beautiful hydrangeas all day inside and out.
But it also looks beautiful on my dining room table. I was literally running around placing them all over my home. It’s the little DIY things that make me happy.
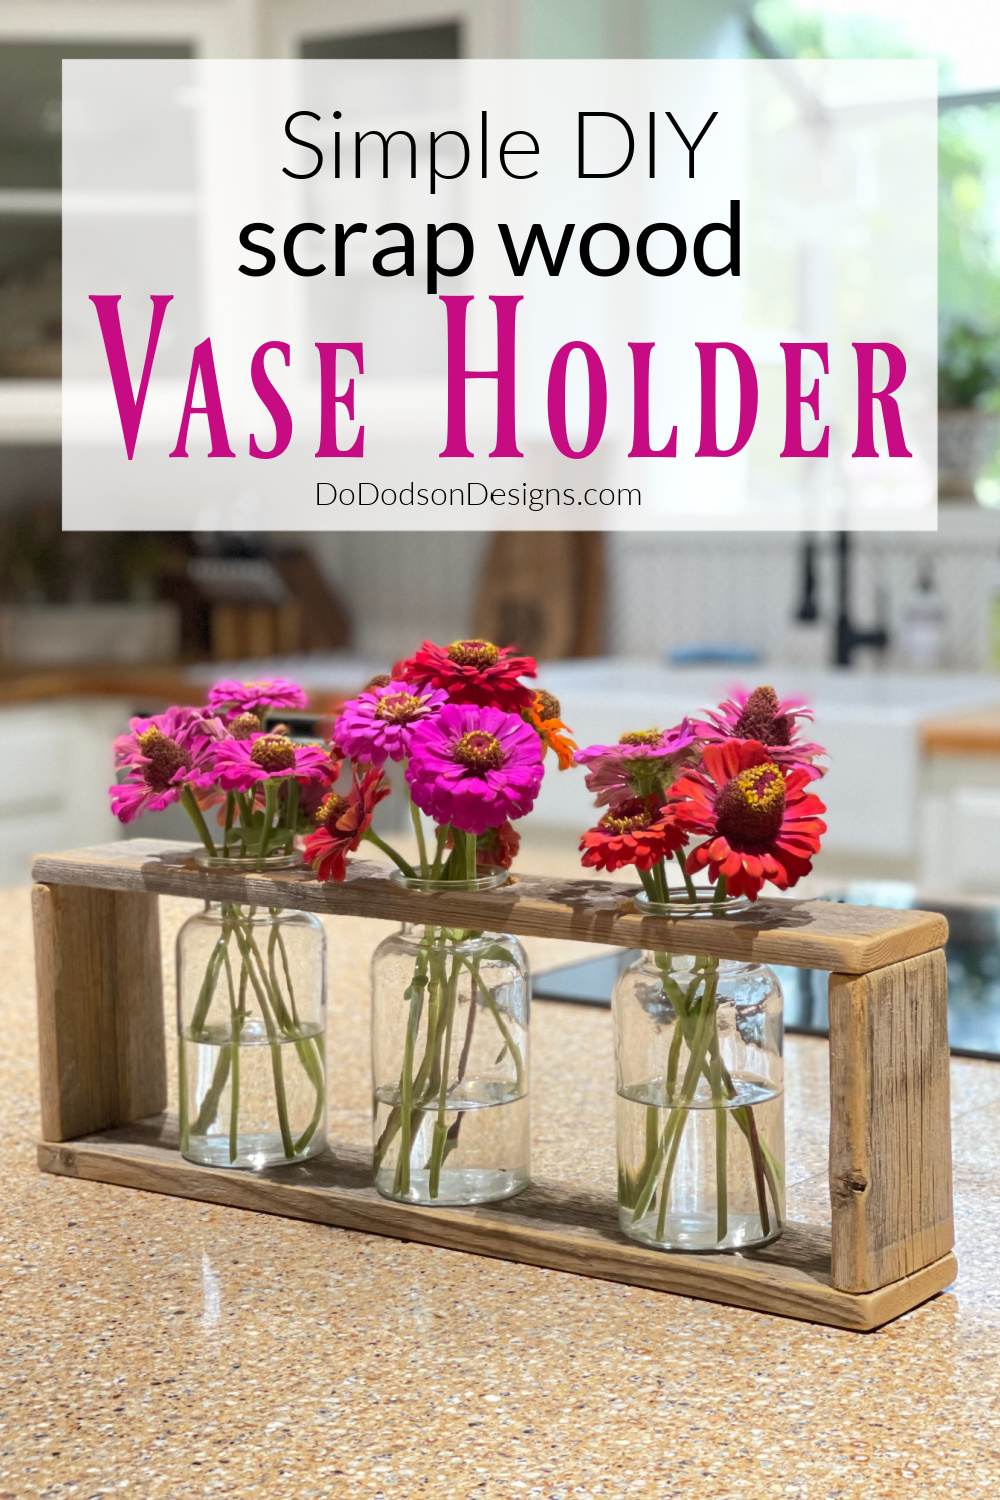
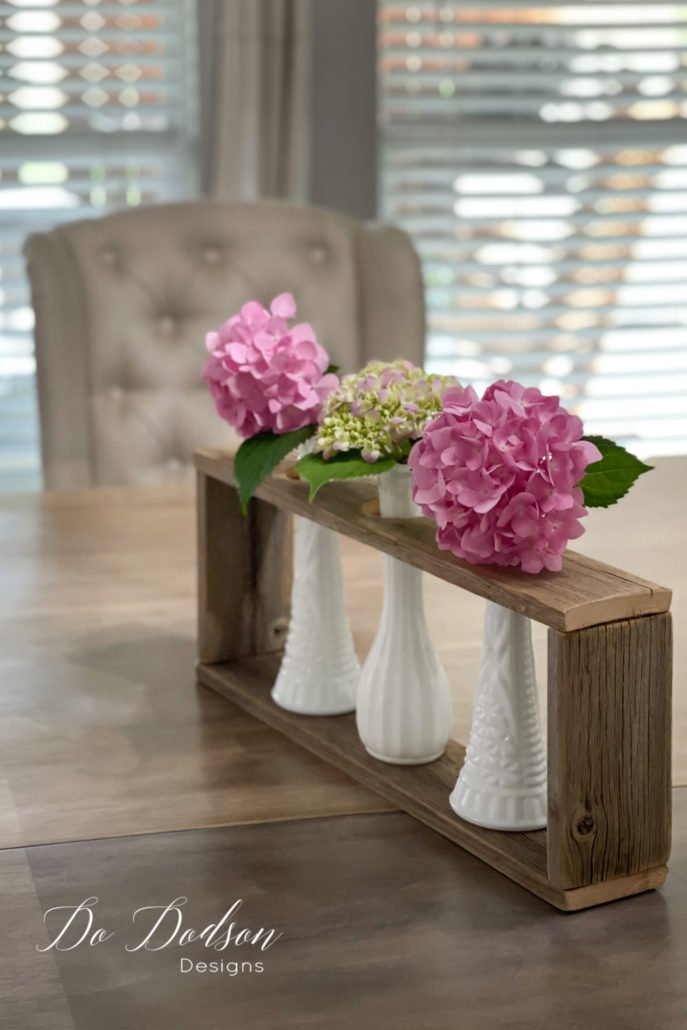
So, I created a second wood vase holder and used some milk glass bud vases. These are adorable too! I have this vision of using colored vases too. Which do you like best?
This was one of those feel-good DIY projects, and I’m so happy I get to share these projects with you.
So, you know, I’m dying to hear what you think about this DIY wood vase holder. What would you do differently? What’s your special twist you would add to it? Inspired me in the comment section below. I love hearing all your ideas! 🙂
Until the next project… xo, Do


I have lots of old bottles that would work wonderfully in this project. Have been looking for a way to use them. Thanks!
Hi Nelda,
I’m so glad you liked this project. Have fun creating. 🙂 xo
Love this idea and so simple! I especially like the clear vases. I think you could use odd shaped jars as well. Thanks for the idea.
Also would love to know how you posted your 40#. You look great!
Hi Mary! I was thinking the same thing too. I want to do one with vintage jars. 🙂
Love the vase holder! It is so unique and you could use any type vase in it. The flowers are gorgeous. By the way you look amazing as well.
Thank you, Terri! Yes, I like that it can be as unique as the vases. Fun stuff! Thank you for the kind words. 🙂 xo
Donna,
I believe I have the same bottles that you do. Could you give the dimensions that you used? Your holder is perfect!!
Thank you in advance,
Tawn
Hi Tawn,
Thank you! The easiest way would be to measure your bottles to make sure you get the right cuts to fit. My bottles measure 6.25 inches. I allowed the bottle’s neck to be even with the top board. I hope this helps. 🙂
Such a cute idea. These would make great gifts. I really like the clear bases.
Congratulations on the weight loss. No easy task but so rewarding.
Thanks, Joanne! I appreciate you. It does have its rewards for sure. 🙂 xo
Love this Do. If I ever get the time and energy I would love to try making this and other things I think of but something always stops the idea.
By the way,,you look fabulous Darlin!
Thank you for sharing all your awesome ideas and showing how it is done.
Love & Huggies to ya Girl xo
Thank you, Brenda! You’re so kind. Ah yes, energy and time. I gotta work at both. 🙂 xo
Which one do I like better? That’s a tough one. I thunk I like both if them or any vases you chose. It’s just a simple something thats adds the perfect touch.
Hi Leslie,
I think it’s the personal touches that level up even the most simple things. Thanks for reading. Have a great day. 🙂 xo
This is such a great idea. You are so creative!
Hey friend! Thank you so much! You can never have too many vase holders when you love gardening like we do. 🙂 xo
Hi Do! You are the queen of scrap wood projects!
This is adorable Do! I’ve got some scrap wood and some jars so I need to make this! Pinned 🙂
I Love this. The White vases give it an elegant look, but the clear jars make you feel at home. Thank you
Hi Lori,
I’m so glad you enjoyed this DIY home decor project. It brings me a lot of joy to share the things I love with others. Thanks for reading and have a great week. 🙂