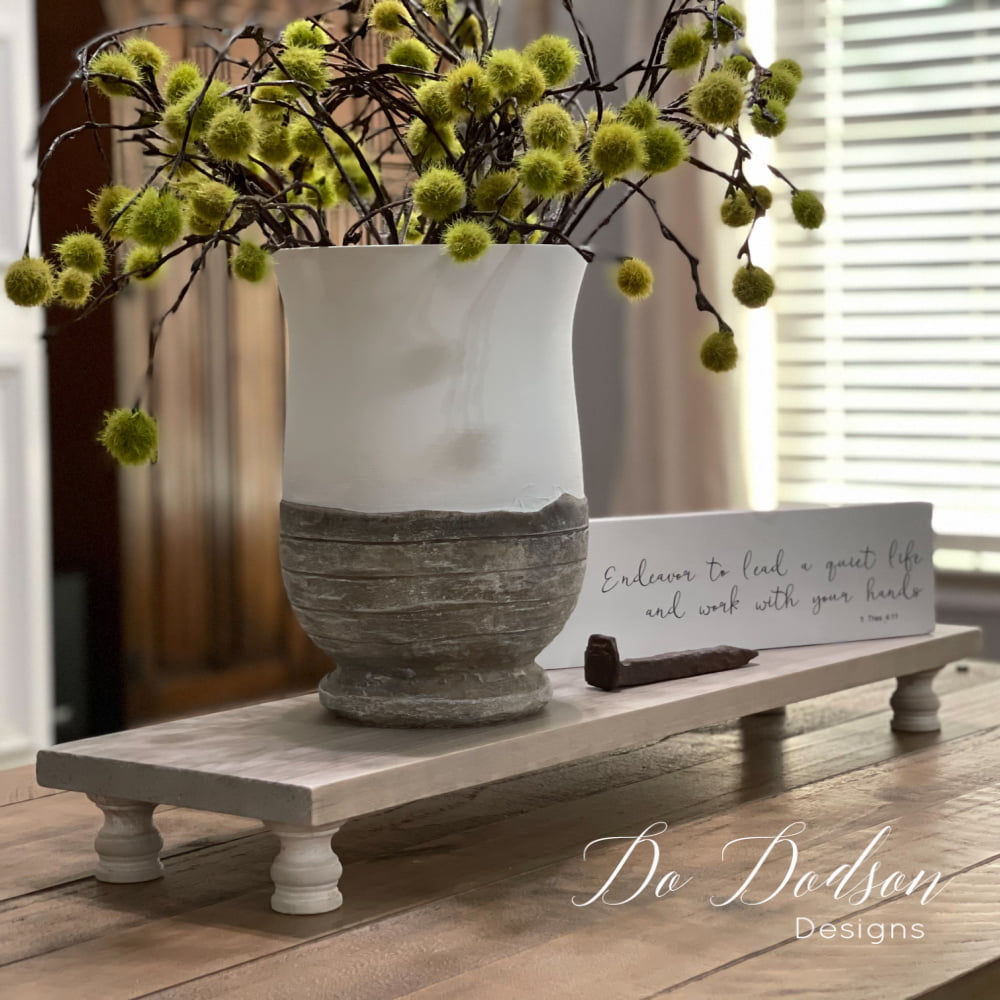
Hey friends! I got another easy scrap wood project for you. These DIY table risers are so fun, and I’m going to show you how I gave mine a primitive, rustic, farmhouse vibe.
* As an Amazon Affiliate (and other companies including Dixie Belle Paint Co.) I earn a small commission from products sold through these affiliate links. Your purchases through those links help support my blog at no additional cost to you. Thank you so much! To see my full disclaimer, click here.
DIY Table Risers – Scrap Wood Project
You know I can’t resist a good scrap wood project, and when I found this massive piece of wood in one of our closets (SCORE!) in our new old home, I literally stopped what I was doing to make these. It was quick and easy, and I completed three DIY table risers in an hour.
Supply List for this project.
- any wood (these were made from 2X12 pine)
- jig saw
- wood glue or pin nailer
- wood sander
- pencil
- painters tape
- paintbrush
- tiles stencil
- butter cream chalk mineral paint
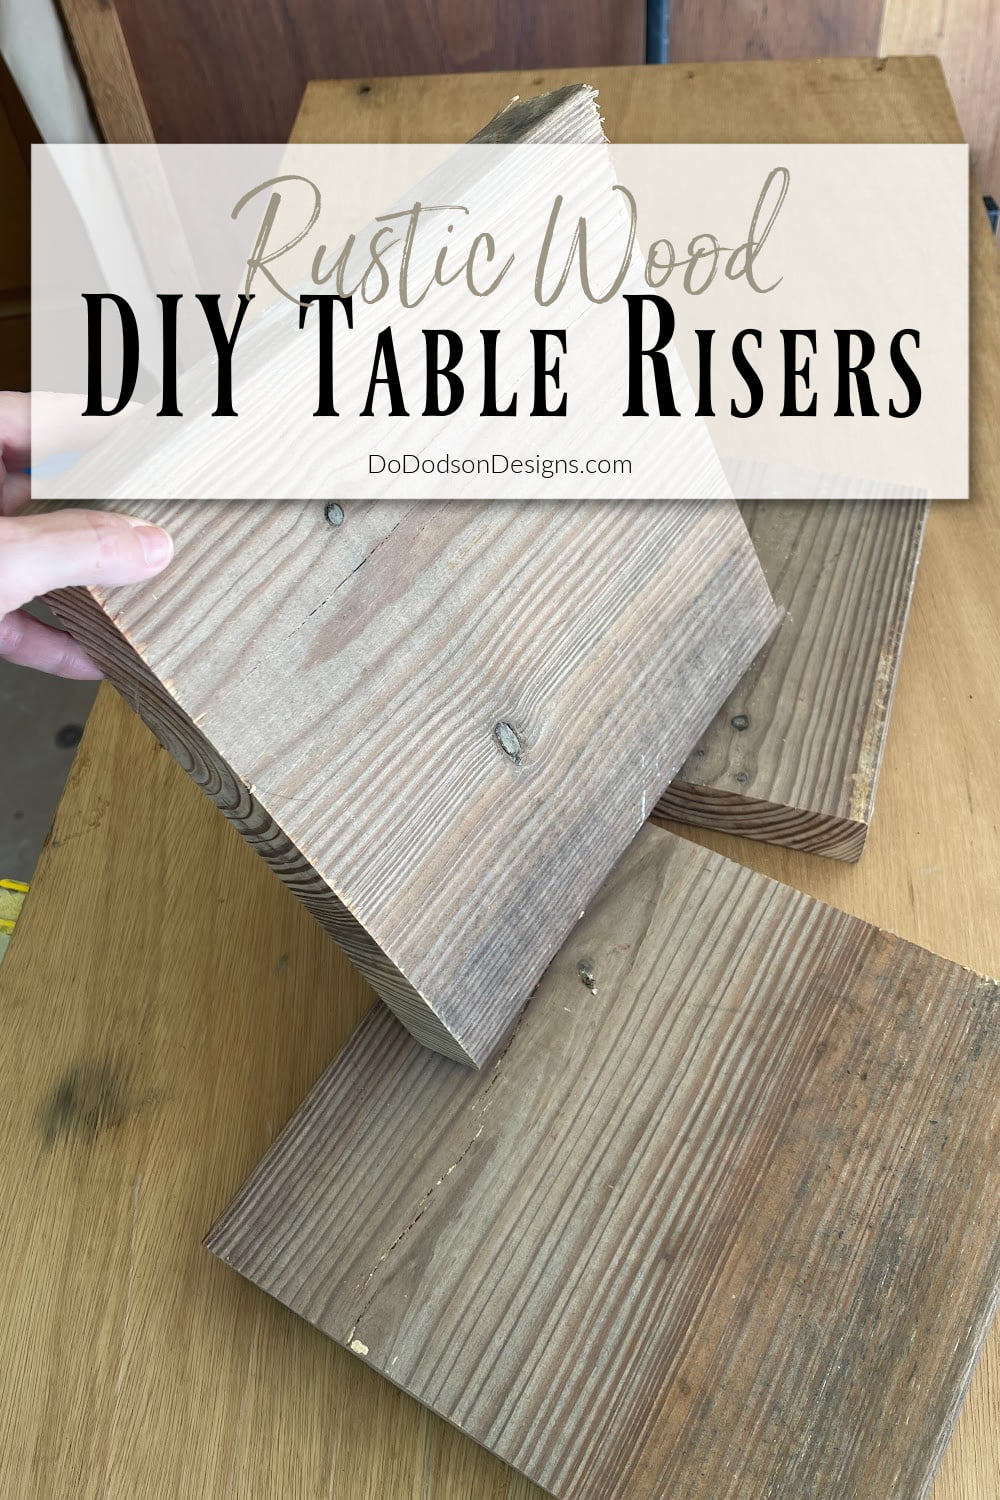
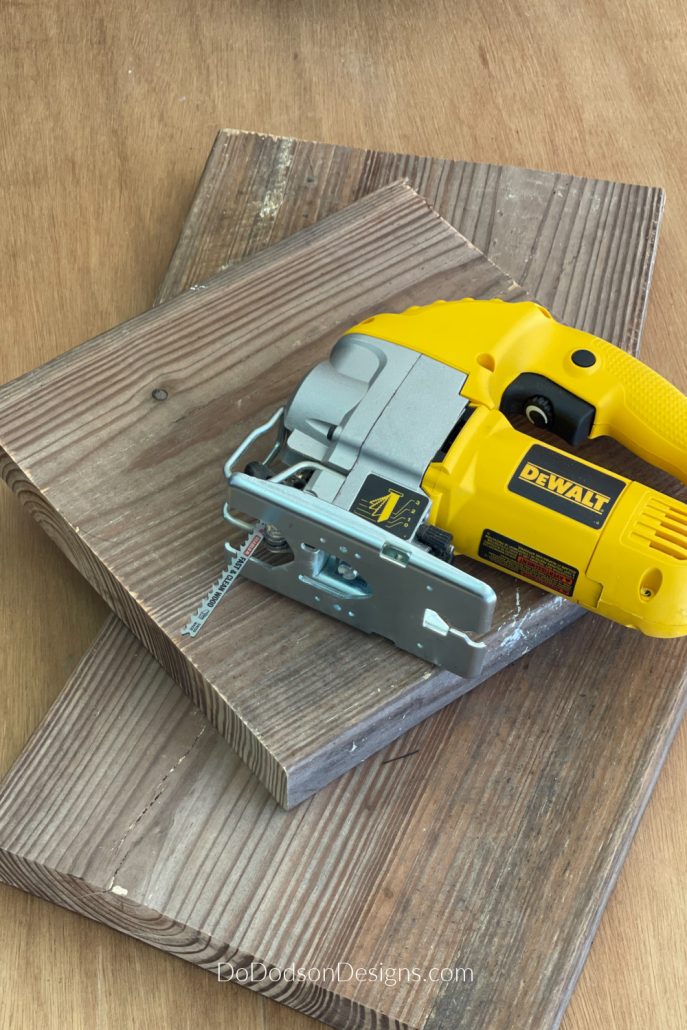
STEP 1: How To Make DIY Table Risers
To make this style of table riser, I used thicker wood than I usually would have. It gave me the height I wanted without having to elevate the boards.
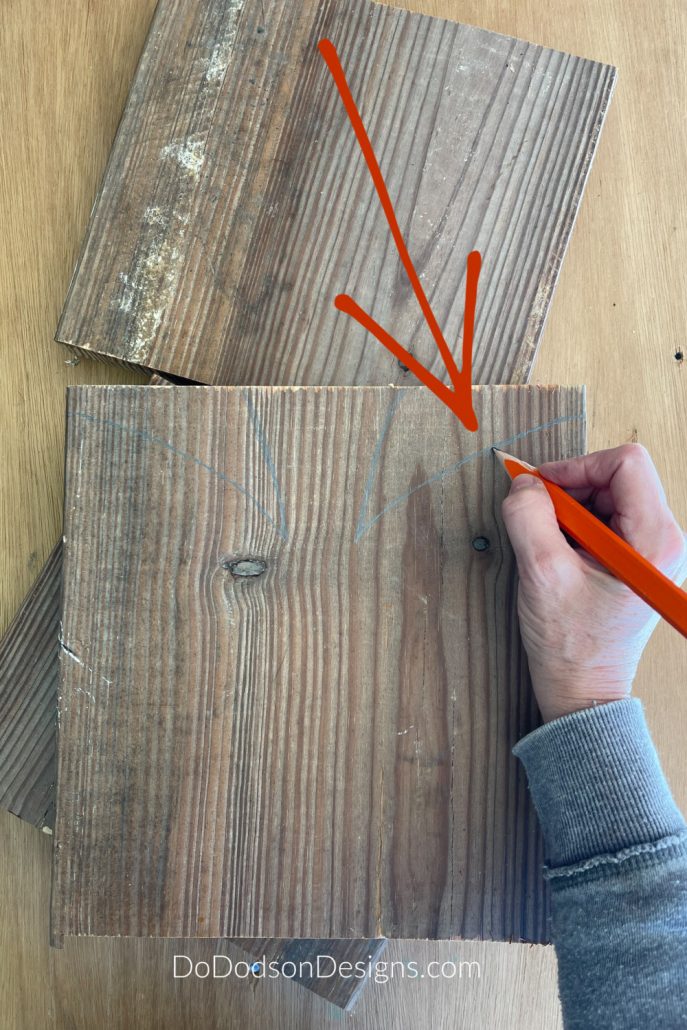
STEP 2: Deciding On A Pattern For Your DIY Table Risers
Here’s the fun part. You can make any design your little ole heart desires. Do you want to know why? Because you’re the BOSS of your home, and there is no reason you have to have cookie-cutter table risers.
I fancy the old primitive cutting boards, so I outlined handles on two of them. Not that I would ever use these for cutting boards, but they are perfect for home decor displays and a possible mini charcuterie board. How fun would that be?
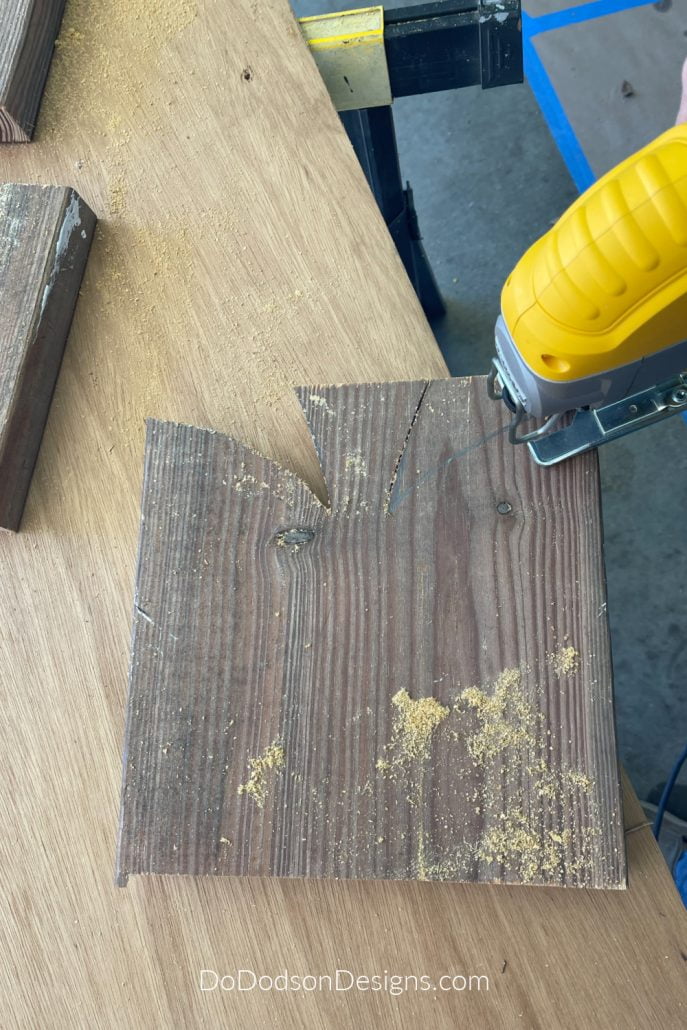
STEP 3: Cutting Out The Designs
Using a Jig Saw is the easiest way to cut intricate designs in wood. There is no way I could ever get in the corners like this with a chop saw. The Jig Saw is one of my favorite woodworking tools. CLICK HERE to see the one I use for all my woodworking projects.
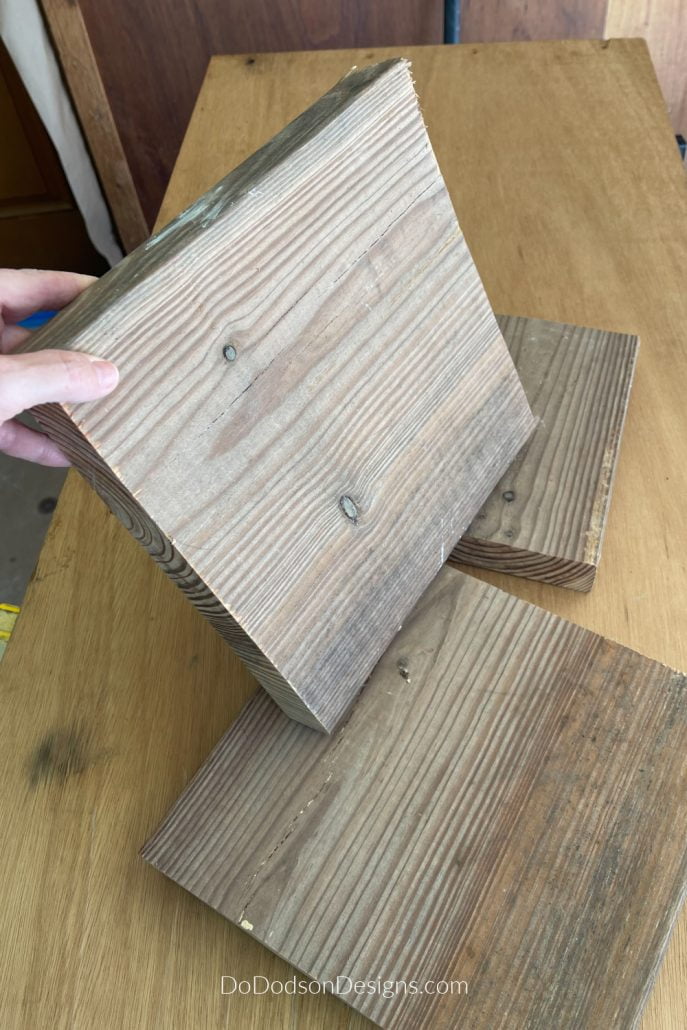
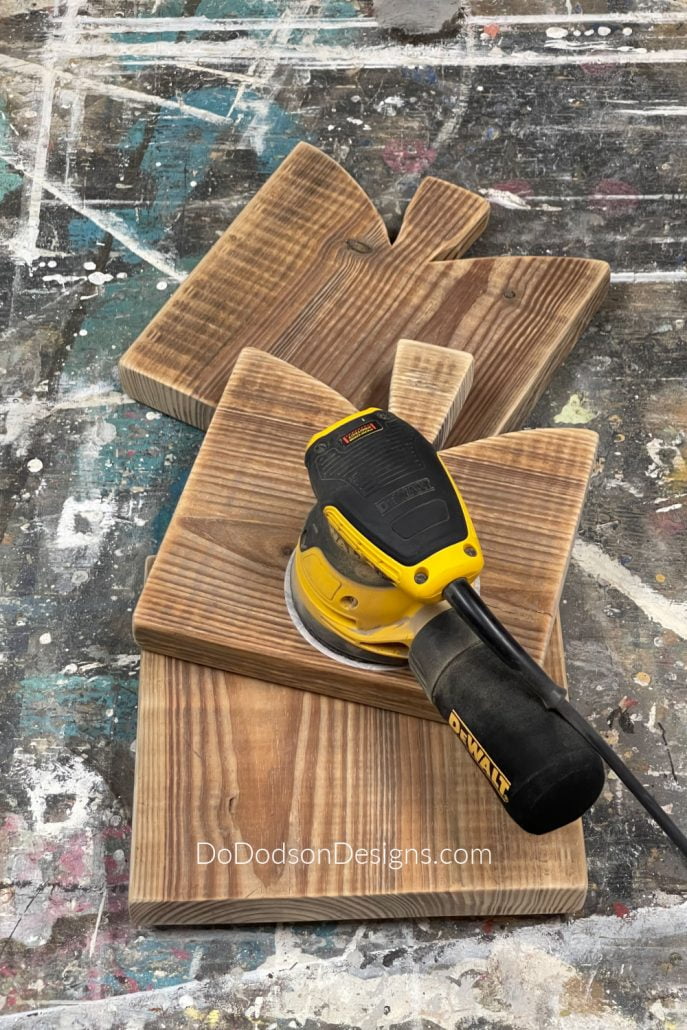
STEP 4: Sand The Wood Smooth
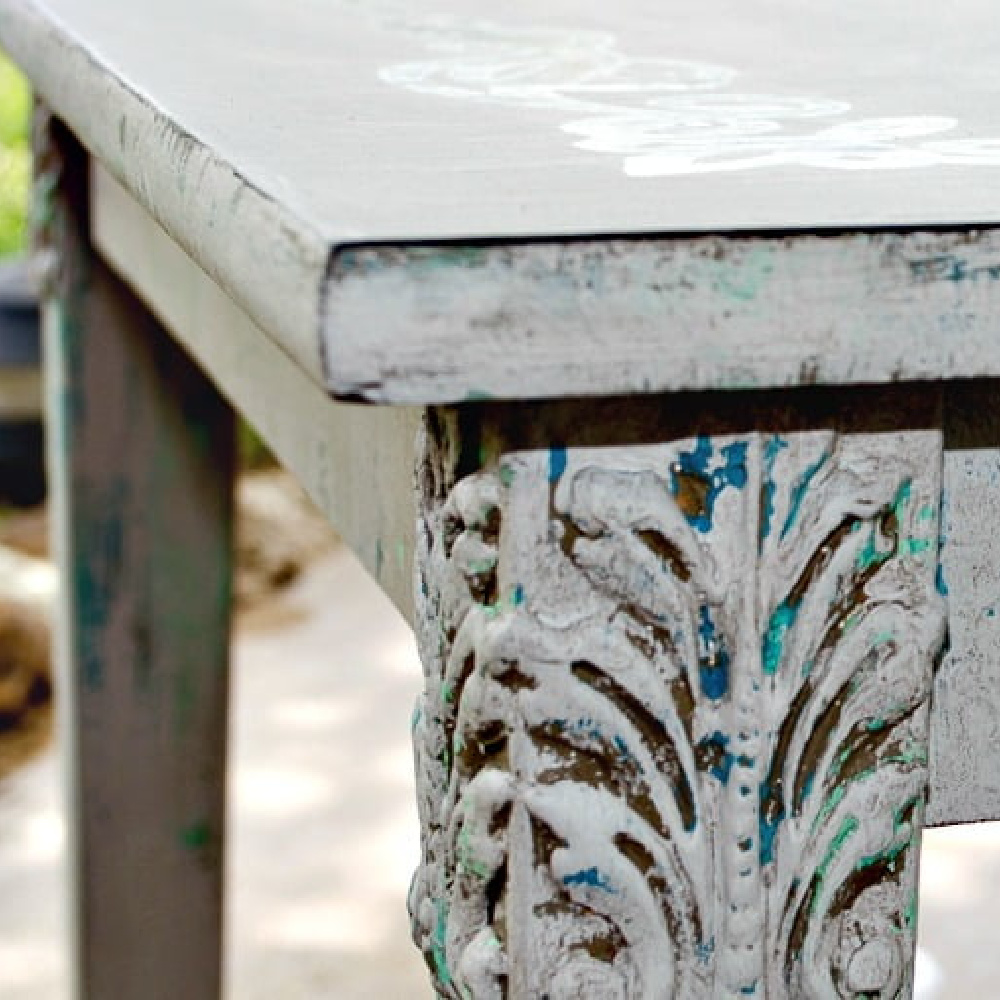
With a 220 grit sandpaper or a rotary sander, smooth the edges of the DIY table risers. If you want the edges more rounded, you can up the grit of sandpaper to 120 grit. Be sure to go back and smooth with the 220 grit after rounding. An electric sander works best for this.
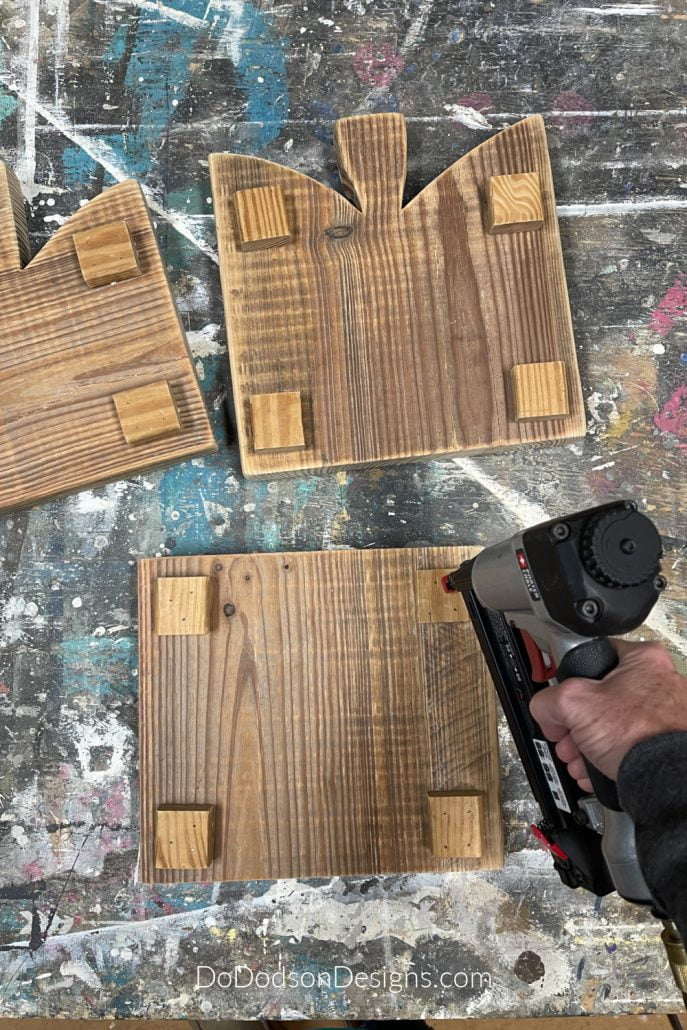
STEP 5: Making The Legs For The DIY Table Riser Cutting Boards
With whatever wood you have laying around, cut out 2-inch squares for the legs. Be sure to sand those like you did your table riser.

STEP 6: Attaching The Legs
To attach the legs to the wood DIY table risers, You can use whatever method will make them adhere. You can choose to glue them on. There is no shame in that. Good wood glue will do the trick.
Or you can choose to nail or screw them in place. I used glue and pin nailer for my DIY table riser cutting boards.
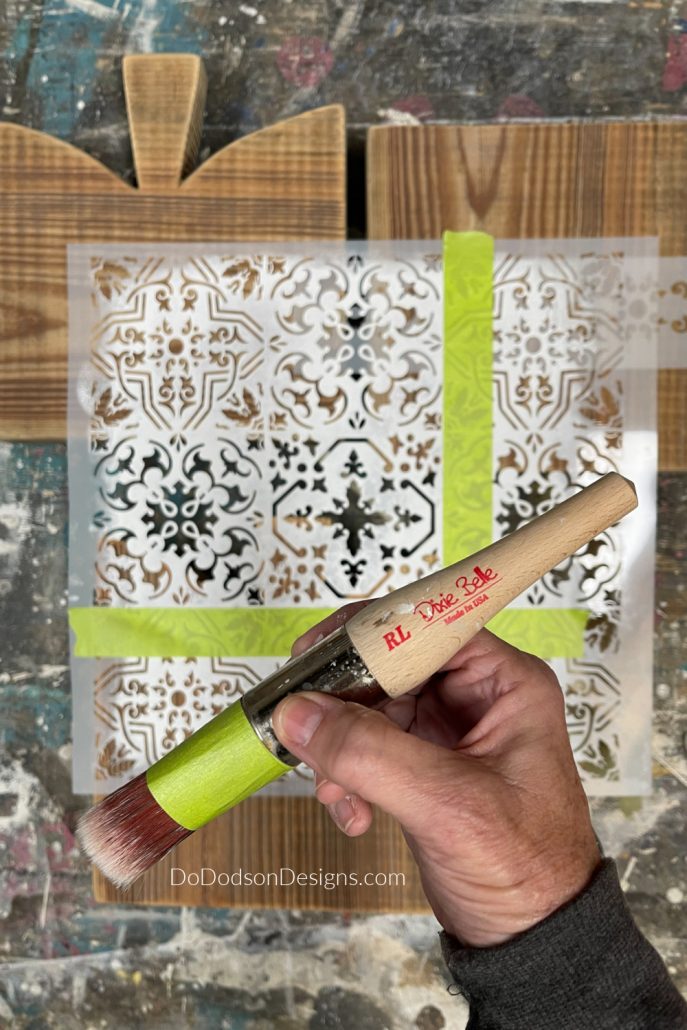
STEP 7: Add A FUN DESIGN! Optional
The next step is purely optional. But if you know me, I’m extra! LOL
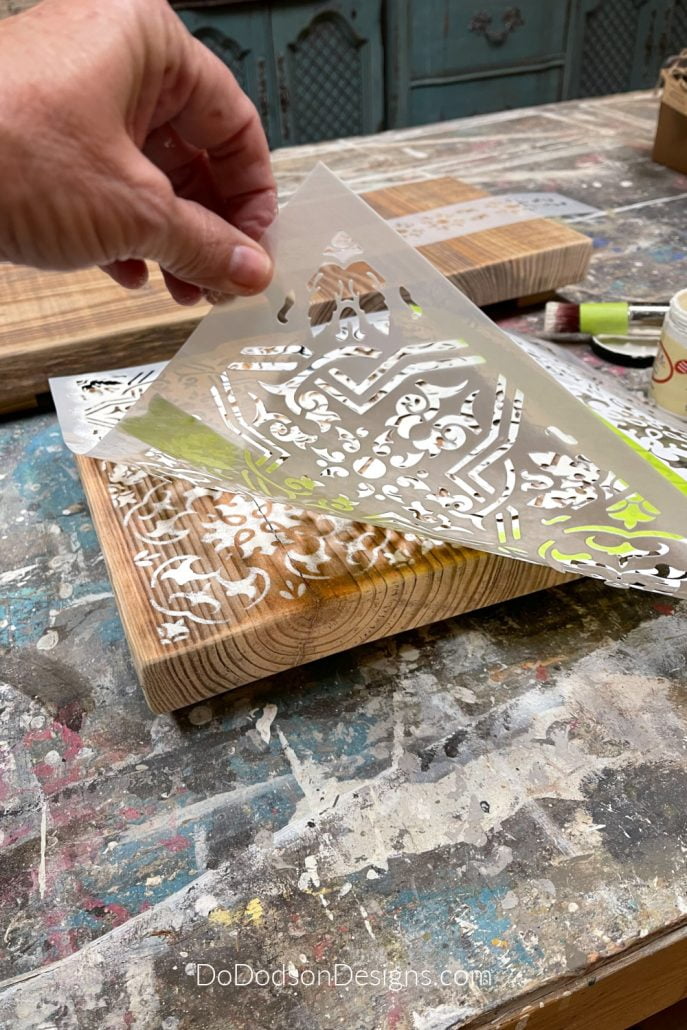
I used this fun tile stencil by Dixie Paint Co. to embellish mine.
Lay the stencil over your wood table riser. I used painter’s tape to outline the section of the pattern I wanted to use. Doing this allows me to use these larger stencils on small projects.
If you don’t have a stencil brush, use any flat round brush and wrap painter’s tape around the base of the bristles. This is a great way to use what you have.
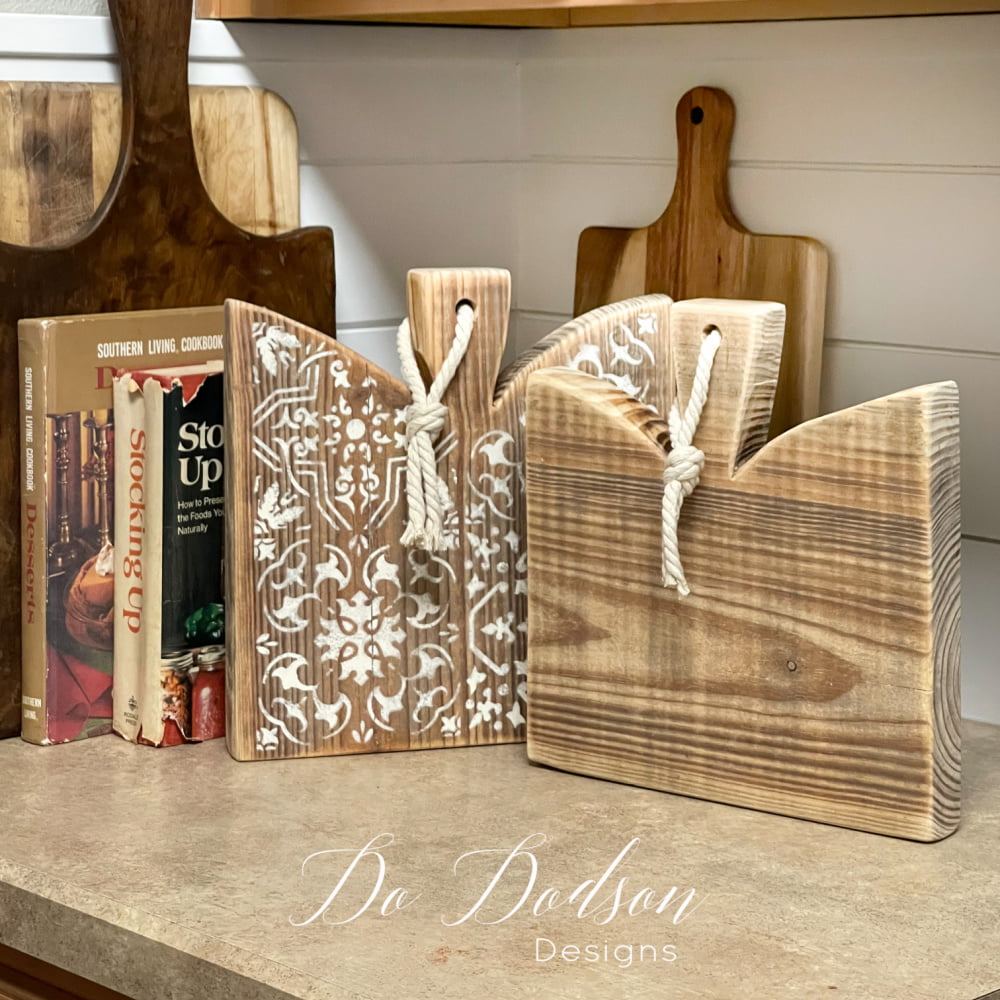
Tah Dah! Gorgeous DIY Table Riser – Cutting Boards
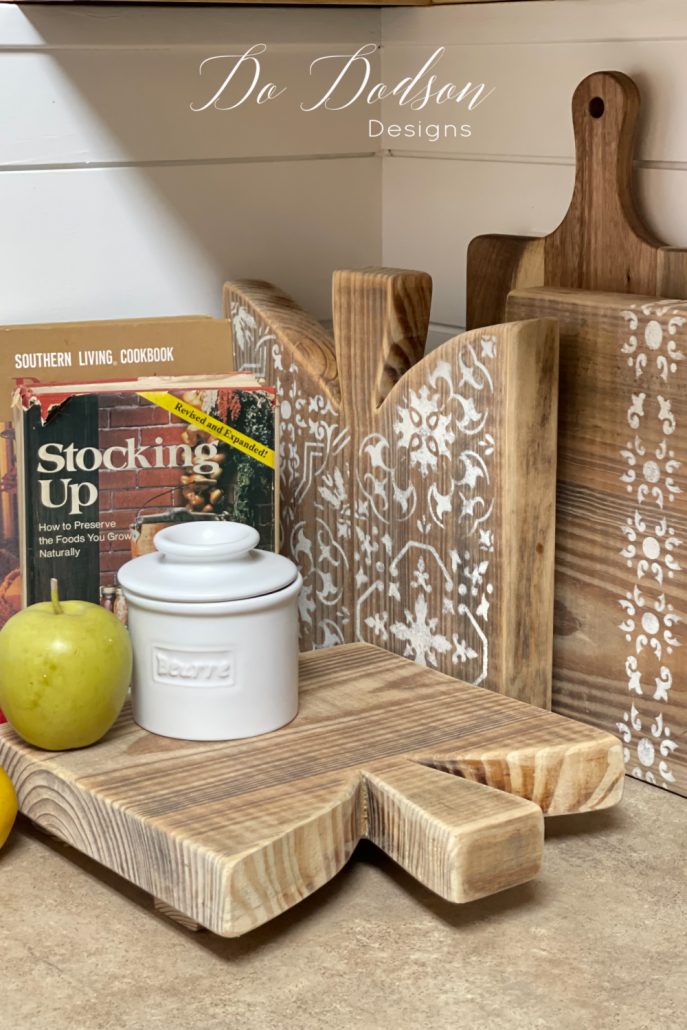
After making these DIY table risers, I decided to drill holes for hanging—another great way to display these primitive-looking cutting boards.
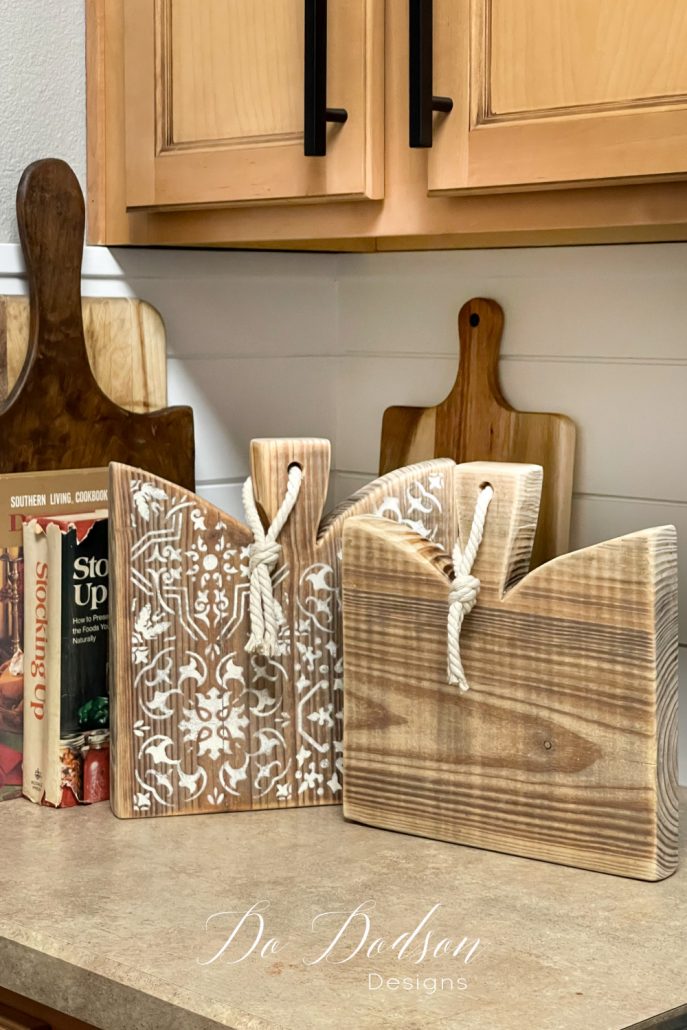
Aren’t these gorgeous?! Who would have thought that a board I found in an old closet would be DIY table risers? I had a feeling.
Thanks for joining me today on my blog, and I hope you enjoyed this DIY project. I always love hearing from my readers, so let me know what you think or just say hi so I know you were here in the comment section.
Until the next project, xo, Do
These are awesome Do! The risers would make great gifts too! Pinning😊 I’m so excited to see your new home and I am sure you can’t wait to move in!!
Thank you, my friend. We are so excited and tired all at the same time. I know all the work will pay off in the end. Thanks for joining me today on my blog. 🙂 xo
I absolutely love these. I am learning more about working with wood and the tools I inherited from my father and son. Thank you for all of your wonderful and inspirational ideas!❤️
Hi Sharon! I’m so glad you’re enjoying my tutorials. Woodworking is so much fun. You can do anything you can dream up in your head. Have a beautiful day. 🙂 xo
These are awesome! I love the sneak peaks of your new home. It’s gorgeous! Hugs to you, my friend.
Thank you so much, Renea! I can’t wait to see you again at Haven. 🙂 xo
I love these and the little feet you put on them! Very cute, Do!
Thanks, Wendy! I needed some craft therapy. You know how it is. Thanks for stopping by and reading my blog. 🙂 xo
What a great idea! Love these! ❤️
I’m so glad you liked these and thanks for stopping by my blog. Have a great week. 🙂 xo
These are gorgeous! I love them!
Thanks, Donna. I think I’ll be making more for gifts. Quick and easy. Thanks for stopping by. 🙂 xo
Super cute and nifty idea! I have a lot of scraps and so love seeing great ways to use them! Thank you.
Fun stuff, right? I get a kick out of making things with scrap wood. Thanks for joining me here. 🙂 xo
These are so stinking cute, lady! Love them!
Thanks, friend! A girl has gotta craft whenever she can. Thanks for joining me today. 🙂 xo
What are the “rules” for painting and sealing wood so you can use them with food? Anything water base ok? Polycrylic?
I wish I had an ingenious friend close by to work with but until then, I have you and I’m thankful for that!
I’m sure about the rules, but I did use polyacrylic to seal my butcher block countertops and use them every day. I see others use the same sealers on tabletops, so I’m assuming it’s okay.
Me gustó mucho la idea. Intentaré ponerla en práctica. Es muy simple, pero queda muy bonito!🥰👍💐
Hi Diana! Sometimes it’s the simple ideas that make the biggest statement. Have a great week. 🙂 xo