
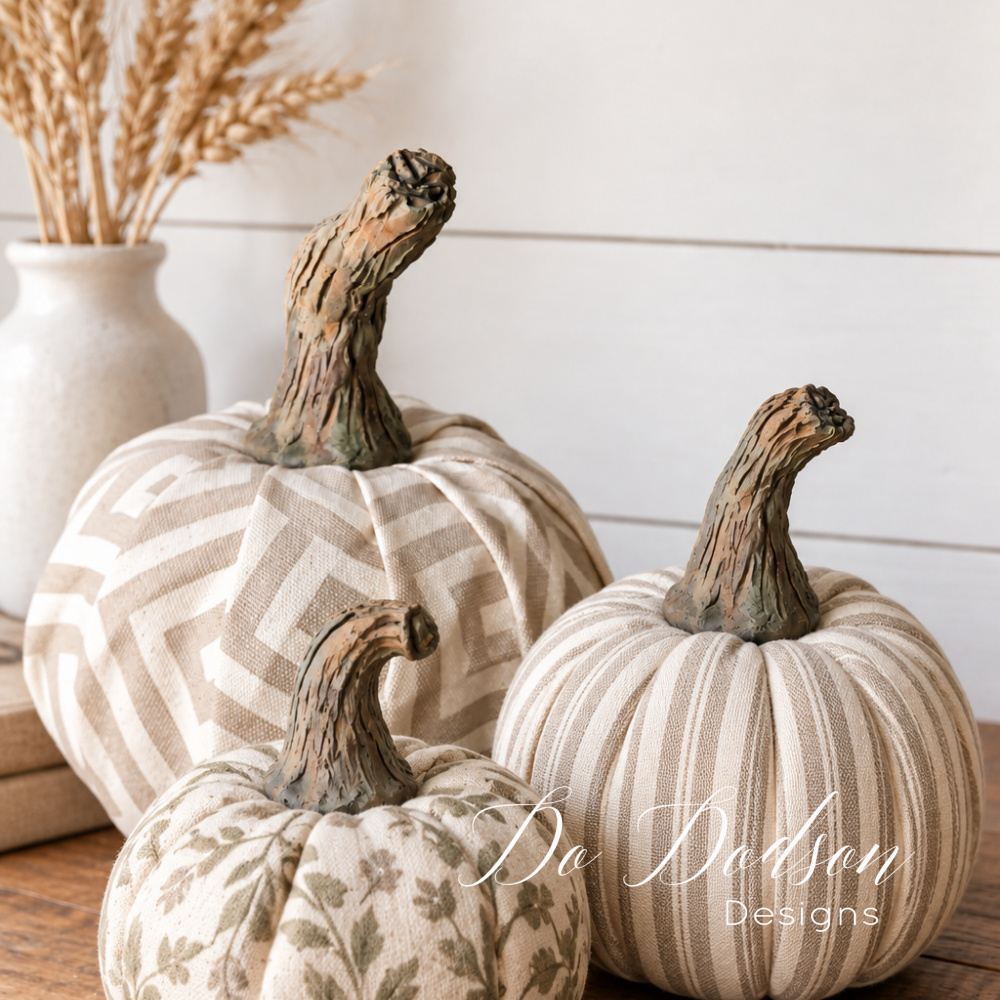
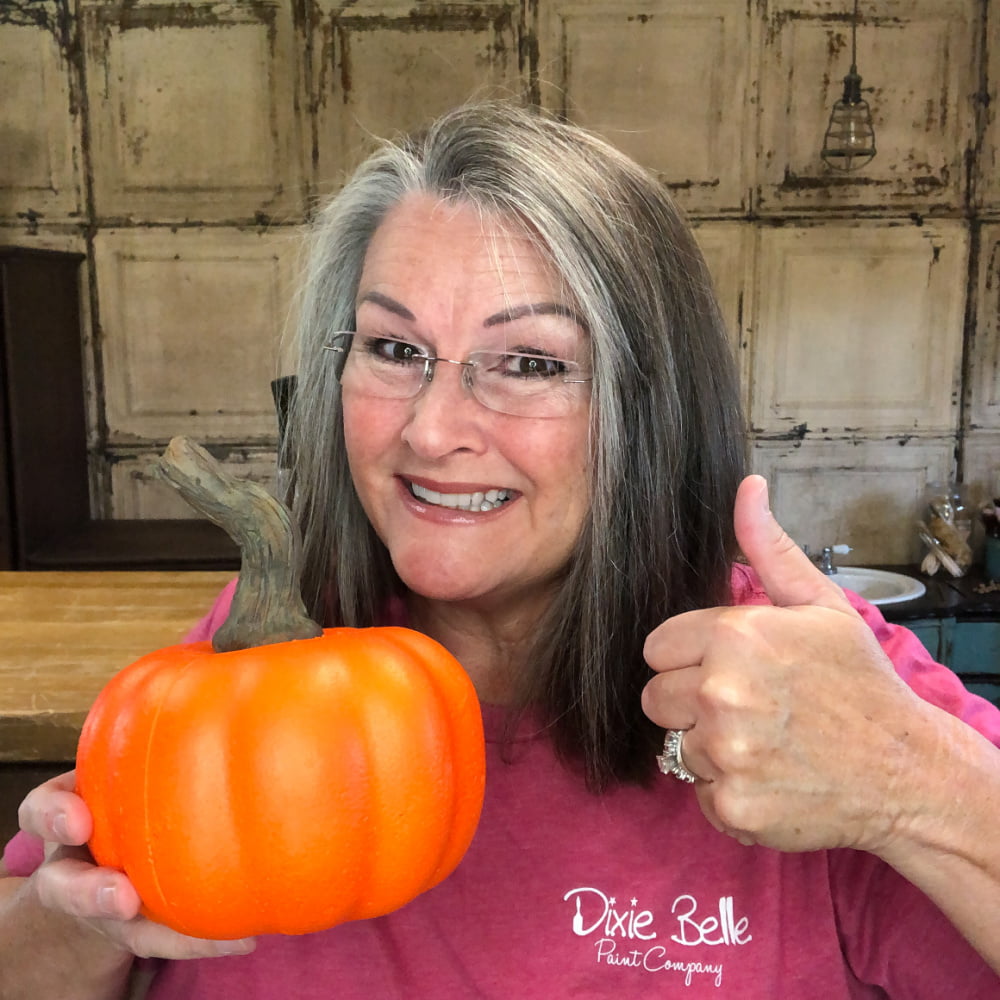
You know those bright green plastic stems that come on inexpensive faux pumpkins? Let’s just say they aren’t fooling anyone. I love using affordable craft pumpkins for fall decorating, but that little plastic stem can make the whole pumpkin look cheap.
Instead of searching through every pumpkin bin for the one decent stem—and testing Mr. Honey Do’s patience in the process—I decided to make my own reusable DIY pumpkin stems.
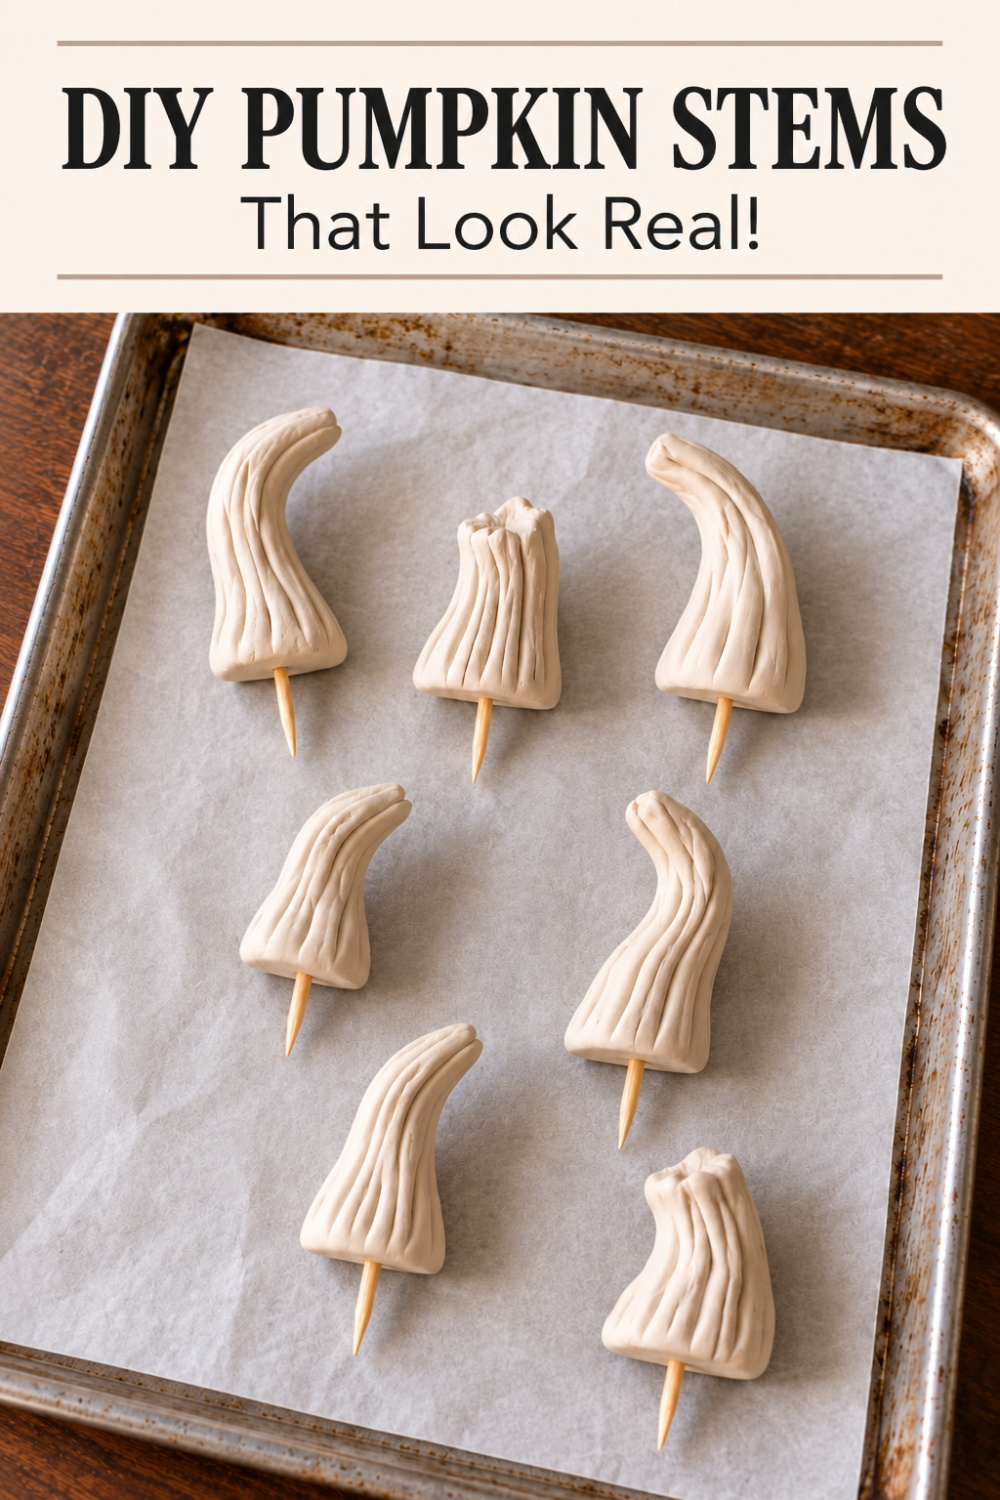
In this easy tutorial, I’ll show you how to shape realistic pumpkin stems from oven-bake clay, add natural-looking grooves, and layer paint and cinnamon for an aged, straight-from-the-pumpkin-patch finish. You can use them on fabric pumpkins, painted pumpkins, and inexpensive faux pumpkins year after year.
Prefer to watch? I’ve also included a complete video tutorial so you can see exactly how these DIY pumpkin stems come together.
This post was updated in September 2026 with clearer instructions, helpful tips, and fresh ideas to make it even easier to create realistic DIY pumpkin stems.
This post contains a few affiliate links to help you find the products I use. You are not charged extra to use any of the links, but any income I make will be used for more fun projects! To see my full disclaimer, click here.
How to Make Realistic DIY Pumpkin Stems
Before making the new stems, remove the plastic stems from your faux pumpkins. Most will pull or twist right off, although you may need to carefully cut away a little glue.
Don’t worry if removing the original stem leaves a small hole. We’ll add a toothpick or wooden dowel to each handmade stem so it can be securely inserted into the pumpkin—and easily removed when you want to reuse it.

Watch the DIY Pumpkin Stem Video Tutorial
Watch the video below to see how I shape, texture, bake, and paint the clay stems for a realistic finish. The written step-by-step instructions are included below if you prefer to work at your own pace.
Supplies Needed to Make DIY Pumpkin Stems
Here’s what you will need to make your own DIY pumpkin stems.
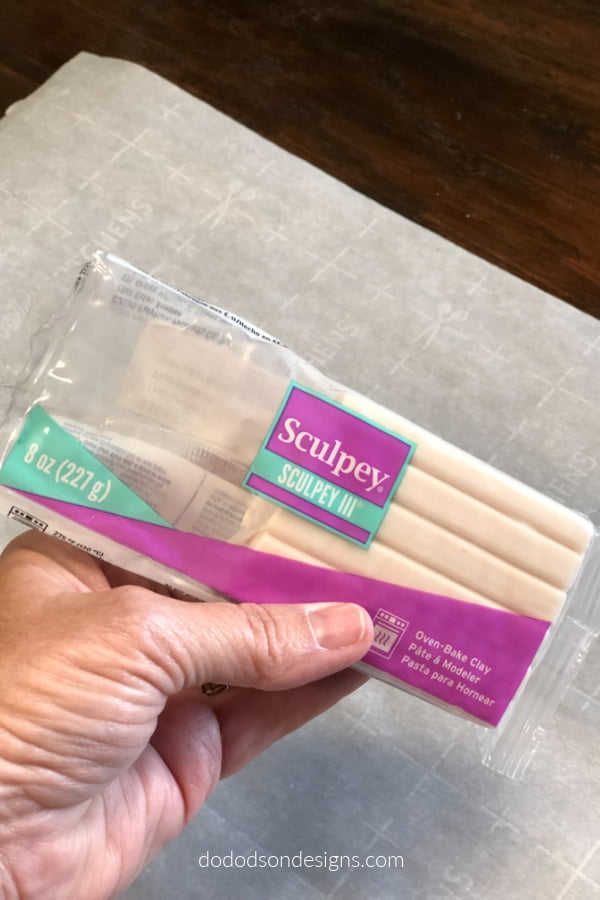
- Oven-bake polymer clay
- Craft stick or dull butter knife
- Toothpicks or small wooden dowels
- Small artist paintbrushes
- Makeup sponge or cotton balls
- Dark gray, brown, and muted green acrylic craft paint
- Matte Mod Podge
- Ground cinnamon
- Parchment-lined baking sheet
- Adhesive, if you want to permanently attach the stems
Oven-bake clay is also known as polymer clay, so you may see these referred to as polymer clay pumpkin stems.
Important: Different polymer clays may have different baking temperatures and times. Always follow the directions printed on your clay package rather than relying on one temperature for every product.
Step 1: Shape the Clay Pumpkin Stems
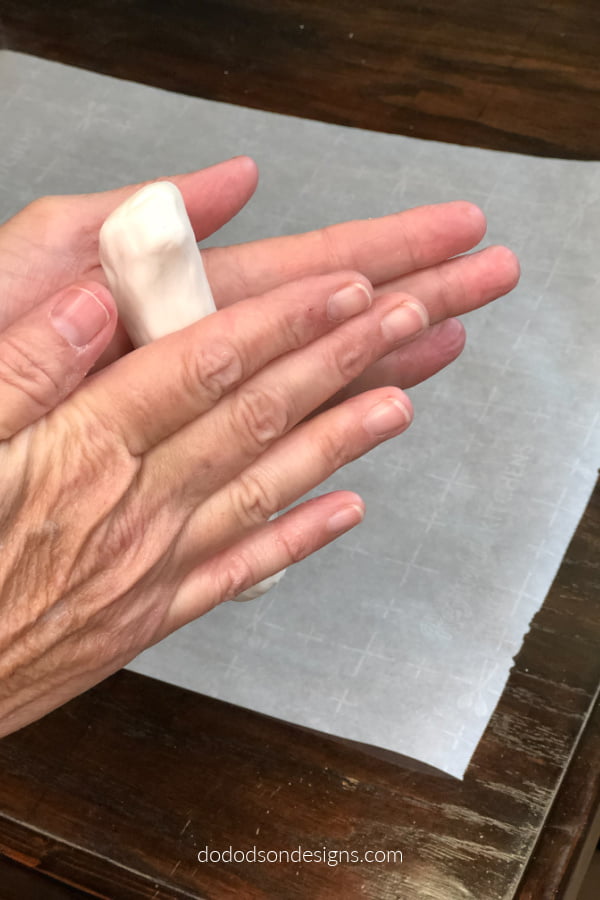
Break off a piece of oven-bake clay and soften it by rolling it between your hands. The amount you need will depend on your pumpkin’s size and how tall you want the finished stem to be.
Roll the clay into a thick, tapered rope—almost like making a snake from Play-Doh. Keep the bottom wider and gradually narrow the clay toward the top. Then gently bend or twist it to mimic the irregular shape of a real pumpkin stem.
Don’t worry about making every stem identical or perfectly smooth. Real pumpkin stems have curves, bumps, broken tips, and plenty of character. Those little imperfections will help your handmade stems look much more realistic.
Step 2: Adjust the Stem to Fit the Pumpkin
Before adding the texture, place the clay stem loosely on top of your faux pumpkin to check its size and shape. The base should be wide enough to cover the opening left behind by the original plastic stem.
If the stem looks too large, pinch away a little clay and reshape it. If it looks too small, add more clay and blend the pieces together with your fingers. Create stems in different heights, curves, and shapes if you’re making several pumpkins—the variety will make your fall display look more natural.
Once you’re happy with the shape, gently flatten the bottom just enough for the stem to sit securely against the pumpkin.
Step 3: Add Realistic Texture and a Wooden Pick
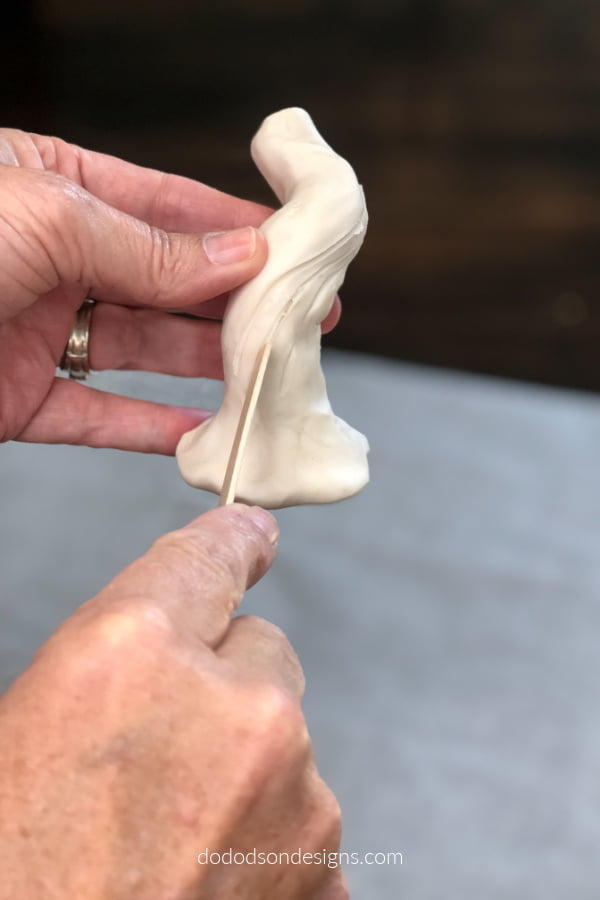
Use the edge of a craft stick, a dull butter knife, or another blunt tool to press irregular vertical lines and grooves into the clay. Start at the base and work toward the tip, varying the depth and spacing as you go.
Avoid making the lines too straight or evenly spaced. Real pumpkin stems are rough, ridged, and imperfect, so a little unevenness will make your DIY stems look more convincing.
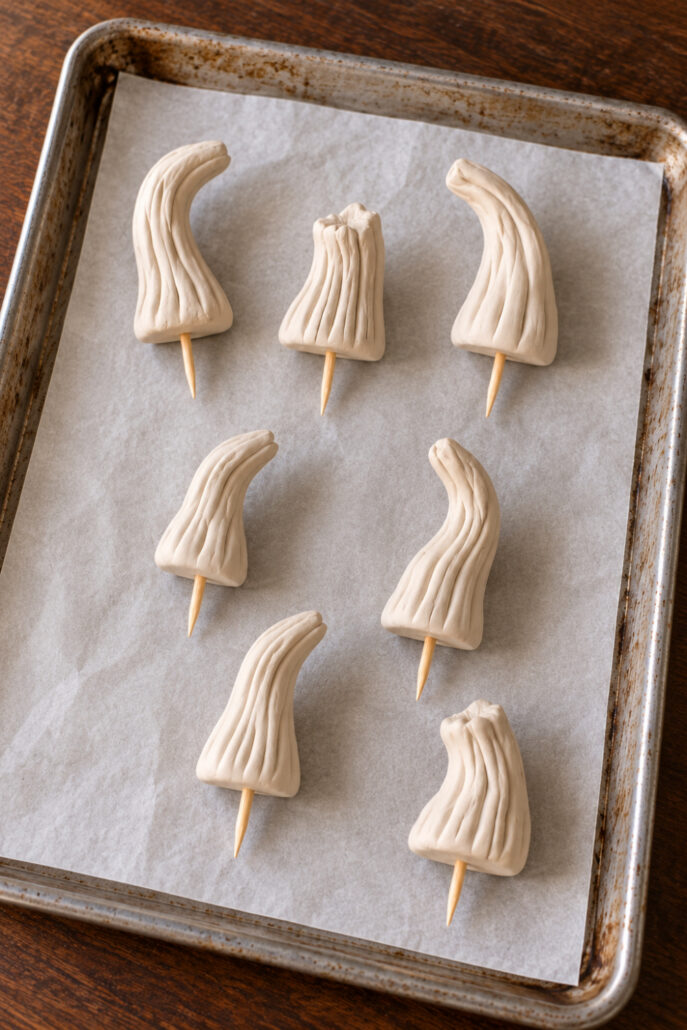
Before baking, carefully insert a toothpick or short wooden dowel into the bottom of each stem. This will allow you to push the finished stem into a fabric or faux pumpkin and remove it later for reuse. Be careful not to push the wooden pick through the side of the clay.
Step 4: Bake the Clay Pumpkin Stems
Arrange the finished clay stems on a parchment-lined baking sheet, leaving a little space between each one. Bake the stems according to the temperature and timing listed on your clay package. Baking time can vary depending on the clay brand and the thickness of your stems.
I baked mine at 275 degrees for 15 minutes.
Once baked, carefully remove the stems from the oven and allow them to cool completely before painting. They may still feel slightly flexible while warm, so resist the urge to handle or test them right away.
Step 5: Paint the Pumpkin Stems
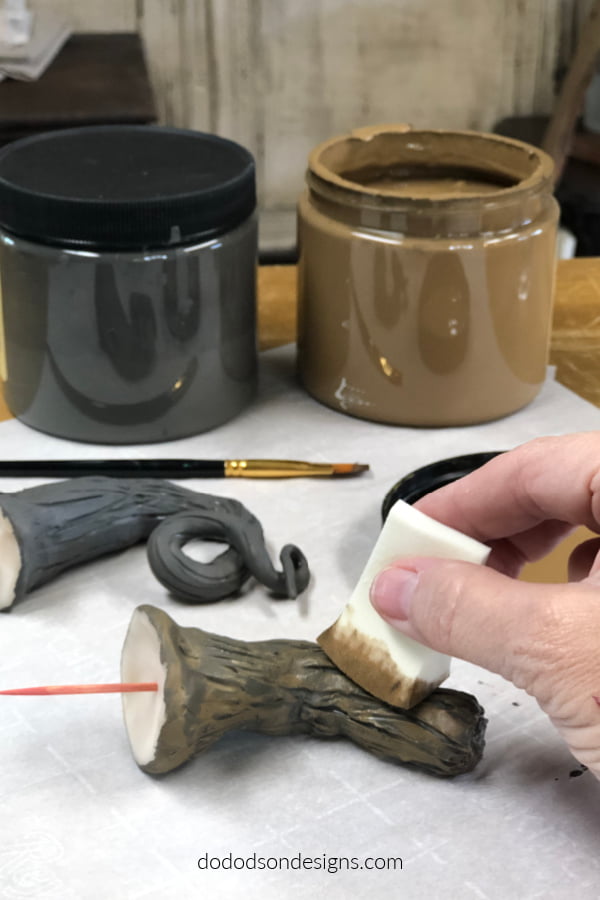
Begin with a dark gray or deep brown base coat. Use a small artist’s brush to work the paint into all the grooves and textured areas. This darker color will create the shadows that give the stem depth. Allow the base coat to dry completely.
Next, lightly layer brown and muted green paint over the base using a makeup sponge or cotton ball. Thin the paint with a small amount of water to create a translucent wash, then dab it onto the stem instead of brushing on a heavy coat.
Build up the colors gradually, leaving some of the dark base coat visible in the grooves. The combination of dark shadows and uneven layers will give your DIY pumpkin stems a naturally aged, mottled appearance.
Step 6: Add an Aged, Just-Picked Finish
For the final realistic touch, brush a small amount of matte Mod Podge onto a few areas of the painted stem. Lightly sprinkle ground cinnamon over the wet adhesive, then gently tap away the excess.
Use the cinnamon sparingly—concentrate it around the base and inside a few grooves where dirt would naturally collect. Too much can make the stem look rusty instead of freshly picked from the pumpkin patch.
Allow the Mod Podge to dry completely before inserting the finished stem into your pumpkin.
Step 7: Attach the DIY Stem to Your Pumpkin
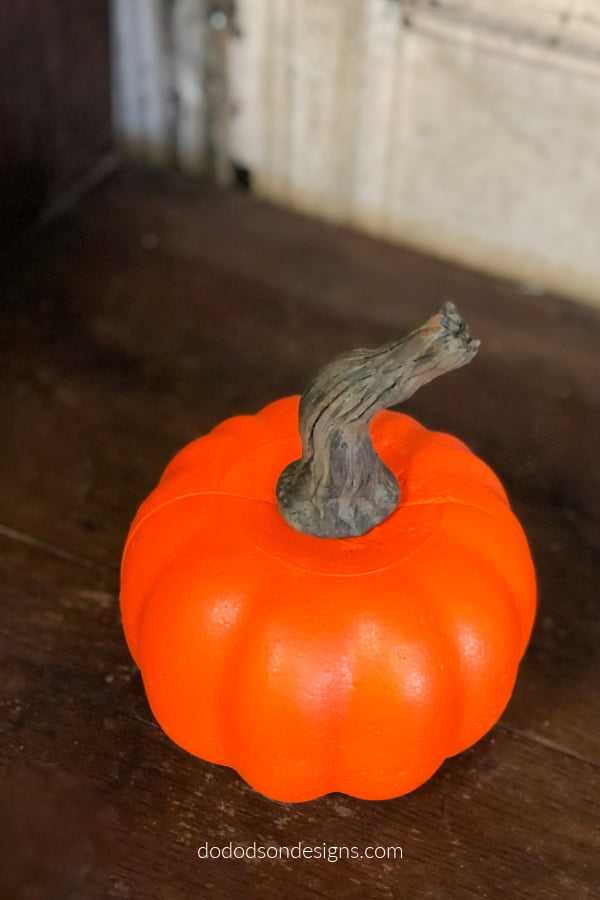
Once the paint and Mod Podge are completely dry, gently push the toothpick or wooden dowel into the top of your faux or fabric pumpkin. The wider clay base should cover the opening left by the original plastic stem.
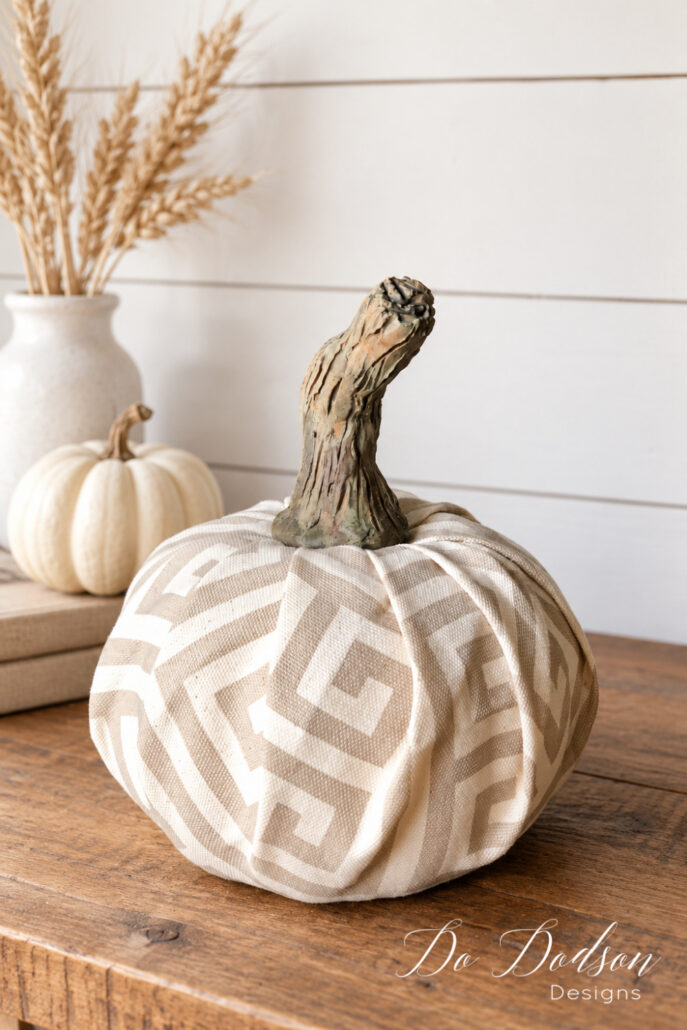
If the stem feels loose, add a small amount of hot glue or another craft adhesive around the base. Skip the glue if you want to remove the stem and reuse it on a different pumpkin next fall.
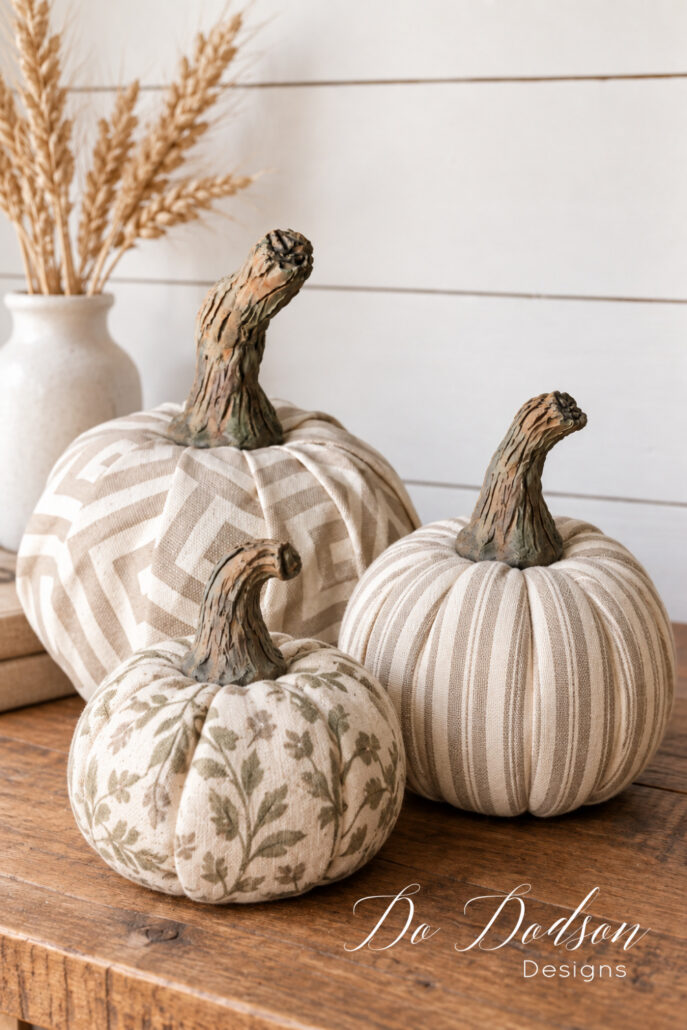
Step back and admire the difference. That inexpensive faux pumpkin just received a much more realistic—and far less plastic-looking—finish!
Tips for Making Pumpkin Stems Look Realistic
The best-looking DIY pumpkin stems aren’t perfectly shaped or evenly painted. A few natural imperfections will make them look much more convincing.
- Make the base wider than the top so it sits naturally on the pumpkin.
- Create stems in different heights, widths, and curves.
- Press irregular grooves into the clay instead of evenly spaced lines.
- Start with a dark base coat to create realistic shadows.
- Apply the lighter paint colors gradually so the dark grooves remain visible.
- Use muted brown, gray, tan, and green instead of one solid color.
- Add cinnamon sparingly around the base and deeper crevices.
- Look at photographs of real pumpkin stems for inspiration on shape and color.
Remember, there is no “perfect” pumpkin stem. The crooked, bumpy, slightly odd ones usually look the most authentic—and they’re much more fun to make.
Who knew a little clay, paint, and cinnamon could make such a big difference? These DIY pumpkin stems turn inexpensive faux and fabric pumpkins into fall decor that looks much more natural—and no two stems will ever be exactly alike.
I love that they can be removed, reused, and added to new pumpkin projects year after year. If you make your own, embrace the crooked shapes and imperfect grooves. That’s where all the realistic character comes from!
Would you try this easy pumpkin-stem makeover? Leave me a comment below, and don’t forget to save this tutorial to your favorite DIY fall decor Pinterest board for later.
Until the next project… xo, Do
More DIY Fall Decorating Ideas
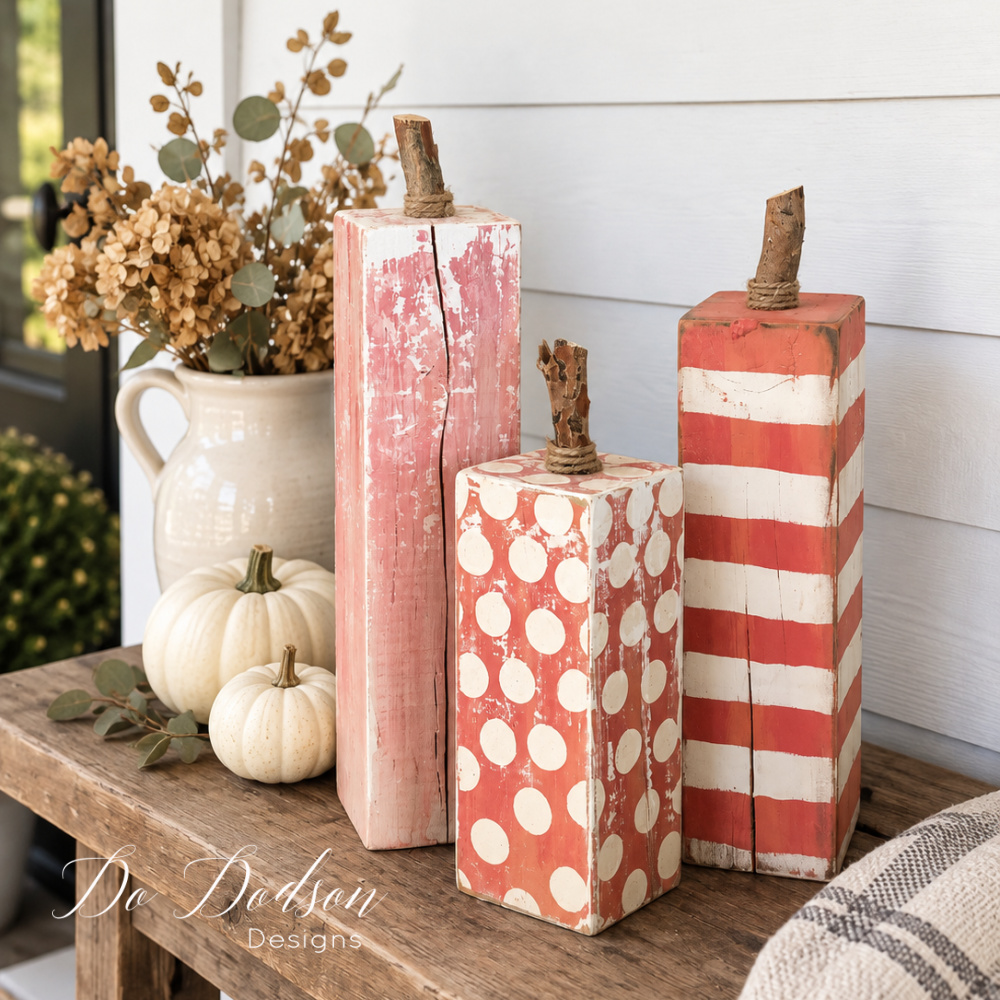
If you enjoyed making these realistic DIY pumpkin stems, here are a few more simple fall projects to try:


Super cute and looks 1000X better! Great idea Do!!! 🙂
LOL Thanks, Denise! Anything is better than the original. 🙂
Did the clay give off any fumes when you baked it ? It turned out super cute👍
Hi Deb! Thanks! No fumes. Just be sure to let them cool completely. 🙂
Oh my goodness!!! Now I am going to need to get some clay and play! Thank you
You would be great at it! xo 🙂
Love those stems!!! Thanks for sharing. 🙂 PInning and then headed out to the dollar store!
Thank you, sweet friend! Gotta love that Dollar Store. 🙂 xo
These look so realistic Lov them thanks for a great tutorial
You’re welcome, Mary! Thanks for joining me.
I love this. I’ve tried sticks etc but this is perfect. Thanks for the idea and inspiration.
You’re welcome, Regina! I find it just makes DIY pumpkins so much better. 🙂 xo
Grazie per il tutorial le mie zucche verranno una favola voglio farne subito qualcuno speriamo venga bene
You’re welcome, Anna! So glad you enjoyed the tutorial. Let me know how yours turns out. I know they will be fabulous! 🙂 xo
You are my kind of gal, funny, creative and seem so personable. Your pumpkin stems look amazing. I have created so many pumpkins using Dollar Tree pumpkins. Covered them with bandanas, scarves, fabrics, Mod Podge tissue napkins etc. I have never worked with clay but I am anxious to try your method. Thank you. A transplanted Scot in Canada. ❤️🇨🇦🏴
🙂 Thanks, Fran! Stay warm up there.
Love this idea to make more realistic pumpkin stems. I make loads of fabric pumpkins and will get started now to make the stems and will try your faux concrete pumpkin idea. 🎃
I’m so glad you enjoyed this one. I guess it’s about time for me to start making more too. Good to hear from you. 🙂 xo
LOVE this idea! I’ll need to start practicing now to get some done for fall decor. Thanks for sharing!
It’s super fun, Joy. It’s like I’m a kid in art class all over again. Let me know how yours turns out. I’d love to see pics too. xo 🙂
Thank you for the tutorial of the pumpkin stems. I can’t wait to try it!
I also want to thank you for your humor and being conscious we are not all wealthy. I love designing in a dime. You always explain everything so well. I appreciate all you do.
Thank you, Laura! That means a lot. I try my best to share easy and affordable DIY projects. There’s an obvious reason why I DO these kind of projects. LOL. Have a great week. 🙂 xo
I sent my husband to Dollar Tree to pick up a couple of those pumpkins to cover like you did and he came back with a case. I’ve got 36 stems to make!!!!!! Thanks for the tutorial.
LOL, OMG! A whole case, Nelda? That’s a lot of stems. You’ll be a master at them by the time you complete the 36th stem. That’s going to be FUN. 🙂 xo
I think the paint colour does a lot also to make stem look realistic. Thanks for the tutorial.
You’re very welcome. Happy to share.
Oh, you’re welcome! Yes, I agree, the color is important. Happy creating! 🙂 xo
Thanks for sharing. Some of the links for products are outdated. I tried to click on all of them but got an error message on one.
Thank you so much for bringing this to my attention, Stormi.
The links have been updated so you can find the products you need to make awesome pumpkins stems. These are so fun to make. Enjoy and thanks for reading. 🙂 xo
I made some of these this week. They look great and were very easy to make. The imperfections make them look realistic. Thanks for the video and instructions
Wonderful Robin! I’m so glad you enjoy making them. I agree. It’s like art class in elementary school. Good times.
How do I post a picture
You can email me at [email protected]
I’d love to see them! 🎃