
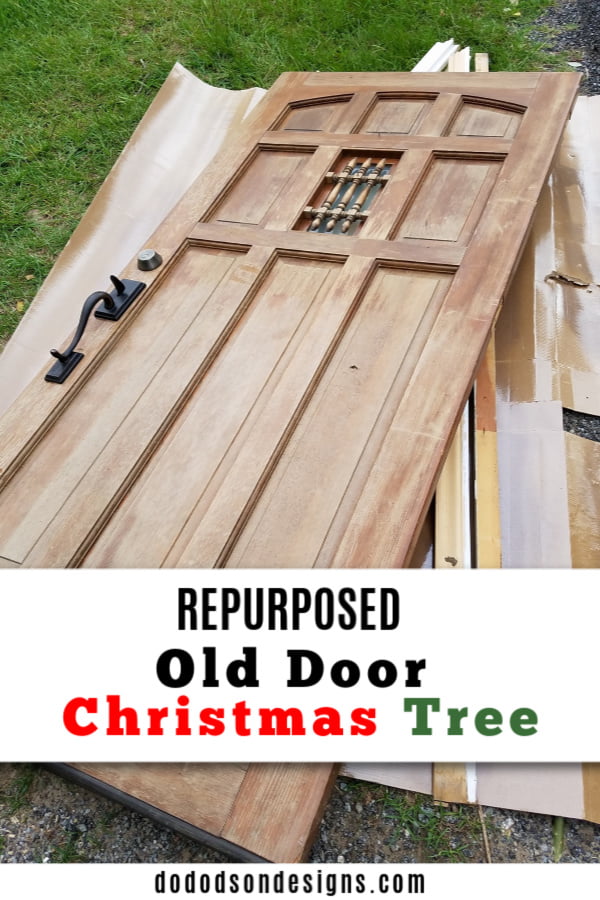
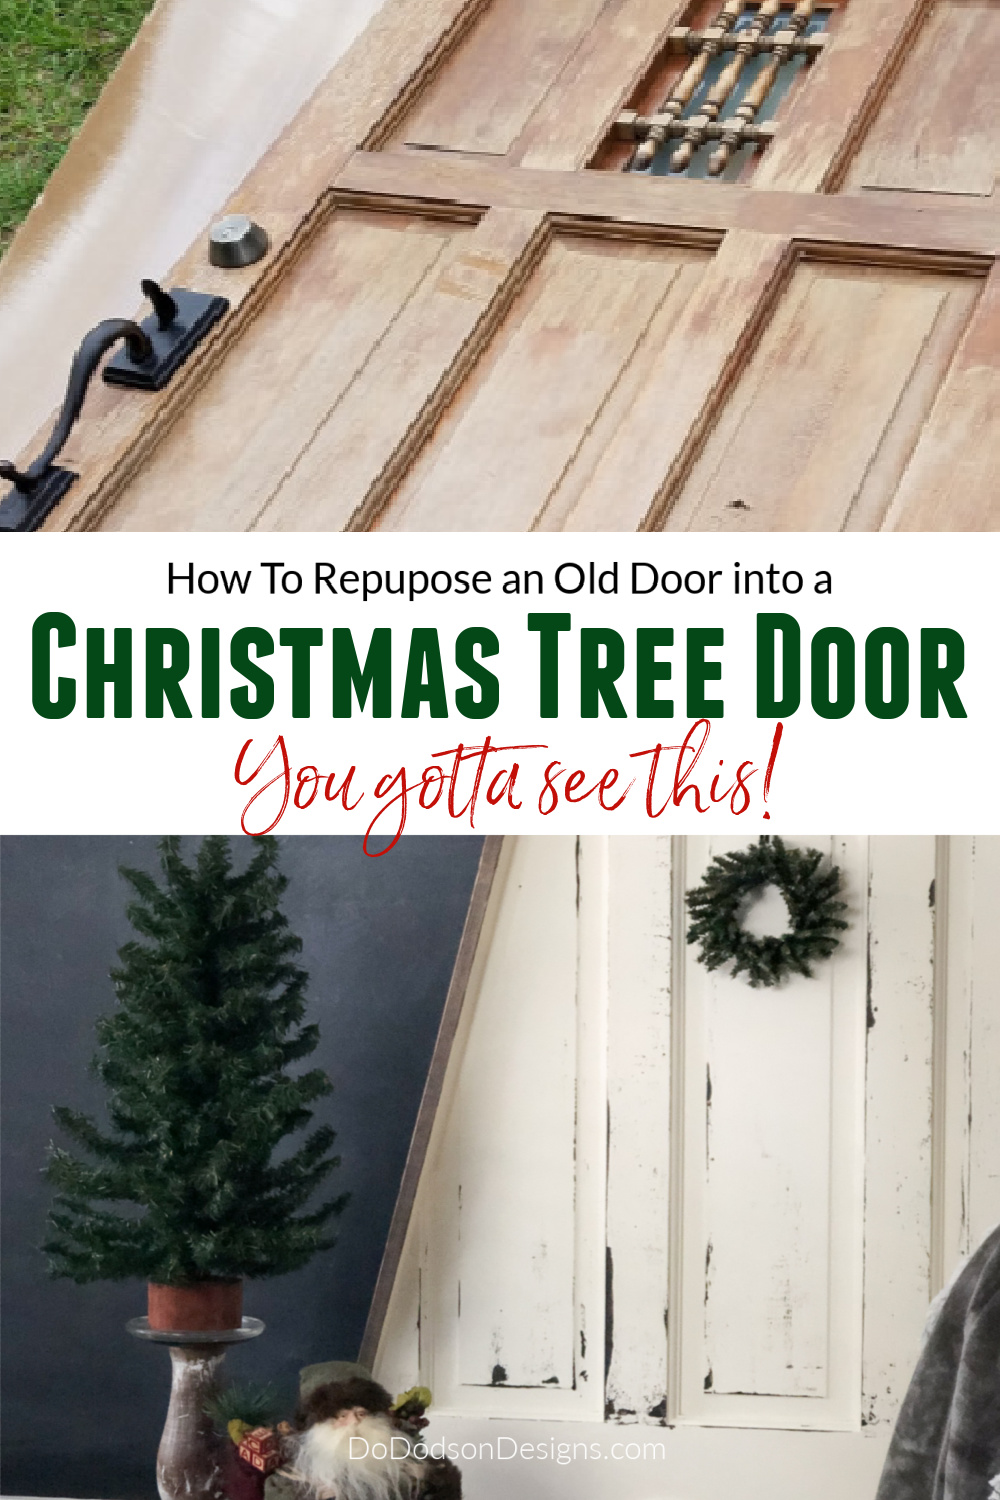
SCORE! It’s the curbside find of the year, and I have a fascination with old doors, and that’s no secret. Repurposing them is a great way to add some holiday character to your decor. There’s just something magical about them. Maybe it’s because it was a passageway into someone’s life, and to me, that’s meaningful. So, I look for project ideas that will add even more meaning to their stateliness. They’re just grand! Today, I want to show you how I made a DIY Christmas tree door that isn’t as hard as you may think. And if you have a small home with limited space for decorating, this is your answer.
This post contains a few affiliate links to help you find the products I use. You are not charged extra to use any of the links, but any income I make will help me create more fun projects to share with you! To see my full disclaimer, click here.
Giving An Old Door A New Purpose
Vintage wooden doors are everywhere, and like me, you may get lucky and find a discarded roadside door. My mission was to give it a new life, but it took me a while to decide what I wanted to do with it.
Where To Find Vintage Wooden Doors?
Try your local yard sales and thrift stores to start with. Flea markets and auctions are always a good place to search.
Doors come in a variety of different sizes, and I find that the smaller ones are easier to manage. You could always cut the door in half to make a small tree.
Even better if it still has authentic hardware or old door knobs.

PRODUCT LIST:
Click on the products in the list below to find what I used for this DIY Christmas Tree Door project.
- old door (solid wood)
- circular saw
- clamps
- pencil
- wood glue
- pneumatic nail gun (hammer and nails)
- hammer
- jigsaw
- electric sander
- Wood U Bend (decorative Moulding)
- buttercream (chalk mineral paint)
- coffee bean (chalk mineral paint)
- paintbrush
- gel stain (walnut)
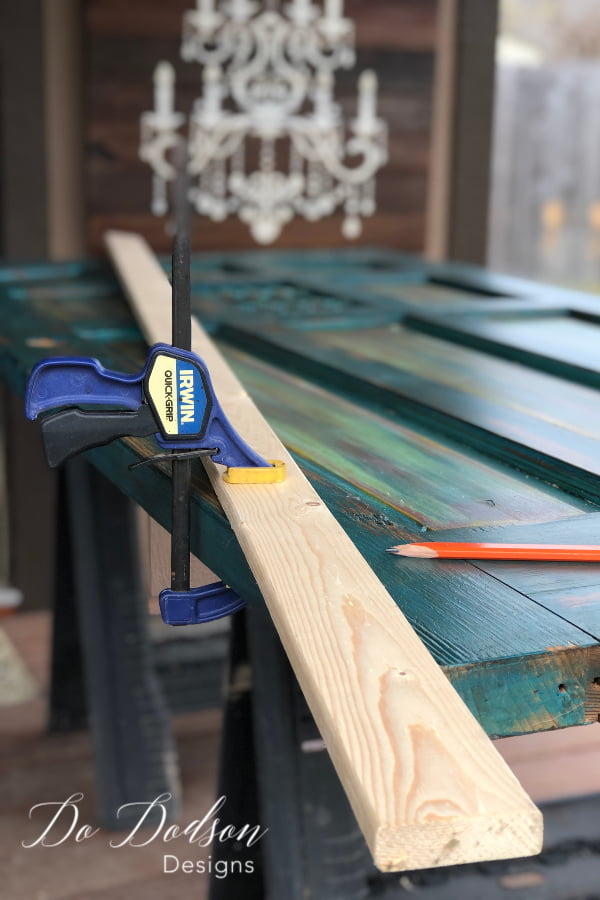
STEP 1: Cutting The Shape Of Your Christmas Tree Door
First, mark the shape of your Christmas Tree Door with a pencil or marker. For this project, I used the 2X3 boards that I purchased for the trim to mark the straight lines. A simple clamp will secure the board so that you can mark those straight lines. I work alone a lot, and those clamps come in handy when you need more hands. Using a circular saw, cut through the door, following the lines of the pencil mark to create the outline of the triangular shape you marked. Hello, Old Door Christmas Tree!
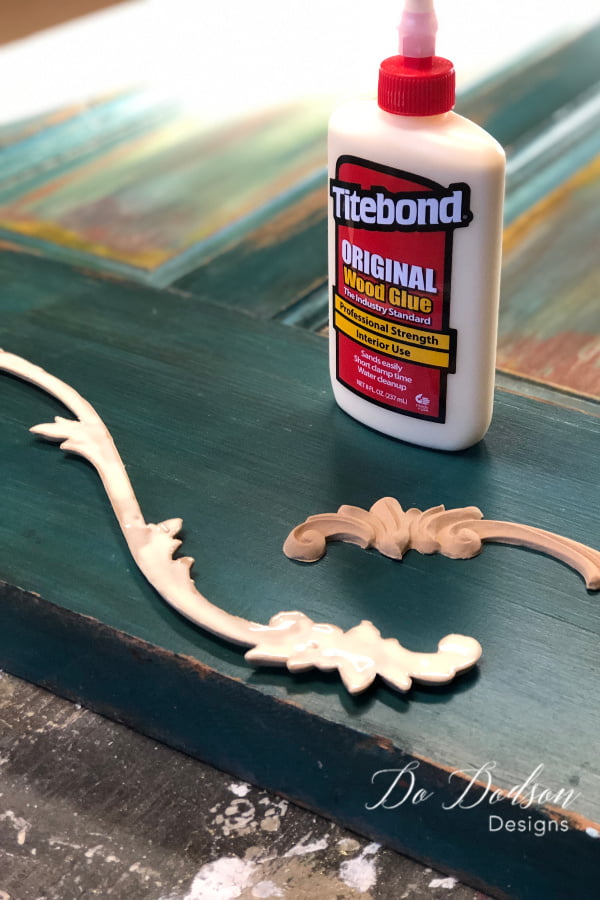
STEP 2: Secure With Glue If Needed
If you’re using a panel door, secure any loose pieces with wood glue and allow them to dry before the next step. This will ensure a strong bond and is necessary to give strength to your old door.
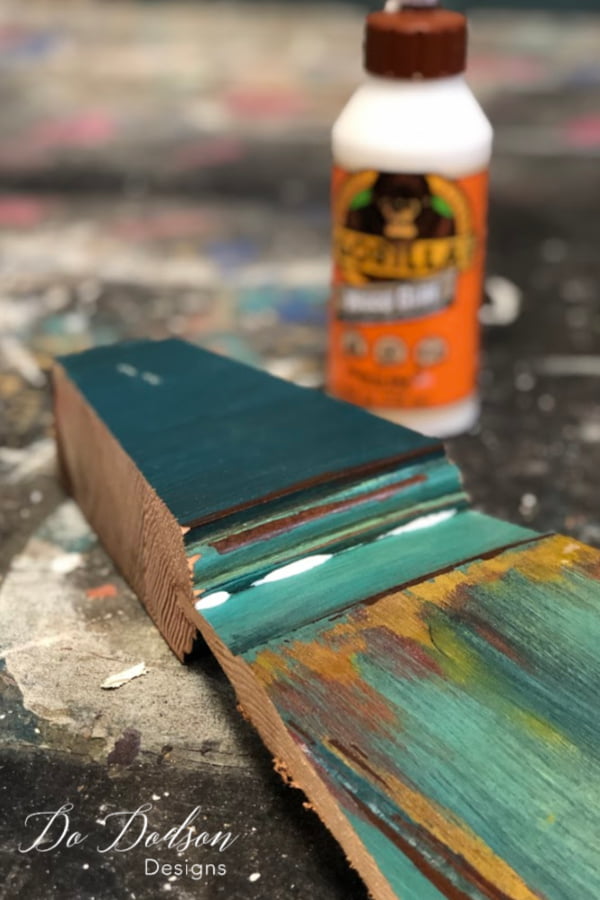
*This door had been previously painted for another project, but I will paint over it with my Dixie Belle Paint.
Save Those Cut-Off Pieces Of The Old Door
BONUS! I have plans for these two cut-offs. These can be attached from behind with wood slats. Square off the bottom with a circular saw, and you have a second Christmas Tree Door! Try using vintage hinges on the front side to give the appearance of a connection. Do you see my vision??? I will be doing this one for my bedroom!
But the front porch might be a great place, too. All your neighbors are going to want one. You trendsetter, you!

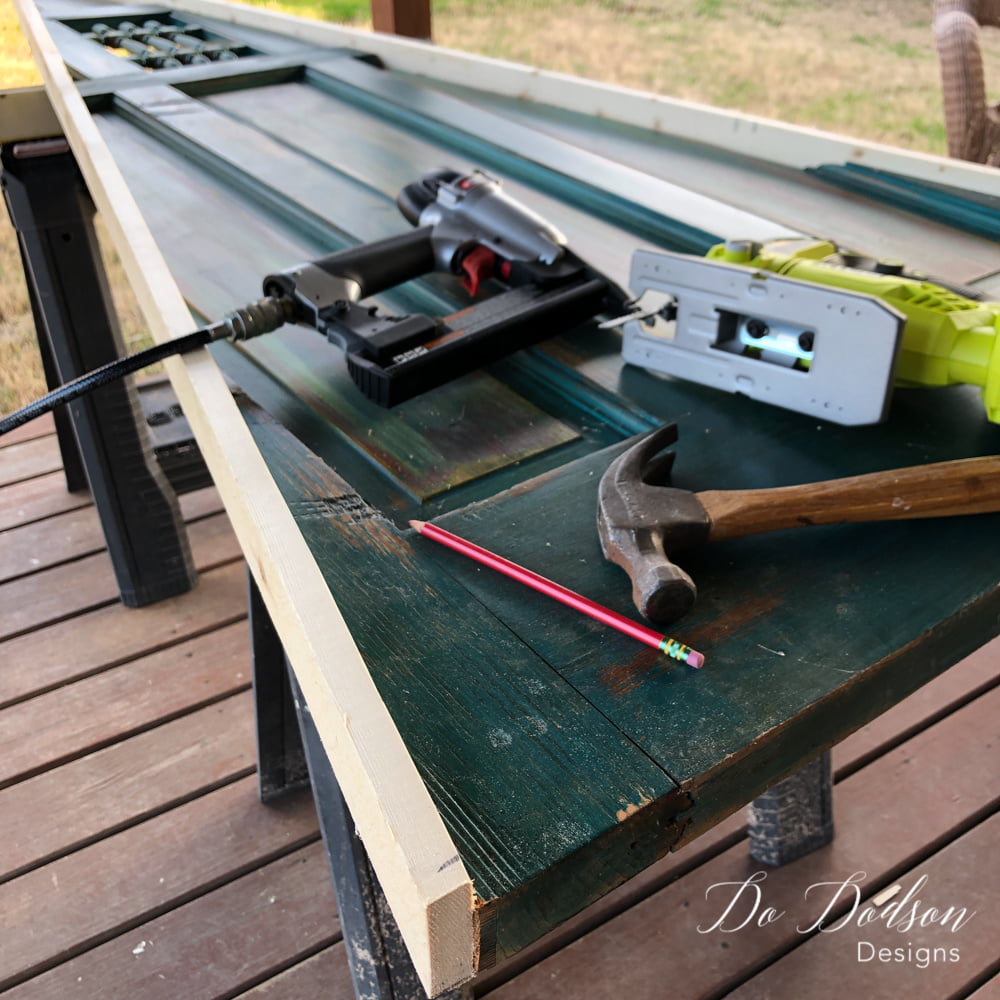
STEP 3: Adding Trim To The Christmas Tree Door
Adding the 2X3 trim will add strength to your old Christmas Tree Door. Measure the boards and cut the appropriate angles for the shape of the tree. This tree shape is a bit different from some of the others I have seen.
I couldn’t create the pointed peak on the old door, so I squared it off on top. All doors are not created equal, and this one had a few challenges due to the design. I think it still works!
STEP 4: Adding Decorative Trim To The Christmas Tree Door
Try adding decorative trim pieces to add interest to a plain door. Be creative here, and the sky is the limit. Here’s a quick video of the application of decorative moldings I used in this project.
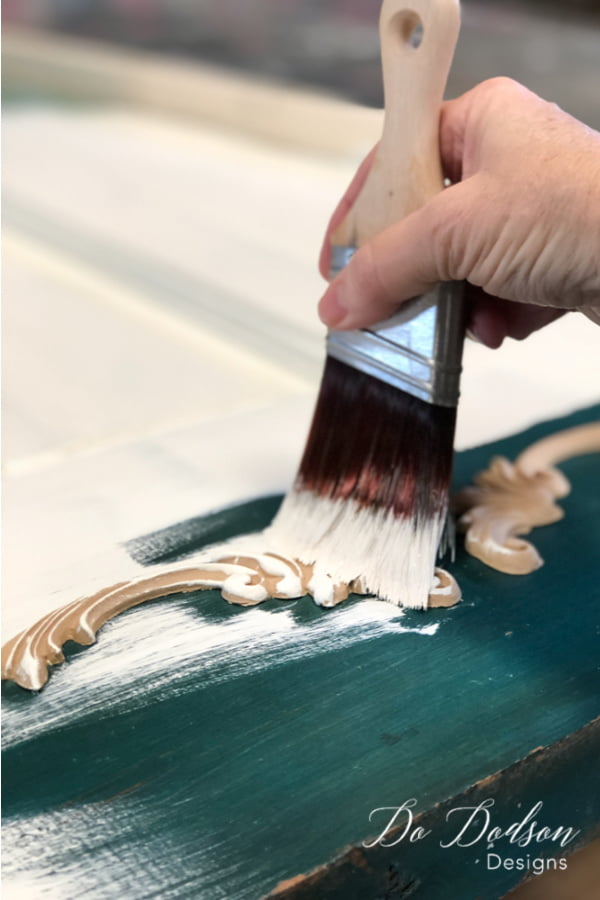
STEP 5: Painting The Christmas Tree Door
Paint the old door one of your favorite festive colors! That’s the easiest part of this whole project because there is no prep before painting if you use Dixie Belle paint.
*When painting over old finishes, it’s best to know what type of paint was used. The rule is water-based paint on top of water-based paint. If you’re unsure, soak a cotton ball in denatured alcohol and rub it over the painted surface. If the cotton ball DOES NOT remove some of the paint, more than likely, it is oil-based paint and will need to use a primer before painting over with water-based paint.
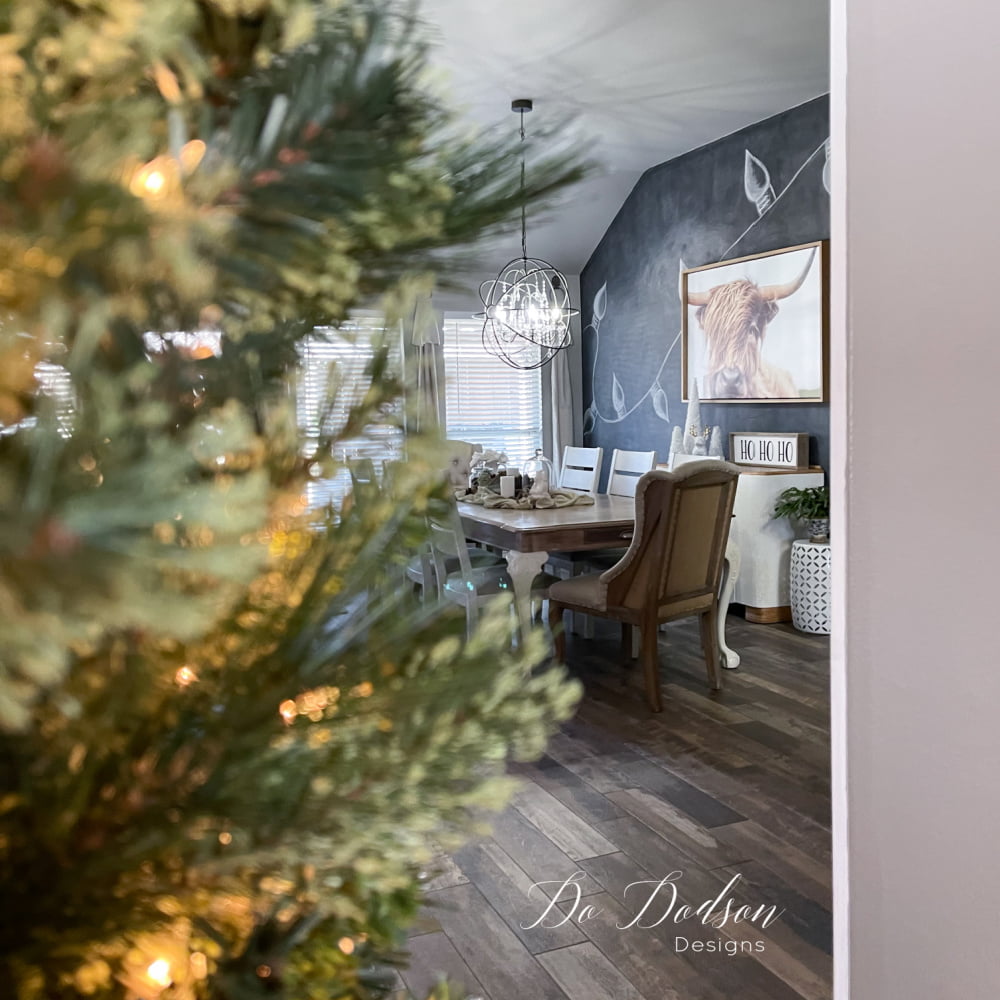
Charming And Unique Christmas Tree Door
Isn’t this a charming way to use an old door?
Or if you want a decorative holiday feature in a room on a blank wall. It looks great, nestled in a corner, too. Where would you put this unique Christmas Tree Door in your home?


This project tickled my fancy! What a great way to repurpose those old doors and create a space-saving Christmas Tree for those small spaces. I can think of a lot of variations of the project and how to make it my own. A card display? A Christmas calendar? Add decorative hooks to display your favorite ornaments. So much is going through my head.
What would you do differently? I’d love to hear your ideas and how you would use an old Christmas Tree door in your creative space. Drop me a comment below, or just say hi so that I know you stopped by. You know I LOVE hearing from you.
Don’t forget to share this on Pinterest and share it with your besties.
Happy holiday crafting!
Until the next project… xo, Do


Gosh Donna that is really lovely!!
I’m so glad you like it! 🙂 xo, Do
Hi Donna! Your door looks fantastic! But I have to say, I really love the color mix on that door BEFORE you redid it!! Did you paint the door those colors in a prior project, or did you acquire the door from another artist who had created the color combo? I would actually like to know what colors and mediums were used to get that effect for a solid wood door that I have and would like to repurpose.
Hi Cristy! Thank you! Yes, I did create that finish for a tutorial in The Art Of Painting Furniture. You can learn more here. 🙂
https://members.dododsondesigns.com/join-the-art-of-painting-furniture-subscription-group/
Very clever! I love what you did with the door. Just stunning. Thanks for sharing.
Thank you so much, Sue! I’m glad you like it. 🙂 xo, Do
OMG? love this door tree! Turning “free” into “fabulous” is my favorite kind of projects. Where are you getting those cute small wreaths??
Thank you for all these wonderful tutorials, I’m always excited to see you’ve posted a new one!
You’re welcome, Becky. I found them on Amazon. Here is a blog post I wrote about using them to decorate my kitchen for Christmas. Click the link below to find them. 🙂
https://dododsondesigns.com/mini-wreaths/
Love it, I made some similar did you add anything g to have it stand alone or does it lean on a wall? Love all your projects you are very inspirational!!
Thanks, Arlene! For now, it’s leaning against the wall. I will build a base so it can stand alone. 🙂
This was definitely worth waiting for ♥️
I have some old doors in the Attic that will be getting a new look for next Christmas ❣️ thank you for sharing ❣️❣️
I have a few in the attic too. Love those doors! So glad you liked it. 🙂 xo, Do
hermoso…la mejor idea que visto
Muchas gracious, Pamela! 🙂
Love love you and every project you share with us, your faithful followers!! I have a question from the gold leaf video. You mentioned where you got the hardware for the doors and drawers and I couldn’t understand what you said. Please let me know. Have a merry blessed Christmas!
Thank you, Sara! Can you be specific about the gold leaf video? I have a few floating around. You can email me at [email protected].
Your door tree is amazing. I love it! 😊
Thank you, Laura! It was a great find for sure. 🙂 xo
Hi Donna,
I would be interested in knowing how you made a base for this project.
Hi Sheila,
I didn’t build a base for this door. It’s solid wood and very heavy. I did use a D Ring hanger on the back to use to secure it to the wall to keep it from falling forward. I have seen bases on Pinterest but have never built one. Guess I need to do that. 🙂
I just LOVE this and thank you for sharing the how-tos with us. You are awesome. I do have a question though…..
How come there are no cool old doors up in my attic ?????
Isn’t that the best fantasy to buy a house with vintage treasures left behind from families of old. Sigh….. I just had/have dust and cobwebs. Lol
I love everything you do Donna !! You are a DO-er !! ❤️
That would be ah-mazing, Cheryl! Actually, I have one more door in my attic and I’m not sure what to do with it. The time will come and I’ll be sure to share it with you. Thank you so much for the kind words. You’re the bestest! 🙂 xo Stay safe
I love this. I scored a door today. When you make the 2nd tree from the scraps, what do you use to fill the holes from where the doorknob and or lock was?
Hi Judy,
When I made the second one, I didn’t fill the holes because they were so large. A vintage doorknob would look great! I’m going to try that. 🙂
Wow! That is great score! I really love how you repurposed it.
Thank you, Dawn! Gotta love it when you stumble upon these old doors. Thanks for stopping by. Happy Thanksgiving! 🙂
Do you sell these ..if so how much
Hi Debby, I’m sorry. I do not sell them.
I need one of these doors!! Such a great project. Love it, Do.
Thanks, Wendy! Grab them when you can! I’ve been searching for another one for our new home. xo
Very cool. What did you make with the leftover door pieces? How do you repurpose those pieces? Thanks
Hi Karen,
Thank you. I save all my scraps for future projects. The leftover door pieces were used for a second free-standing tree, but I don’t have photos to share. Sorry. Maybe I’ll try this again and post those next year. Thanks for stopping by. Happy New Year! 🙂 xo
I love this idea! My mind is going with do I have the skill as I have a measuring handicap…but my daughter in law would probably help me. I would paint my a pine greenish color. And try to figure a way to hang some twinkle lights on it with some old ornaments. I would love to put it on my front porch…but would probably have to make it a little smaller. The sky is the limit!
Hi Sherry! You CAN do this! I too struggle with numbers but don’t let that stop you from creating amazing decor. Yes, get your DIL involved. I too have a smart DIL, and we love creating. Wishing all the best with you Christmas tree door. Send me pics, please. xo 🙂