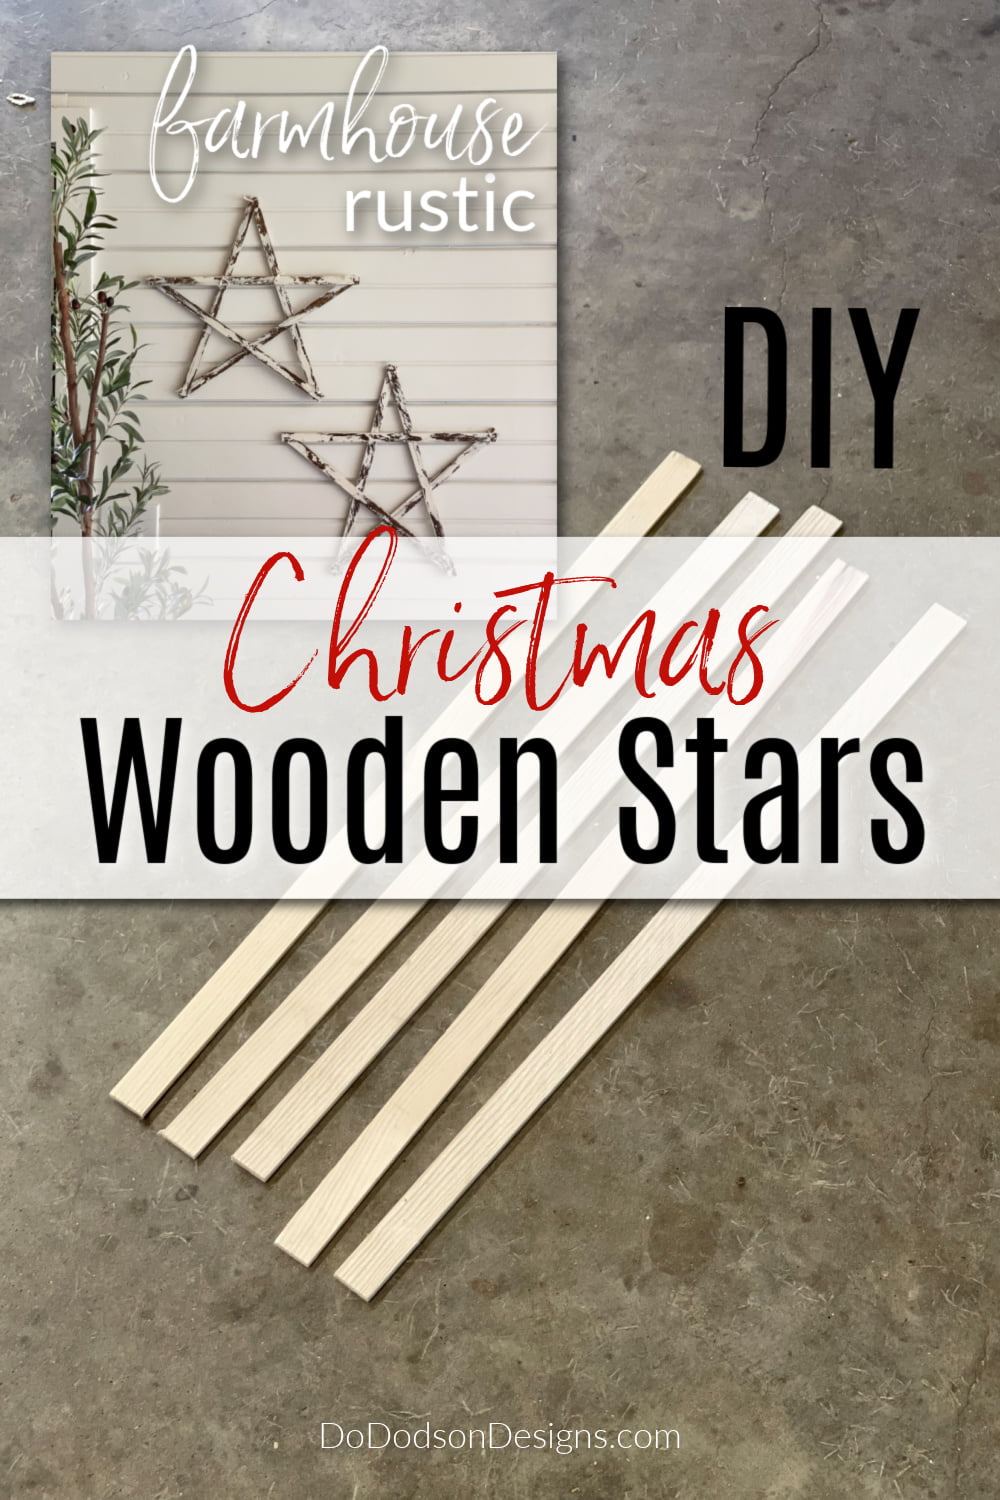
Is it ever too early to make fun Christmas decor? Not in my book. But these DIY wooden stars aren’t just for Christmas decor. Use them any time of the year to add a little country feel to your farmhouse. Let’s get to crafting!
Thanks to Dixie Belle Paint Co for sponsoring this post. While I was compensated to write this post, all opinions are my own.
* As an Amazon Associate, I earn from qualifying purchases and through other companies as well. You will not be charged extra when you purchase through these links, but any income I make helps me create more amazing DIY projects to share with you! To see my full disclaimer, click here!
How To Make Rustic DIY Wooden Stars – Farmhouse Christmas Craft
Once again, the scraps of wood I’ve saved from other DIY home projects always seem to find their way into my heart or home. Both are equally okay with me.
All you will need to create these rustic wooden stars are five pieces of scrap wood.
CLICK HERE to see a hanging wood star that my friend Cindy at Reinvented Delaware did that inspired this project. Thanks, Cindy!
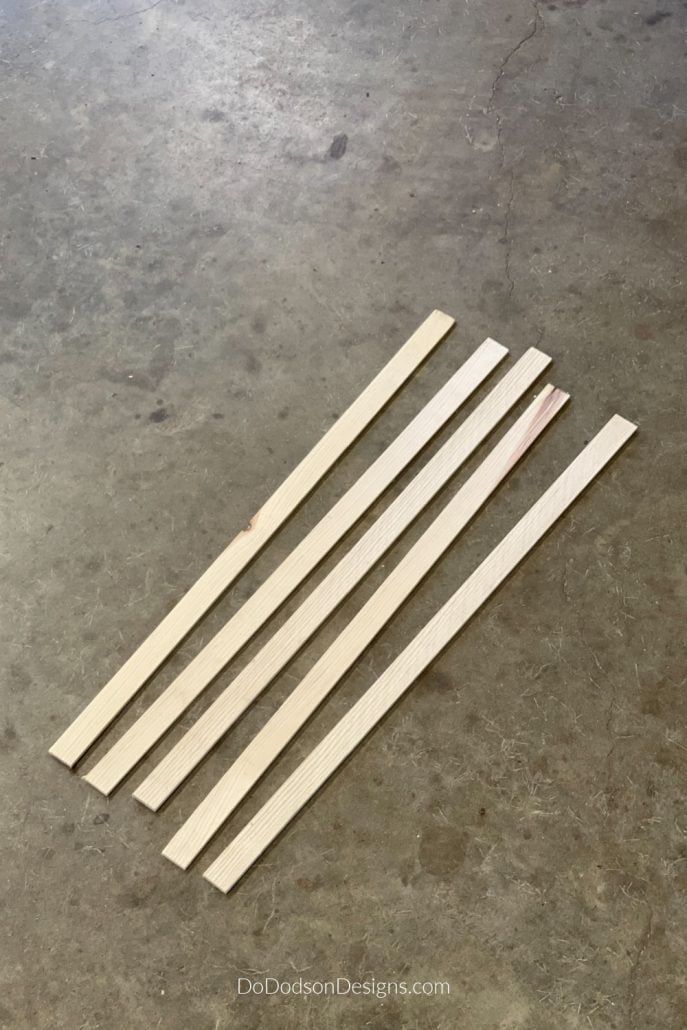

SUPPLY LIST:
- scrap wood or any wood trim
- drill set
- jute twine
- wood glue
- Golden Ash No Pain Gel Stain (oil-based gel stain)
- American Honey No Pain Gel Stain (oil-based gel stain)
- Cotton chalk mineral paint
DIY Wooden Stars
How many of you drew stars with your pen or pencil in school? I can remember doodling stars on my papers while looking out the window. SQUIRREL
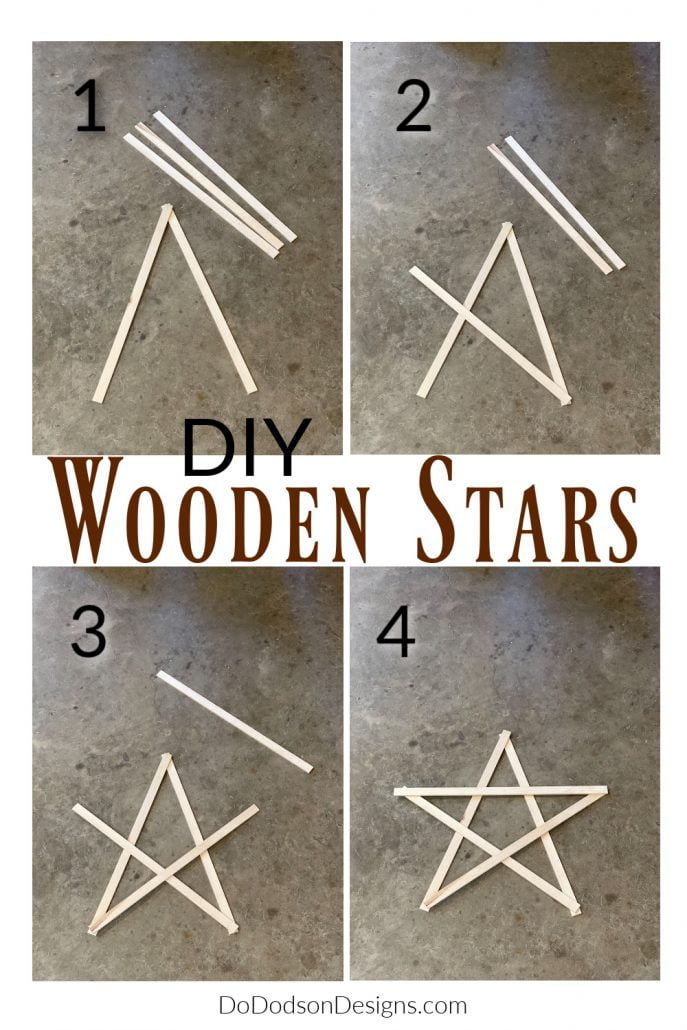
Even with my eyes closed today, I can still create that pattern in my head. So, making these wooden stars was easy for me, and I think they will be for you too.
Grab some scrap wood and cut each piece the same length. Leftover trim pieces work well too.
Why didn’t I think of this? All of a sudden, I envision paint sticks in my head! Those would work too! Okay, if you try this using paint stir sticks, you got to promise to share your project with me. Pinky swear?
Drilling Holes In The Wood
Lay your sticks in a star pattern while drawing it in your head. You can use your finger too. It does help. Once you have your design down, you’ll need to drill holes at each end of the wood pieces. Drilling holes can be tricky in smaller pieces of wood so go slow and easy to prevent the wood from splitting.
The wood pieces can also be secured together with glue and nails if you wish, but for visual interest, I find this method adds another level of cuteness.
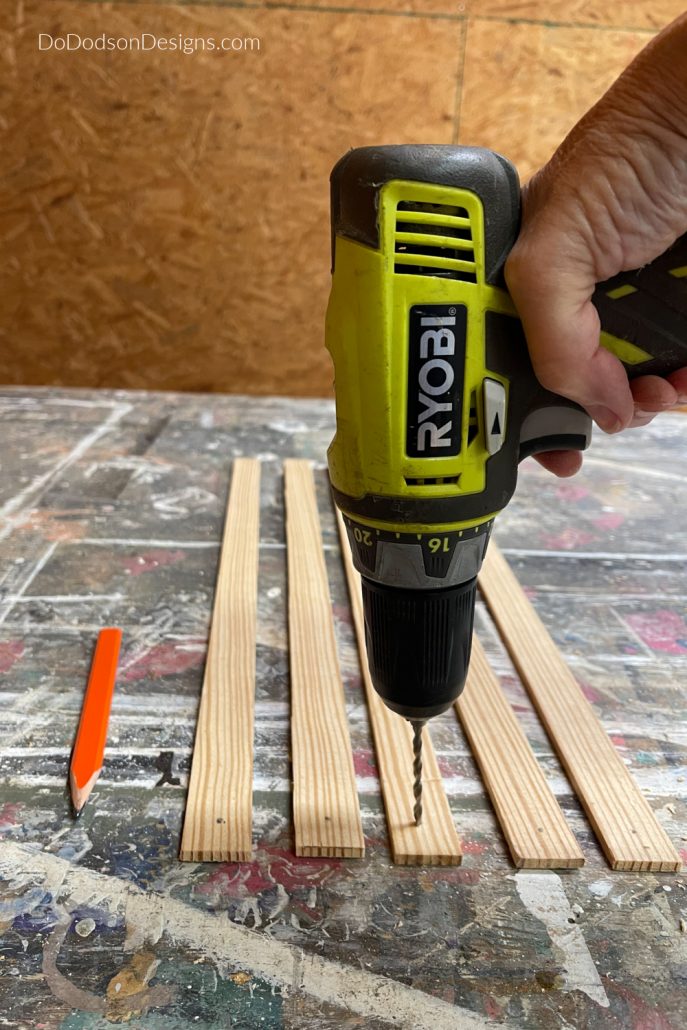
Add Your Style – Wooden Stars
Before securing the wooden star pieces together, if you want to paint, stain, or both, now is the time to do it. Go ahead and play around with different finishes. No stress crafting is how I role.
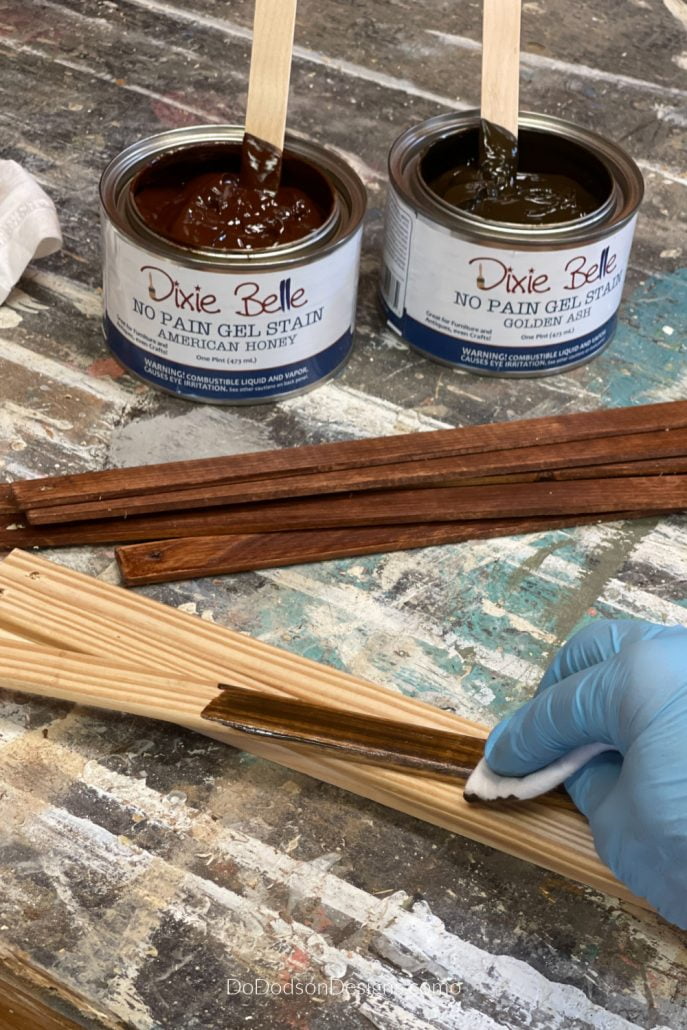
Today I’m using Dixie Belle’s oil-based gel stain in American Honey and Golden Ash.
For this project, I applied one coat of the oil-based gel stain with a soft cloth (cotton t-shirt), quickly wiped any excess with a soft cloth, and allowed it to dry overnight.
How To Add A Chippy Paint Look To Wooden Stars
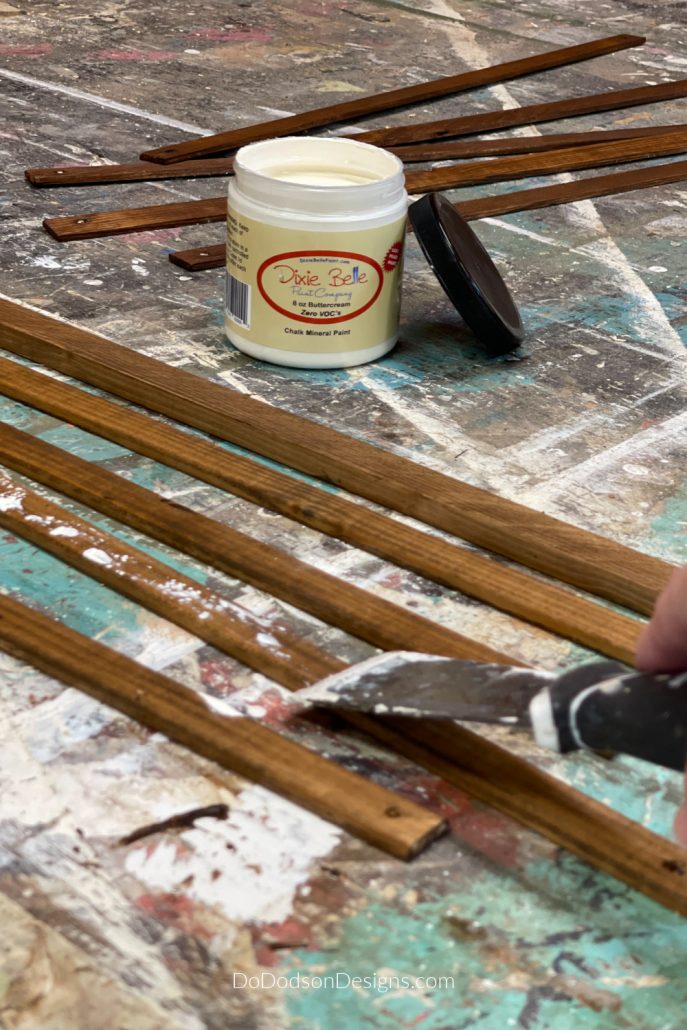
The next day I decided to add a chippy paint look to two of the three wooden stars. After applying the darker stain on the wood, I decided I needed to lighten two of them up.
This is so simple you won’t believe it! You can also do this finish on furniture.
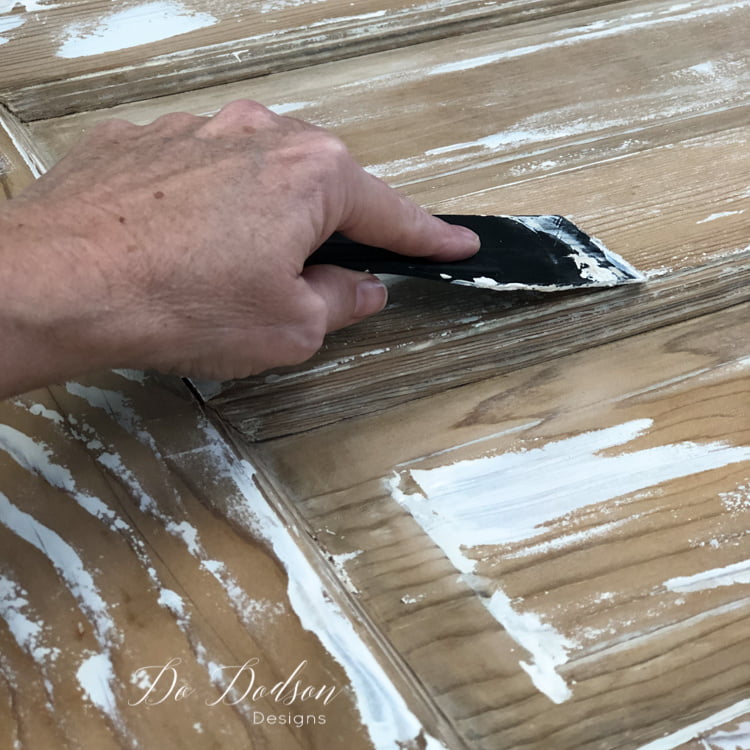
Using any color of chalk mineral paint, dip a putty knife into the paint and drag it along the dark stained wood. Instant chippy paint finish!
It’s okay if the paint gets thicker in one area than another. This makes the finish look more realistic.
And guess what else? The chalk mineral paint doesn’t chip off, and you don’t need to seal this finish. You are welcome. 🙂
Assembling The Wooden Stars
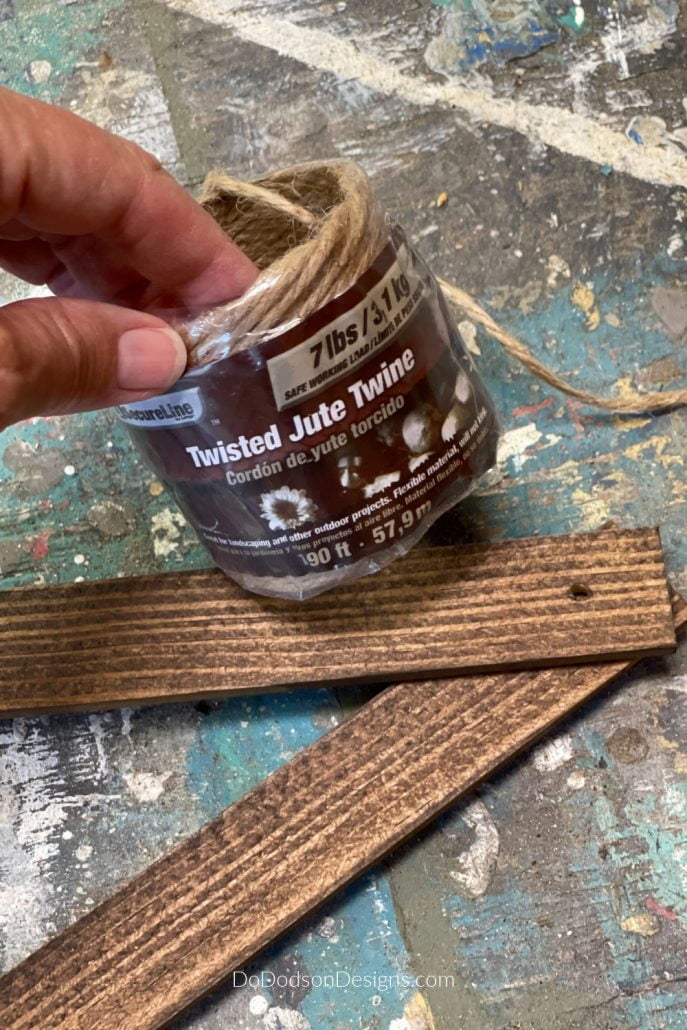
Anytime you’re using jute twine and trying to fish it through a hole, you’ll say a few words.
Every stinking time, the ends start to fray, and I get frustrated.
I was desperate to get the jute through that hole. This is when my brain goes into overdrive.
Immediately I went to the cabinet to search for something. Something that could make the task a bit easier.
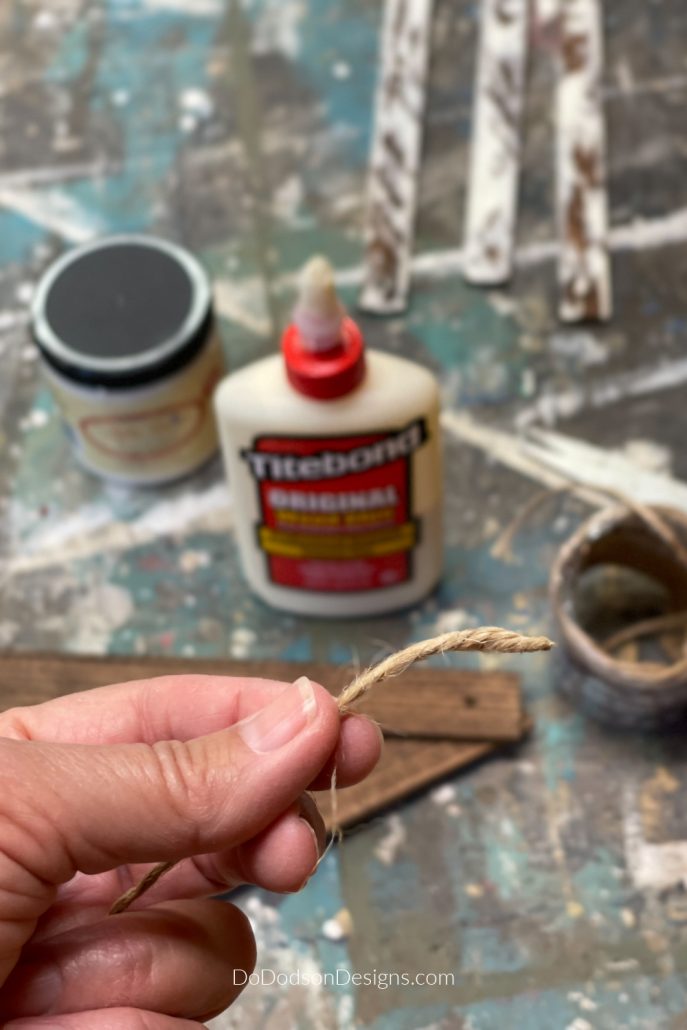
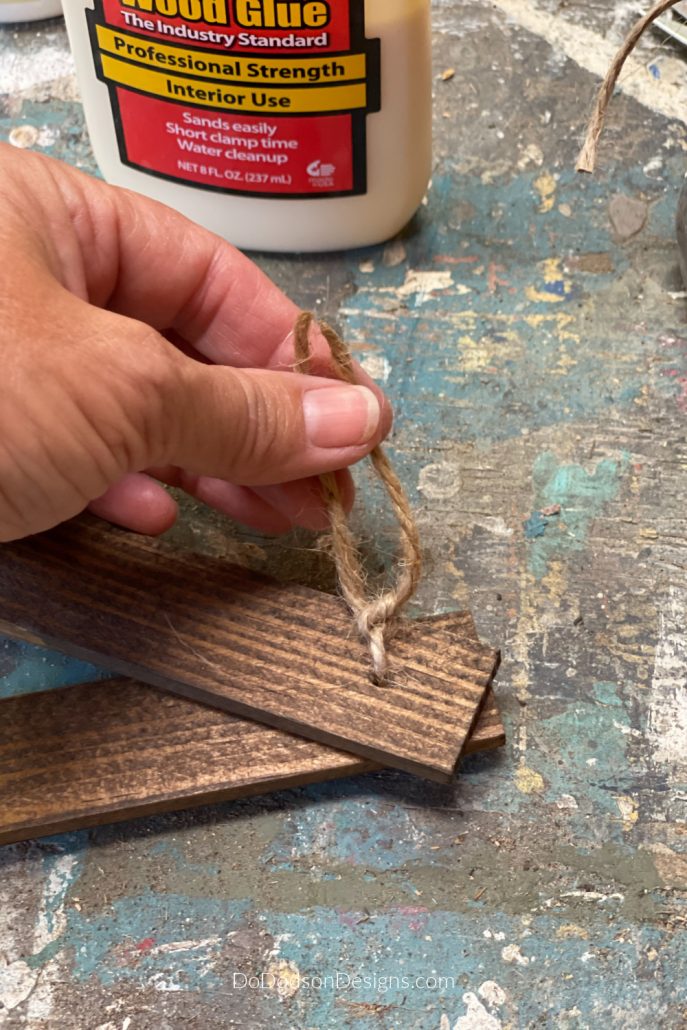
GLUE! It’s a genius idea, tell ya! I know someone else has done this before me, but it doesn’t matter because I figured it out.
Take a tiny amount of glue and rub it on the end of the frayed jute. With your thumb and finger, twist the end to create a point. The glue dries quickly, so you don’t have to wait long. It also dries on your fingers. UGH!
Feed the jute through the drilled openings in your wooden stars to secure the ends together. Tie the jute in a square knot and trim any excess away with scissors.
Securing The Centers
Now that the outer ends of the stars are tied together repeat the process on the inside of the wooden stars by drilling holes and tieing them together.
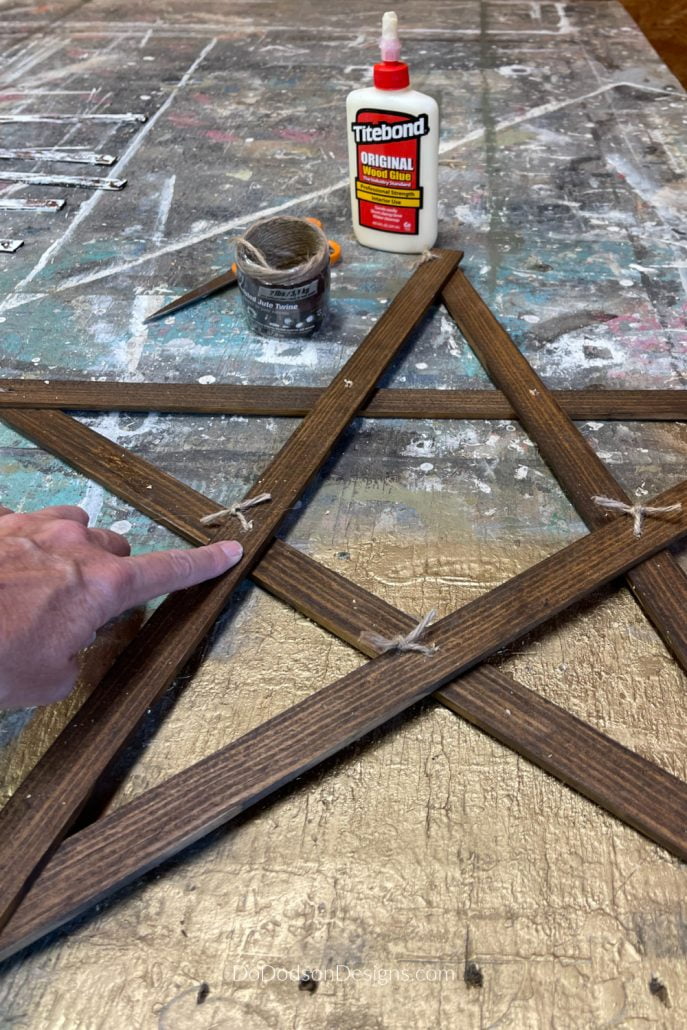
DIY Wooden Stars – Farmhouse Christmas Craft
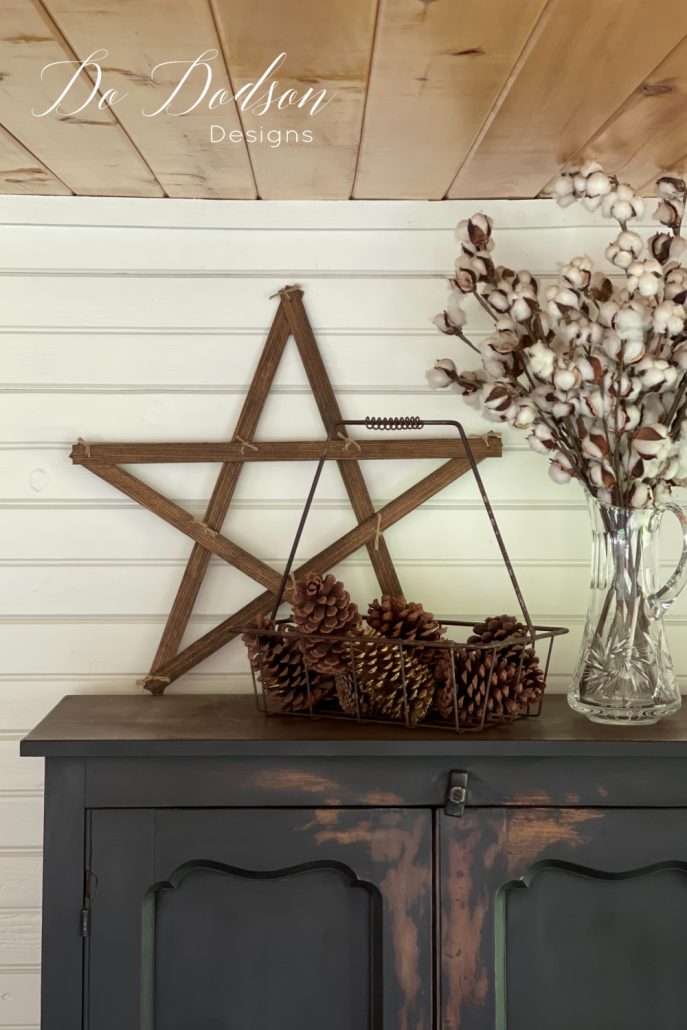
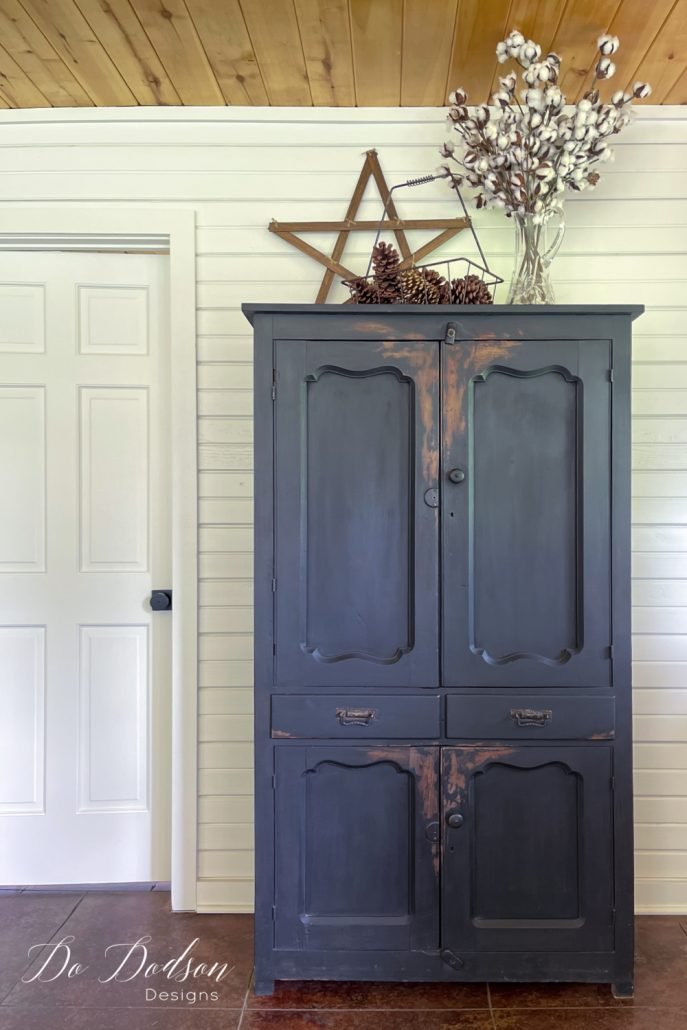
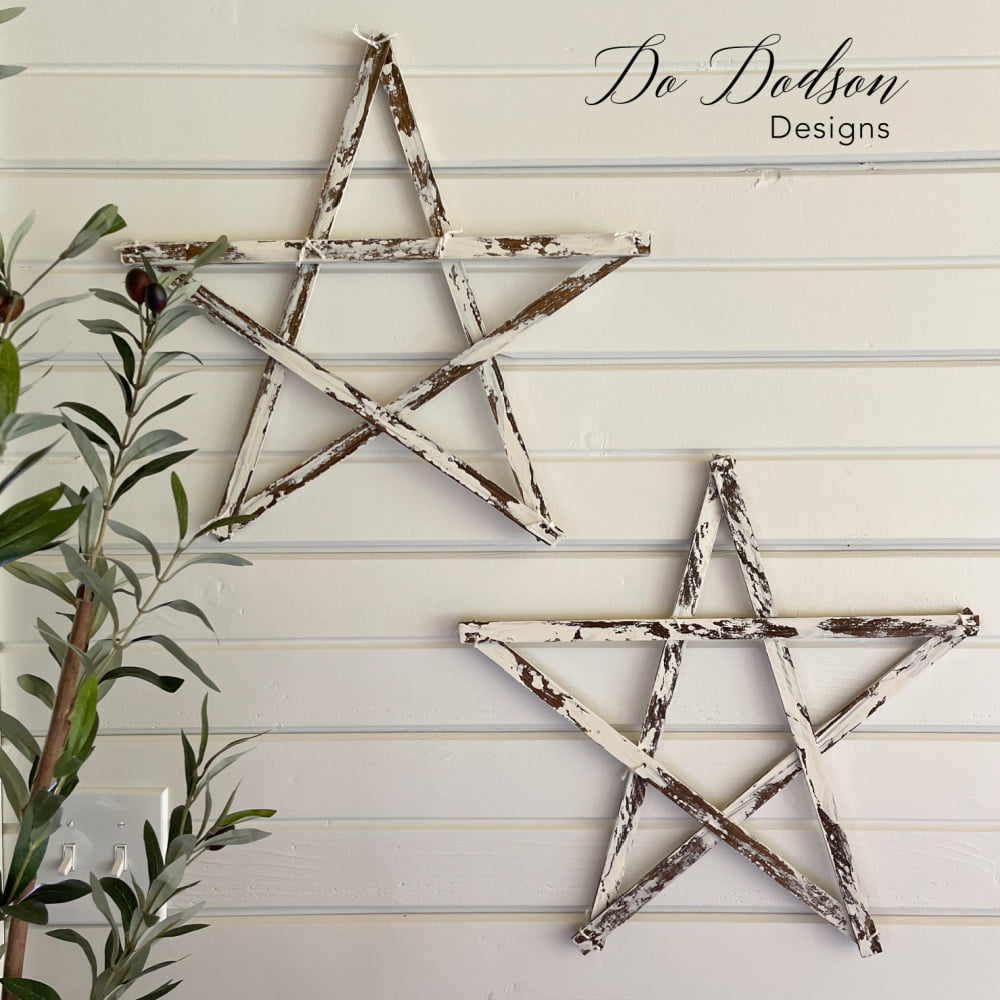
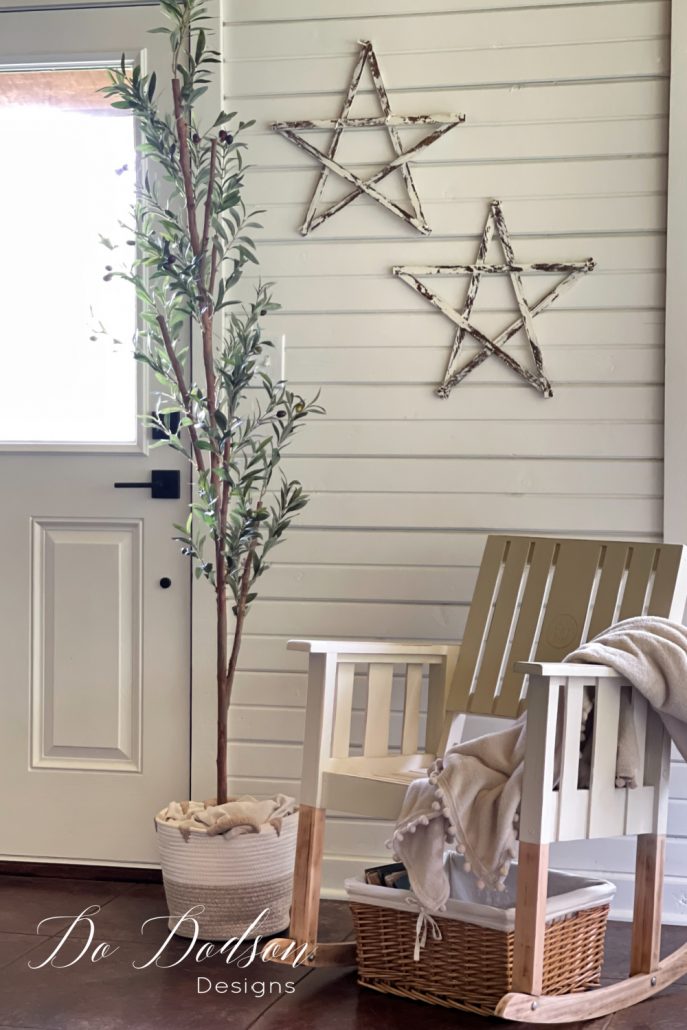
Since hanging the wooden stars on my farmhouse wall, I have had this urge to pull down the Christmas tree. Do you think HE will notice?
Thanks for joining me on the blog today for this fun scrap wood project. We would love to know if you stopped by, so leave us a comment below. And don’t forget to share and PIN this idea into your DIY Christmas board on Pinterest.
Until the next project… xo, Do

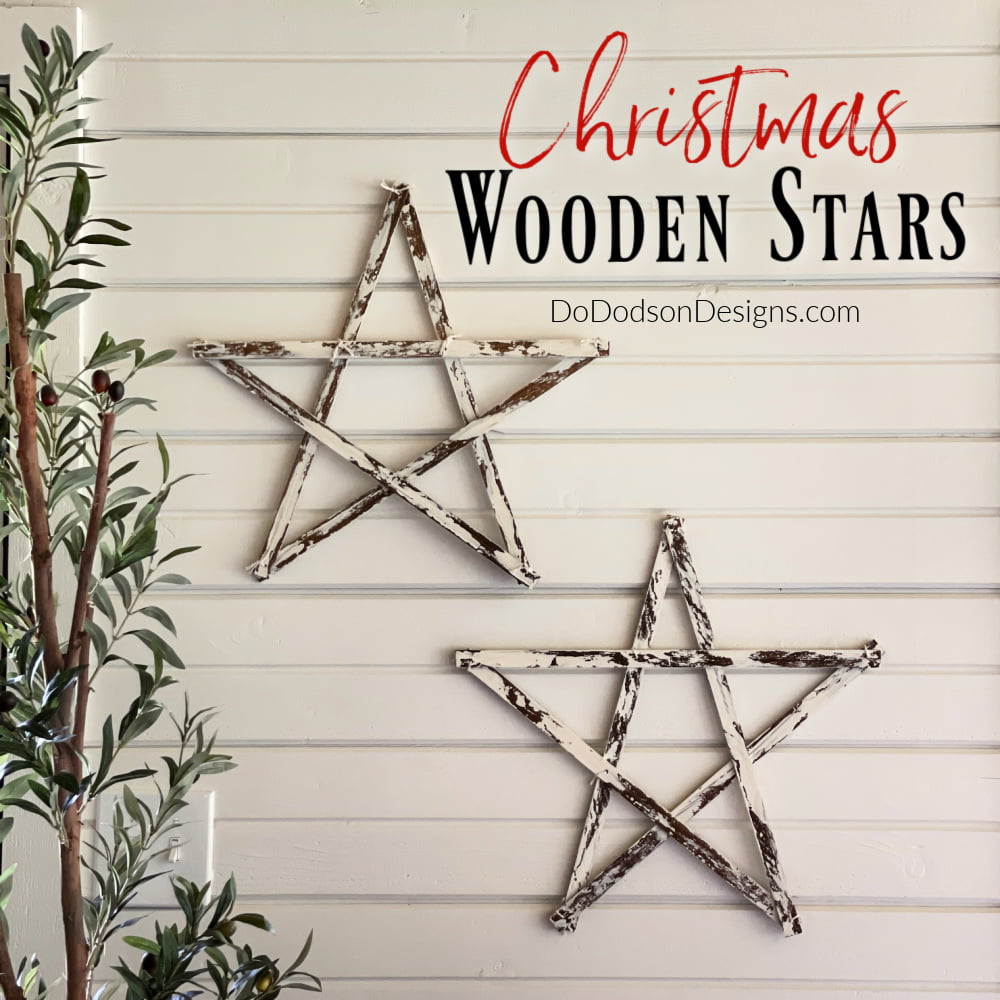
Your stars turned out so cute, Do! Thanks for sharing our farmhouse stars! These would make great gifts too! Pinned 🥰
They sure would, Cindy. I cant wait to see you again at Haven. 🙂 xo
Do, I love this project. I have always wanted to make some stars. You show us how easy it is to make them. My favorite are the chippy ones. It’s definitely a project the neighborhood ladies will want to do! You always inspire me.
A neighborhood star-making party! I can see it now. I envy your neighborhood parties. Have fun, my friend! Thanks for reading. 🙂 xo
Honey, this is TEXAS….stars are YEAR ‘ROUND decor around here! 😀 I LOVE these, I can’t wait to make some, thank you so much!
LOL, I agree, Brigitte! But a lot of my readers are not from Texas, so I want to share with the masses. Think of all the holidays they can be used with as well. Thanks for reading. 🙂 xo
Was at an auction and bought a box of 57 yard sticks. Now I have a use for them! Well not all! Should I paint them or leave them au natural?
Oh Edna!
What an amazing find! I would be inclined to leave them natural. The beauty of the yards sticks speak for themselves. How fun! xo 🙂
What length were your sticks?
16 inches.