Just wait until you see what I did with this old rocking chair I purchased without doing a sniff test. Yikes! Right off the bat, I felt regretful about my purchase, but with a little hard work, this rocking chair makeover turned out so well. Thank goodness, I’m not a quitter. Now, it has a brand new life.
Thanks to Dixie Belle Paint Co. for sponsoring this post. While I was compensated to write this post, all opinions are my own.
* As an Amazon Associate, I earn from qualifying purchases and through other companies as well. You will not be charged extra when you purchase through these affiliate links, but any income I make helps me create more amazing DIY projects to share with you! To see my full disclaimer, click here!
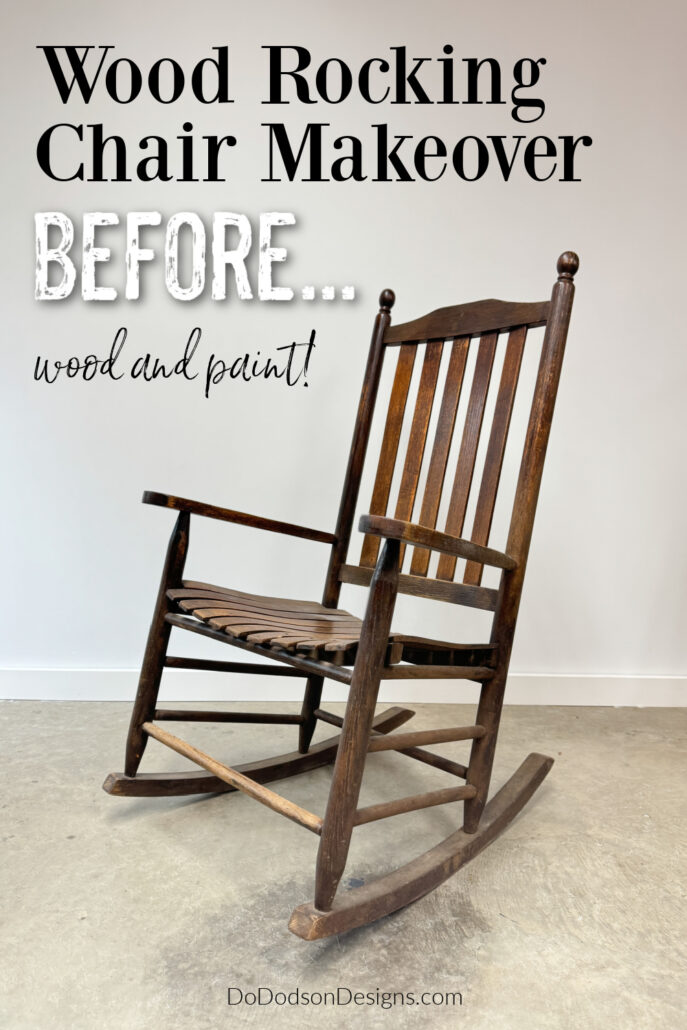
Wooden Rocking Chair | Before
I’ve always wanted a set of front porch rockers, but finding a pair is rare.
I will buy one instead of a pair any day if the price is right. This old thing was solid wood, and I couldn’t pass it up.
I did another DIY rocking chair makeover a few years ago using an unusual method of stripping away an old finish, and I wrote about it here on my blog. CLICK HERE to see a similar finish on a custom hand-made rocker. It’s one of a kind and a favorite in my home!
For more furniture DIY ideas, check out some of my latest projects below.
CLICK HERE for another excellent rocking chair makeover from another DIYer that I have followed and admired since forever!

Materials Used For This Makeover:
- Old wooden rocker
- SurfPrep Sanding System
- 100, 150, 220 grit sandpaper
- white lightning cleaner and degreaser
- painter’s tape (Frogtape)
- Glacier Silk All-In-One Mineral Paint
- Endless Shore Silk All-In-One Mineral Paint
- synthetic paint brush 2 inch mini angle
- Extra Coat Satin top clear coat
Step 1: Repairing Damages
I was fortunate that this rocker had only minor scratches. My only repairs were to sand down the old finish and clean up the scratches on the back spindle. It looked like a puppy chewing toy. Those will sand right out.
Thank goodness, no significant repairs were needed with wood glue. All the spindles were secure.
But the rocking chair had been neglected over time, and from all appearances, it more than likely had been living in a barn. The existing finish (varnish) was flaking off, but the wood was in perfect condition to rip (remove) the old finish with an electric sander—no chemical strippers were needed for this one. Yay!
But after I started cleaning it, I noticed a familiar smell—CIGARETTE SMOKE! It’s not something you ever forget when you’re working with furniture. YUCK!
Prepping Before Paint | Tips and Tricks
Knowing it had been exposed to cigarette smoke, I pulled out all the tips and tricks I’d learned over the years.
Before attempting to paint a stinky wood piece, you must remove the smell first. Paint will not cover that smell. Trust me on this one! If it’s really smelly, trash it! Life is too short for that.
Your only option is to paint the wood with an oil-based primer to cover these odors before painting.
The first step in cleaning was to spray it (saturate) with white lightning clean and degreaser. This helps remove the things you can see and can’t.
Then, using a soft bristle brush, I scrubbed it down, especially in the nooks and crannies. Don’t forget about the underside.
And then I did the unthinkable! I turned the water hose on the rocking chair. Yes, I did!
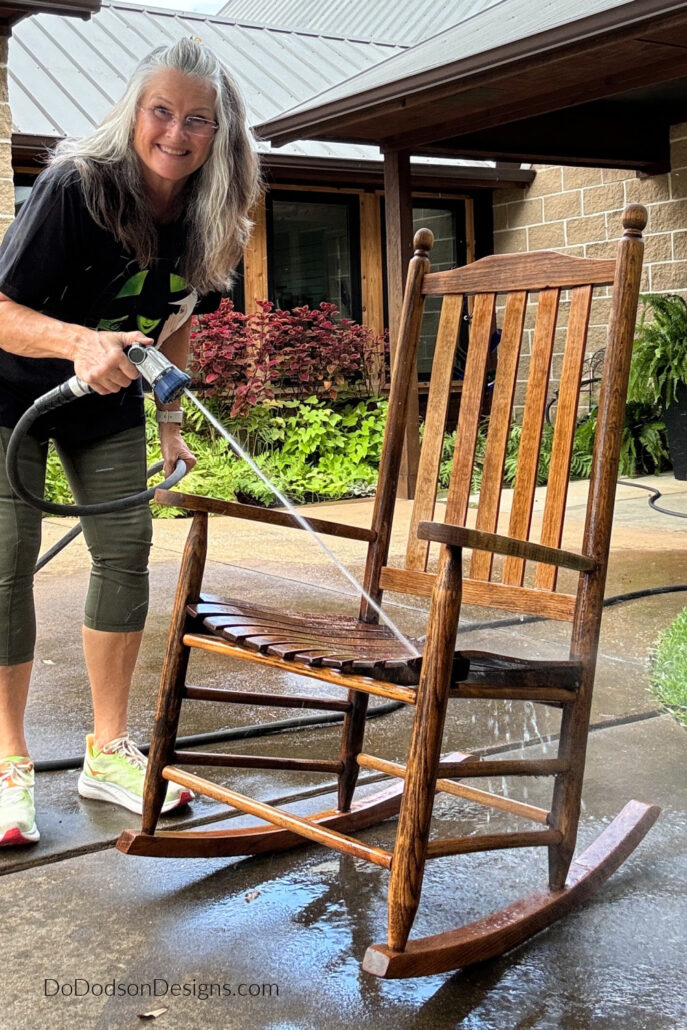
Always rinse with clean water after cleaning with white lightning to remove any residual that could affect the adhesion of your paint.
Trust me when I say I would not have let this rocker into my home without a proper bath. This method of cleaning wood is extreme, but despite popular opinion, it doesn’t hurt the wood. I’ve done it many times, and I’ll do it again. Don’t be scared.
After cleaning, I placed the rocker in the direct sun for 6 hours until it had dried thoroughly. This did the trick, and the smell was gone. SCORE!
STEP 2: Sanding and Smoothing The Wood
Because I chose a finish that required stripping some of the finish to bare wood, I used my SurfPrep Sanding System to make it quick and easy.
These old finishes can be removed using a highly abrasive grit (100, 150) and a final sanding with 220 grit sandpaper.
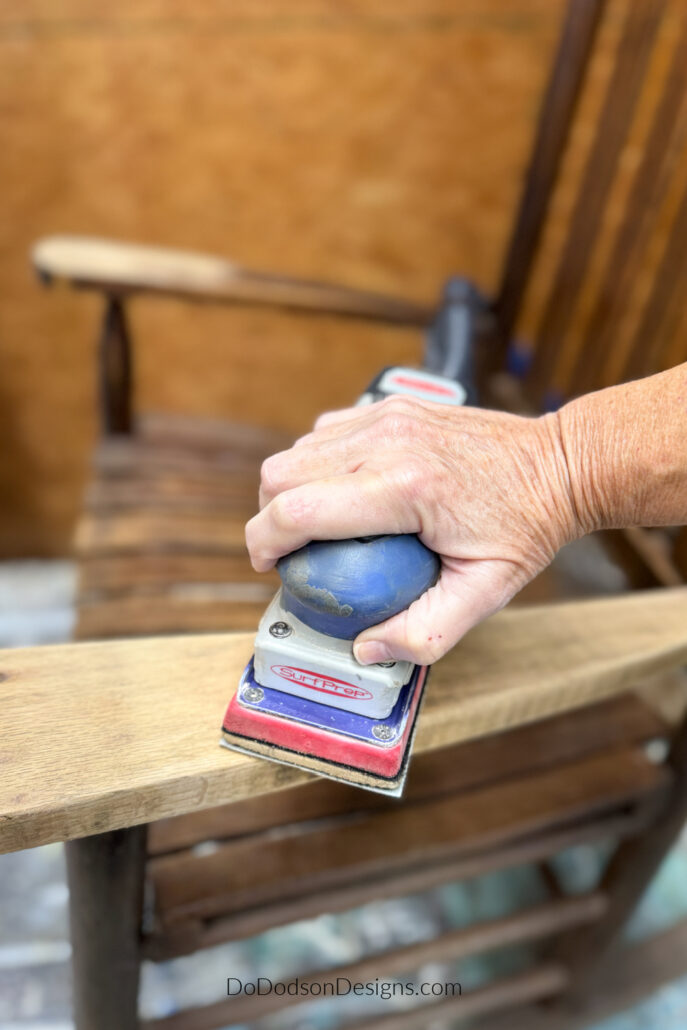
The rest of the chair got a light scuff sanding with 220 grit paper to smooth and prepare the wood for painting.
Step3: Primer Stain Blocker
The following day, after the wood had dried thoroughly, I gave it another light sanding to smooth out the grain. Water makes the wood grain swell and rise, giving the wood a rough texture, and I wanted to be sure the surface was smooth. I used an air nozzle on my air compressor to blow away any remaining wood dust.
The wood will need a primer and stain blocker before painting.
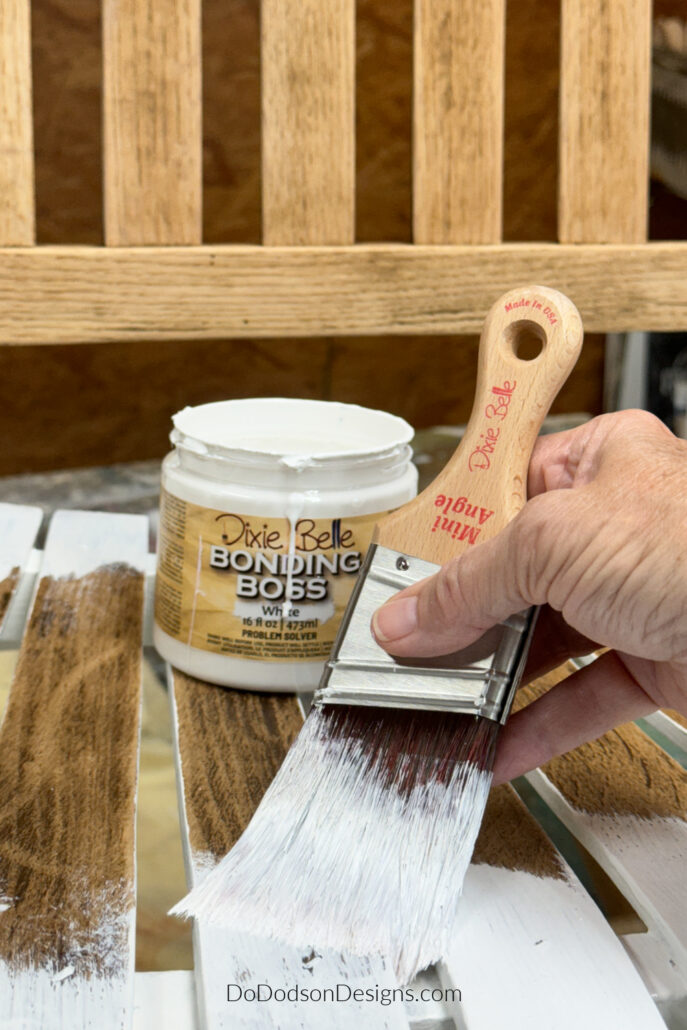
The primer I chose to use is called BONDING BOSS. It comes in white, gray, and clear, too. I use whatever is appropriate for my painting project. White was the best option because I will be painting it white.
To me, using BONDING BOSS is an insurance policy that ensures no wood tannins bleed through the paint finish. This stuff is called the problem solver for a reason. Bleeding wood tannins are a huge problem when painting bare wood.
I don’t recommend skipping the primer and stain blocker when painting over bare wood; you might be slightly upset the day after you paint. Wood tannins and stains are notorious for bleeding through paint.
For this reason, I like to use two coats of primer, especially when painting with lighter colors over wood. It’s worth the effort! I promise. You’ve been warned. 🙂
Applying The Primer
The primer is easy to apply. Apply two coats with a soft synthetic paint brush. Allow the first coat to dry completely (about four hours) before applying the second coat. If you know your wood will be a heavy bleeder, you can use up to three coats.
Allow the primer to dry 24 hours after the last coat is applied.
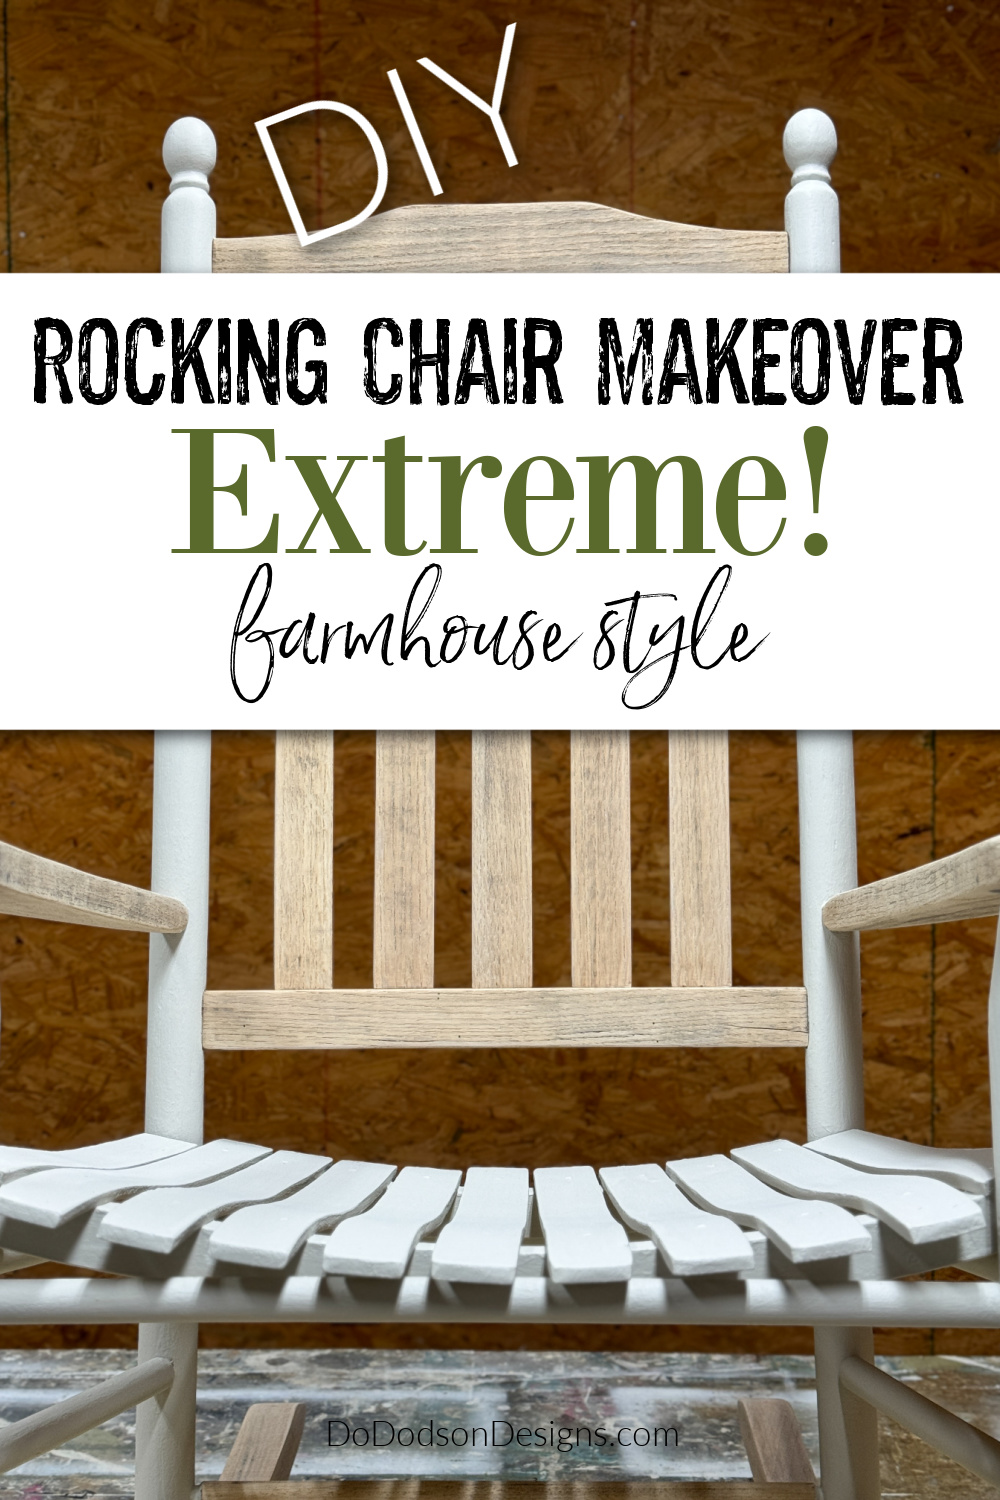
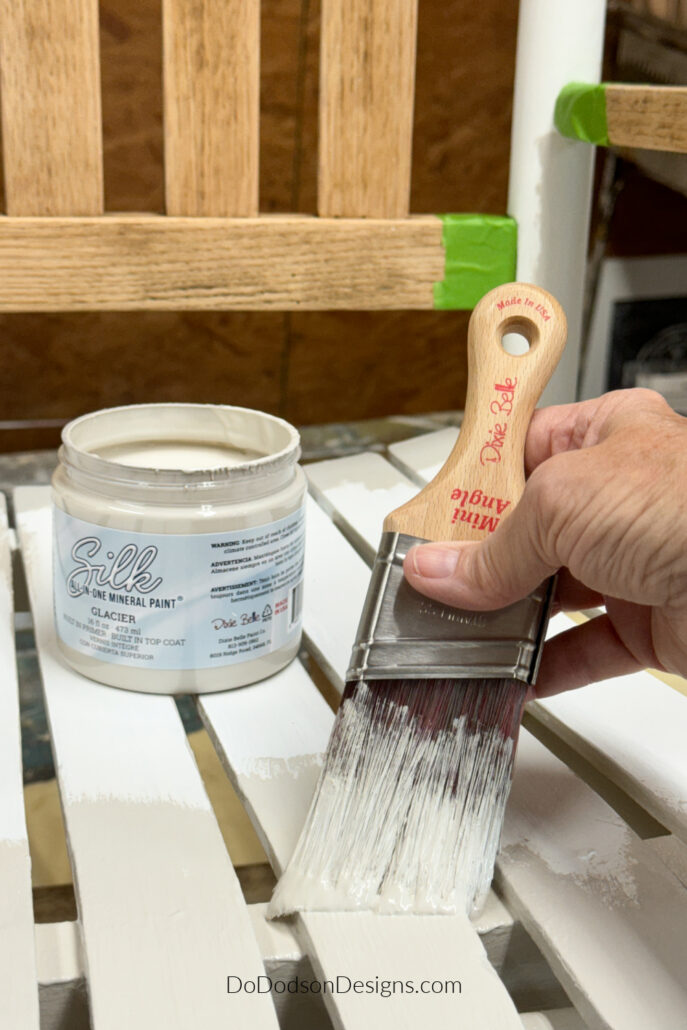
Step 4: PAINT – Rocking Chair Makeover
After the wood had dried thoroughly the following day, I painted the chair with Silk All-In-One Mineral Paint by Dixie Belle Paint Company in Glacier. It has a light gray undertone—not too gray, but just the right amount for a neutral shade that blends well with most colors.
Apply the first Silk All-In-One Mineral coat with a soft synthetic paint brush. The first coat will not give you full coverage, especially if you use lighter shades like white. Allow the first coat to dry for about 4 hours before applying the second coat of paint. If needed, apply a third. A minimum of two coats is recommended for durability.
CLICK HERE to read my honest Silk All-In-One Mineral-Paint Review.
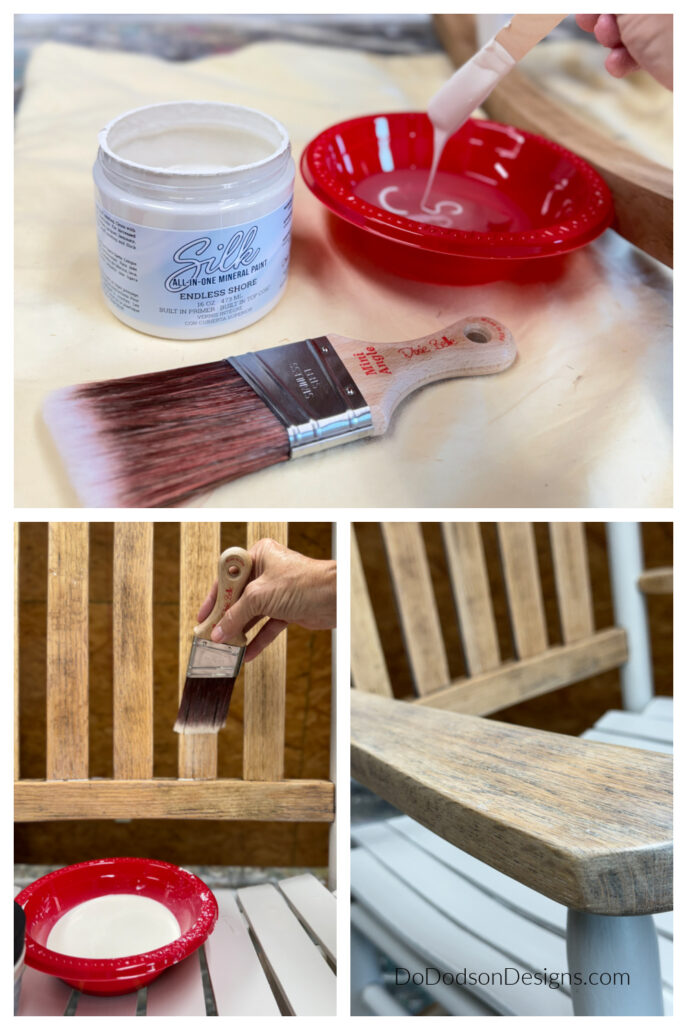
Step 5: How To Whitewash Bare Wood
Whitewashing is pretty simple. You use a water-based paint and mix it with water—basically a watered-down paint solution. The ratio of paint to water depends on how much color you want to absorb into the wood.
I used Endless Shore (off-white with a subtle gray undertone) and mixed about one tablespoon to half a cup of water for the wood part of this rocking chair makeover.
Apply the wash with a paintbrush and wipe away any remaining wash with a soft cotton cloth.
I applied several coats within 30 minutes to get the shade I wanted on the wood. The gray tones are great for toning down yellow tones on wood.
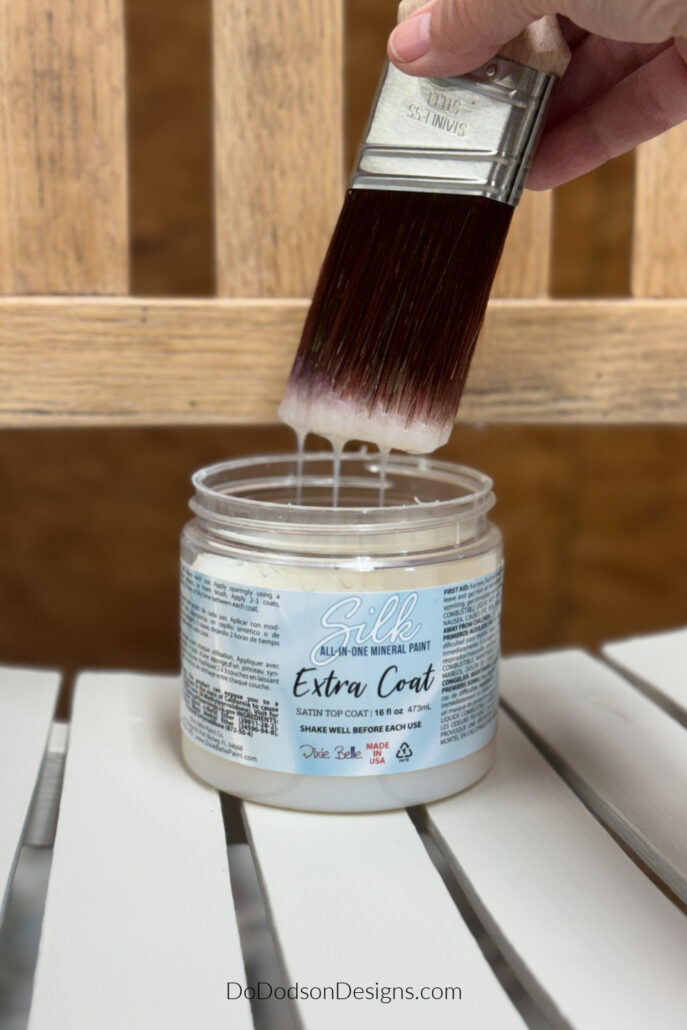
Step 6: Top Coat For Durability
The rocking chair makeover was almost complete but needed more outdoor protection.
Even though the Silk All-In-One Mineral Paint has a built-in primer, topcoat, UV protection, and water resistance, it’s excellent for those paint-and-go pieces.
You’ll need extra protection if you’re using your wood rocking chair outdoors.
I applied two coats of Silk Extra Coat with a high-quality synthetic paintbrush. Applying it to the rocking chair was easy, but be sure not to overdo it. Multiple thin coats give the best results.
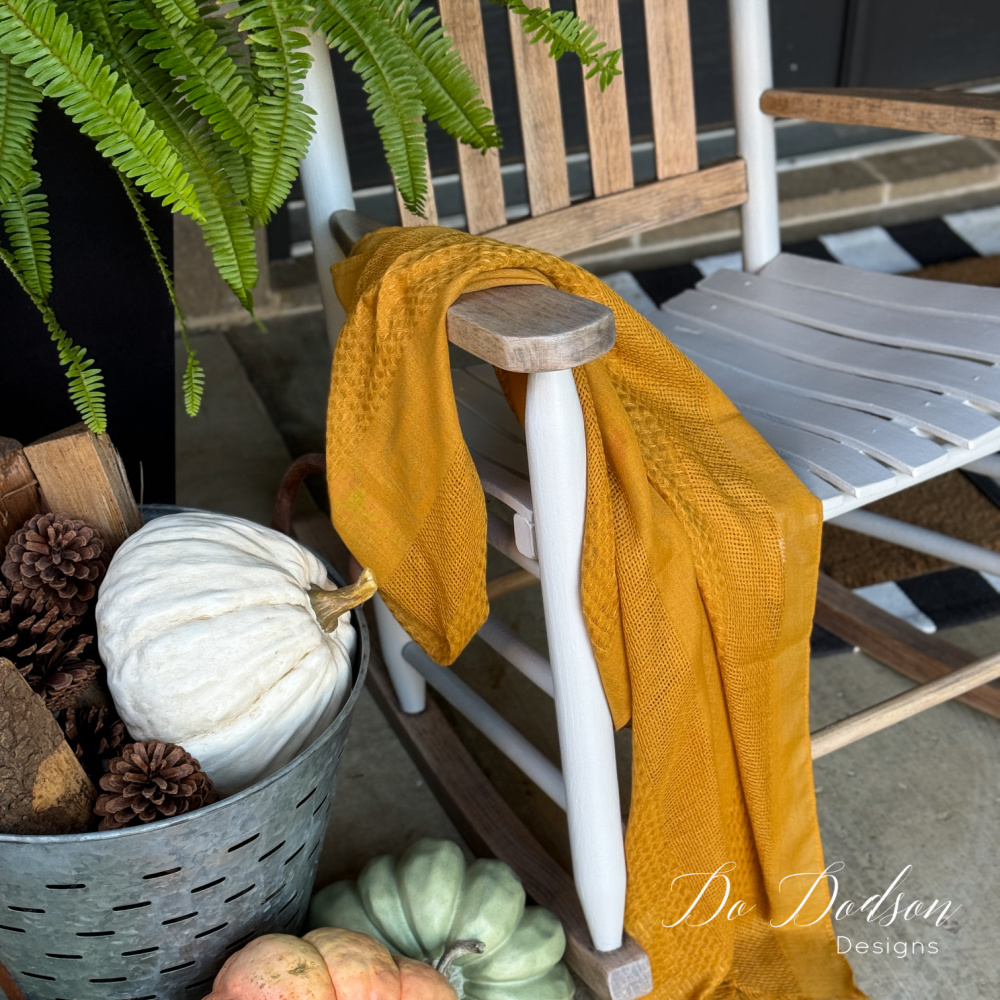
The Results Of The Rocking Chair Makeover
Just in time for Fall, these cooler days and nights are perfect for rocking on the porch. All I need is a cup of hot cocoa.
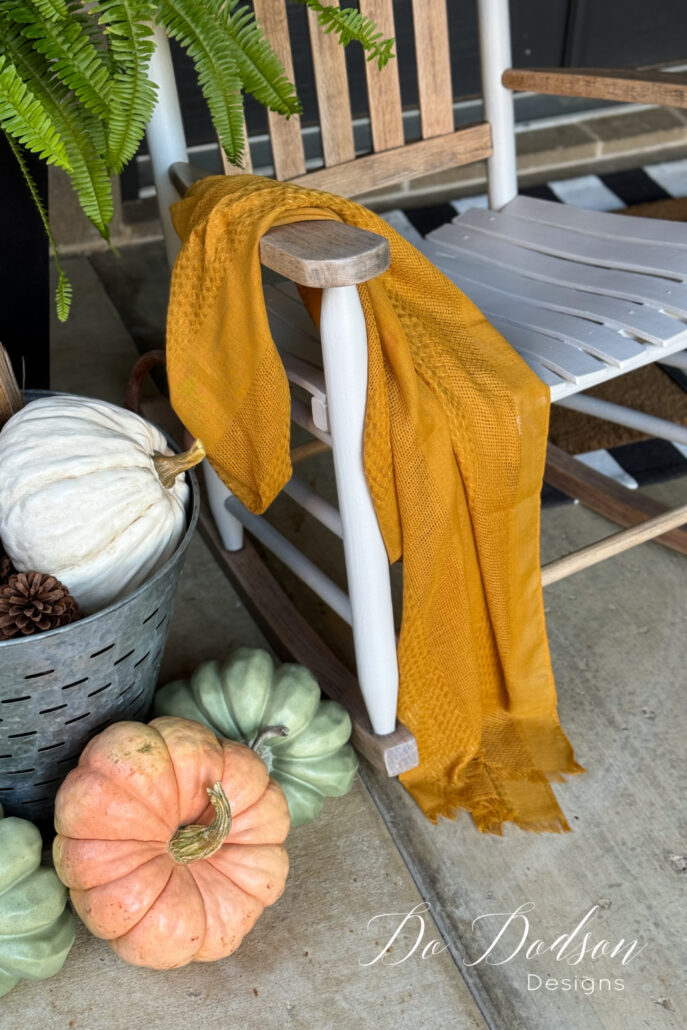
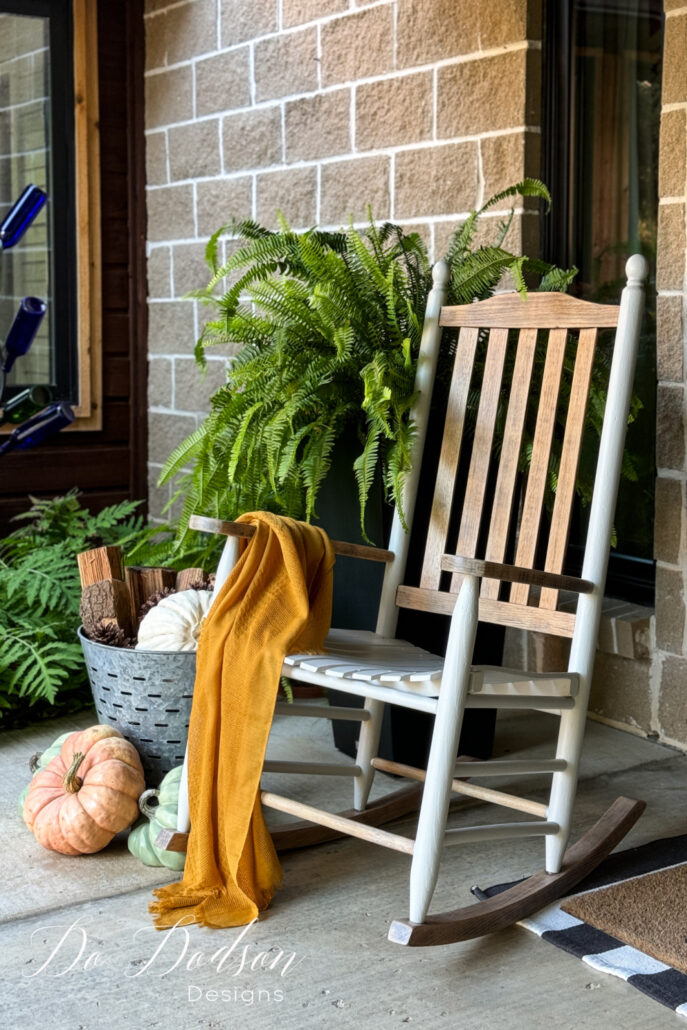

I love the feel of the rocking chair’s finish. The topcoat gave it a smooth satin finish that works well with my farmhouse style. It’s not overly shiny and not flat.
So, what do you think about this rocking chair makeover? She’s pretty sweet sporting her two-toned wood and paint finish. I just love it when my plan comes together.
Hey, thanks for joining me here today. As always, I’d love to know if you stopped by. Please leave me your thoughts on this DIY project, or say hello so I know you were here. Oh, and don’t forget to share this with your creative DIY-loving friends and on Pinterest.
Until the next project… xo, Do
Beautiful Do!
Thank you, Carol. So good to hear from you. 🙂
Love to see your amazing re-dos and especially appreciate your thoroughness in explaining the details. Wondered if you could offer a creative suggestion for a piece of plywood I want to finish off as a desk top…was thinking of staining it, but that is so boring…maybe chalk paint would be better with some kind of design? Have any thoughts?
Thank you for sharing your creativity!
Hi Paula,
Thank you! I don’t know if this would be your style but if you love patterns, I painted a barn quilt. That would be super neat on a desk top. Here’s an article with the tutorial. https://www.dododsondesigns.com/how-to-make-a-rustic-diy-barn-quilt/
So beautiful!
Thank you so much, Mae Lynn. 🙂
Love you, love your style!
Thank you, Judie! 🙂
This rocking chair diy is awesome, I just love the two-tone wood/paint look. You’re home and porch is so lovely Do. Thanks for sharing! Enjoy your weekend my friend. XOXO
Thank you, Denise. We have really enjoyed this porch and now I can rock my evenings away. 🙂