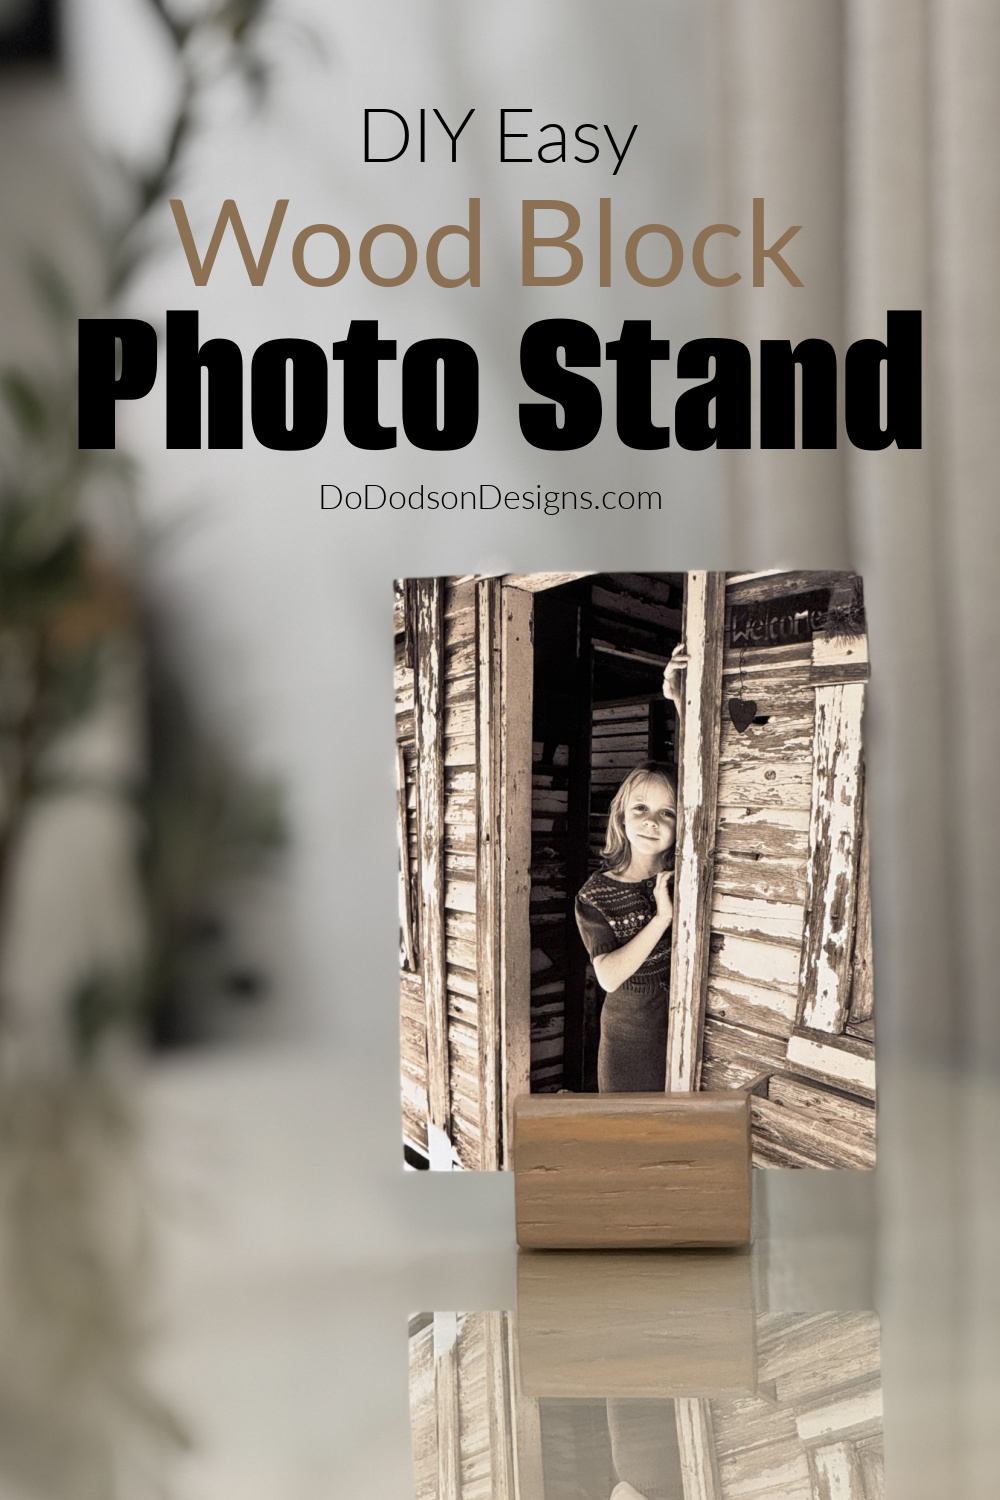
Hey friends, would you like to learn how to make a classy DIY photo stand out of your leftover scrap pieces of wood? Today, I’ll show you how to create a classy way to display your favorite photo images without using a picture frame.
Thanks to Dixie Belle Paint Co. for sponsoring this post. While I was compensated to write this post, all opinions are my own.
* As an Amazon Associate, I earn from qualifying purchases and through other companies as well. You will not be charged extra when you purchase through these affiliate links, but any income I make helps me create more amazing DIY projects to share with you! To see my full disclaimer, click here!
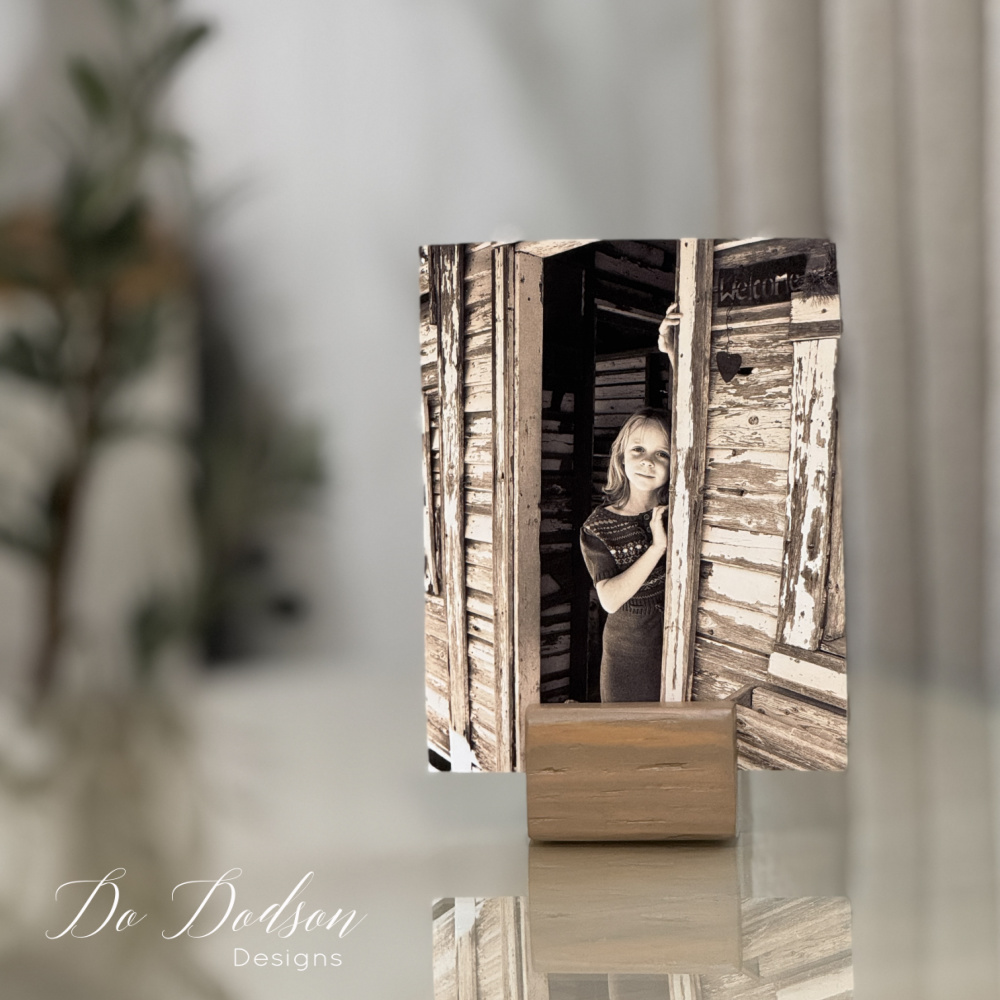
Classy Wood Block Photo Stands
Why not? I have so many scrap pieces of wood waiting to be transformed into something usable.
Like many of you, I have photos sitting in drawers that need to be enjoyed.
I like that they can easily be changed out from these wood block photo holders. I have seven GRANDS, so I have a lot of photos.
While I like keeping my photos current on my desk, I love to look back at them when they were younger from time to time. My oldest is 21! I can’t hardly believe it.
As always, I love sharing my inspiration for my projects with you. I’m inspired by so many, and they deserve the recognition.
I was scrolling as usual when I found these DIY wood block photo stands made by a talented woodworking blogger. CLICK HERE to see a similar project by Woodshop Diaries.

SUPPLY LIST: Here is what you’ll need to make DIY wooden photo stands.
- scrap wood 2×4, 2×3, 2×2 (whatever you have on hand)
- table saw (to cut a groove in the wood)
- miter saw
- Electric Sander (my preferred wood sander) 220 grit sandpaper
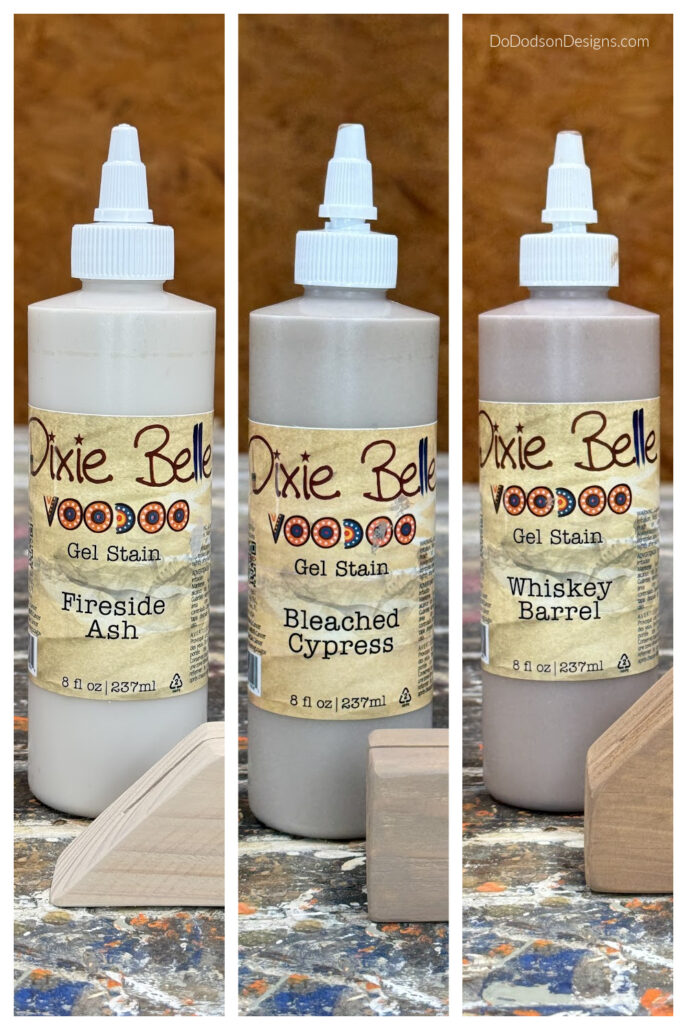
- Fireside Ash VooDoo Gel Stain
- Bleached Cypress VooDoo Gel Stain
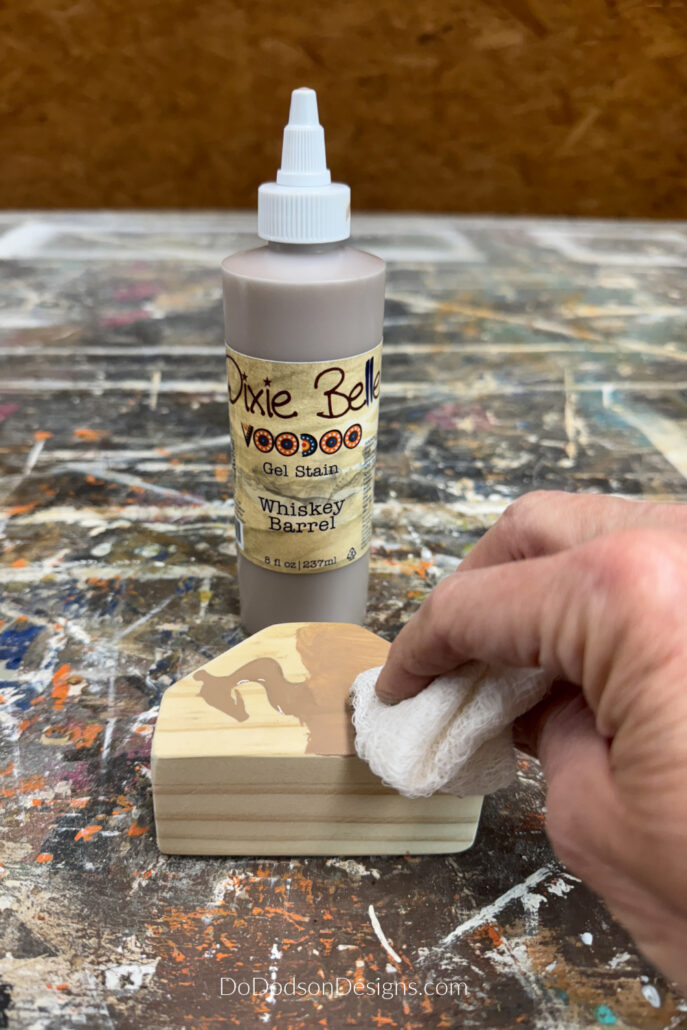
- Whiskey Barrel VooDoo Gel Stain
- soft cotton cloth or gauze (to apply stain)
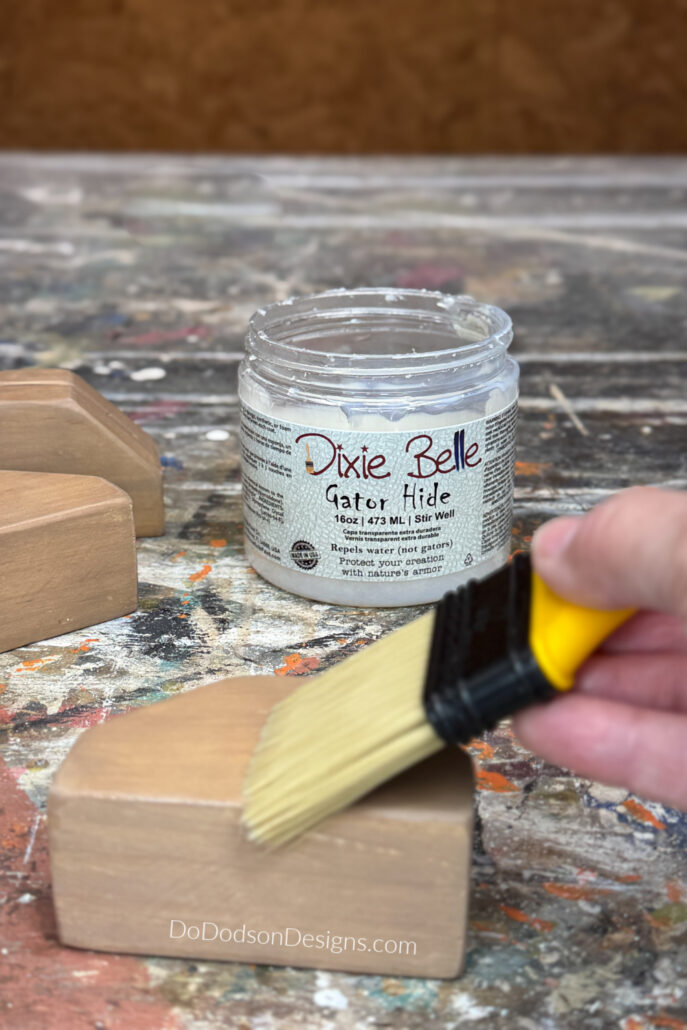
- Gator Hide (water-resistant top coat)
- synthetic chip brush
Choosing Scrap Wood For Your Photo Stand
It is important to consider the size of the scrap wood you will be working with for this project because size does matter. Choosing a 2×4, 2×3, or 2×2 will ensure that your finished DIY photo stand has a blocky base that will stand easily without being knocked over. You can use thinner scrap wood if you prefer to keep your stand smaller, but using thinner wood could make the wood base less stable.
What doesn’t matter is the type of wood. Most any wood type will work, but take into consideration the finish that you plan on giving your DIY wooden photo stand. Some woods are suitable for paint, while others can be stained for a more polished look.
For my project, I used a plain 2×4 made of pine. The board I used was about two feet long, allowing me to make three identical pieces from the same board.
The wood block pieces are small, and anything smaller than a 2×2 (in my honest opinion) can be difficult to cut and dangerous. We need all our flanges intact for future woodworking projects.
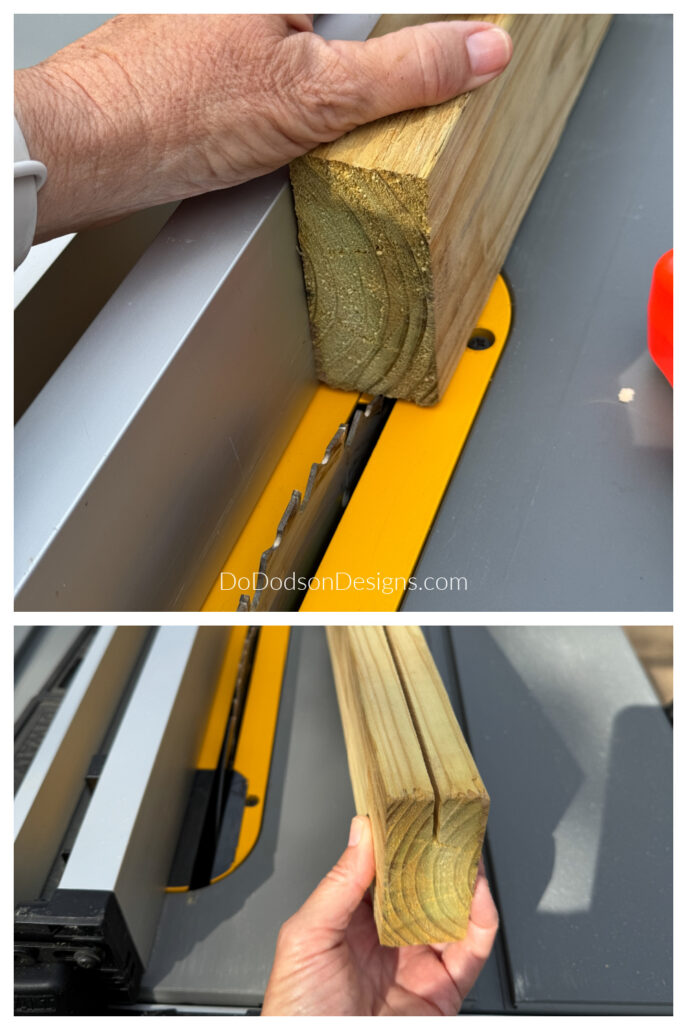
Cutting The Photo Groove In The Wood
* Firstly, this is an advanced woodworking skill, and you may need help from a family member or a kind neighbor. I’m all about safety, and you should never try this alone.
Set up the table saw where the blade doesn’t cut too deep. Depending on the size of the photos, most will fit a 1-inch to 3/4-inch groove.
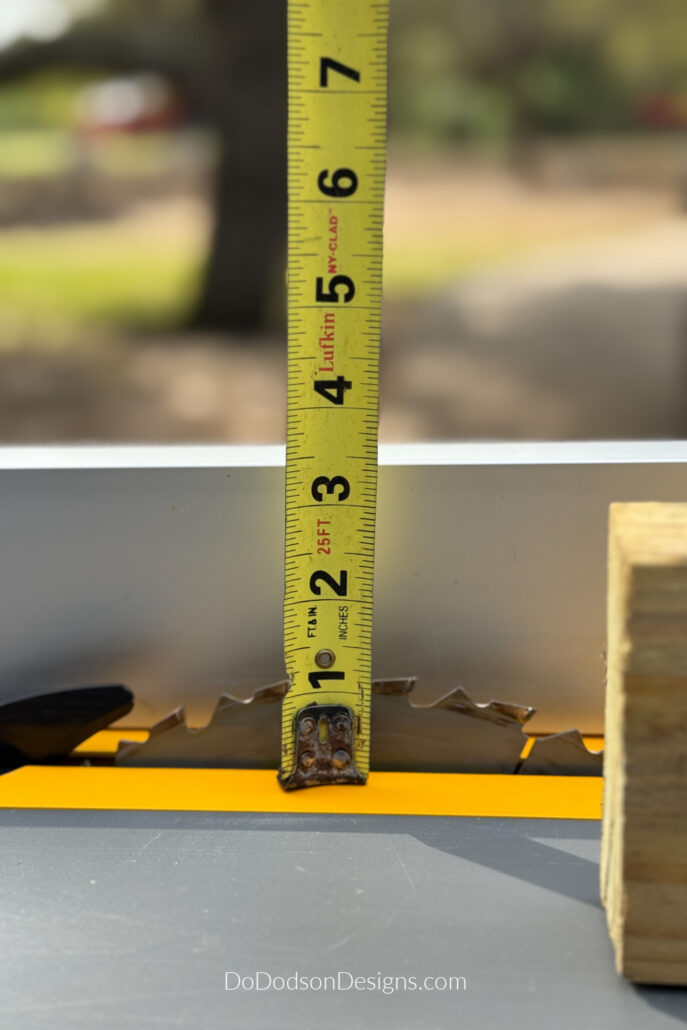
First, I measured out and marked the center of the board. The original 2×4 was too wide, so I cut it down with a table saw to 2×3. There’s no reason why you can’t cut the wood to whatever size you want.
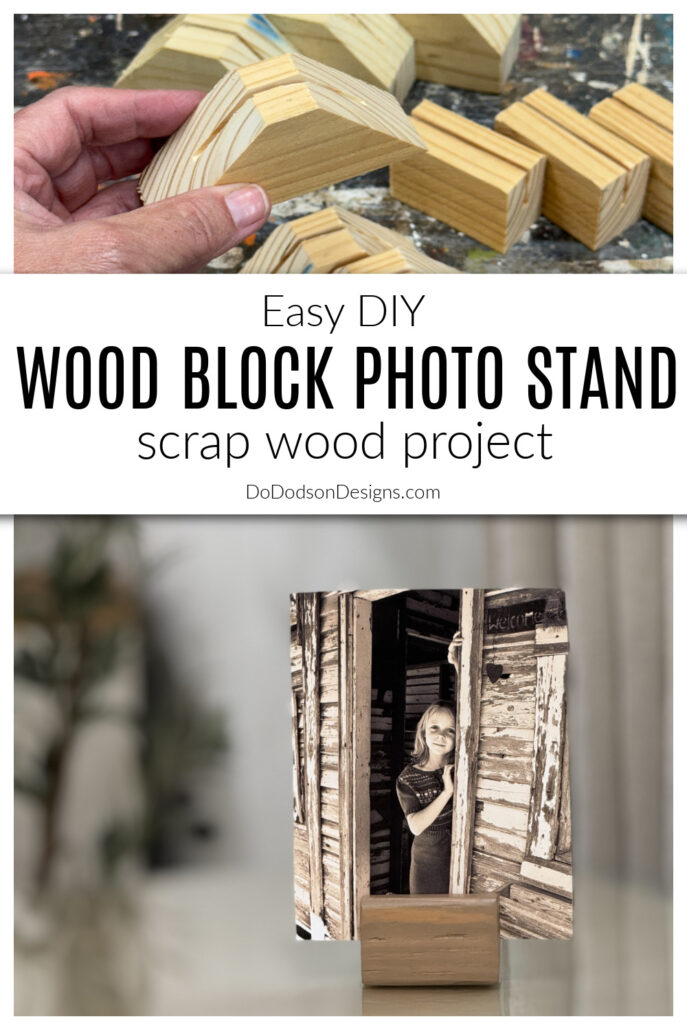
Making Your DIY Photo Stand Block Designs
Now that you have the groove cut in the wood, it’s time to design the shape of your DIY photo stands. Think outside the box, go with an edgy design, or go basic. I personally think the photo determines the design, but you do you.
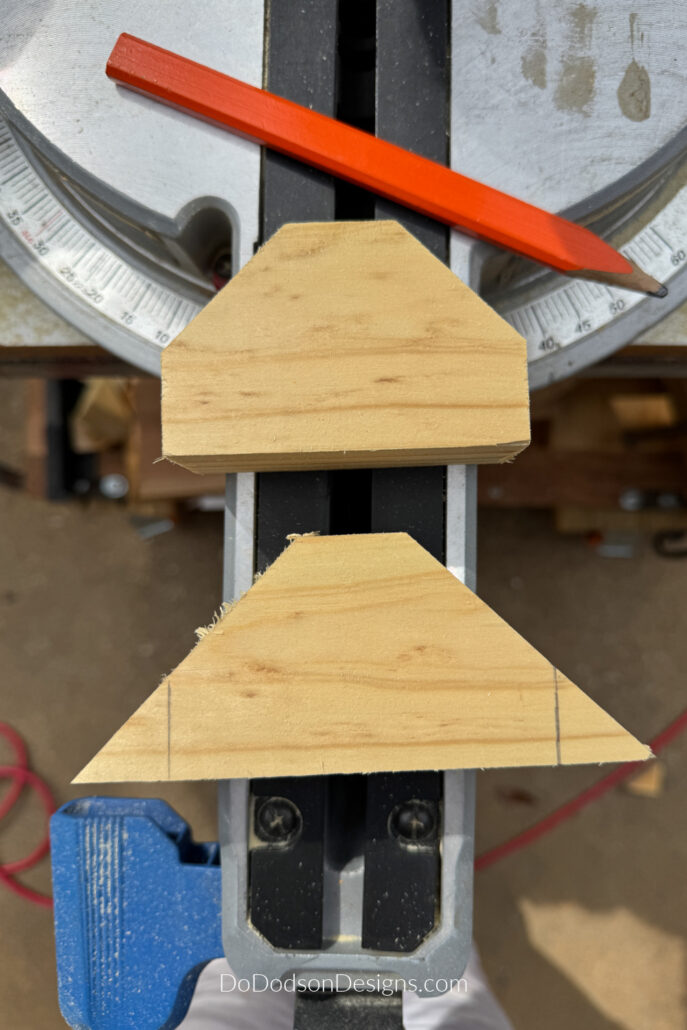
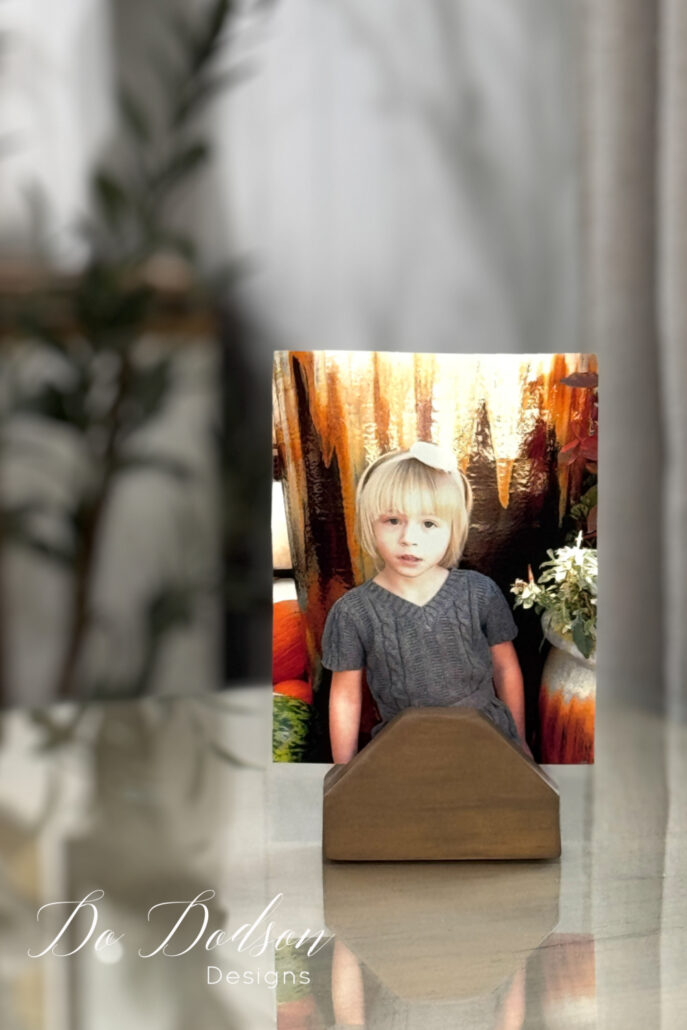
I came up with the three styles that I wanted. The first was a triangular pattern cut with 45-degree angles on both ends.
This one measures 3.5 inches at the base.
I was able to make two designs by simply cutting off the tip at the top of the triangular one and then cutting the ends to create a house-like shape.
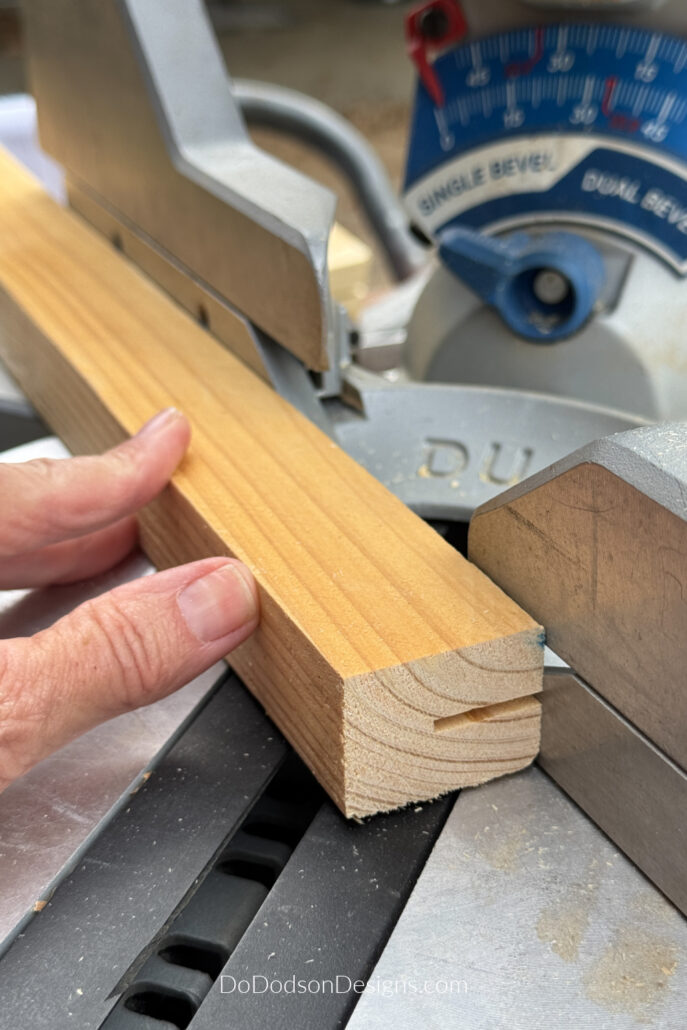
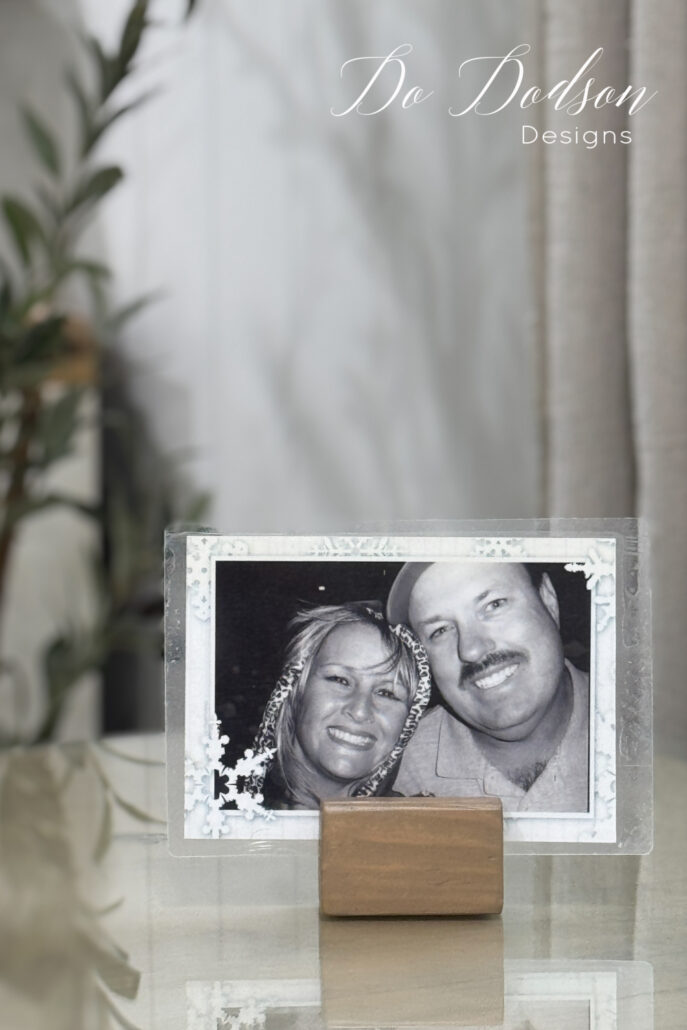
The third shape is a simple 2.5-inch straight cut.
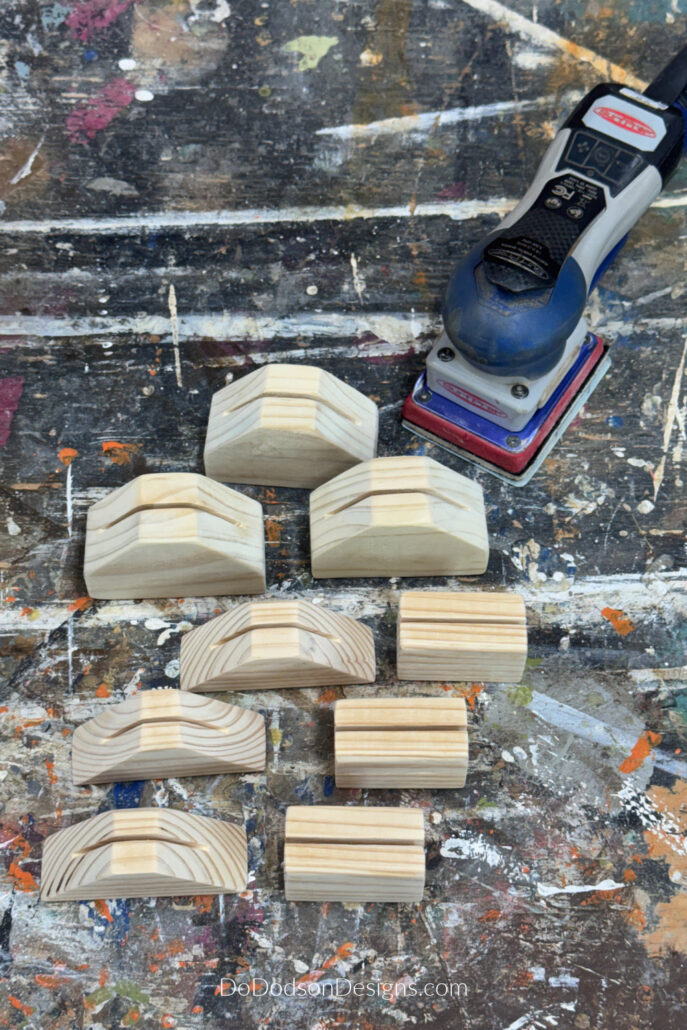
Sanding / Smoothing The Rough Edges
For faster sanding, I use an electric wood sander with 220-grit paper. But you can always go hand-finished using a wood sanding block or paper.
I must warn you, your arms will get a workout.
Now that your scrap wood is sanded to a smooth finish, it’s time to clean up. Removing all the wood dust is essential to ensure a clean surface and will prevent you from creating a grimy-looking project once the stain is applied.
There are multiple ways to remove dust. I prefer a suitable blower. If you don’t have a blower, a hair dryer works, too. You can always wipe the dust off with a cloth. Alternatively, I’ve found that using a small, clean paintbrush to remove the dust from the wood grooves is a practical option.
Here are the completed cuts for each wood DIY photo stand.
Staining The Wood
If you are looking for an easy-to-use water-based stain, here it is!
Shake the bottle, open the top, and squeeze it onto the wood. Use a soft cloth, gauze, or a paintbrush to spread the stain over the wood. Wipe back any excess stains with a clean cotton cloth. This method of application is perfect for small wood projects like this.
A second coat can be applied again to darken the color. This product is buildable.
With so many colors to choose from, it was hard to decide. I chose three earthy tones that complement my home’s decor. I’m a neutral girl!
Allow the stain to dry thoroughly.
Fireside Ash, Bleached Cypress, and Whiskey Barrel.
Add Protective Topcoat
I finished off my DIY photo stand blocks with two coats of Dixie Belle’s Gator Hide. It gives them such a beautiful satin finish—I love how they look! The first layer dried in just a couple of hours, and then I added a second layer, allowing them to dry overnight.
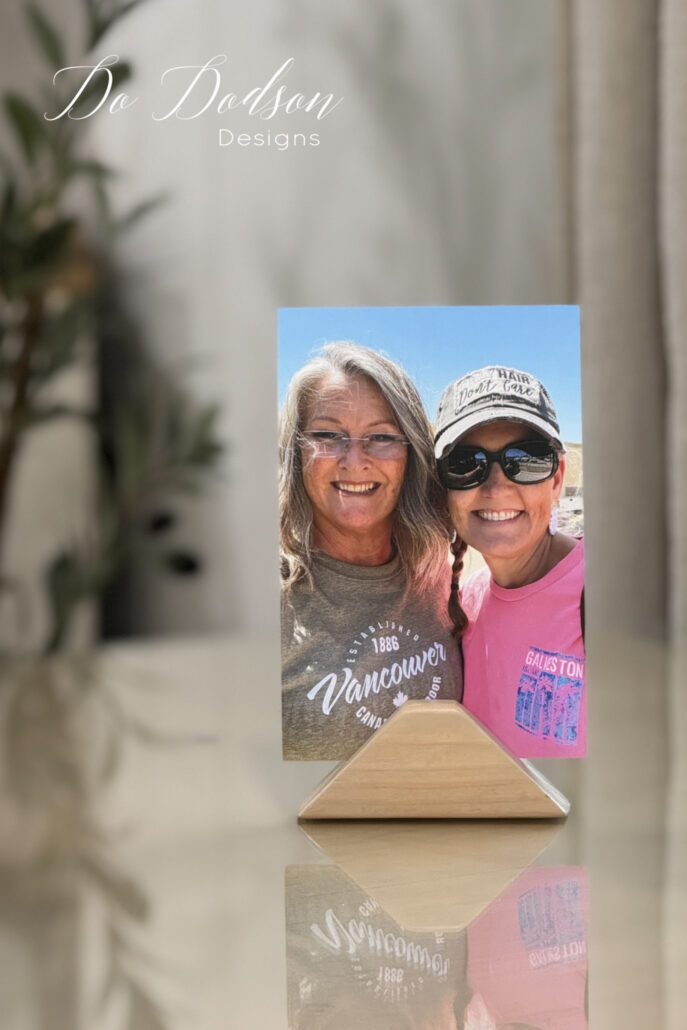
The Finished DIY Wood Block Photo Stands
The fun thing with this project is that you can cut different patterns and sizes.
Do you want simple geometric cuts or something more complex? There’s no wrong answer! Get creative and mix things up. It’s your style, so go for it!

I like how each is different, yet they look great together using a similar color stain.
Thank you for joining me for this DIY workshop on wood photo stands. I hope you enjoyed it. Be sure to check back soon for more DIY craft and home decor tutorials from me.
Remember to pin and share this DIY with your woodworking friends. Have fun and make some cool wooden decor for your home!
Until the next project… xo, Do
This looks like such a fun project and something I would love to do! My neighbor is a cabinet refinisher, so he always has a scrap pile of wood he said I can look through. I’ve been wanting a new project to try with some of his leftover wood, so this is perfect! I love that you changed up the designs for the picture stands so they weren’t just a rectangle or square. Thanks so much for the inspiration and sharing!
Hi Alex! You’re absolutely welcome. Sounds like you found a pile of gold. Happy woodworking! 🙂