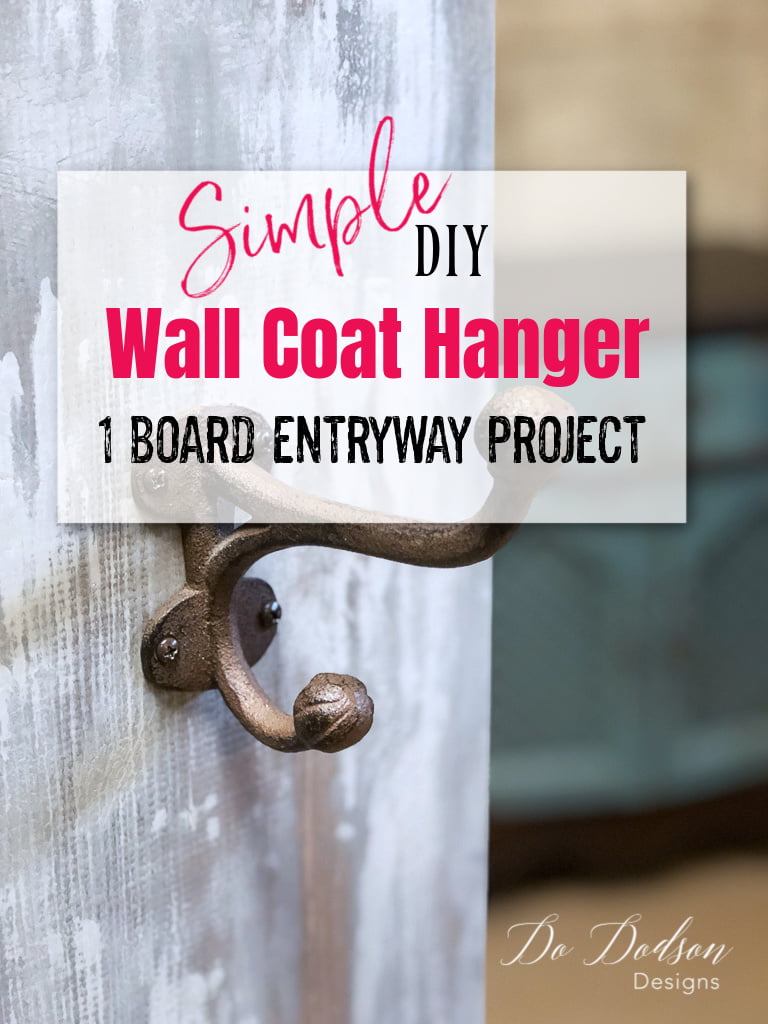
This project started as a prop and quickly grew into, “Hey, this could be a thing.” Why not share my one-board DIY wall coat hanger with everyone. Seriously it was so easy it’s almost embarrassing. It’s a good thing that I save all my scrap pieces of wood. Get ready to want to make one for your entryway. I made two!
Estimated reading time: 5 minutes
This post contains a few affiliate links to help you find the products I use. You are not charged extra to use any of the links, but any income I make will be used for more fun projects! To see my full disclaimer, click here.
Entryway Wall Coat Hanger With One Board

Gather Your Supplies
- 1×10 Board (cut in the length you want)
- Coat Hooks
- VooDoo Gel Stain (water-based)
- Driftwood (chalk mineral paint)
- Hurricane (chalk mineral paint)
- Spray Bottle
- Vinegar
- Paintbrush
- D Ring Picture Hanger
Cut The Board And Stain The Wood
STEP 1. First, measure and cut the 1 X 10 board to the length of your choice. I only needed a wall coat hanger for a jacket and maybe a ball cap, so I made 36 inches and hung it vertically instead of horizontally.
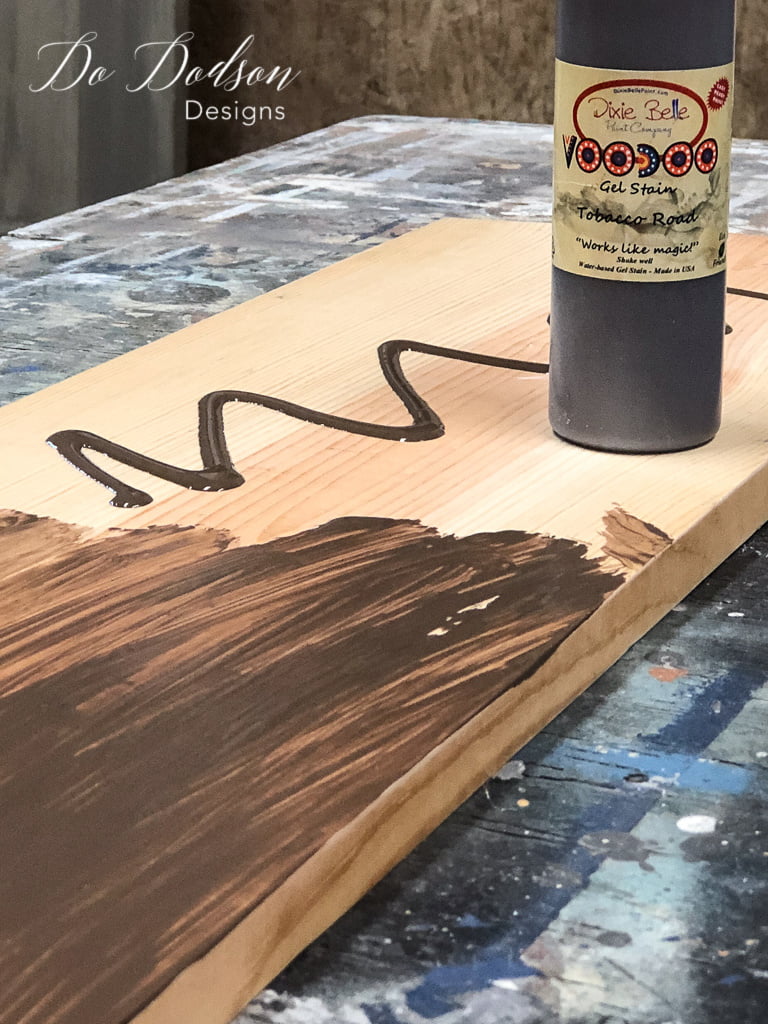
STEP 2: I stained both boards with VooDoo Gel Stain first. It’s a water-based stain and can be used as a stand-alone stain or can be used with water-based paint. The Gel Stain will dry in about 30 minutes or so. Allow drying completely before the next step.
Adding Paint Over The VooDoo Gel Stain
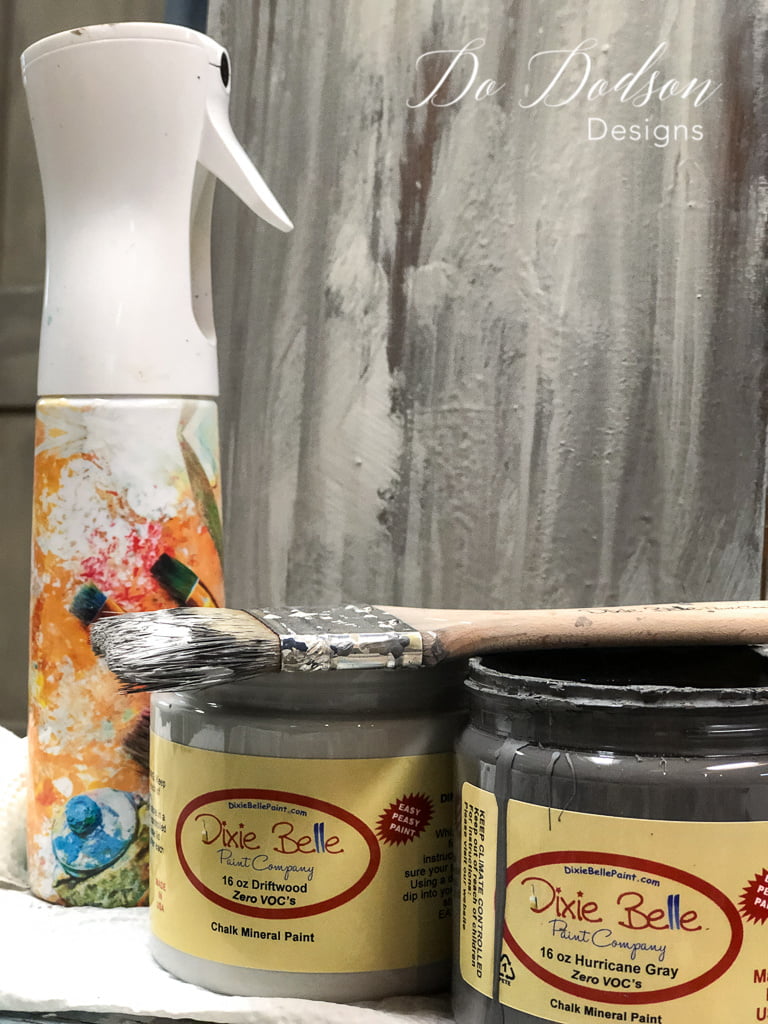
STEP 3. To add a little more character to one of the wall coat hangers, I painted over the board with two similar chalk mineral paint colors. While the paint was still wet, I mixed a 50/50 vinegar and water solution and put it in a spray mister bottle. Then I stood the board on end and sprayed the vinegar and water mixture over the paint, and allowed it to drip down the board… washing away some of the paint and allowing the stain to show through in some areas. This is a messy process but so much fun! Once the paint is dry, you can sand it highly and apply a top coat of your choice.
Applying The Hooks On The Wall Coat Hanger Board
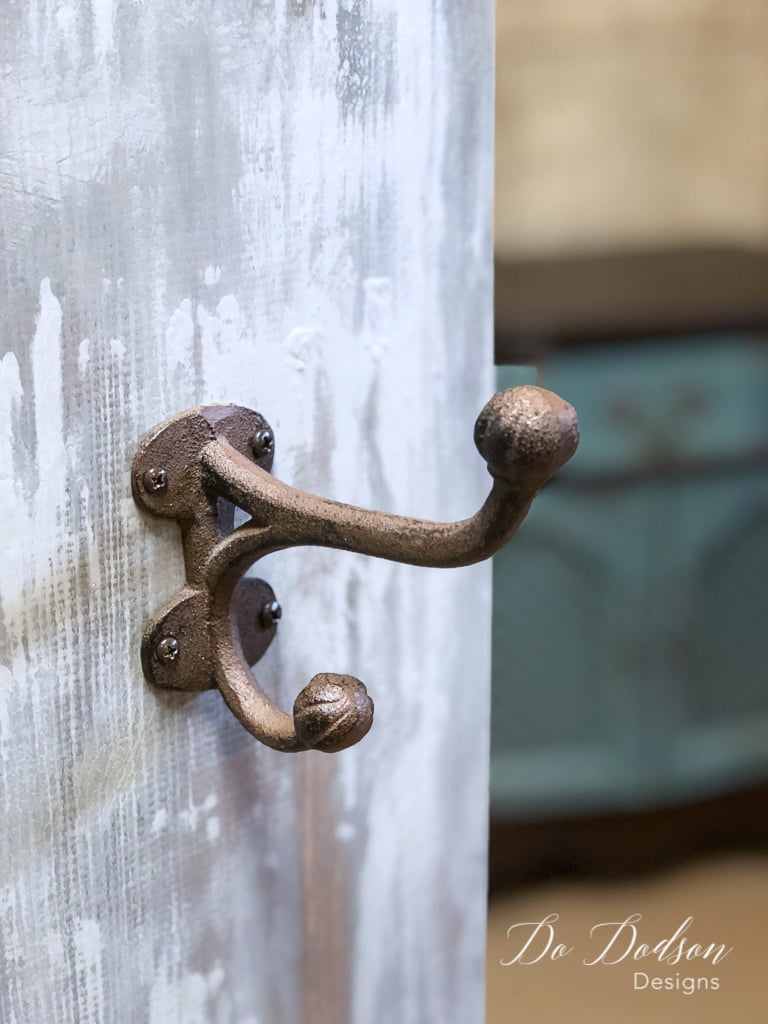
STEP 4. Time to add your favorite hardware. I found a lot of options on AMAZON, and this is what I chose. CLICK HERE to see them.
Adding A Hanger To The Wall Coat Hanger
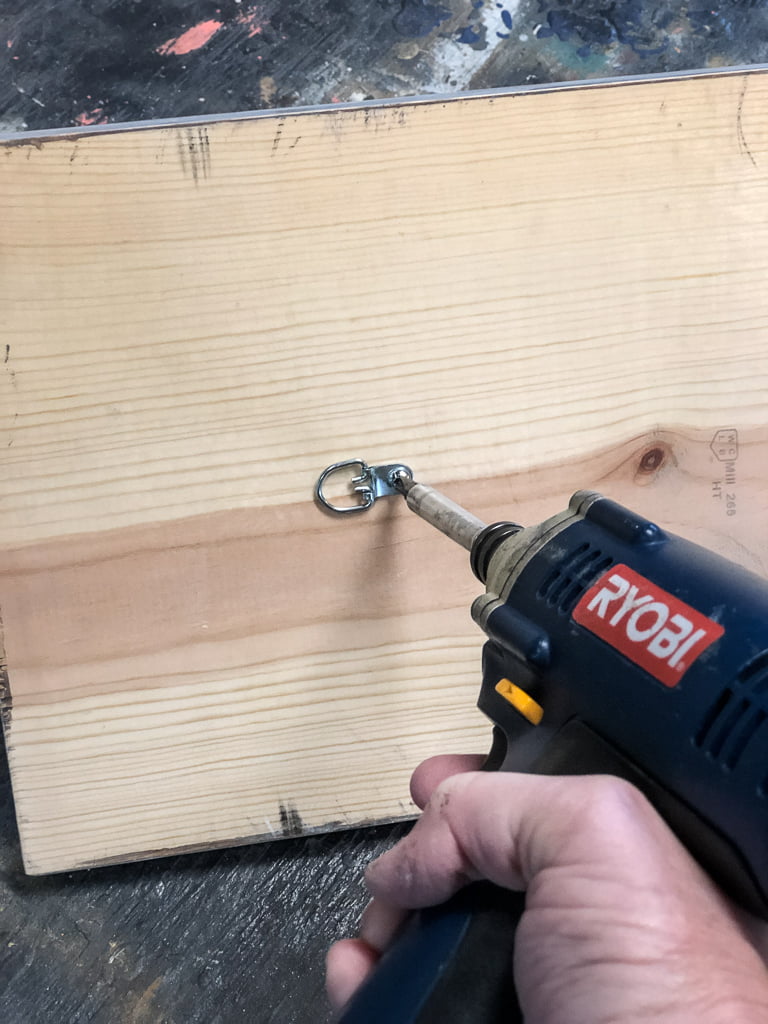
You will need a heavy-duty picture hanger or two to hang your wall coat hanger. I like these D Ring Picture Hangers. It’s quick and easy because no one has time for complicated. And no, I don’t paint the back. I don’t want to waste that paint.
DIY Wall Coat Hanger #1
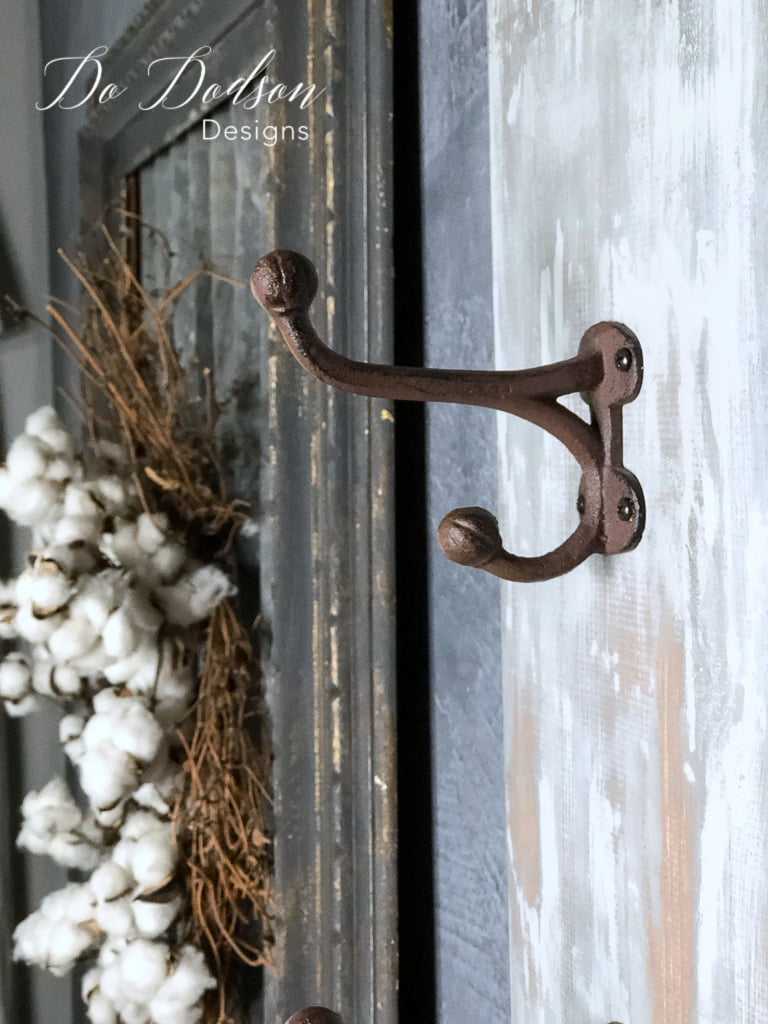
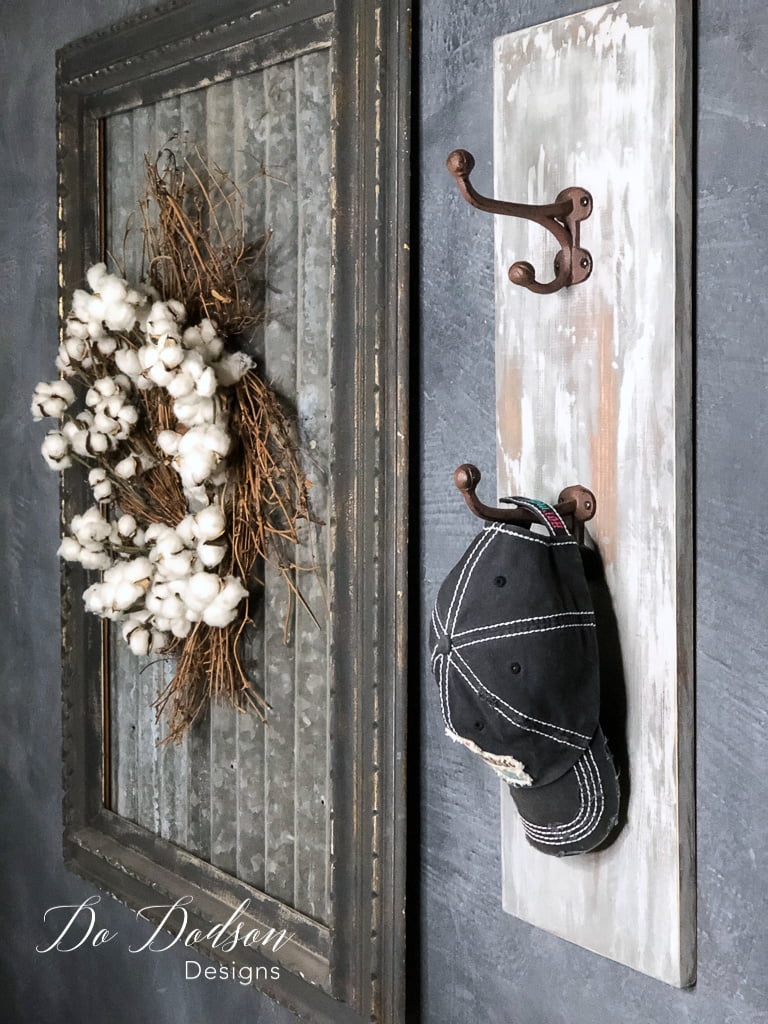
DIY Wall Coat Hanger #2
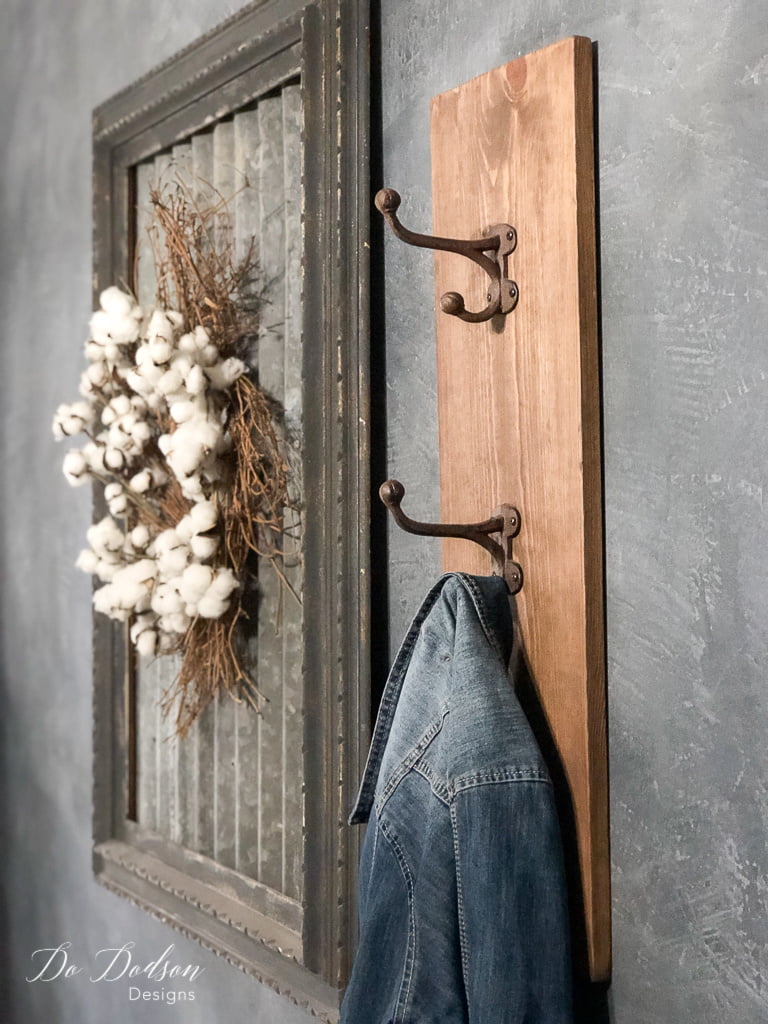
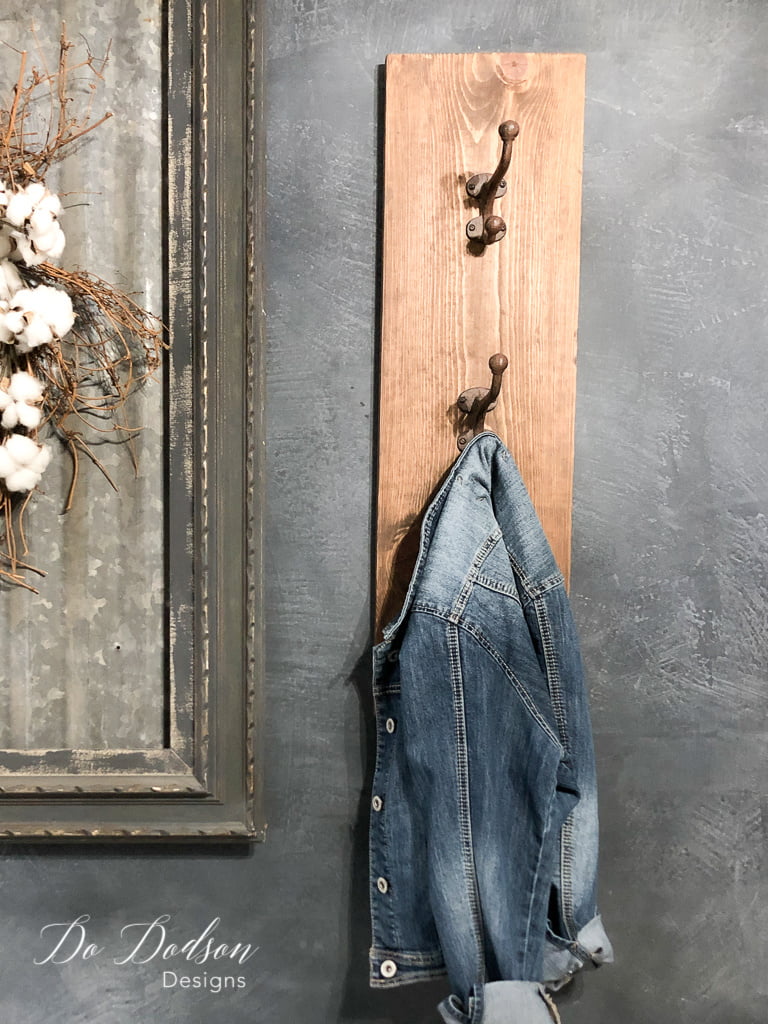
Which one of the wall coat hangers do you like best? I can’t decide so I’ll use them both in my entryway! How stinking easy was that?
Hey, thanks for joining me today, and I hope this inspires you to try this simple beginner friendly wood working DIY… with a little paint on the side. 🙂
Until the next project… xo. Do

Loved the one with the gray and vinegar technique!!
Thank you Jackie! 🙂
This isn’t about painting furniture but about painting fabric on lawn furniture.
Have you done this? How do you do it?
I’ve emailed you as well.
thanks Carlene Newton form Ok.
I’ll be looking for your email! Fabric painting is so cool!
xo, Do
My question is about outdoor fabric as well, but I’d like to paint my fabric patio umbrella. What do you think – has anyone else tried it successfully? Any ideas on paints, etc would be great! Thanks
Hey Laura! I can’t say I have tried that, but if you use Dixie Belle chalk mineral paint and seal it with their Gator Hide, I think that would be the way I would go. I would love to know how it works out! You can find those products by clicking here. https://bit.ly/2K19PJT
Happy painting!
xo, Do
Hi Do Dodson! I love the look of weathered wood. Do you have a post on what you did with that picture frame beside it? Why did you have make these vertical? Save on space?
Hi Cheryl,
I have a small entryway. That’s why I chose to hang it vertically. You totally can make these horizontal and are typically what you see with a wall coat hanger. The picture frame beside it is simply an old frame with tin placed inside it. Isn’t it smart? 🙂
I like both but the chalk painted one the best. I loved how you hung it vertically. Great idea for small spaces.
Thanks, Sue. It’s more of a decorative addition but still functional. 🙂