
I found this french vintage armchair in a local treasure store. That’s what I call them. They have treasures, right?! I never planned on buying anything when I went in. Just killing some time. Hook and bait, I swear it! The armchair I spotted in the corner had yellow tape (CAUTION was all I saw) strung across it. If curiosity killed the cat, I was pending D E A T H. Yep; I bought it.
This post contains a few affiliate links to help you find the products I use. You are not charged extra to use any of the links, but any income I make will be used for more fun projects! To see my full disclaimer, click here.
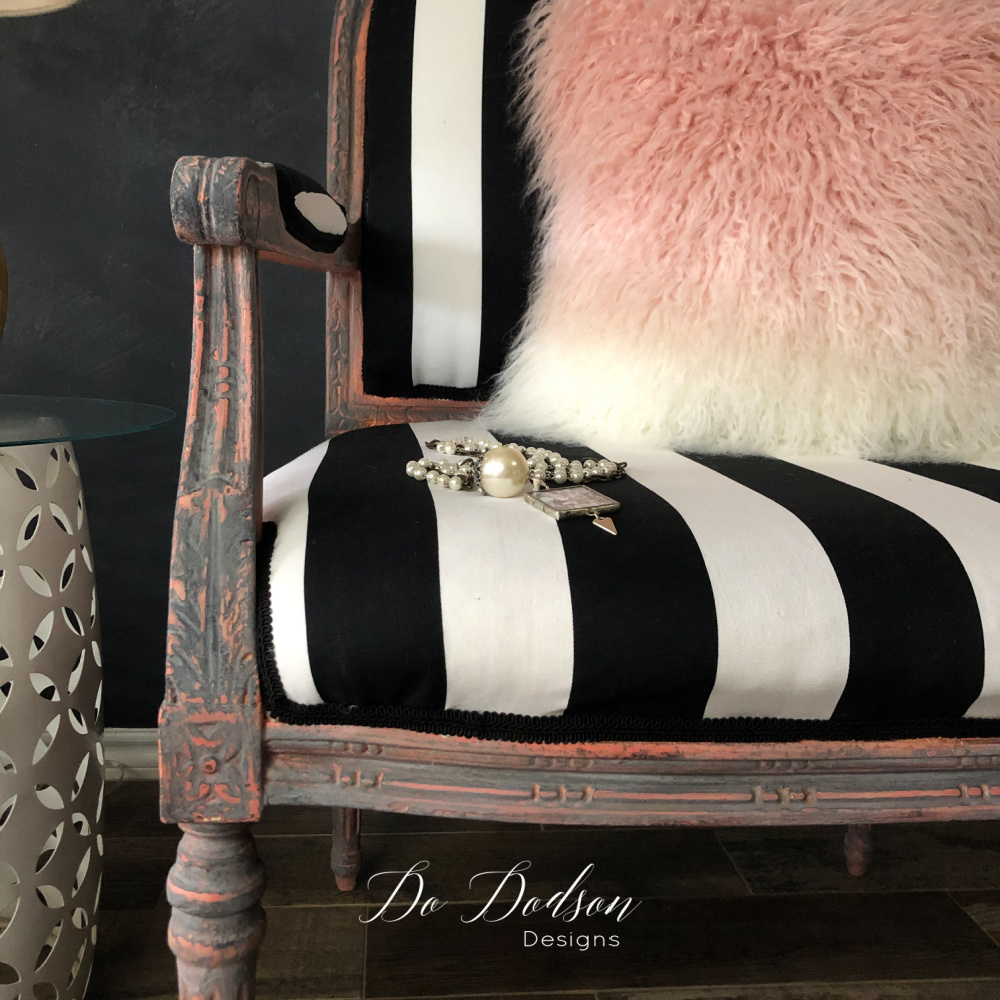
Vintage Armchair Makeover Before & After
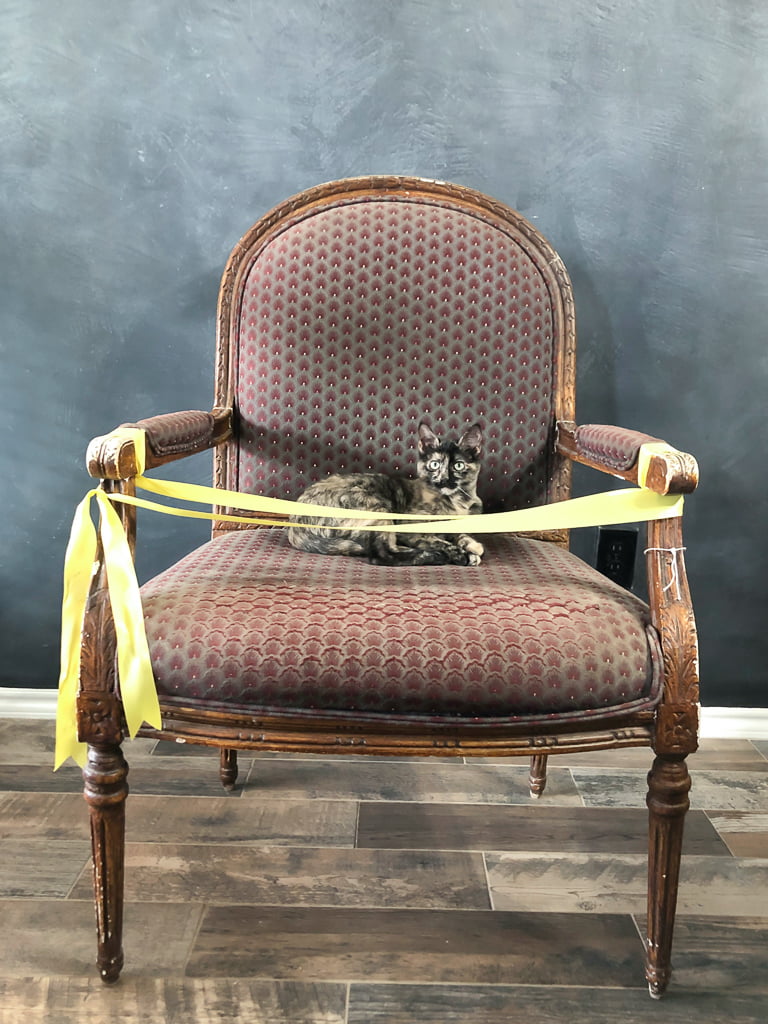
Turns out that I wasn’t the only curious kitty in town. Meet Linda, my spoiled rotten kitten! I thought that if I left the yellow (CAUTION) tape in place, no one would sit on it. It was pretty dirty and needed a lot of work. Well, as you can see, that didn’t stop her because Linda does what Linda wants. Cattitude!
Let The Vintage Armchair Makeover Begin!
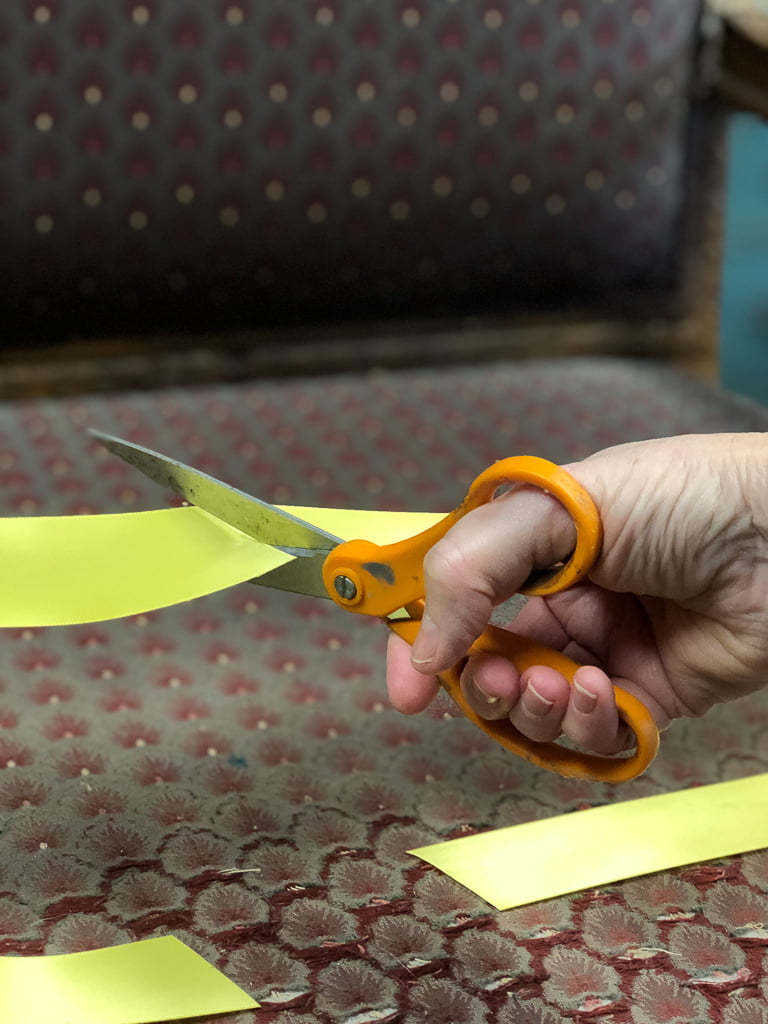
After cutting the yellow ribbon, I swear I heard the theme from Rocky. Flying high now! I can get pretty excited about starting new projects and have been known to bust a move or two. When no one’s looking, of course.
Gathering Supplies For The Vintage Armchair Makeover
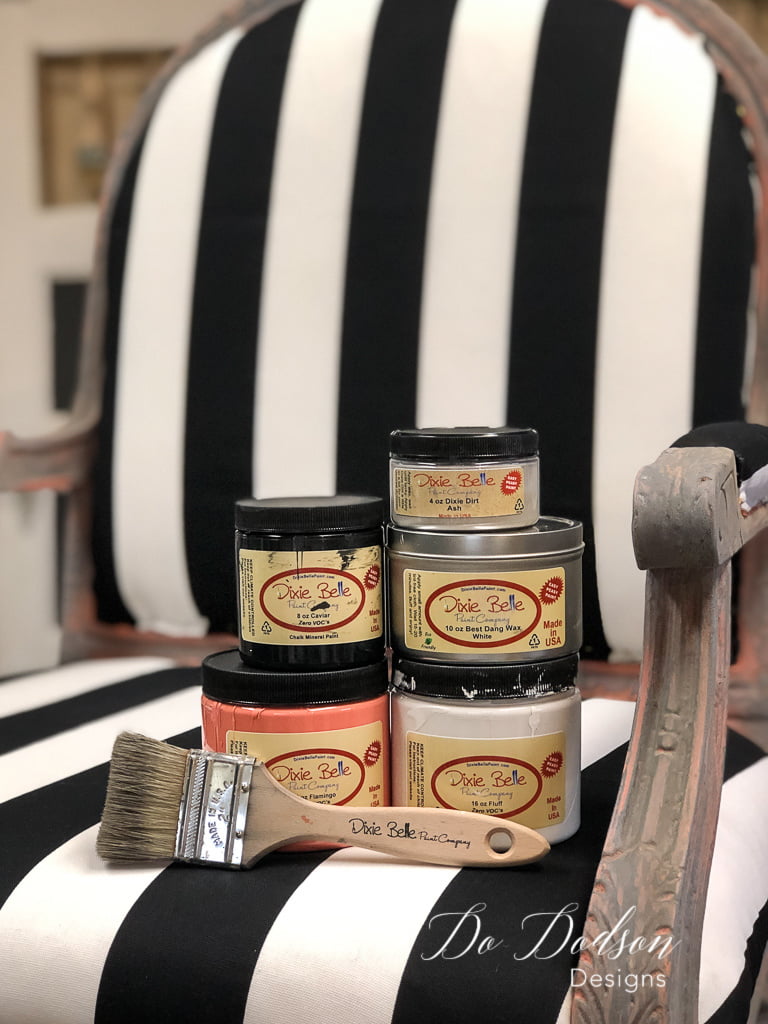
Here are the products you’ll need for this makeover. Purchase Dixie Belle Products by CLICKING HERE!
- Vintage Chair
- White Lightning (cleaner)
- Spray Bottle (White Lightning Mix)
- Paper Towels
- Flamingo (chalk mineral paint)
- Caviar (chalk mineral paint)
- Fluff (chalk mineral paint)
- Paintbrush (Dixie Belle) OS
- Premium Chip Brush (Dixie Belle)
- 220 Grit Sandpaper
- White Wax (Dixie Belle Best Dang Wax)
- Dixie Dirt (Ash)
Prepping The Vintage Armchair For Painting
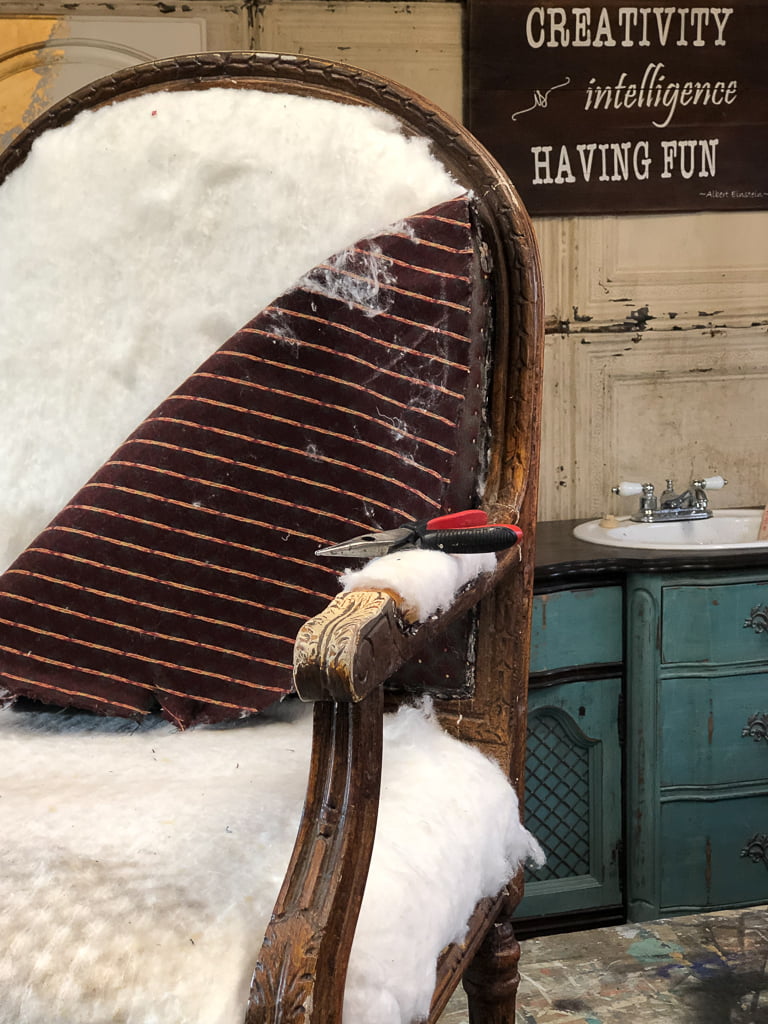
Obviously, the upholstery had to be removed from the vintage armchair with all 999,000 staples. I swear! Well, guess what? I left about 1,000 in there. Needle nose pliers and a paint scrapper probably weren’t the best tools to use. Hey, I don’t do upholstery work often, so I use what I got. Here are the proper tools for the job.
Cleaning The wood Before Painting
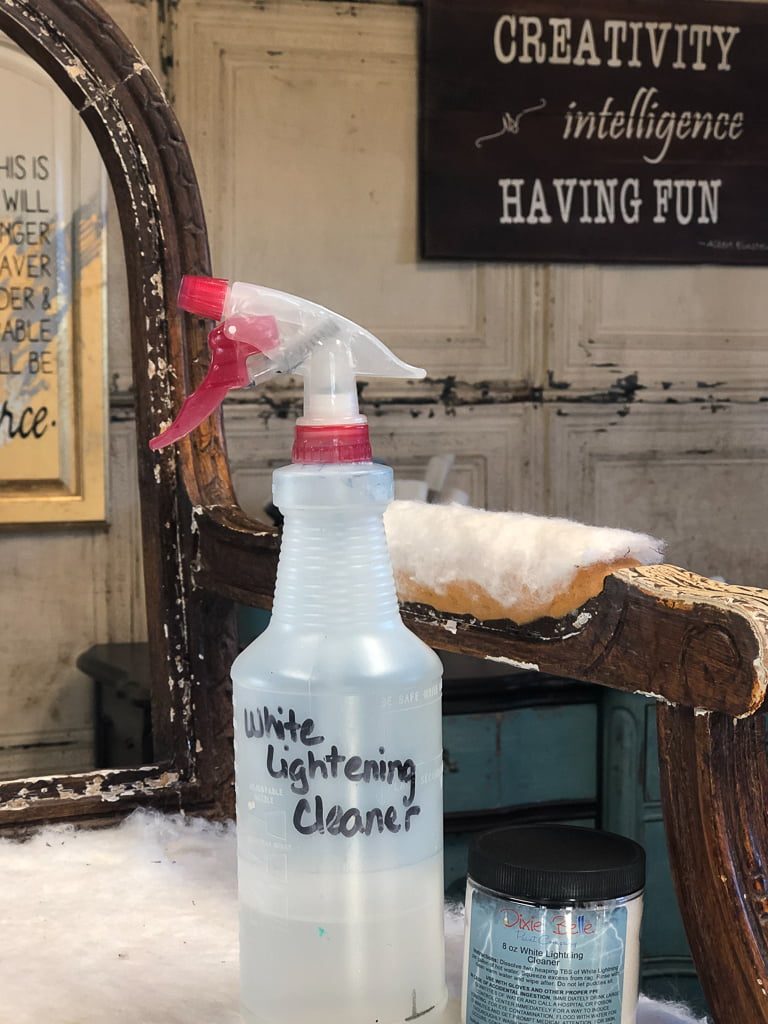
After removing the upholstery fabric and exposing the wood, I started the makeover by cleaning the wood first. I used a mixture of water and White Lighting (cleaner) and wipe over the wood surface several times to make sure I removed all the dirt and leftover time. It was really dirty! Afterward, I wiped down the wood on the vintage armchair with clear water and a soft cloth. This was done to remove any residual cleaner that was left on the surface. This is an important step that should not be missed. Any cleaner left on the surface could cause the paint not to adhere properly.
Adding Color To The Vintage Armchair
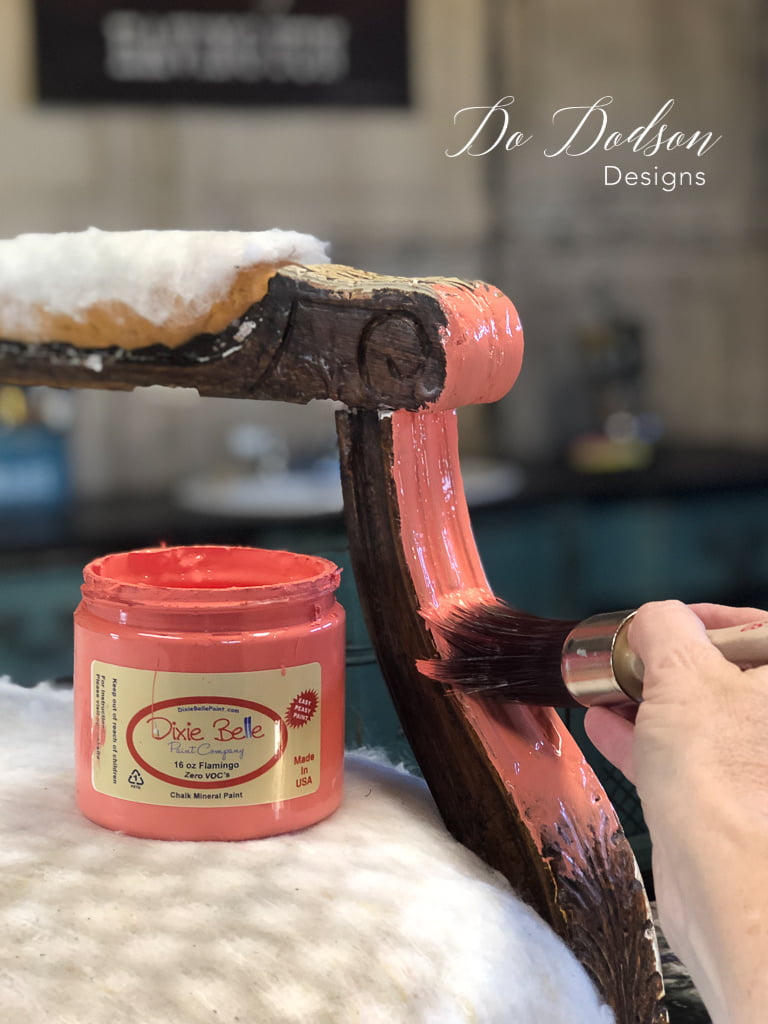
I painted the wood parts of the chair with two coats of Flamingo chalk mineral paint and highlighted them with Fluff using the blending technique. Changing plans in midstream isn’t unusual for a furniture painter, and that’s just what I did. After blending and highlighting, I decided to just go with a solid coat of Flamingo, so I painted over it.
Layering Colors For Character
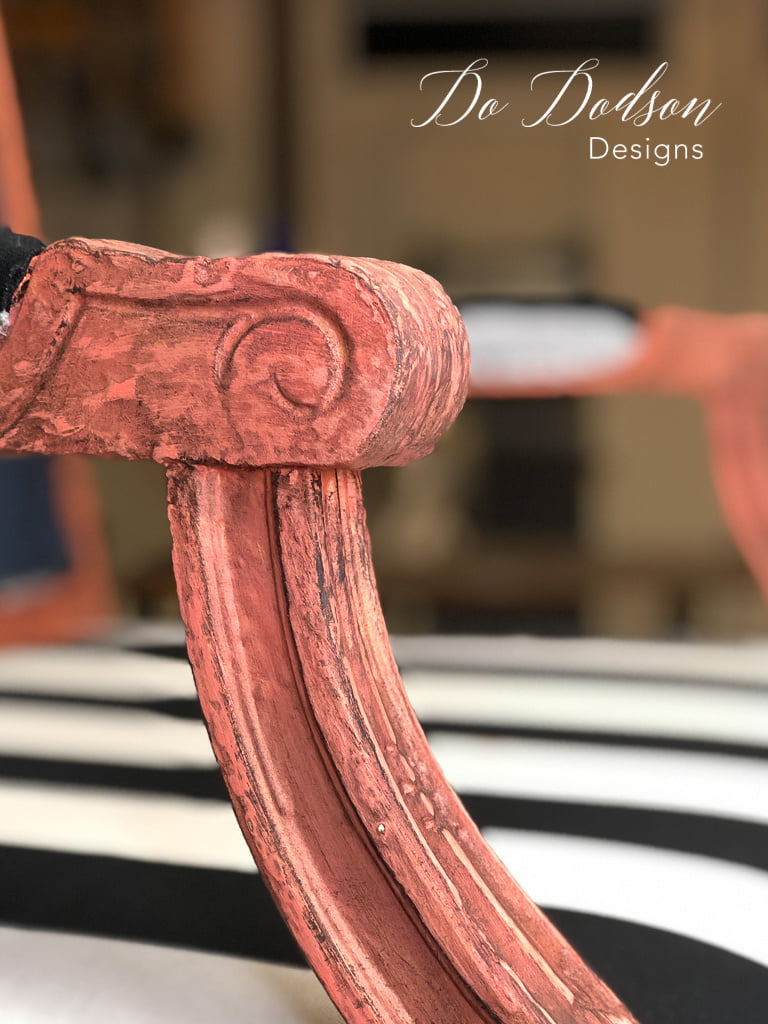
I layered the Caviar (rich black) chalk mineral paint over the Flamingo with a dry brush technique and allowed it to dry. With 220 grit sandpaper, I sanded it back just enough to allow the Flamingo to show through and wiped all the leftover dust away with a soft cloth so that the Dixie Dirt wouldn’t come in contact with the fabric.
Wax and Dixie Dirt
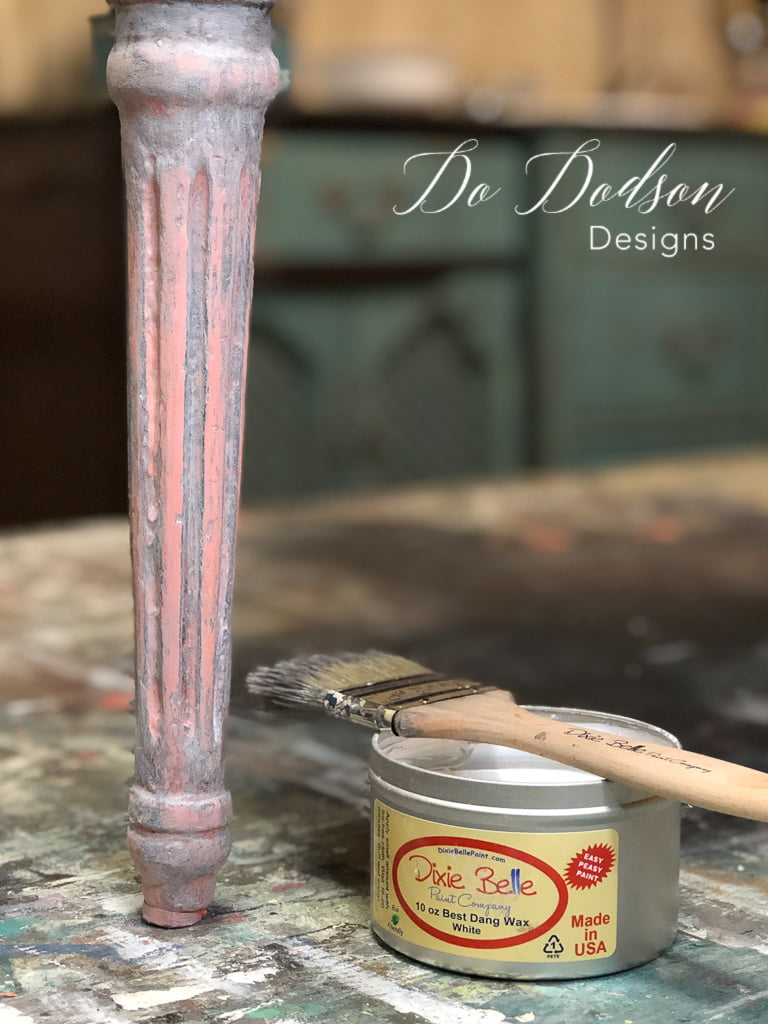
Here is where the magic happened! I added White Wax with a premium chip brush, and it immediately changed the black caviar to a soft gray and softened the Flamingo to more pink. That’s what I’m talking about.
Let’s Get Dirty With Dixie Dirt!
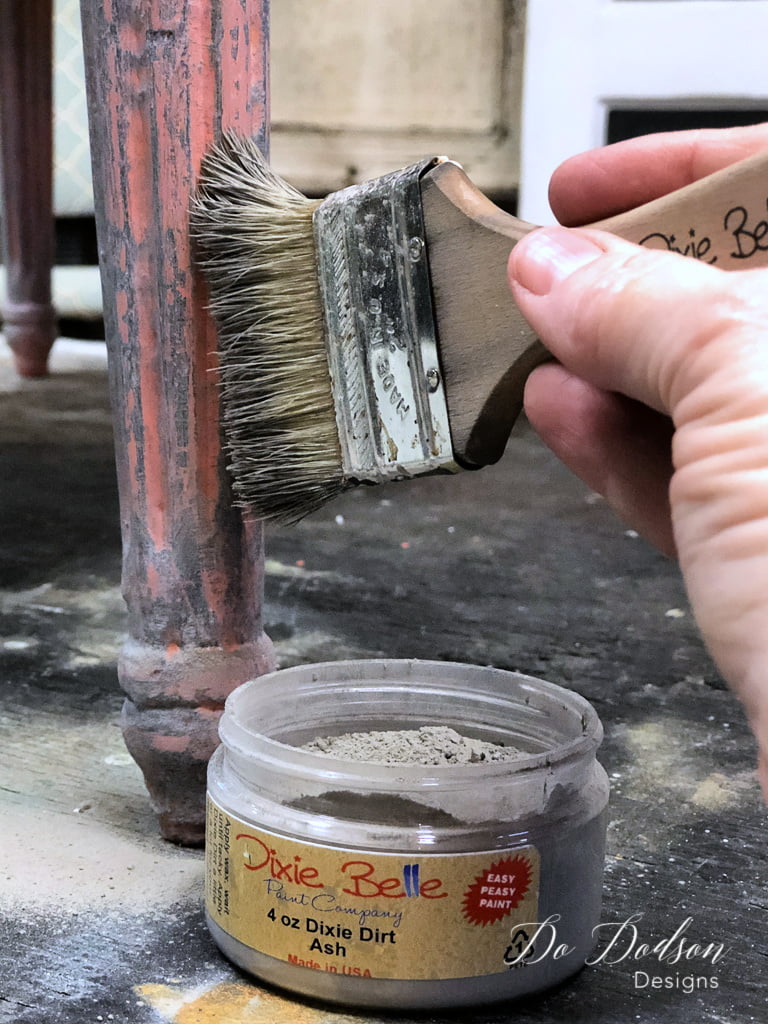
The Dixie Dirt was applied with a soft brush over the white wax while it was still wet and then allowed to dry over the next few days. A soft cloth was used after the wax was dried to remove the excess dirt so it would not later rub off on the fabric. I really liked the look of the wax with the dirt. It gives it that French and European look.
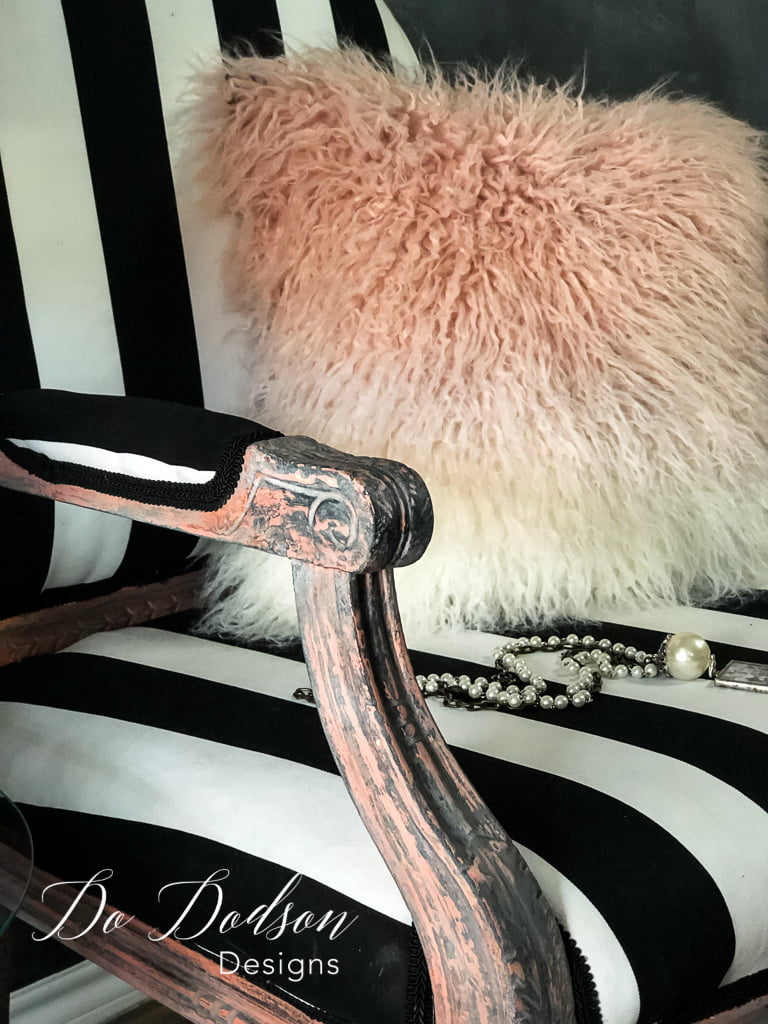
And that pillow! You can purchase one like it by CLICKING HERE!
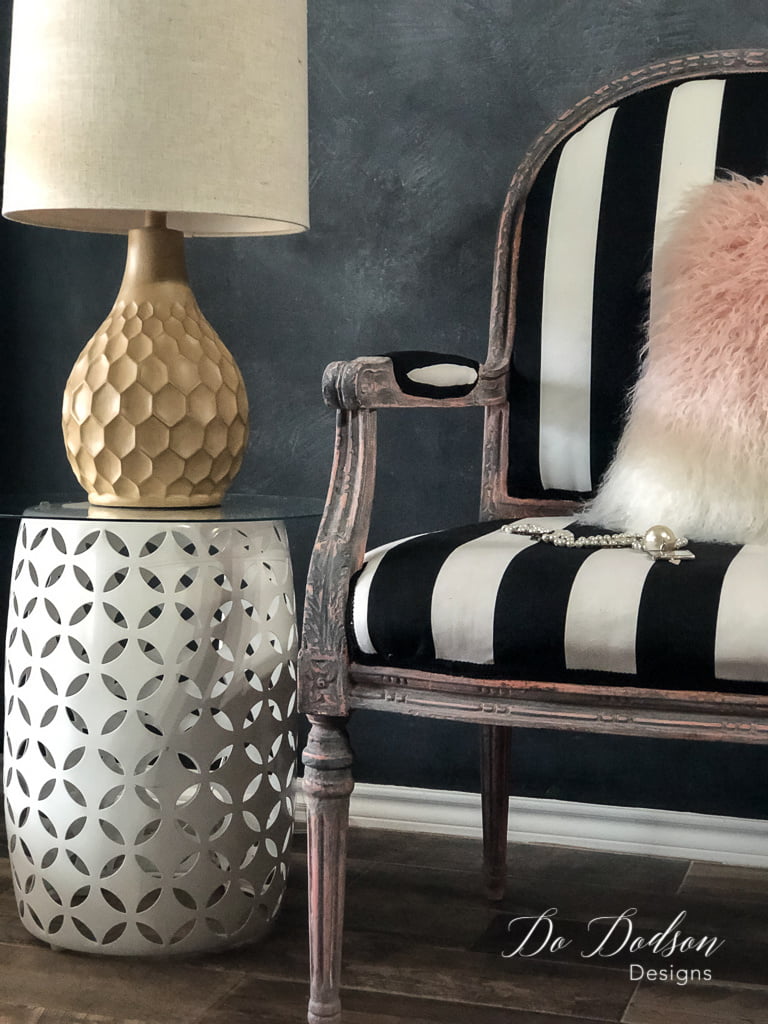
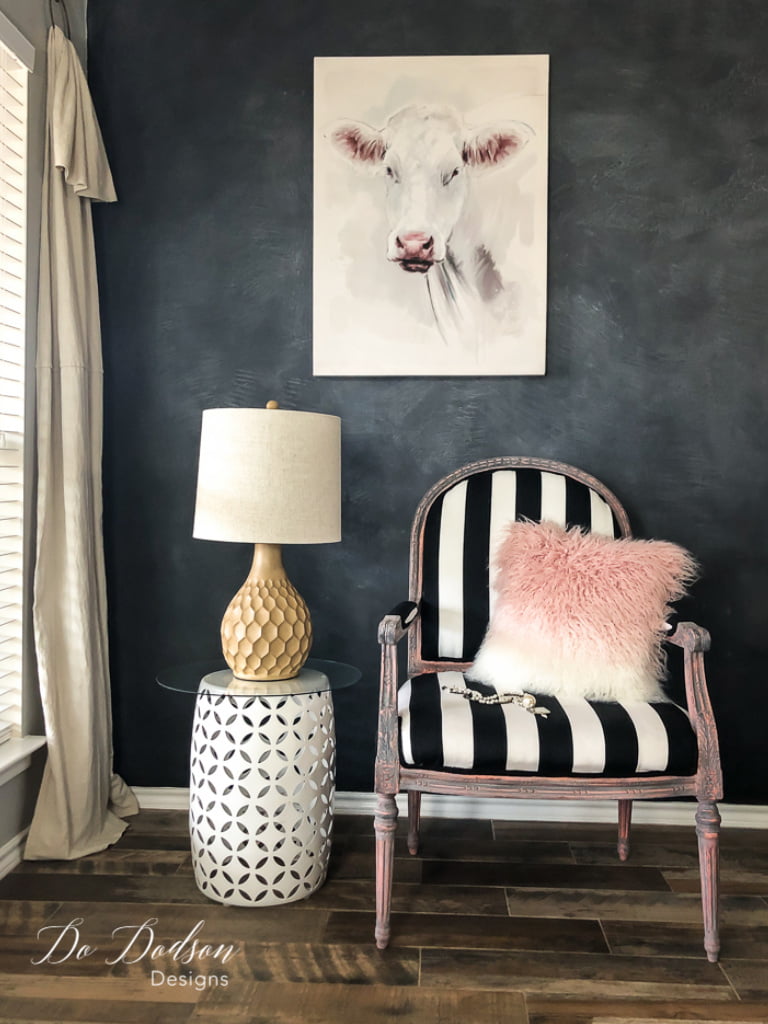
I’m really pleased with how well this turned out, and the bold striped fabric I chose is my favorite part of this whole makeover. BOLD STRIPES on furniture are really hot right now. But do they ever really go out of style? I don’t think so. I sure appreciate you stopping by, and I hope this french makeover inspires you to seek out those vintage armchairs and bring them back to life. Like this chair makeover? I have more! CLICK HERE to see how I actually painted the fabric on a SOFA.
Until the next project… xo, Do
Looks amazing Do! I’m sure Linda is one happy cat. 😉 Rocky is one of my fav movies btw…hehe!
Were flying high now, right Denise? 🙂
I just love your work! I used to do a lot of stuff like you do but unfortunately my health isn’t what it used to be, so I do what I can still do and buy what I have to buy ready made. Little by little redoing my home in a Hollywood glam/old west look. It’s been quite the challenge. I’ve been working on just the living room, which is pretty big, for at least a year now and finally seeing my vision coming to life. Just time and patience finding just the right pieces. I’m about ready to put the final furniture in place and then need to fill in with more Knick knack type decor and it will be done. What area of the country are you in? I’d love to see some of your work in person. Keep on crafting!
Hi Shirley! It’s all about the process and enjoying the transformation. Hollywood Glam/ Old West! Woah! That’s going to amazing and better still, it will be you. I believe everyone should create their own space with the things that speak to them. I’m in Texas!
Oh I forgot to ask you the most important question. Did you do that wall? Do you have a tutorial on it? I’ve been looking but haven’t come across anything on it yet. It’s simply gorgeous!
I LOVE my wall! Yes, here is a blog post about the process. https://dododsondesigns.com/perfect-chalkboard-wall/
Have a fantastic day! xo, Do