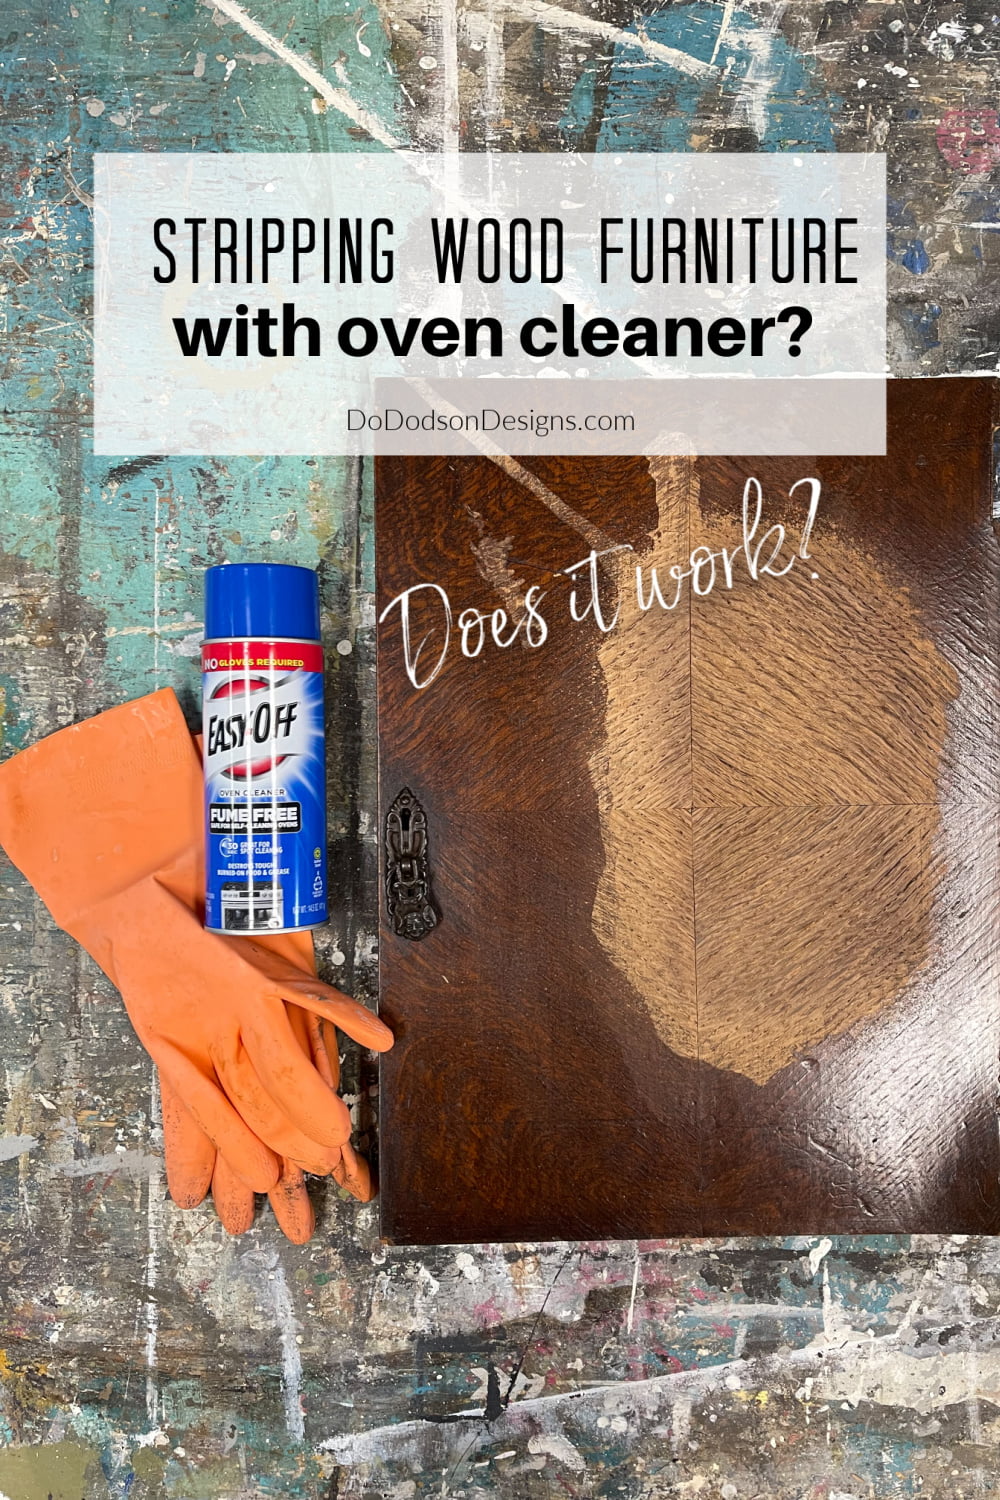
HAVE YOU HEARD ABOUT THIS NEW TECHNIQUE OF STRIPPING WOOD FURNITURE WITH OVEN CLEANER? Today I’ll show you the results of stripping two different wood finishes on furniture and my findings with this method. I think you’ll enjoy this.
* As an Amazon Associate, I earn from qualifying purchases and through other companies as well. You are not charged extra to use any of the links, but any income I make helps me create more amazing DIY projects to share with you! To see my full disclaimer, click here!
Before & After – Stripping Wood Furniture With Oven Cleaner
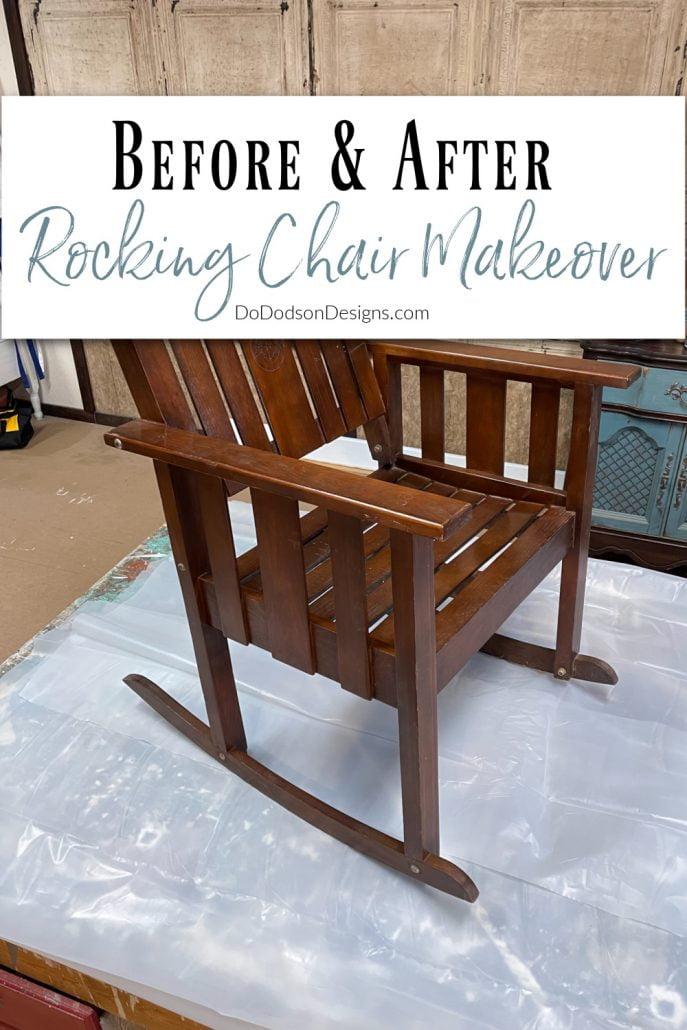
I found this great wooden rocking chair on FB Marketplace for a steal, and I thought it was the perfect specimen for trying out this stripping technique. I recently discovered this technique from Natalie from My Vintage Porch. You can CLICK HERE to see her post on stripping with oven cleaner.
Sometimes it’s difficult to determine if a finish is a varnish or not. It’s a total guessing game.
Needless to say, I gave it my all and learned a lot in the process of stripping wood furniture with an oven cleaner. And of course, the before-after was impressive non the less.

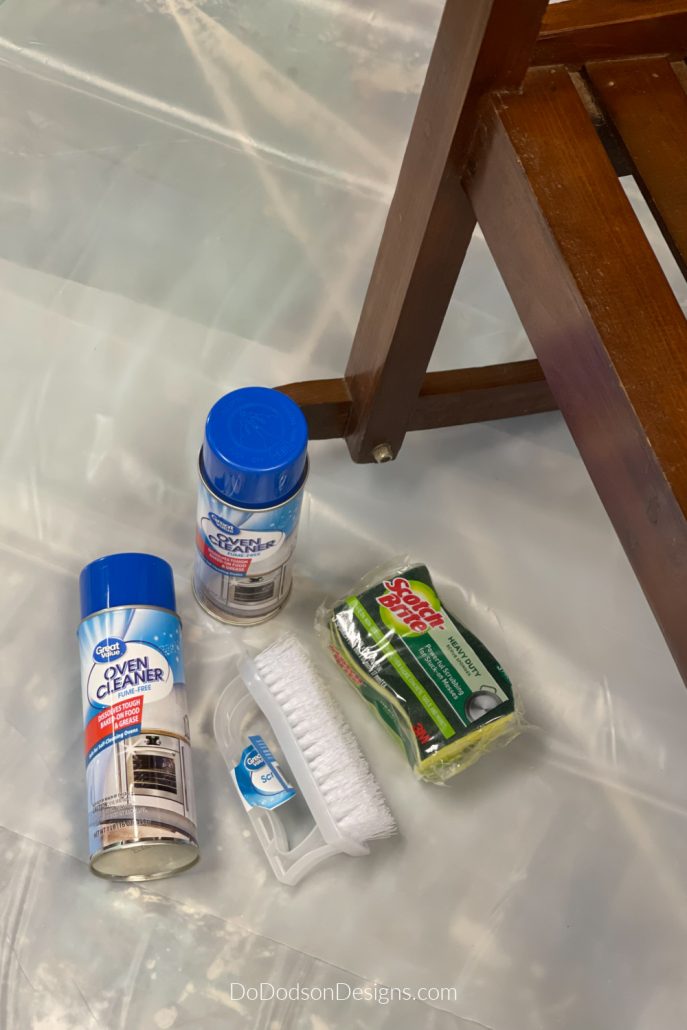
SUPPLY LIST:
- oven cleaner
- plastic drop cloth
- heavy duty scrubber sponges
- heavy duty gloves
- scrubber brush
- Surfprep Sanding System (discount code DOIT10) 10% savings on all products
- 100 grit sandpaper (film sheet for sander) Variety Pack
- very fine sanding pad (280-400 grit)
- drop cloth chalk mineral paint
- 2-inch mini angle synthetic paintbrush
- easy peasy spray wax
Stripping Wood Furniture With Oven Cleaner – Does It Work?
Here is what you’ll need. I purchased the generic version of oven cleaner because guess what? The ingredients read the same on the can—no need to spend that extra money. The total cost for supplies was about $10. That’s cheaper than most chemical strippers I have used in the past.
The best part about this whole technique of stripping wood furniture is that there is absolutely no prep. Say what??? NO PREP? Even if the wood is dirty and covered in gunk, guess what? Oven “cleaner” will clean it during the process. That’s was my first win!
STEP 1 Prepare Your Site For Stripping Wood Furniture With Oven Cleaner
Stripping wood furniture with oven cleaner can get messy, so your best bet is to do it outdoors. But if it’s winter and cold, it can be done indoors as long as you prepare your site.
Use a high-density plastic drop (like painters use) to protect your area from overspray. Allow a good 5-10 ft around your furniture. Again, it’s best to do this outdoors, in my honest opinion.
STEP 2 Application Of Oven Cleaner To The Wood
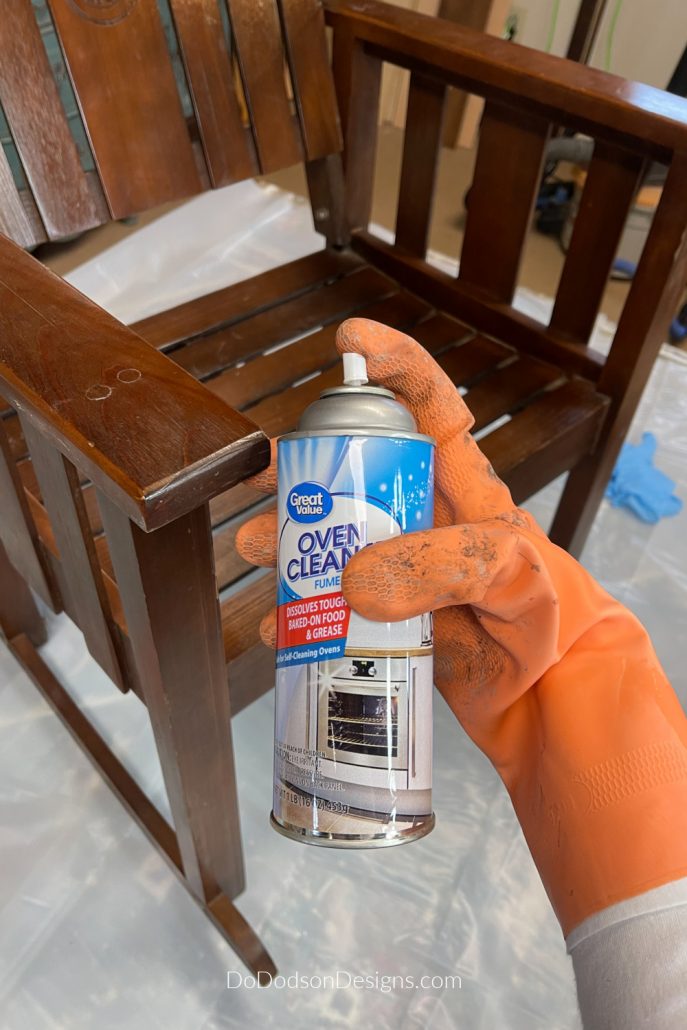
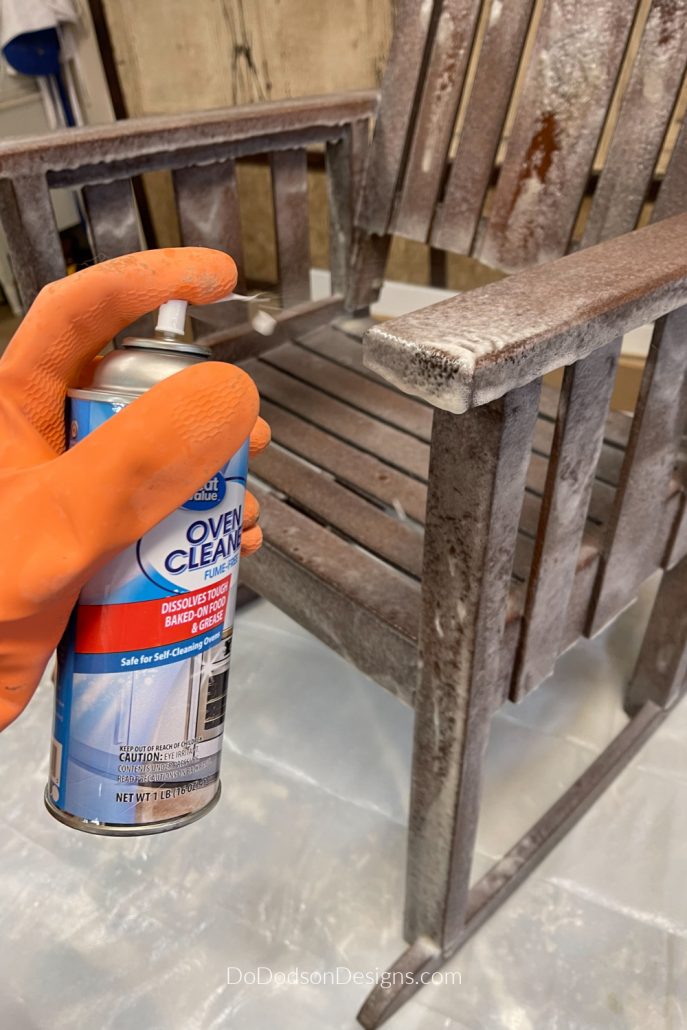
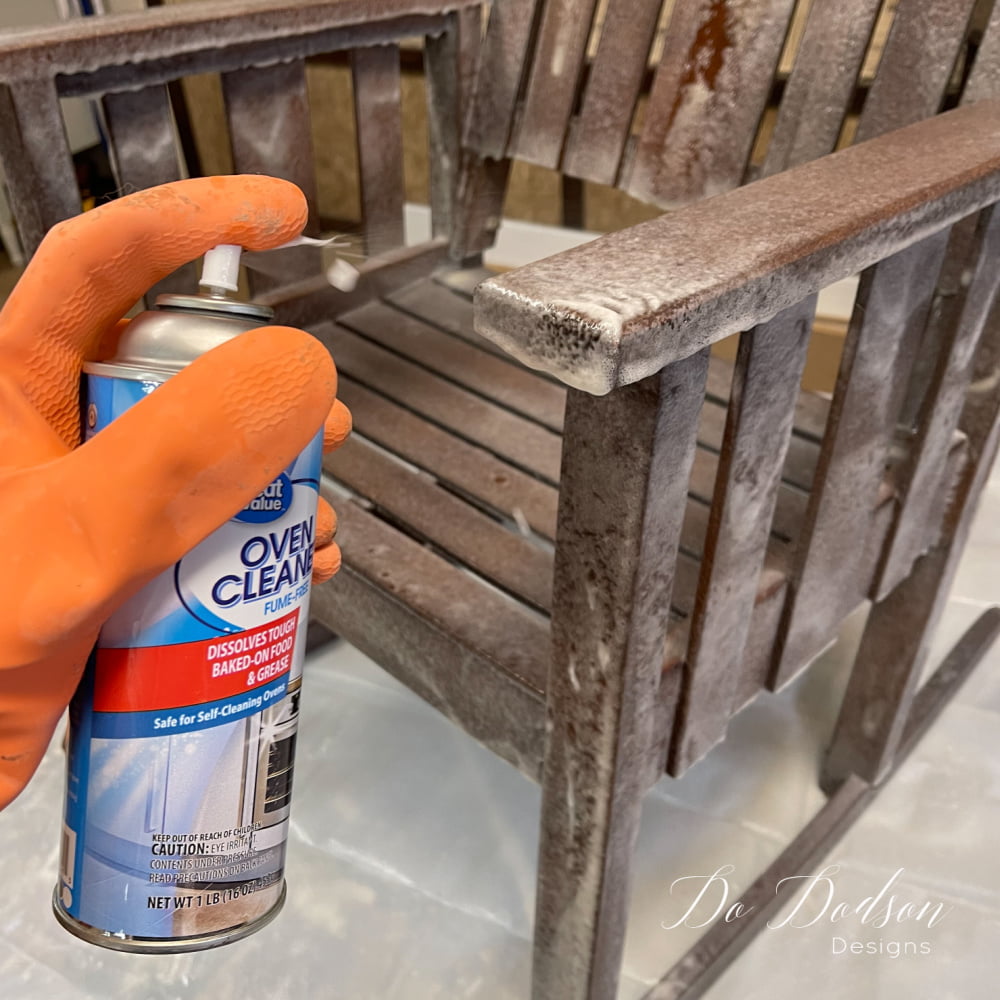
Like cleaning an oven, you spray the oven cleaner over the wood. I saturated this chair and let it sit for about 20-30 minutes. So far, so good. This part is easy!
STEP 3 Stripping The Wood
Wait for the oven cleaner to do its magic (20-30 minutes), and then it’s ready to scrub.
I aggressively scrubbed every inch of the wooden rocker with a kitchen scrubber (the scrubby side) and used a stiff bristle brush in the corners. This will help break down the varnish on the wood.
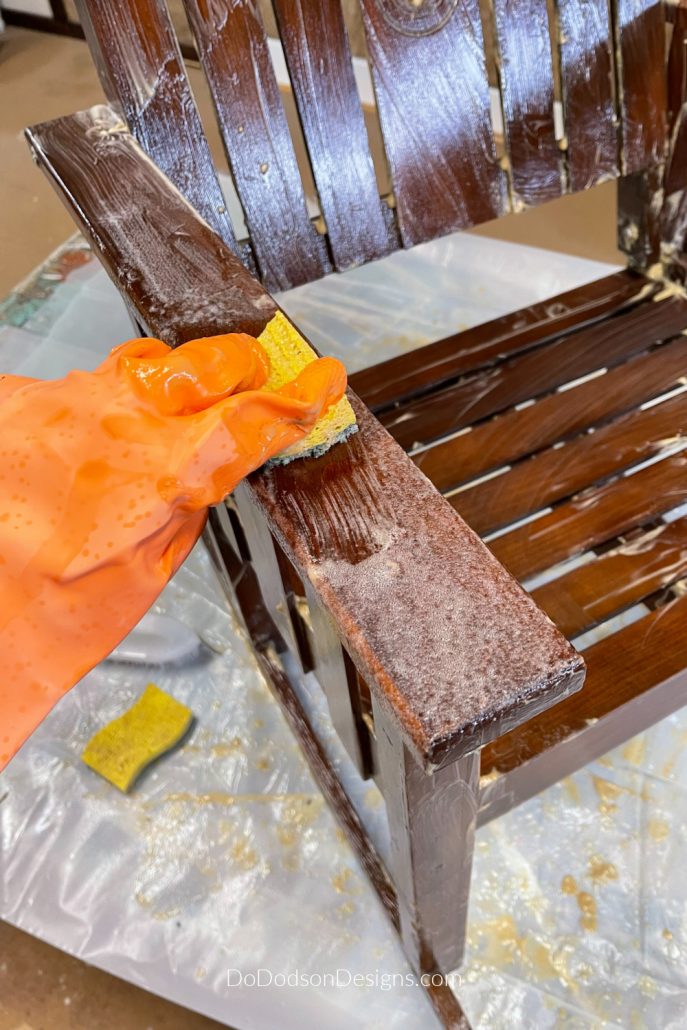
After scrubbing to remove that topcoat of varnish, I took this rocking chair outside and used the water hose to rinse off the oven cleaner. Sorry, no pictures. You can remove the oven cleaner with a bucket of water and a sponge but that will take a lot longer. Just hose it down!
The wood at this point will be saturated, and that’s okay. It will dry out.
Again you will need to scrub as you rinse. Be sure to rinse away the oven cleaner thoroughly from the wood. If you don’t, you will see a leftover film after it dries. It’s no different than cleaning an oven. I remember the old ovens that weren’t self-cleaning back in the day. I cooked a lot more back then, so I have some experience cleaning them. Thank goodness for take-out.
Immediately after rinsing, towel dry to absorb any excess water. Be sure to get into the corners because water will get trapped there. Allow it to dry in a warm area for 24 hours.
My Findings Stripping Wood Funiture With Oven Cleaner
The next day, I inspected two different projects I had started with this technique. I can’t do anything simple. I was too excited about this technique and decided to go ahead and do both projects since I had my work area prepped.
#1 Project Result – Wooden Rocking Chair Makeover
After a close inspection, I was a bit disappointed that stripping the wood with oven cleaner didn’t lighten the wood as I expected on this wood rocking chair. I have determined that the finish on this rocking chair was not varnish but a water-based topcoat. However, it did remove it, so it wasn’t a total fail. What didn’t happen was the wood remained dark and didn’t lighten as expected.
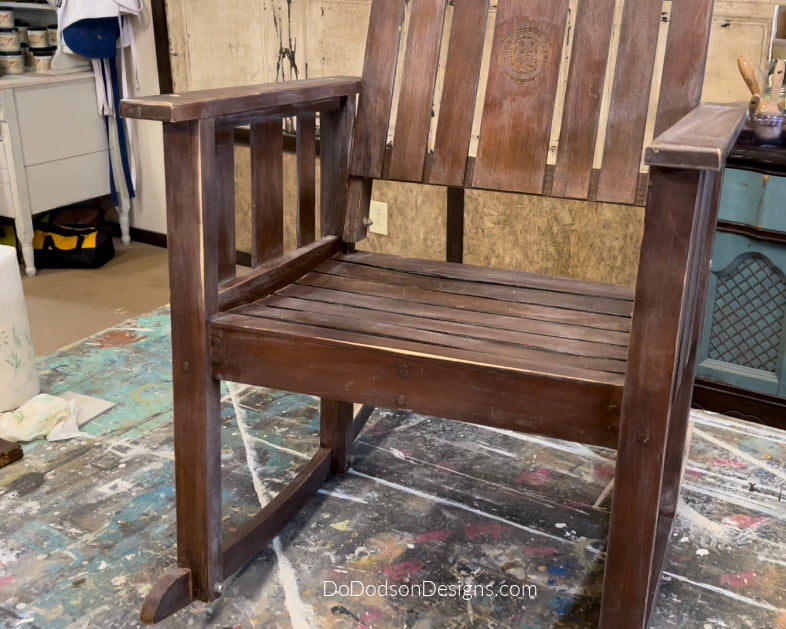
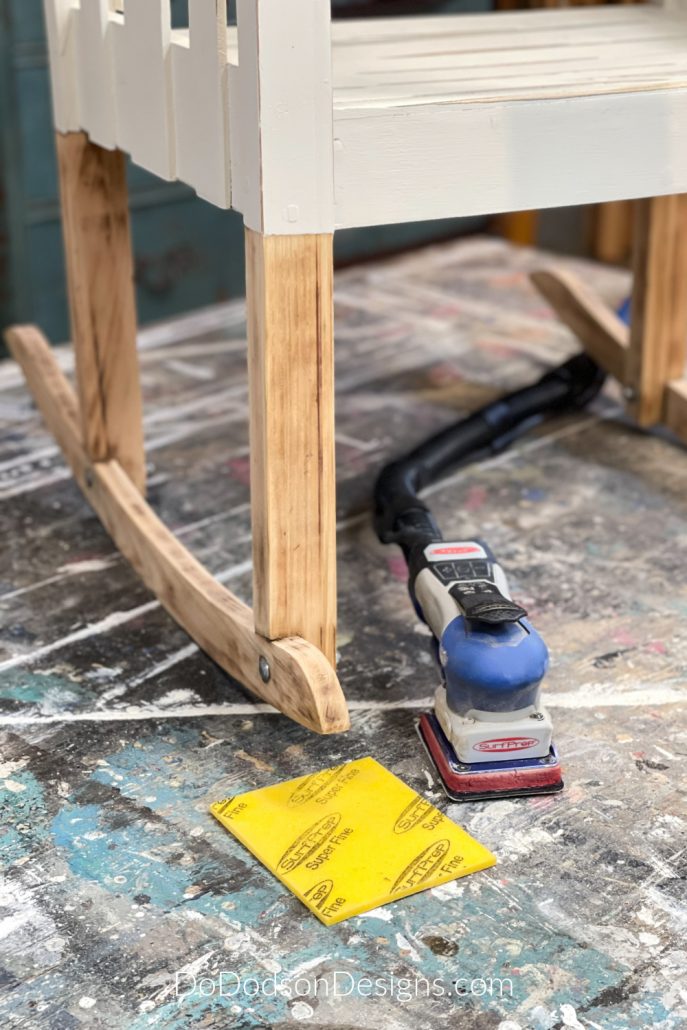
If this happens, you can always easily remove the leftover stain by sanding over the wood stain to reveal the bare wood underneath. I used a 100 grit abrasive with my SurfPrep Sanding System to remove the stain. Using this sander is one of the easiest ways to sand wood. Once removed, I used a fine grit abrasive (sandpaper) to smooth the wood grain.
Stripping Wood Furniture Video Tutorial
#2 Project Result – My Antique Sideboard Test Piece
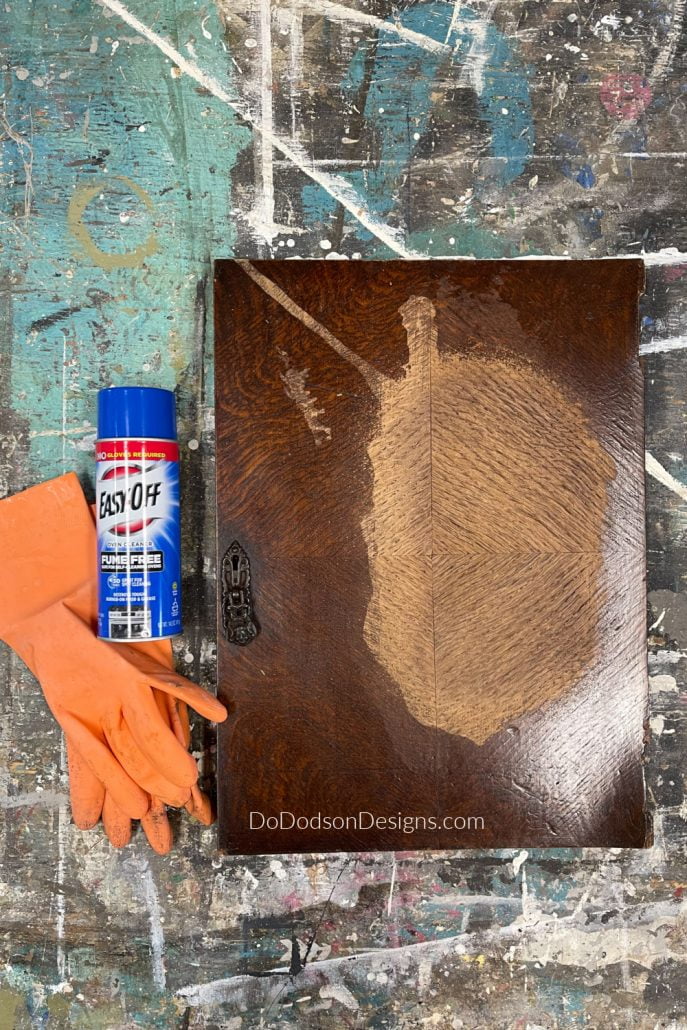
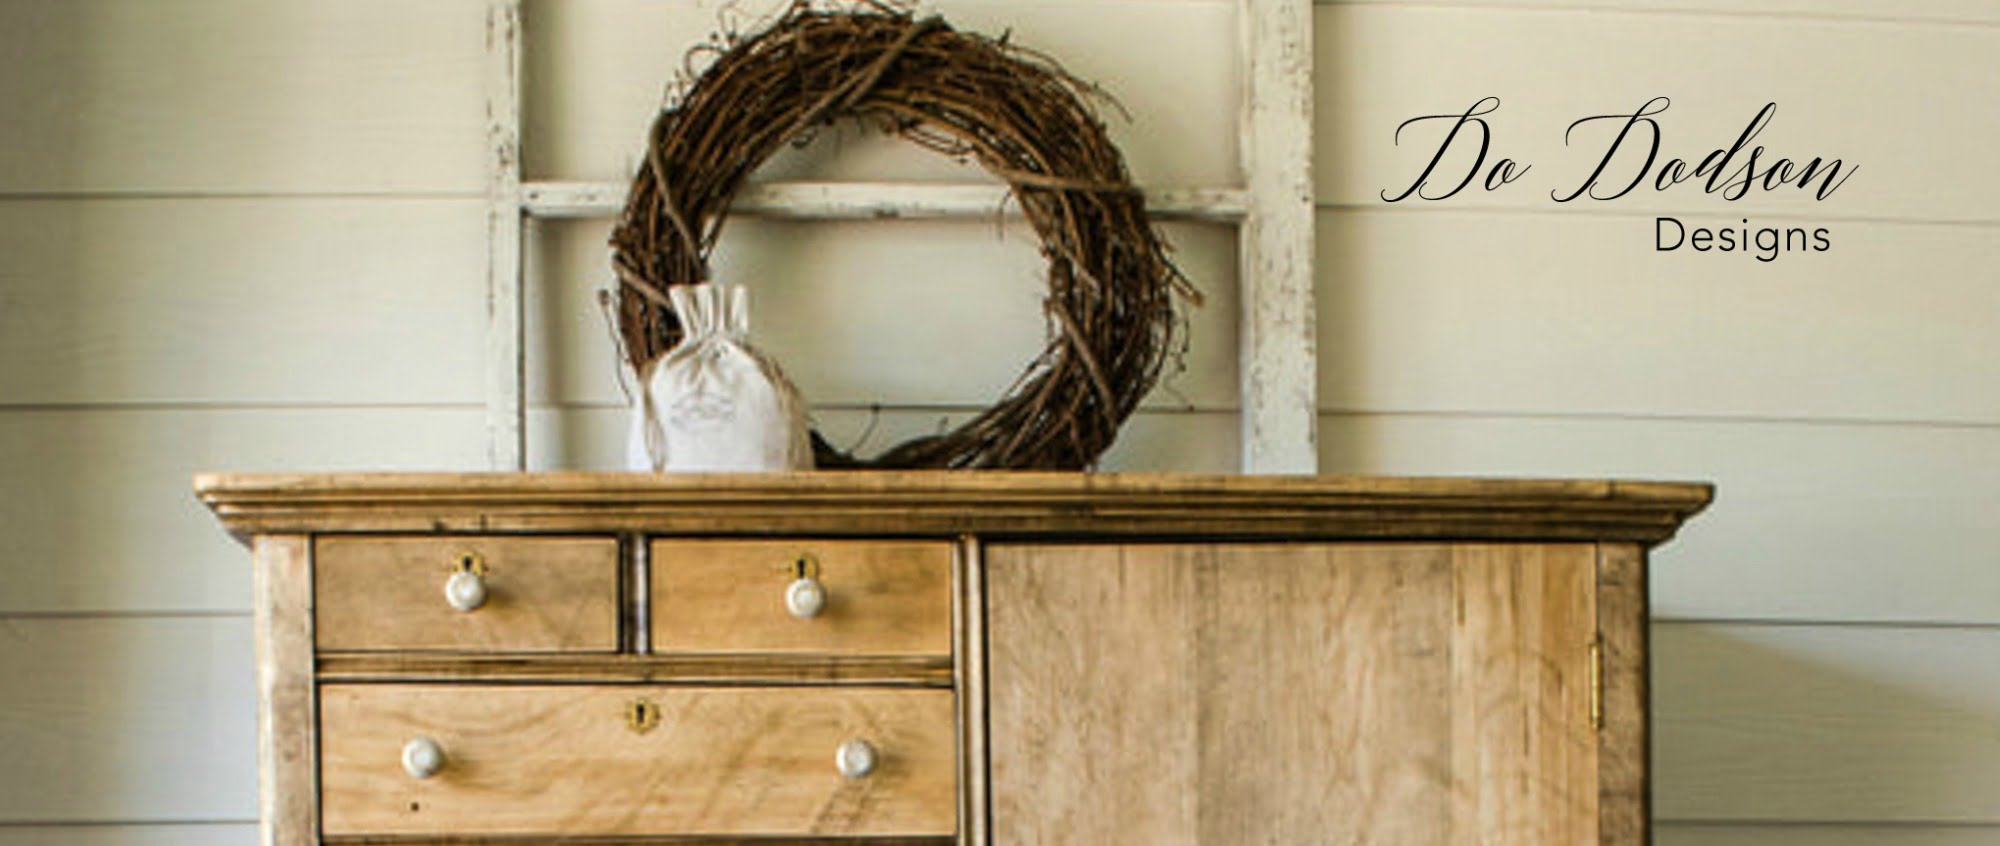
THIS is what I was expecting and was dreaming of! I did a test piece on one of the doors to my antique sideboard. I sprayed a small area on it with the oven cleaner and totally forgot to check it until the next day. Here is what I found the next morning. SCORE! And I hadn’t even rinsed it with water.
I promise you I’ll follow up with the results of my sideboard once I get it completely stripped down using the oven cleaner. I’m so excited!
Painting The Rocking Chair
Since the wood on the rocking chair didn’t entirely turn out as planned, painting the wood was my plan B.
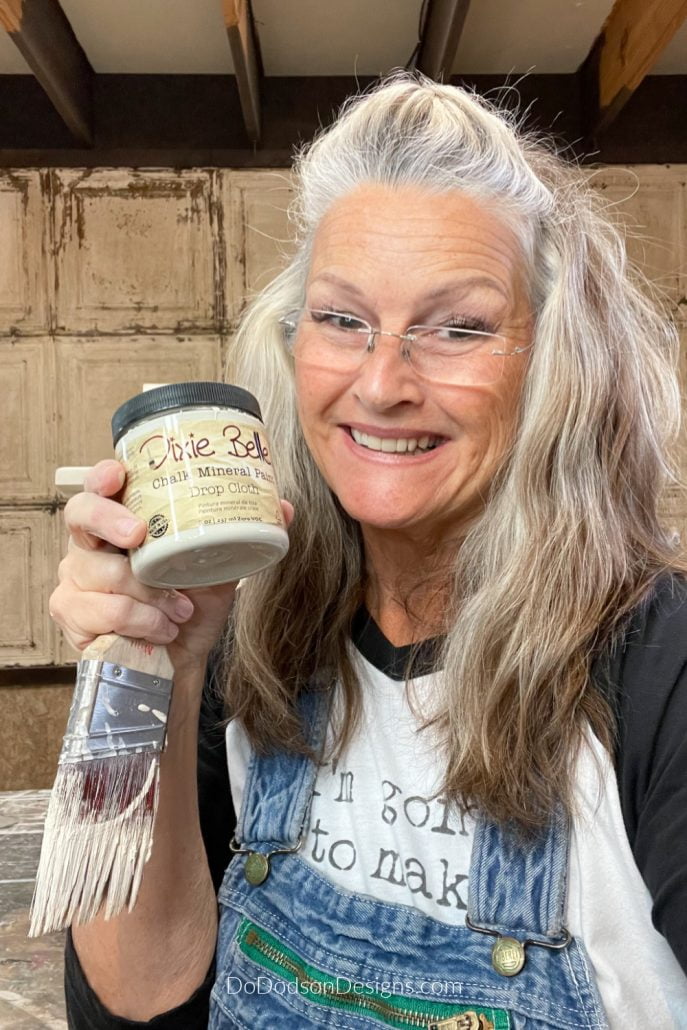
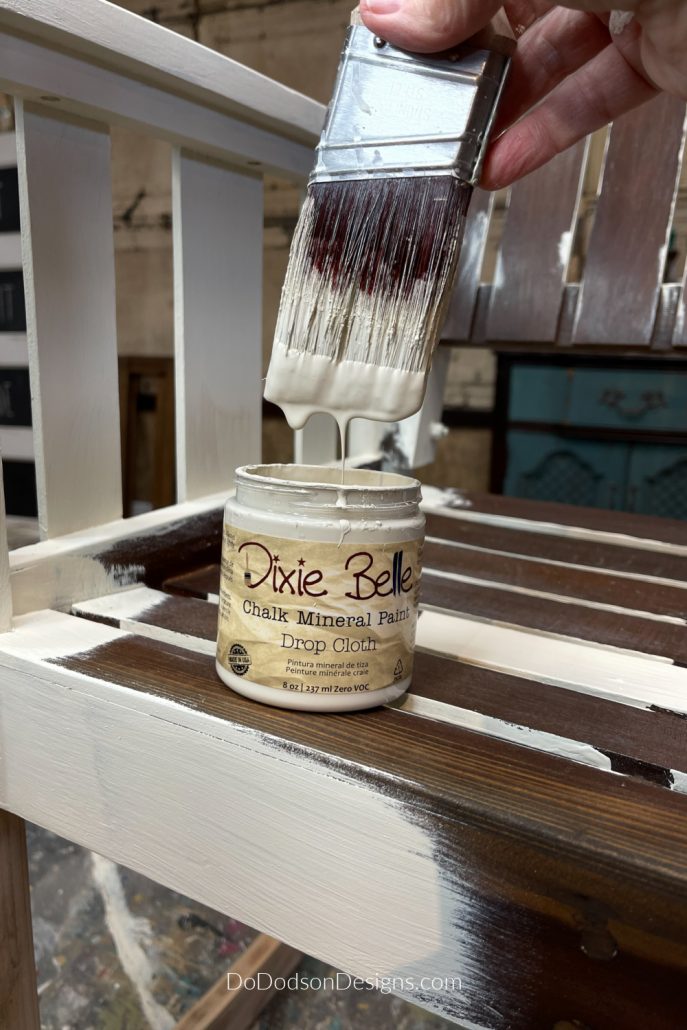
I finished this rocking chair makeover with two coats of this gorgeous color, Drop Cloth Chalk Mineral Paint, followed up with multiple coats of the Easy Peasy Spray Wax. The spray wax was also applied to the bare wood to seal and protect it.
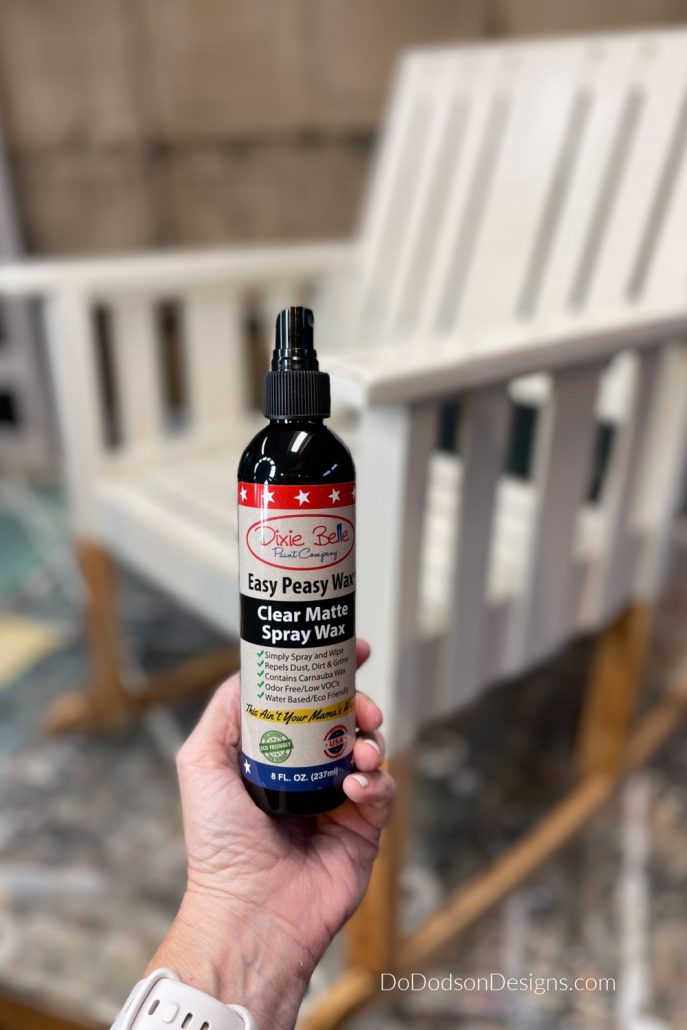
Summary – Stripping Wood Furniture With Oven Cleaner
Here is what I learned from both projects. This technique does work to remove varnish and whatever this water-based topcoat was. But if you’re looking to lighten the wood as well, it seems to work best on older varnished pieces. The ones that have darkened over time.
Is it worth it? YES! But it’s not just for wood furniture. Think of all the old wood decor items and the old wooden mirrors that would look amazing with this bare wood look. I’m sure you will be seeing this finish from me again.
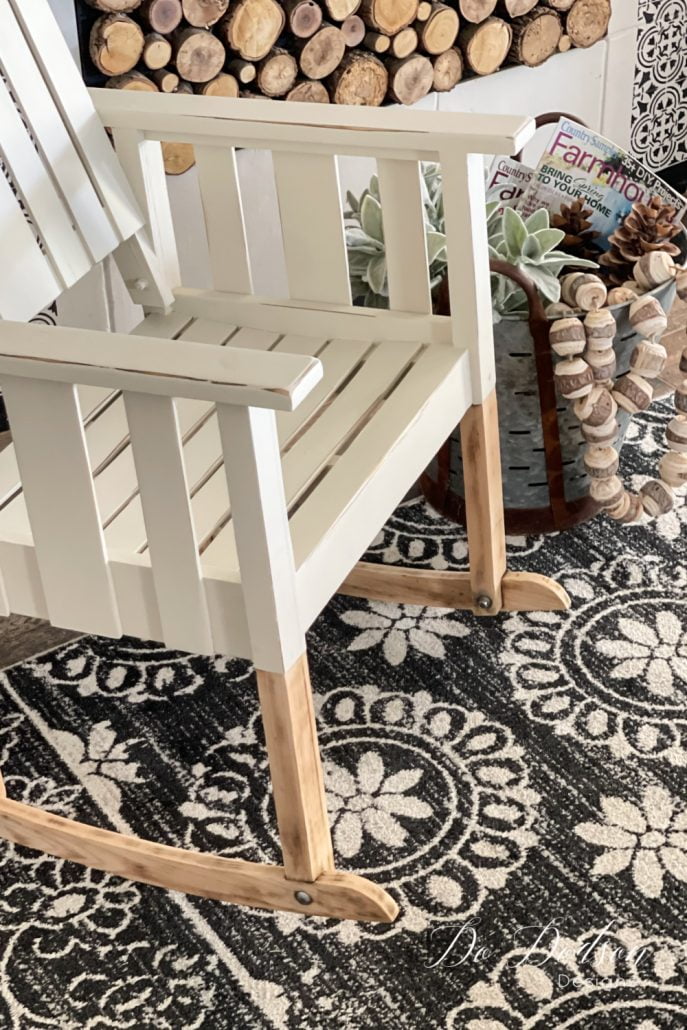
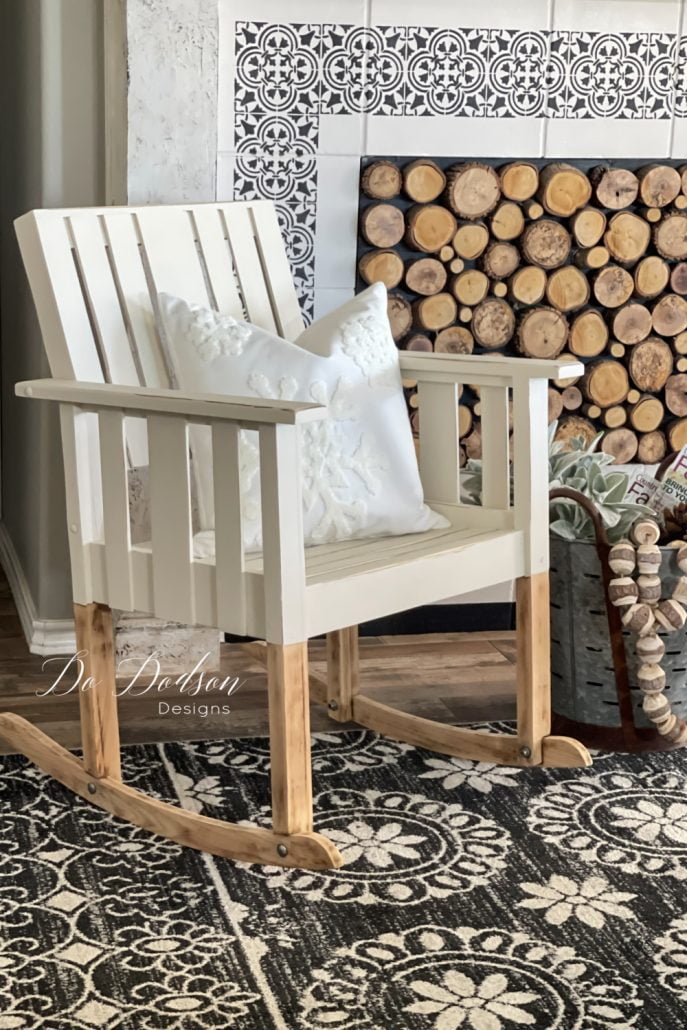
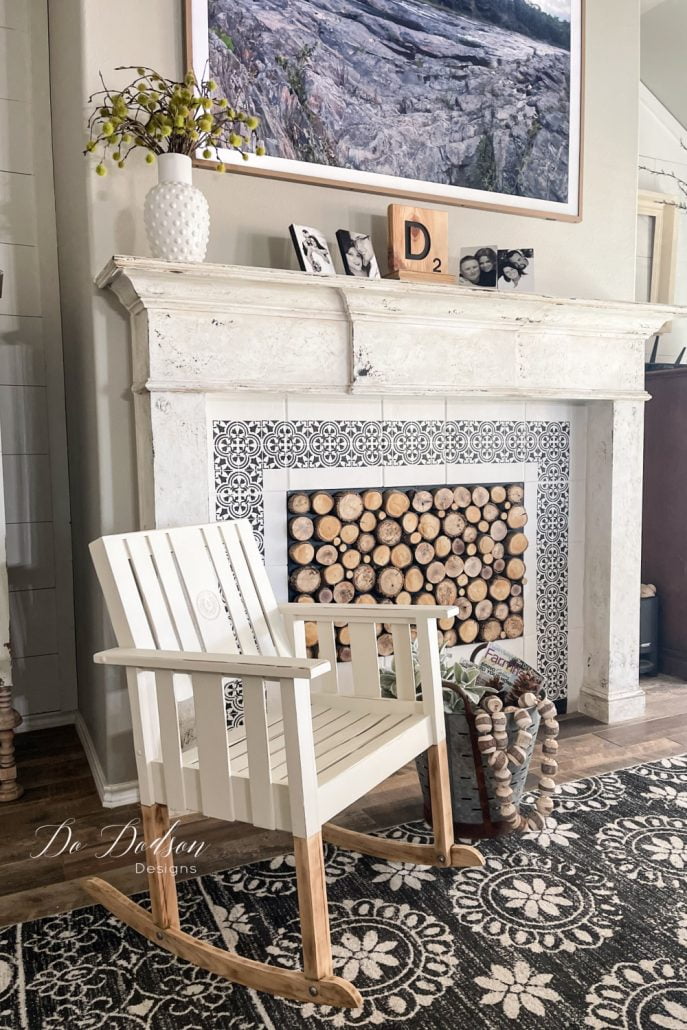
I could not be happier with the results. Who would have thought stripping wood furniture with oven cleaner would be a thing? It makes me wonder what other products we could have in our home that could help us in our never-ending love of refurbishing furniture.
I’m dying to know what you think about this process, and better yet, have you tried it? Let me know in the comment section. Is this crazy or what??? Gosh, I love what I do!
Until the next project… xo, Do


On the next warmish day in Delaware, I am doing this! I have a couple of pieces in my furniture stack that would be the perfect testing ground! Thanks for this tutorial Do! Pinned 🥰 One day, I’m getting that sander and I’ll be back here to get it! Have a great weekend my friend!
WARMISH DAY… LOL, I hear you. I got you on that sander. It’s a game-changer for sure. Thanks for reading and the PIN! 🙂 xo
I’ve been waiting for this! I imagine it’s less clean up than citristrip for sure. You’ve inspired me to try it on a small piece anyway.
Thanks for sharing, my friend! 🌸
Thanks, Wendy! It was weird but it did DO the job. 🙂
Would this work on the old metal yard furniture pieces? You know, the ones that have 3 layers of paint on them! 😂
Hi Penny,
I have seen it work for others, but I have not tried it yet. If you do, please let me know how it turns out. It’s worth a shot! xo 🙂
That is awesome Do.
The rocking chair looks amazing.
Great idea to strip furniture.
I would be wearing a mask because of the fumes from the oven cleaner.
This would have to be an outside task but not right now here in Ontario Canada,,Brrrrrr 😉
I am out of commission for doing a lot right now.
I had a fall and dislocated my shoulder.
I was put back together like Humpty Dumpty but this is going to take quite a while till I can sort of get back to myself.
Thank you for sharing all your ideas and projects that you do.
Take care and stay safe.
Love and hugs from us here:
Brenda and her 3 wee precious Dogs
xoxoxoxo
Yes, you can never be too careful. I’m so sorry to hear about your accident, Brenda. That’s a total bummer! But knowing you, you’ll mend and be back at it before you know it. You can’t keep a good woman down. Hug the wee three for me. Take care and get well soon; prayers. 🙂 xo
Thanks for the share. I think I will give it a try.
You’re welcome, Sonja! Let me know how it works out for you.
I love the way you did the rocking chair. The bare wood/painted wood is a nice look.
I can’t wait to try the oven cleaner.
Now I have a question about the surf prep. My daughter bought one but neither of us like it.
Judging from the mostly positive comments about it I just have to assume we aren’t using it correctly.
I wanted it for the curved edges of pieces such as French provential. It doesn’t get into the tight spaces as I had hoped.
Any advice would be appreciated.
Hi Phyllis!
I get this question often, and I think that most people think it will sand wood (ripping away an old finish) even in the details as it does on a straight surface. It doesn’t. It works best on a flat surface. But if you’re scuff sanding before painting, it works great and does give good scuffing in those grooves. If you’re stripping intricate details, it’s best to use a chemical stripper and a toothbrush. With that said, I LOVE my SurfPrep Sander and I use it all the time. I have a HUGE project coming up that you don’t want to miss using this sander.
Although this looks as a very good idea I think we must realize that these kind of products have a great impact on the environment, specially when you let the dirty water flow in your garden be aware of it when you grow herbs and vegetables.
Better to prepare the wood through sanding if possible.
Greetings from France.
Marja
Hi Marja,
Most of the time, I use my sander to remove old varnish, but I felt I needed to try this. I appreciate your thoughts and concerns. I love my gardens too. Happy day 🙂 xo
I have been wanting to do this on a chair, I’m still not sure if I will strip it or paint it. Hugs and blessings to you.
I would recommend doing it on a test piece first. Thanks for stopping by. 🙂 xo
So nice to know! Will have to try this myself!
It’s definitely a different way of stripping the wood. It’s great for small intricate details.
Love the chair! Definitely going to try this. I have so many frames that would look great in raw wood. The sander is on my list. Mine is too big for my hand and gets difficult to maneuver. Here in Louisiana I can work outdoors most of the time. Thanks for all the ideas.
Thank you, Nelda! I have just started collecting wood frames for a gallery wall. Wouldn’t that be dreamy in bare wood?
Do fantastic idea. Once the freeze is over I am going for it. Does the sander vibrate a lot and make your hands numb? I have arthritis in my thumb joints and sanding with sandpaper causes problems.
I truly enjoy your posts. You have a gift.
I have the same issue, Amy. This sander doesn’t vibrate as hard as most, and so far, I have not had problems using it. Thank you for the kind words. 🙂
Do, your chair turned out really pretty. I like it painted with the legs natural.
I had success with the oven cleaner on top of a old sideboard. It took all of the nasty varnish off of it. I was really pleased. It was the first time ever trying this method back in the fall. Crazy how it does work on something but not on everything.
Yes, I learned a lot by trying it. Now I need to get that sideboard done for my new bedroom. Thanks for stopping by. 🙂
That’s the craziest thing ever and so good to know your results. I love the finished chair!!
It is crazy! I didn’t believe it, so I had to try. I’m glad I did. Thanks, friend! 🙂 xo
This might have been asked previously, if so, my apologies. Does this method tend to dry out the wood? If so, do you recommend an oil or conditioner?
I’m wanting to do this to a console table with two pedestals. However, one of the pedestals has a big crack in it. I’m afraid the oven cleaner might dry out the wood, causing the crack to get bigger.
Thanks for your help. Your project looks amazing!
Hi Heather, Sorry for the late response. Yes, it will dry out the wood a bit, but go back and lightly sand the wood after it’s stripped. That will smooth out the roughness of the wood. Finish as usual. I hope this helps. xo Do
I am so excited to try this! Going to attempt today on a pair of end tables. Thanks for sharing your results.
Hi Meagan! Oh, how fun! It’s always exciting to try a new technique. I’d love to hear about your results. 🙂 xo
It took me a second to absorb the nekked legs of the chair, then I loved the combination! Feels beachy yet warm.
A surprise to many is that oven cleaner is perfect for cleaning Corningware and Visions. Just say no to abrasives such as Soft Scrub and Bar Keepers Friend.
And I don’t know why we didn’t think of it sooner. It does a great job on my cookware too. Thank you for reading, Janet. Have a fantastic week. 🙂 xo
I used solvent stripper to remove the old paint and the varnish underneath. But it was so in the pores of the wood, I used this and it seems to be pulling the varnish and stain out of the wood.
Hi Jim,
I experienced this very same thing. Whatever is in oven cleaner works deeply. Thanks for sharing this info with me. I appreciate you. 🙂
What’s in Oven cleaner is Sodium Hydroxide – better known as Lye! VERY important to protect yourself from the fumes wet, AND when sanding it after it dries.
“sodium hydroxide (NaOH), also called caustic soda or lye, a corrosive white crystalline solid that contains the Na+ (sodium) cation and the OH− (hydroxide) anion. It readily absorbs moisture until it dissolves. Sodium hydroxide is the most widely used industrial alkali and is often used in drain and oven cleaners. It is highly corrosive to animal and vegetable tissue.”
It’s been used for over a hundred years to strip furniture, usually in big tanks- the term “dipped” was used to describe the process, where furniture was literally submerged into vats of Lye, and sometimes left overnight. It’s famous for giving Pine furniture the “stripped Pine” look…and for loosening up all the glue joints, cracking, splitting, warping, removing or seriously damaging veneered pieces…no one in this country uses it anymore. Not sure how you determined that finish was a “water based” finish, as that has not been used to finish furniture until very recently. Lacquer is the number one finish used on most commercially produced “factory” furniture in the last 100 years. Varnishes very seldom, mostly because they take so long to dry and cure, they’re not practical in a factory setting, but there are other commercial finishes as well. Also, a “scrubby sponge” will have very little effect on a finish removal, it’s just not abrasive enough. I start with #3 steel wool, then follow up with scrubbing the surface dry with #1 steel wool, which will make quick work of any finish removal, as long as you’ve let the stripper sit long enough to do it’s job, and it usually takes a few applications to fully remove a finish. The final outcome has a nice “look”, but I bet that was a lot of smelly – toxic work- I would just stick with a product made to strip finish next time.
Hi Greg!
Thanks for all the excellent info. You know, I just had to try it for myself. Would I do it again? Probably not. But in the end, it did work. I learn a lot every time I try a new technique.
Have a great day and thanks for reading. 🙂