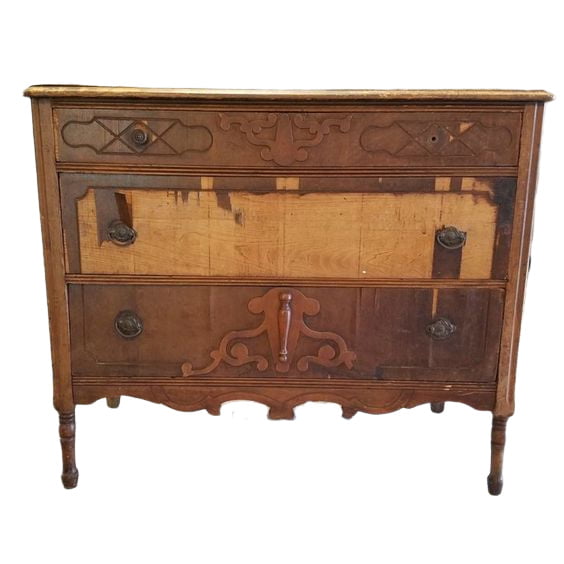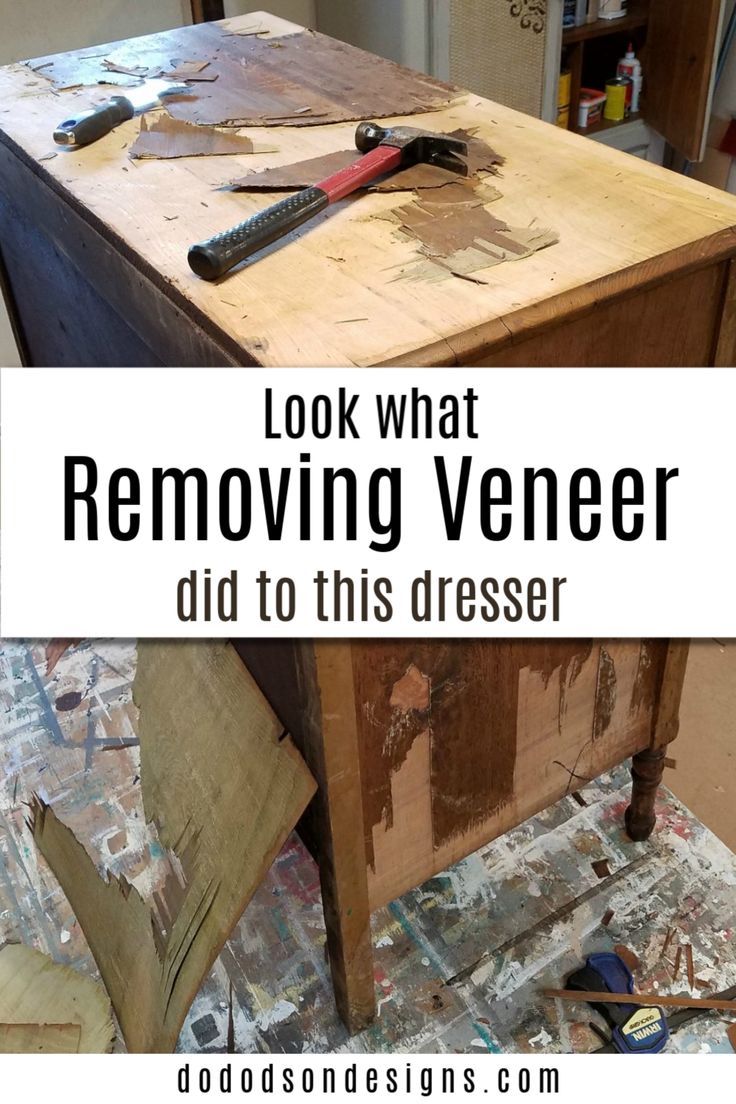
Veneer damage on a wood dresser is no reason to pass up a once beautiful piece like this chest of drawers. More times than none, the wood underneath is in great shape, protected by the veneer, and has tons of character.
This post contains a few affiliate links to help you find the products I use. You are not charged extra to use any of the links, but any income I make will be used for more fun projects! To see my full disclaimer, click here!
Before – Wood Dresser Makeover
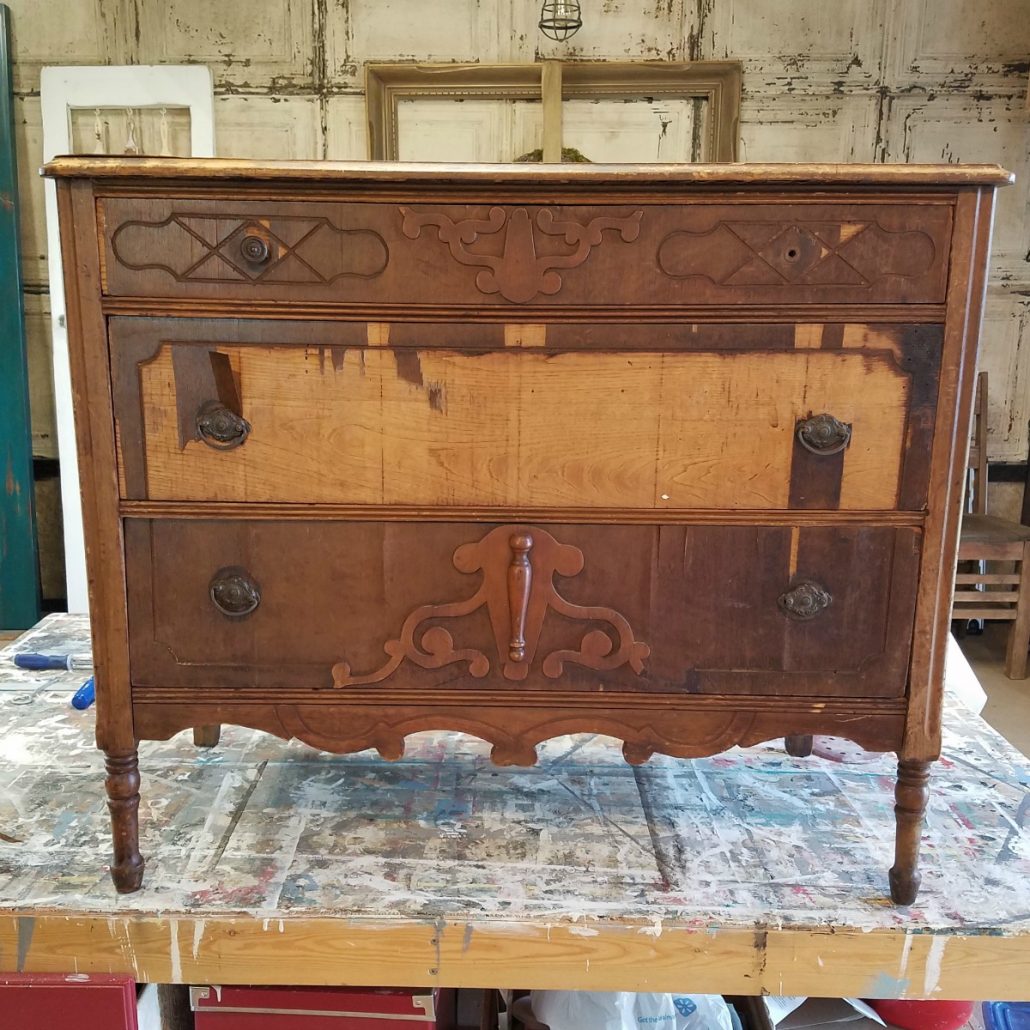
I got a call from a friend with a booth in a little antique store in our town. This piece had been sitting in her booth a little longer than it needed to. She knew how I loved a good challenge. Well, this was the challenge of all challenges. For $30, I couldn’t pass up the possibility of what this could become.
I get this feeling (hard to explain) that comes over me when I see certain furniture pieces. Not sure if it comes from memories or intuition. I grew up around many antiques, so they do trigger great memories with my Grandmother. So, I go with it, and it hasn’t failed me yet. I was right!
Supply List
- Wood Dresser (one that has severe Veneer damage)
- Wood Glue
- 6 mm 1/4 x 12 x 24 Inch Premium Baltic Birch Plywood (drawer repair)
- Hammer
- Paint Scraper
How To Repair A Broken Drawer On A Wood Dresser
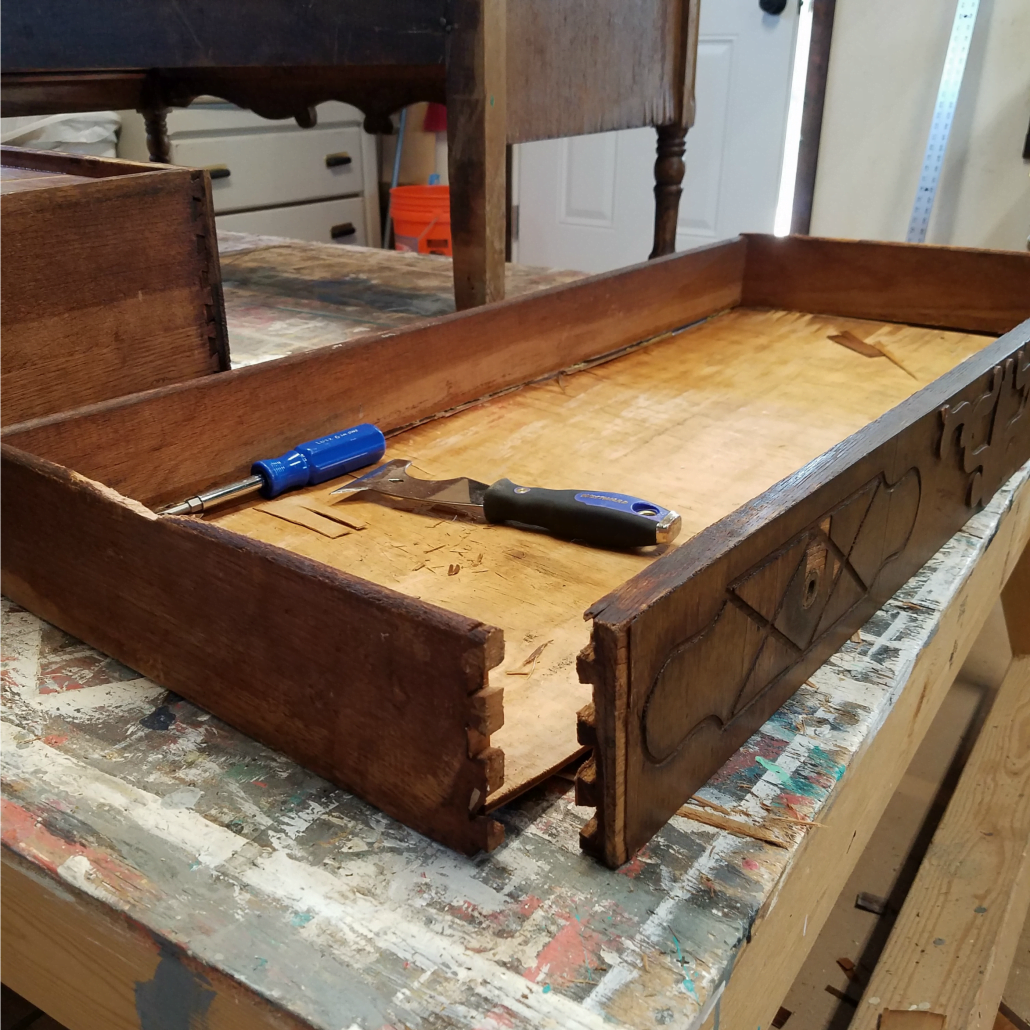
Before we tackle the wood veneer, Let’s do a minor drawer repair. The very first thing I do when checking out these old pieces is to inspect the drawers. I find that most wood drawers can be saved with a little TLC. This one was in bad shape, but nothing that a little glue won’t fix. To repair a drawer, I start with Wood Glue to secure all the loose dovetail joints. Allow drying completely overnight.
How To Replace The Bottom Of A Drawer
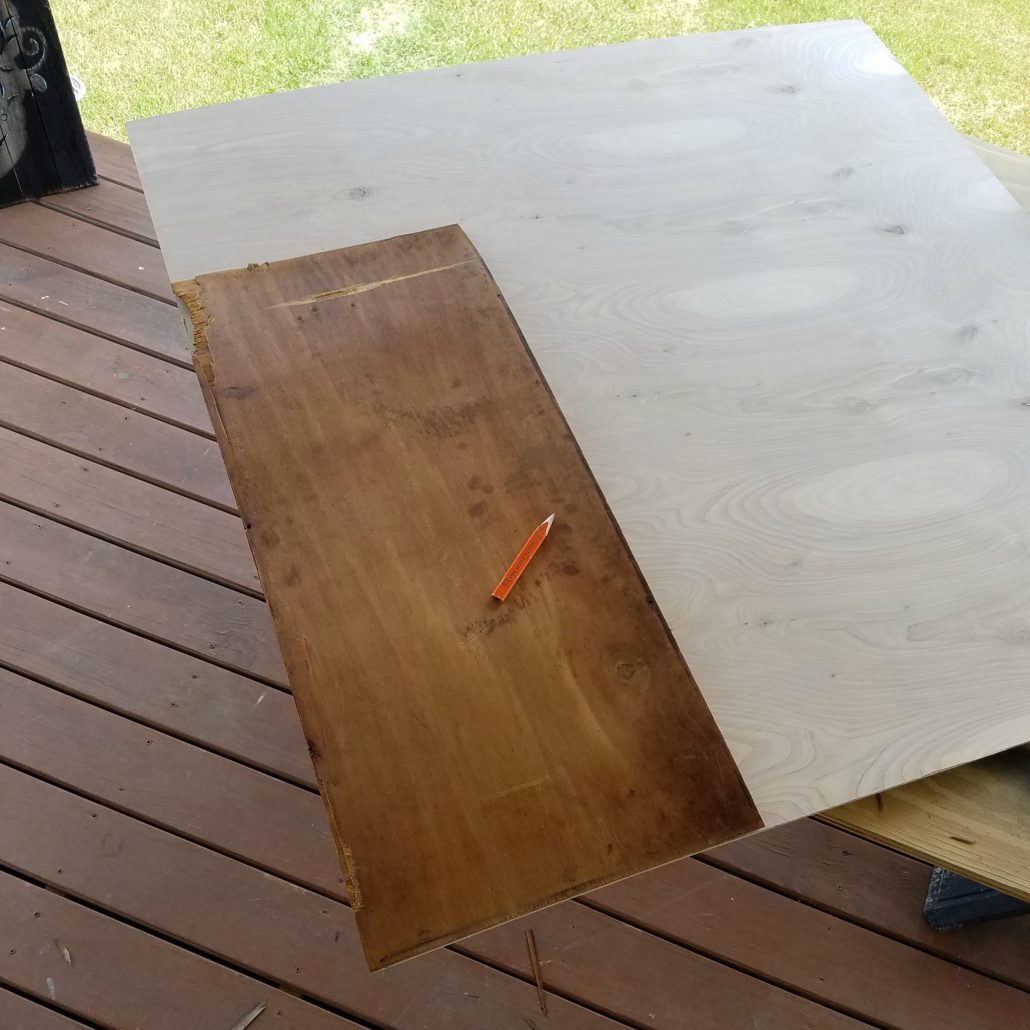
The bottom of this drawer was in bad shape and needed to be replaced. If you’re lucky enough to have the broken bottom, it makes a great template.
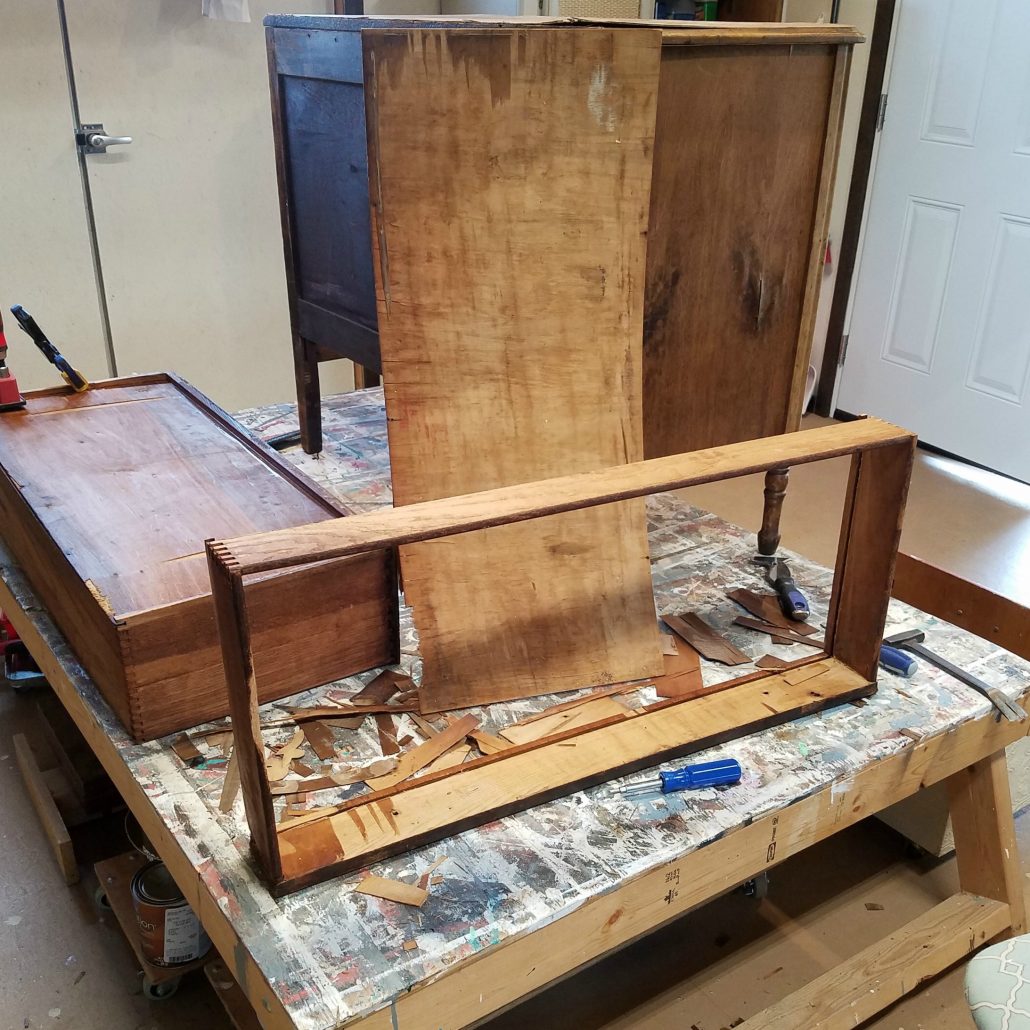
Lay the broken bottom over the plywood and trace out a piece to replace it. It’s so easy! There are notches in the back of the drawers to guide the new bottom piece back into place. Secured the drawer bottom with a few nails, and you’re ready to go.
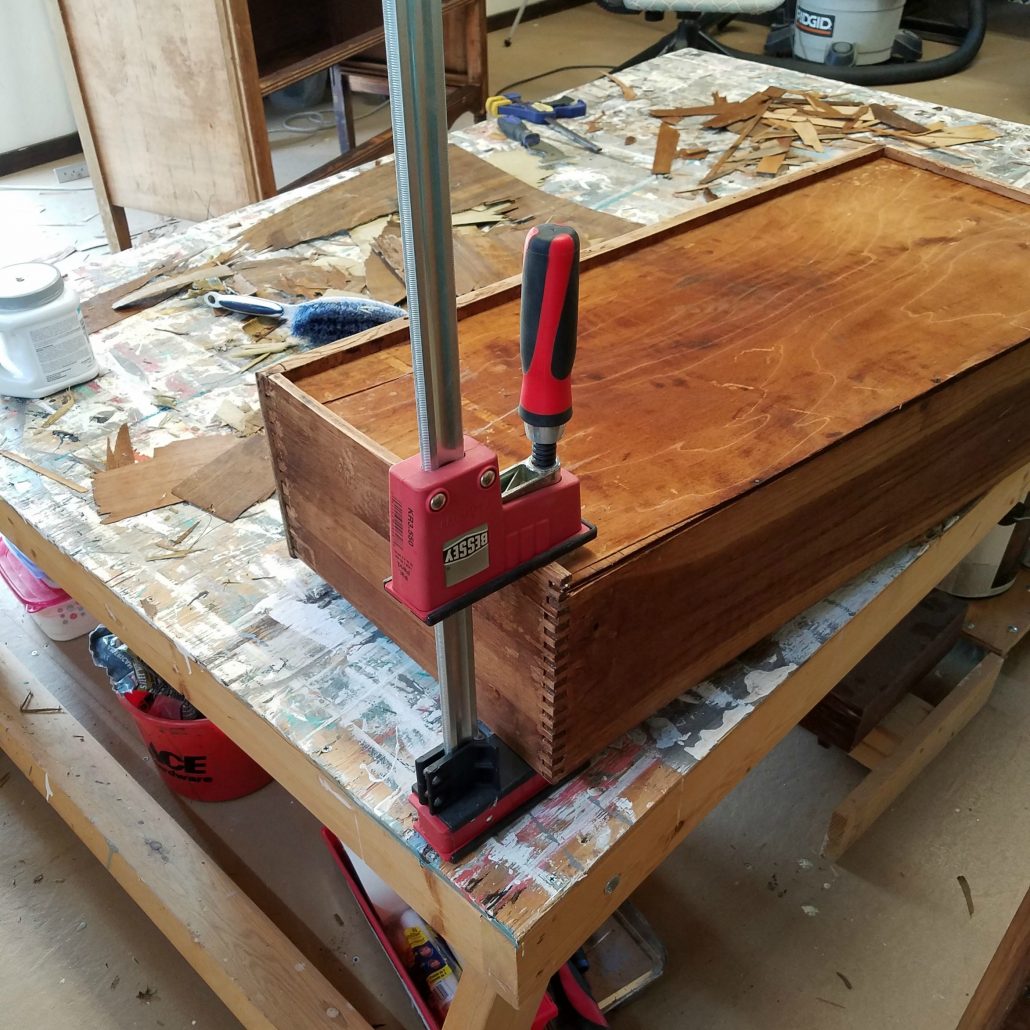
The other two drawers were in okay shape and just needed a little more wood glue. These clamps are a lifesaver when it comes to repairing and gluing jobs. Did you notice all the veneers on the table? Every single inch and even the drawers had to be stripped!
Now, after the drawer repairs are completed, here is how I make them slide like butter!
Dealing With Veneer Damage On A Wood Dresser
There are a few methods for removing veneer from old wood dressers, and to see them all, CLICK HERE.
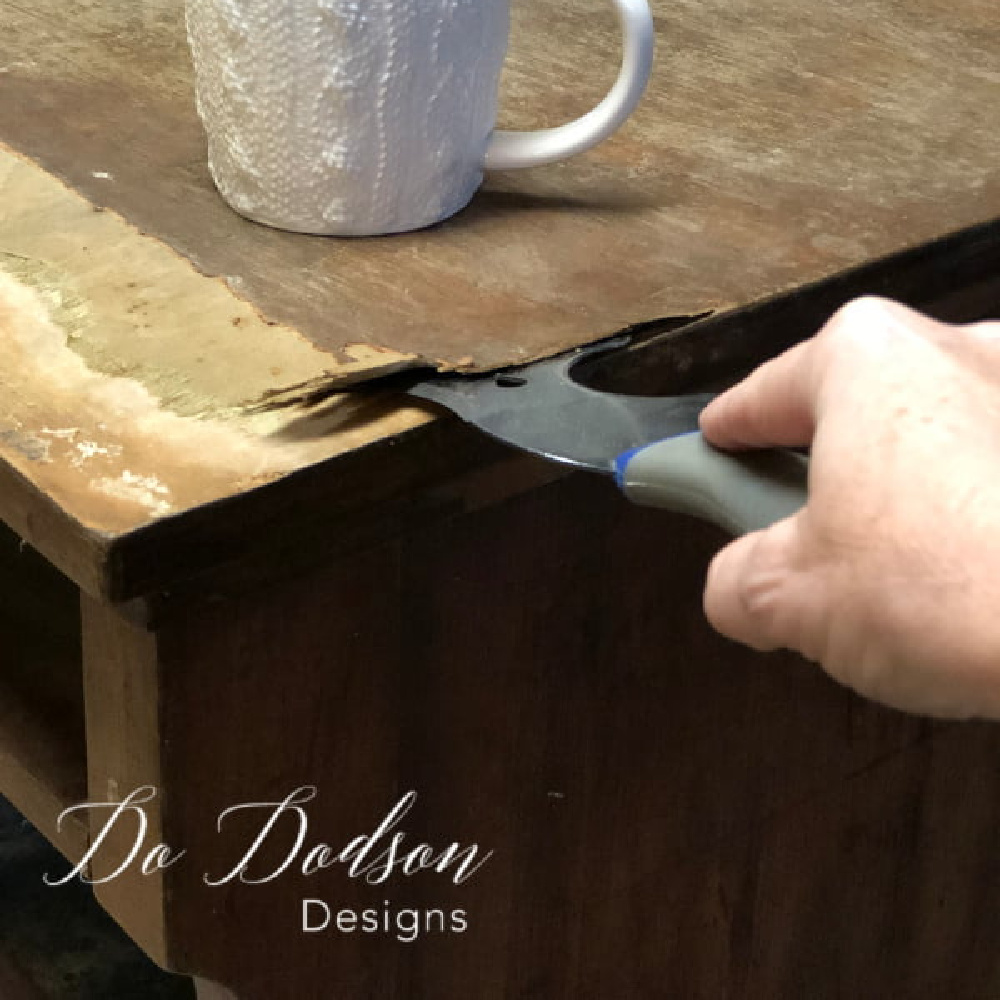
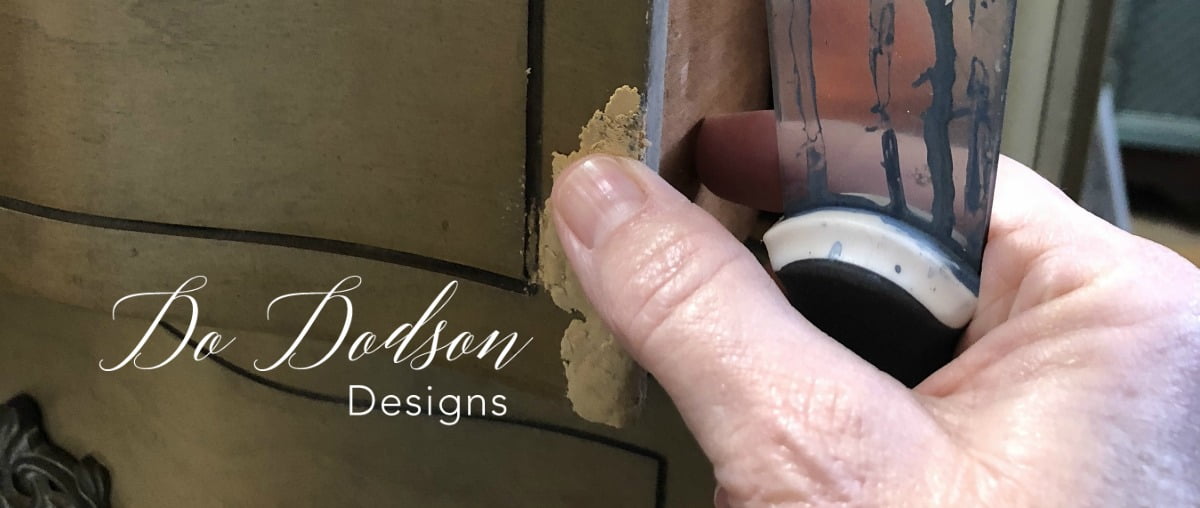
What can I say about this picture that you don’t already know? It’s definitely a labor of love. “I just LOVE removing veneer” … said no furniture flipper ever! The veneer on this wood dresser was loose enough that I didn’t need to take any additional steps to remove it. Just the plain ole hammer and a paint scraper did the trick. My arms were tiring fast with this amount of removal.
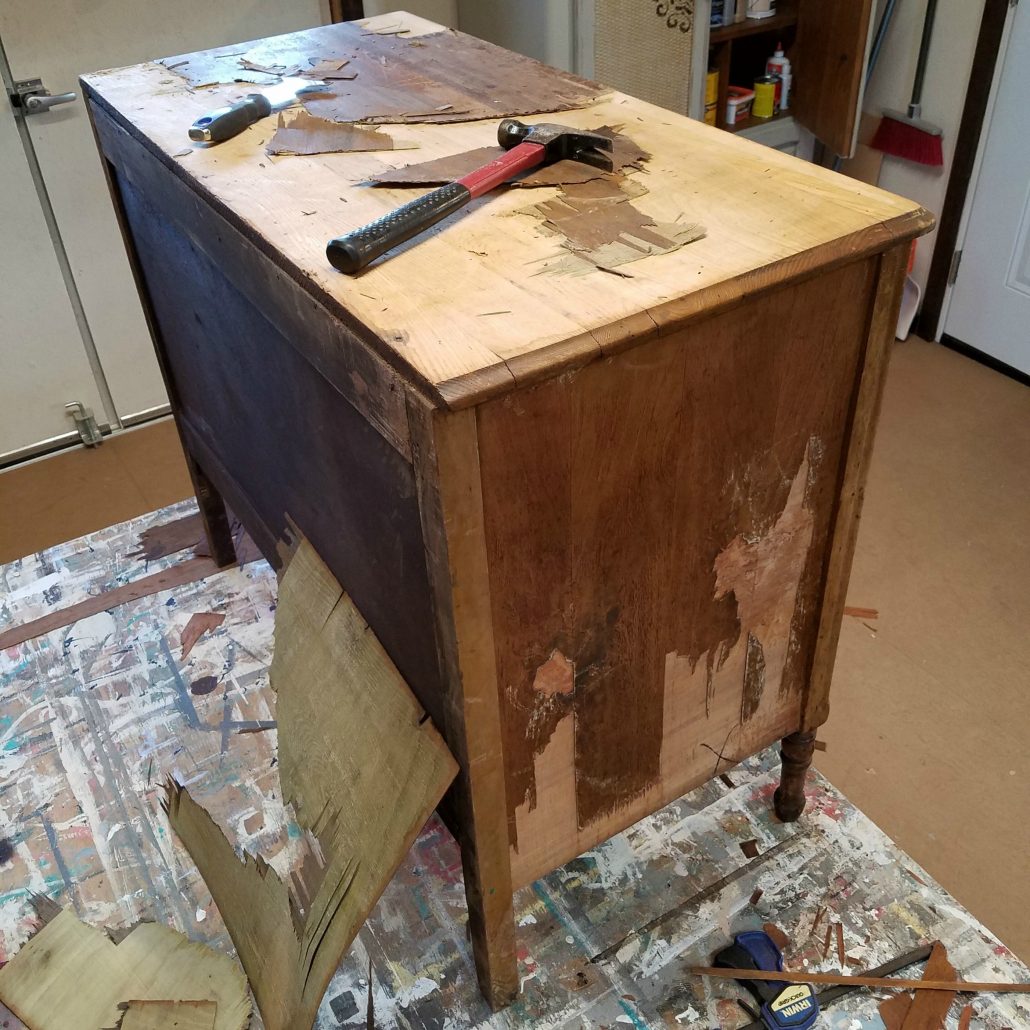
I was so happy to see Mr. Honey Do walk through the door. As he observed my struggles, I brilliantly said… there has to be a better way to get this off. He took the bait and ran with it! SCORE ME! He’s a great help with my furniture makeovers, and we make a great team.
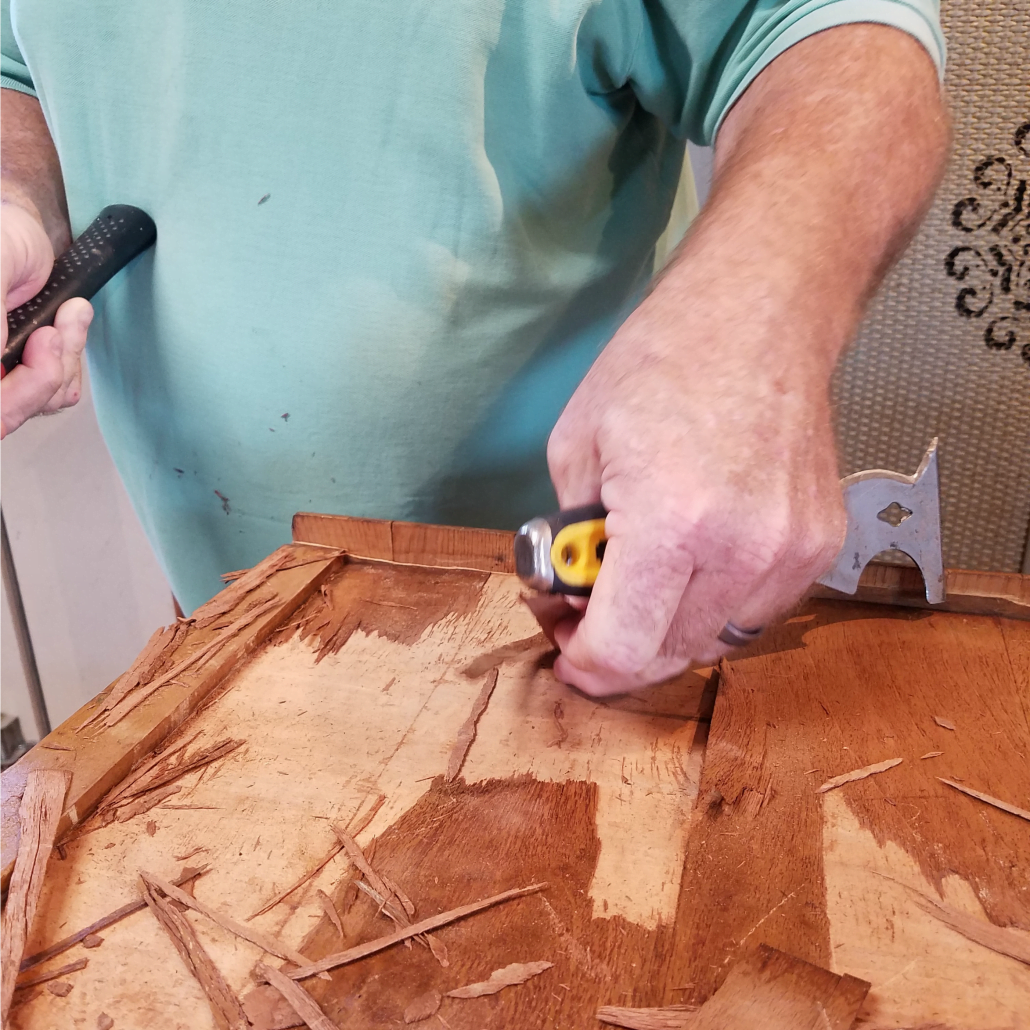
Cleaning Up The Wood Dresser After Veneer Removal
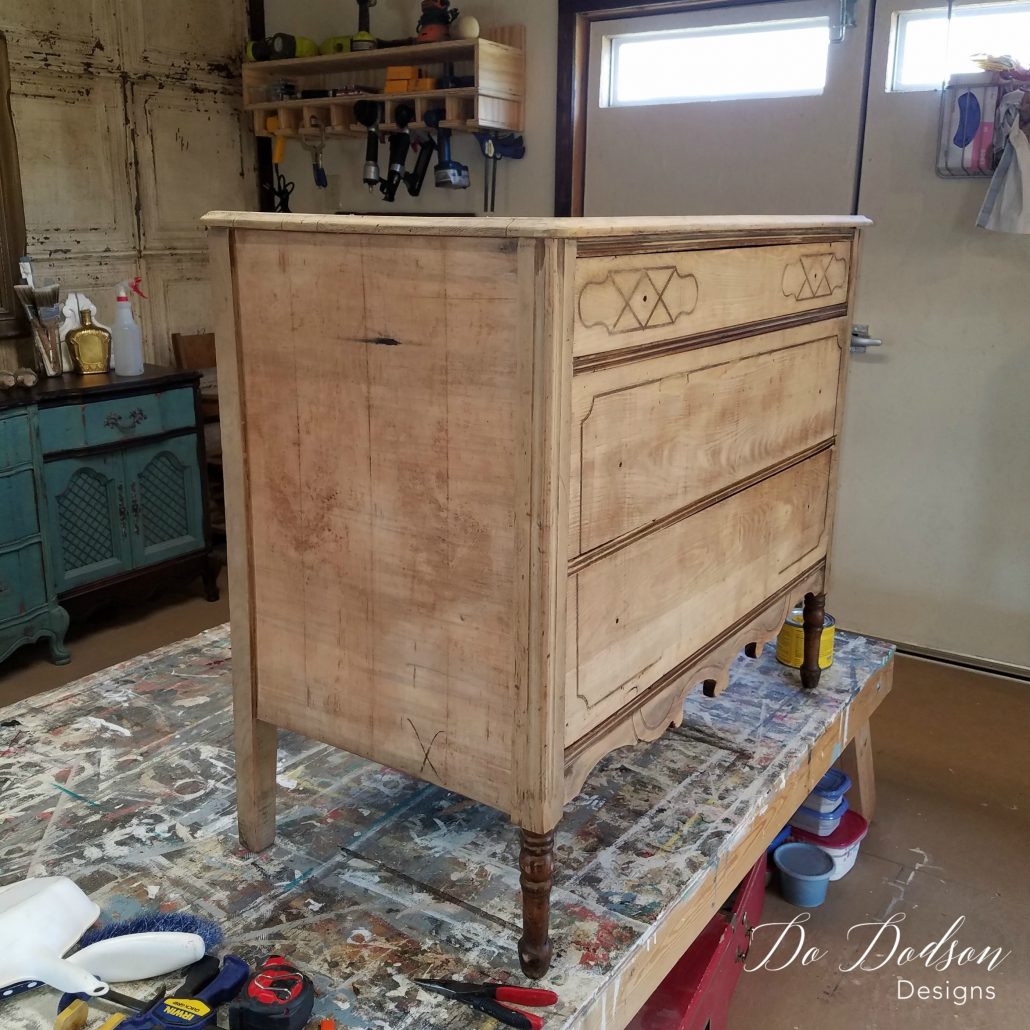
Finally, all the veneer on the wood dresser was history. After sanding with my orbital sander, beneath all that was the most amazing aged wood. Tons of character and WORMHOLES. I get excited about these tiny details. No painting would ever touch these pieces while it was under my roof. That’s a huge statement coming from a “furniture painter.” Sometimes, paint isn’t always the best fit. Did I say that?
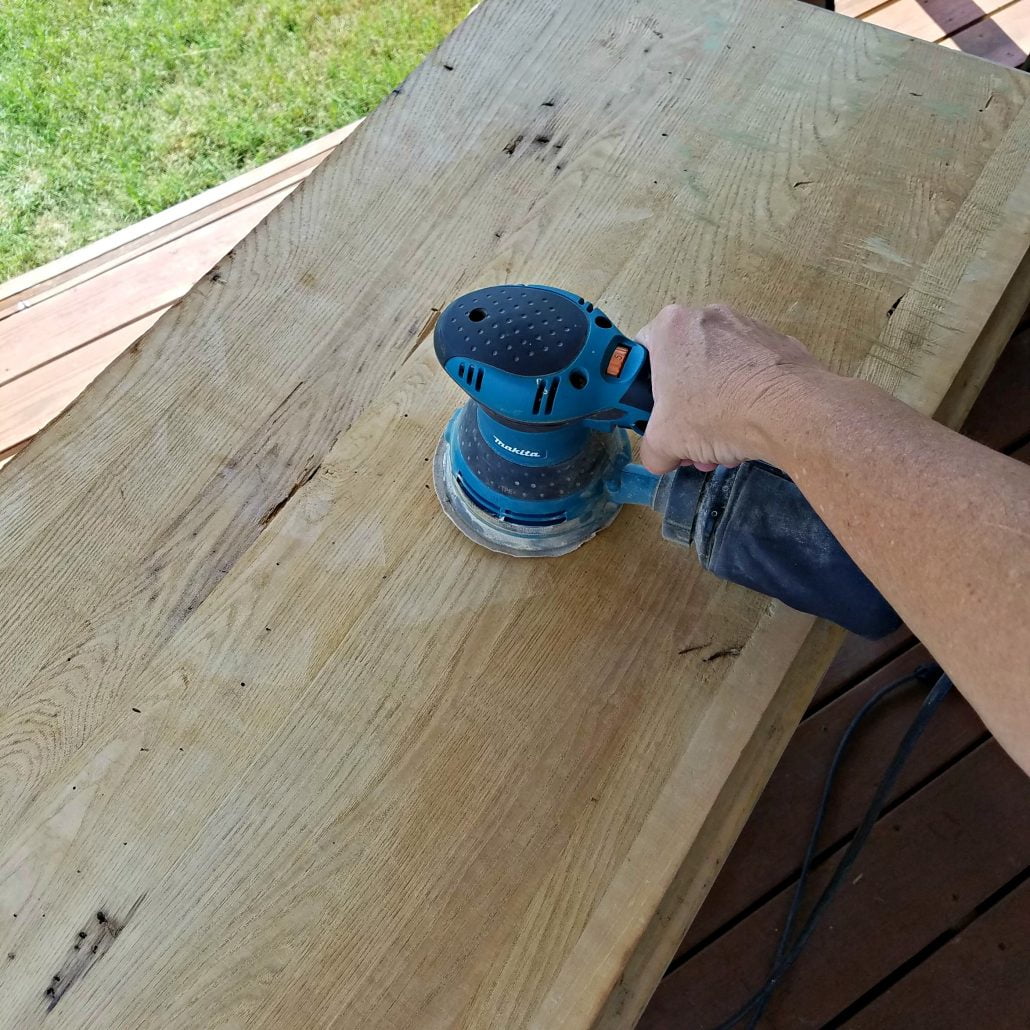
Beautiful Raw Wood Dresser
All that raw wood goodness was all in my face! I’m totally in LOVE with this one. Dark Walnut Stain by Old Masters was applied to the top and the front legs only. I love the raw wood look, but I wanted to contrast it a bit for more character. I used Modern Masters Clear Coat Satin to seal the bare wood finish. It will darken the wood a bit, so if you want a more natural look, adding white wax over raw wood is a great look too. I added some mercury glass knobs from Hobby Lobby but kept two of the original pulls in good shape. Usually, I try to reuse the original hardware when I can. Mixing up the old with new keeps a bit of the originality to the piece. Some things are just better left as is.
The Results Are Stunning
Later that night, after the staging and photos, I couldn’t keep my eyes off of this chest. I snapped a quick picture with the natural lighting from the window. Call me a weirdo if you want, but it was like an angelic experience. A rebirth, a second chance. Isn’t that what life’s all about? Second chances?
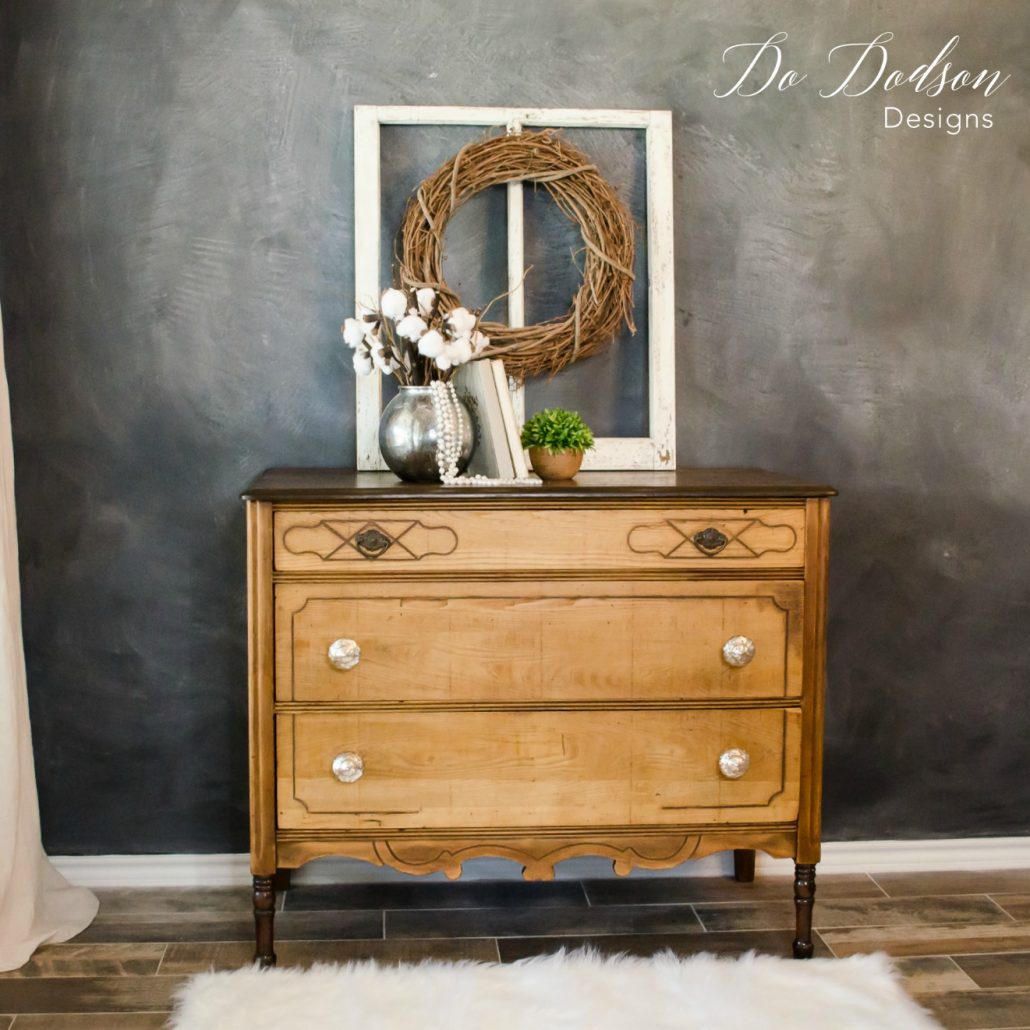
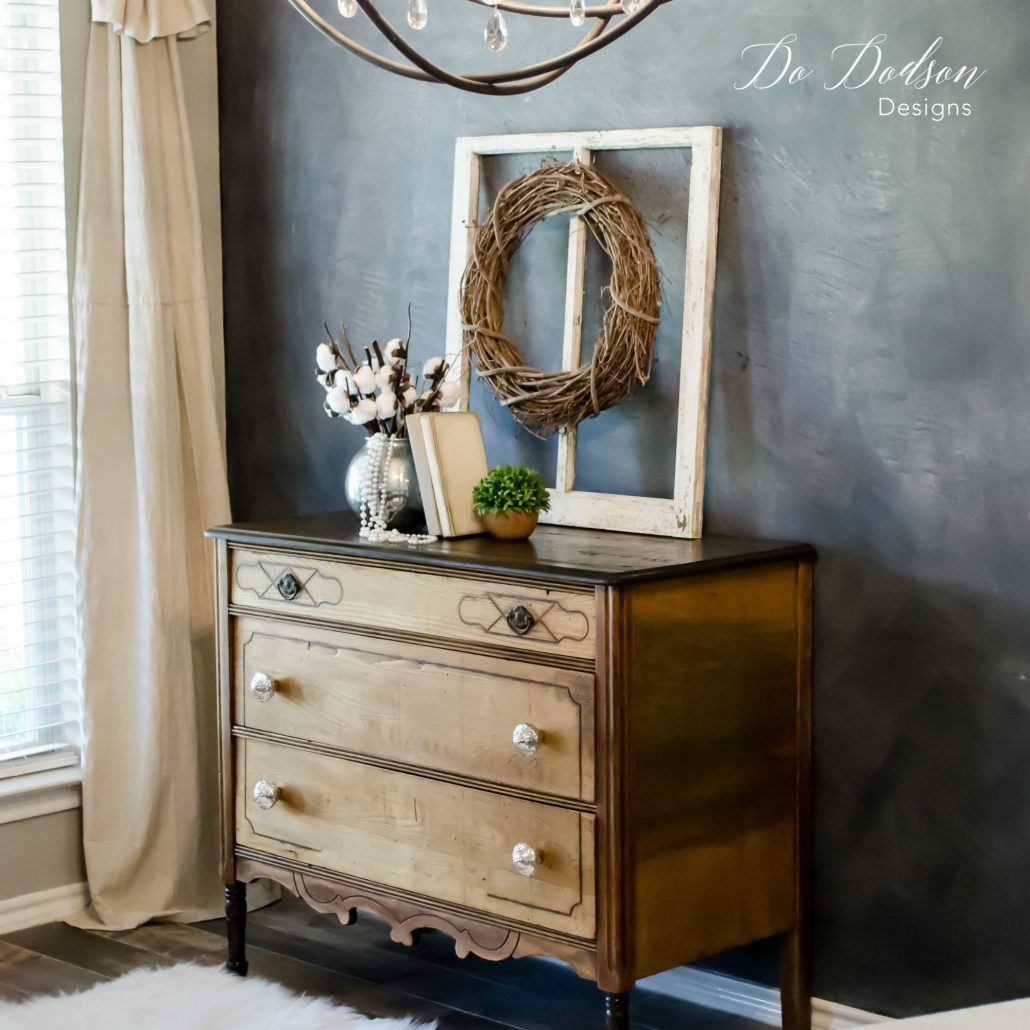
I love what I do, and I hope you have enjoyed this wood dresser makeover as much as I have. Never walk away from severe veneer damage because you never know what might be underneath. And you can bet I’ll be looking for more like this one to refurbish.
Until the next project… xo, Do

