Hello, my furniture-loving friends! So, what do you need to know about refinishing wood furniture? Everything! It’s not a job for the faint at heart and I secretly cringe a little inside when my clients ask for refinishing on their wood furniture. For me, I think it’s the messy stripping part I don’t like. So if that’s your beef too, you and I are besties. But it still doesn’t change the fact that the jobs gotta get done. So, today I’m sharing my tips, tricks, and step-by-step process on refinishing to help you take the guesswork out of it.
*This tutorial is based on using oil-based products only.
This post contains a few affiliate links to help you find the products I use. You are not charged extra to use any of the links, but any income I make will be used for more fun projects! To see my full disclaimer, click here.
What You Need To Know About Refinishing Wood Furniture
To paint or not to paint? That is the question. Well, no question here with this mid-century modern dresser. No way would I ever paint wood this beautiful… and I don’t say that often because I love to paint but sometimes you just know. Let’s get started with the products that I used for this DIY furniture makeover.
Supply List
- Solid Wood Furniture or Wood Veneer (if in good condition)
- Varnish Stripper or Citri-Strip Orange Gel (a safer alternative)
- Drop cloth
- Plastic Scraper
- Paper Towel (container for the goo!)
- Chip Brush (disposable)
- Mineral Spirits
- Superfine steel wool
- Denatured Alcohol
- Wood Sander or Sand Paper
- Spray Bottle (for denatured alcohol and water mixture 50/50 (to clean the wood after sanding)
- No Pain Gel Stain Walnut (oil-based Dixie Belle)
- Staining Pad
- Wipe On Polyurethane (oiled-based satin finish)
Protective Equipment Needed:
FAQ: Refinishing Wood Furniture
- What’s the best stripper for wood? That depends. I like the quicker strippers because time is money. There are many on the market and all should be used with caution while following all directions stated on the label of the products.
- Is it safe for indoor use? Be sure and check your label once again. Always refer back to the manufacturer. I use the same precautions for all strippers. Always work in a well-ventilated area and if working indoors, open all doors and windows and use a fan to help move the air.
- What kind of protection do I need when refinishing wood furniture? Always protect your skin, eyes, and lungs with protective equipment that is listed in the supplies list above. This will help protect you from possible chemical splashes and fumes.
Prepare The Work Area
Since stripping wood furniture is a messy business, it’s best if this is done outdoors. However, we don’t all have 70-degree days and sunshine year-round. So, chose the best days if you’re working outside. Either way, you’ll need to prepare the area you’re working in. Start with spreading a heavy drop cloth in the work area to catch the spills. Oh, there will be some spills. GUARANTEED! Using newspapers on top of the drop cloth will help to absorb any spills and make for easier cleanup.
Stripping The Old Finish
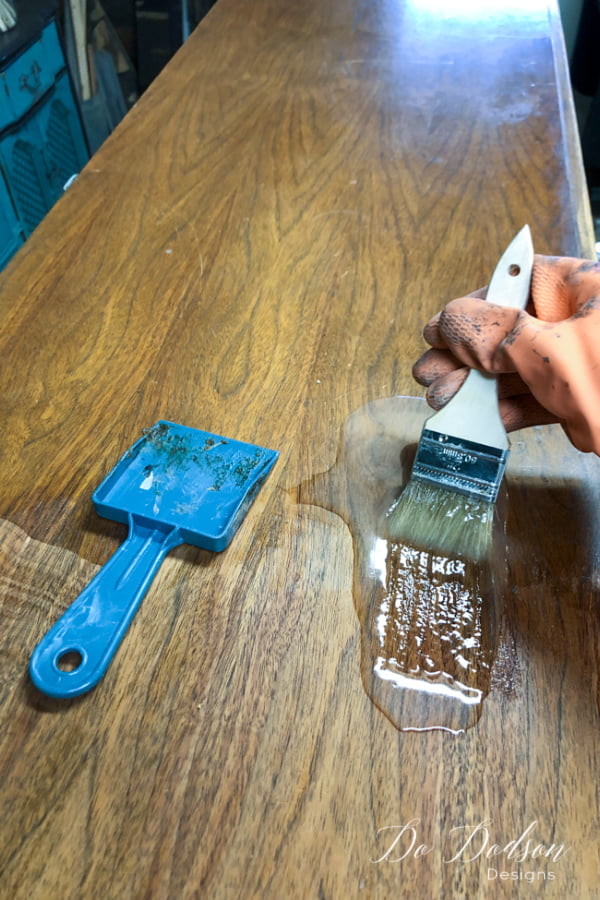
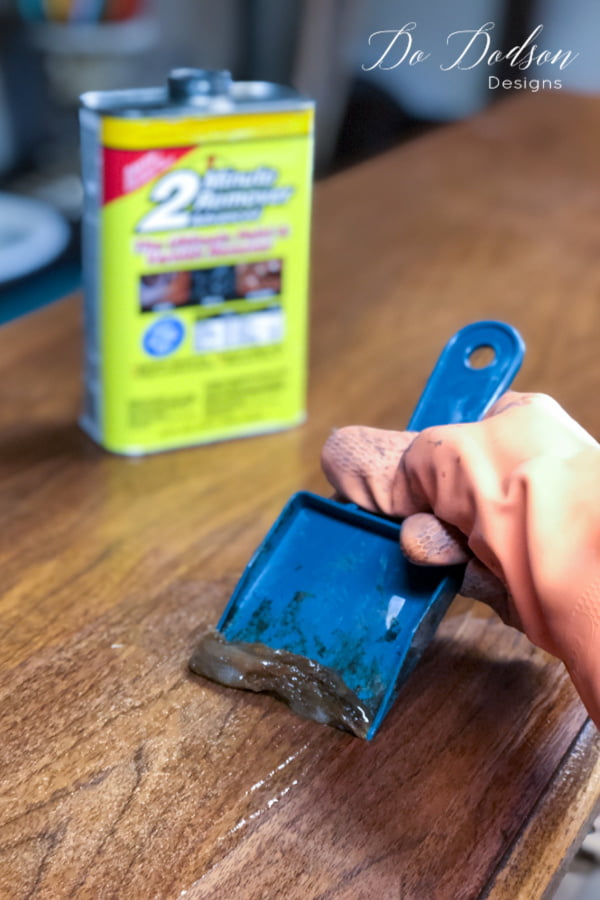
Step 1 Apply a liberal amount of the gel stripper with a disposable paintbrush. Wait until the listed time recommended on the product and test the area by gently scrapping back the old finish in the direction of the wood grain. With the 2 minutes gel striper, be ready at 2 minutes to remove it or it will start to dry. If this happens, just reapply. For this reason, I work in small areas. If needed, repeat this step once you have removed the first layer of varnish. Use a plastic scraping tool for the best results. Using a metal paint scraper can result in damage to the wood so therefore should be avoided when refinishing wood furniture.
*What to do with the goo??? I’m talking about the melted varnish that you’re going to leave with. Try lining a container with foil and adding newspapers or paper towels to absorb the wetness. After you have stripped the wood, simply roll up the foil and dispose of it.
*For this project, I used a 2 minutes gel stripper (best used outdoors due to the strong chemical smell) because it works faster than the Citri-Strip Orange Gel (better for indoor use). Both are good products in my opinion and you should try both to see which is best for you. CLICK HERE to learn more about using Citri Strip and a 3 part video tutorial. Especially if you’re sensitive to chemicals.
Stripping The Old Finish
Step 2 Once the varnish has been removed, you will need to clean the wood to remove any leftover residue of the stripper and old varnish that is left on the wood. To do this, use mineral spirits and a superfine piece of steel wool and gently scrub the wood in a circular motion with the steel wool to break up any of the residual varnish and stripper. Wipe the wood clean with paper towels. Repeat if necessary.
Step 3 Once the wood has had time to dry (24 hours) lightly sand over the wood in the direction of the grain with 120-180 grit paper to remove any remaining varnish or rough areas. Be mindful that using a finer grit of sandpaper can close off the grain and not allow the stain to properly absorb leaving you disappointed in the color. You want the wood to soak up the exact color of the stain you chose so using the right grit of paper is super important.
Step 4 In this step you’ll be cleaning the wood one last time before applying the stain to your refinished wood furniture. Wipe the wood with a mixture of denatured alcohol and water will remove any dust and prepare the wood for the stain.
FAQ: Refinishing Wood Furniture
- What color of stain do I use? That is totally up to you but remember, different species of wood absorb stains differently. For this reason, you will want to test the color you chose on a hidden spot first.
- How long is the stain left on before wiping it back? When using an oil-based gel stain, apply it liberally and wipe it back shortly after applying. You don’t want it to dry out before removing the excess. After the gel stain is dried, you can apply a second coat to darken and enrich the color if desired.
*Here is another great article on refinishing wood furniture from the DIY Network that may answer even more questions.
The Application Of Gel Stain
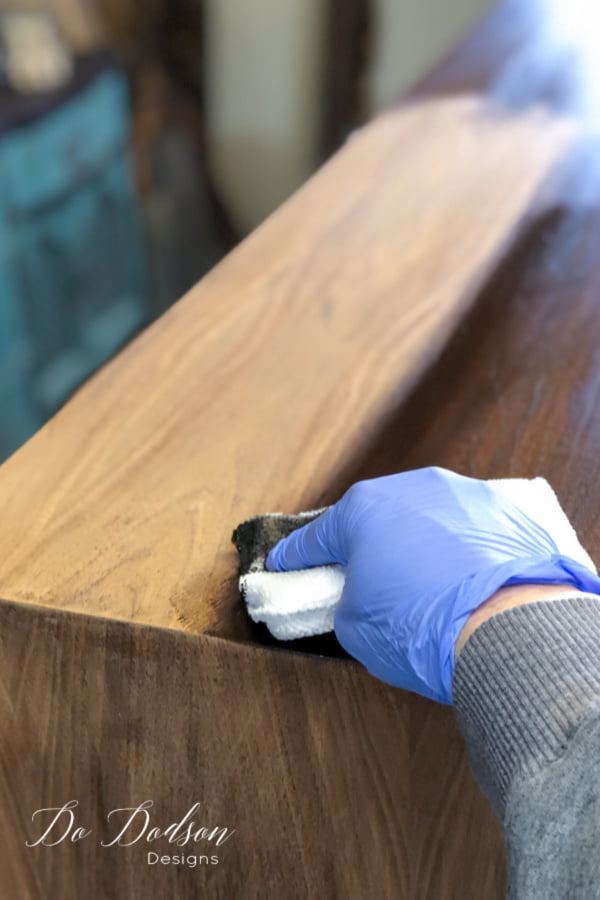
Step 5 This is the easiest part of refinishing wood furniture. Use a cotton staining pad and wipe on the gel stain in a circular motion. You want to be sure to get that stain into the wood grain. Afterward, use a soft cotton cloth to wipe back any excess stain in the direction of the wood grain to prevent streaking. Allow your finish to dry for a minimum of 24 hours. Humidity and temperature are always a factor so being in a controlled environment is best. You can apply a second coat of the gel stain if you want a darker color.
TopCoats For Refinished Furniture
Do I need to seal the gel stain finish on my wood with a topcoat? The answer is always yes. While the gel stain is thick and appears smooth and beautiful after the application, it will still need a topcoat for durability. The beauty of the gel stain finish tends to fool the eye into skipping this step.
Step 6 With a lint-free cloth, apply a wipe-on polyurethane topcoat being mindful again to apply with the grain of the wood. I LOVE this type of topcoat with gel stains. It dries quickly and can be reapplied in a few hours. Use superfine sandpaper to lightly sand between coats of the polyurethane and wipe back any dust between coats. The last coat of polyurethane does not get sanded. I usually apply three coats, especially to the high-traffic areas (tabletops, dresser tops, etc.) that get heavy use.
The Results Are Stunning
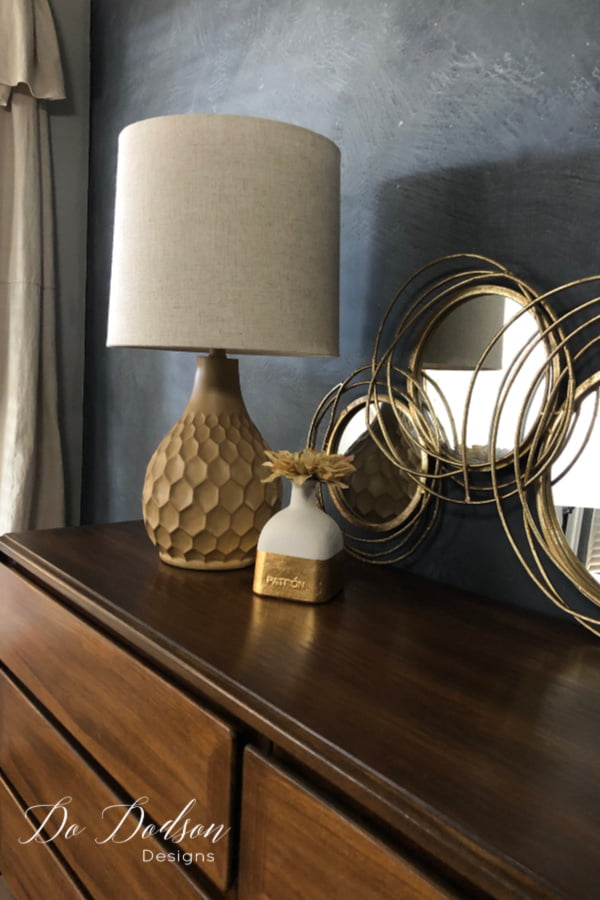
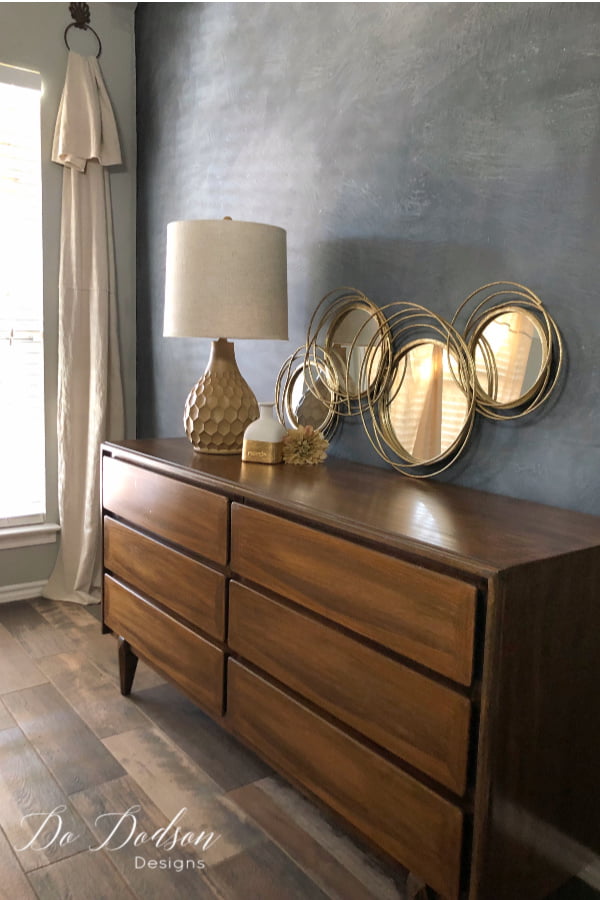

Well, you can’t deny that this is a beautiful wood finish or that it was worth the extra effort. As much as I love to paint, I can’t resist beautiful wood. It just gives a home a warm cozy feeling. So, what do you think? Have you tried a gel stain? What’s your next project looking like? Maybe a refinished wood furniture project?
Thank you for stopping by today and as always, feel free to leave all comments below about this project or any questions you may have. I love hearing from you! ♥
Until the next project… xo, Do


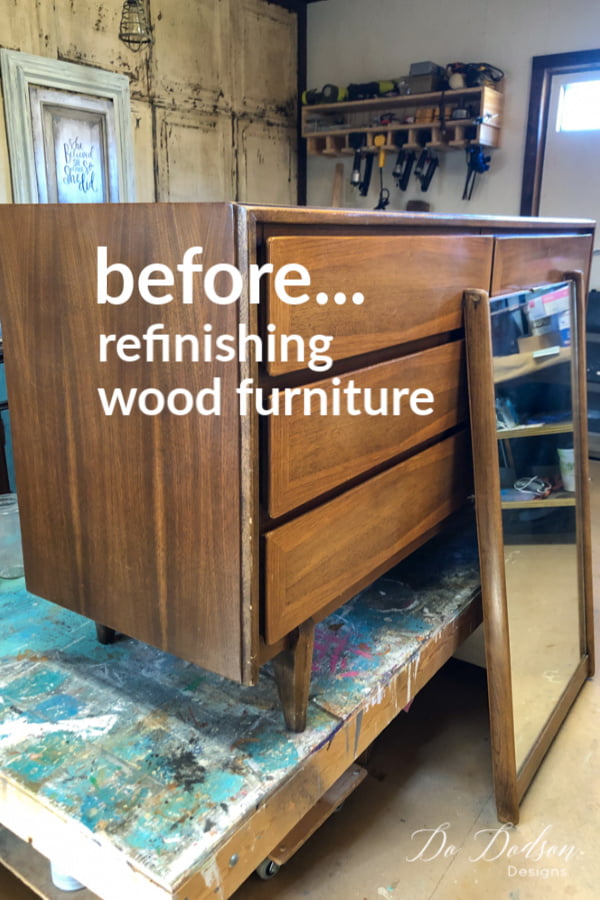



You brought this MCM dresser back to life my friend. Simply gorgeous! XOXO
Thanks, Denise! I do LOVE these MCM pieces. Thanks for stopping by. xo
Awesome work, like always. I´m a big fan of yours!
Hi Val! I’m so happy you enjoyed it. More and more I’m enjoying the refinished look. Have a fantastic day!
xo, Do
What about using linseed oil or teak oil instead of stain? I’m working on a MCM piece right now.
What about using linseed oil or teak oil instead of stain? I’m working on a MCM piece right now. This is my first time to comment. I love your work Do!
Hi Marcia!
I have never used the teak oil or linseed but have heard great things about both. It sounds like I need to check those out. I have used a similar product… hemp oil, to refinish a butcher block top on a vintage locker project. Check it out. xo 🙂
https://dododsondesigns.com/repurposed-vintage-lockers/
What color stain is this?
Hi Christine,
The color is walnut and one of the easiest stains to work with. Here’s my affiliate ink if you want to learn more. https://dixiebellepaint.com/gel-stain/no-paint-gel-stain-oil-based/?aff=80