
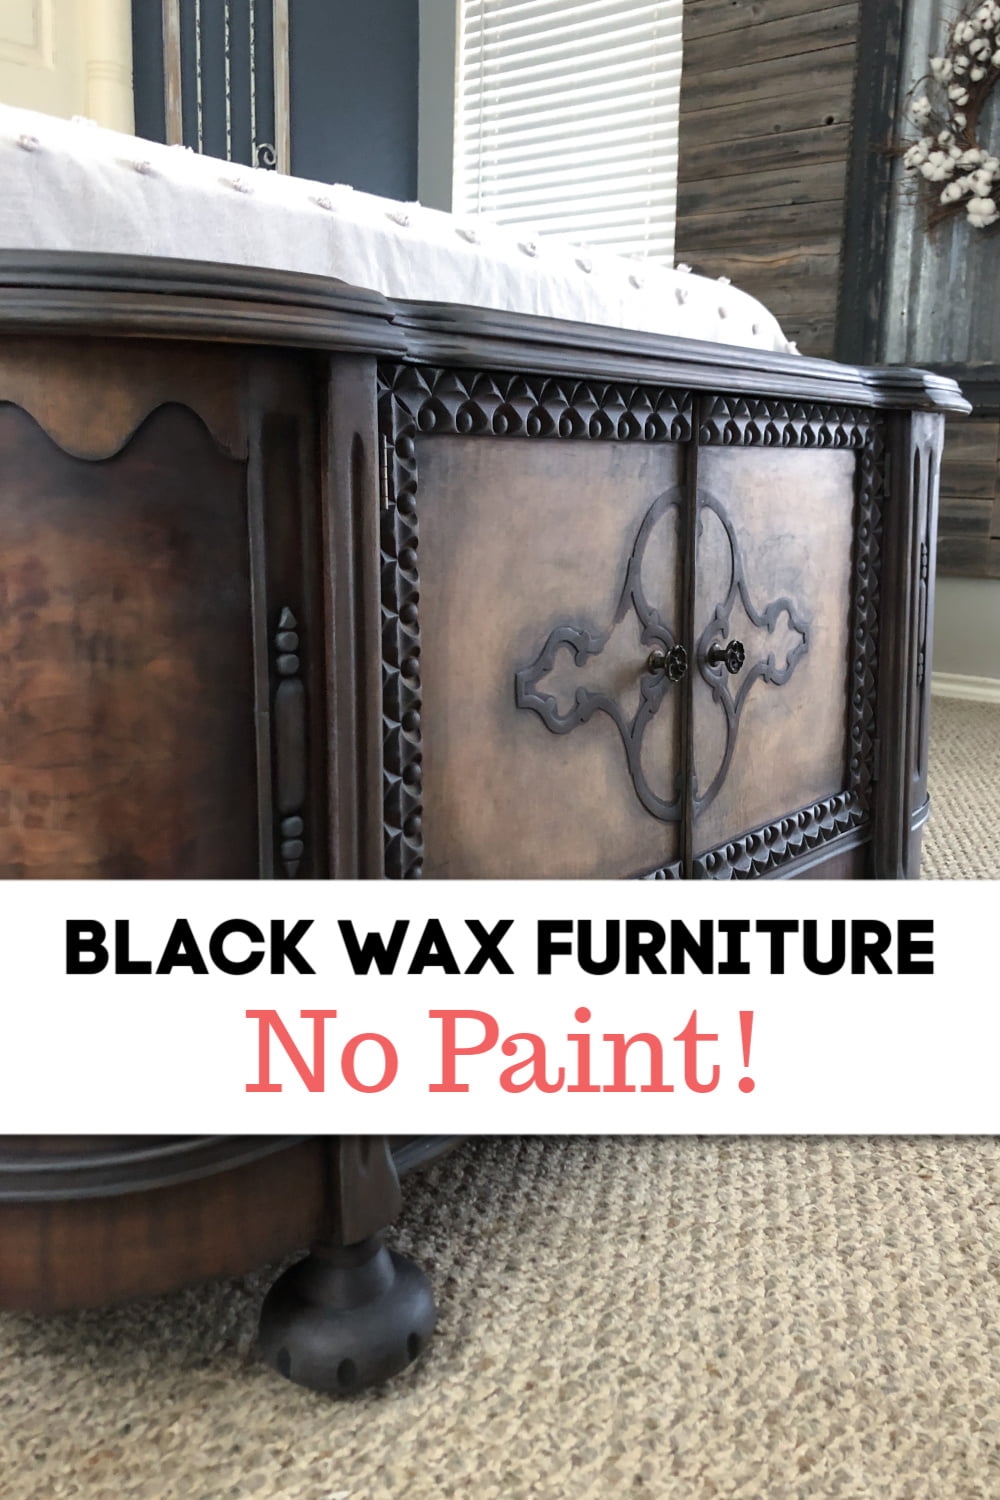
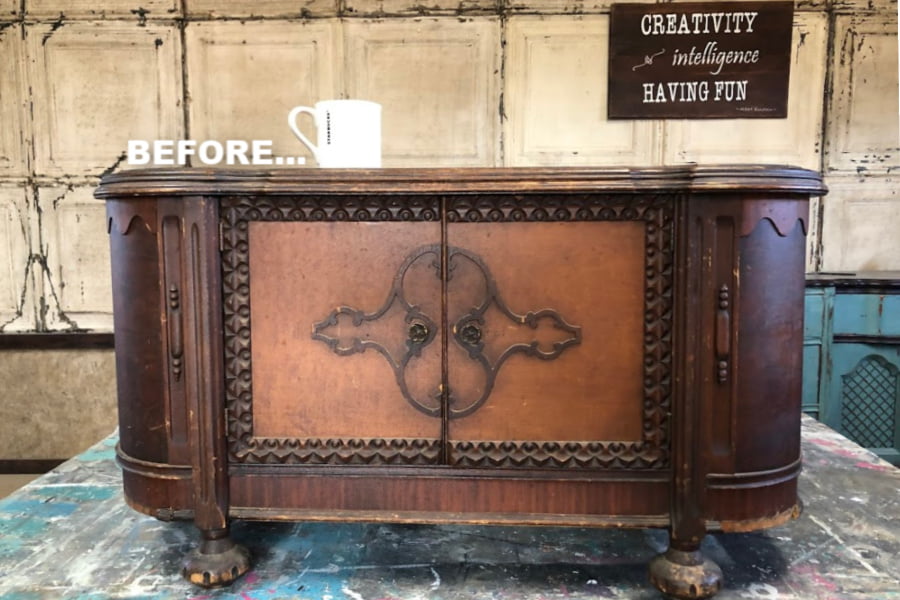
Double take! That’s just what I did when I walked past this vintage cabinet. Woah! What a dish! All the right curves in just the right places. You don’t find them like this every day, and this one was going home with me. *insert big ole cheesy grin. Black wax furniture makeover here I come!
This post contains a few affiliate links to help you find the products I use. You are not charged extra to use any of the links, but any income I make will be used for more fun projects! To see my full disclaimer, click here.
Black Wax Furniture Makeover
In this tutorial, you will learn how to remove old varnish from furniture without chemicals and revive the wood with wax.

Below is a list of the products I used for this makeover. Just click on the products to find where to purchase them for your next black wax furniture makeover.
Removing Old Varnish |Sanding Method
Step 1:
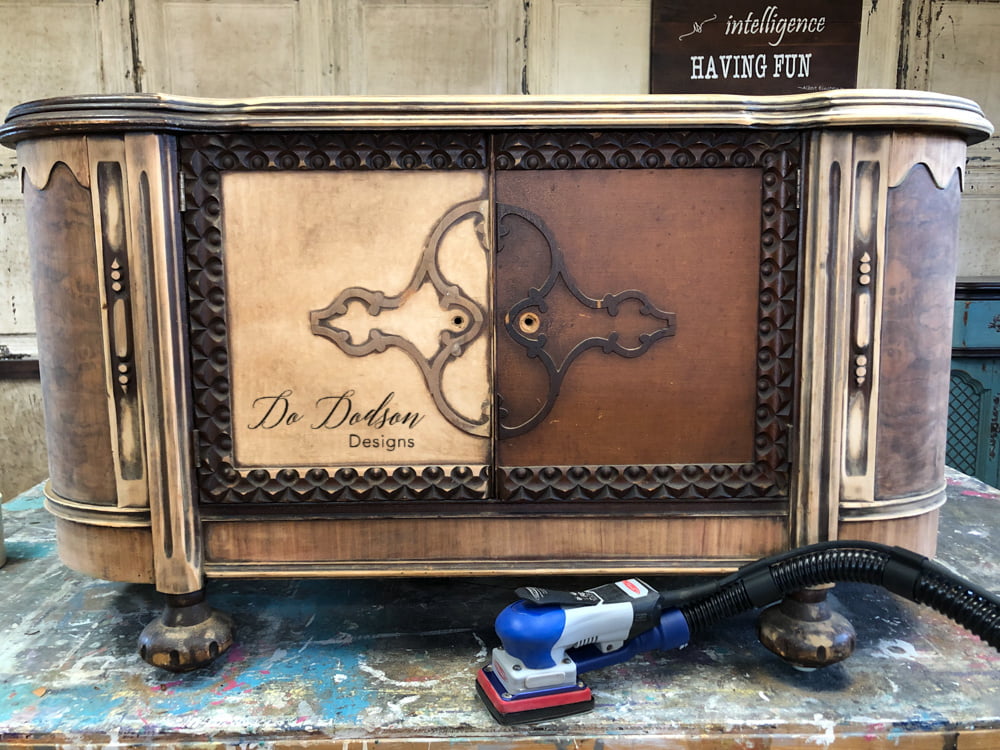
Removing the old varnish can be tricky on these antique pieces, but it has to come off for this black wax furniture makeover. Knowing when to sand and when to use chemicals to strip antiques is important. Because of the age and condition, I chose to remove the old varnish by using the sanding method. This is the method I prefer when the varnish has aged enough that it has turned dark and is easy to remove. For this makeover, I used an 80-grit abrasive to quickly remove the old varnish. Because the SurfPrep Sander pad is square, I was able to get into all the places that my rotary sander could never go. Don’t forget to use your protective equipment.

Cleaning the Bare Wood After Sanding
Step 2:
After sanding off the old varnish, clean the wood with a 50/50 mixture of denatured alcohol and water. The solution can be added to a spray bottle for easy application and wiped away quickly with a soft cotton cloth or a shop towel. Why denatured alcohol? The alcohol added to the water helps to absorb the water when used to clean bare the wood. The wood on these antiques tends to be brittle and porous and the last thing you want to do is add water to old wood furniture that you’re going to paint or stain. This will speed up the process with the black wax you’re going to be applying.
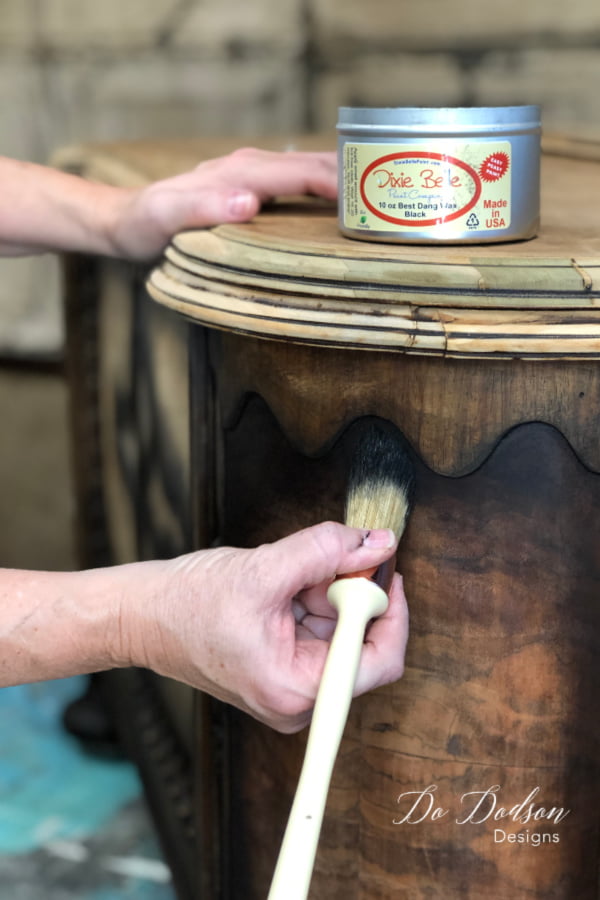
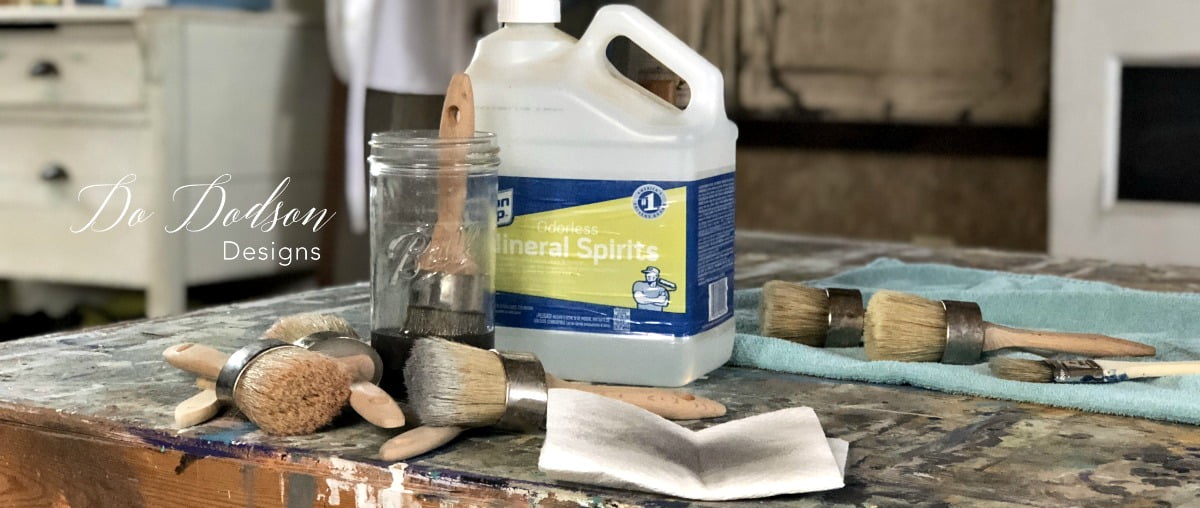
Using the blending method, with the detailing wax brush you can create a soft shading with the black wax and bring out the details in the wood. After most wax applications, it’s suggested to wipe with a soft cloth or buff the wax after applying. With this method, I do not buff the wax immediately after the application. Allow it to dry completely (24 hours or so) and then buff with a soft cloth. The wax will absorb into the bare wood.
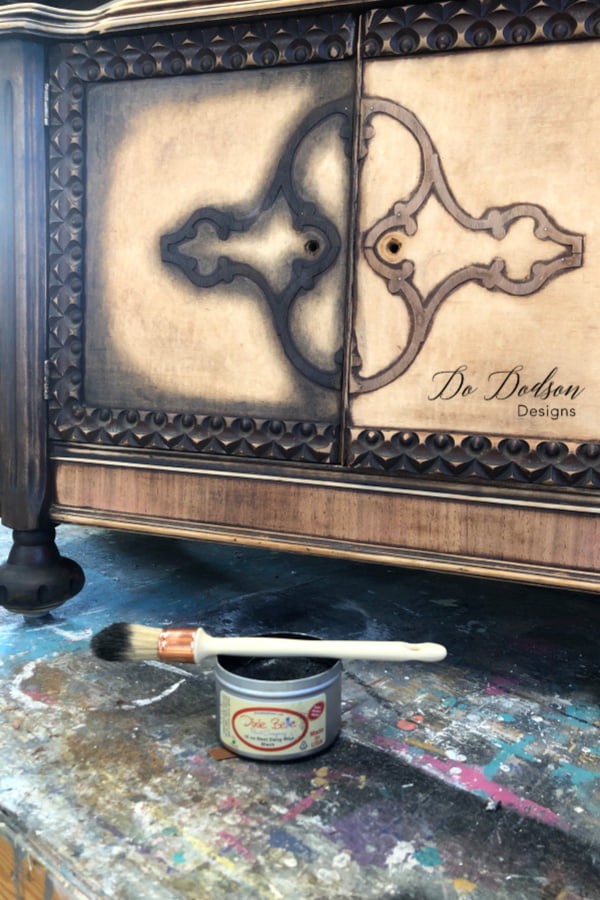
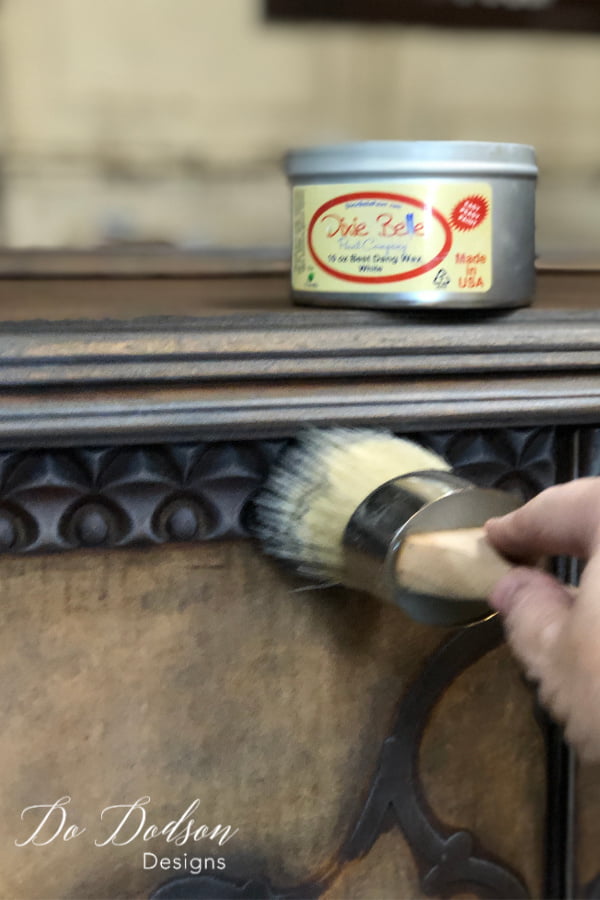
Highlighting with Wax On Bare Wood
Step 4:
Apply white wax over and around the black wax with a large wax brush. You can do this two ways… apply the white wax immediately after applying the black wax to create a gray highlighted aged look, or apply the white wax the next day to add more highlights to the wood. Either way is beautiful. After the wax is fully cured, you can apply a topcoat of Gator Hide for extra protection. Dixie Belle’s wax is water-based which means it can be sealed with any of their water-based topcoats after it has been fully cured. I DO NOT recommend other waxes for this technique.
*If you want a more subtle look on your bare wood, try waxing the wood with clear wax before applying the black.
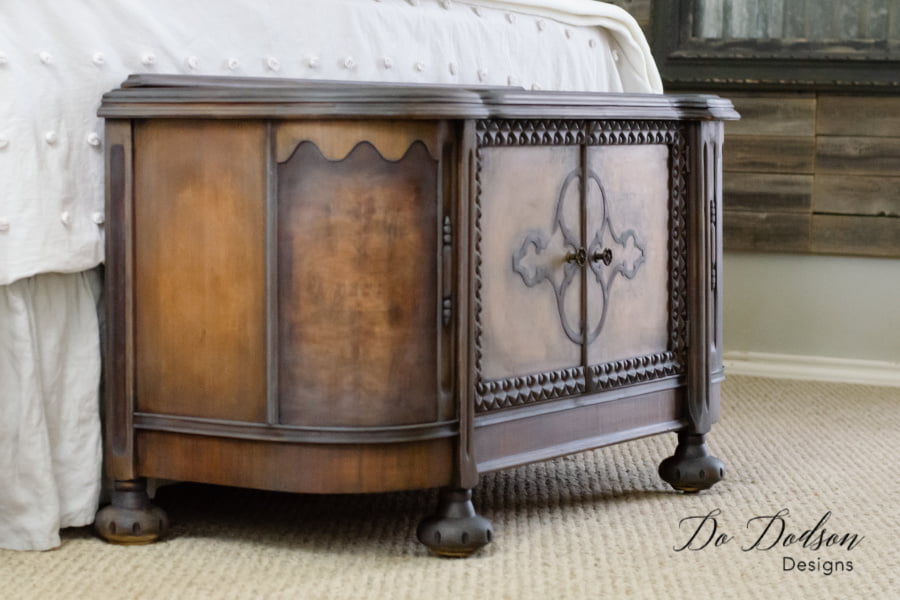
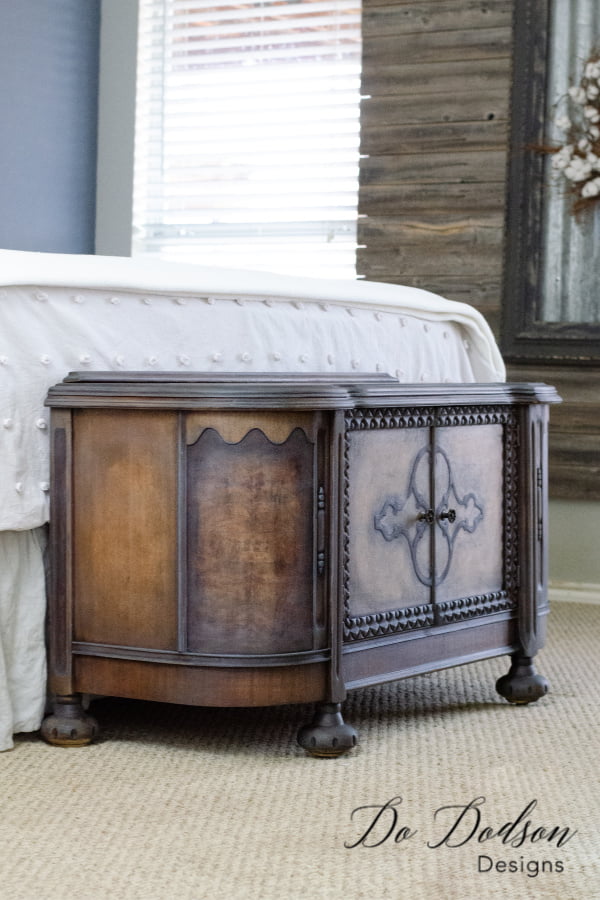
Black Wax Furniture | Beautiful Cabinet Makeover
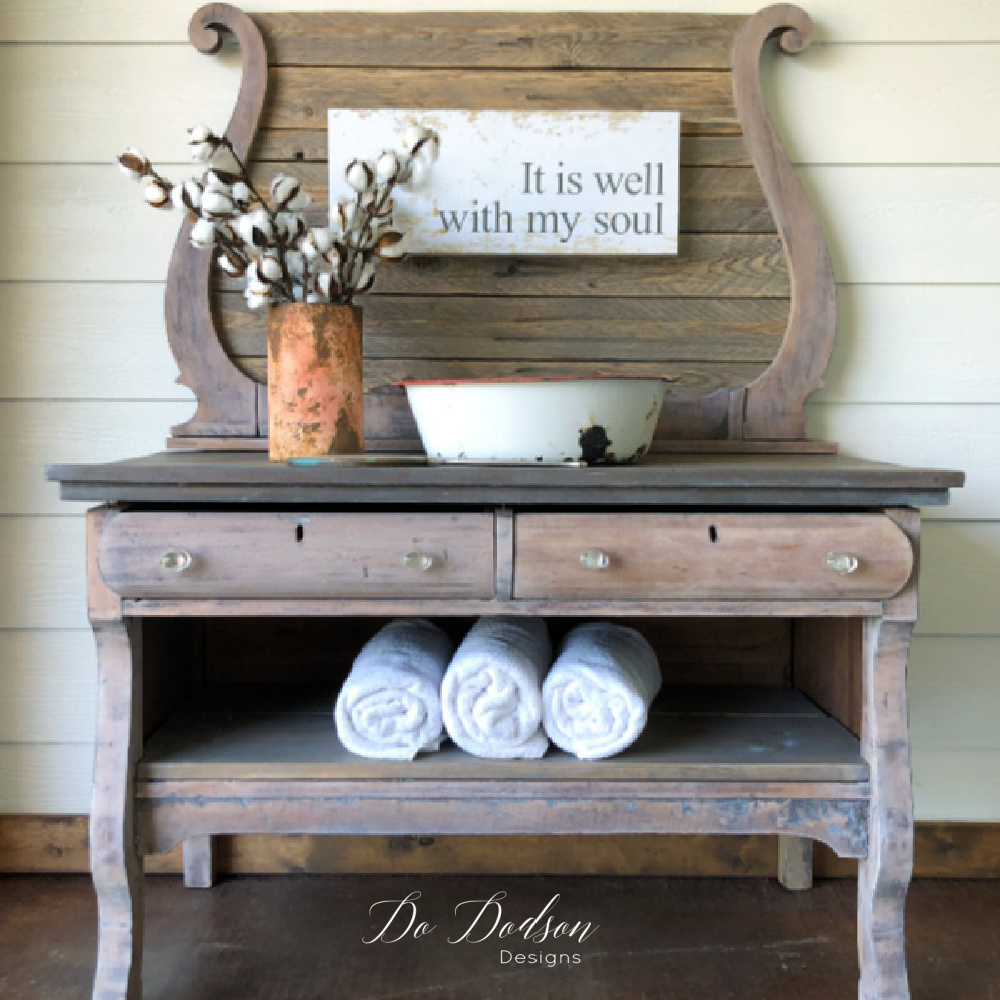
I love the look of raw natural wood furniture about as much as I love painted furniture. CLICK HERE to see another example of the raw wood look.
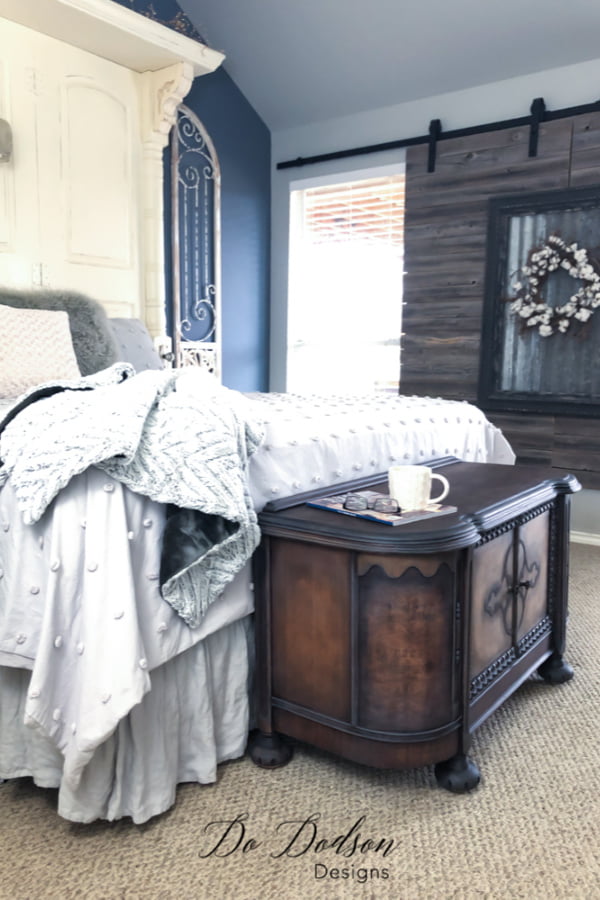
So, the question is… Do I keep this one? I think you know the answer to that. After staging the cabinet in my bedroom, it never left. The chest I had been using in this spot needs an update too and more than likely you’ll see it in the near future.
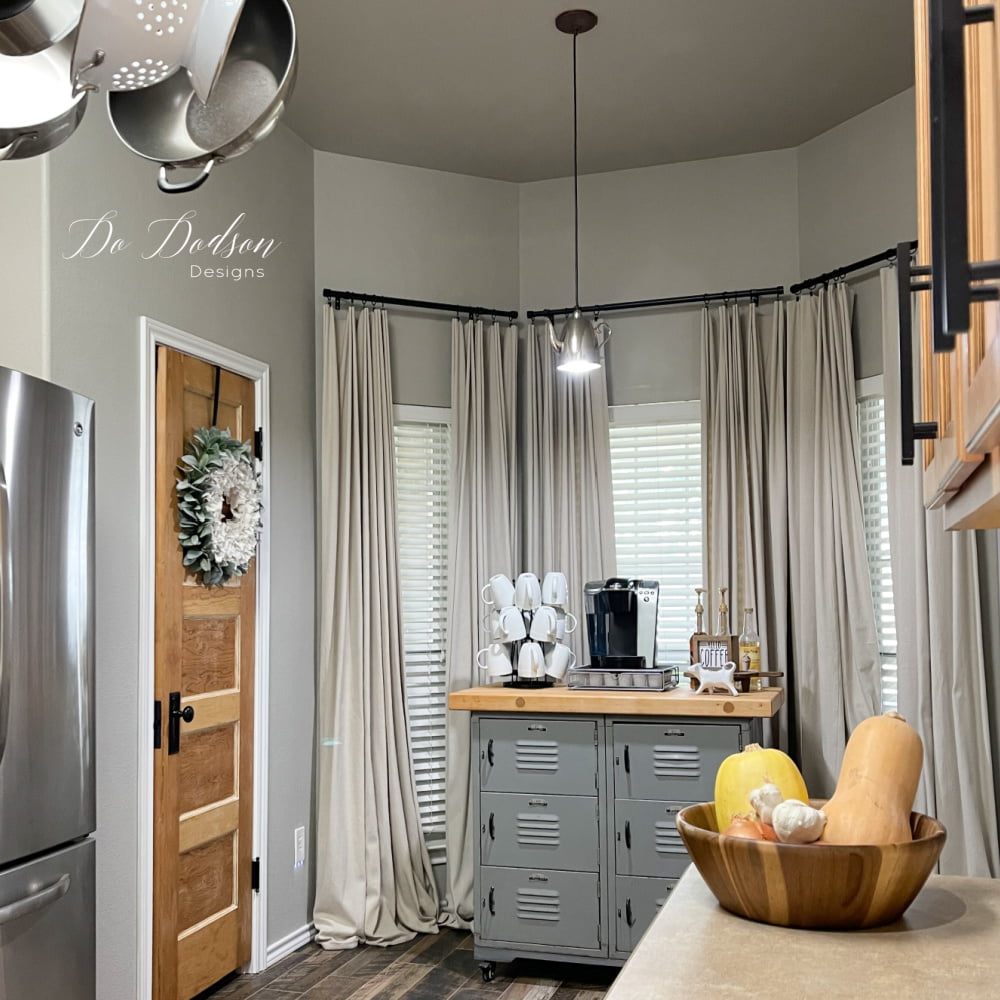
Want to see more of my bedroom and the chest that has been replaced? CLICK HERE to get a tour of my home and all the makeovers I keep. I can’t help myself. Ha! Surely I’m not alone. I’d love to hear your stories too. Drop me your thoughts below on this makeover or share your furniture makeover stories. I love hearing from you.
Until the next project… xo, Do

Such a stunning piece and I LOVE it at the end of your bed!
Thank you! I’m having a doggie issue. She wants to sleep on it. 🙂 xo, Do
Where do you find your pieces to redo? Estate Sales? garage Sales? I really want to make 2021 the year I try to start this as a side business but absolutely not even sure where/how to start when my source of funds is limited
Hi Linda! It’s hit and miss for me. Marketplace, garage sales, flea markets, and an occasional side of the road. But… you might want to start going to auctions. I’ve had good luck in the past and things go cheap.
Simply Beautiful!! I love your work!
Thank you, Amy! I appreciate that. 🙂
Gorgeous.
Thank you!
Such a beautiful piece. I love how you let all it’s beauty shine through using black wax. Can’t imagine that you’d ever part with it. Thanks for the great tutorial.
You’re welcome, Joanne. Happy to know you enjoyed it. Blessings xo 🙂