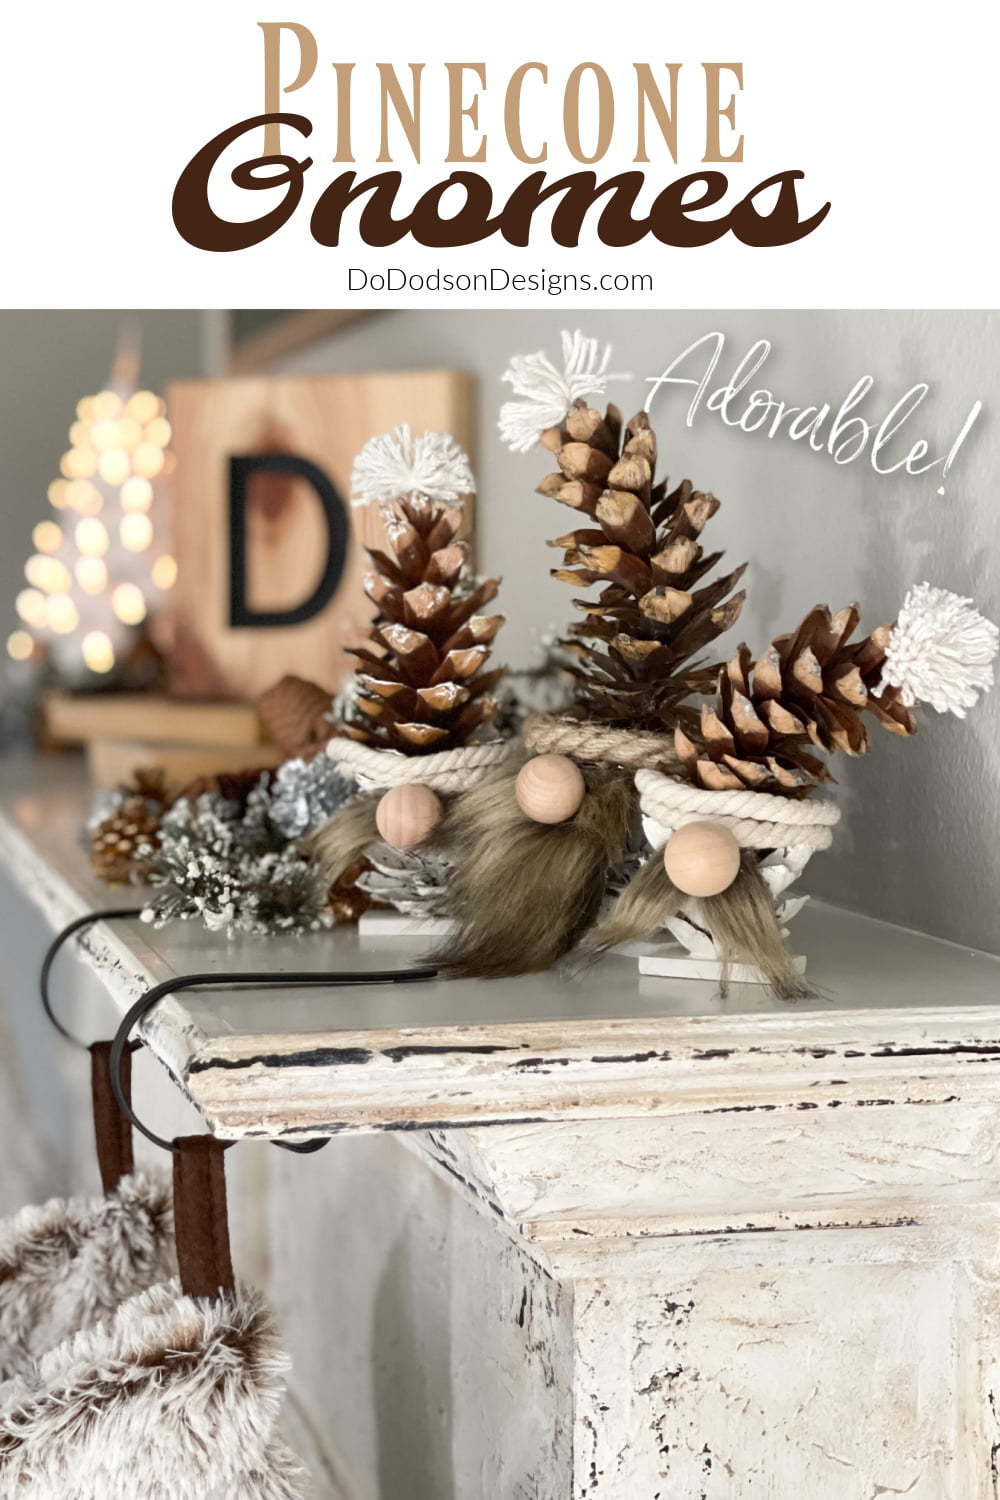
Pinecone Gnomes? Oh yeah, they’re a thing! And I have the perfect specimens for this fun, creative, crafty project. I know you’re going to love them as much as I do.
* As an Amazon Associate, I earn from qualifying purchases and through other companies as well. You are not charged extra to use any of the links, but any income I make helps me create more amazing DIY projects to share with you! To see my full disclaimer, click here!
Pinecone Gnomes – DIY Christmas Craft Decor
With a few simple items, you can make the cutest DIY pinecone gnomes in about an hour. And if you’re a crafter, you probably have these items in your stash, or you can “borrow” the items from your crafty friend. That’s what I did. Let’s get to it!
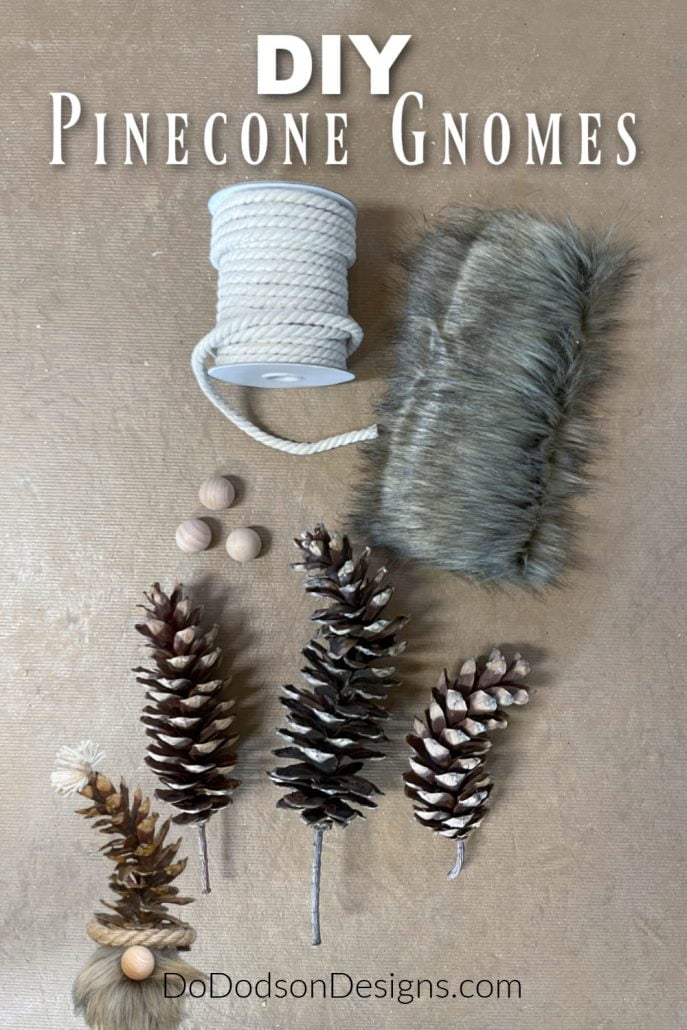

SUPPLY LIST:
- pinecones
- chalk mineral paint (Buttercream)
- faux fur
- exacto knife
- wood glue
- hot glue gun
- rope or cotton cording
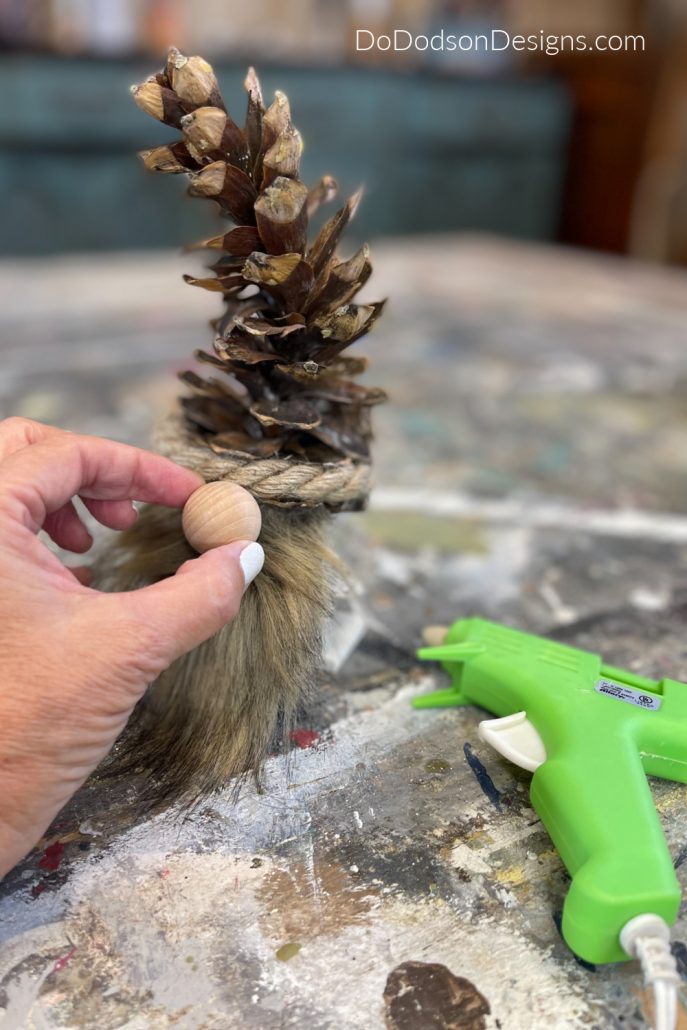
- wood pulls (gnome nose)
- pine lattice moulding 1/4 in. x 1-1/2 in. (base)
Choosing The Pinecones For Gnomes
STEP 1:
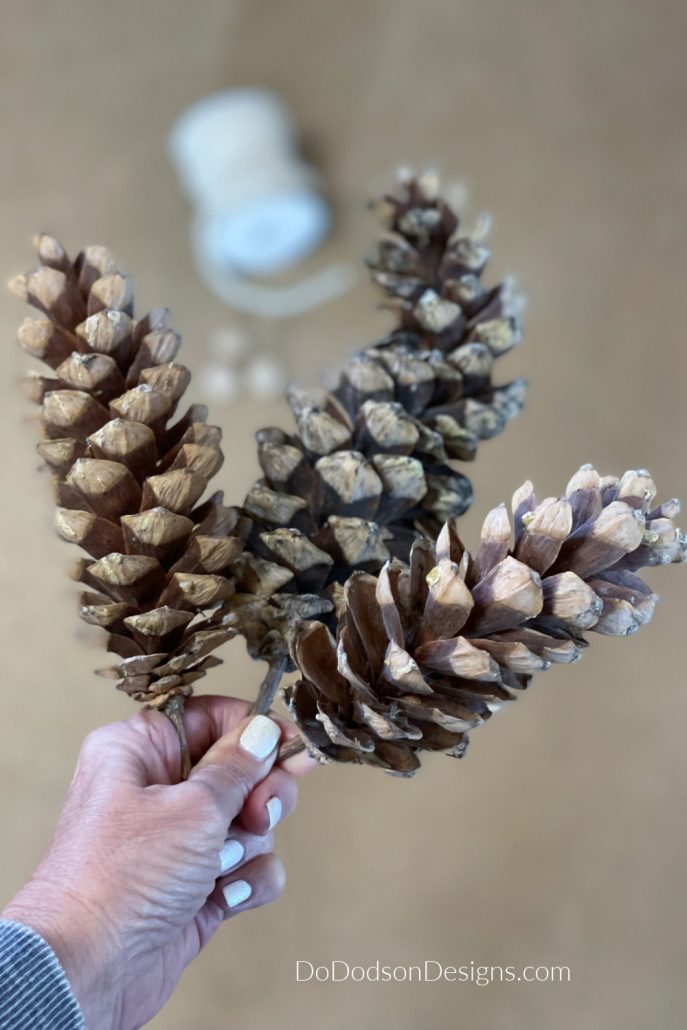
Choosing the right pinecones for these gnomes may be tricky if you don’t live in an area where they are plentiful. Or you may only have the plain ole garden variety.
But these, these are not your average pinecones. I’m not sure what variety of pine trees these came from, but they have the most amazing curves you have ever seen. Or at least that I have seen.
A while back, I was visiting a sweet friend in Mechanicsville, Pa., and fell in love with these shapely cones. As a good friend would do, she bagged up a few to bring them back to Texas with me.
I promised her I would do something fun with them, and here is what I did.
Building A Base For The Pinecone Gnomes
STEP 2:
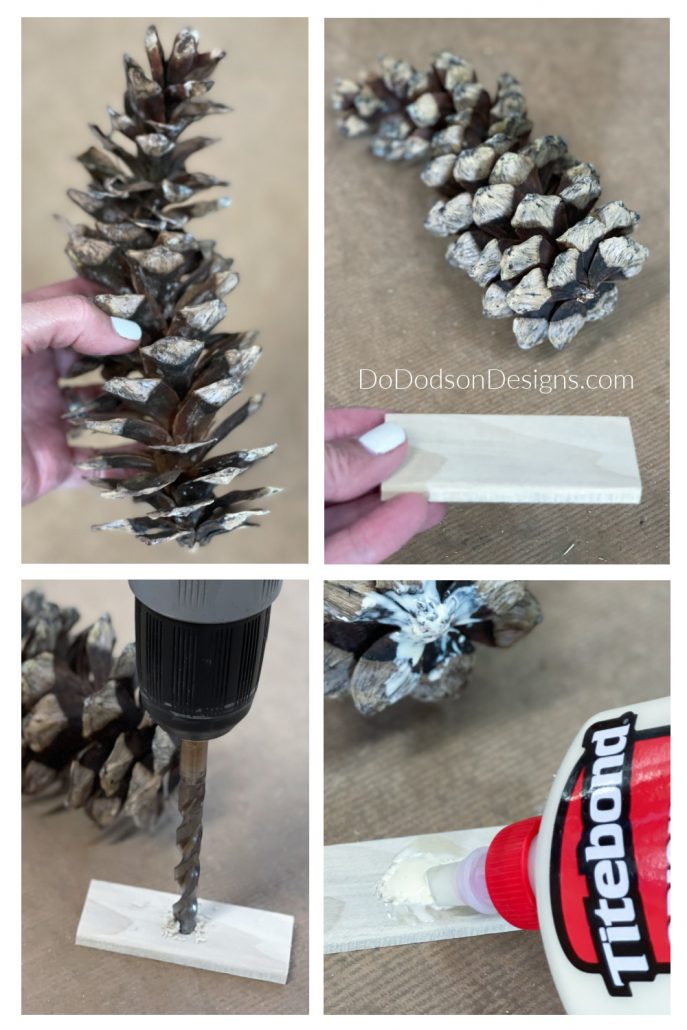
Because I wanted my pinecone gnomes to sit above my Christmas fireplace mantel, I built a simple base using a piece of pine moulding that I had left over from another project. Yes, once again, saving wood scraps pays off.
The base should be no longer than the base of the pinecone. This will give the pinecone the stability it needs to sit upright, especially if it has a curvy top that hangs off to the side.
Remove and terms at the base of the pinecone first. If your pinecone doesn’t have a flat bottom (mine didn’t), you’ll need to drill a small hole for the base to rest on.
Next, secure the pinecone to the wood base with wood glue and allow it to dry.
Painting The Pinecone Gnomes
STEP 3:
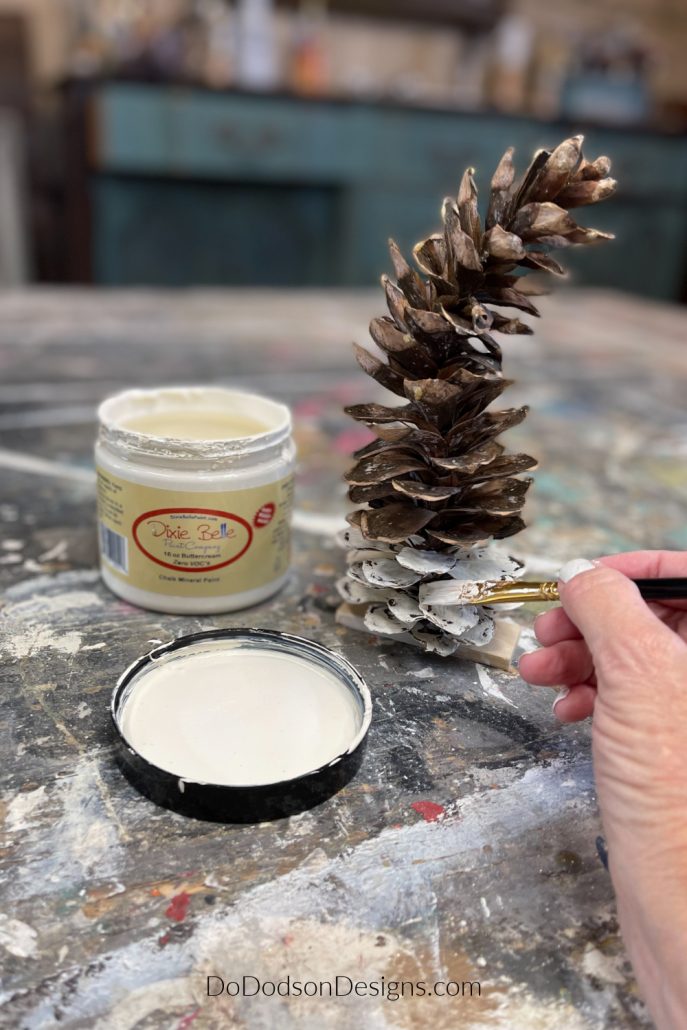
The next step is to paint or not paint (that is totally up to you) the base of the pinecone gnomes. Most of the face will be covered with fur for the beard and mustache, so this is optional.
If you choose to paint, divide the pinecone into thirds and paint the lower 1/3 only.
I chose the color Buttercream from Dixie Belle’s chalk mineral paint line. It’s my go-to color for a great vintage look, and it matches the decor in my home perfectly.
Creating The Appearance Of A Gnome Hat
STEP 4:
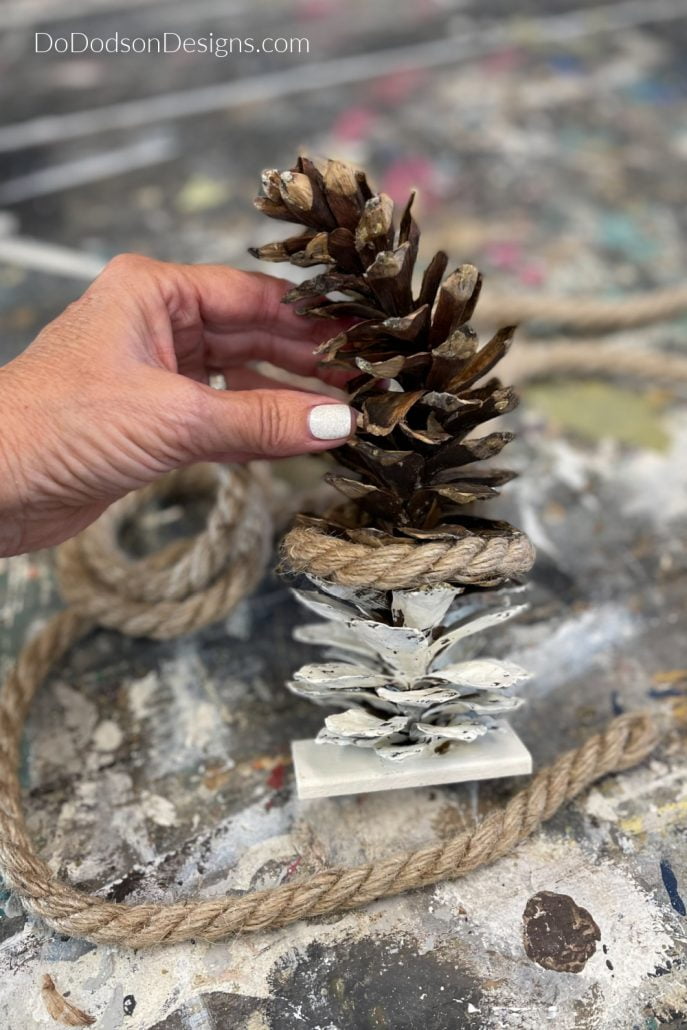
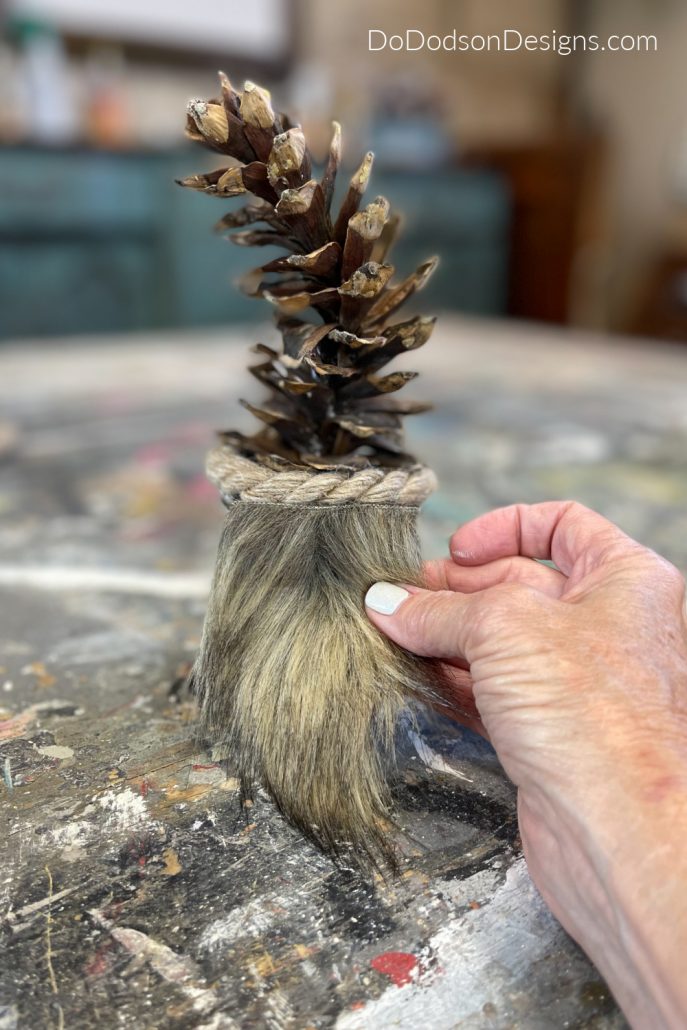
Here’s the part I like the most. Instead of the traditional gnome hat, I used the curviness of the pinecone to be the hat.
To create the base of the hat, I used a piece of craft rope (or cotton cording) and hot-glued it to the pinecone just above the painted 1/3. Anything that you can dream up can be used. That’s just what I had on hand, and I love the rustic look; this adds to these pinecone gnomes.
How To Make A Faux Beard Or Mustache
STEP 5:
I mustache you a question. LOL, Are you a mustache or beard lover?
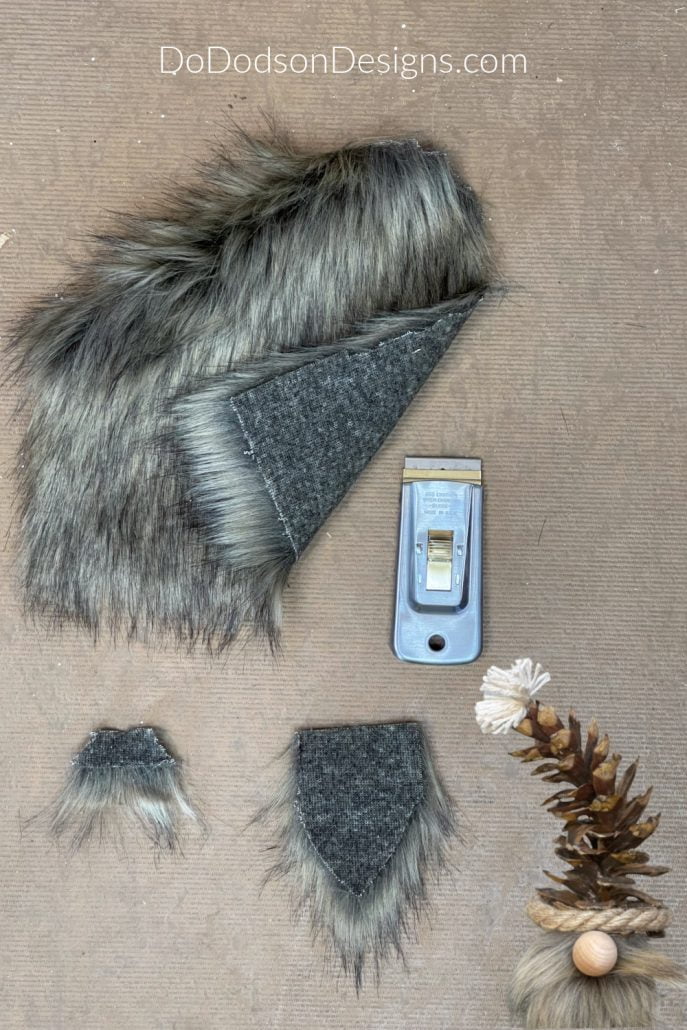
I used faux craft fur to make a beard or mustache (your preference) and cut it from the back with an Exacto knife. It was a paint scrapper because I could find my knife. Whatever works. Just be careful!
Cutting the fur from the backside allows for a clean-cut and doesn’t damage the fur.
There’s nothing worse than a bad haircut, and if you chose to cut out your beard with a pair of scissors, don’t say I didn’t warn you.
STEP 6:
Once you have your tiny beard or mustache cut in the shape you like, secure it with hot glue just beneath the base of the hat line on the pinecone gnome.
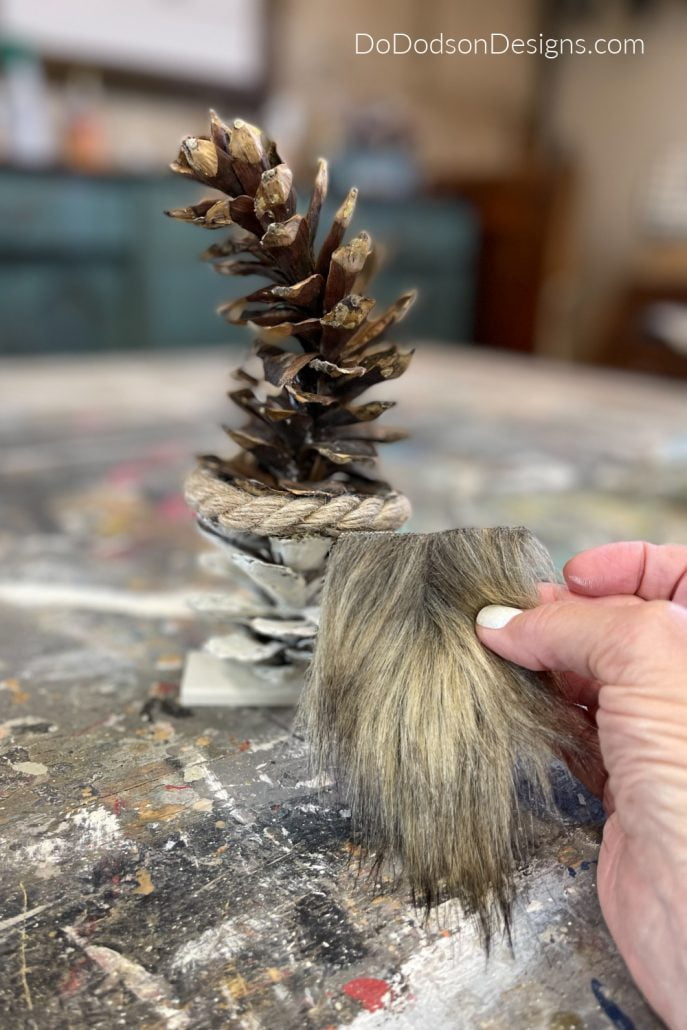
You can layer a mustache over the beard if you like the wooly bully facial hair look. Or you can smooth the fur on each side to create a mustache with the beard cut out.
Attaching The Noble Nose On Your Pinecone Gnomes
STEP 7:
Lastly, secure the wood pull with hot glue between the fur you parted so nicely for the nose to set in.
OMG, he’s so stinking cute! I think I like him better than my woodblock gnomes! You tell me.
Cheeky DIY Pinecone Gnomes
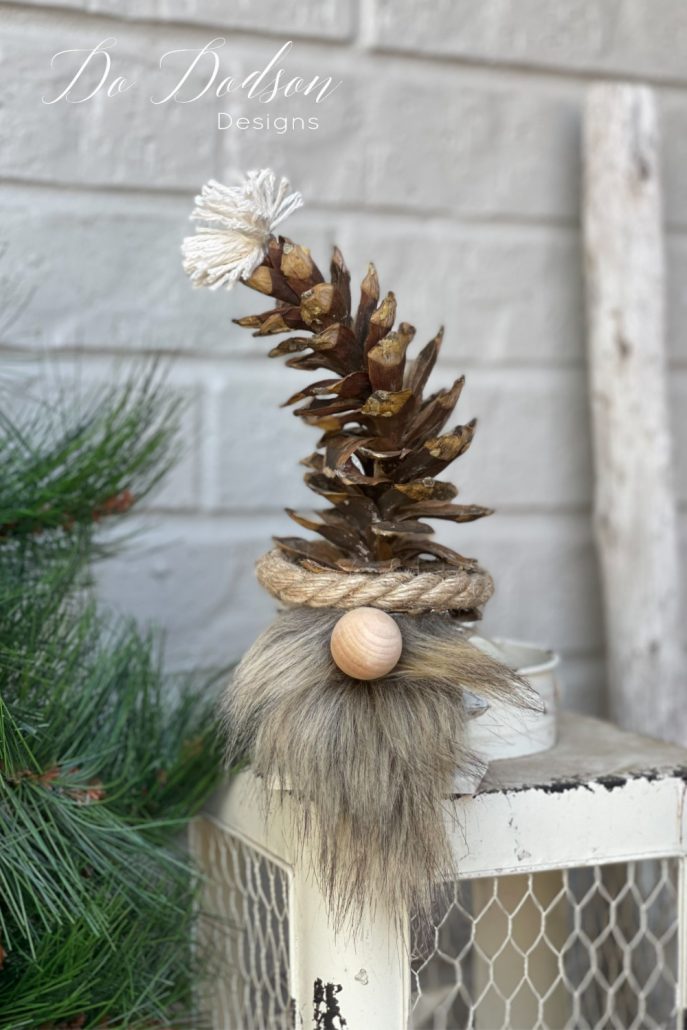
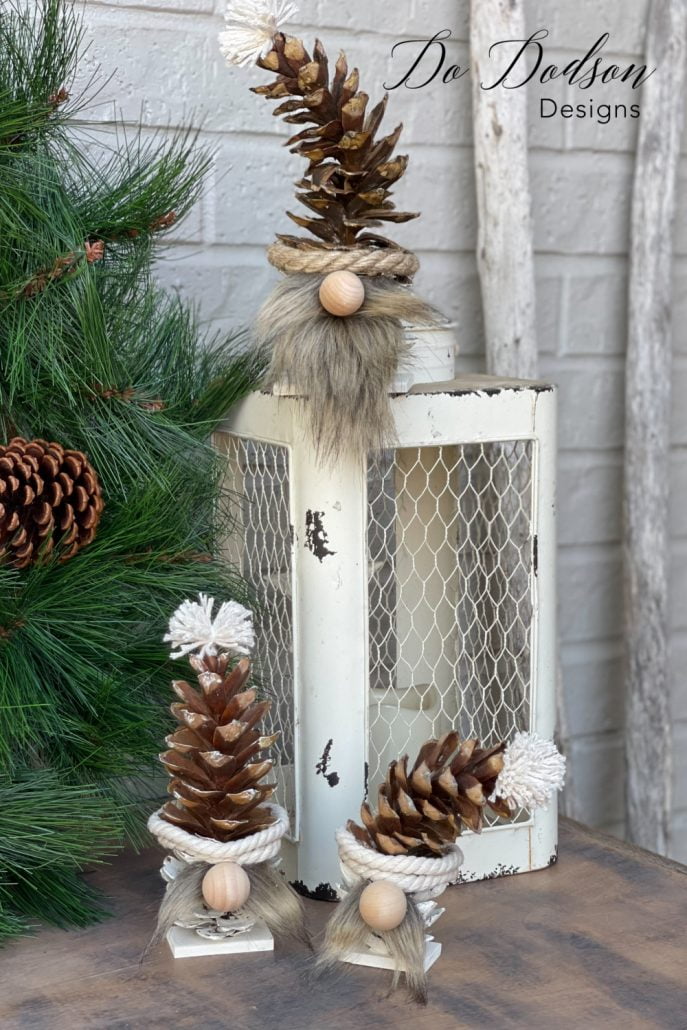
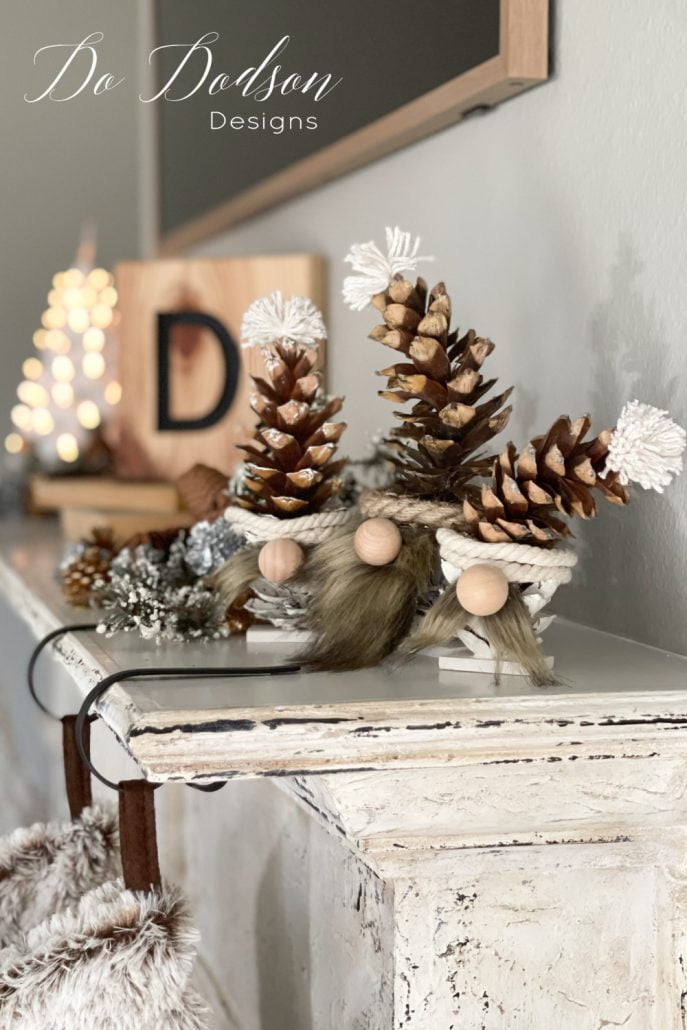
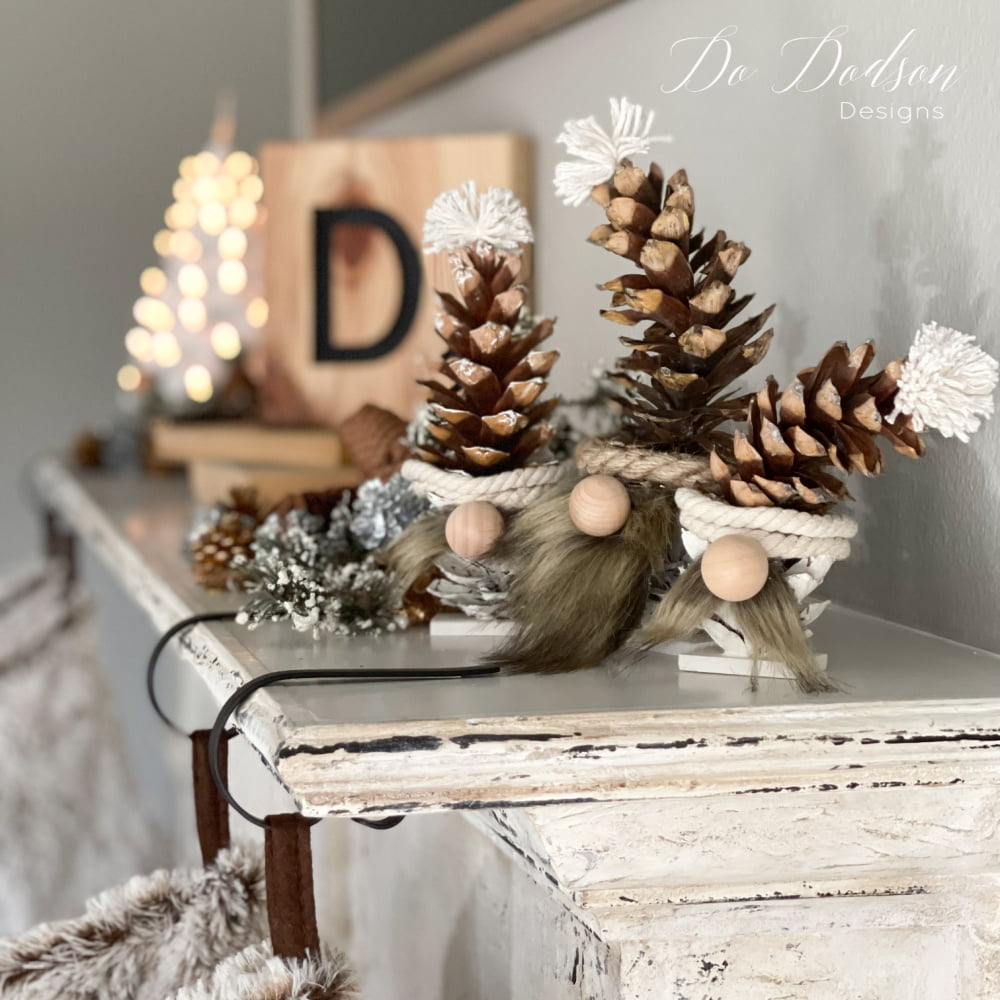
These DIY pinecone gnomes are all of that and some more! I adore these cheeky little guys and look forward to making more, even though I find them a bit creepy. LOL
Thanks for joining me today, and I hope you enjoyed this crafty DIY home decor project. I’d love to hear what you think. Or just say hi in the comment section and let me know you stopped by. I always enjoy hearing from you.
Until the next project… xo, Do



Omgoodness, these little fellas are so fun! You are so creative Do! A pinecone gnome – only you could come up with something so cute! pinned😊
Thanks, friend! Making something out of the unusual is always fun. Merry Christmas. :0 xo
OMG!!! These are the cutest, Do!! You are the craftiest person I know. I am so happy that those pinecones flying from here, in Mechanicsville PA, came to good use! I had no doubt that they would. Awesome, I love them so much.
Thanks, Wendy! It took me a bit, but I’m pretty happy with them. And now I have a little bit of you every year. Merry Christmas, sweet friend. 🙂 xo
Super adorable Do! XOXO Have a great weekend.💜
Thanks, Denise. Merry Christmas! 🙂 xo
So cute!
Thank you so much, my friend! xo
This IS a good one! I might, no, WILL give this a try as soon as I can find those big pinecones. Hmmmm, maybe my neighbor’s yard…..
Go for it! I bet your neighbor would love to have one too. It would be a great trade-off. Merry Christmas! 🙂 xo
So cute can’t wait to make some Tku. U mentioned block gnomes where can I find those?
Hi Barbara! Oh, you’re going to love these, and there’s a video tutorial. CLICK HERE https://dododsondesigns.com/wood-block-gnomes/
I love these! Where did you get the cute string pom poms on his hat?
Hi, Michelle!
I made those by winding yarn around a fork and cutting it in half. Tie in the middle of the strings and fluff them out to create a pom pom. I wish I had a video of how to do it for you. Perhaps I should add that to the post. Thanks for asking. I get a lot of my post ideas from others like you. Have a fantastic week 🙂 xo
Did you preserve the pinecones in any way to prevent mold? I read somewhere that they need to be baked at 200 degrees for like 1 1/2 hours before doing anything with them.
Hi Anita, I did not. These were very clean and so far I haven’t had any issues with mold. You could soak them in a mild bleach solution of 1 part bleach and 10 parts water if you think they have mold.
Do, these are the cutest gnomes I’ve ever seen. Can’t wait to try to make them.
Thanks, Tami
Thanks, Tammi! They remind me of the Duck Dynasty brothers. LOL, fun stuff. Have a great one. 🙂 xo
Approx what size are the noses.
Hi Peggy.
I believe they’re 1 1/2 inch. I have the supplies listed in this blog under “Supplies”. There’s a link to Amazon that will show you exactly what I used. I hope this helps and have fun creating these fun little gnomes. 🙂