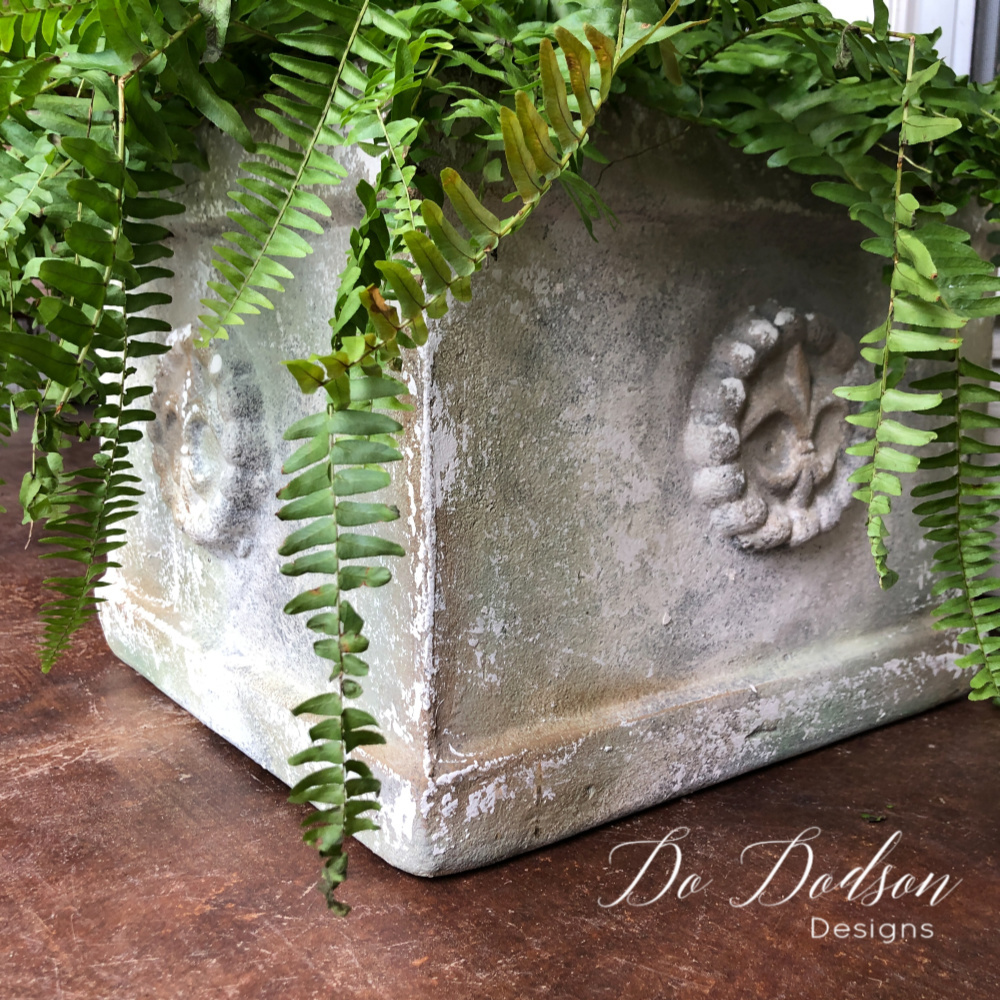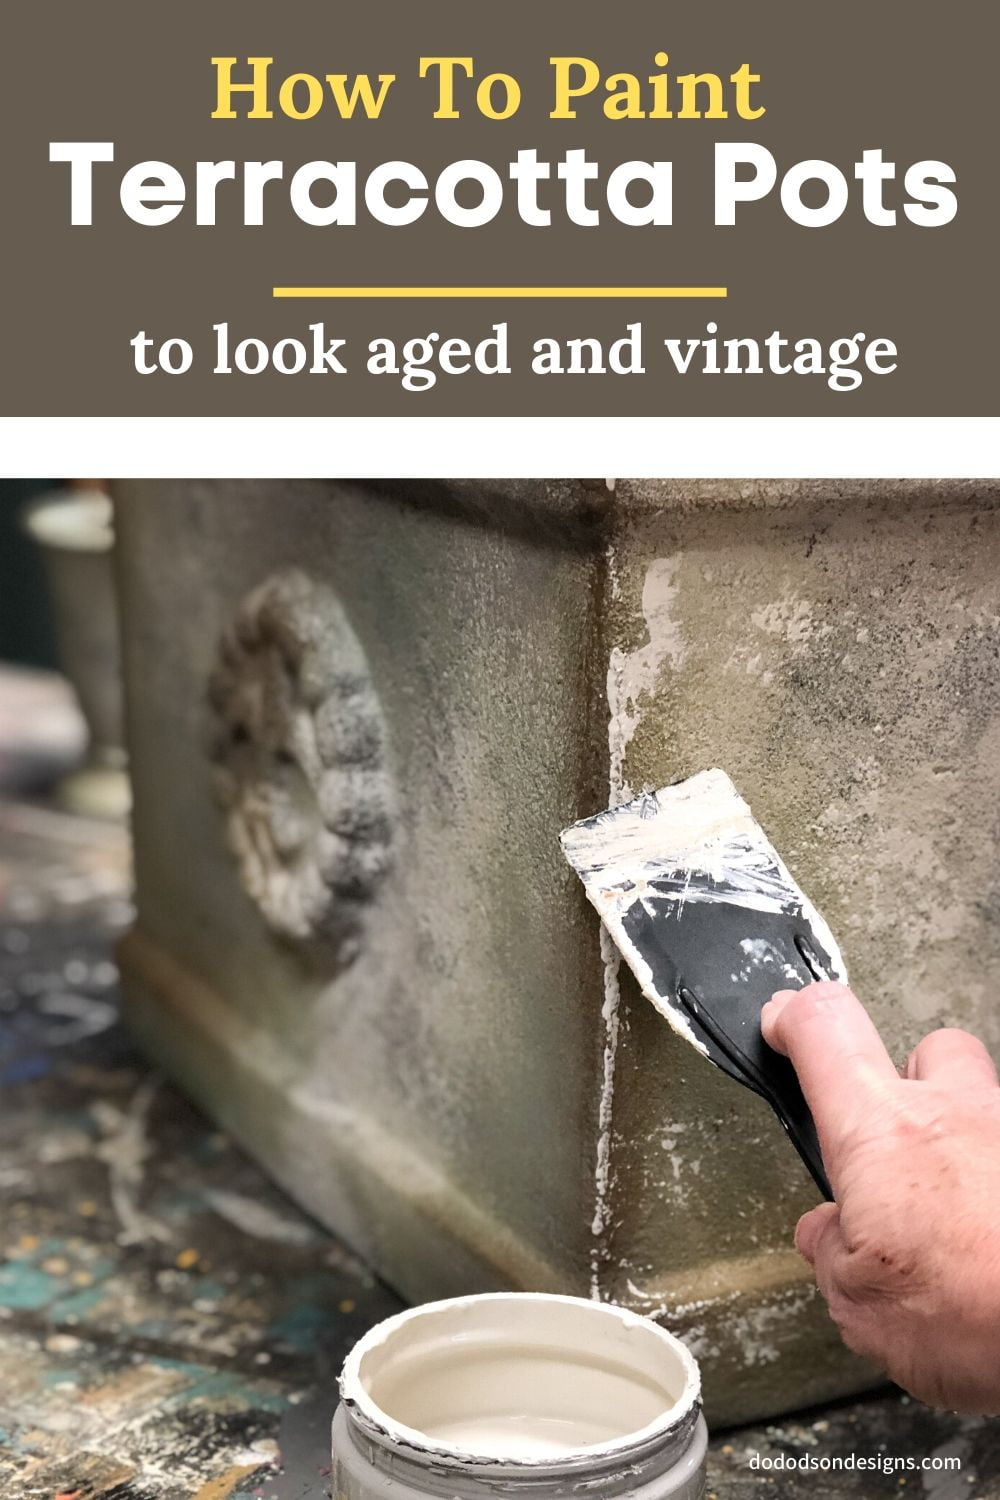
Hello, my creative friends! Today I’ll show you how I took my sad terracotta pots and updated them with paint. Painting terracotta pots are so easy and I don’t know about you, but I feel the need to update things regularly at my home. But before I consider buying new, I always ask myself if it can be painted. Sure enough, clay pots are the perfect surface for chalky-type paints. Say bye-bye to those orange pots forever!
This post contains a few affiliate links to help you find the products I use. You are not charged extra to use any of the links, but any income I make will be used for more fun projects! To see my full disclaimer, click here.
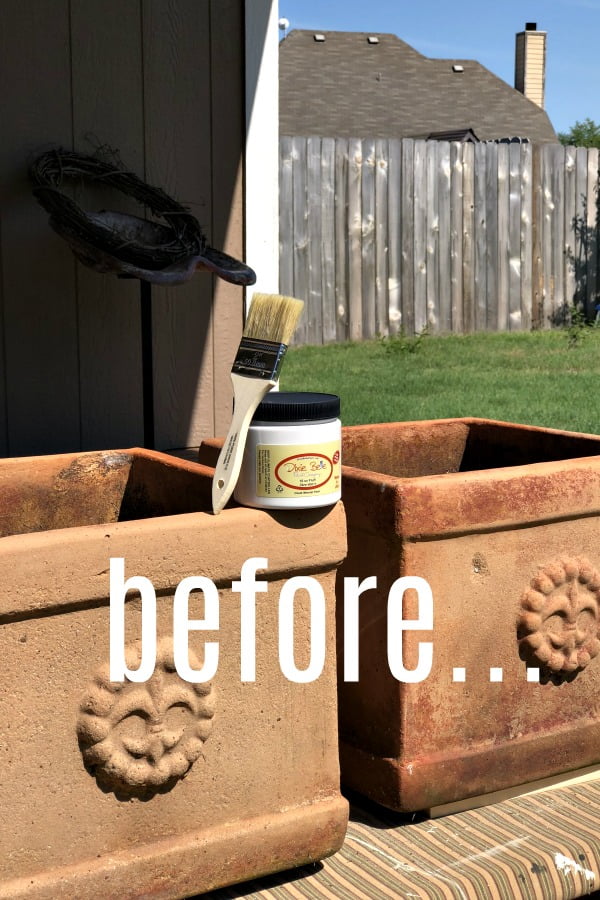
Before Painting Terracotta Pots
Products List for painting Terracotta Pots
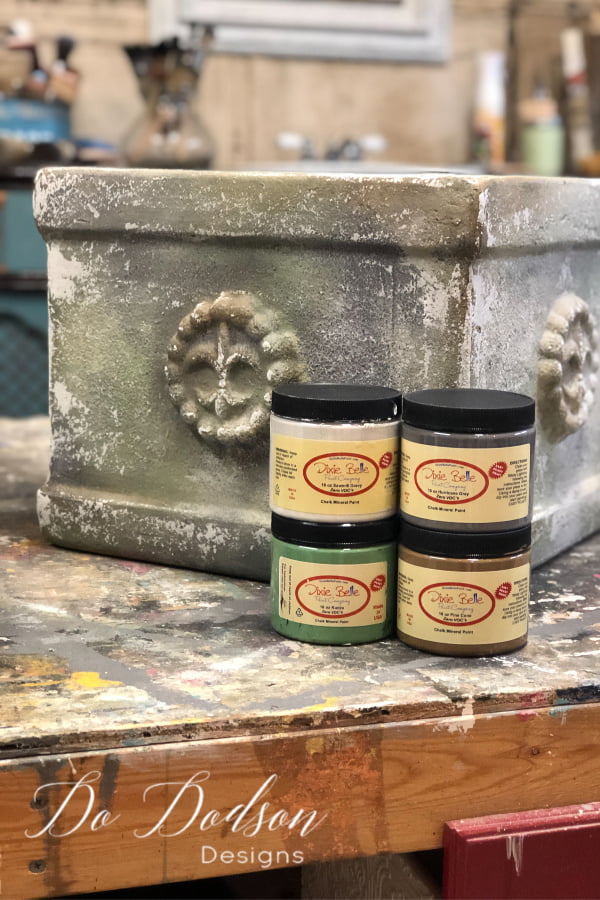
- Dixie Belle Paint (Hurricane Grey) (Sawmill Gravy) (Kudzu) (Pine Cone)
- Dixie Belle Paintbrush (2-inch chip brush)
- Continuous Fine Mist Pray Bottle (water)
Before Painting Terracotta Pots
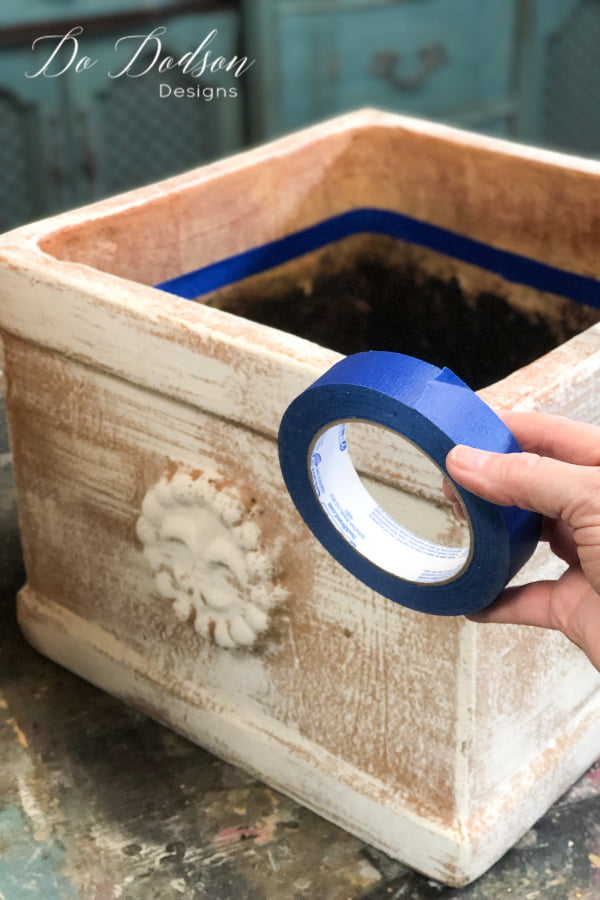
As you can see, I had previously painted these terracotta pots a few years ago because I no longer was in love with ORANGE. The paint was still in great condition which tells me I can safely paint the whole pot without the worry of chipping paint. The clay pots are porous so using chalk paint works well. Before I started my project, the first thing I need to do is clean any dirt away from the outside of the pots. This is easily done by sweeping across the outside of the pots with a broom or cloth. Just knock the dirt off. Don’t bother washing the pots with water unless they are super dirty. They’re going to be outside anyway but you could use them inside as well. If you do, be sure and allow them to dry thoroughly before you apply the chalk paint.
*Taping off inside the terracotta pots before painting is optional. Tape off just below where the dirt line will be.
Applying The Chalk Paint
Next, apply the chalky-based paint to your terracotta pots. One good coat will do. I used dark grey for the base color. Use an inexpensive chip brush for this project if you want to save your good paintbrushes. I call these my lazy throwaway brushes. Sometimes I wash them but it’s rare. I’m a lazy painter, what can I say? But if you feel froggy, wash them and reuse them. They will hold up!
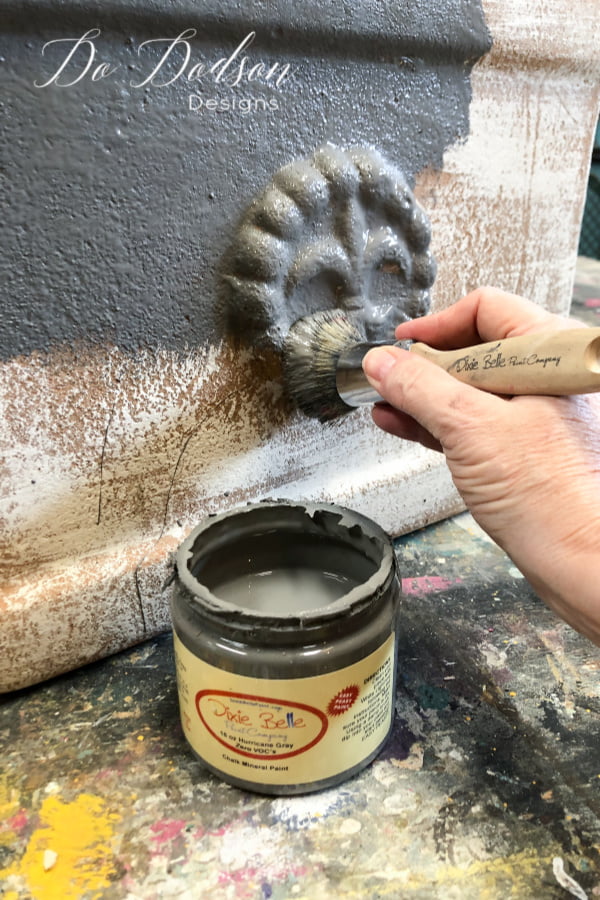
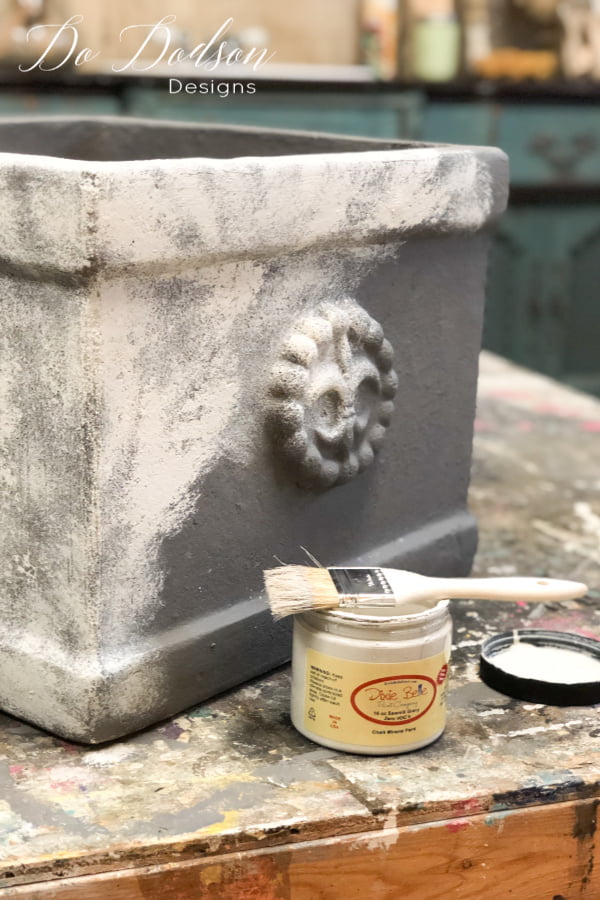
After the base coat of chalk paint is dried I added a second color to create a concrete look on my terracotta pots. I used a technique called stippling with my chip brush. Apply a small amount on the tip of the bristles of the brush and dab it on with an up and down motion instead of the back and forth. You don’t want full coverage on this step.
Adding a Mossy Weathered Look
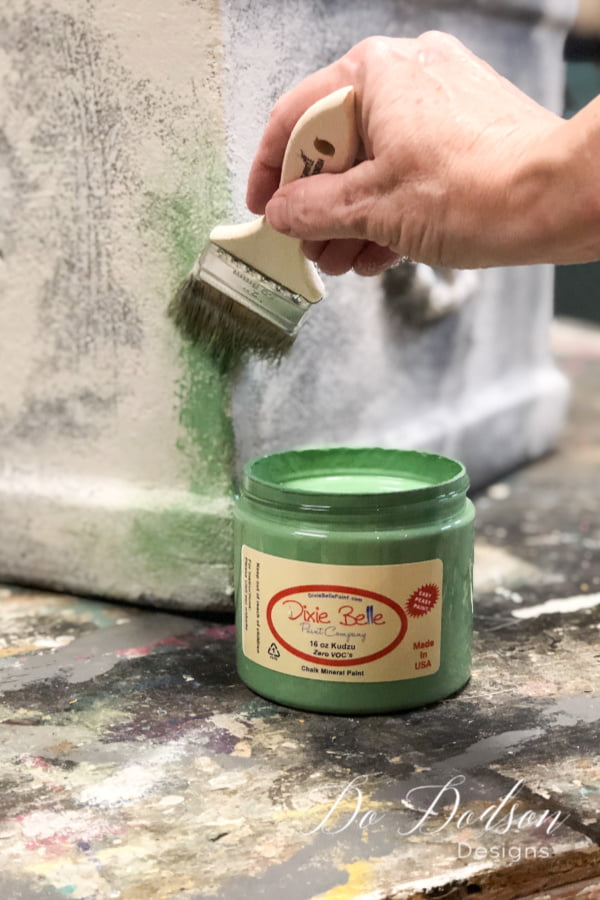
Now that the terracotta pots look more like concrete, I decided to add a weathered mossy look. Kinda like they have been wet and have moss-grown. I LOVE this look. Use the same technique as before, just stipple the green in the areas you want to look like the growth of moss… of fungus. A little green goes a LONG way. Take it easy on this color.
Blending Colors On The Terracotta Pots
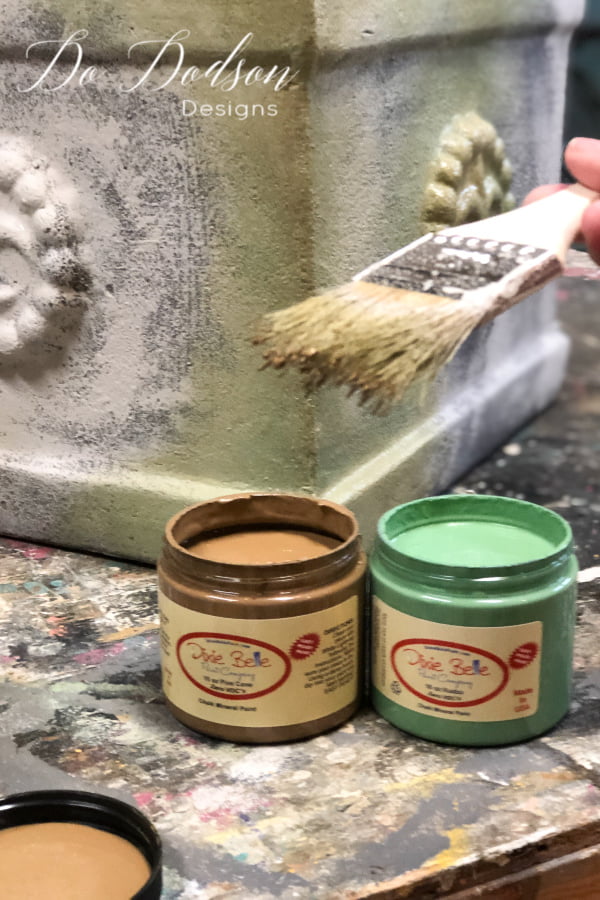
Yep, you know it! I just had to blend some colors to get the look I wanted. I was looking for a dirty moss in my mind. Kudzu and Pine Cone were the perfect colors for this look.
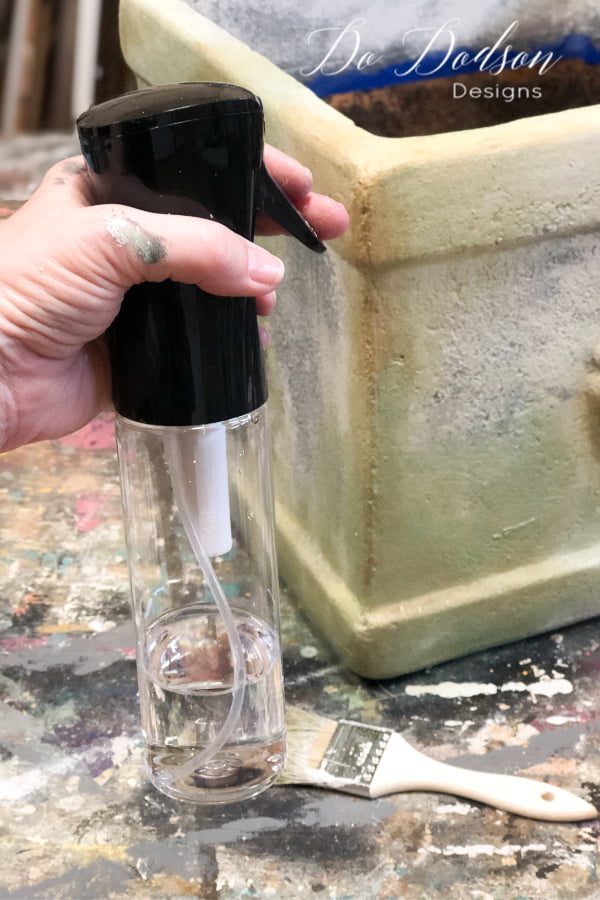
I used my continuous fine mist spray bottle to help blend the colors together.
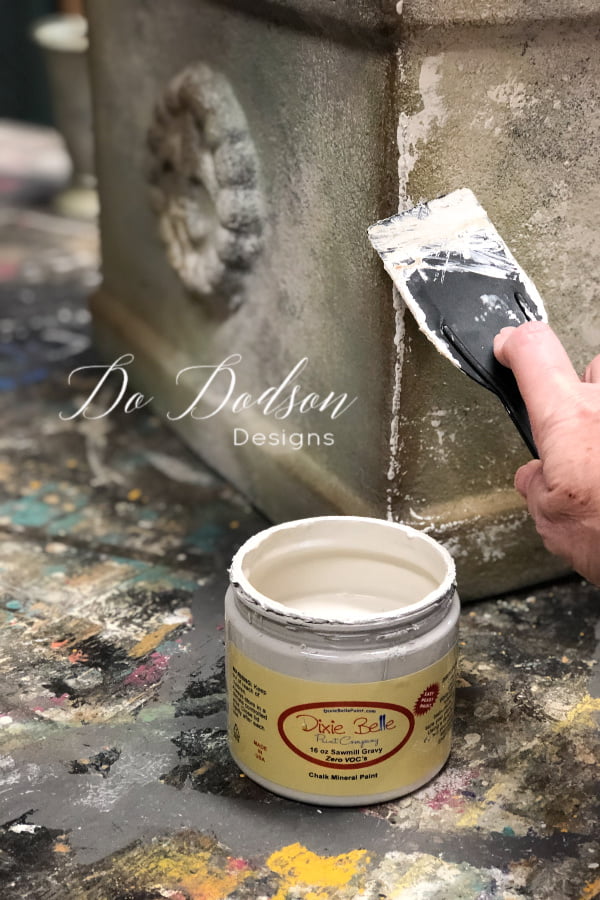
Lastly, I used a plastic spatula to drag the lighter color (Sawmill Gravy) over the rough terracotta pot’s surface. This creates a worn look but is totally optional if you like the clean look. I like both!
Paint Changes EVERYTHING!
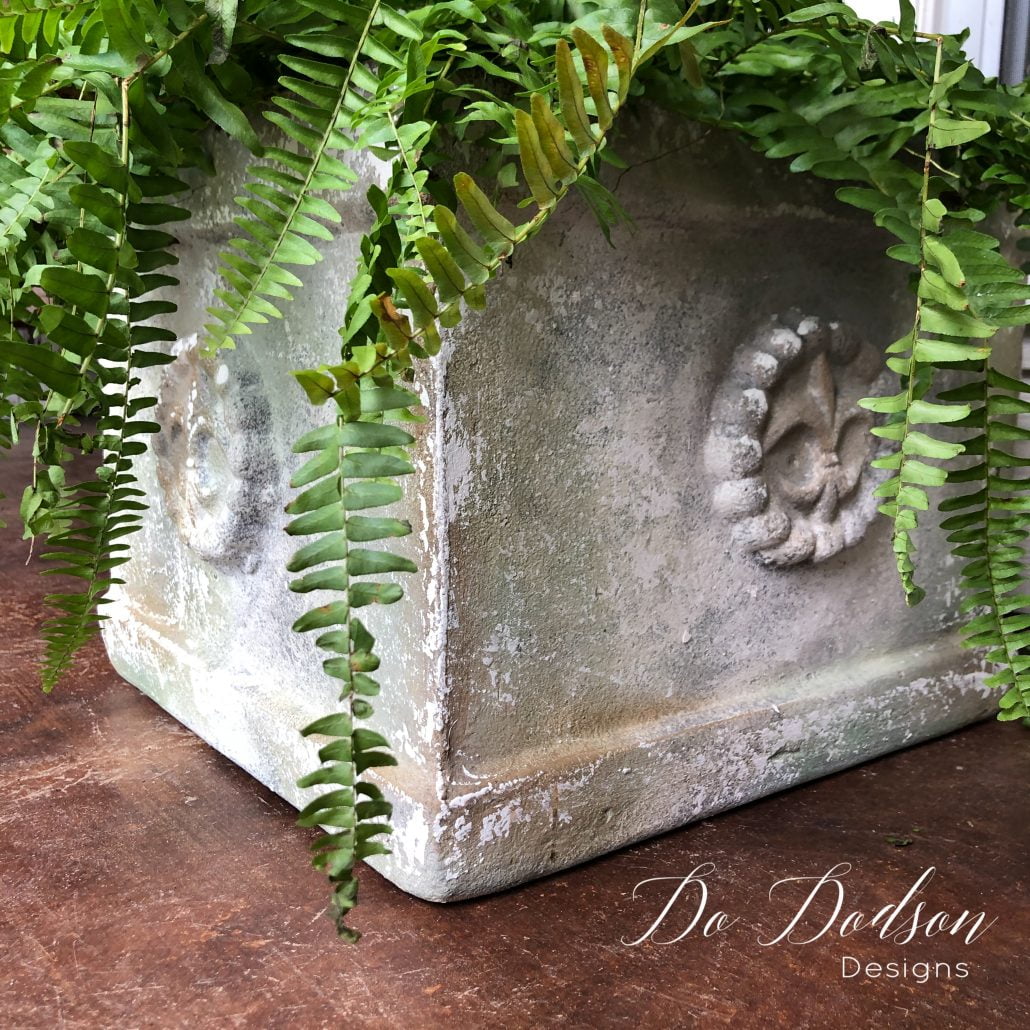
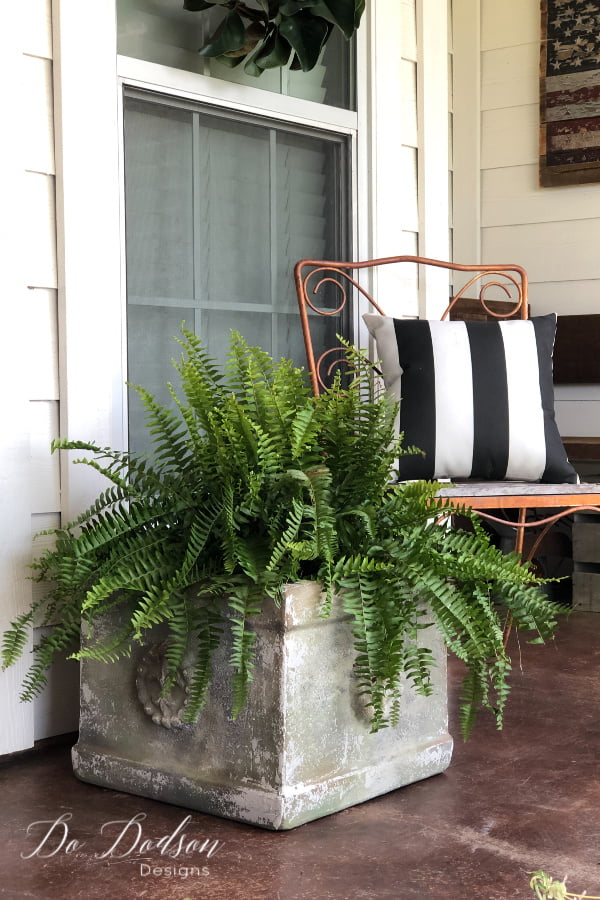
Painting these terracotta pots made a huge difference. It adds just the right feel to my front porch. I totally recommend that you consider this before you buy new containers for your plants. It’s totally DO-able. The ORANGE is gone forever… until I decide to repaint them. 🙂
What do you think of this makeover? Share your thoughts in the comment section below. Oh, and don’t forget to pin this to your DIY Home Decor board on Pinterest!
Until the next project… xo, Do

