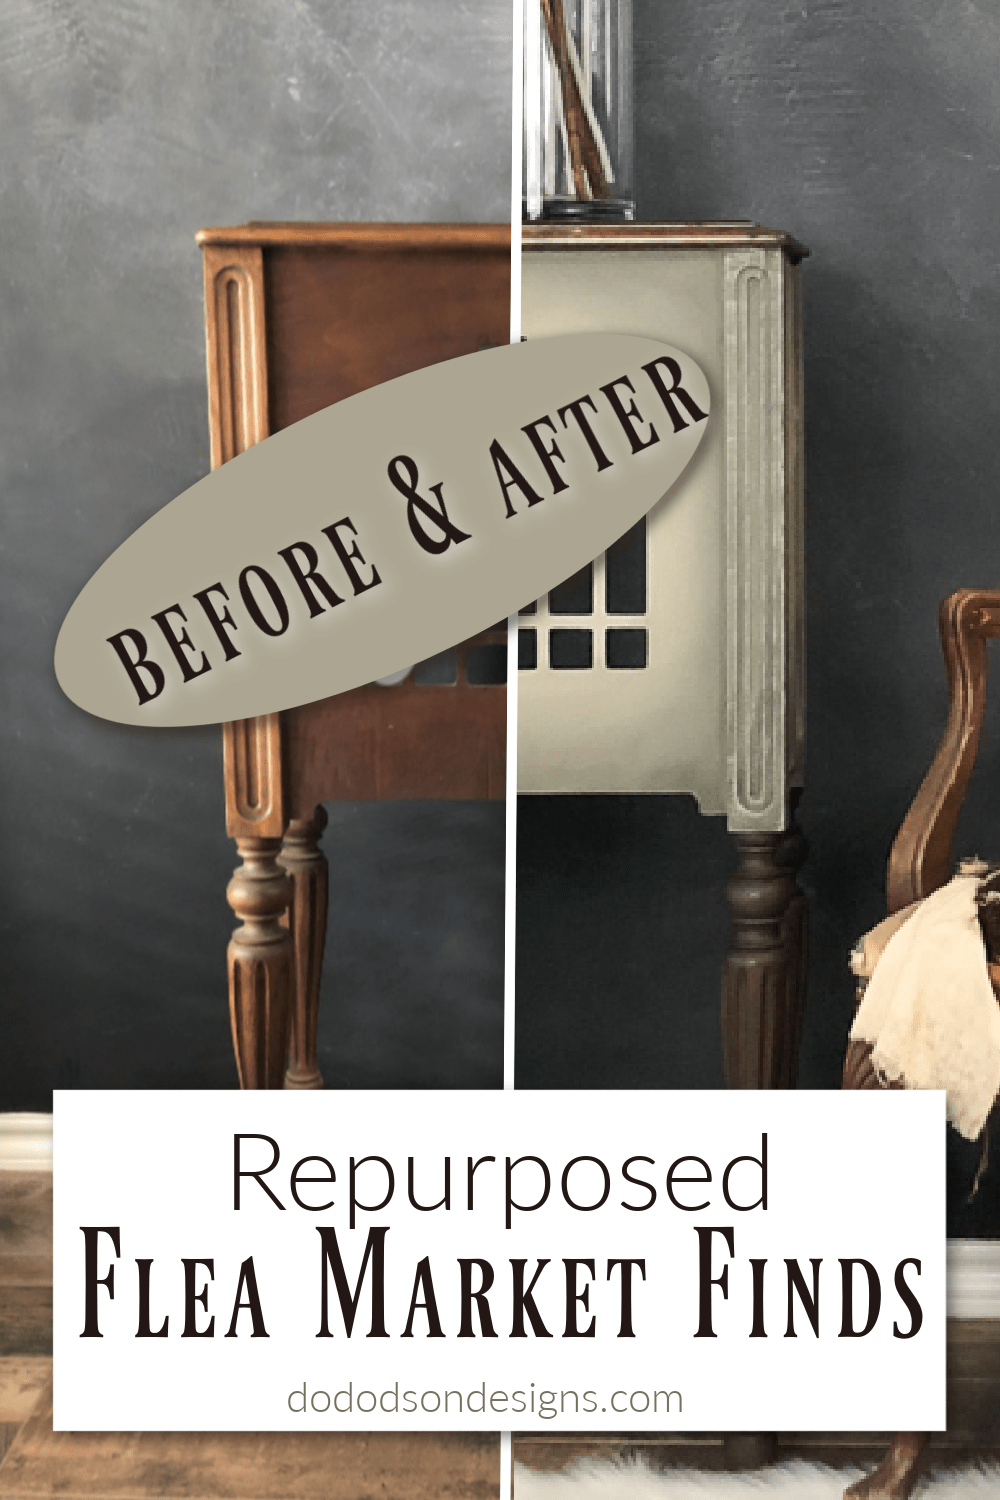
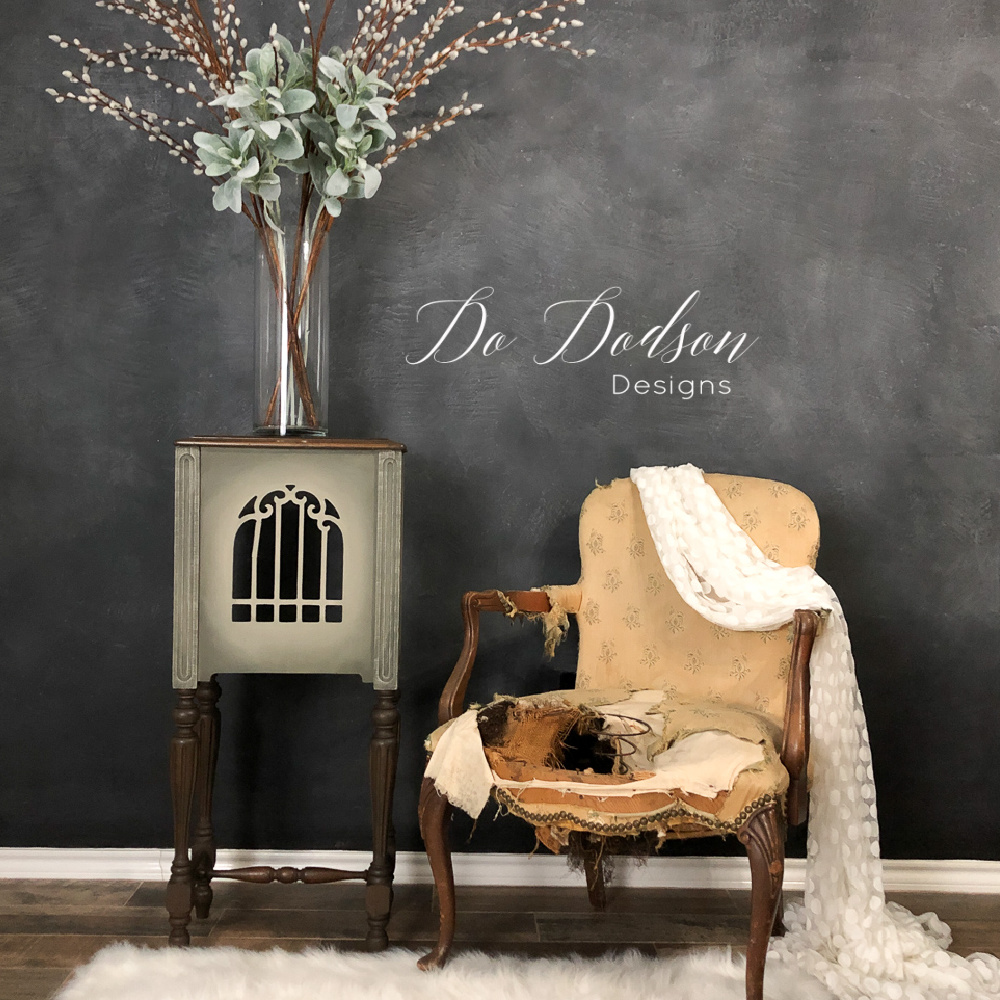
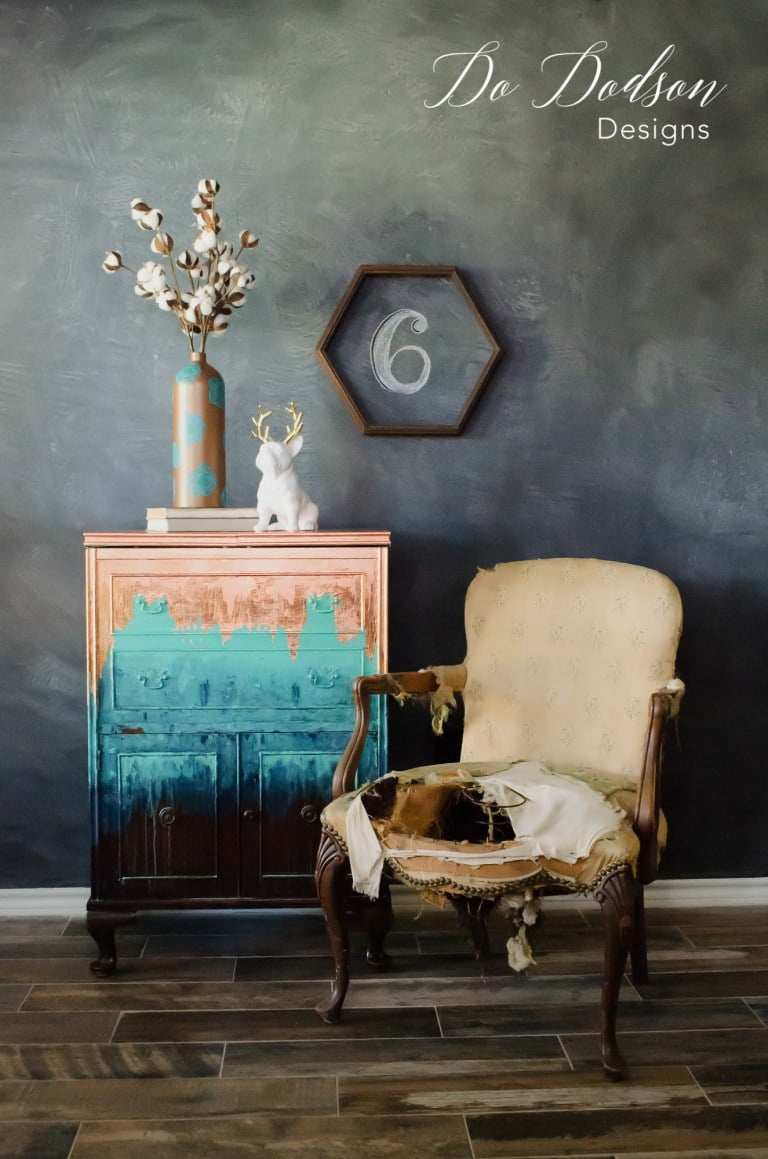
Have you ever come across a flea market find, and you just knew someday it would have a purpose? That’s what happened here. Today I want to share a unique side table idea with you that anyone can do—a great way to give those antique radio speaker cabinets an updated modern style for your home.
This post contains a few affiliate links to help you find the products I use. You are not charged extra to use any of the links, but any income I make will be used for more fun projects! To see my full disclaimer, click here.
Flea Market Side Table Idea
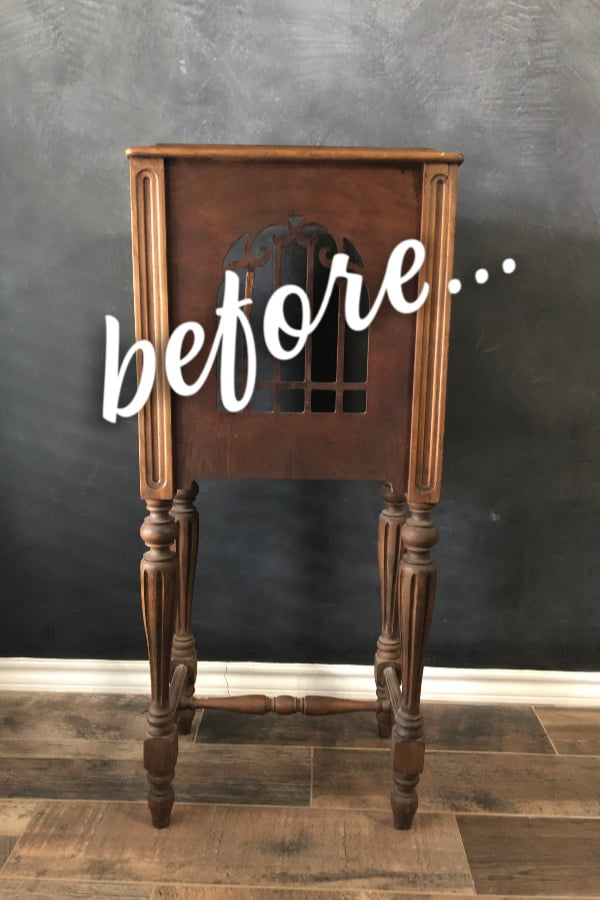
I scored HUGE when I picked up this antique radio speaker cabinet for $20 at our local flea market. Not sure what I was going to do with it, I shoved it in the corner of my guest room (my kids lovingly refer to it as… AKA the dead room ), where it lived in peace and harmony with all the other finds that are waiting for a makeover. This room makes me happy. It’s full of memories.
Can you even imagine the memories that were made around this antique speaker cabinet? Just the thought of where it’s been and all those who enjoyed it makes me smile. Giving it a new purpose is a great feeling. Not many of these are left around.
You can find the products I trust by clicking the links below.
- Radio Speaker Cabinet
- White Lightning (Cleaner)
- 220 Grit Sandpaper
- No Pain Gel Stain (Dark Walnut)
- BOSS Clear (blocks odors, stains, and stops bleeding thru)
- Low Lint Cheese Cloth
- Dried Sage (Dixie Belle Chalk Mineral Paint)
- Collard Greens (Dixie Belle Chalk Mineral Paint)
- OS Oval Short Synthetic Paintbrush (for blending paint colors)
Two-Toned Stain And Paint
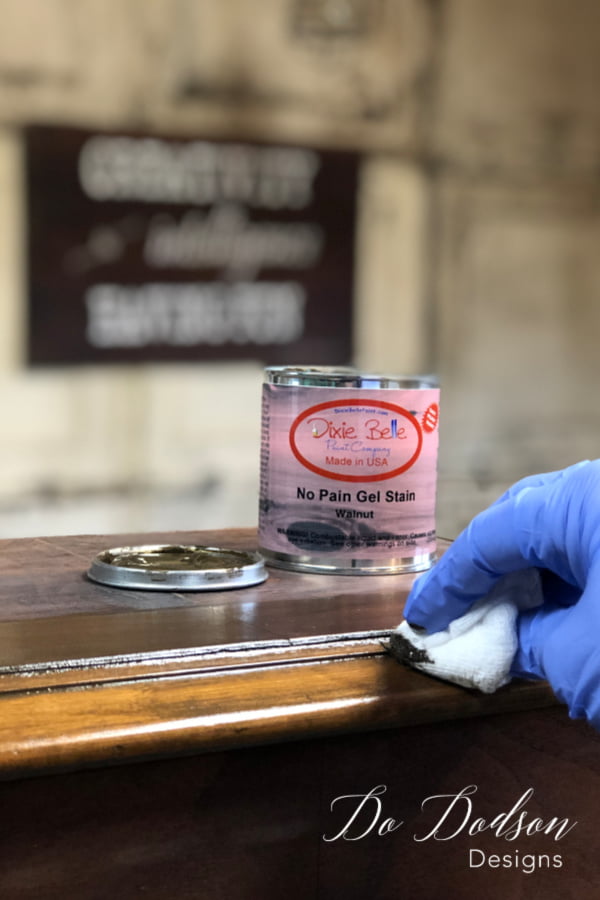
I started my side table idea by cleaning the whole piece thoroughly with Dixie Belle White Lighting to remove all the dirt and grime that could cause my finish to fail. Afterward, I lightly sanded the top and the legs of the cabinet to smooth out any rough areas and wiped it clean of any leftover dust. Apply one coat of the No Pain Gel Stain to assure good coverage.
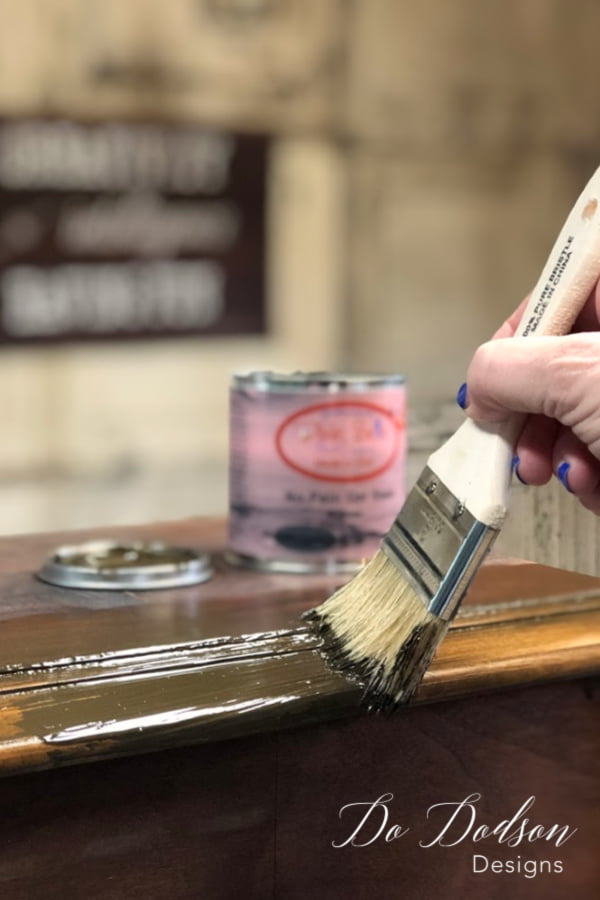
Wipe back the additional gel stain with a low-lint cheesecloth or an old t-shirt. That works great too! That’s it! Easy peasy. No need to seal the finish because it’s an all-in-one stain.
Painting The Side Table
Time to paint! My favorite part! But before I paint, I use a stain blocker called BOSS because there’s nothing worse than painting and then having those nasty stains rear their ugly head the next day.
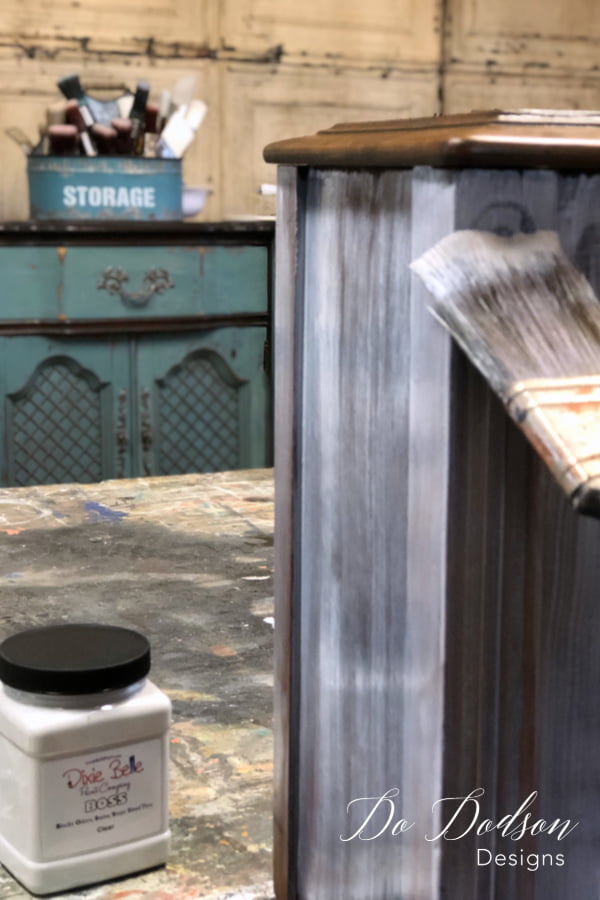
Blending Paint For A Beautiful Look
Collard Greens and Dried Sage were the two colors used to obtain this finish. Blending paint is easier than you think. I’d love to teach you all my tips and tricks in The Art Of Painting Furniture. CLICK HERE to learn more!
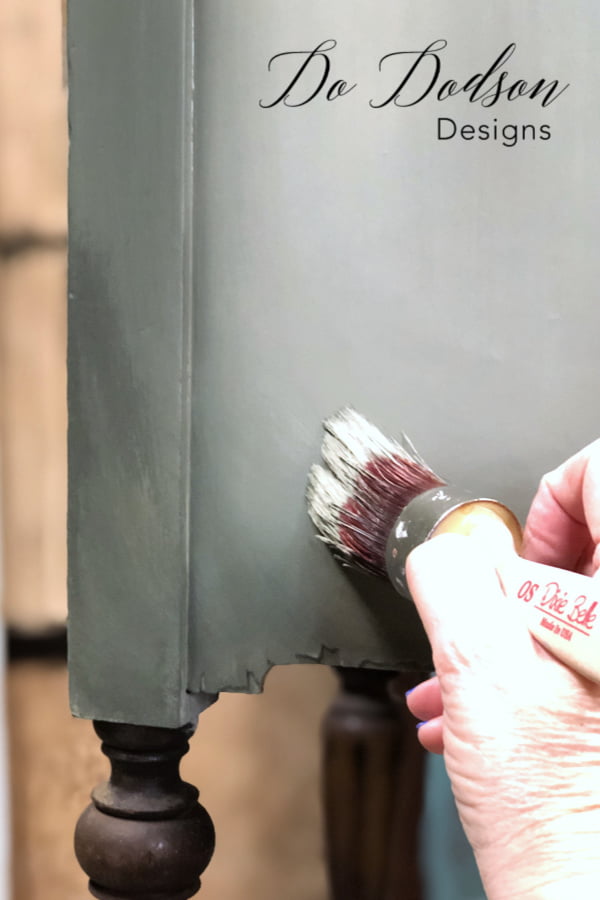
Unique Side Table Idea
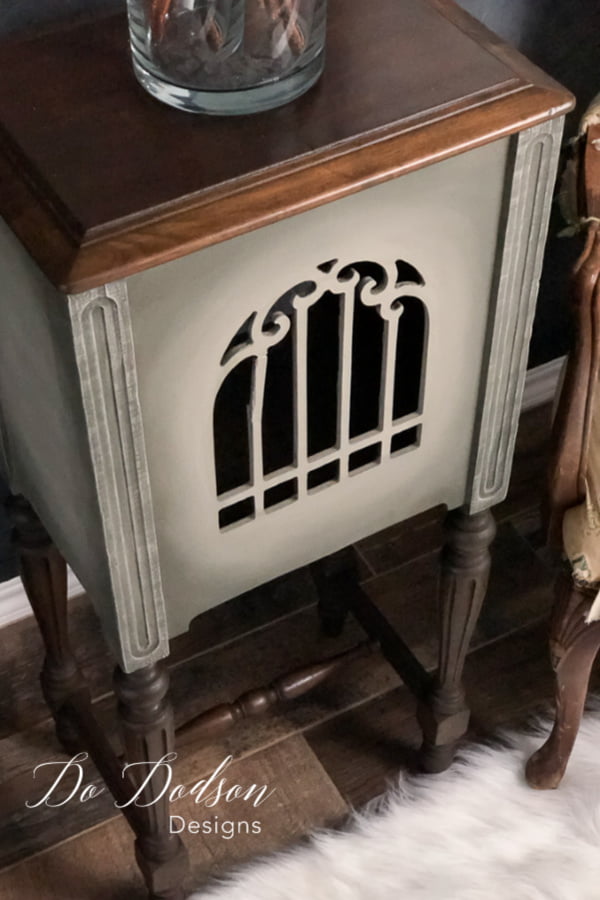
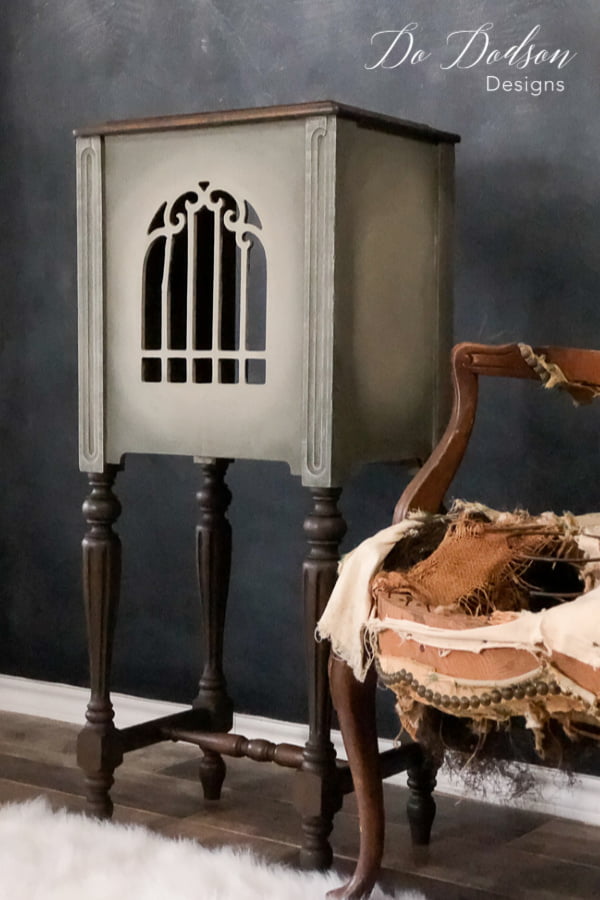
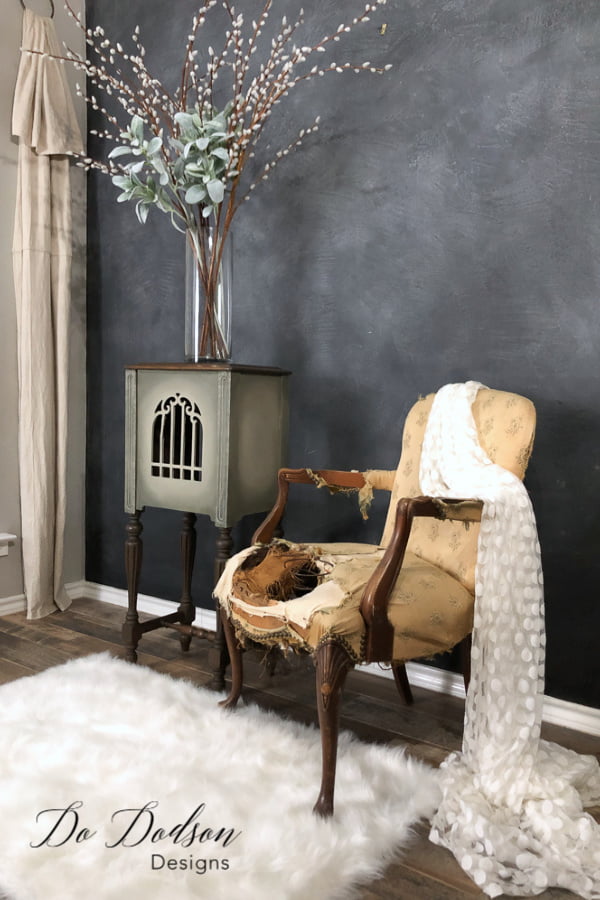
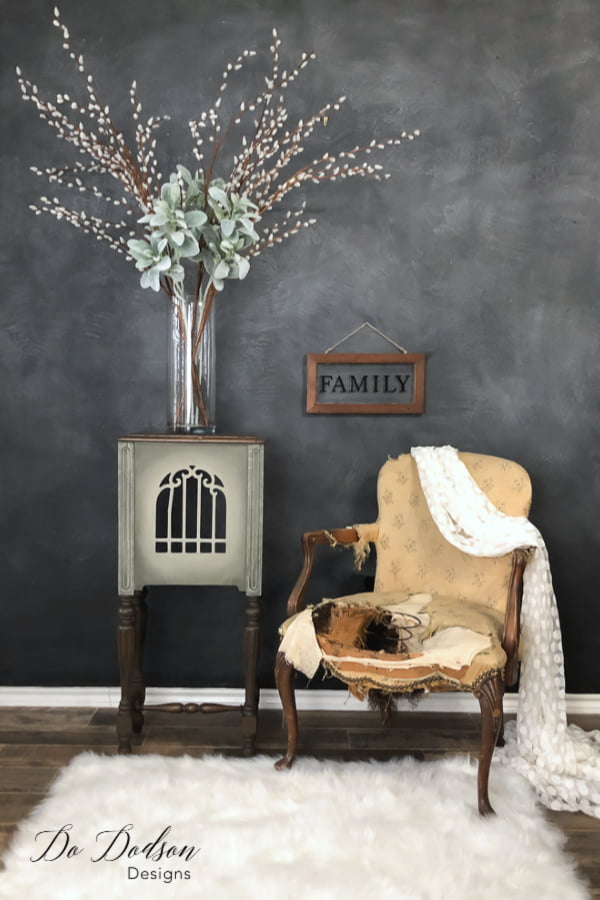
I’m super happy with my side table idea, and I’ll be on the lookout for another antique speaker cabinet to make a pair. How cute would these be nightstands? Do you love the blended paint look on furniture? CLICK HERE to learn more!
Until the next project… xo, Do



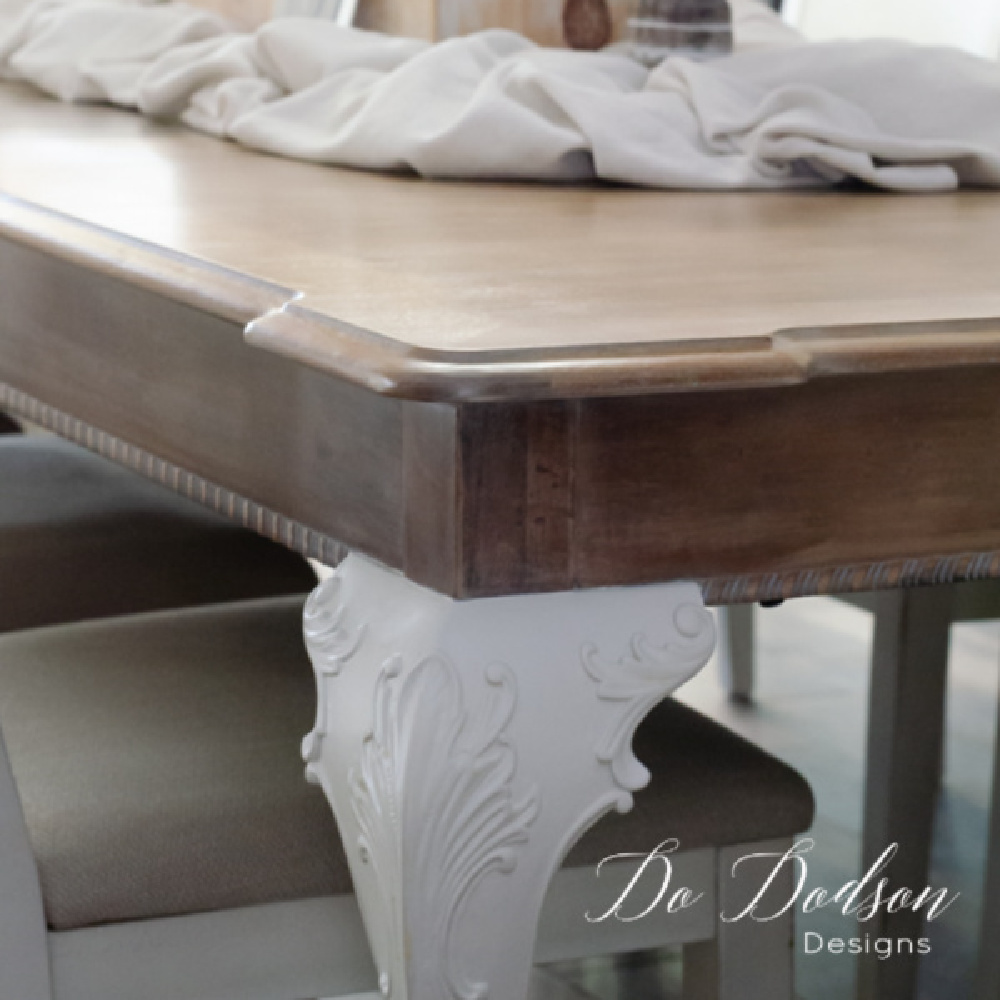
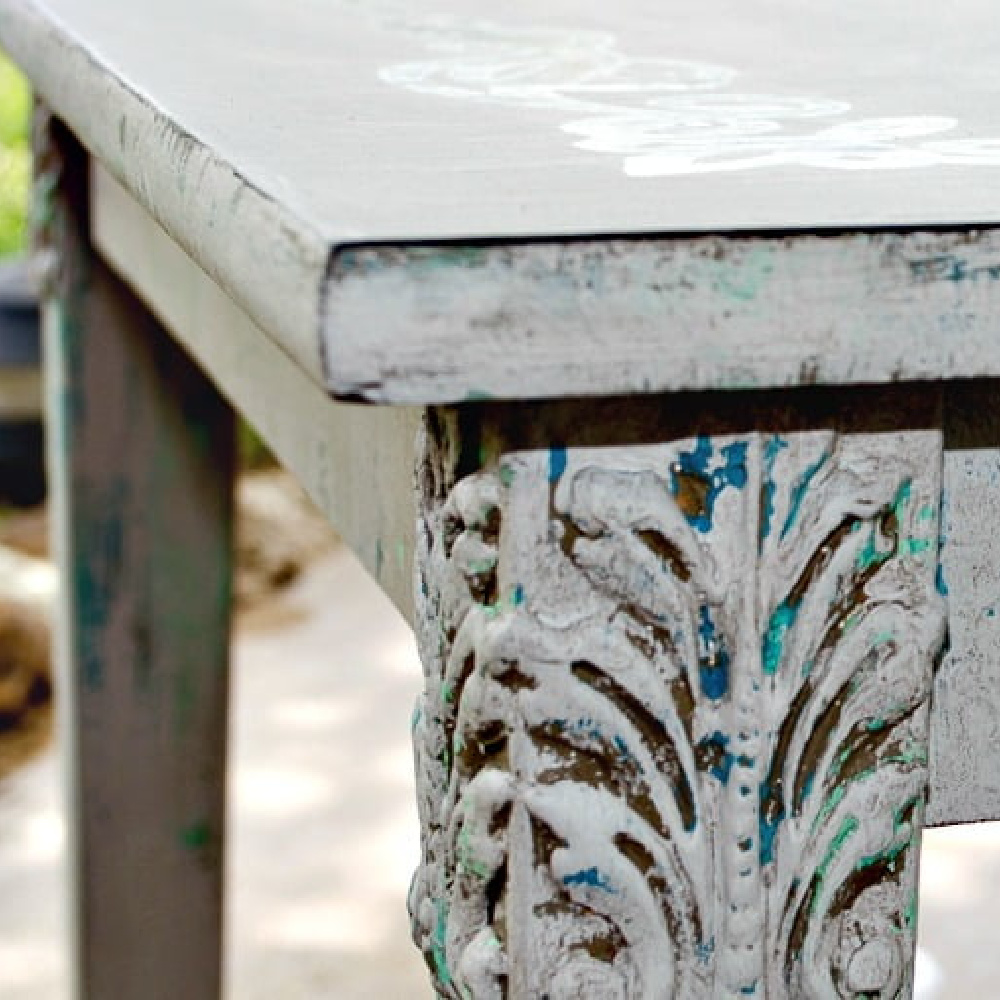
This is beautiful Do… look at those legs! Love the Collard Greens and Dried Sage together. Have an amazing day my friend. ps – would have LOVED to be there and seen you in that sumo wrestler garb LOL 😉
Thank Denise!
Yes, I love these two colors together. #goals next year. I challenge you to a wrestling match. ?
I love these 2 colors together. I am a member to your classes so i am slowly coming along. IT is so hard to decide what colors to use, what technique to attempt. It makes me overwhelmed to where i just stare at my piece.
Hi Cheryl! I totally get it. It’s that deer in the headlight look. Keep at it. It gets easier.
xo, Do
Nice job on an old radio cabinet. Thanks so much for sharing. 🙂
You are welcome! xo, Do
Love your ideas and I love your look. I’m going to embrace my natural “ highlights”. Thank you for being you ????
Thank you, Elia! I like your word, “highlights”. It rolls off the tongue so much easier. 🙂 Thank you for the kindness. xo, Do