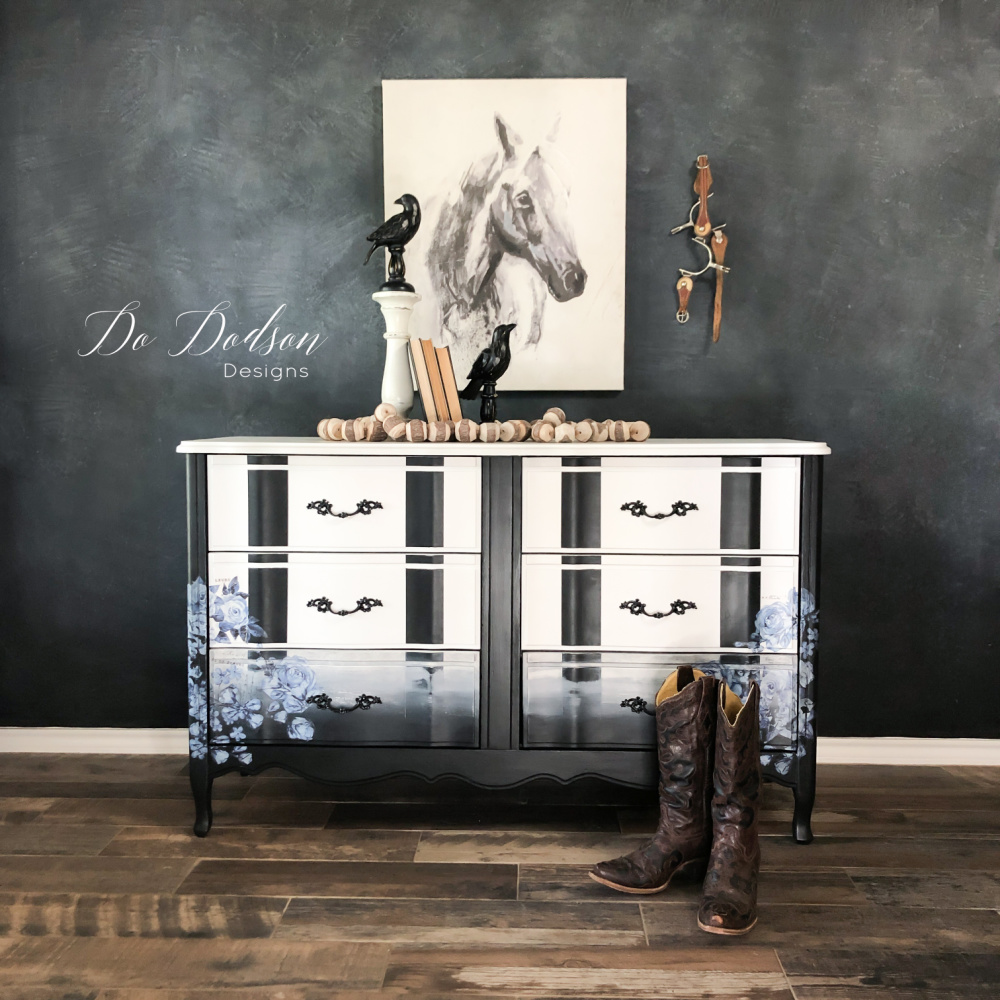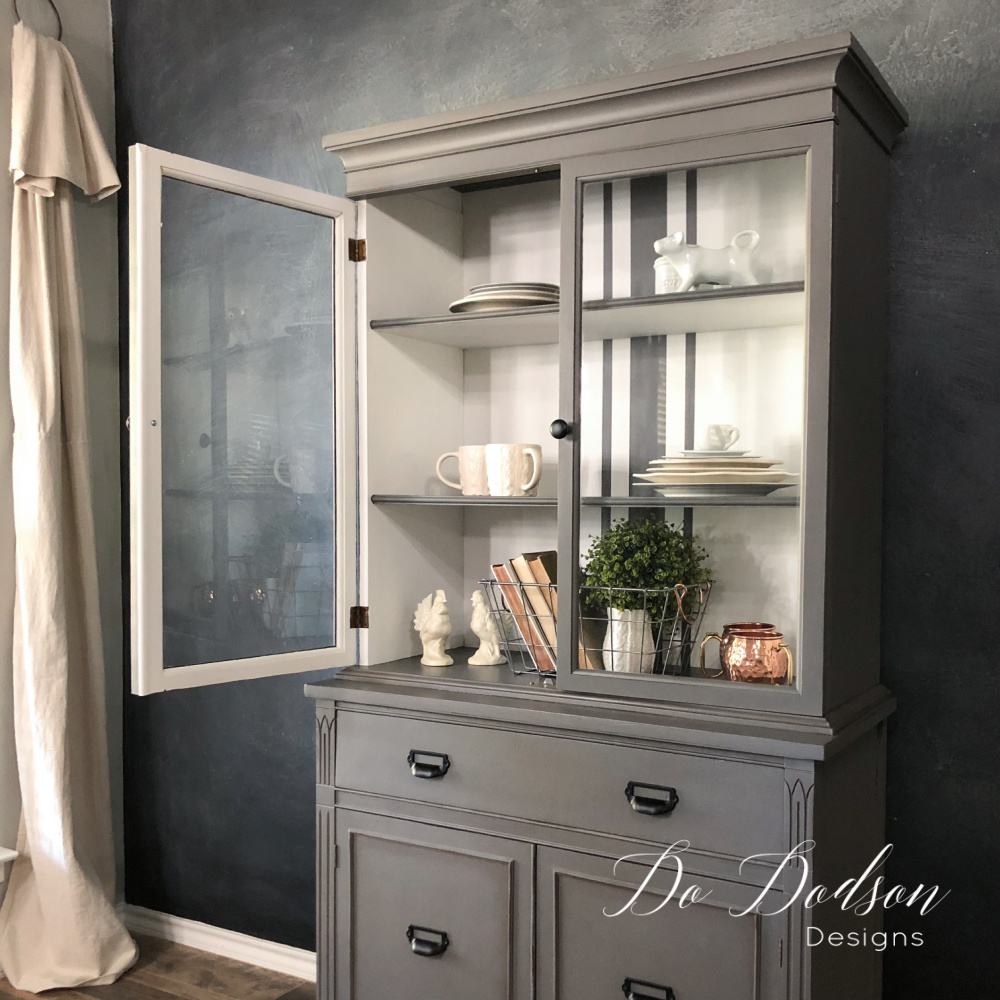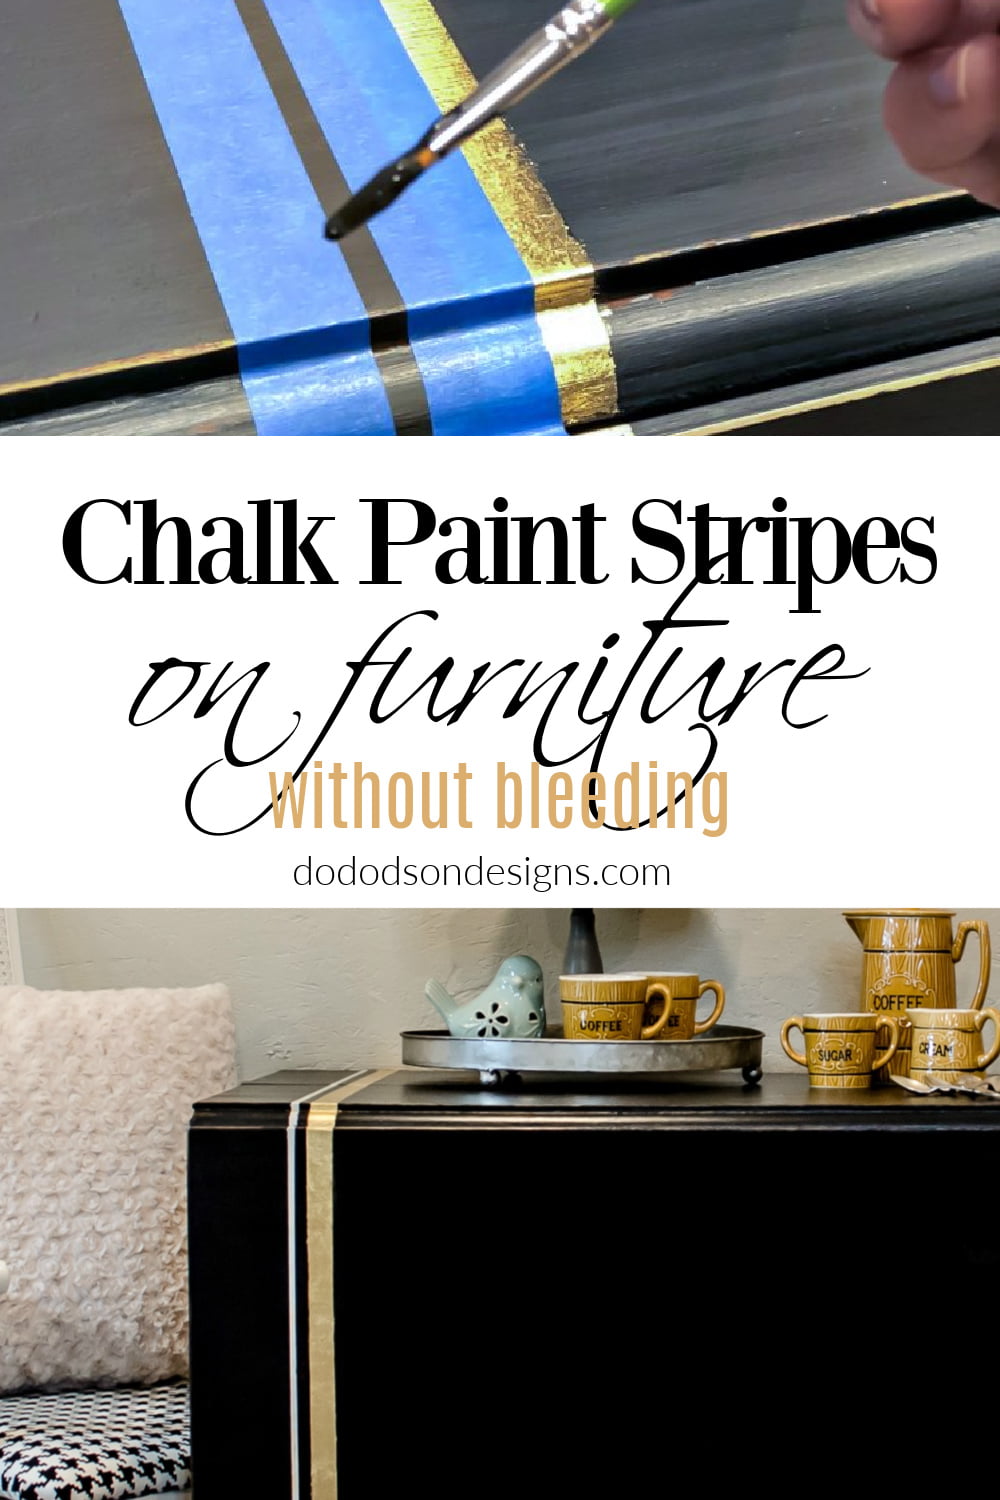
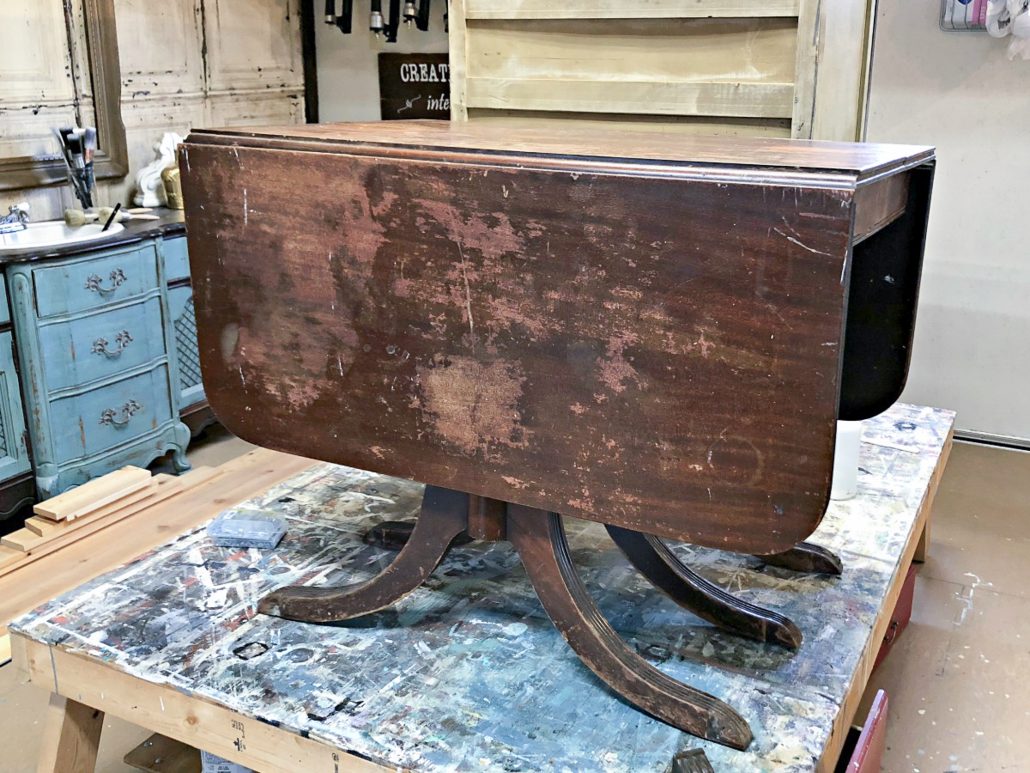
Anytime I chalk paint stripes on furniture or walls, for that matter… I always use this foolproof method. This Duncan Phyfe table was in rough condition before it arrived at Do Dodson Designs. Actually even rougher than this picture. With 2 broken legs, I had some major repair work to do. With a little TLC, she was ready to go. That’s why she was FREE! I like free. It’s my love language.
This post contains a few affiliate links to help you find the products I use. You are not charged extra to use any of the links, but any income I make will be used for more fun projects! To see my full disclaimer, click here.
How To Chalk Paint Stripes On Furniture Without Bleeding – BEFORE
SUPPLY LIST:
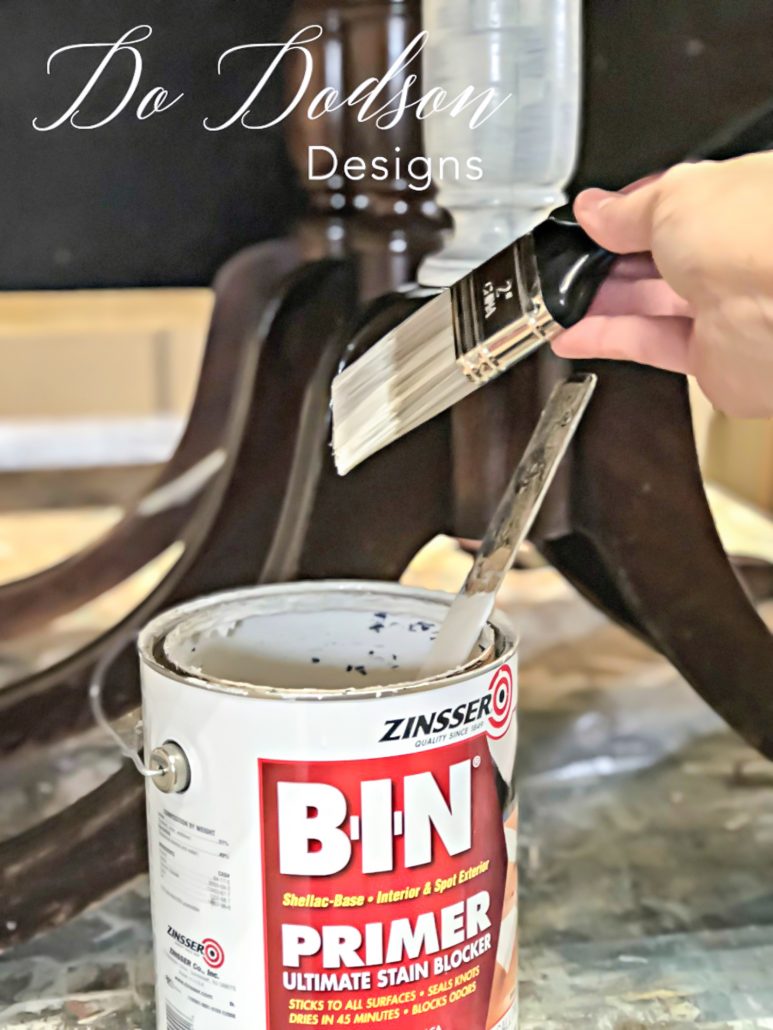
- BIN Primer (stain blocker)
- Paint
- Paintbrush
- 1 Inch Painters Tape
- Gold Leaf Kit
Always Primer Before Painting
Yes, it’s my recommendation to use a stain-blocking primer before you paint. There are very few exceptions to this rule, so I never miss this step to be on the safe side. I’ve learned the hard way from my mistakes.
I painted the whole table with beautiful black paint. It took only 2 coats to cover this table—that great coverage for a chalky type of paint. My favorite brush to use for painting is the Cling On Brushes. It makes painting furniture so much easier.
The table was painted first and allowed to dry for 24 hours. This step prevents the base coat paint from peeling when removing the tape used for the stripes. Allowing the paint to cure for a longer period of time is what I recommended before painting stipes on your furniture.
Taping Off For The Stripes
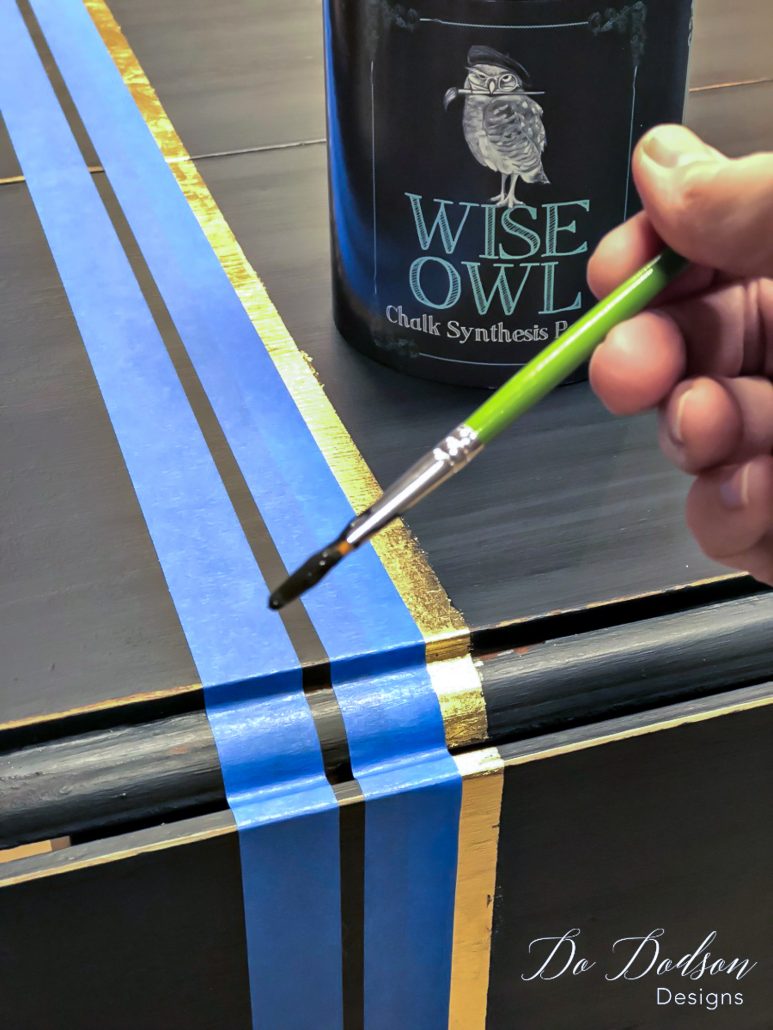
I created the lines using 1-inch painter’s tape and then secured the edges by running my finger along the tape to make sure it had good contact with the surface.
Create Clean Stripes
Now for the secret to clean lines. Before I painted the stripes with a different color, I used the same paint color as the table (black) to create a barrier to seal the tape line and prevent bleeding under the painter’s tape. After painting, leave the tape in place and allow it to dry.
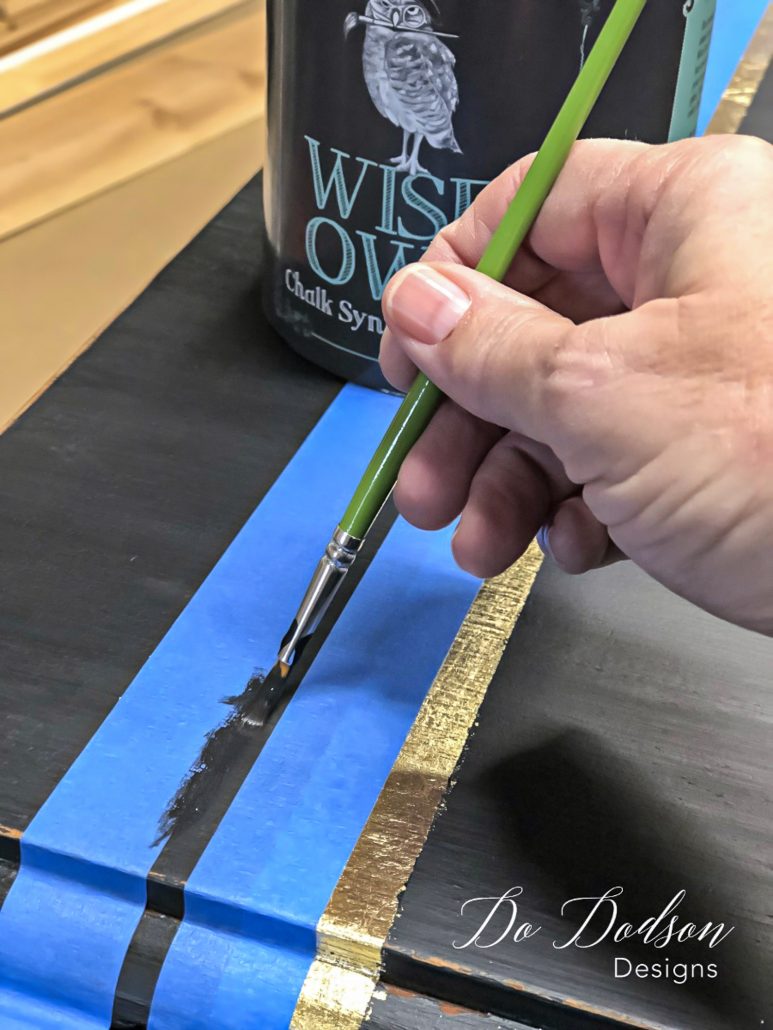
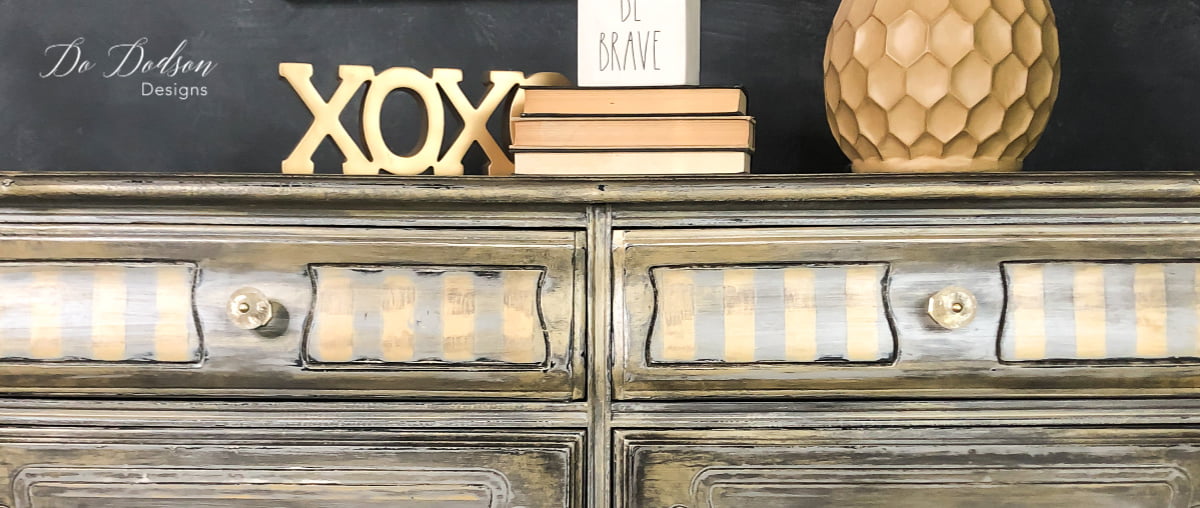
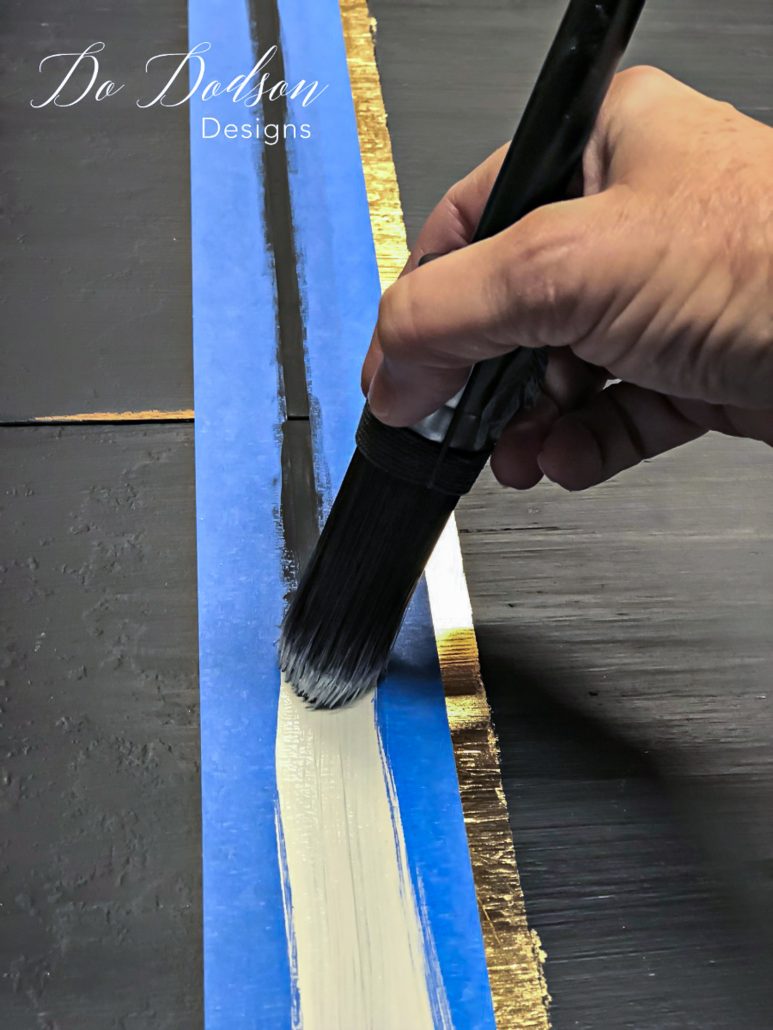
After the black paint had dried, I painted over the black with the color I chose for my stripes. Then immediately after painting, I carefully removed the tape to reveal my beautiful paint stripes. I chose to seal the tabletop with a protective topcoat for durability, and since I also created gold leaf stripes, I used Modern Masters topcoat. It seals and protects the gold leaf from oxidizing.
* The gold stripe was created with Gold Leafing using the same method, except I used gold leaf. 🙂
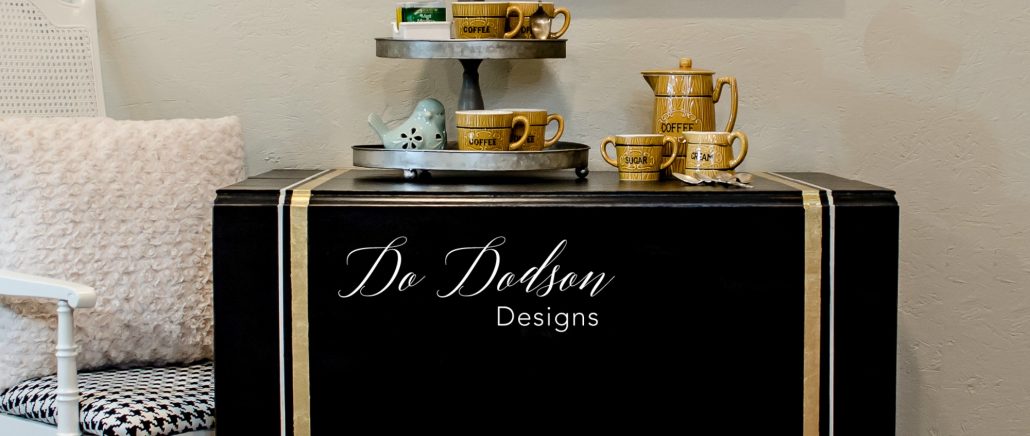
And that’s how to paint stripes on your furniture like a pro and save another one from the landfill. I hope you enjoyed this makeover. I sure did. What a huge difference a little paint will make.
Until the next project… xo, Do


