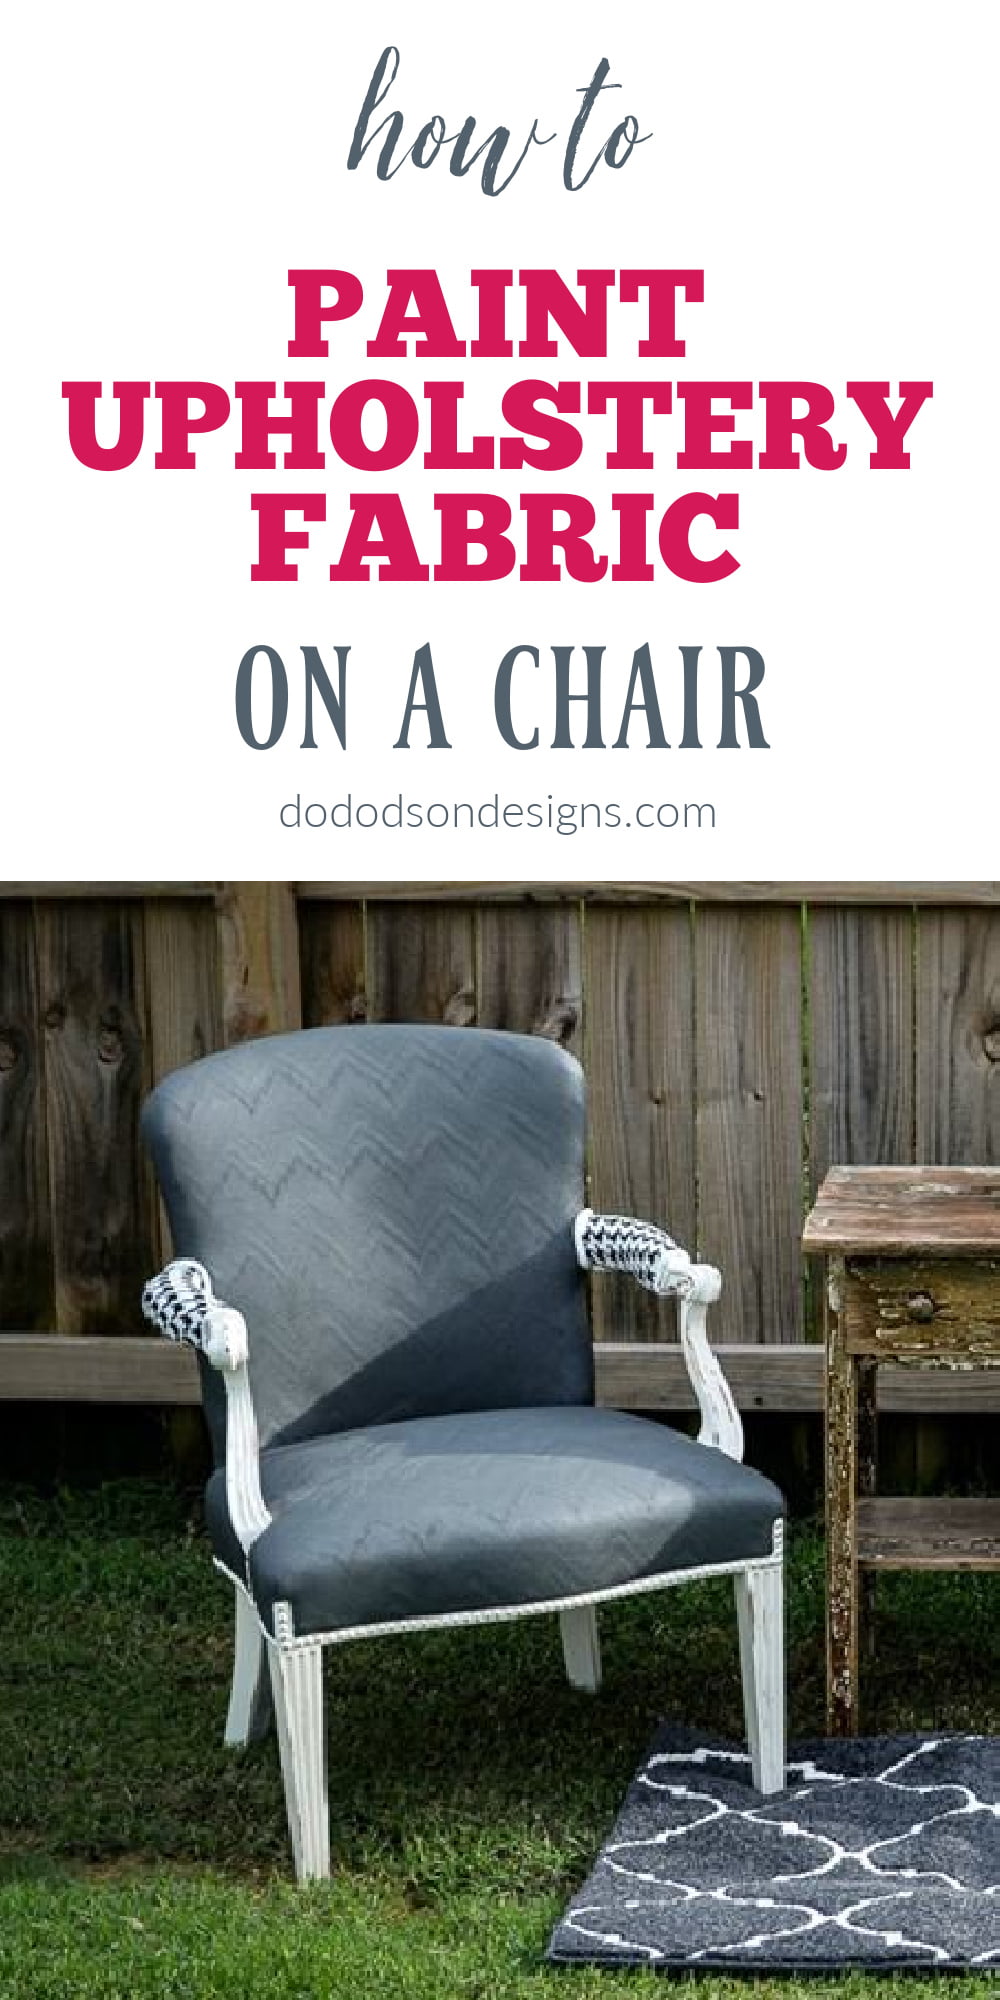
It’s been a while since I’ve painted fabric, but I’m always on the lookout for inexpensive, clean chairs with good fabric. I found this one at the Habitat for Humanity Restore. My Mom and I had stopped to shop for old furniture to paint when she spotted this one. “It looks like a queen’s chair,” Mom said. Off across the store, she went to claim the chair. I knew she had found something that caught her eye. Before I knew it, she was sitting in it. She said, “YOU can paint this.” I had to agree, I did know how to paint fabric, but it wasn’t really wasn’t my style for painting. After a quick inspection, it met all my requirements, and she had her heart set on it. We must NOT disappoint Mom. So here goes!
This post contains a few affiliate links to help you find the products I use. You are not charged extra to use any of the links, but any income I make will be used for more fun projects! To see my full disclaimer, click here!
Choosing The Right Chair To Paint Fabric
When choosing a fabric chair for painting, there’s a couple of things you need to look for.
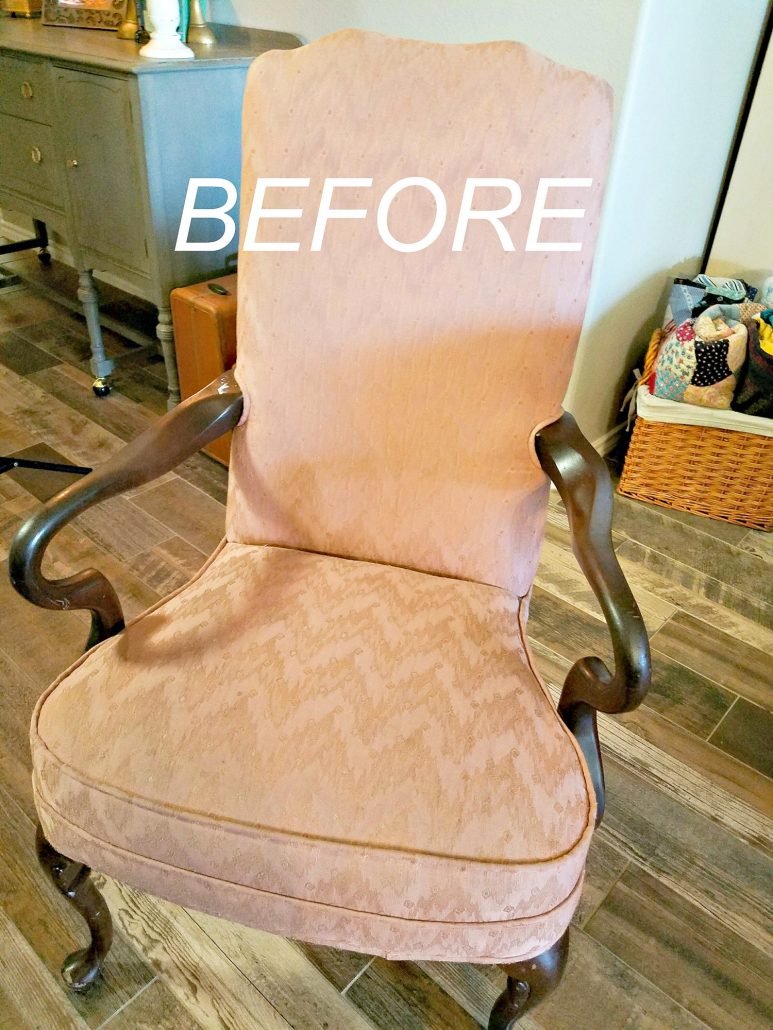
- The fabric needs to clean and intact. No rips, tears, or thin-worn areas. If you’re looking at an armchair with fabric, inspect the arms thoroughly. These are the areas that get the dirtiest and wear first. Oils on the fabric will repel paint—even oils from skin contact.
- Do the smell test. Remember, the chairs have open bottoms, the smoke will permeate the whole chair. Underneath the chair is not paintable.
- Make sure you do all repairs first if the upholstery needs repairing, tucking, or securing.
- And lastly, sit in it! The chair needs to be comfortable, and also this is a great way to know if it has any damage to the springs. You will feel it.
Preparing The Fabric For Paint
SUPPLY LIST:
- Spray Mister bottle
- Chalky type paint
- Paintbrush
- 220 grit sandpaper
- Paste wax or Spray Wax
- Wax brush
- Rub ‘N Buff optional
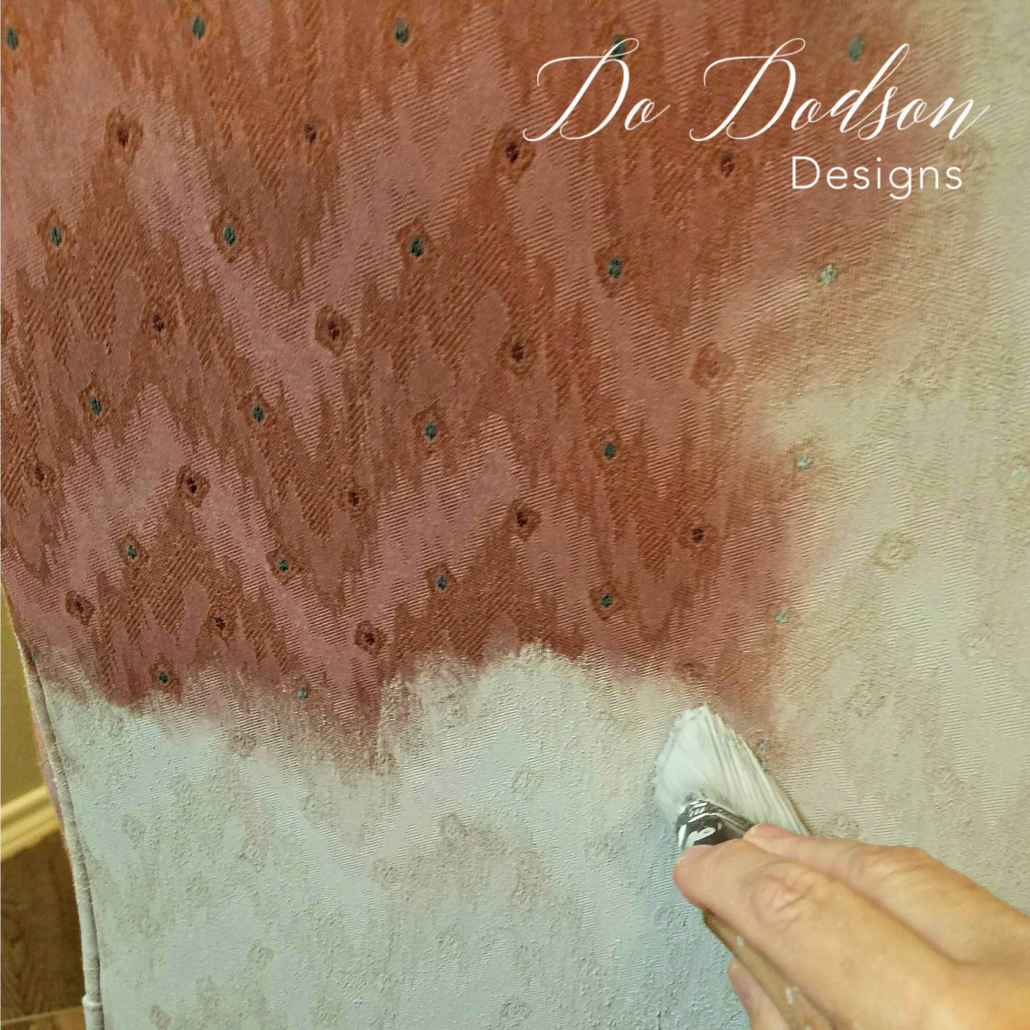
Before I began painting the fabric, I lightly misted the fabric with water. Not saturated, but enough that you can visibly see that it is damp. This allows the fibers to swell and will allow the paint to absorb into the fabric. I continued to mist as I painted the fabric.
How To Paint Fabric
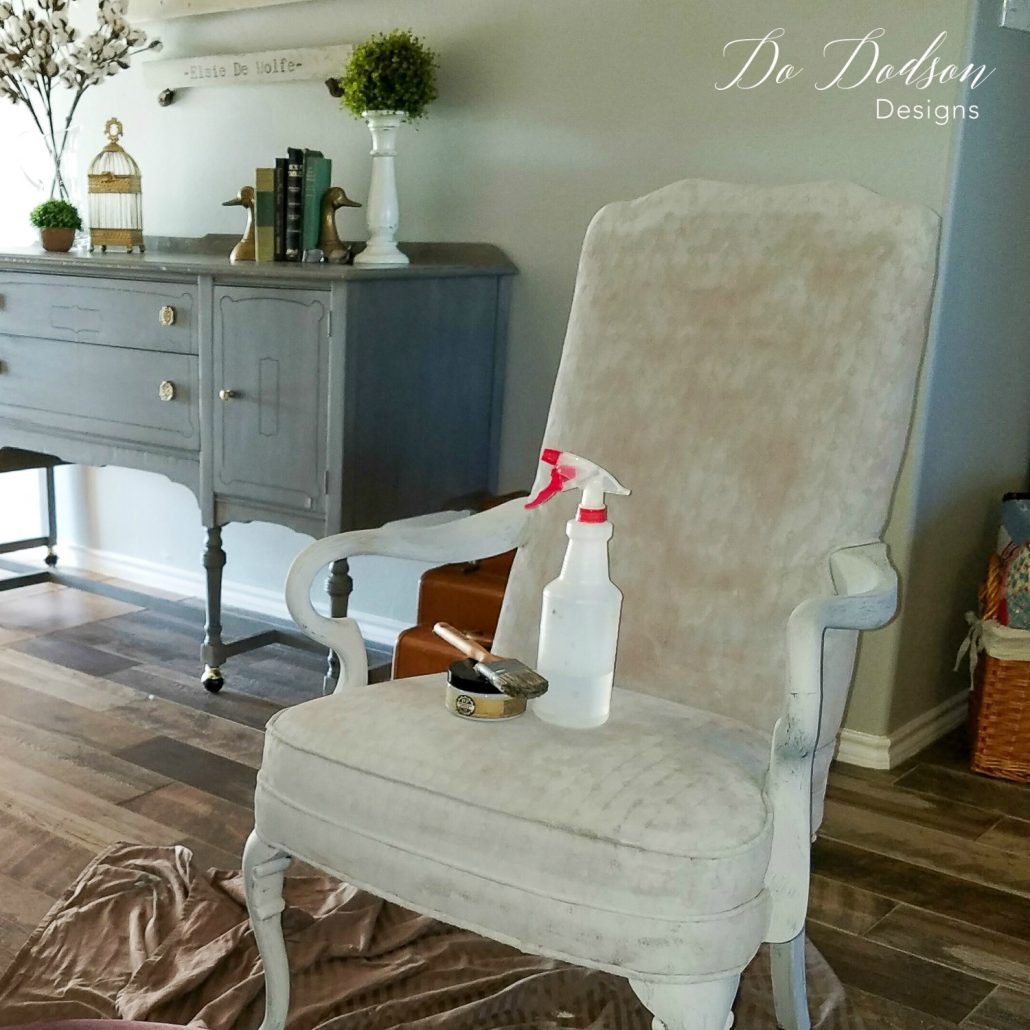
Here is what it will look like after the first coat. The fabric will take at 2-3 coats of chalky type paint, but it depends on the color of the fabric and the color of the paint you choose. I chose gray chalky-based paint. This color took me two coats to cover the whole chair, including the wood parts. No prep was needed for the wood, except a good wipe down with a wet cotton cloth to remove any dirt from the surface.
Blending Colors When You Paint Fabric
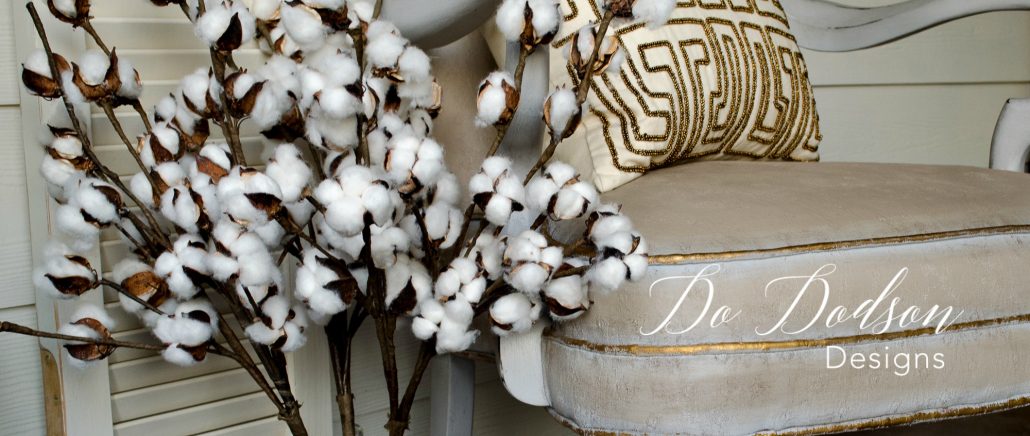
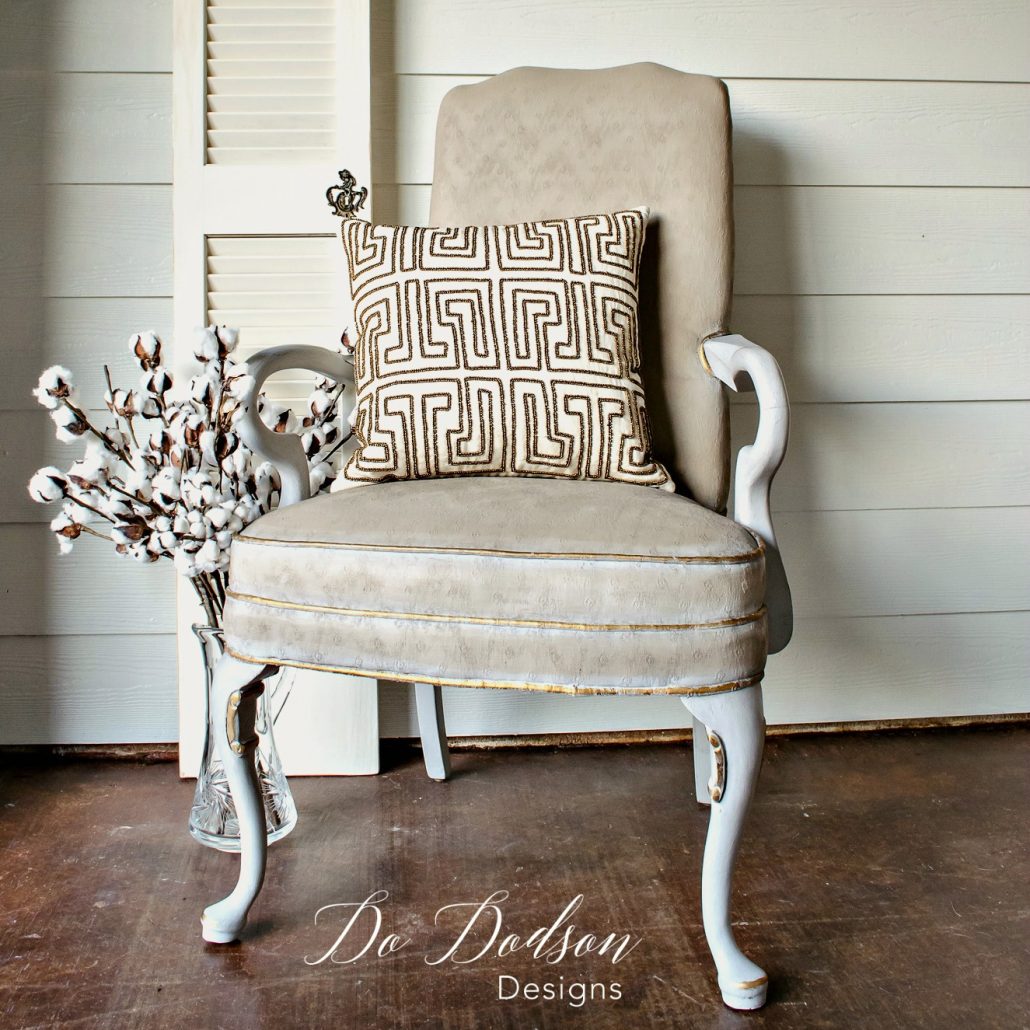
The chair was pretty plain jane, so I thought I’d step my game up a bit and add a second color to give it some depth. I had chosen a paint color called Burlap that was a warm beige color. Just enough difference to give it some contrast.
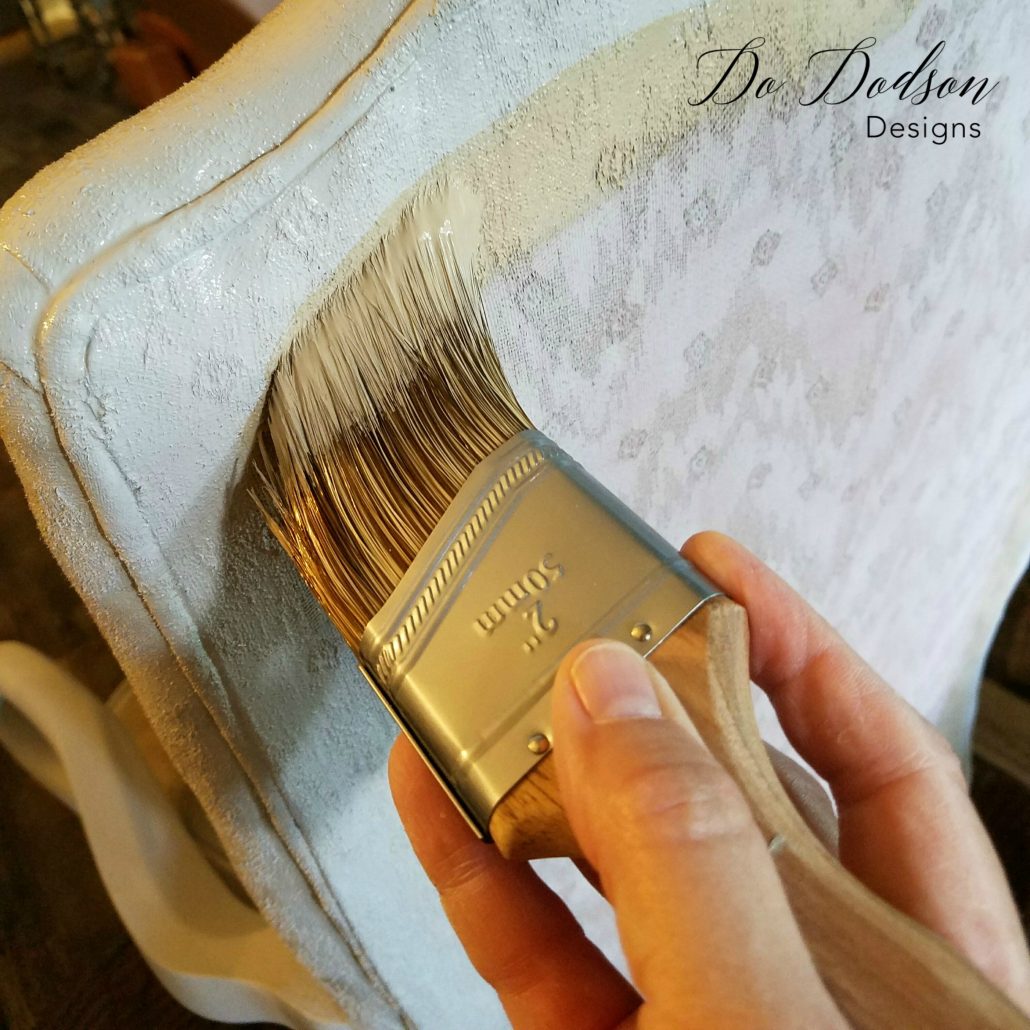
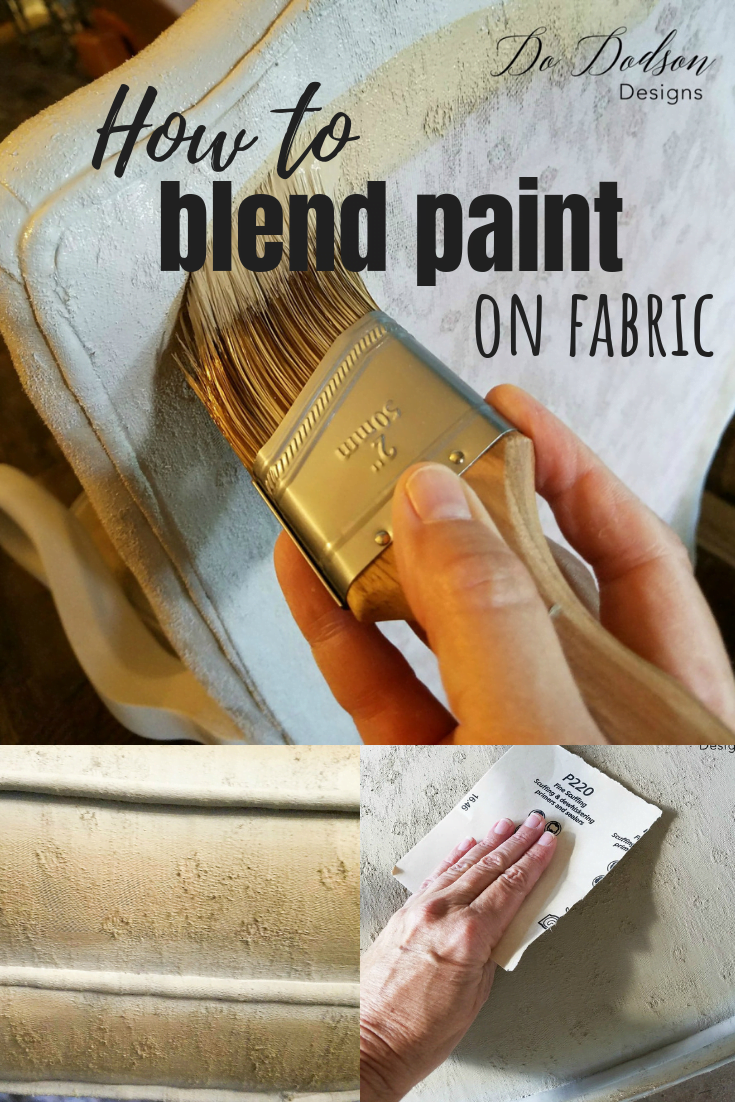
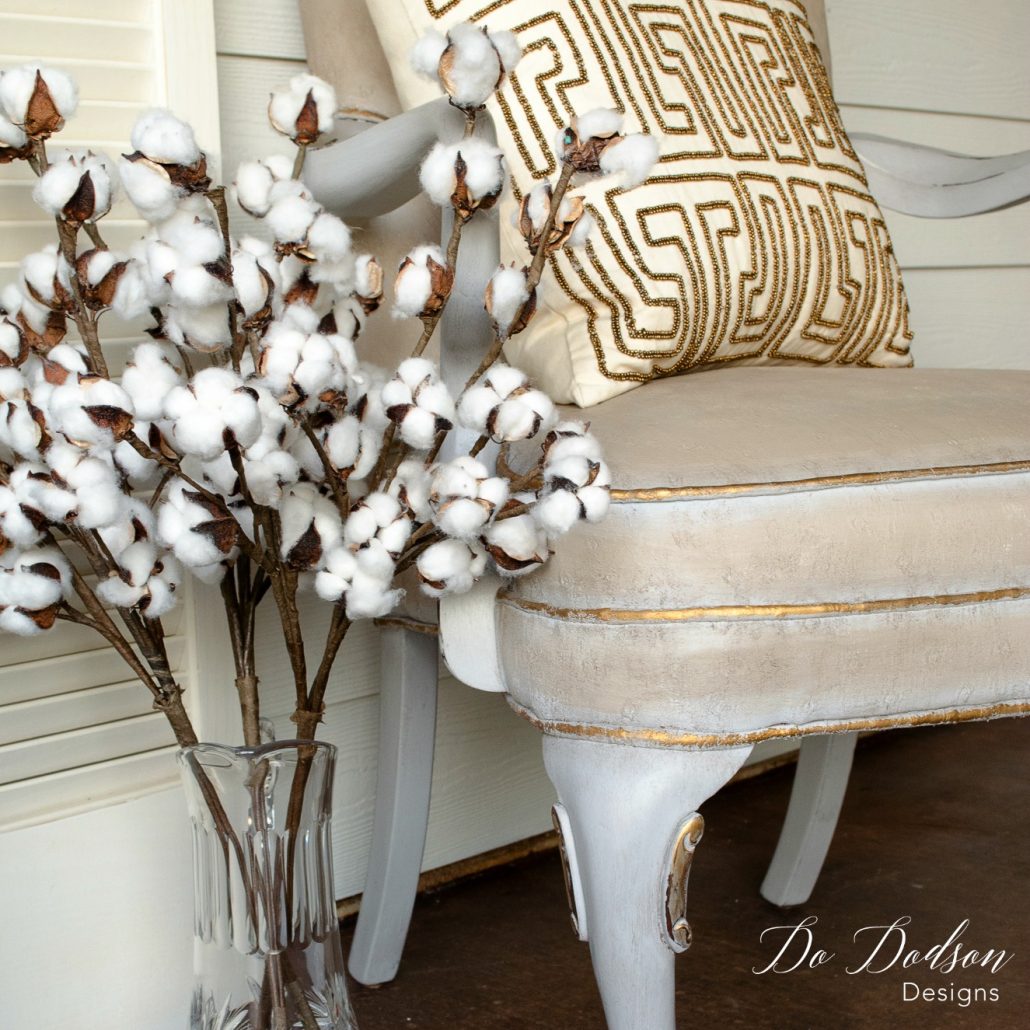
I added the paint all over the chair except on the corners and around the piping. I carefully blended one color into the other to give it that faded look around the edges of the chair.
Sanding And Smoothing The Painted Fabric
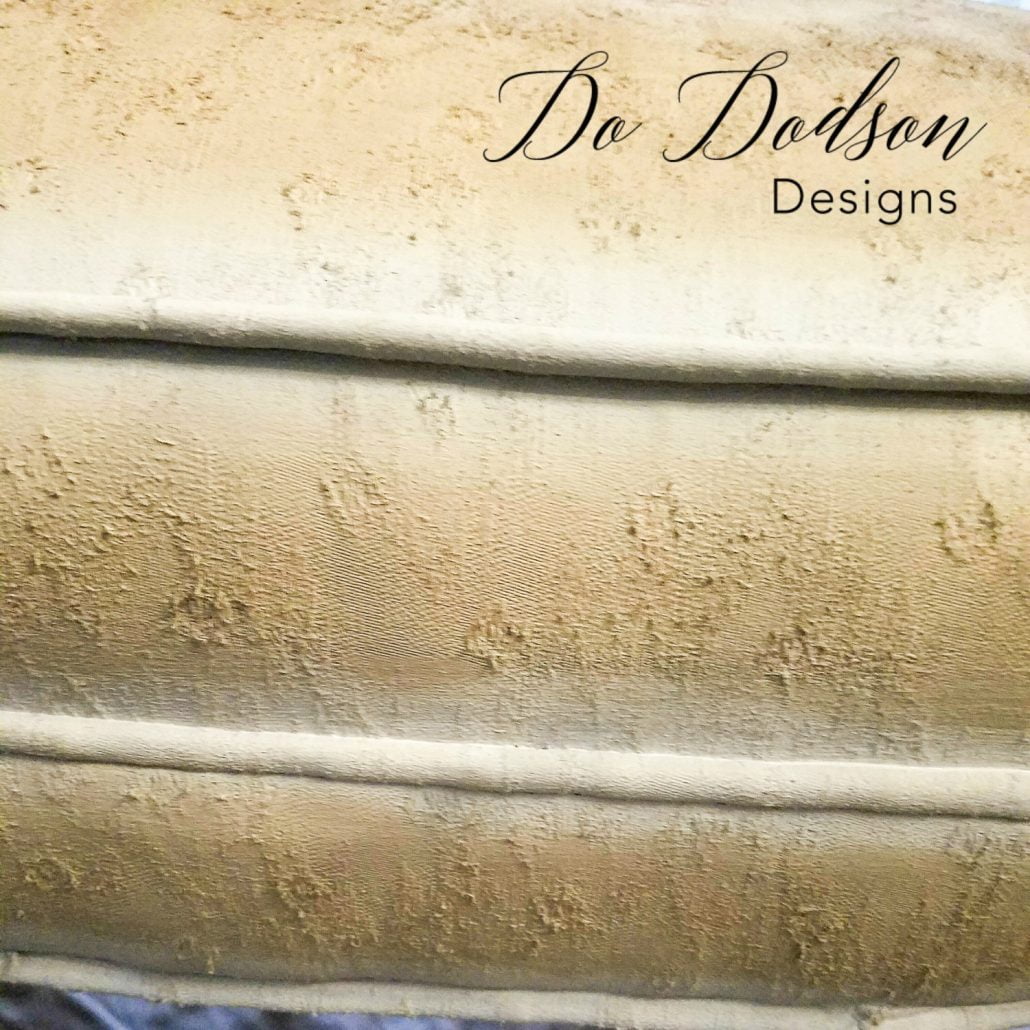
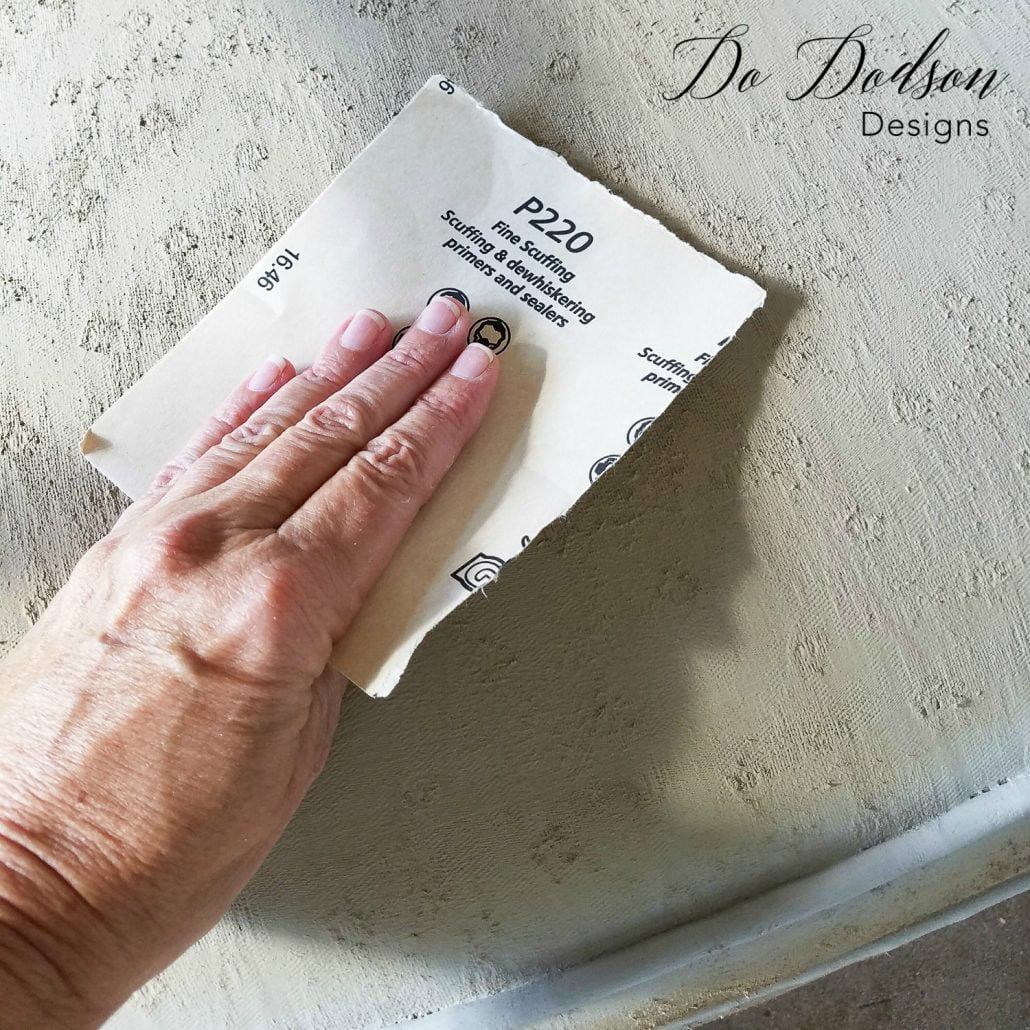
I allowed the chair to dry overnight and used 220 grit sandpaper to knock off the rough edges the next morning. I sanded it like I do my wood furniture. Now, you would think the fabric would be crunchy, but surprisingly enough, it’s not.
Applying Wax To Seal The Paint
Now, the next step sounds crazy. You can actually wax it like you would your wood furniture. Dixie Belle Easy Peasy Wax is perfect to seal the painted fabric. It’s so easy to apply. I applied it sparingly in a circular motion with my wax brush, covering every inch of all painted surfaces—basically, the whole chair. The wax acts as a sealer and also softens the fabric. After the wax had dried, I buffed the whole chair with a soft cotton cloth.
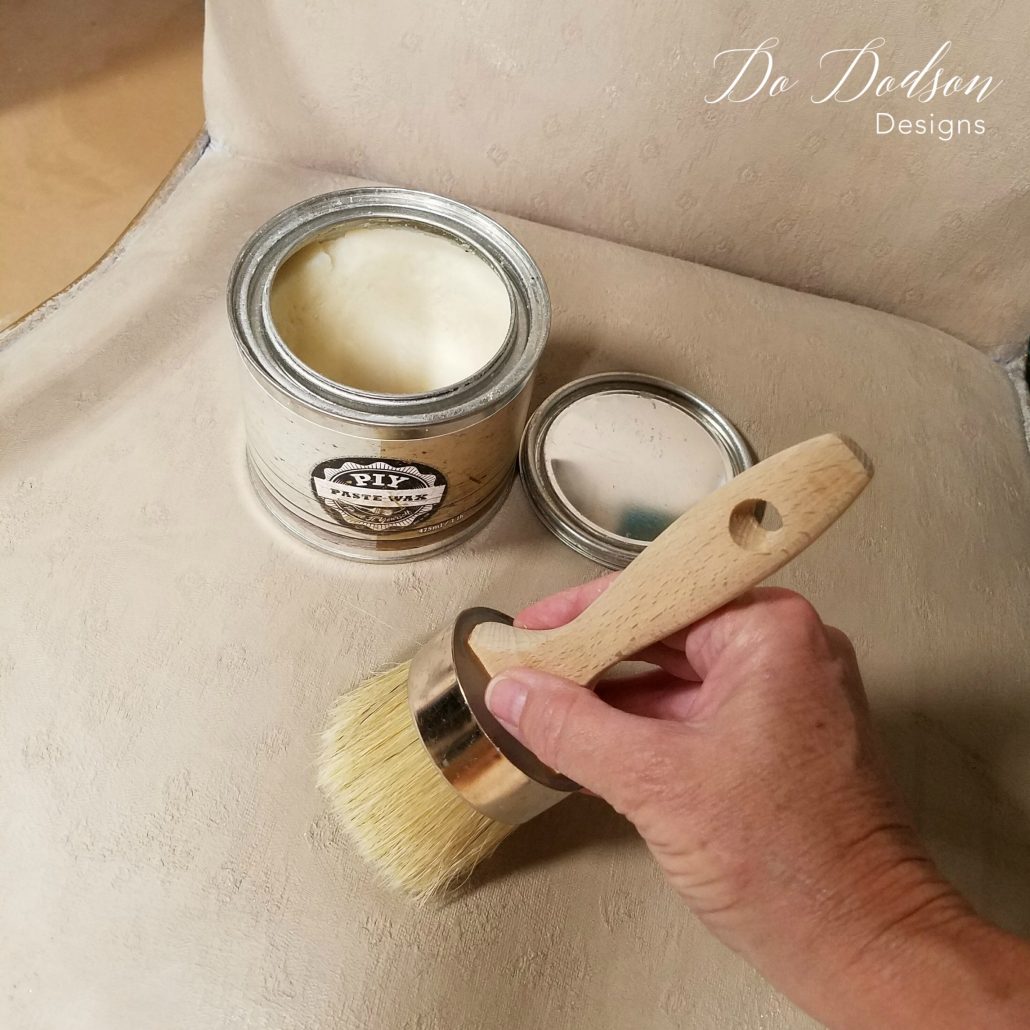
But I have another option! You can also use Dixie Belle’s Easy Peasy SPRAY Wax. It’s was in a spray bottle. I LOVE this stuff so much, and after this project, I have used spray wax to seal all my painted fabric projects.
The feel of the fabric is now the consistency of soft leather. It’s hard to describe, but it’s not bad. If you don’t like the feel of leather, you probably don’t want to try this. I don’t mind. Neither does my cat! Ha!
Rub ‘n Buff Gilding Wax
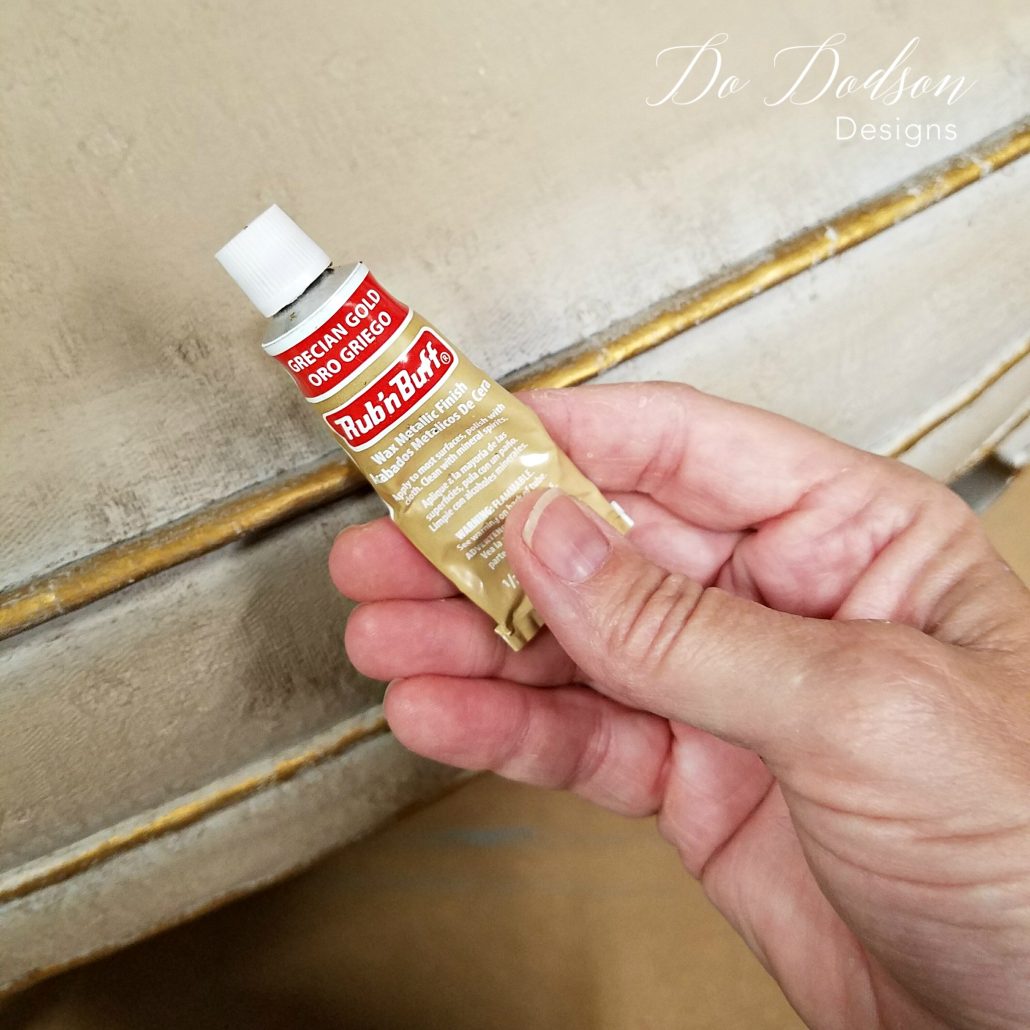
Mom deemed this chair a “Queen’s chair,” so I guess it needs a little GOLD. It sounds like a good excuse for me to play with the Rub ‘n Buff. This stuff is so much fun! It’s a gilding wax, and I use it every chance I get. It’s great for accents on many surfaces. I used the tip of my finger to apply it to the piping and accents on the chair legs. It goes a long way. I got this tube SEVERAL projects ago and still have plenty more for several more projects.
Fit for a Queen, as Mom would say!
I’m pretty happy with this project, and it was a lot of fun to see the transformation. From pitiful pink to a beautiful gray/burlap and gold.
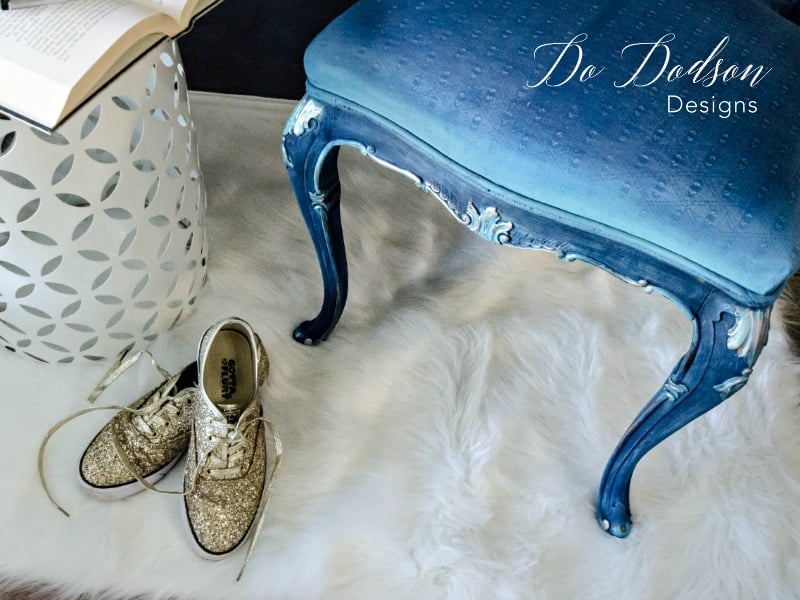
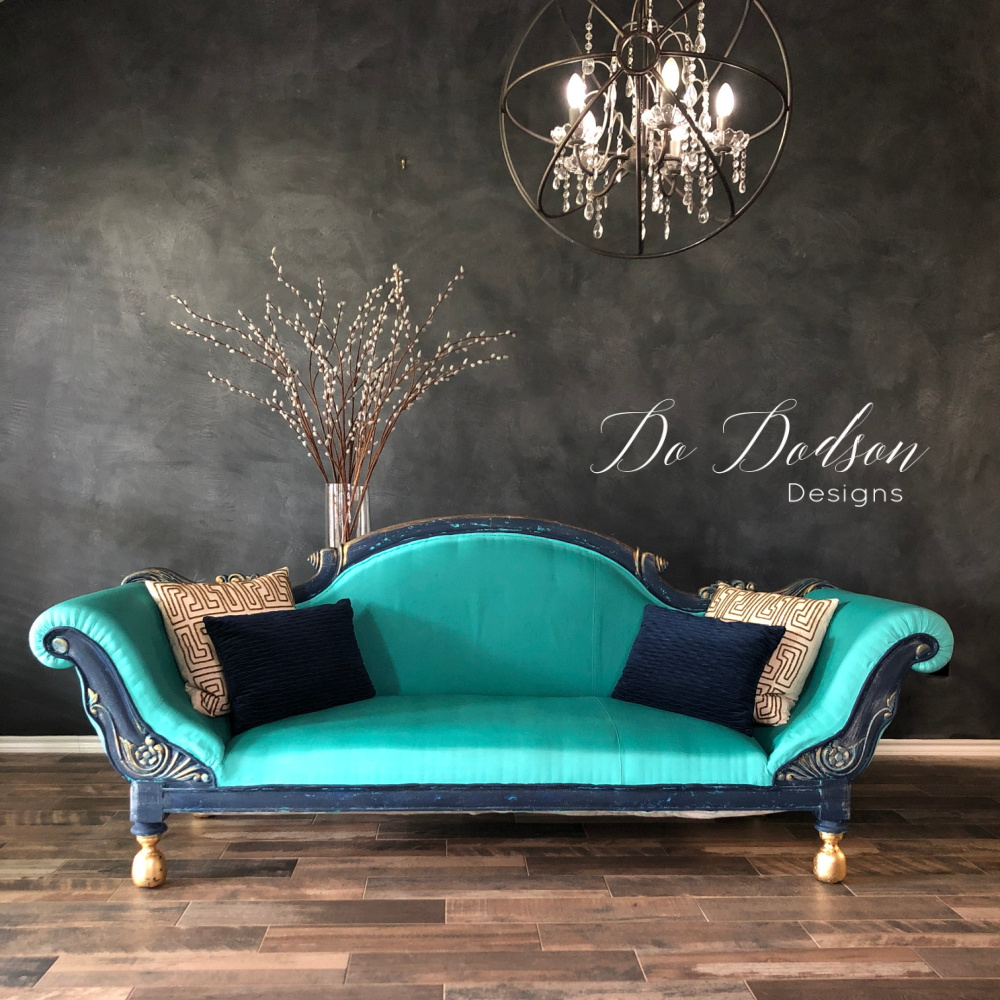
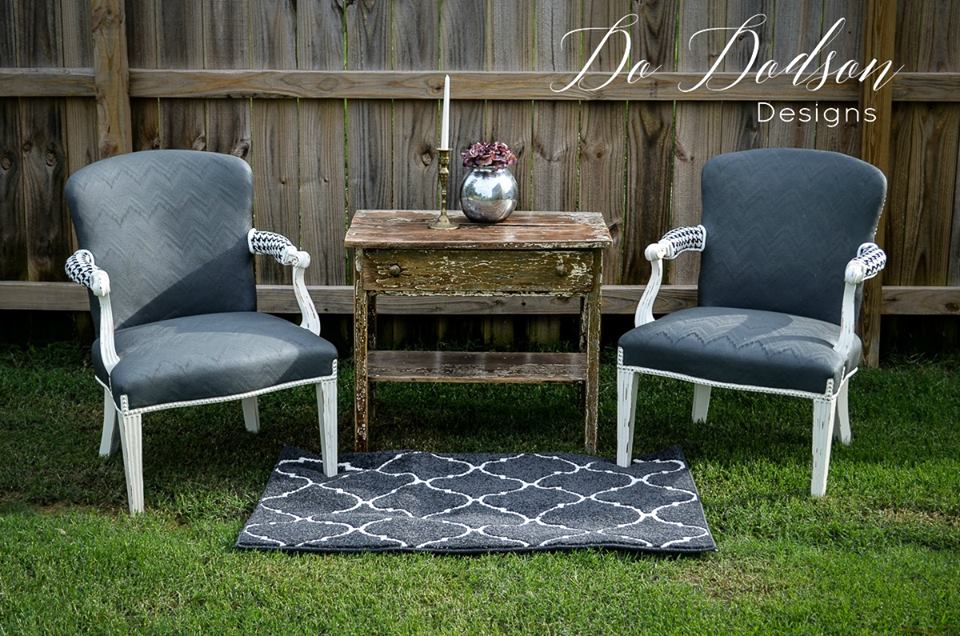
I painted these chairs a few years ago and thought I’d share another example here.
Thanks for hanging out and following along. I hope this has inspired you to try painting on fabric. If you like this idea of painting over the fabric, check out more ideas below.
Until the next project… xo, Do

