A REAL boxwood wreath can be fun to create and with endless growth on shrubs, you can have a fresh wreath, Spring, Summer, Fall, and Winter for almost FREE. Well, that’s if you borrow from your neighbor. 🙂
This post contains a few affiliate links to help you find the products I use. You are not charged extra to use any of the links, but any income I make will be used for more fun projects! To see my full disclaimer, click here.
How To Make An REAL Boxwood Outdoor Wreath
I was visiting my in-laws when I noticed an overgrowth on her boxwood shrubs. Immediately my mind started spinning. I’ve been drooling over the boxwood wreaths but just couldn’t justify buying one. They’re so pricey! Ummmm, no thanks. But how do I ask to trim her shrubs without embarrassing her? But, that wasn’t the case. She was all too happy to have them trimmed and said I could take as much as I wanted. It was a golden find for sure!

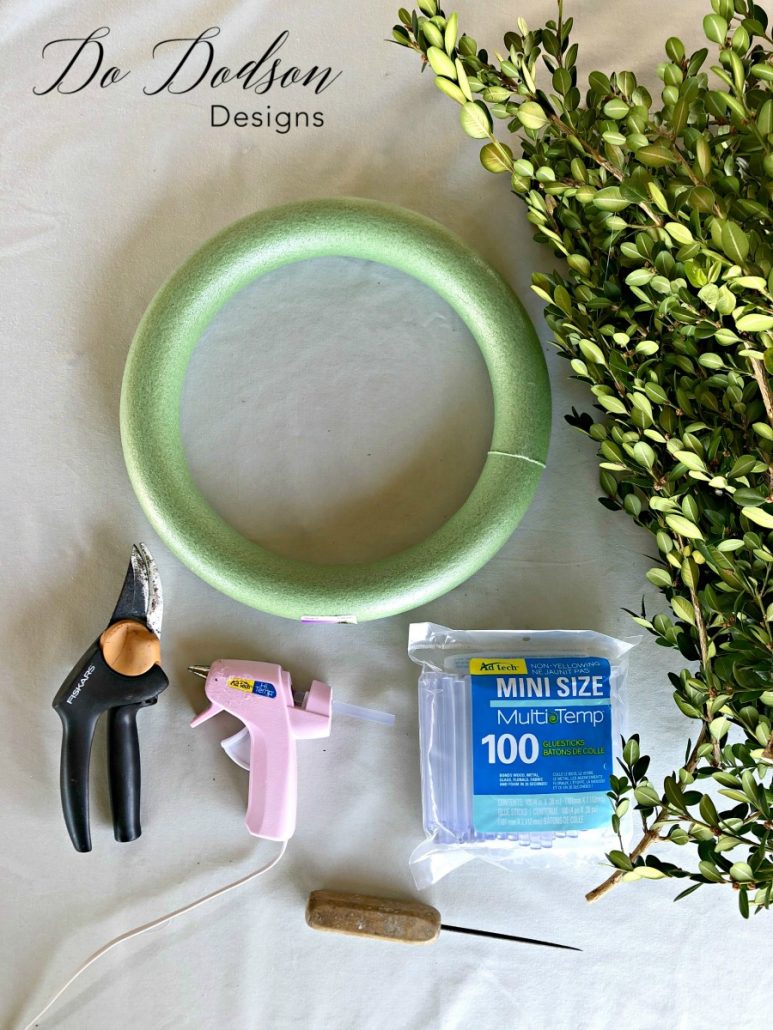
SUPPLY LIST:
Here are the supplies that you will need to create your boxwood outdoor wreath.
- boxwood clippings
- 1/2 inch round green foam ring (I found mine at Walmart)
- Mini hot glue gun
- Pruning shears
- Suction cup hooks (for hanging your wreath from a glass door)
- Foliage Sealer
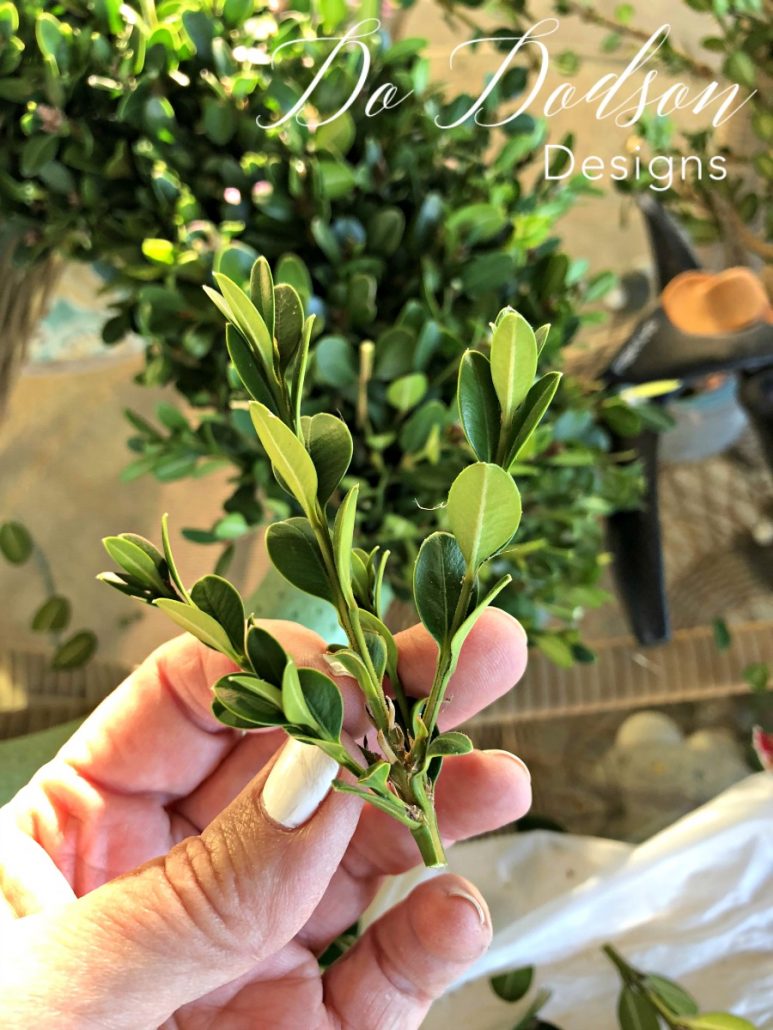
Trimming The Boxwoods For Your Outdoor Wreath
I cut the overgrowth of the boxwood shrubs about 4-5 inches in length. This was a timely task so I just trimmed a few as I went. Looking back, I was glad that I had been selective with each piece, It’s totally up to you.
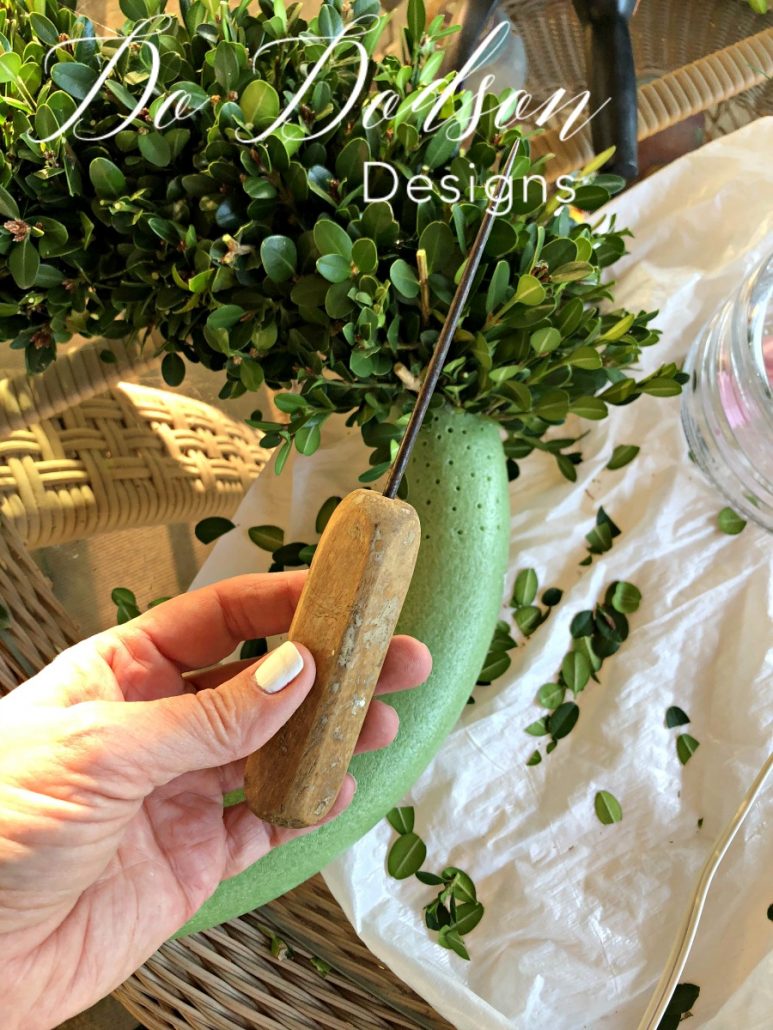
Making Holes In The Foam Ring
Don’t laugh, it’s all that I could find. I keep this antique ice pick in my studio. It belonged to my Grandfather. As a little girl, I was taught how to break up ice blocks. During the summers I spent with my Grandparents, we made lots of homemade ice cream. Yep, adding ice to the old hand-cranked ice cream maker was my job. Best ice cream in the world! So, I used the ice pick to make holes for the stems of the boxwood trimmings. If you want a full tight wreath, be sure to make your holes close together.
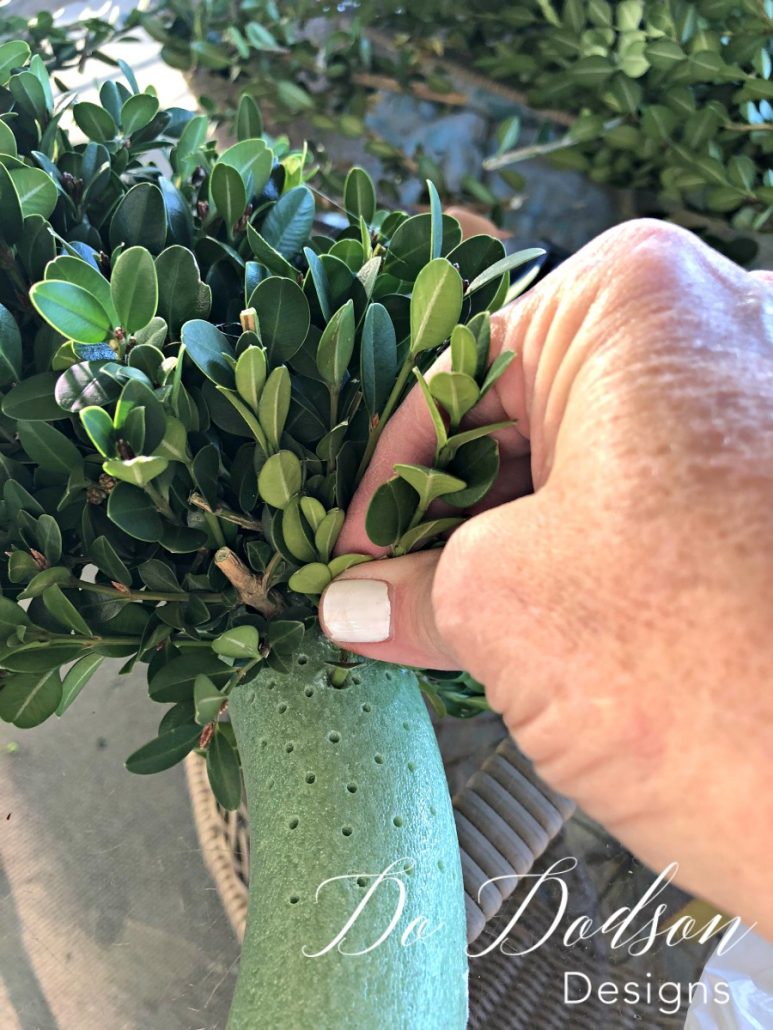
Securing The Boxwood Trimmings To The Ring
Someday, I’ll buy a grown-up hot glue gun. This one still works, so no need to spend extra money. Add a small amount of hot glue at the top of each hole to secure the boxwood trimmings before inserting into the hole of the foam ring.

Attaching The Stems To The Outdoor Wreath
Then I carefully placed each cutting in the hole. This goes fairly quickly once you get the hang of it. After I completed my boxwood outdoor wreath, I went back with my pruning shears and trimmed any long stems that were sticking out. This created a well-trimmed and manicured look on my wreath.
You’ll want to mist the boxwood outdoor wreaths every few days with water to keep them from drying out. These wreaths don’t do well inside the home due to the air conditioning and heating because the air is too dry. I have found that misting water helps a lot.
Soaking the stem in a liquid glycerine as a preservative also helps. I wasn’t able to find glycerin at my local pharmacy but I did find a spray preservative foliage sealer that I have not tried, but it may be well worth it. You can find it HERE. I’d love to know if you have tried it and I welcome your feedback. You can also skip all of this worry about preserving by making a Faux Boxwood Wreath. I found this tutorial and for sure I’ll be trying out this one too!
Check out this video tutorial with a step by step!
For a bushier version of this boxwood outdoor wreath, here’s a quick video tutorial.
I love the results of this boxwood outdoor wreath! It’s fresh, and green and makes a beautiful accent on my front door and it’s the perfect look year around. Who doesn’t need a little more green in their life? I’m in LOVE with all wreaths! If you love green, CLICK HERE to see more wreath ideas for your home.
Until the next project… xo, Do
