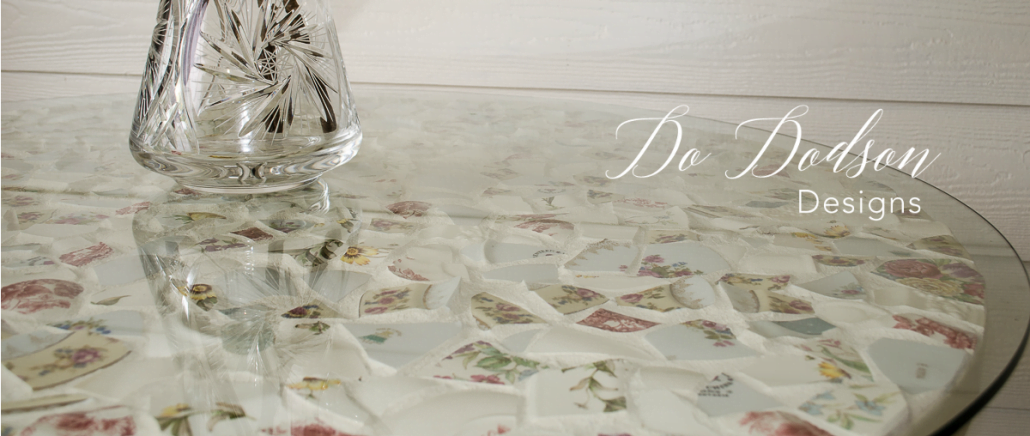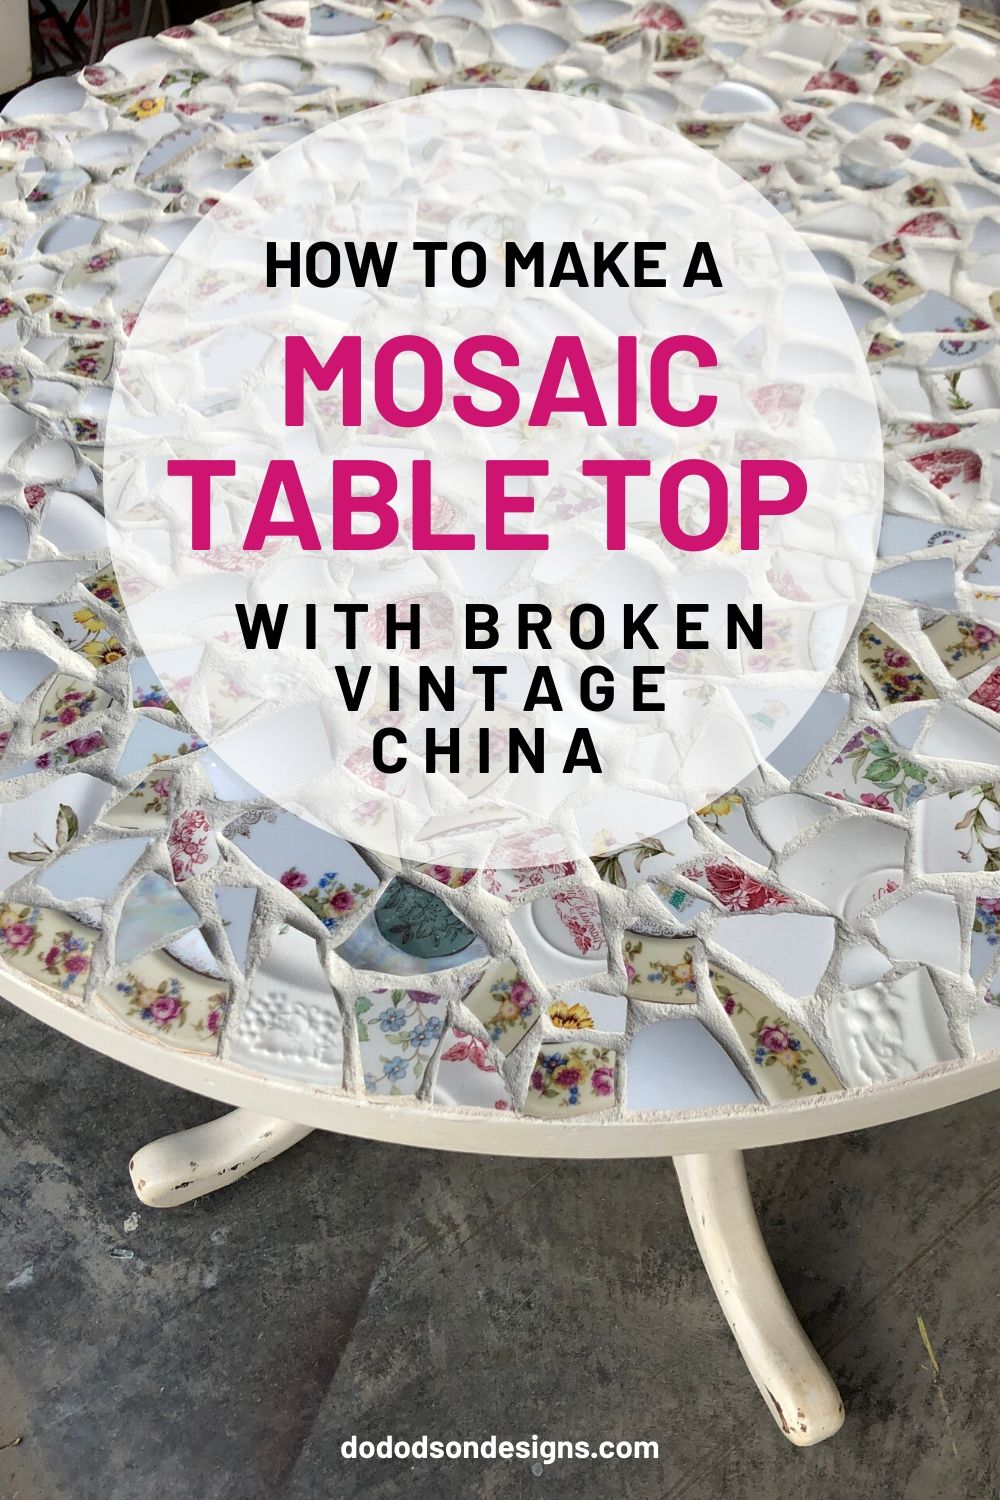
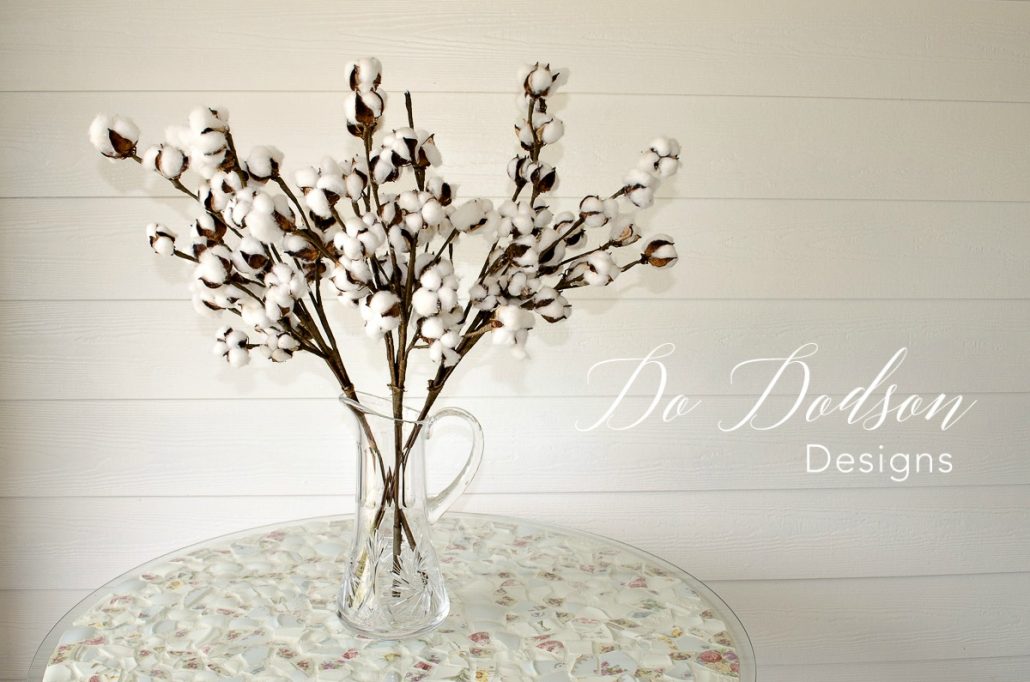
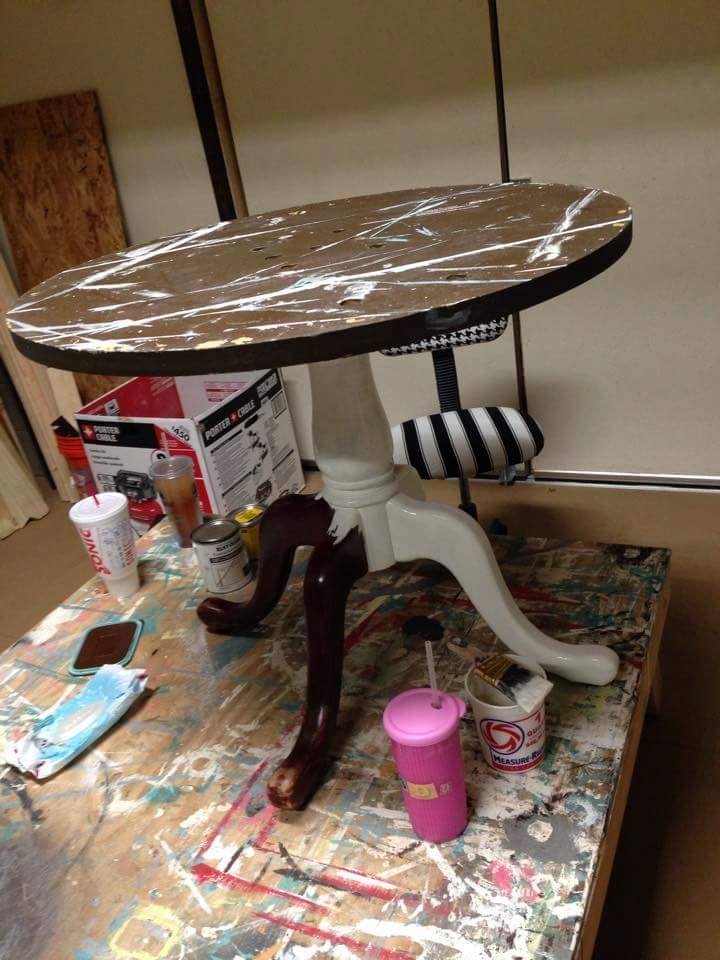
I got a call one evening from a friend wanting to know if I wanted a table. The logical part of my brain would have asked what kind of condition it was in, but the FREE part of my brain took over, and logic never made it to the surface. No matter the condition, I was now the proud owner of a free table without a top. What in the world? This would be perfect for a Mosaic Table.
This post contains a few affiliate links to help you find the products I use. You are not charged extra to use any of the links, but any income I make will be used for more fun projects! To see my full disclaimer, click here.
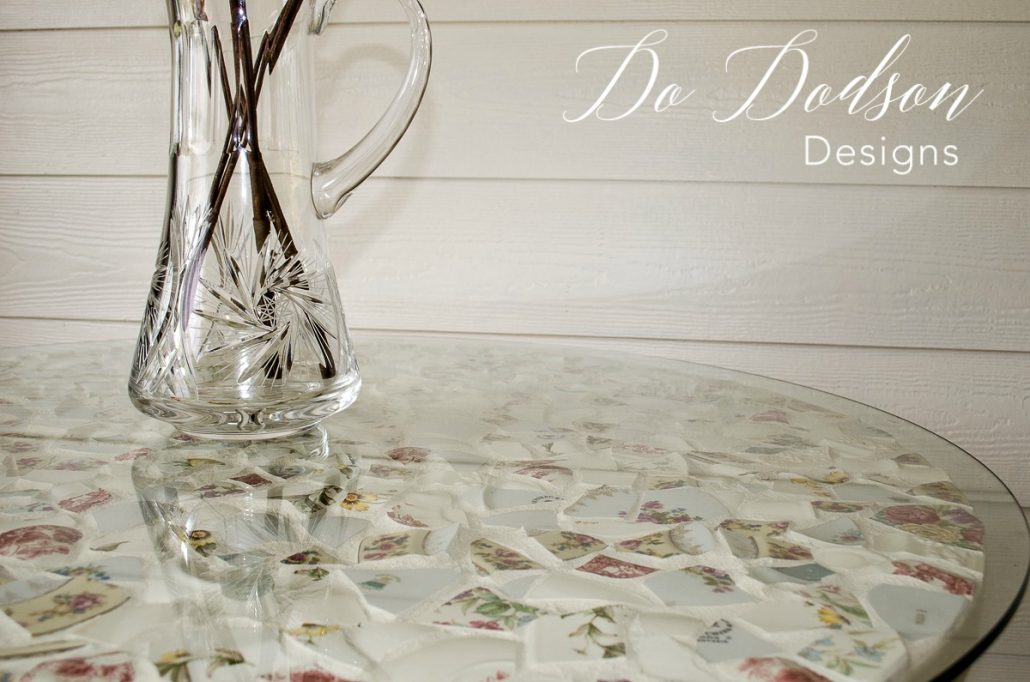
Mosaic Table Created From Grandma’s China
I had been saving broken china for a while now and was waiting on the perfect project to do a mosaic tabletop. While I wasn’t totally sold on the idea, I knew I needed to do something and convinced myself to at least try it. I searched on Pinterest (it’s my place for inspiration) for patterns I liked, but the china dishes I had were mix and match pieces. Mostly floral patterns and some of my Grandmother’s broken tea sets.
I decided on a vintage look with no pattern… just random, so I painted the base a cream color and did some moderate distressing before I started the mosaic table makeover.
Supply List:
Getting China Prepared For Application
After mixing all the china in one big container, I took a hammer to the dishes and broke them into random pieces. If you have never had the chance to break dishes before, let me tell ya, it’s therapeutic. I placed them in a pillowcase first to protect myself from flying porcelain, and then I took my hammer and went at it. Okay, let me assure you that all the china dishes I used for this table were irreparable and damaged. No good china was harmed in the making of this masterpiece.
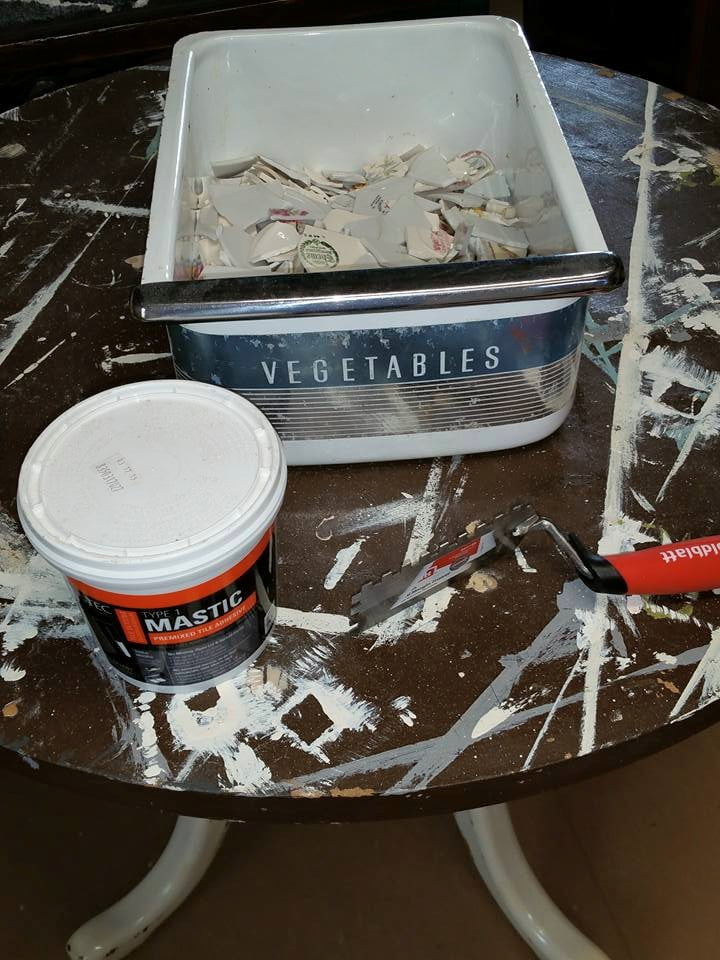
Adhesive For Attaching The China Pieces To The Tabletop
The first thing you will need is an adhesive to glue the pieces to your project. The nice man at Home Depot told me to use this. Mastic Pre-mixed Tile Adhesive. I liked the premixed part, and it worked well.
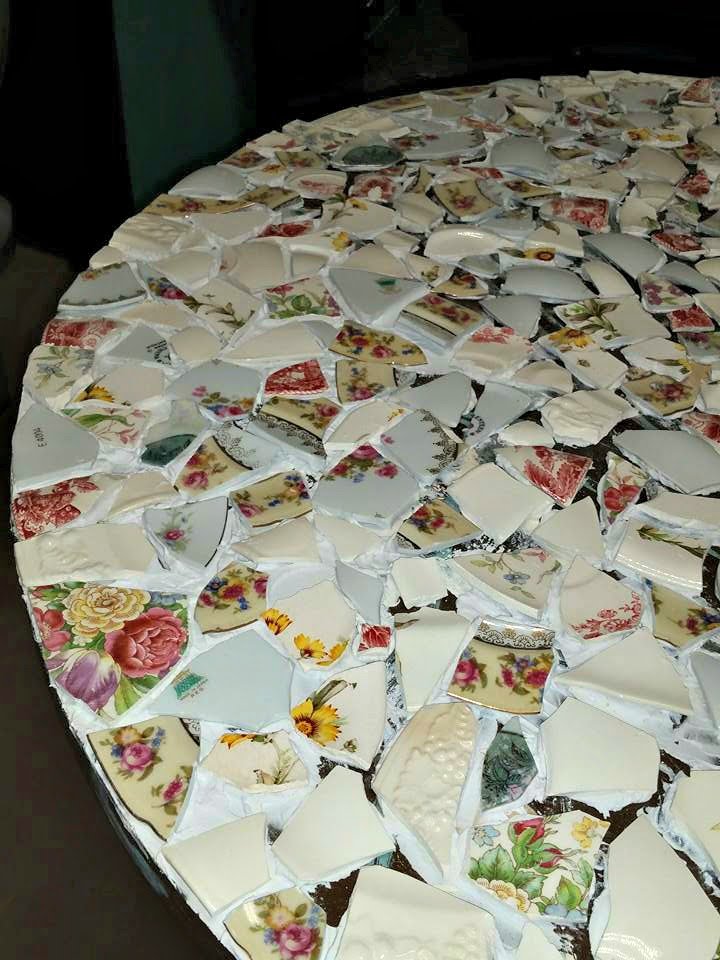
One by one, I slowly picked through all the broken pieces, applied the adhesive, and like a puzzle… I fit each piece into its proper place. This was extremely time-consuming but so much fun. I didn’t really follow a pattern, but I did try to break up the solids and the floral. The rest of china was rough and somewhat jagged. This presented a problem on my mosaic table, but I plan to fix that that I’ll be sharing. Keep reading…
Filling In The Gaps On The Mosaic Table
After the adhesive was dried, I worked a premixed grout into the empty spaces and smoothed it with my fingers. After applying the grout, I immediately took a wet sponge and cleaned away any leftover grout on the surface. I went over the china with a clean wet sponge several more times to remove any film leftover from the grout making sure it was spotless.
The mosaic table was beautiful, but it was still too rough to use. It wasn’t flat due to the curvature of the china plates. I researched different ways to fix this problem. I even considered epoxy resin, but I wouldn’t say I liked the idea that it may yellow over time. The next best thing would be to have a custom glass cut to fit. So that’s just what I did. It was the perfect solution, and I will continue to use Grandma’s china for years to come.
The End Results Of The Mosaic Table
I’ve had many tea parties on this special mosaic table. My Grands bring me such joy, and having tea parties is our thing. I hope someday; I can share tea with my Great Grands at this table. Just knowing that my Grandma’s china is on that table makes me proud. Another tiny piece of her, and I know she would have loved it.
Grandma’s Mosaic China Table

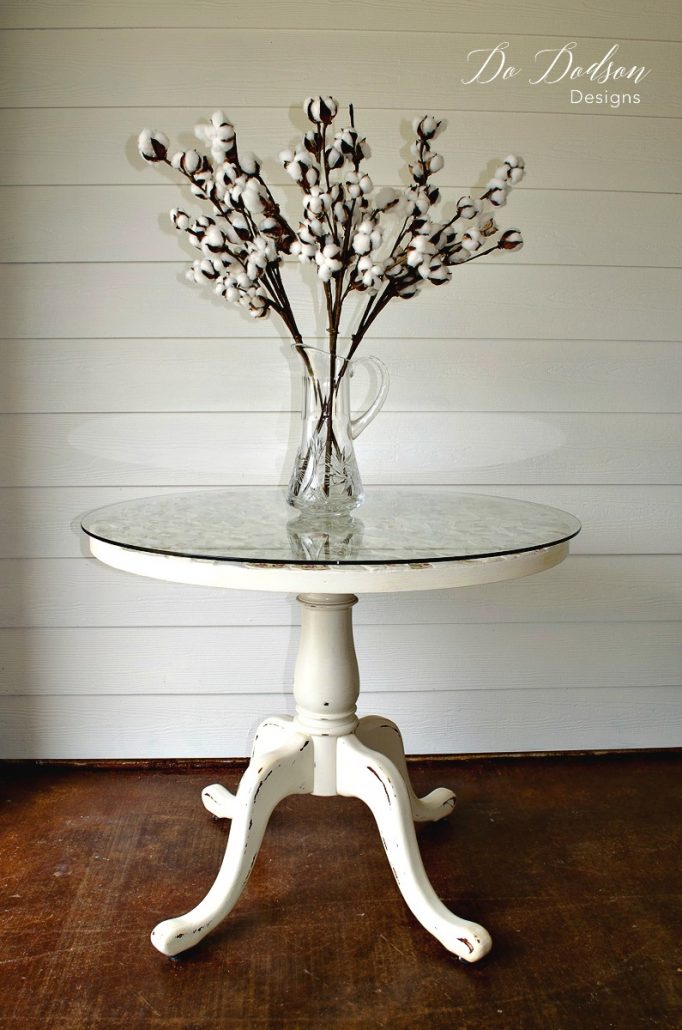
This Mosaic Table project still melts my heart. All the love and memories rolled into one amazing project that will give back so many memories every time I use it. Repurposing is a great way to stretch your budget, and what better way than to reuse what you have. Here’s another repurposed project you might like. CLICK HERE to see how I made wooden tags from old weathered fence lumber.

