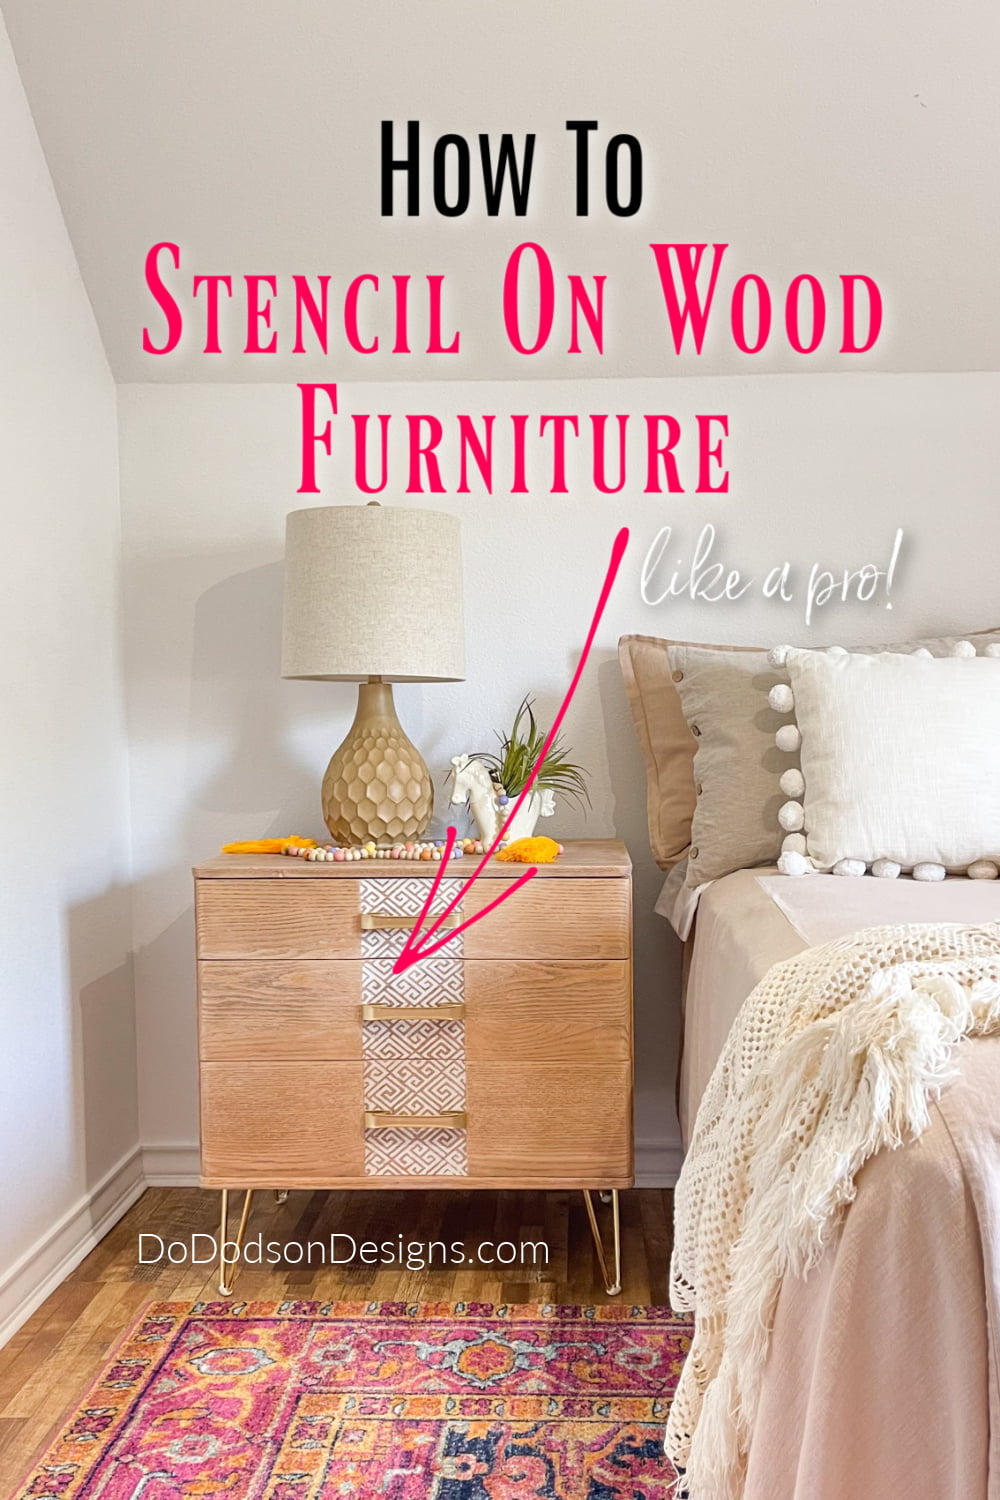
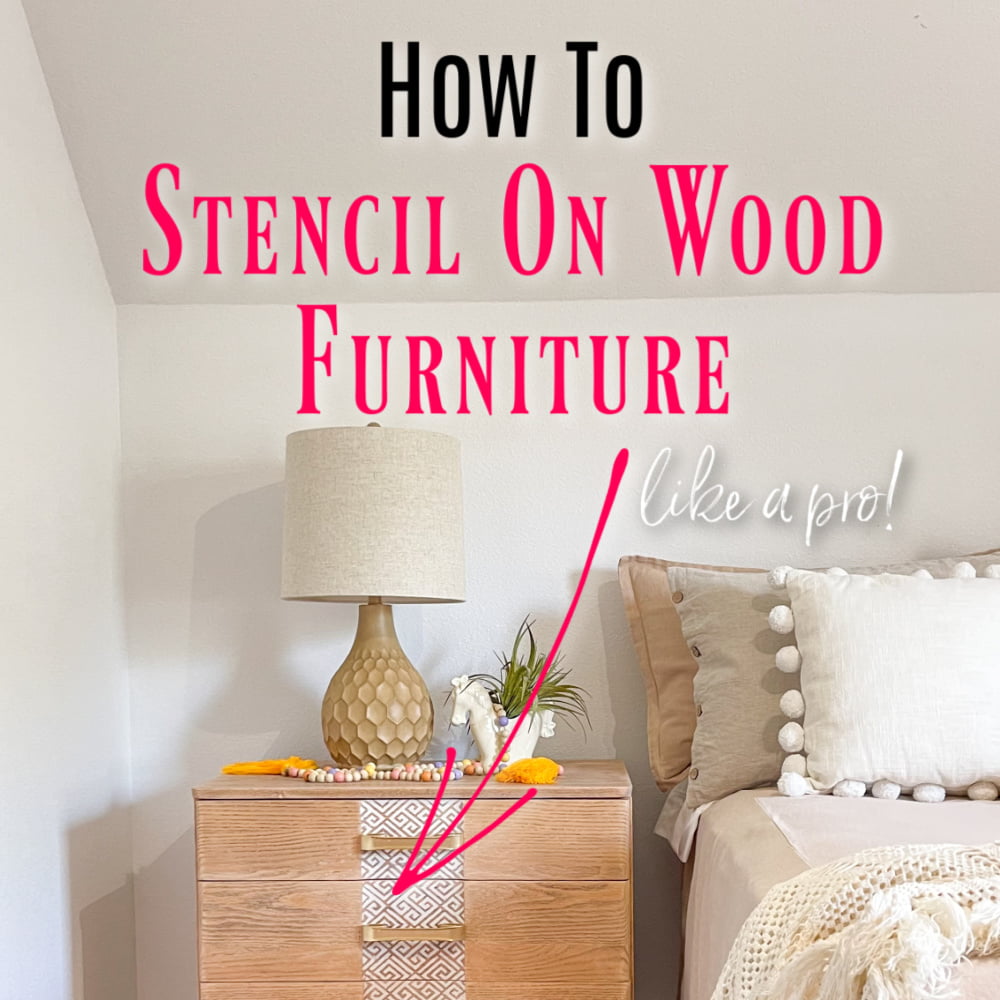
Have you ever thought about adding a stencil on wood furniture? Today, I’m sharing my step-by-step tutorial on adding a gorgeous stencil with chalk mineral paint and how I added some MCM flair. Beginner easy!
Thanks to Dixie Belle Paint Co for sponsoring this post. While I was compensated to write this post, all opinions are my own.
* As an Amazon Associate, I earn from qualifying purchases and through other companies as well. You will not be charged extra when you purchase through these links, but any income I make helps me create more amazing DIY projects to share with you! To see my full disclaimer, click here!
How To Stencil On Wood Furniture – MCM Makeover Before & After
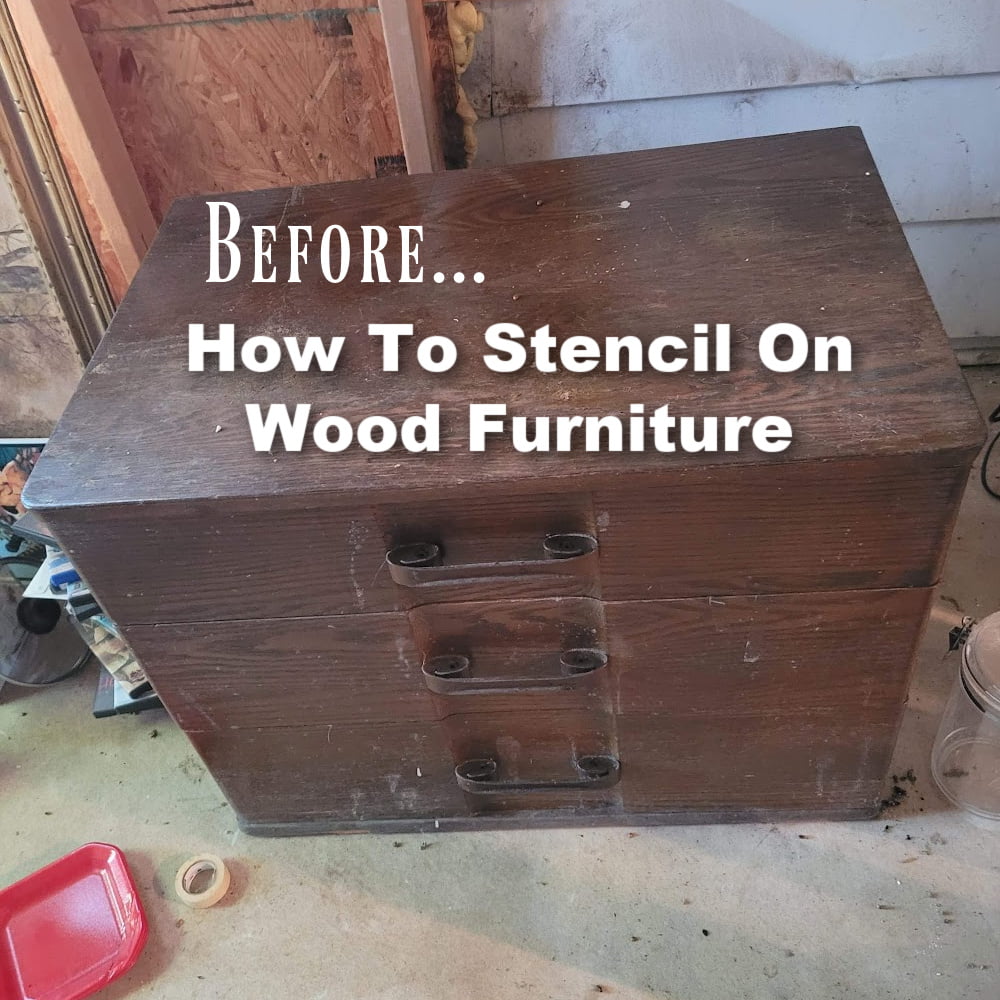
SCORE! Another Facebook Market place find. $20! And it’s solid wood.
Can we take a moment and give homage to the unique hardware? Truth be known, that’s really what caught my eye, and the hardware alone was worth $20.

SUPPLY LIST:
- Wood Furniture
- SurfPrep Sanding System (Discount code DOIT10 to save 10% on purchase) 100 grit and 220 grit film sheets
- denatured alcohol
- Fluff Chalk Mineral Paint
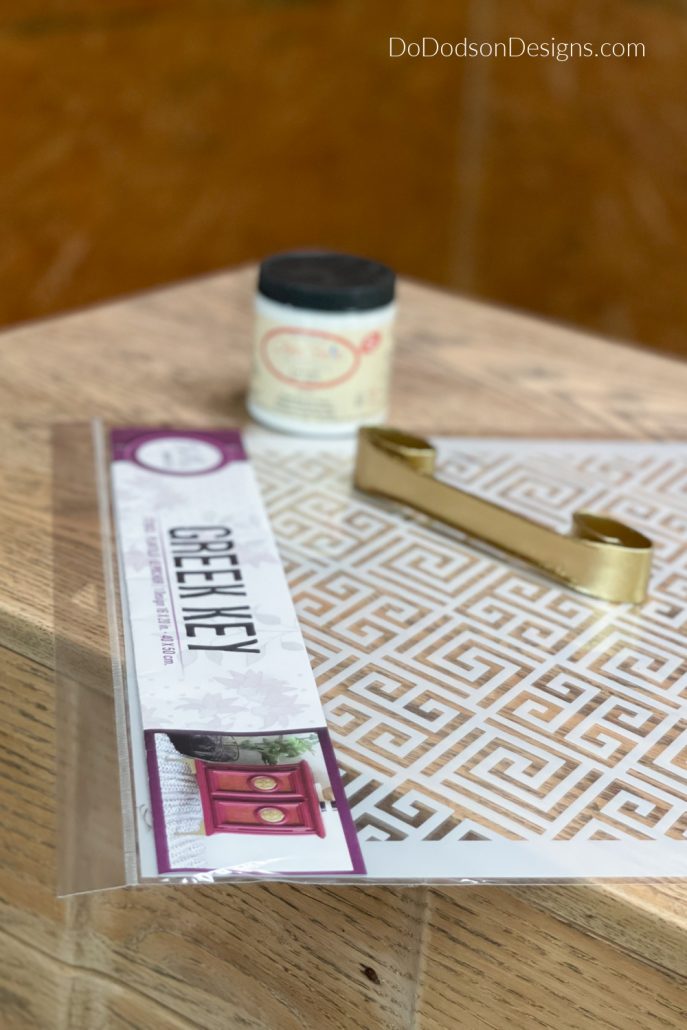
- Greek Key Stencil
- Blue Sponge (use to apply paint over stencils)
- Best Dang Brush (to apply wax on wood)
- Best Dang Wax
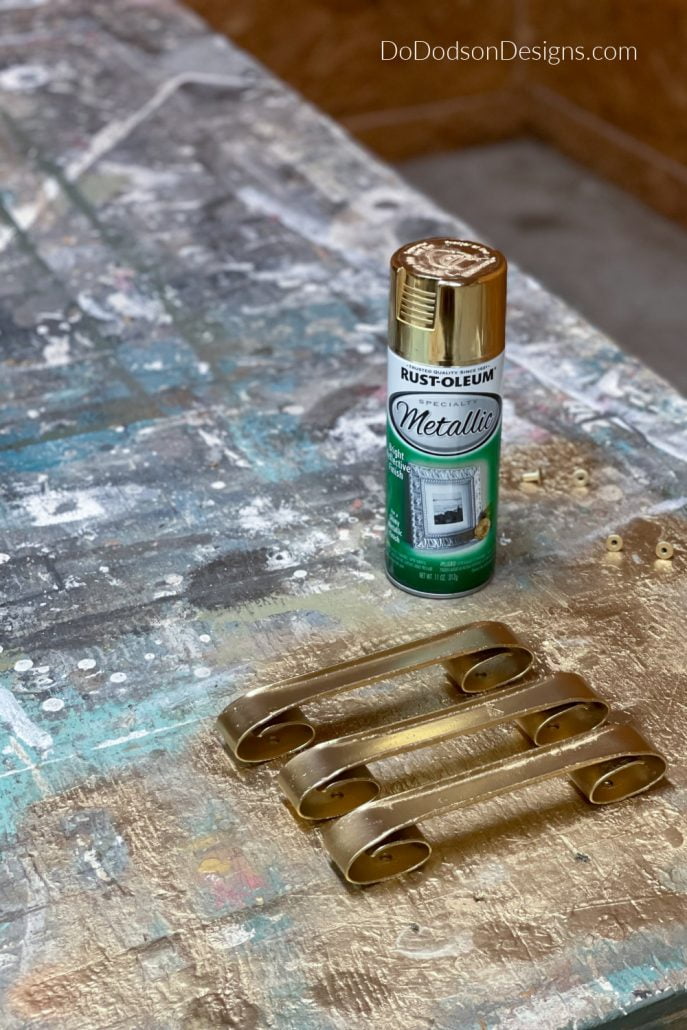
- Rustoleum Reflective Gold Metallic Spray Paint (for hardware)
- Gold Hairpin Furniture Legs
Before Adding A Stencil On Wood Furniture
I LOVE these boxy wood pieces. A blank canvas that lets my mind wander. That can be a scary place. LOL
But I knew after a quick inspection that it was solid wood. Natural wood finishes have been super trendy for the last two years. I saw it coming, and I’m obsessed with the lighter wood tones.
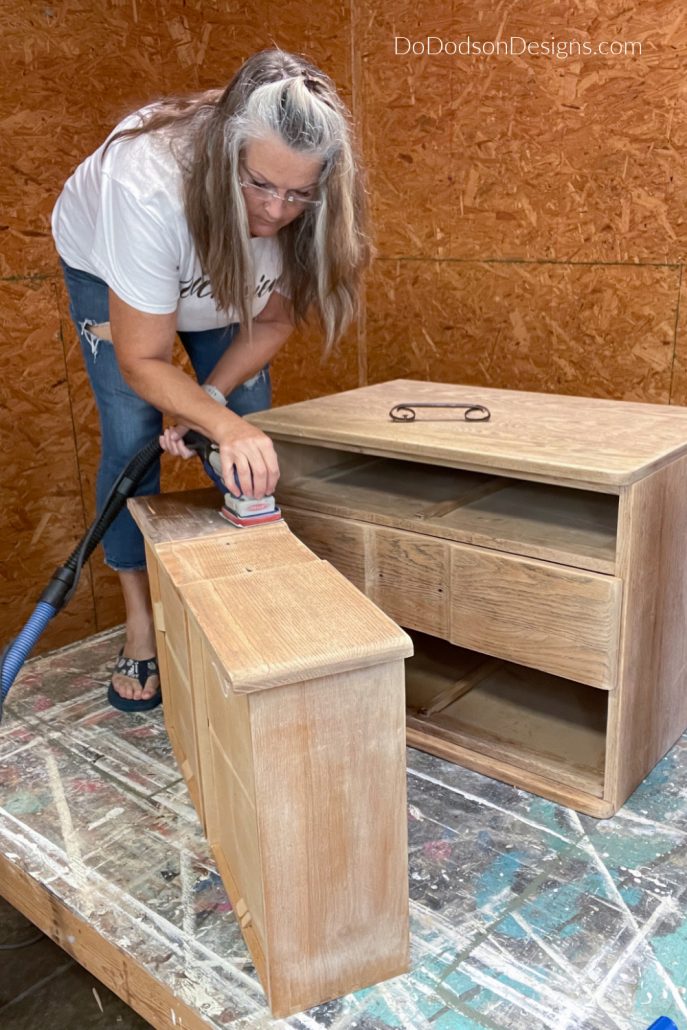
To get this look is pretty straightforward (with a bit of elbow grease) if you have an electric sander. I used 100 grit sandpaper to remove the leftover varnish and stain down to the bare wood. This will leave the wood very rough to the touch as it opens up the wood grains. Then a final sanding with 220 grit sandpaper to make it smooth as a baby’s bottom.
This method of stripping off old finishes works best on older neglected wood pieces that are brittle and dry. Look at all that wood!
Adding Gold Accents
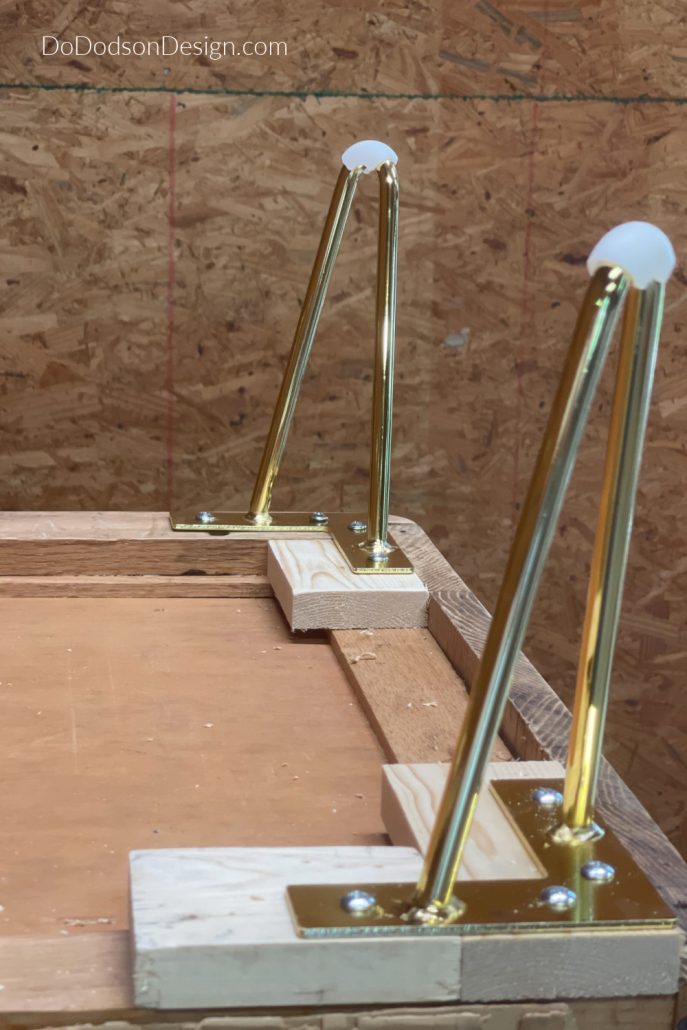
To add a little extra flair, I chose these gorgeous retro gold hairpin furniture legs to give this boxy little nightstand an MCM (mid-century modern) vibe. I love the clean lines.
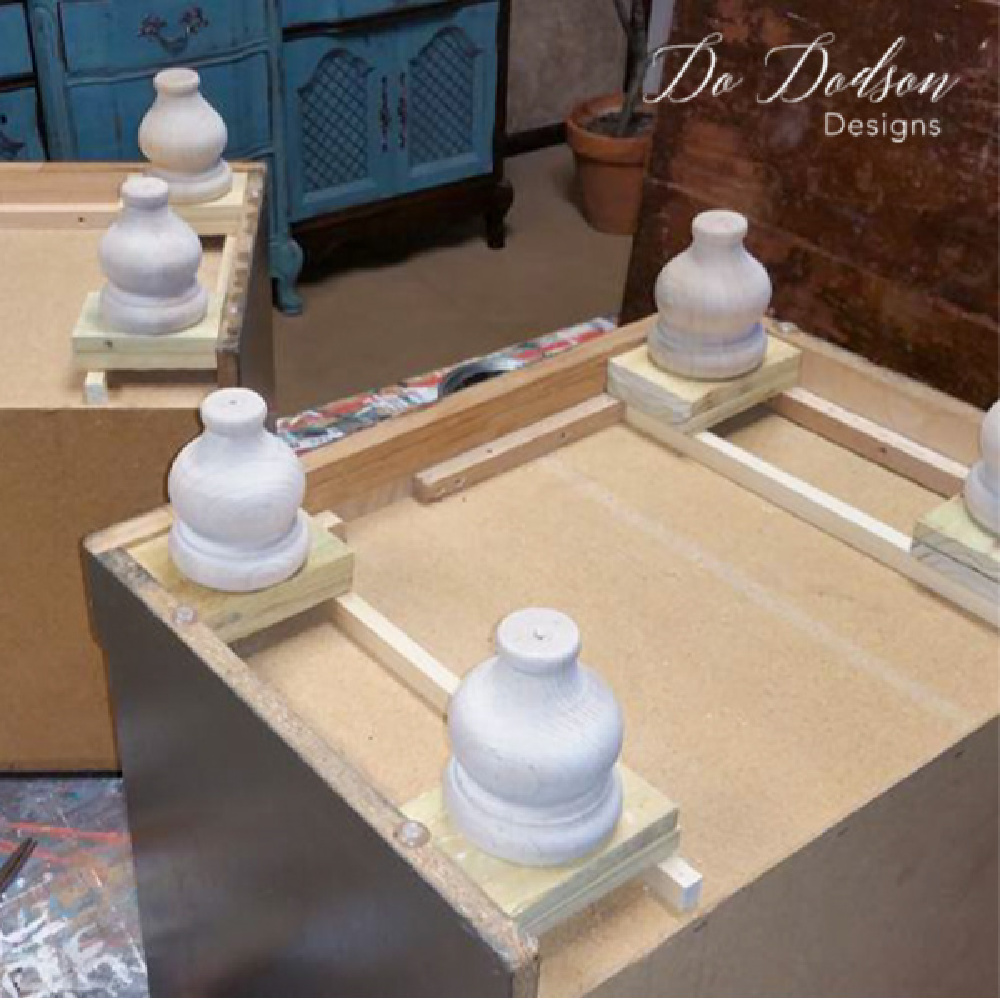
I made a few adjustments to add the furniture legs to this nightstand. The base was already wood, so I cut a few pieces of scrap wood and added them to the base to create a level platform. Easy peasy! Then attach the legs with screws. I found these legs on Amazon.
And I didn’t stop there with the gold! I used Rust-Oleum reflective gold spray paint to update the gorgeous curvy hardware. To learn more about updating old metal hardware. CLICK HERE.
Choosing The Right Stencil On Wood Furniture
Before choosing just any ole stencil to apply to your wood furniture, think about the style of the furniture.
You’ll want to choose a pattern or style that will complement your furniture style.
This Greek Key Stencil by Dixie Belle Paint Co. was my choice. This will be the perfect GREEK & GOLD combo! Like peanut butter and jelly. They just go together.
How To Stencil Wood Furniture With Chalk Paint
STEP 1:
Here is what I know. Using white chalk mineral paint when stenciling wood furniture will give you the best results. It makes the stencil design pop, and that’s exactly what you want when adding a stencil on wood furniture.
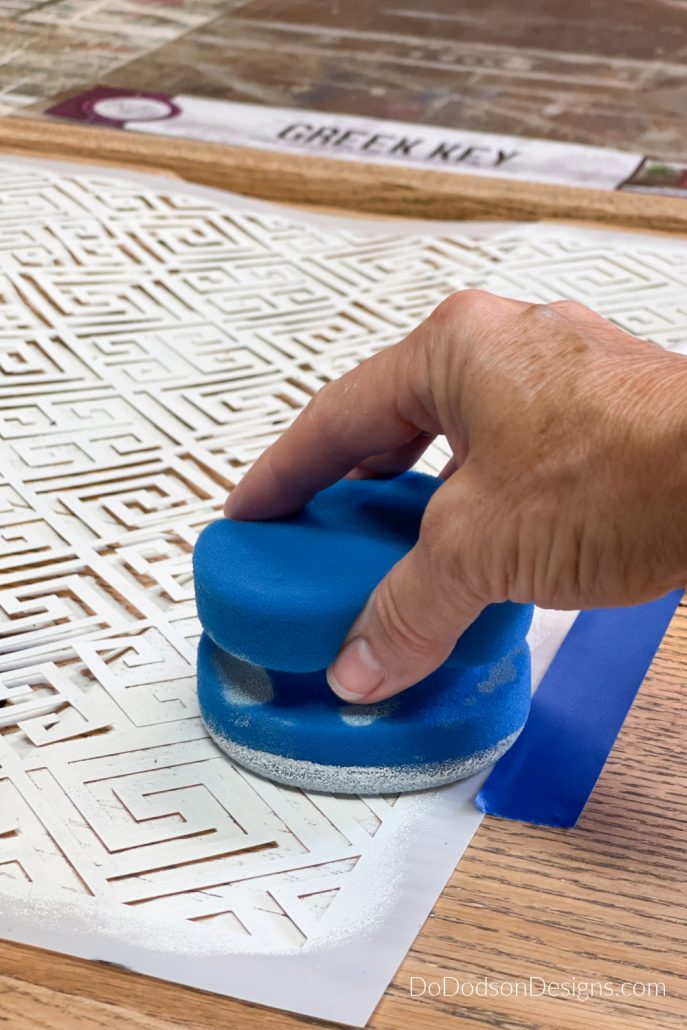
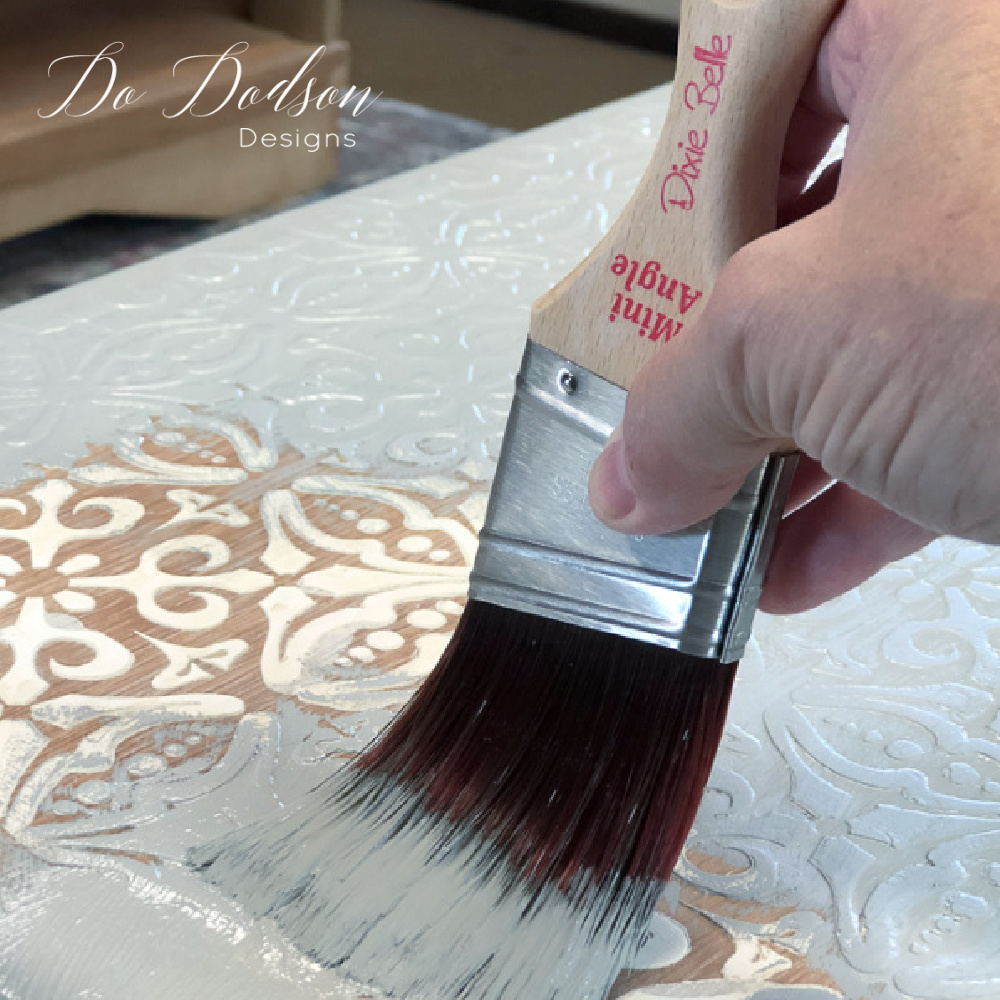
Add a small amount of your chalk mineral paint to a paper plate. I chose to use Dixie Belle’s Blue Sponge as my applicator for this project. Perfect for those large stencil jobs on furniture and can be used repeatedly. Just wash it in a soapy water solution, and rinse with clear water after each use.
STEP 2:
Use minimal amounts of chalk mineral paint when you stencil on wood furniture. Less is more.
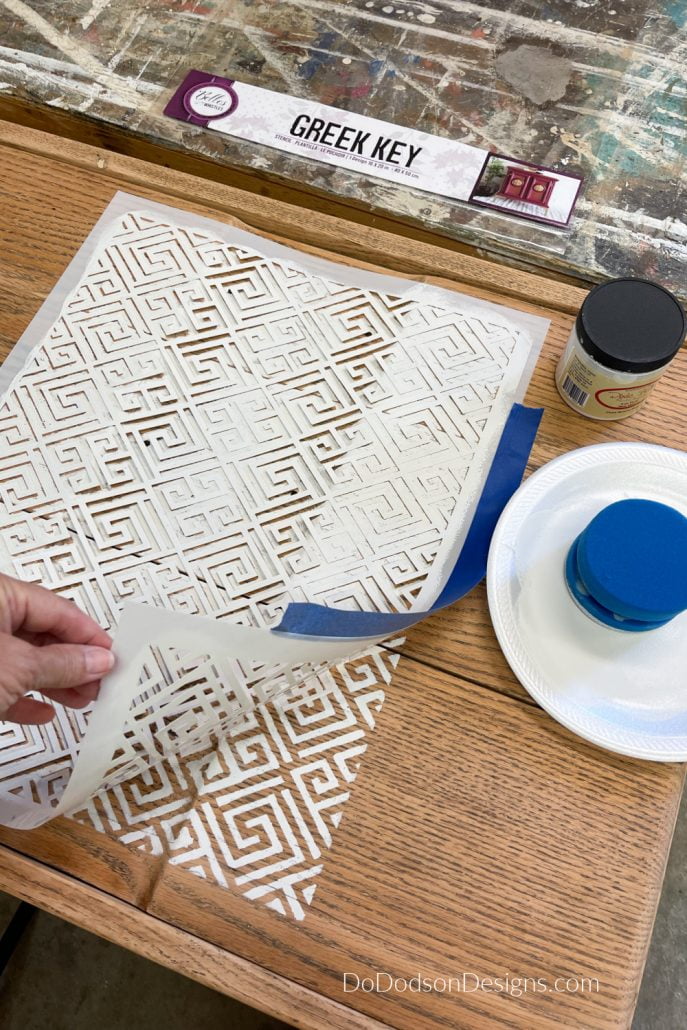
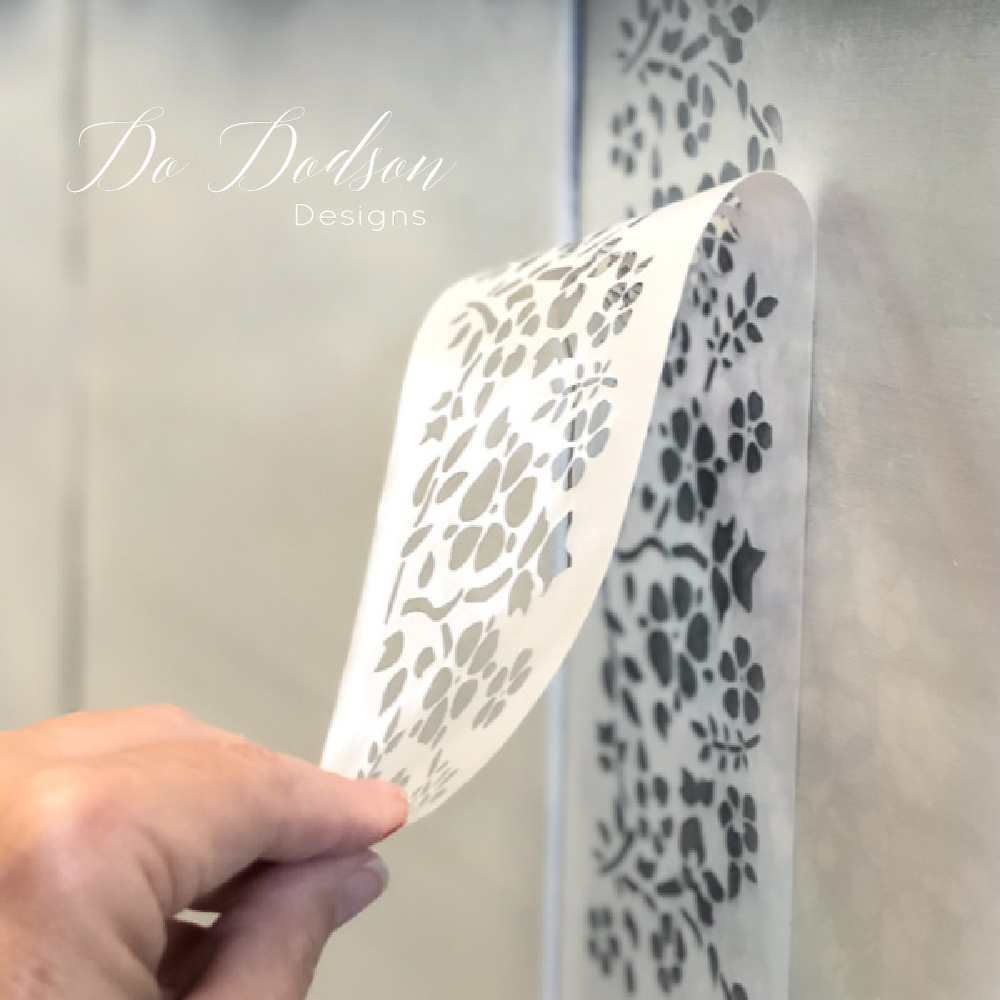
After loading up your sponge with paint (minimal amount), use an up and down motion to apply the paint over the stencil. It will take several applications to cover, but this technique will prevent bleeding under the stencil and give you the clean lines you want.
STEP 3:
You do not have to seal the chalk mineral paint. That is optional, but you will need to seal the natural wood finish to preserve the look and protect it from everyday wear and tear.
I have found that when sealing or top coating a natural wood finish, most products will darken the wood. For this reason, I like to use Dixie Belle’s Best Dang Wax in white. This will lighten the wood a bit, but that’s the look I love: a light and bright wood tone.
Apply the wax on the wood with a quality natural bristle wax brush and immediately wipe away any extra with a soft cotton cloth to reveal the beautiful wood grain. And it’s okay to wax over the stencil design on the wood too.
Nothing Is Permanent When Stenciling Wood Furniture
STEP 4:
It’s totally normal to change your mind during the creative process.
After applying the stencil on the wood nightstand drawer fronts, I slept on it overnight because I just wasn’t sure about my decision of placement. It’s always best to walk away.
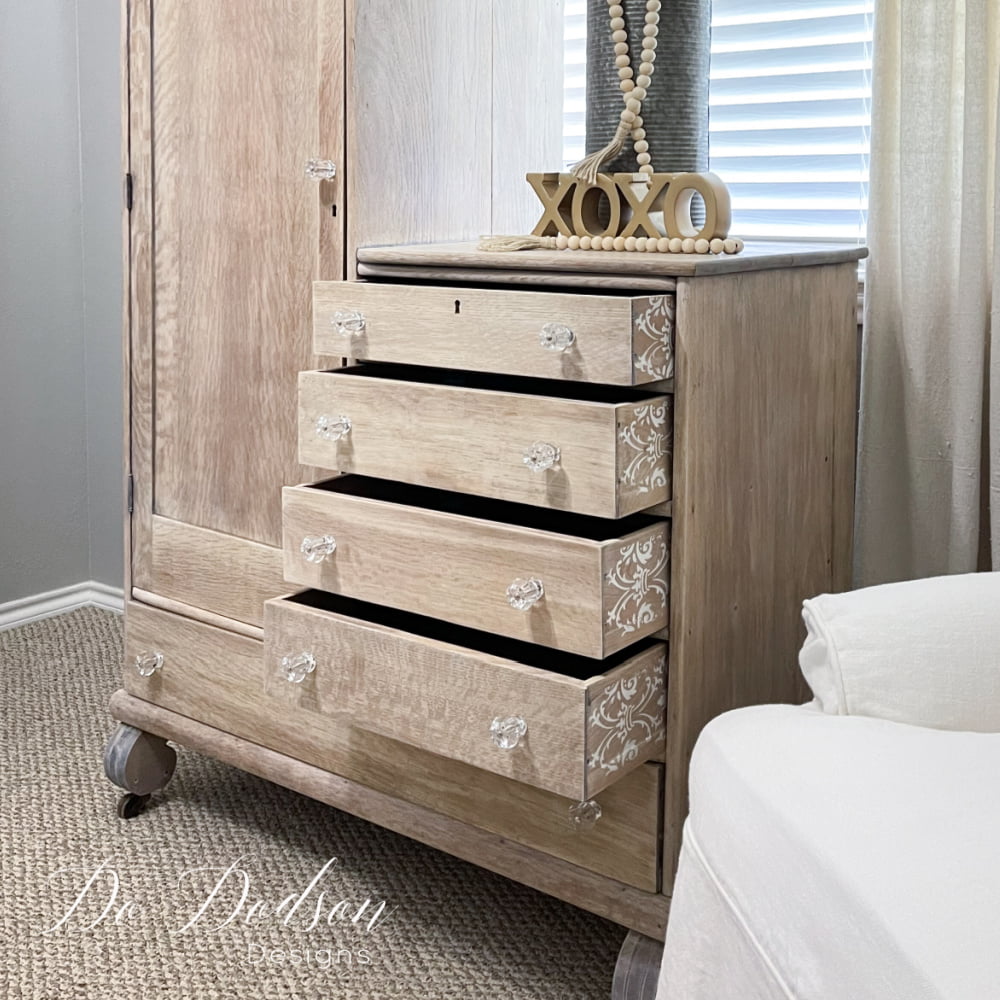
The next morning, I went back and made some changes. I removed the stencil on the outer parts of the drawers with my sander and left only the stenciled design inside the recessed areas.
Now I’m happy. 🙂 That’s what I love the most about furniture flipping; nothing is permanent.
The Look Of A Stencil On Wood Furniture – MCM STYLE
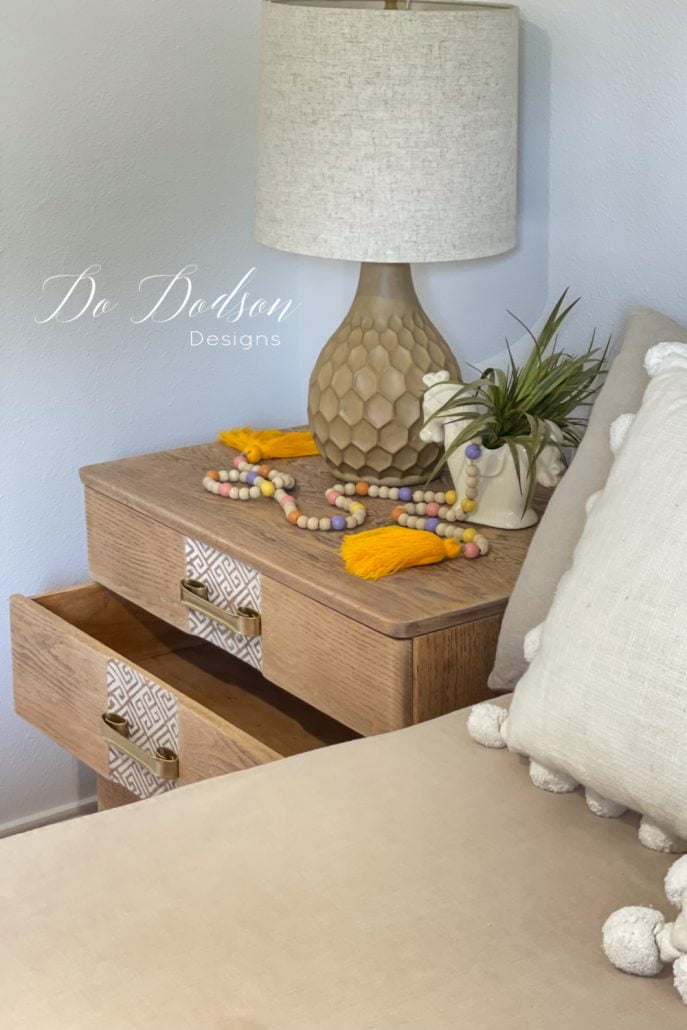
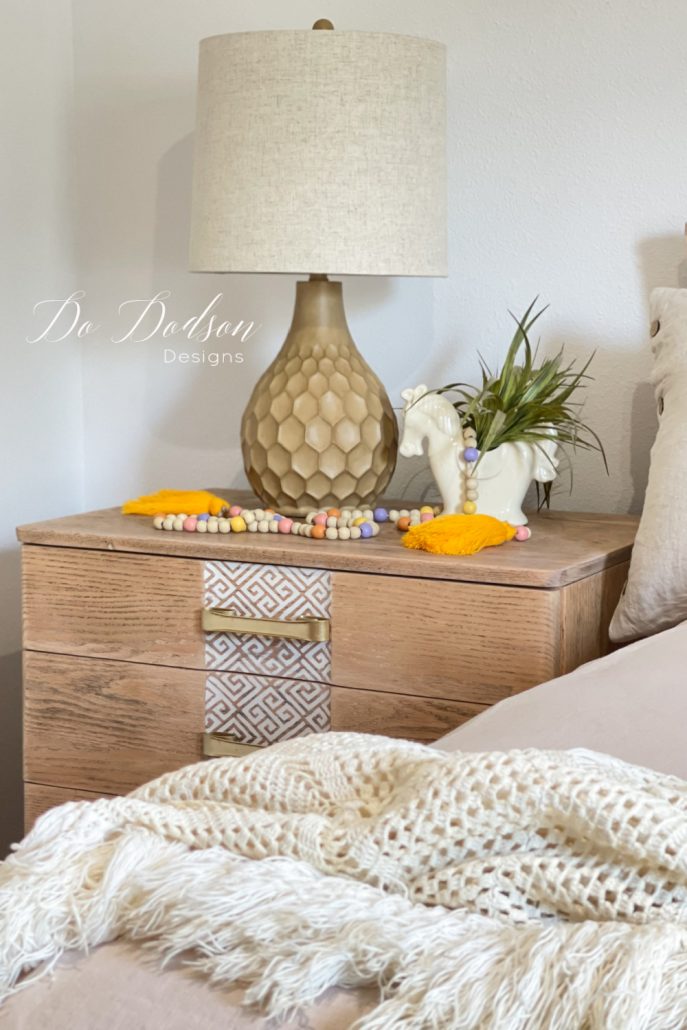
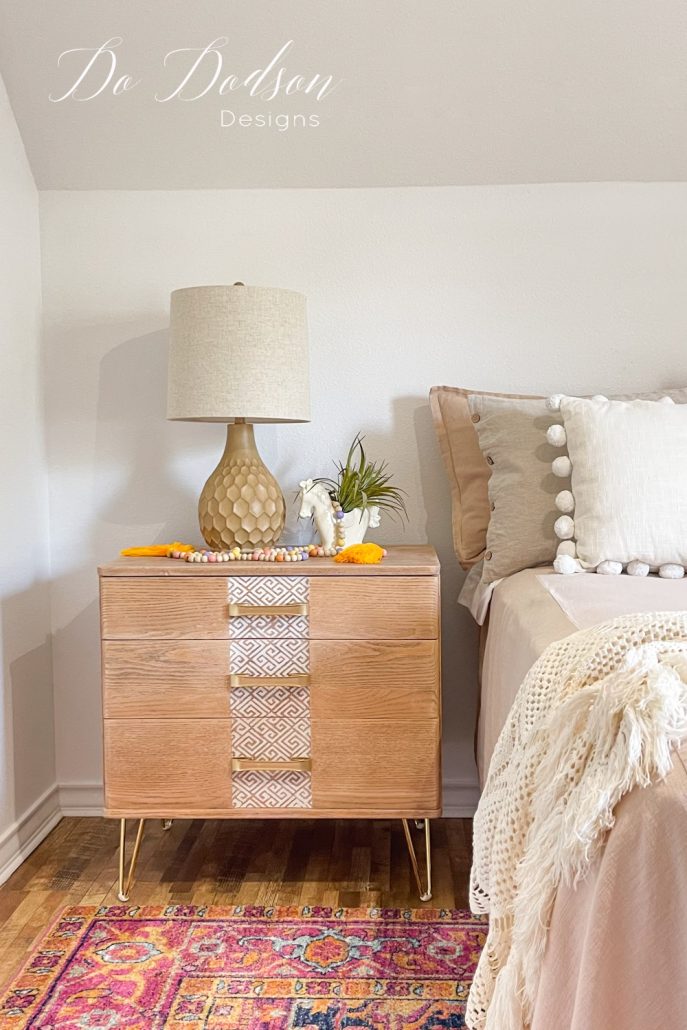
This couldn’t have turned out any better in my book. Adding a stencil on wood furniture is a great way to add your style with minimal effort.
I placed this nightstand in our guest room upstairs, and I can’t wait for our first house guests to arrive.
Love this look? I’d love to hear what your thoughts are in the comment section. Or say hello so I know you stopped by. Don’t be shy! 🙂
Until the next project… xo, Do

I love this raw look with the gold pin legs! The stenciling looks perfect with this piece. You’re killing it, my dear friend. 🥰
You are always so sweet and supportive. Thank you, that means a lot to me. 🙂 xo
So classy! Love it!
Thanks, Michele! I’m so glad you stopped by. I think it’s pretty cute if I say so myself. 🙂 xo
This stenciled look is perfect for the nightstand Do! It brings the whole piece together and shows off it’s MCM aesthetic! Pinned 😊
Hey, Cindy! I was almost giddy after I placed it in my guest bedroom. The rug really pulled it all together. Thanks for reading. 🙂 xo
The piece is beautiful…my only advice is “save your back”. Noticed the pic of you standing over the piece sanding and I cringed.
You are so sweet! I promise I don’t sand furniture in that position. We do have to stage photos for the blog. LOL, it makes me hurt looking at that photo. Thanks for reading. 🙂 xo
Beautiful piece! Love the raw finish, but the HARDWARE!!
I know! That’s what attracted me to the piece in the first place. Thank you so much for reading. 🙂 xo
I absolutely love what you’ve done with this piece! ❤️❤️
Oh, thank you! It was a fun makeover, and the hardware made it easy to decide the direction I needed to go with it. 🙂 xo
This side table is gorgeous and that hardware! You really brought it back to life with the stencil and gold legs! 💜🤗
The hardware gets me every time! Thanks, Denise. 🙂 xo