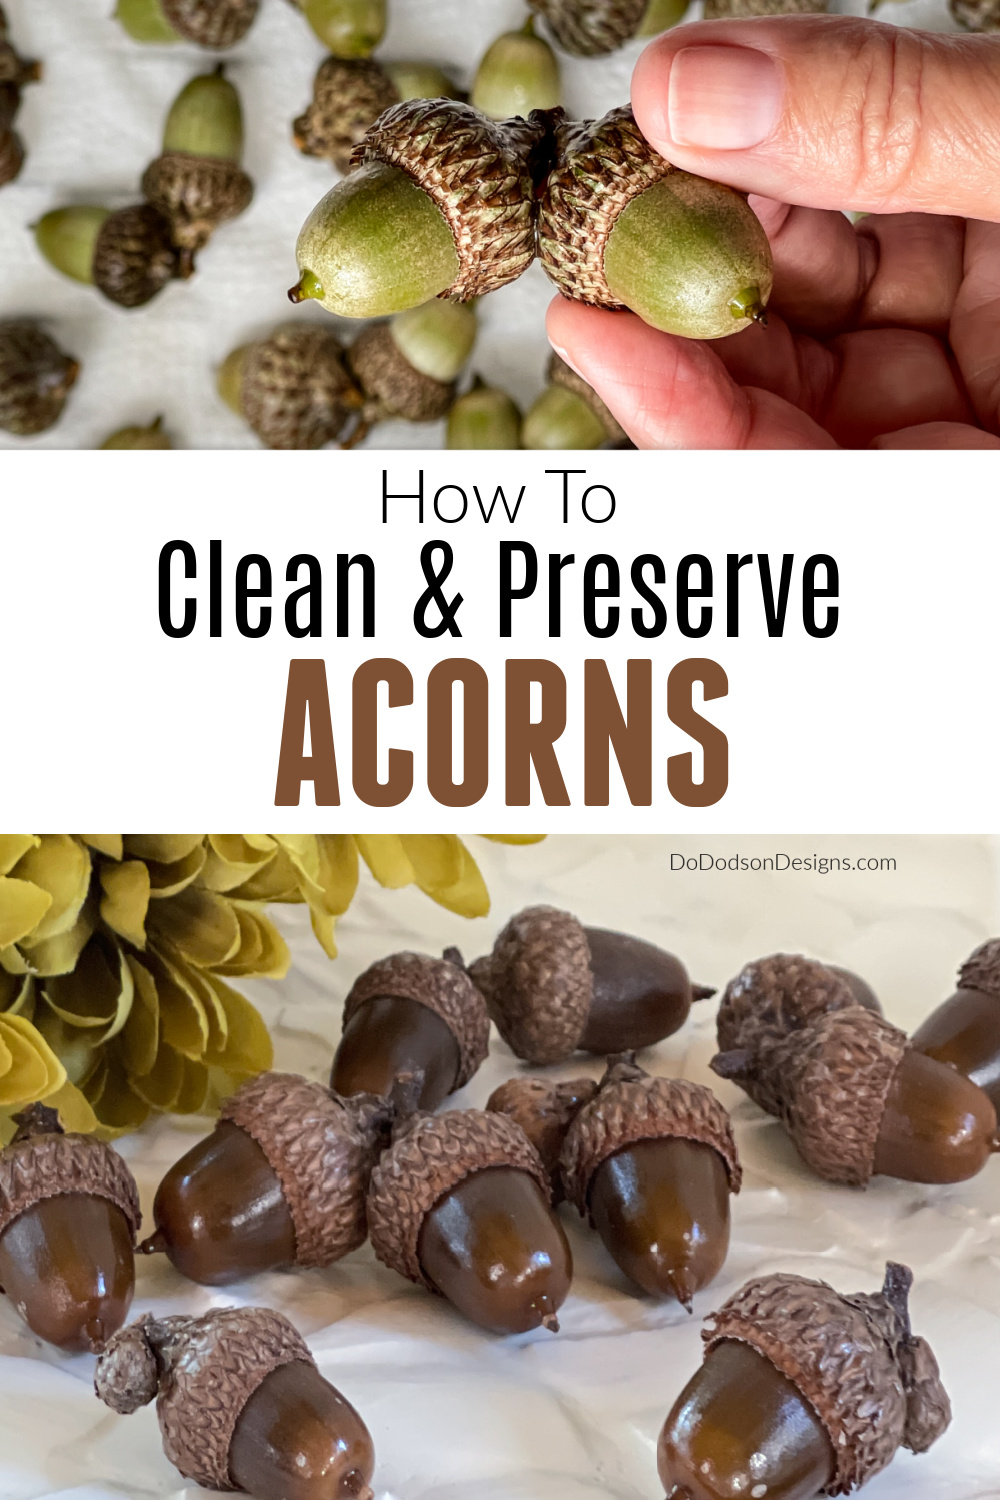
Hey, triple-D friends! Looking to add a natural touch to your crafts and Fall decorating? I’ve wanted to do this since we moved to our new property. Our red oak tree had a bumper crop of acorns this year, so I thought I’d share the process of how to preserve acorns so you, too, can have amazing acorns for your home decor displays and crafts.
* As an Amazon Associate, I earn from qualifying purchases and through other companies as well. You will not be charged extra when you purchase through these affiliate links, but any income I make helps me create more amazing DIY projects to share with you! To see my full disclaimer, click here!
Why do I need to preserve acorns?
Preserving acorns may seem like an extra step in crafting, but it’s necessary if you want to achieve the best results for your Fall decorations and crafts. By preserving acorns, you are not only ensuring their longevity but also enhancing their natural beauty.
Preserving these acorns allows you to capture nature’s beauty at its peak. As the leaves change color (green and brown in Texas) and the air turns crisp, acorns become the symbol of Fall. By preserving them, you are able to extend their lifespan and incorporate their charm into your crafts, centerpieces, or even wreaths. Whether you use acorns as a focal point or simply as a subtle accent, their preserved form adds a touch of warmth and Fall charm to your creations.
Preserved acorns also serve as visual elements while bringing a tactile experience to your Fall decorating. Doing this allows you to retain their natural texture and fully appreciate their beauty.
An acorn’s smooth yet slightly bumpy surface can evoke a sense of longing and connection to the outdoors. I remember picking them up under the huge oak tree at my grandparent’s home during the Fall season when we visited.
In addition to their aesthetic appeal, preserving acorns also helps prevent decay and insect infestation. Acorns are organic materials, prone to rotting if not properly preserved. Preserving them ensures they maintain their shape, color, and durability throughout the season and even years if stored properly. This adds longevity to your crafts and saves you the disappointment of seeing your creations deteriorate quickly.
Now that you understand the importance of preserving these little, earthy nuggets, it’s time to get your supplies together. With just a few simple items, you’ll have everything you need to preserve acorns for your Fall decorating and crafts.
More Fun Home Decorating Projects
- How To Dry Acorns
- How To Make A Fall Wreath Out Of Dried Okra
- DIY Reverse Frame Hack – How To
- Rustic DIY Fall Decor Ideas On A Dollar Tree Budget
SUPPLIES NEEDED:
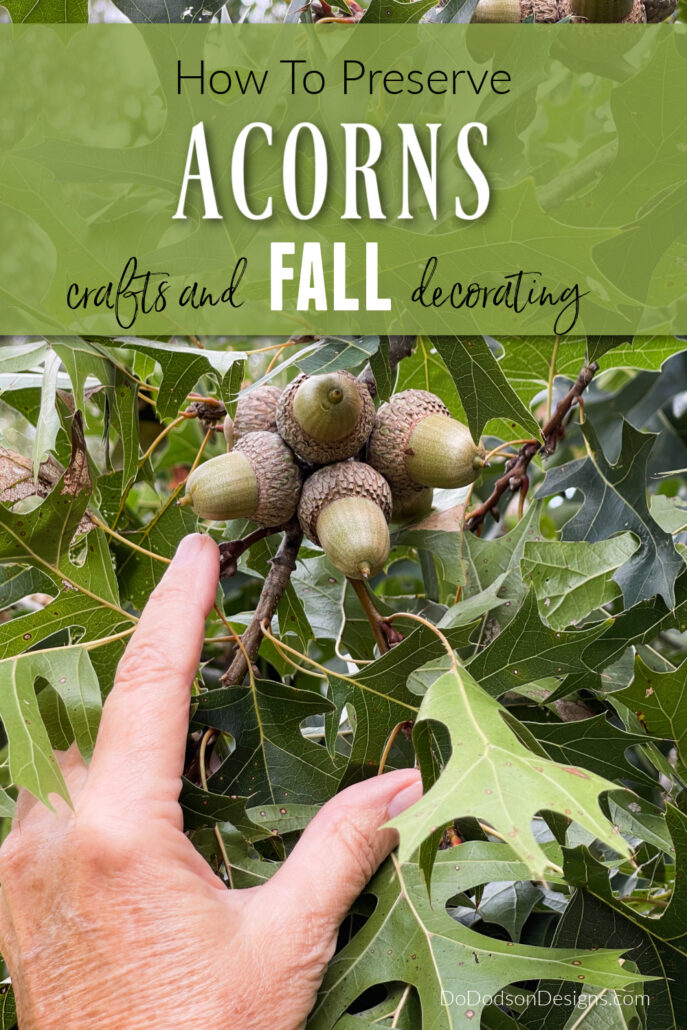
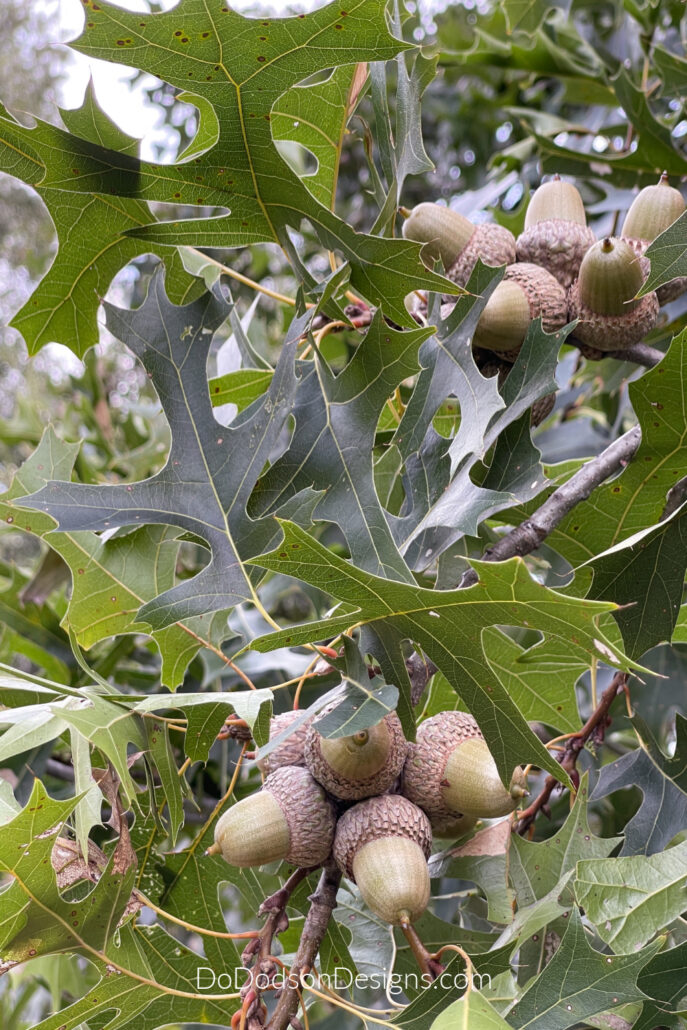
First and foremost, you’ll need a collection of fresh acorns. Look for acorns that are free from cracks, holes, or signs of decay. It is best to gather them directly from the ground as they fall from the trees rather than picking them from the branches. But, if you time it just right, you can pick them from the branches (fully developed) before they hit the ground, which is what I did. The acorns should still have some green color to them.
- Acorns
- Mild dish detergent
- Oven
- Baking sheet, cookie sheet
- Polyurethane Spray (oil or water-based)
- Class container to display them in
STEP 1: Choosing The Best Acorns For Preserving
You’ll need a container or bucket to hold your acorns while you gather them up. Look for something sturdy and easy to clean, as the acorns can release dirt and debris while collecting them.
First, ensure that the acorns you gather are in good condition and free from any cracks or damage. Picking them directly from the tree or ground shortly after falling is best.
Are these acorns not GORGEOUS? These are from my red oak tree.
STEP 2: How To Clean Acorns
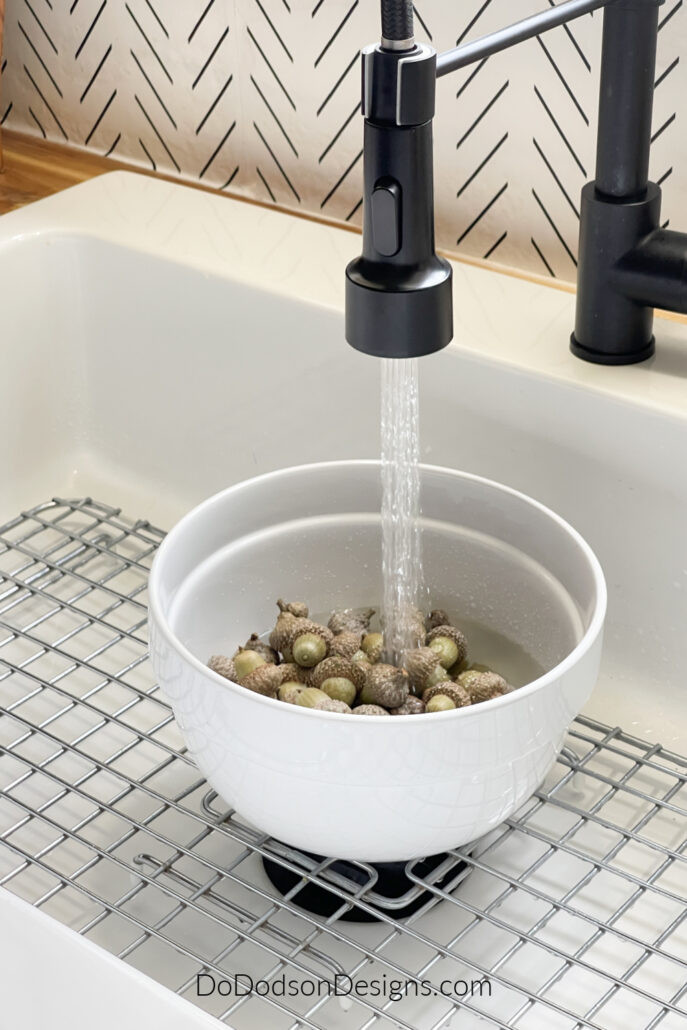
Next, thoroughly clean the acorns to remove any dirt, debris, or insects that may be hiding. Fill a bowl with warm water and add a few drops of dish soap. You can skip the detergent if you pick the acorns directly from the branches. I find they are cleaner than picking them up from the ground.
Place the acorns in the soapy water and use your hands to gently scrub them, paying special attention to the caps and crevices. Rinse them under running water and pat them dry with a clean towel. Do not allow them to soak for a long period of time, as they will absorb too much water. We’re not trying to drown them, just knocking off the dirt.
STEP 3: Drying Acorns Thoroughly After Washing
Once the acorns are clean, it’s time to prepare them for drying. Lay them out on a paper towel to absorb any excess water.
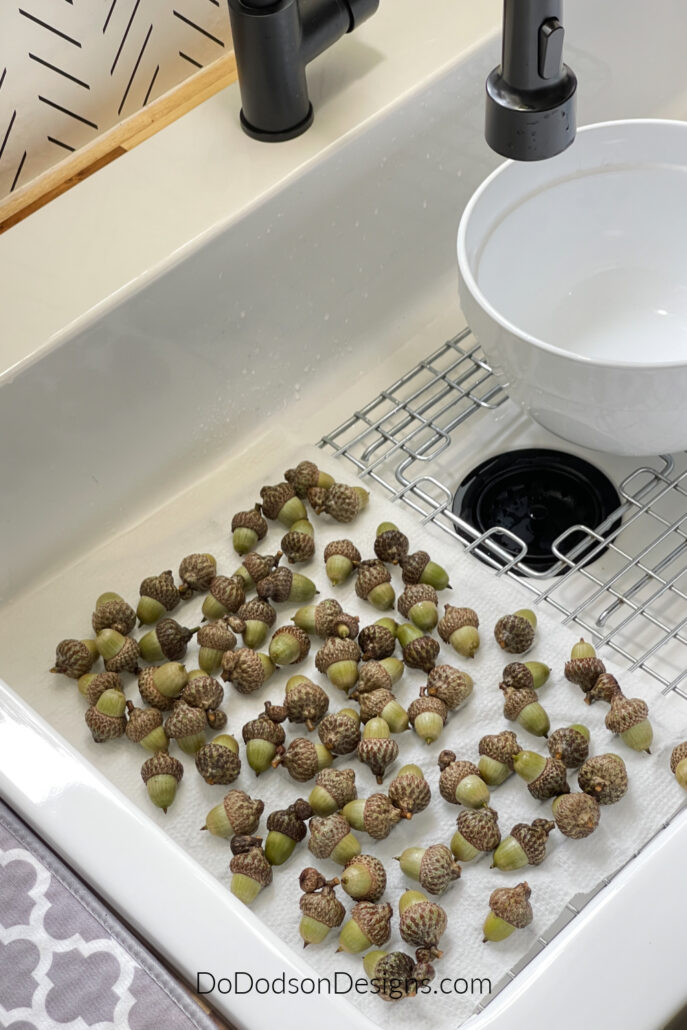
Then, place them in a single layer on a baking sheet or tray so that they are evenly spaced and not touching each other. This will allow for proper air circulation and prevent the acorns from sticking together during drying time.
Find a dry, well-ventilated area where you can leave the acorns undisturbed until they are dry. About 24 hours or overnight. This can be done indoors or outdoors, as long as it’s a space that remains relatively cool and dry.
STEP 4: Baking The Acorns To Kill Bugs
The next step is very important, especially if you don’t want insects crawling around inside your home.
Worms and other bugs are commonly found on and even inside the acorns. You may even see a tiny hole in the acorn itself. That’s why I recommend that you bake them, especially if you are using them inside your home.
This process not only kills bugs but also dries them out.
Bake the acorns at 175-200 degrees Fahrenheit for 2-3 hours on a cookie sheet. Check them often to ensure that they don’t burn. I like the flip mine over a few times for even baking. The green acorns will turn a beautiful matte brown as they cook.

Next, remove them from the oven and allow them to cool overnight, open to the air. If you notice that a few of the caps are loose or have fallen off the acorn during the cooking time, you can use wood glue or hot glue to reattach the caps after they have cooled completely.
STEP 5: Sealing The Acorns
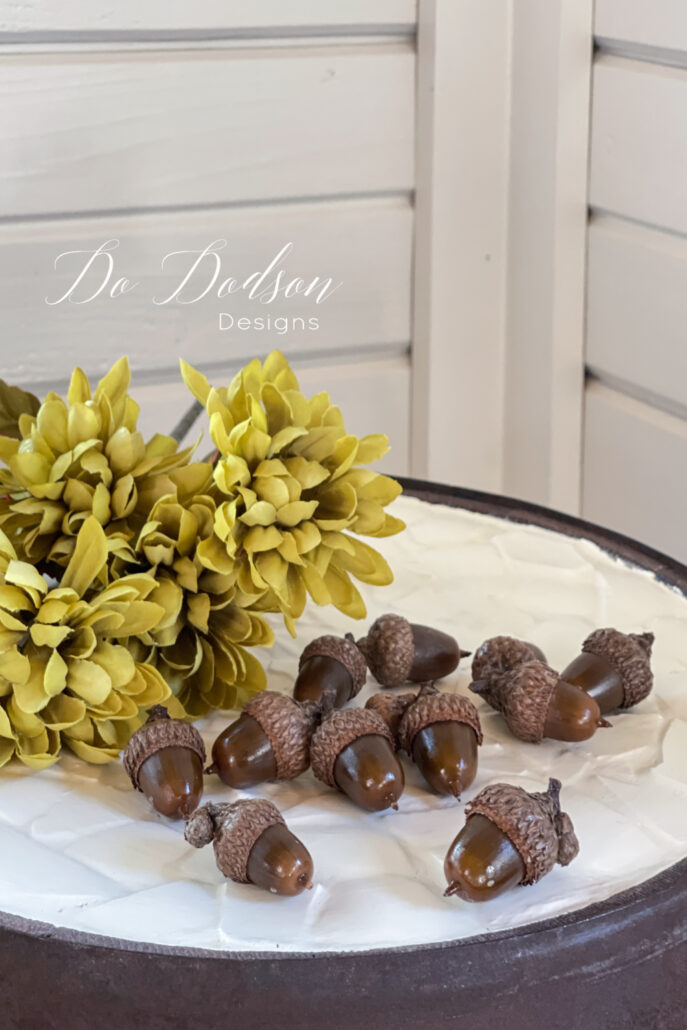
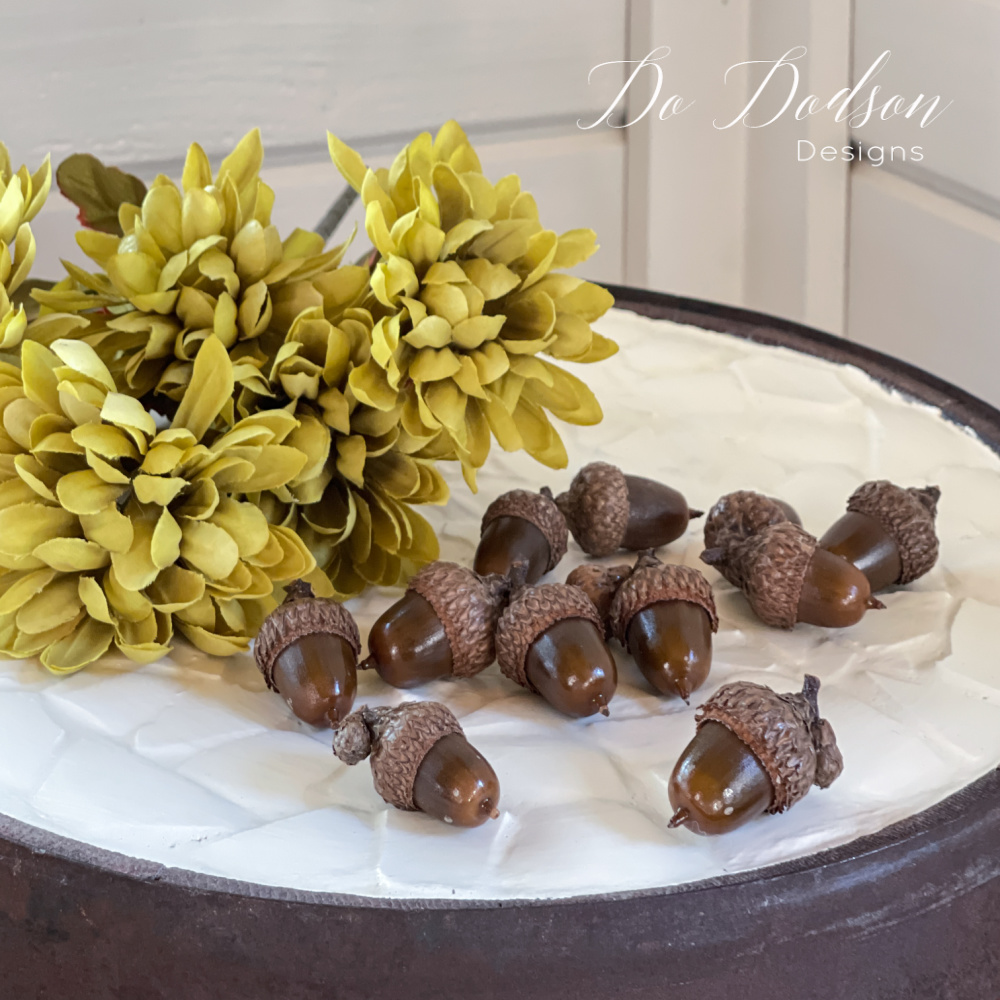
Look how gorgeous these little gems are! Use them as is, or add a level of warmth by spraying them with a protective top coat.
I sprayed these with an oil-based polyurethane to keep them looking natural and to add a rich semi-gloss finish. You can use water-based or oil. This is what I had on hand.
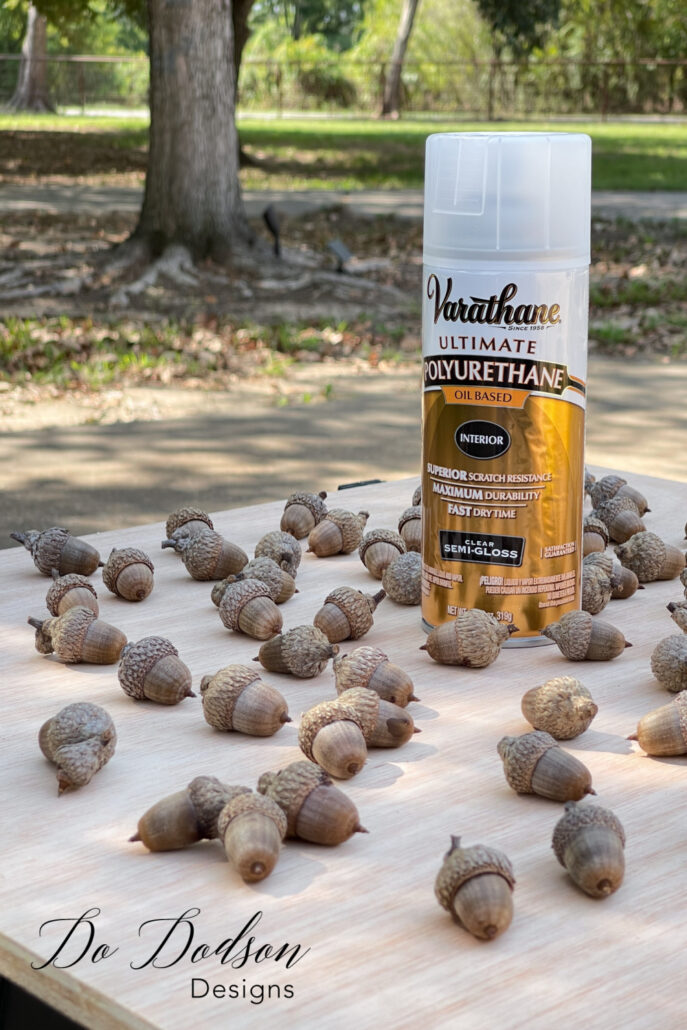
The urethane spray turns the matte brown into a rich chocolate color. Both are beautiful, but I love the richness of the dark brown.
Which one would go with your style the best?
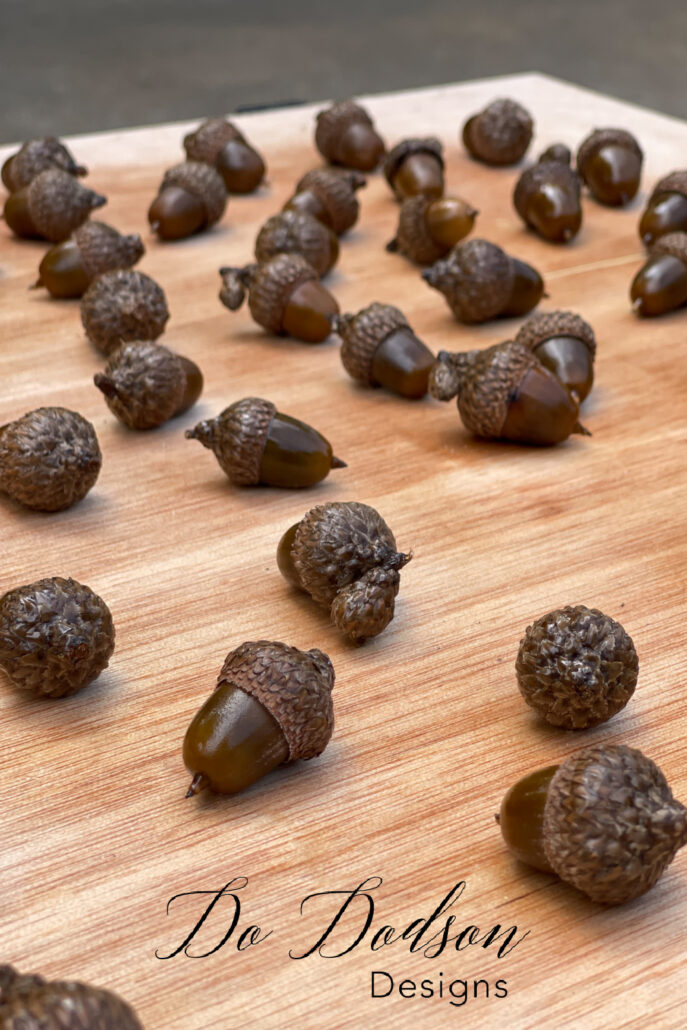
With these steps completed, you now have beautifully preserved acorns ready to be incorporated into your Fall decorating ideas.
Preserving Acorns For Fall Decorating
Once you have successfully preserved your acorns using the methods mentioned earlier, you will have a delightful array of nature’s treasures to enhance your Fall decorating projects. These preserved acorns can be utilized in various ways to add a rustic and cozy touch to your home during the Autumn/Fall season.
One simple way to incorporate these preserved acorns into your Fall decor is by arranging them in a decorative bowl, vase, or container. Fill a clear glass container with your preserved acorns, allowing their natural beauty to take center stage. You can use different sizes and colors of acorns to create an eye-catching display that will instantly bring a touch of nature indoors.
I haven’t attempted to paint acorns yet, but I can foresee it in the near future.
Creative Display Ideas
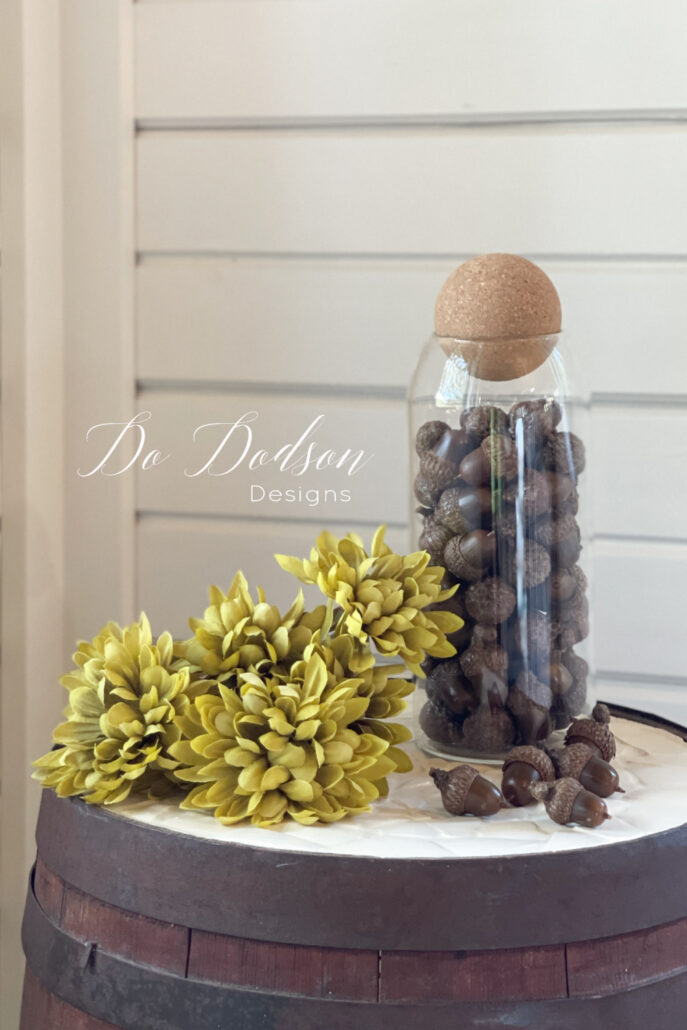
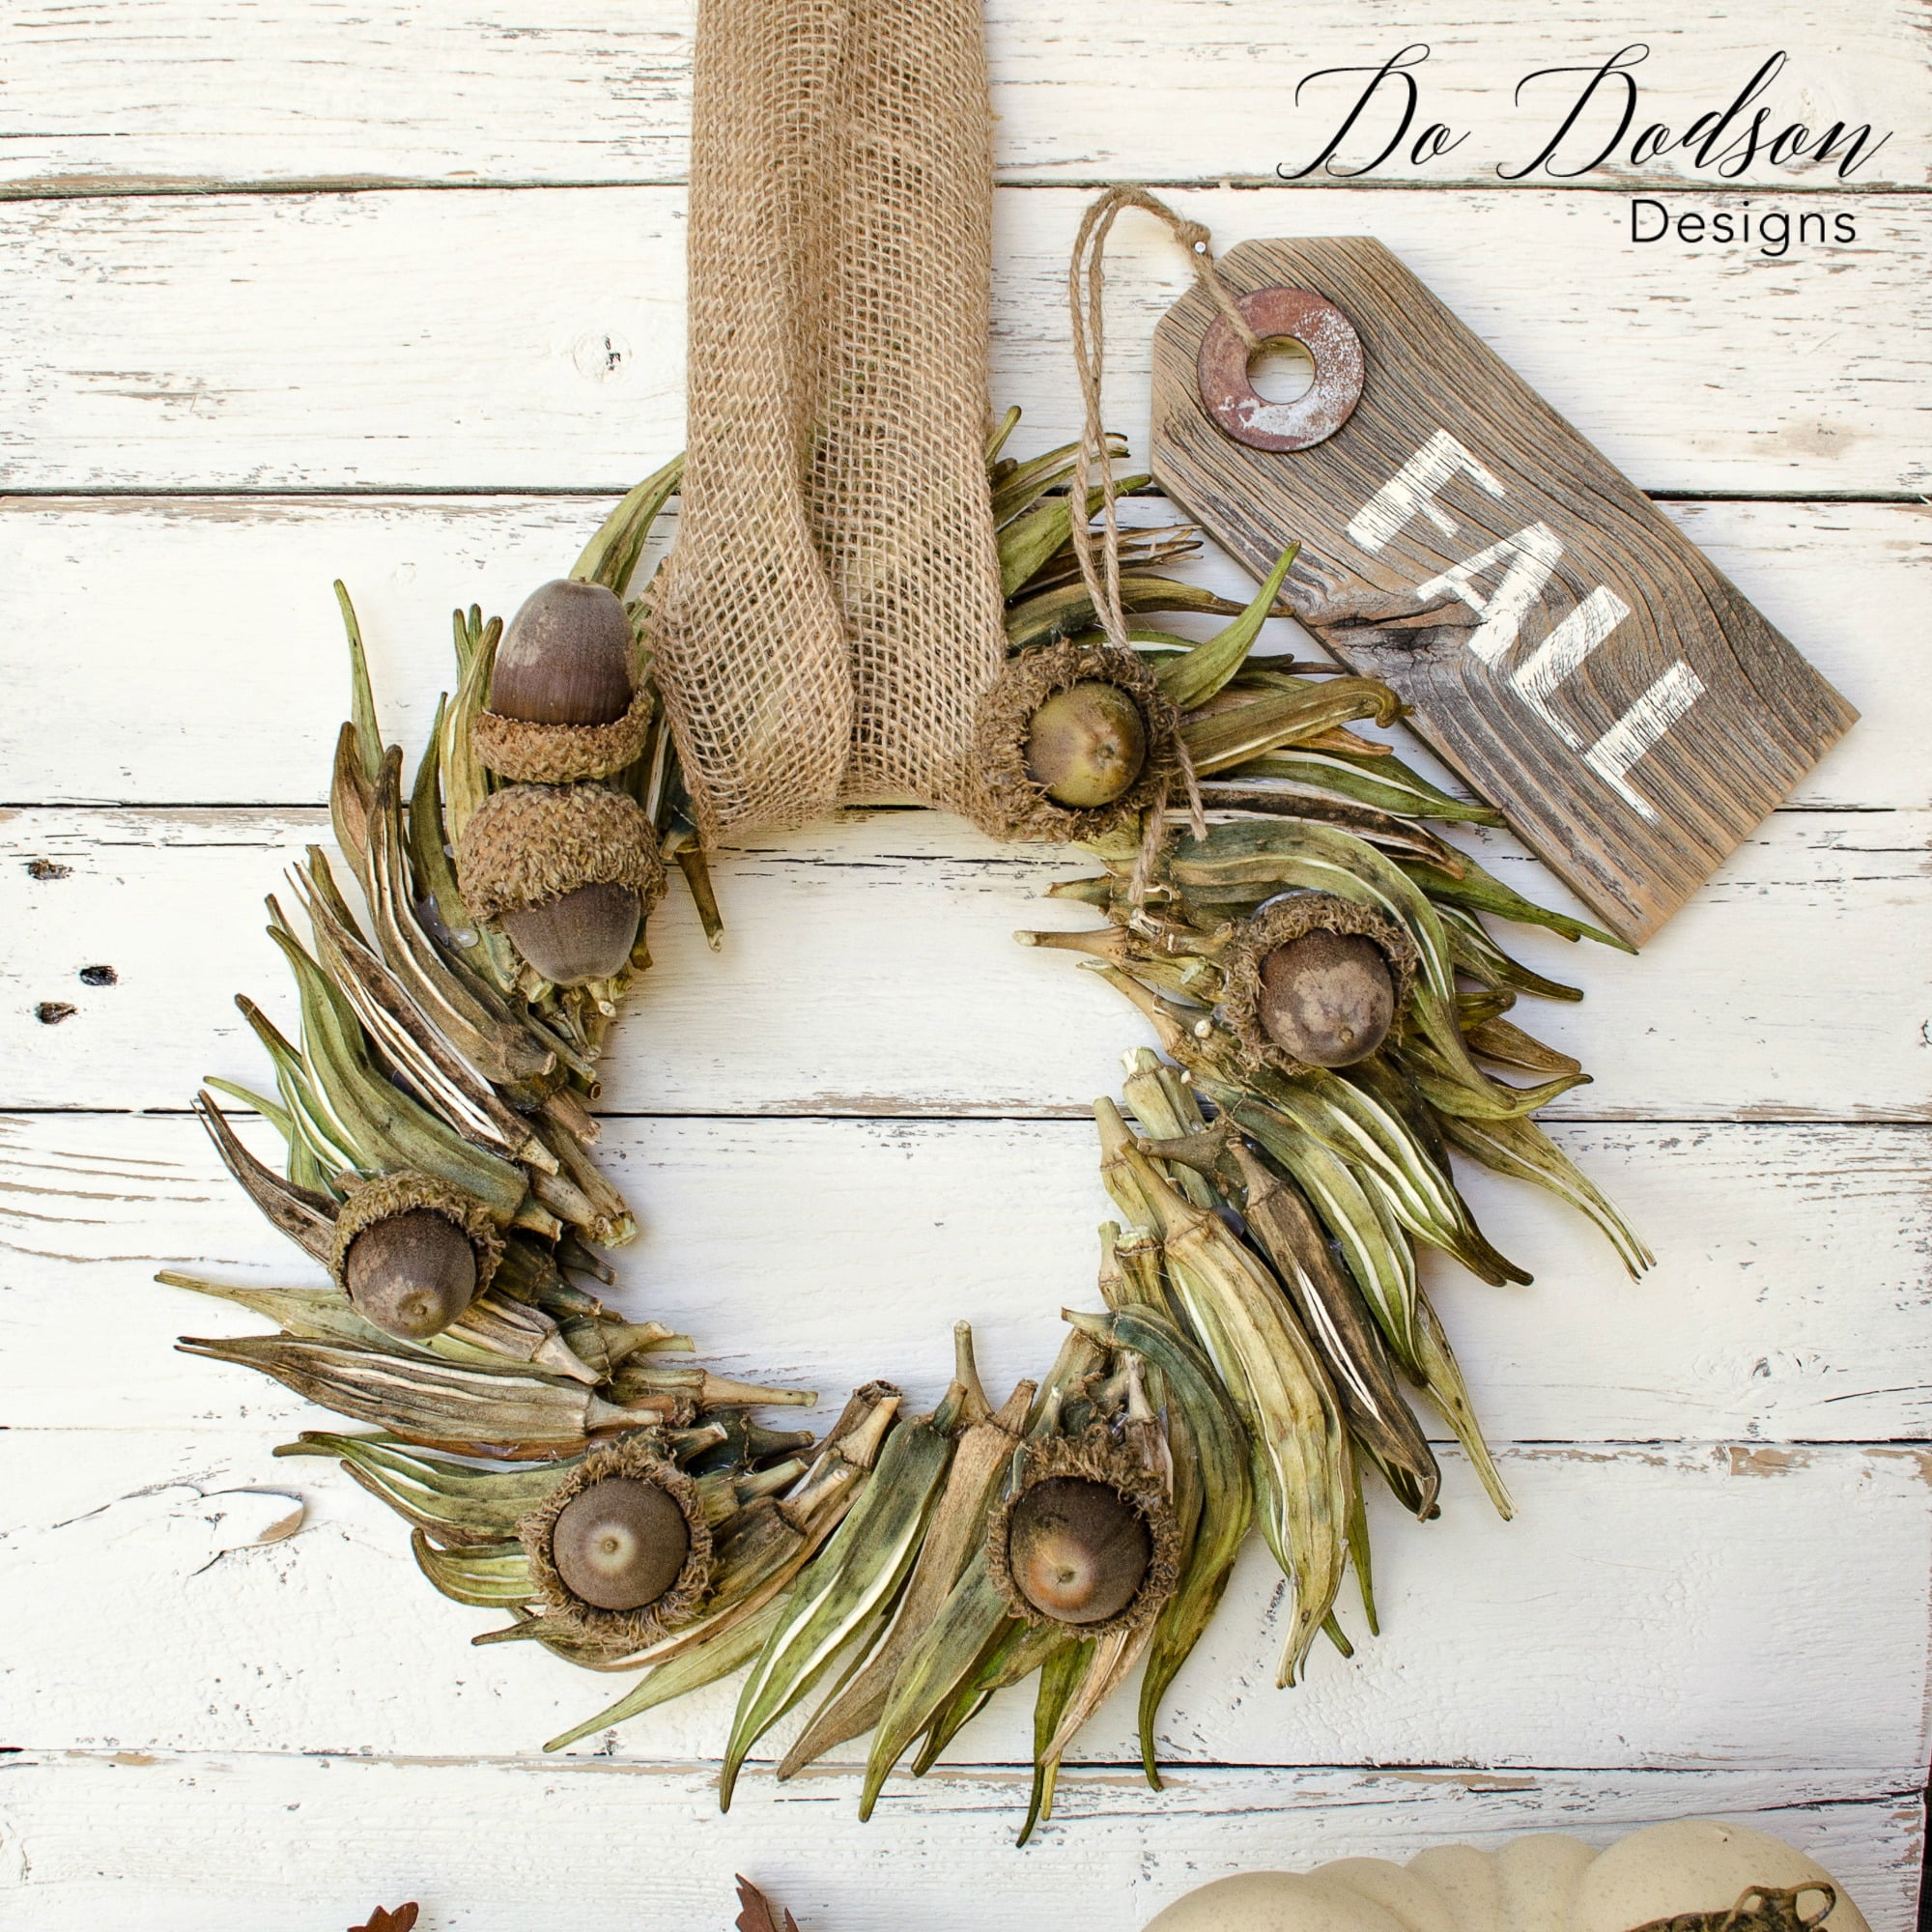
You can also hot glue the acorns onto a wreath or use them as decorative accents on candleholders, picture frames, or even napkin rings. The possibilities are endless, and your creativity can go wild when incorporating these preserved acorns into your Fall decorating projects.
Another fantastic idea is to use the preserved acorns as table decor for your Fall gatherings. Sprinkle them around your dining table as a charming and natural centerpiece, or place them strategically along a table runner for an organic touch. Your guests will be impressed with the attention to detail and warm atmosphere these simple yet elegant acorn accents create. Simple elegance.
Thank you for joining me today while I share this fun, creative way to preserve acorns.
I’m curious to know how you would display them. Let me know in the comment section below, or say hi so I’ll know you stepped by.
In the words of Ralph Waldo Emerson, “The creation of a thousand forests is in one acorn.”
Happy Fall, Y’all!
Until the next project… xo, Do



Super cute! I can’t believe how great they look once you sprayed with the Varathane topcoat! XOXO
Hi Denise! I know! It created a rich brown. They almost look fake. Thanks for reading. xo 😘
Fantastic idea. How I wish I had an Oak tree now. At least I know where to vacation next time. I’m on the hunt, Thanks. They’re just darling.
Thank you, Rita.
We have an abundance this year. The red oak trees are so beautiful. Thank you for reading. xo 😘
I have a small box of fake ones. This year the tree next to a restaurant was dropping them like crazy so I got a tinfoil takeout pan & gathered them. They’re on the smaller scale & all the tops bounced off once they hit the ground. I read a similar preserving procedure on a different website. Stupidly, that website owner said that the ones on the ground were left by the squirrels. (How about no squirrels to be found????) Anyway, I need to reattach the tops with hot glue before I spray seal. Tomorrow I will try a different location that usually yields large specimens. I’m not sure if the weather played a roll in the size or if they are different oak tree varieties.
Hi Robin,
Acorns fall when they quit growing. I guess a squirrel could drop a few. 😂 Oak trees will produce large amounts of acorns every few years. It has to do with reproduction and feeding the animals. It’s extremely interesting to research. Good luck with your hunt. 🙂
These are darling-much larger than the ones on my tree, but then again, you ARE in Texas! ;). And as much as I’m a summer lover, I find myself wanting to wind down from all the work outside. Thanks for the great info-I’m hoping for a mast year.
Hi Mary! Bring on Fall! Oh, just a heads up, if you try this project, be sure and store them at the end of the season in an open container. They will continue to dry out over the next year. If stored in an airtight container, they will grow fungus from the internal moisture.
Have a great weekend.
🙂 Do
I did all these steps two years ago and they looked great. When autumn was over I put them in a plastic bag to store away. The next when I opened them up they had mildew on them. Do they need to be stored in a paper bag?
Oh, Cheryl! I feel like that’s my fault. Yes, they will continue to dry out but best stored in an open container. I’m so sorry. I’ll update that blog post and add that tip. Thanks for sharing your experience with me.
🙂 Do
I haven’t preserved acorns for years! This year that is going to change! Happy Fall to ya’ my friend 🥰
Well, there you go! Happy Fall my friend.
xo Do