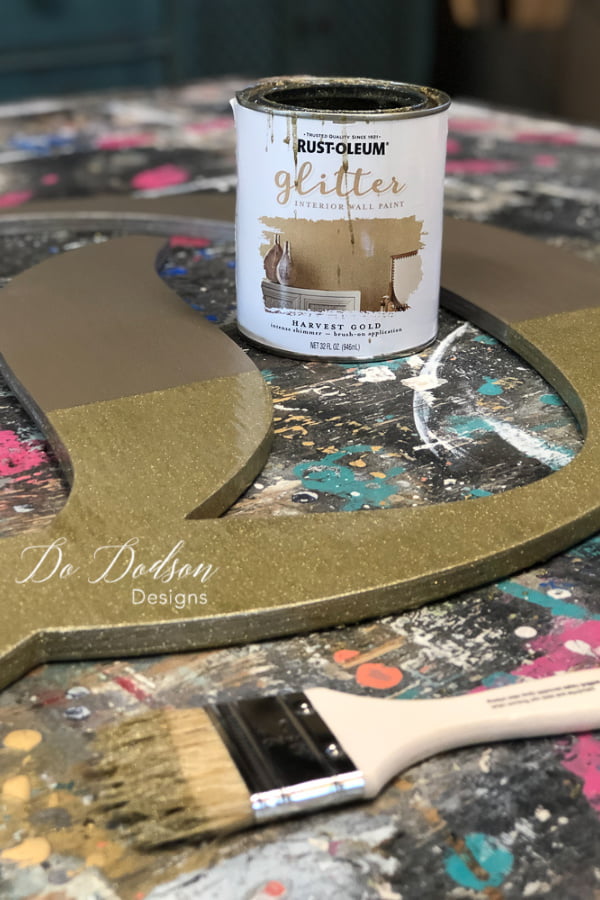
Adding a personalized touch to my home and office has always been important to me and when Signopoly reached out to me and offered to send me my initial D, I knew exactly what I was going to do with it. In this blog post, I’ll show you how to paint wood letters and use my favorite accent color… GOLD! In other words, add BLING!
To help you find the products I use. You are not charged extra to use any of the links, but any income I make will be used for more fun projects! To see my full disclaimer, click here!
1 Wood Letter | 4 Projects
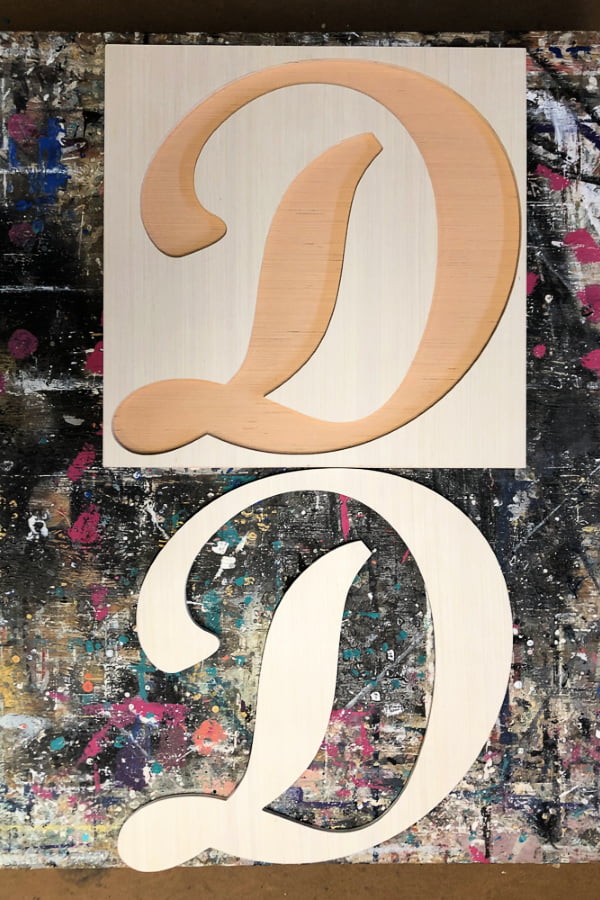
Products List: How To Paint Wood Letters
- Wooden Letter by Signopoly
- Up In Smoke Gel Stain (for the backer board)
- Tobacco Road Gel Stain (for the backer board)
- Caviar black chalk mineral paint
- White Wax
- Wax Brush
- Buttercream chalk mineral paint
- Steel Magnolia (metallic paint)
- Rustoleum Glitter Paint
- Paintbrushes
- Gold Leaf Kit
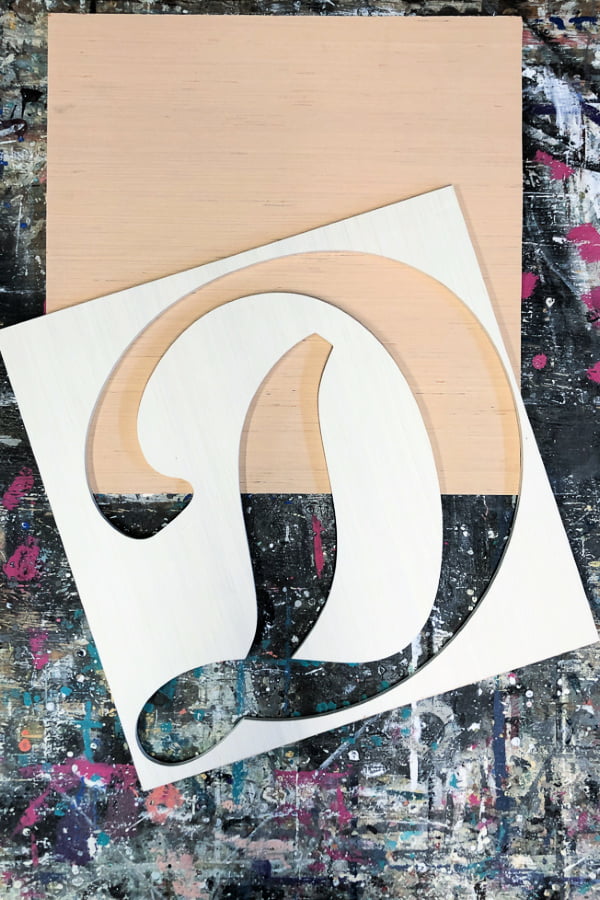 Not only did I receive the wood letter D, but they also threw in the cutout and backer board. Score! As a result, I was able to create 4 projects that can be used in my home, staging with my furniture and in my office. I’m excited to share this with you!
Disclosure: These extra pieces are not typically sold with the wood letters but only to show how you can create multiple projects from the leftovers cutouts.
Painting The Backer Board For The Cutout
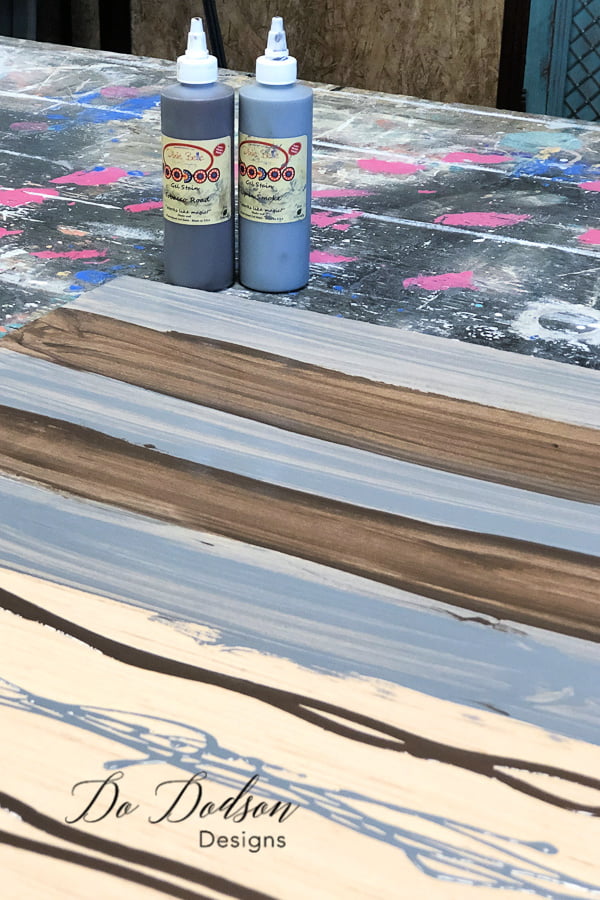 Apply the Gel Stain in two different colors on the backer board and blend with a soft cotton cloth. Doing this will allow you to work with the gel stain and blend them flawlessly. It’s a great look!
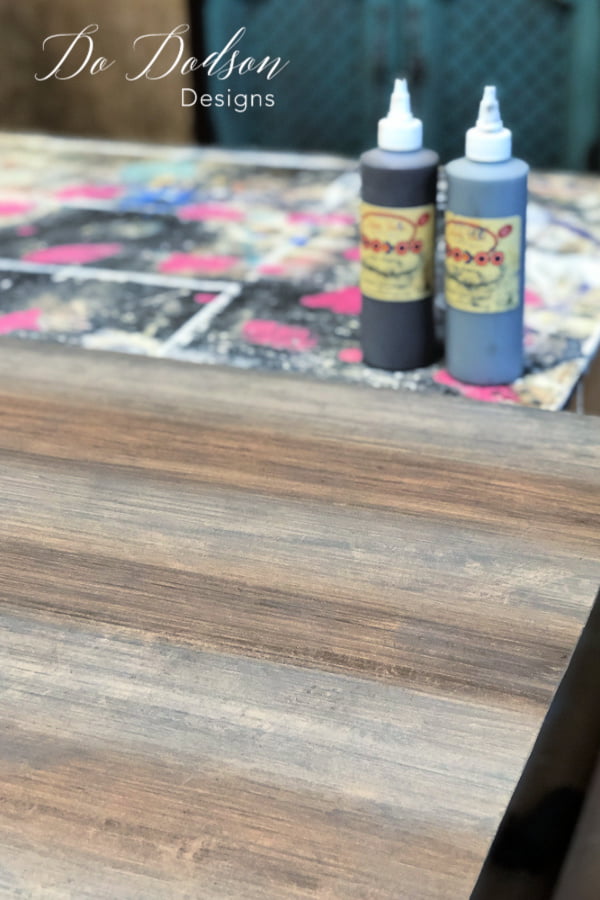 By blending the two colors, (like an ombre effect) I was able to create a faux wood grain look on the board.
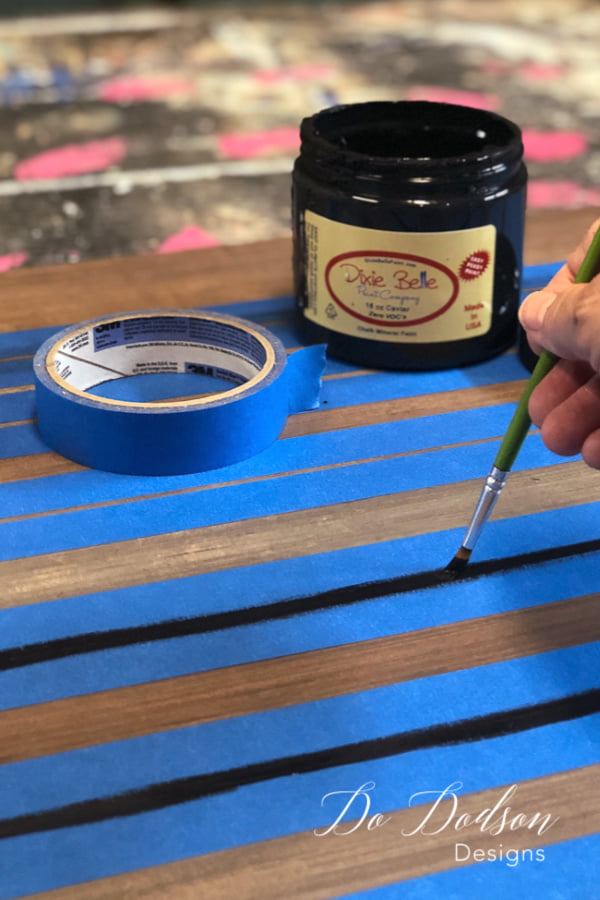 Next, you will need to tape off the lines between the two colors. This is best done by using paper tape. No measuring needed. I like that the faux boards are of different sizes. Of course, you can freehand the lines without tape, but I wanted crisp clean lines to distinguish the look of the faux boards. The look is your preference.
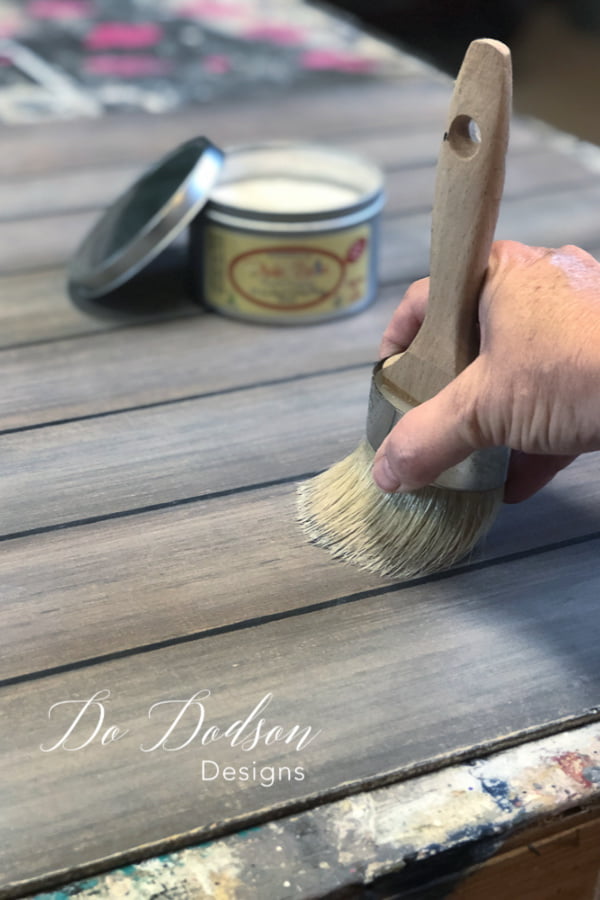 Next, use a white wax to give the faux wood an aged appearance. This adds a level of authenticity. This technique could be used on your furniture makeovers too. Hmmmmm… note to self. Try this on the top of a wooden dresser.
Painting The Wood Letters
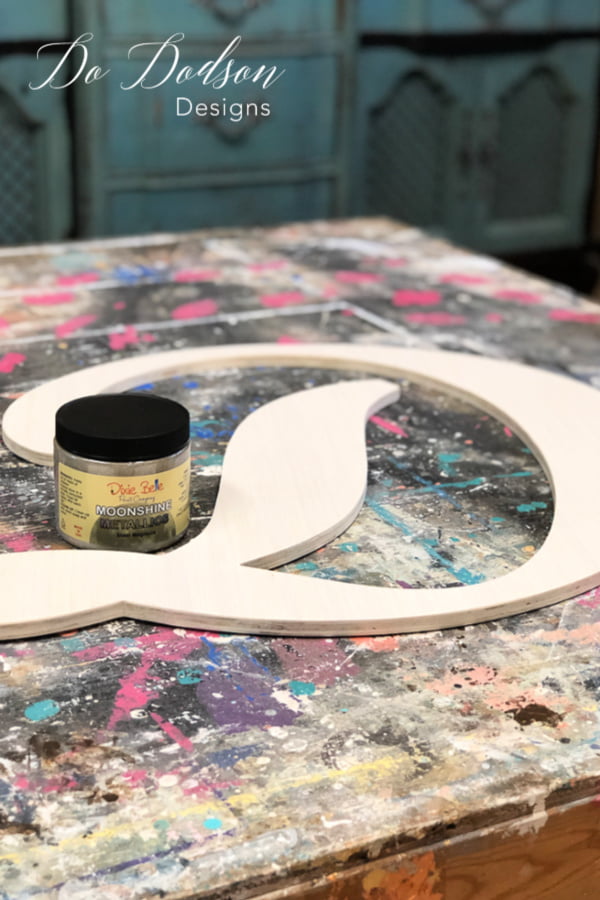 Apply 2-3 coats of your favorite Metallic paint to your wood letter.
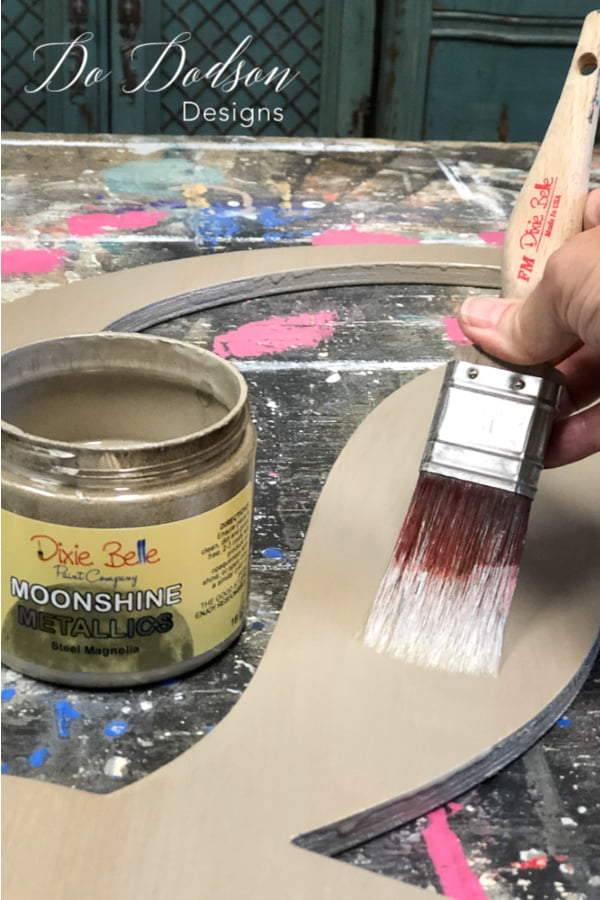 You’ll need a really good paintbrush when you’re painting with metallics to get the best results on your painted wood letters. I recently painted a dresser with this same color and it turned out well. CLICK HERE to see a great example of this color on furniture. It’s amazing!
Holy Gold Glitter!
 So, I told you I was going to show you how to paint wood letters with a unique style… how about some glitter paint??? Paint three coats of the glitter paint on the lower 1/3 of the wood letter to give it that dipped look for best coverage. I used an inexpensive chip paintbrush with this paint so I wouldn’t mess up my good paintbrushes. I like it easy and disposable. [convertkit form=724904]
And MORE GOLD On Painted Wood Letters!
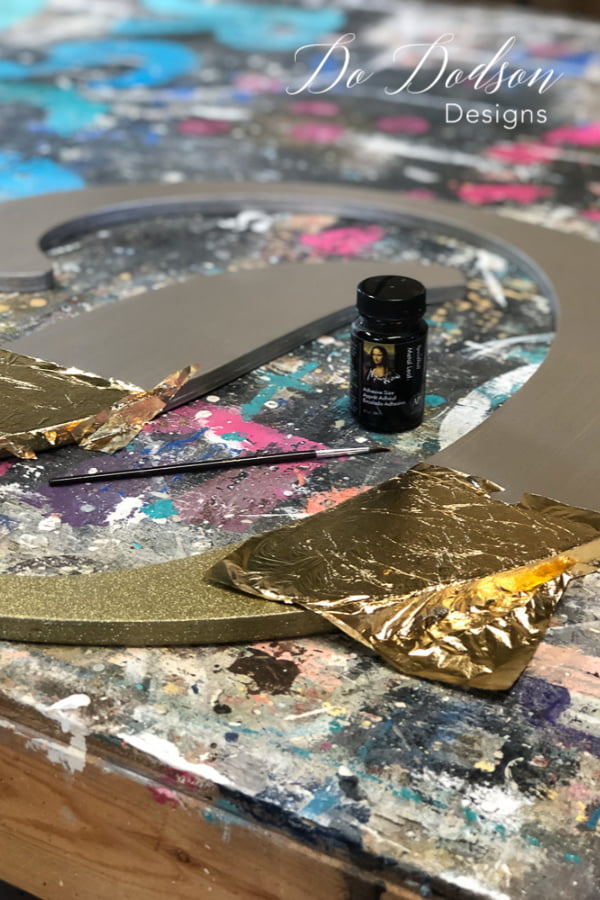 Next, let’s add some Gold Leaf to the wood letter! Why not? To add another layer of bling, use a gold leafing kit. Add the gold leafing in a straight line where the glitter paint begins on the wood letter and gradually break the design away. Use a small artist paintbrush to apply the glue in the areas you want the gold leaf and seal with a water-based top coat of your choice.
The Results Of Painting Wood Letters Project
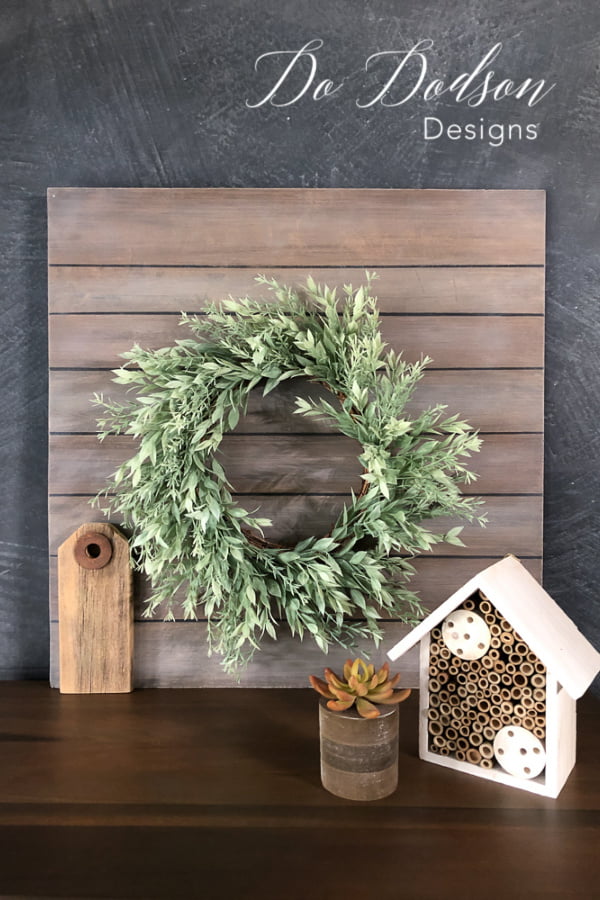 I used the backer board in two ways. It looks good with a wreath or as a layer of design in my home decor staging.
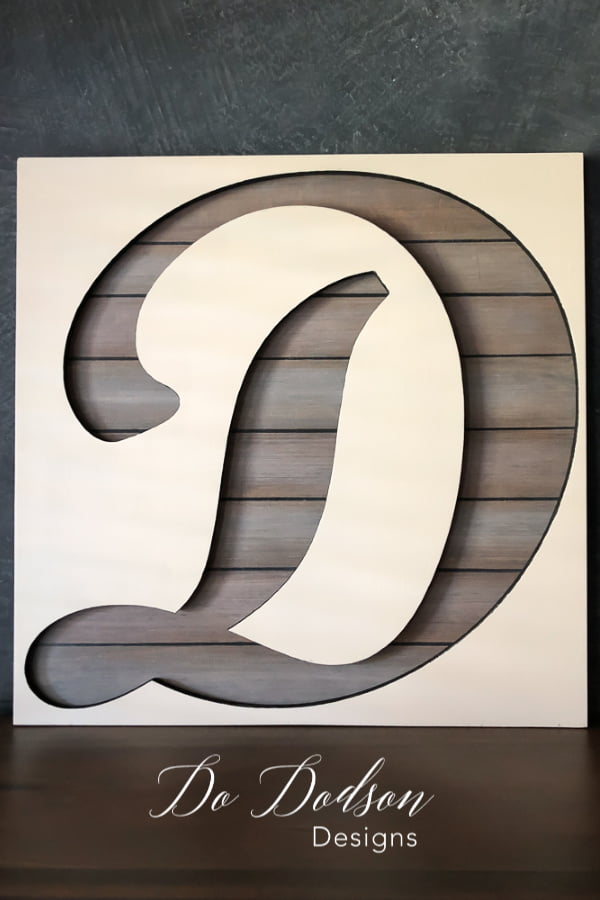 Or it can be used as the backdrop for the wood letter cutout.
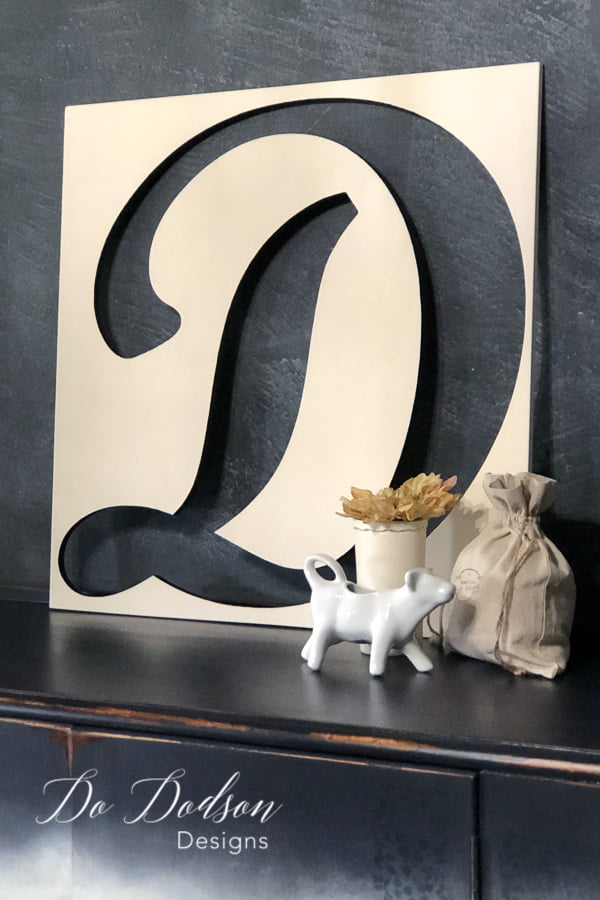 And the cutout can be used as-is. Super cute!
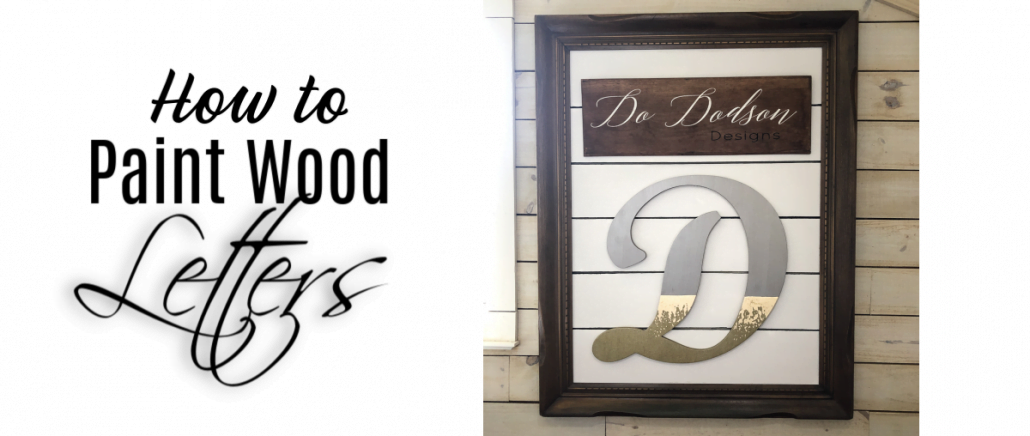
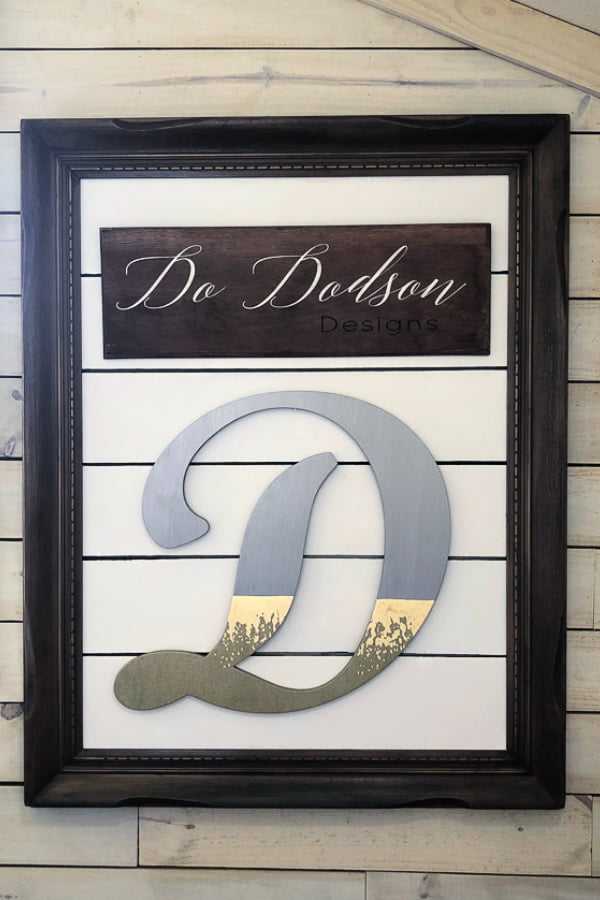 And of course the pièce de résistance (said in the best french voice I have)… my painted wood letter D! Do is one happy girl right now and my personalized letter has found its home in my office. It looks nice on my upcycled picture frame I did a few weeks back. Want to see how I created it??? CLICK HERE!
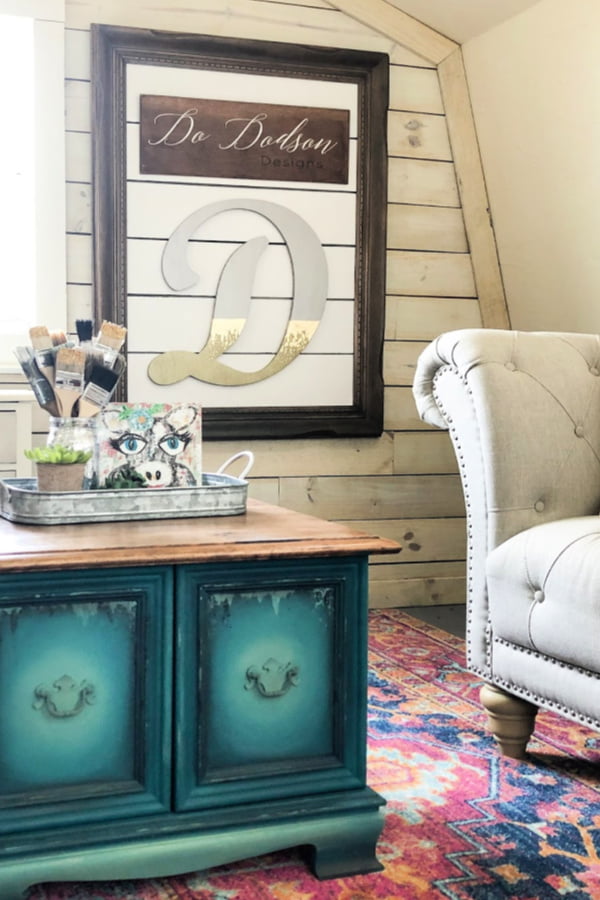 So, whatcha think? Would you paint wood letters for your home or office? I up-cycled a large frame and added a faux shiplap to display my wood letter. I’m really happy with how it turned out. Tell me your thoughts in the comment section below. Inspire me!
* Special thanks to Signopoly for sponsoring this project.
Until the next project… xo, Do
[convertkit form=1150445]

Do, your artistic creativity so inspiring and always beautiful. Thank you for sharing! ❤️
Thank you so much, Ellen! It’s my pleasure to work with you and I can’t wait to meet you in NJ. 🙂
xo, Do
I KNEW there would be some gold in this even before I clicked thru lol! It matches your glittery personality to a T Do. XO Love it!
🙂 You know me all too well, Denise! I’m a hot southern mess that loves her gold and life is just better with glitter. xo
I loved this post! You made me smile!! Thanks.
Thank you! So glad you enjoyed it. 🙂 xo
Hi Do! You have such a creative mind and i admire that. Look at the way the gold is dripping down!! I wish i could think outside the box like you. Thank you for all your inspiration.
Thank you, Cheryl! xo 🙂
I LOVE all the fun ideas you did with the pieces. Your faux wood looks amazing!
Thanks, Linda! It’s fun when something so simple turns out to be better than I planned. 🙂