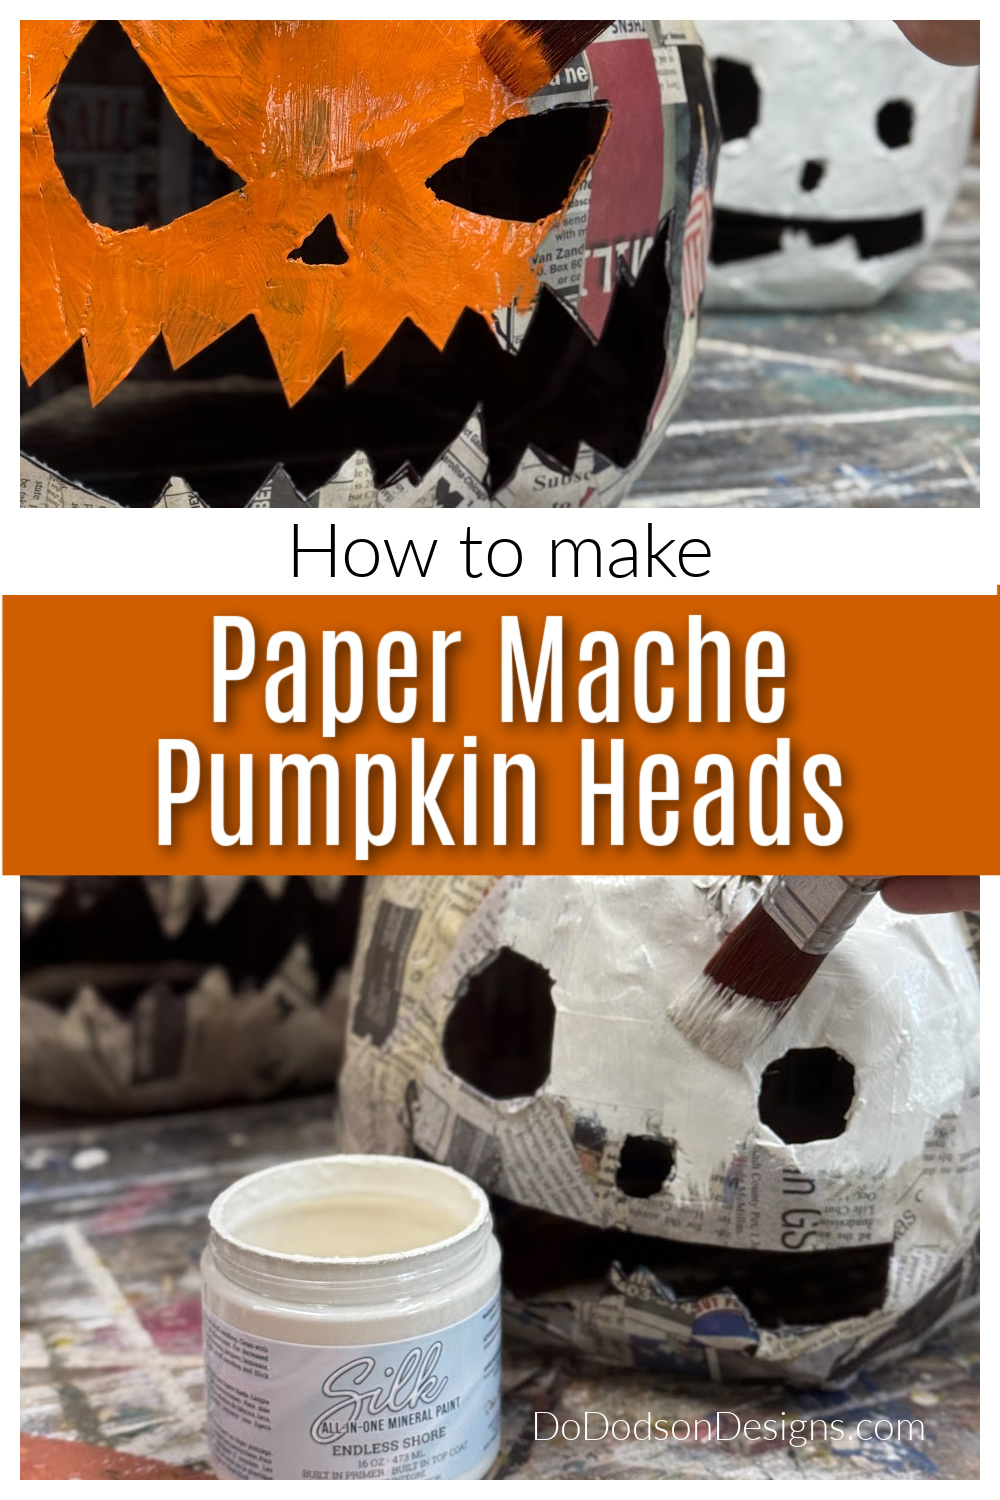
This year, we did it again! We let our creativity fly. Today, I’m showing you how I made unique paper mache pumpkin heads for a Halloween costume party. I had to think outside the box for this project, but it turned out better than expected. Bonus: I’m sharing a few of our favorite past DIY costumes at the end of this post for more fun and spooky inspiration.
Thanks to Dixie Belle Paint Co. for sponsoring this post. While I was compensated to write this post, all opinions are my own.
* As an Amazon Associate, I earn from qualifying purchases and through other companies as well. You will not be charged extra when you purchase through these affiliate links, but any income I make helps me create more amazing DIY projects to share with you! To see my full disclaimer, click here!
DIY Halloween Costume Contest
Every year for the last 7 years, we have attended a Halloween costume party put on by our dear friends. We all gather in their massive shop building that is decorated like you wouldn’t believe. Complete with disco lights and a DJ. All those who attend are between the ages of 40 and 60ish. I’m the 60ish. No children allowed.
And I’ll tell you right now: It’s not the boring Halloween party where no one shows up in a costume and sits around staring at each other like in high school. We have all come to know each other over the years, even if it’s only once a year.
Everyone who attends has worked hard to create a DIY costume. They are my people; we look forward to this event every year.
There’s no pressure, but our paper mache pumpkin heads might win first prize this year. I’ll keep you posted.

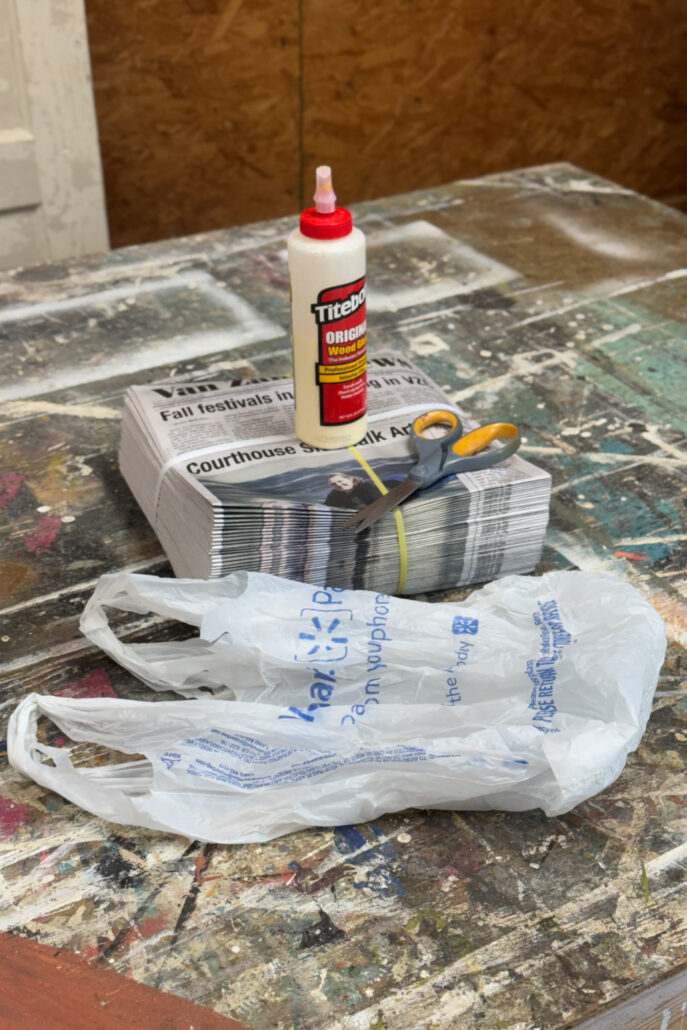
MATERIAL LIST:
- newspaper (newspaper strips)
- wood glue and water mixture or mod podge
- bowl
- trash bag (grocery bag)
- twine string
- scissors
- SILK Endless Shore All-In-One mineral paint
- Florida orange chalk mineral paint
- chocolate chalk mineral paint (brown paint)
- coffee bean chalk mineral paint
- spray mist water bottle
- paintbrush
STEP 1: How To Make A Paper Mache Pumpkin
This tutorial may not be the traditional paper mache method, but it worked. I didn’t have a balloon or even paper mache paste on hand. I had to make DO with what I had, and this is what I love about being creative.
Pumpkin sizes matter! Especially if you want it to fit over your head. This can get tricky, so I suggest you measure your head.
I used a kitchen garbage bag (hubby has a big head) for the giant pumpkin and a Walmart grocery bag for mine—the smaller one.
Start by lining the trash bag with newspaper. Once it’s filled, this will create a smooth surface—well, kind of. But that’s okay with me. It’s the look I’m going for.
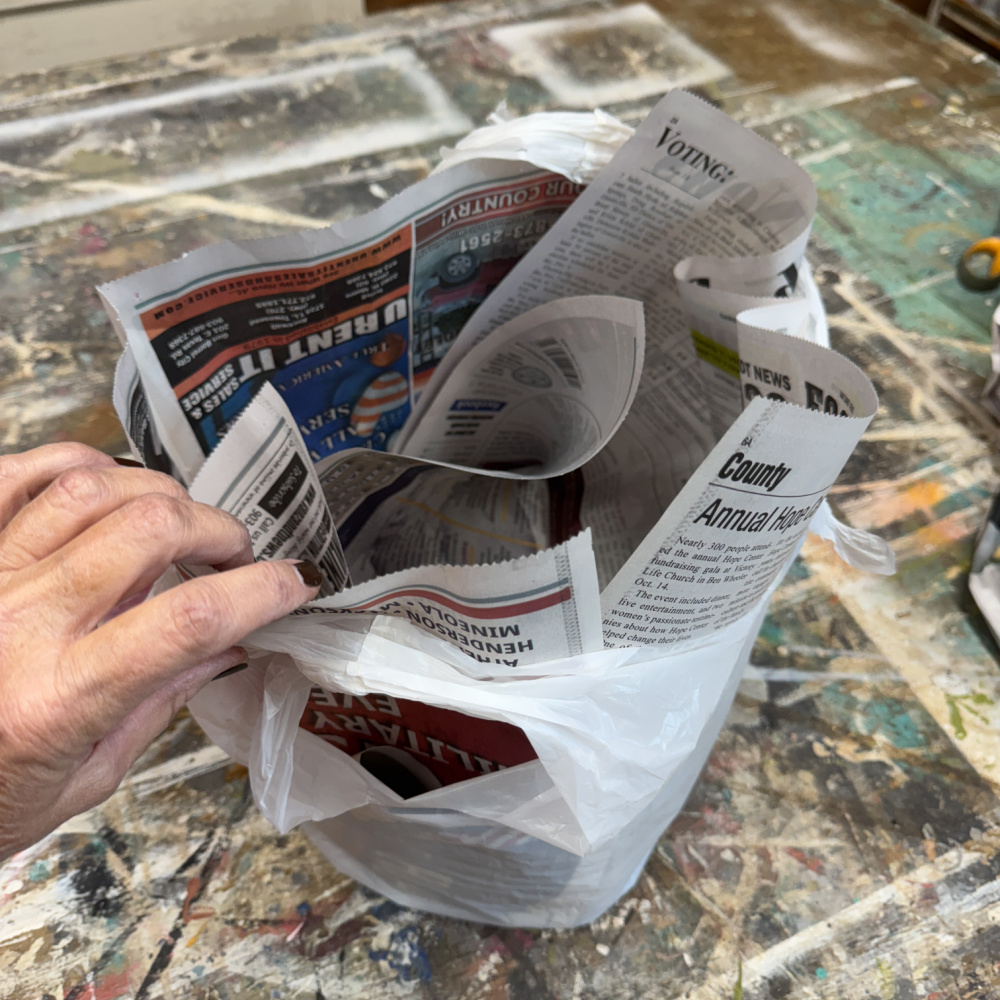
I’ve also seen the use of a balloon or beach ball to create a smoother pumpkin surface. That’s the traditional way, but I have never been accused of being traditional. haha
TIP* You call your local newspaper to see if they have extra copies. Most of the time, I find they are happy to give them away.
STEP 2: Stuffing The Bag
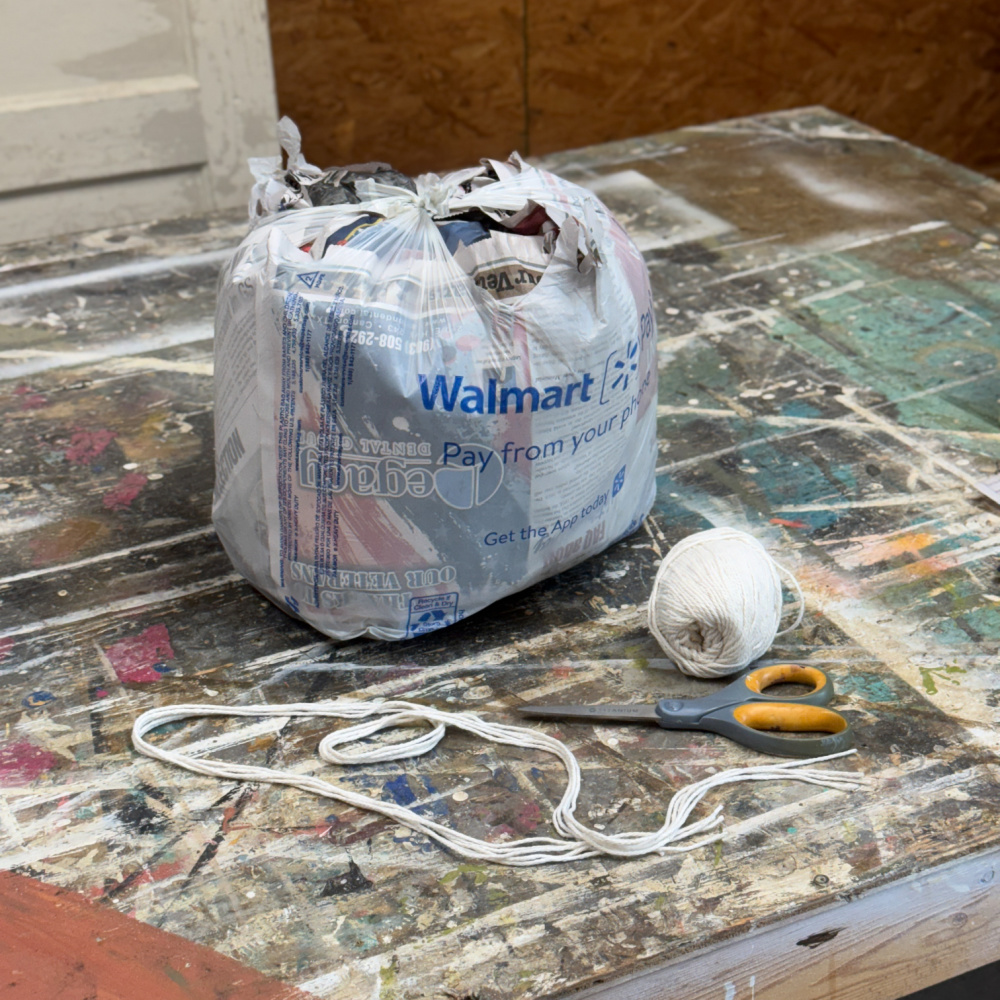
Stuff the bag with newspaper pages rolled into a ball. You could also use tissue paper. Push them in the bag one at a time until you have a full bag. Don’t overfill the bag; you want some wiggle room for the next step.
Cut the bag’s handles in half with scissors to create four pieces that can be tied together to close the bag at the top. This will be the top of the pumpkin.
STEP 3: How To Create Ridges
Well, folks, I was having so much fun making the DIY pumpkin that I didn’t take a picture of the twine I used to make the ridges. I’m so sorry.
But all you need to do is cut the twine string into four long pieces. Long enough to go around the bag.
Place the first string on the surface and sit the pumpkin on top of the string. Pull both ends together, tying them on the top of the pumpkin. This will create the first set of ridges in your pumpkin.
Repeat this three or more times evenly around the bag. Cut away any extra string.
Secure the top of the pumpkin shell with painters or masking tape. Whatever you have on hand.
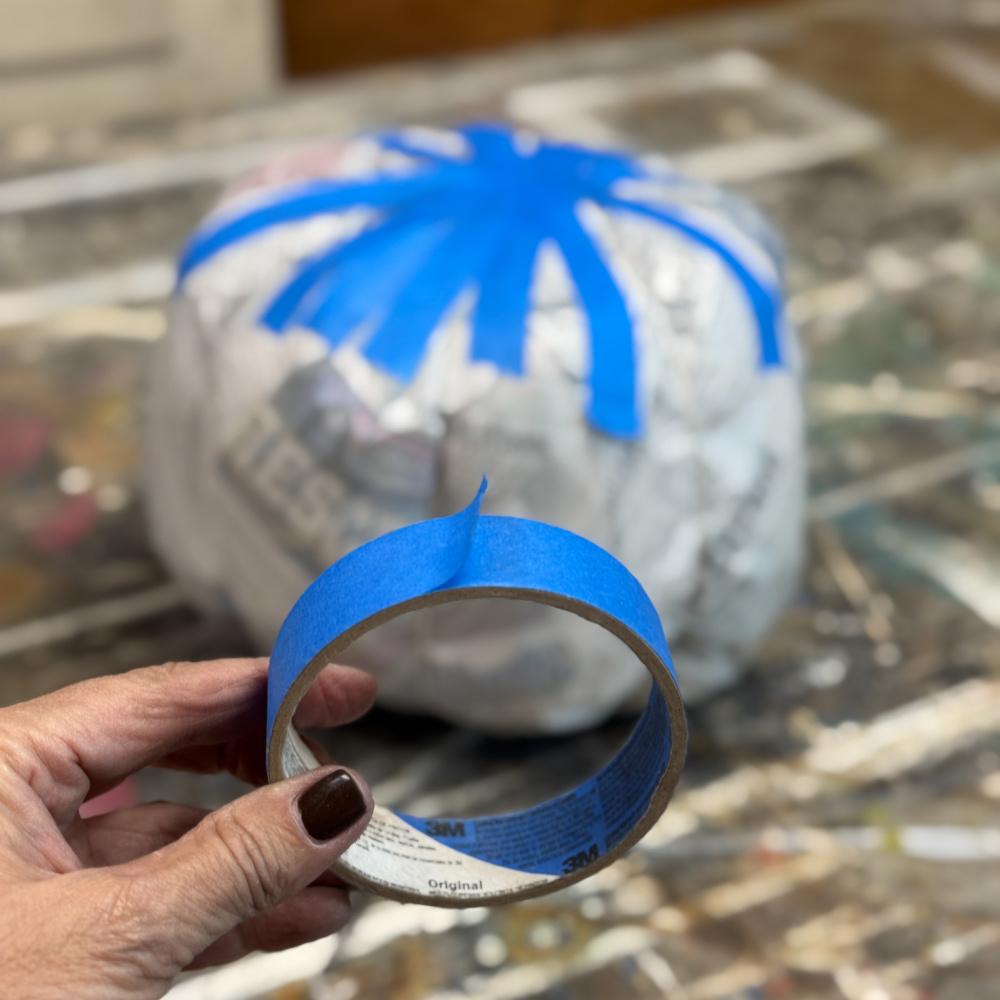
STEP 4: Paper Mache Mixture – Glue
Now comes the messy part.
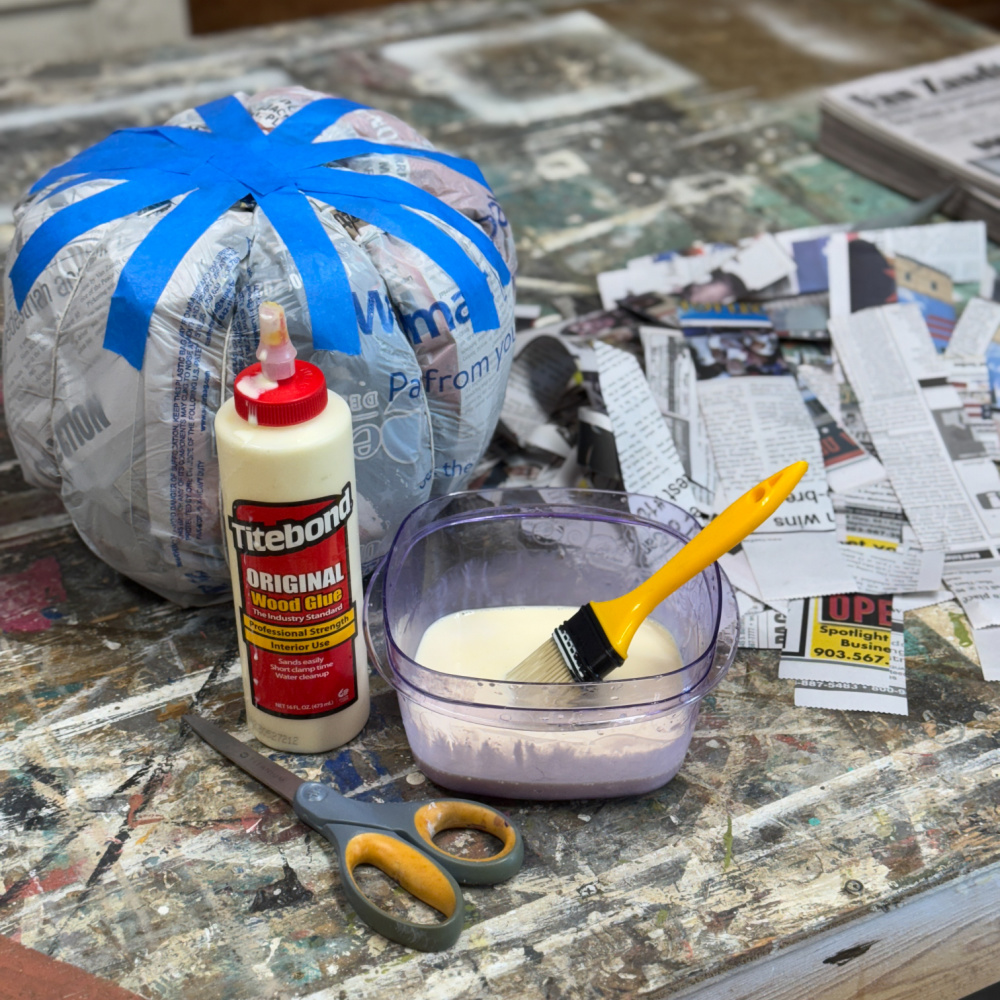
Because I wanted a strong paper mache pumpkin shell, I used a watered-down wood glue mixture instead of flour and water.
Use equal parts (1:1 ratio) of glue and water. Pour the paper mache mixture into a bowl and mix well. You can also use mod podge.
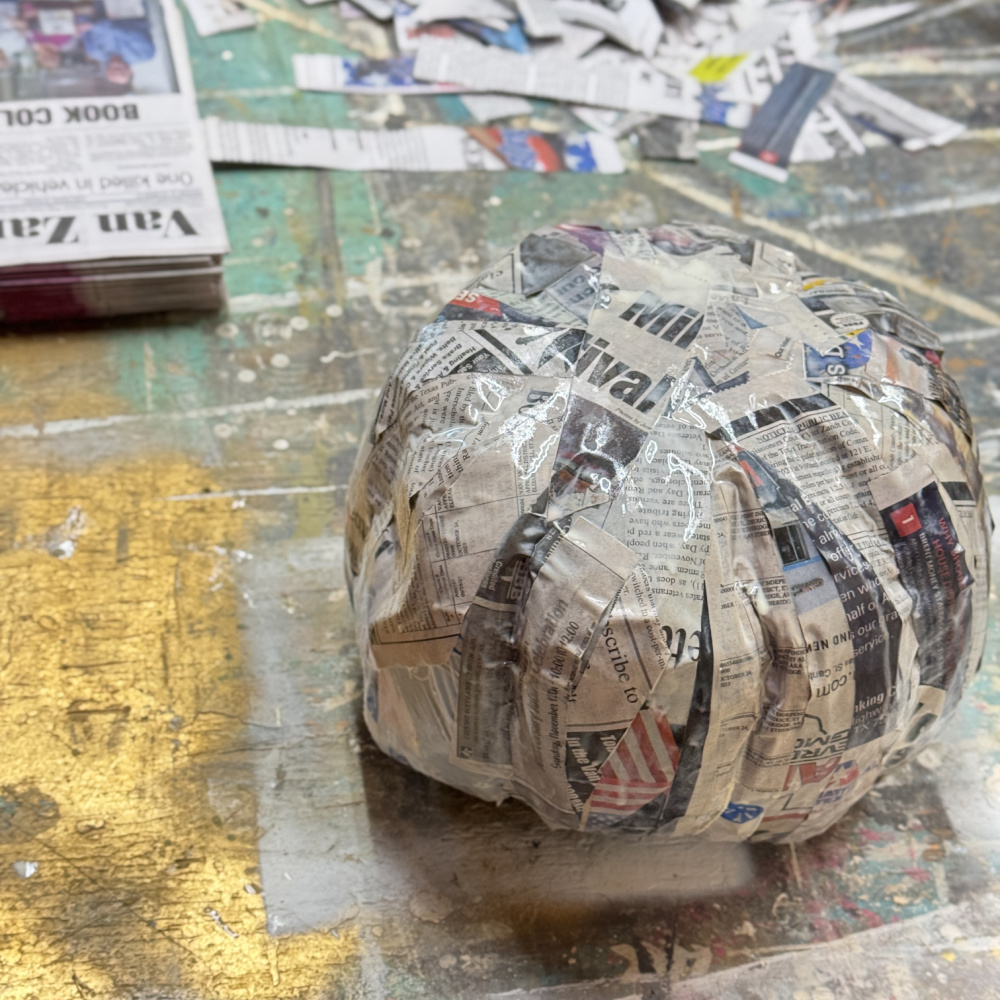
Next, using strips of newspaper, apply the first layer over the bag with a paintbrush. Being mindful of the ridges, you might have to play around to get the paper into the grooves. I started using a brush to apply the glue but ended up using my bare hands. It was extremely messy.
Allow it to dry overnight, and repeat this process four more times. Yes, it took me four days to complete my paper mache pumpkin. Four layers were applied for strength and durability.
STEP 5: How To Make A Pumpkin Stem
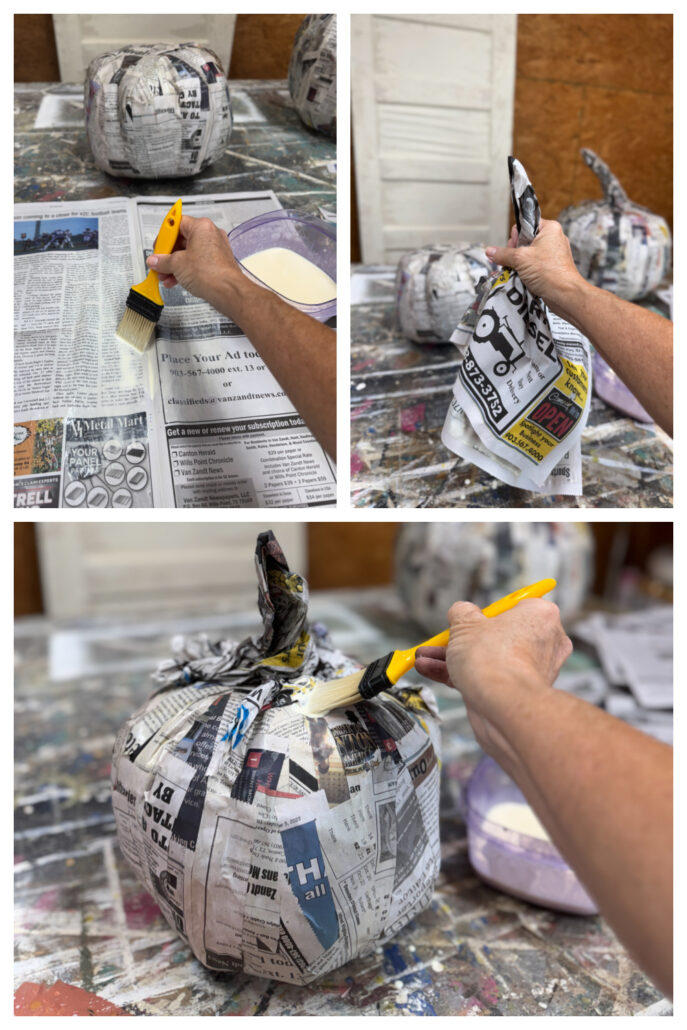
Paint a good amount of glue over a newspaper page. Grab the paper from the middle backside and twist the glue sides together, squeezing it to form the stem.
Next, tear several pieces from the stem and twist them individually to make the extended base of the stem. This will give the glue more surface area to adhere to the top of the pumpkin.
Add more glue to the top and attach the stem.
STEP 6: Carving The Paper Mache Pumpkin Head
Carving the paper mache pumpkin was probably the easiest part.
Using a utility knife, cut a hole in the bottom of the pumpkin large enough for your head and remove the newspaper stuffing from the insides. You may or may not want to leave the twine inside the pumpkin. I left mine. I don’t plan on painting the inside.
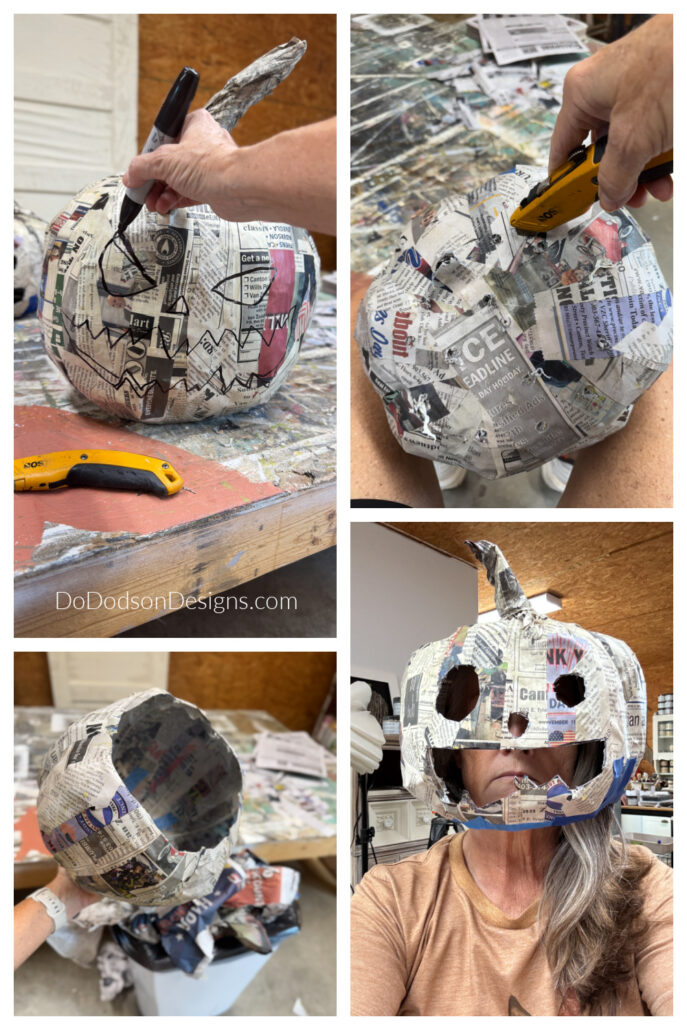
STEP 7: Creative Painting On Pumpkin Heads
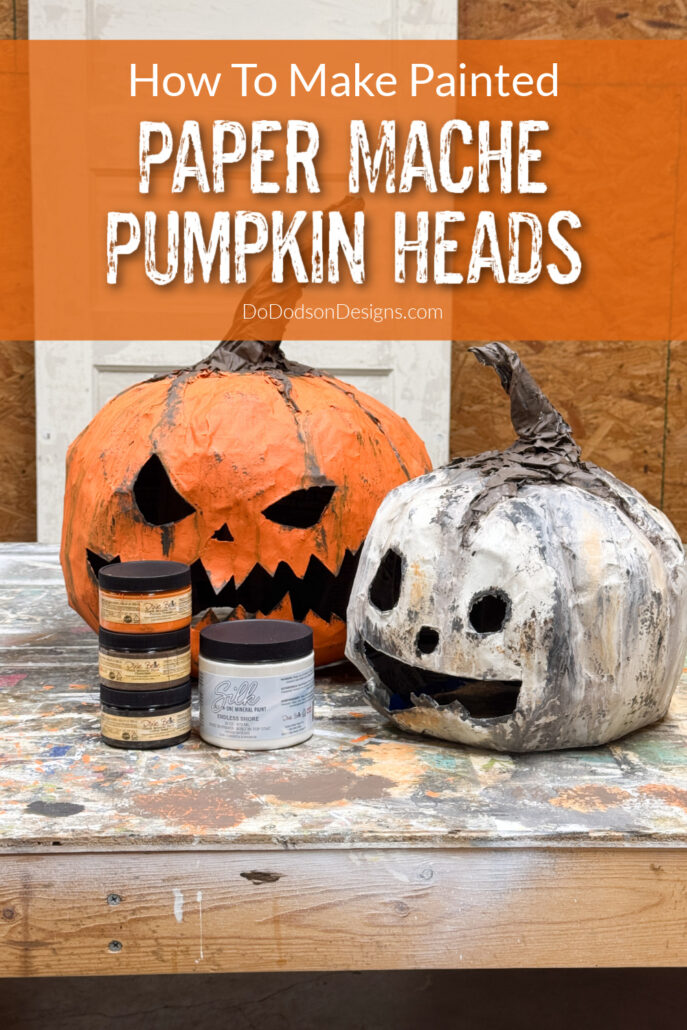
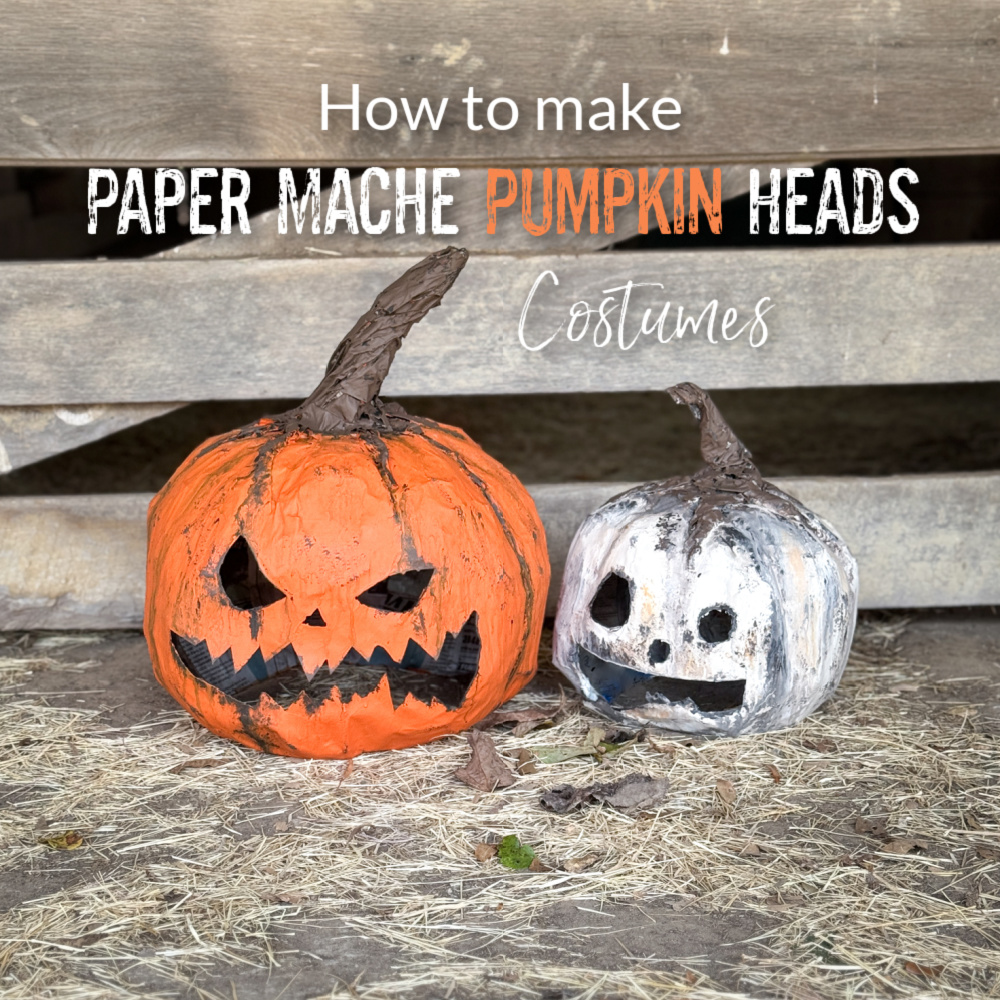
To complete the look of the pumpkin heads, I used white, orange, brown, and black paint to create a unique aged finish.
After painting the base colors of orange and white while the paint was still wet, I added the brown and black in different places around the pumpkin and spray-mist it with water to blend the paint colors.
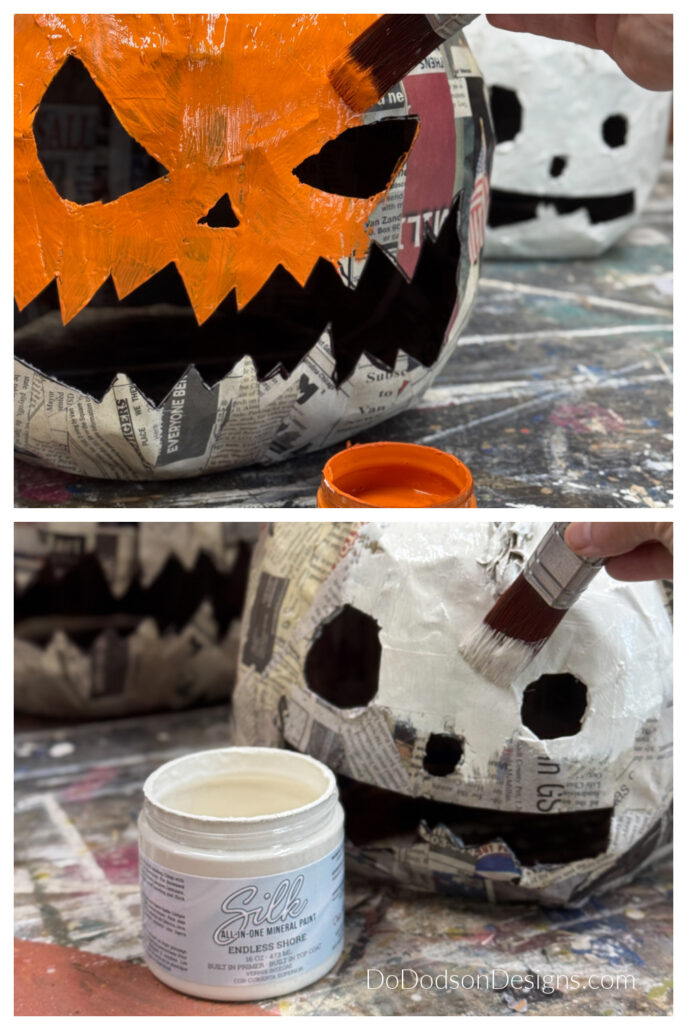
This is a fun way to craft with paint. Of course, you can always choose to spray paint if you so wish.
Our Halloween Costume 2024
I have the best hubby in the world! He tolerates me and my crazy ideas even when I know he’s not on board.
Happy wife, happy life! He gets me.
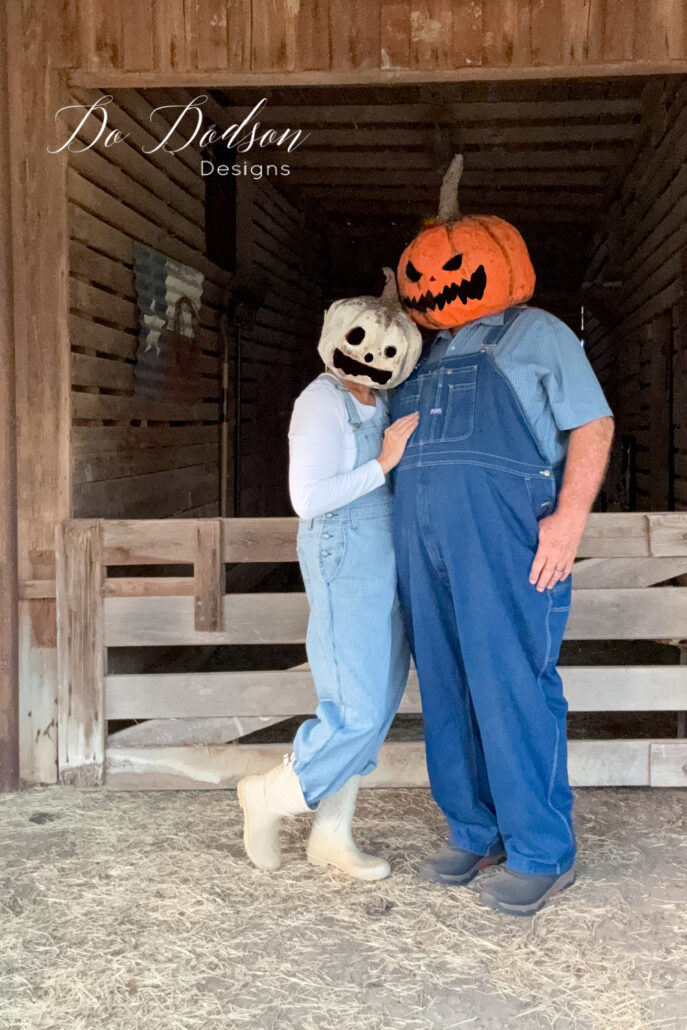
The paper-mache pumpkin heads couldn’t have turned out better. They are lightweight and easy to remove, perfect for a night of Halloween fun.
I’m trying to figure out how to be the headless horsewoman, although all I have are mules. 🙂
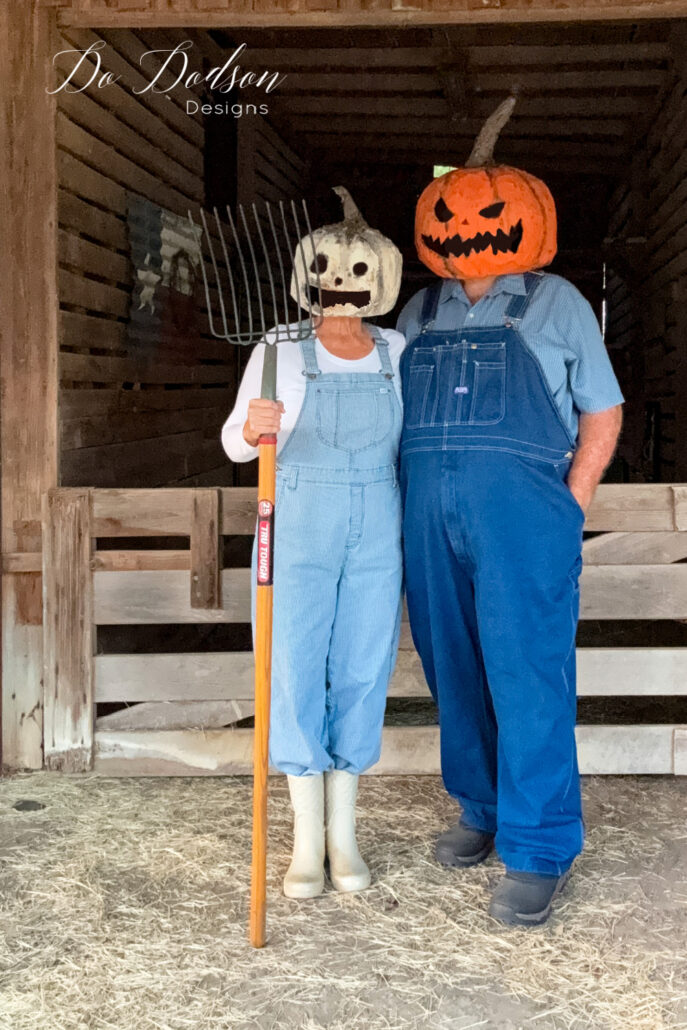
The pumpkin head photo shoot was hilarious. I set up my camera lights and tripod in front of our barn. The mules watched us in disbelief as they chomped on their hay. It’s like they were watching a horror movie. LOL
Favorite Halloween Costumes
As promised, here are some of our favorite Halloween costumes from past years. If you think we don’t have more fun than a kid on trick-or-treat night, you are mistaken. It’s more fun now than ever!
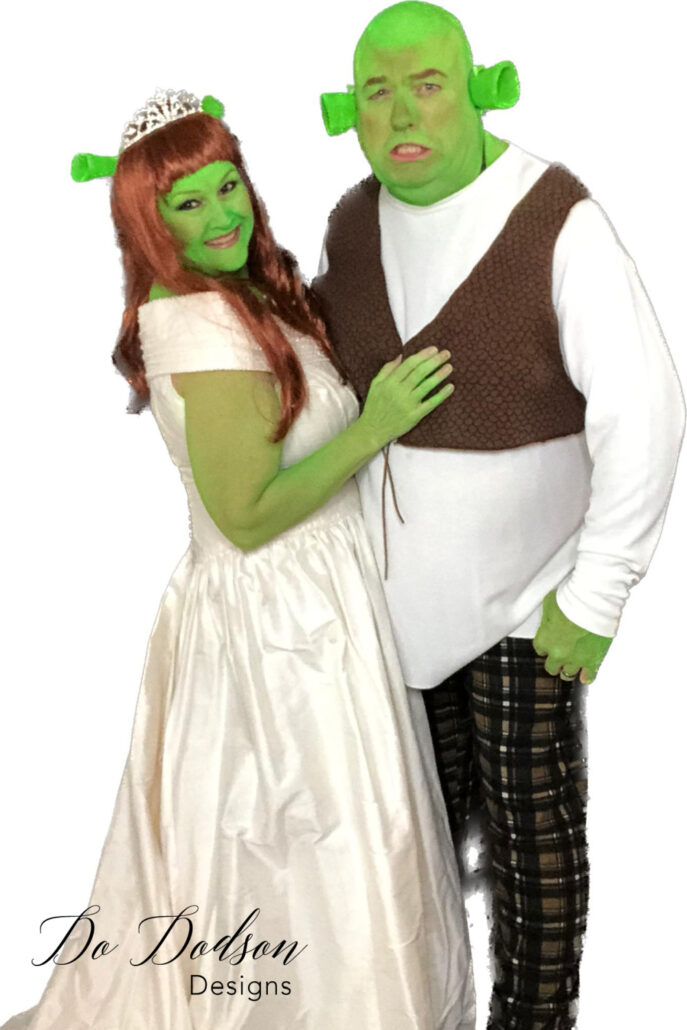
Our wedding anniversary is on October 27th, so we celebrated by dressing up as our favorite characters. Yes, that WAS my wedding dress. He’s a good sport and lets me paint him green. My SHREK!
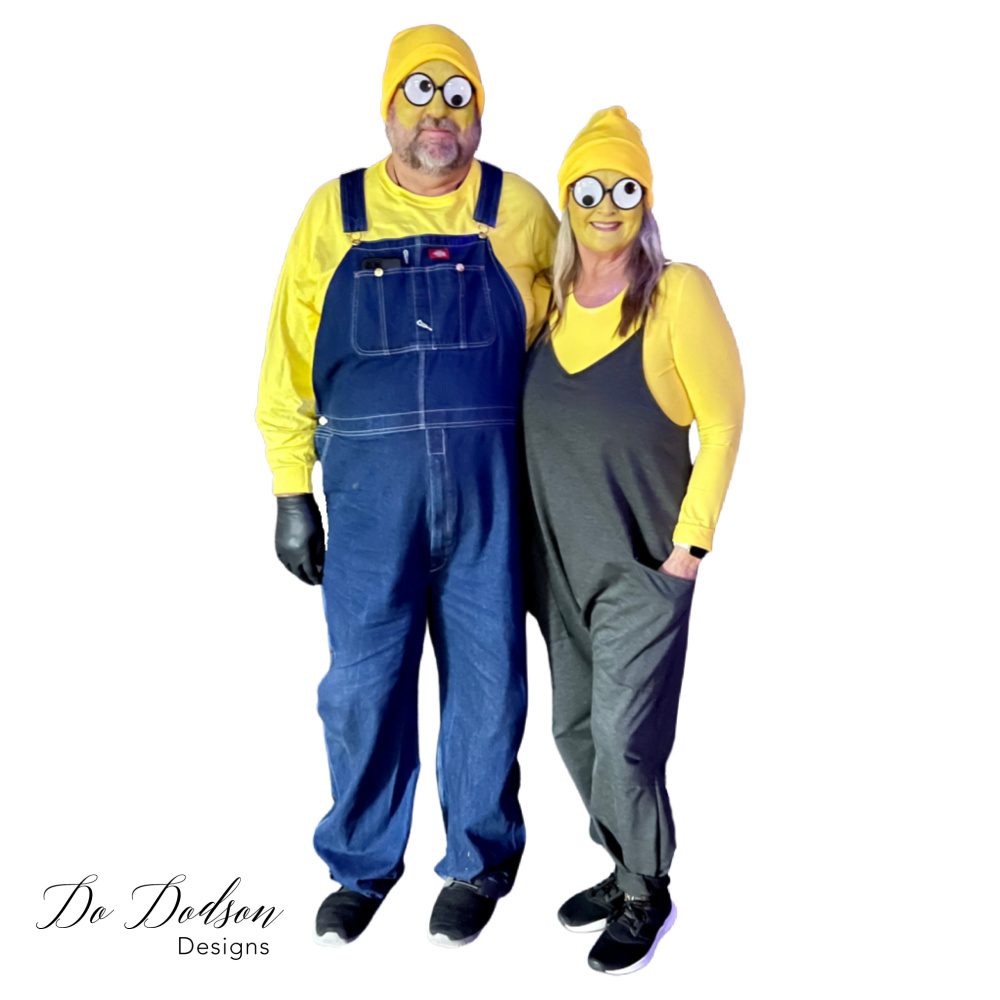
And YELLOW! We also love the minions.
I hope you enjoyed this fun tutorial on how to make a paper mache pumpkin head. What I love about this project is that it can be used for years as Halloween decor. Add battery-operated lights and a jack-o-lantern that doesn’t rot on the front porch.
Let me know which costume is your favorite. I’d love to hear what you think.
Don’t forget to pin this idea and share it with your Halloween-loving friends. Have a fun and safe Halloween.
Until the next project… xo, Do

You are so creative! I love all your costumes. Have a great time at the party.
Thank you, Lori! I’m sure we will.
Omgoodness, I love this project, Do! The image of you and your hubby in the barn with your pumpkin heads literally gave me a big smile!! Happy belated anniversary, and I’m sure your costumes will steal the show!
😂 It’s like the scariest, cutest thing ever. We laughed so hard. Thanks for reading, my friend. 😘❤️
Ohhh, I MORE than enjoyed this fun tutorial Do, it gave me my morning laugh… LOVE IT! That first pic collage of you wearing the paper mache head – priceless! 😂🤣🎃 You and your hubby make such a cute couple whether you’re green, yellow or pumpkinheads! 💙 Great tutorial, thanks for sharing! XOXO
Thank you! 🤣 We always try to make things fun and lighthearted. He has been such a blessing in my life.
I love it! You’re the best creative friend ever😘
The things we do for fun 🤩
I would love to see pictures of Jack and Dianne. It seems like it has been a long time since you posted pictures.
Hi Kathy,
It has been a long time. I should do an update. If you’re on Facebook, I do post over there about them from time to time.