I L O V E a good challenge and I have to admit… I seek out these janky furniture fixer-uppers deliberately. Yeah, I’m a sucker for punishment but this has good bones. Well, all but one. But before a furniture painter can paint, they must learn the art of furniture repair. Today I’m sharing how to fix a broken leg on a dresser. It sure makes buying those bargain pieces a little less scary.
This post contains a few affiliate links to help you find the products I use. You are not charged extra to use any of the links, but any income I make will be used for more fun projects! To see my full disclaimer, click here.
Broken Leg Fix
Products List
- janky furniture with a broken leg
- Drill
- Sandpaper
- Wood Glue
- 50″ Parallel Clamp
- Clamps
- Dowel Kit
- Plastic Wood
- SurfPrep Sanding System
The Fix For The Broken Leg Dresser
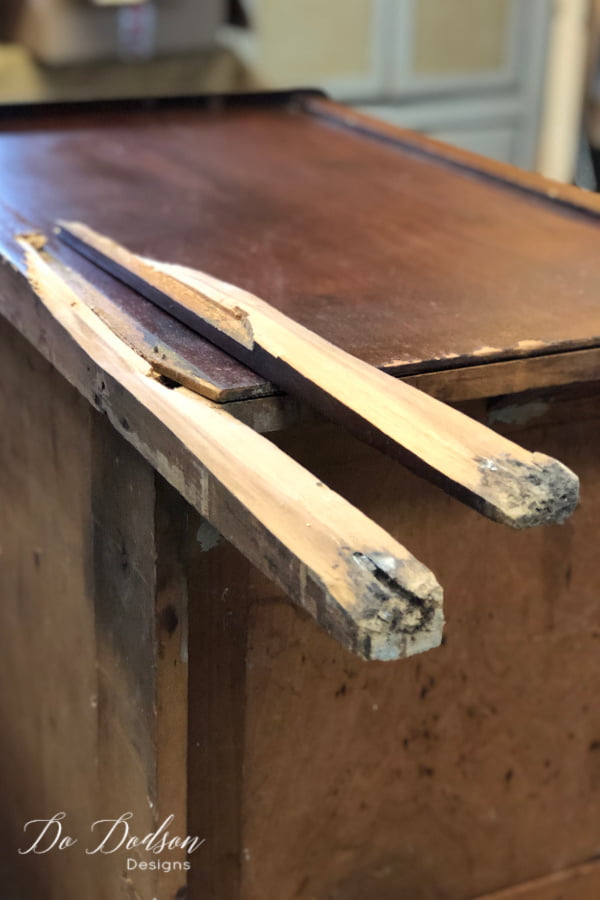
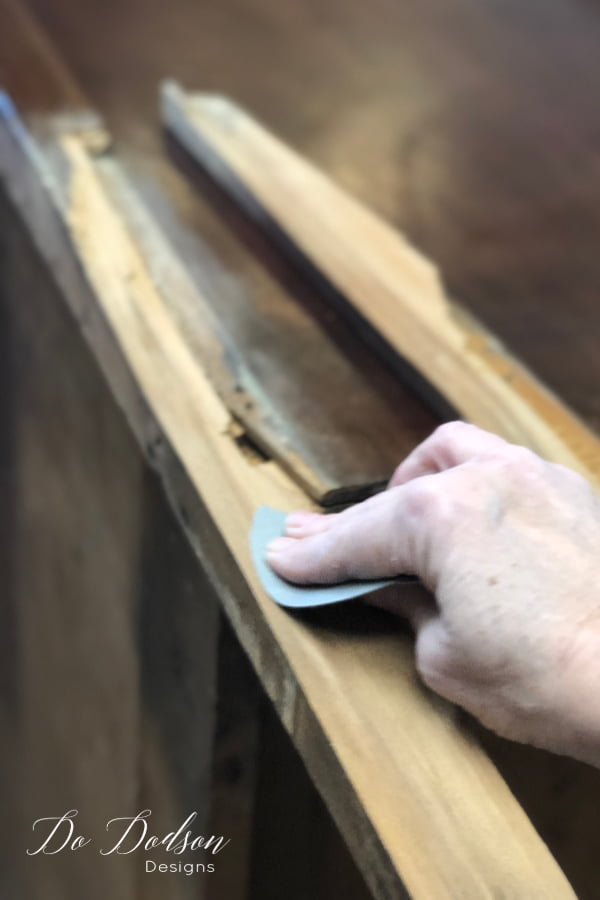
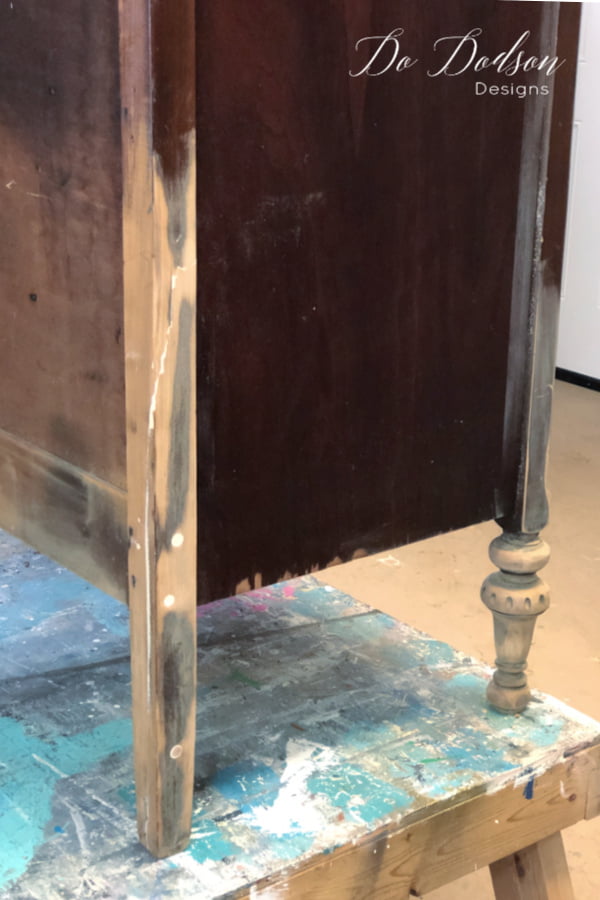
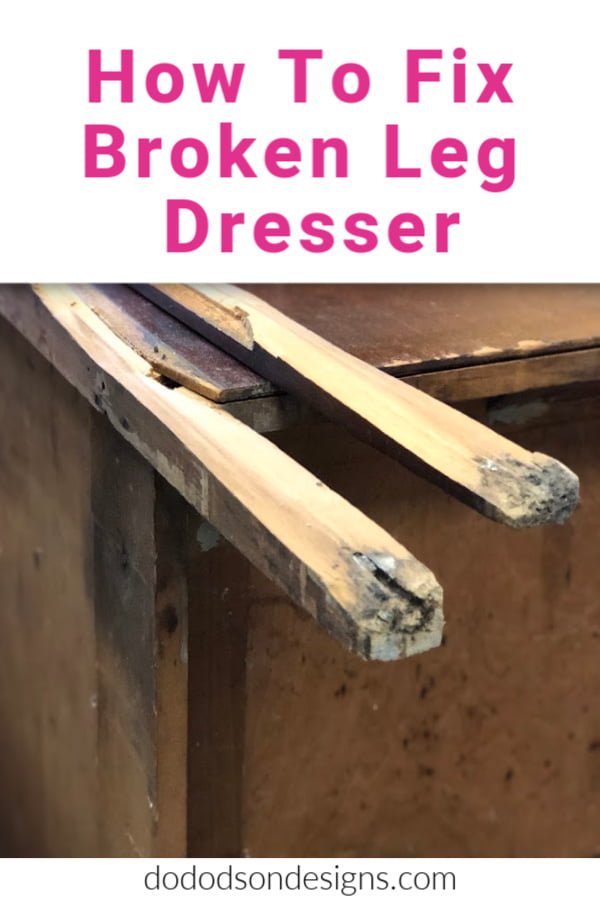
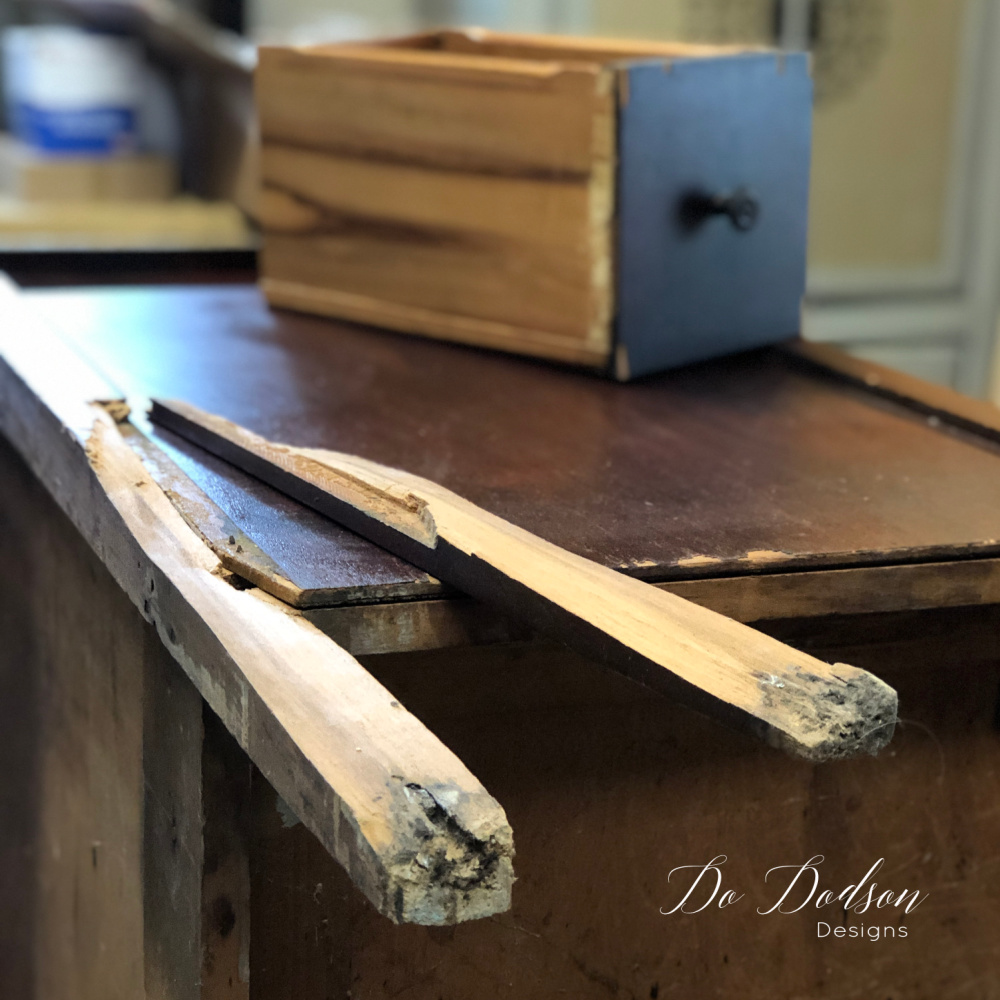
There are many many fixes for broken legs on furniture. As many as there are types of broken legs. Not all furniture is built alike so the repair is different on each one. This one is a bit unusual as it appears to be caused by stress. A “stress fracture”. Pardon my medical lingo. It pops out from time to time. Firstly, start with removing all debris and dirt from the broken pieces that need to be reconnected before attempting to fix the broken leg. This can be done by using a 22o grit sandpaper. After sanding, be sure to blow away and sawdust that is remaining on the wood.
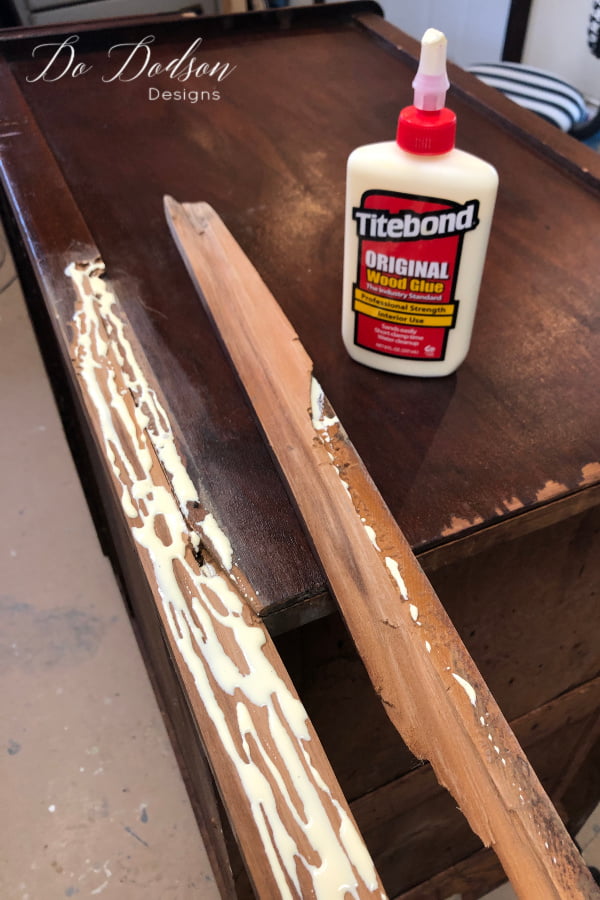
Next, you will need to secure the broken leg pieces with wood glue. Apply the glue liberally to the wood before reconnecting the broken piece. Wipe away any excess glue with a wet paper towel or cloth.
Once the wood pieces have been reconnected, secure with clamps until the glue is dried and the leg is back in one piece. YAY!
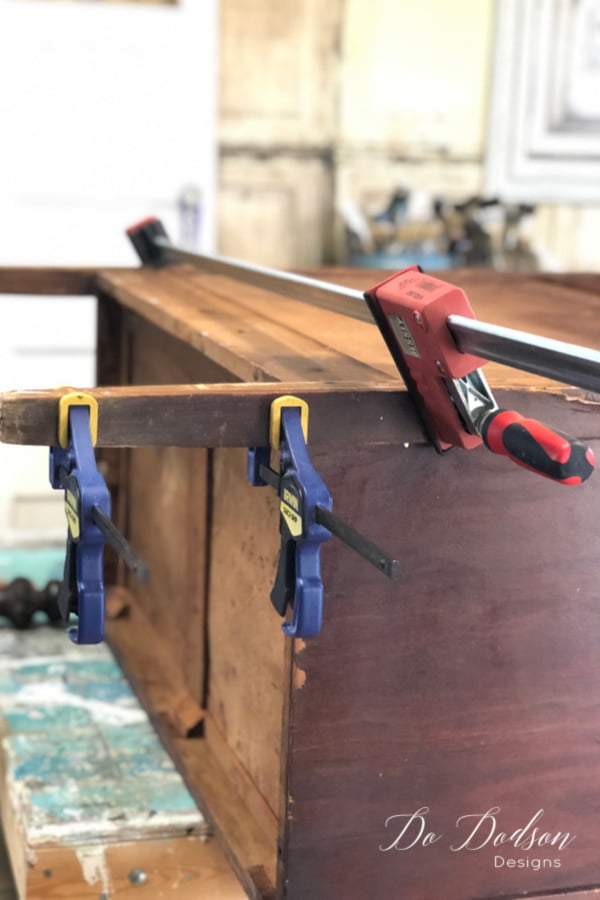
I have several styles of clamps for my furniture repairs. These are my favorites. But because the break was a split in the wood, the top broken section had nothing to clamp to, so I used my parallel clamp. I use it a lot!
Wood Dowels For Extra Strength
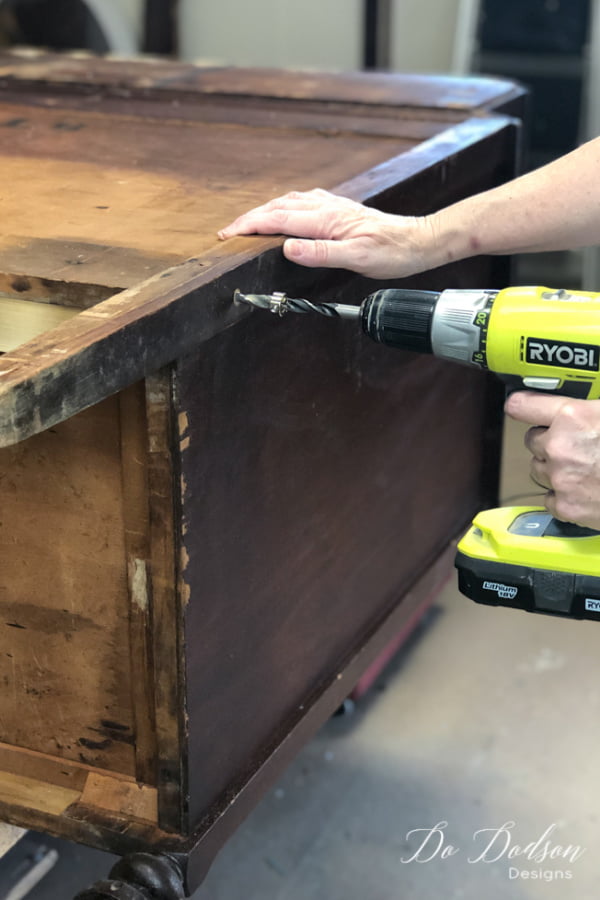
Wood glue is not enough! You need to add extra strength to where the break is. For this broken leg fix, I used 3 dowels. Using my dowel kit and drill, I drilled 3 holes. Be sure to blow out any leftover sawdust inside the holes you after you drill them because you don’t want sawdust remaining that can takes up space from where the dowels will be. You want a solid connection of the wood dowel to the wood. No empty spaces and a tight fit.
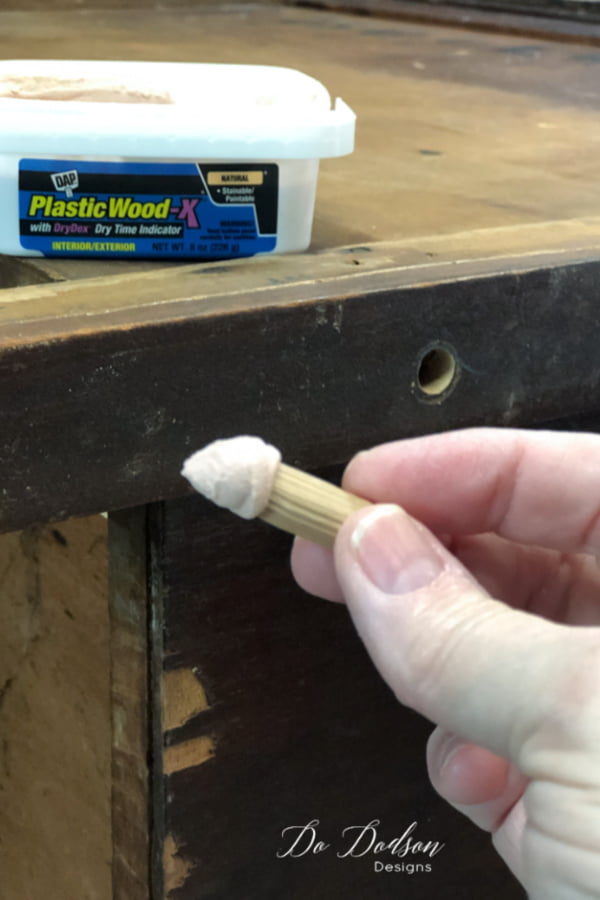
Insert the wooden dowels into the holes and countersink them just enough so that you can add wood filler to cover the holes.
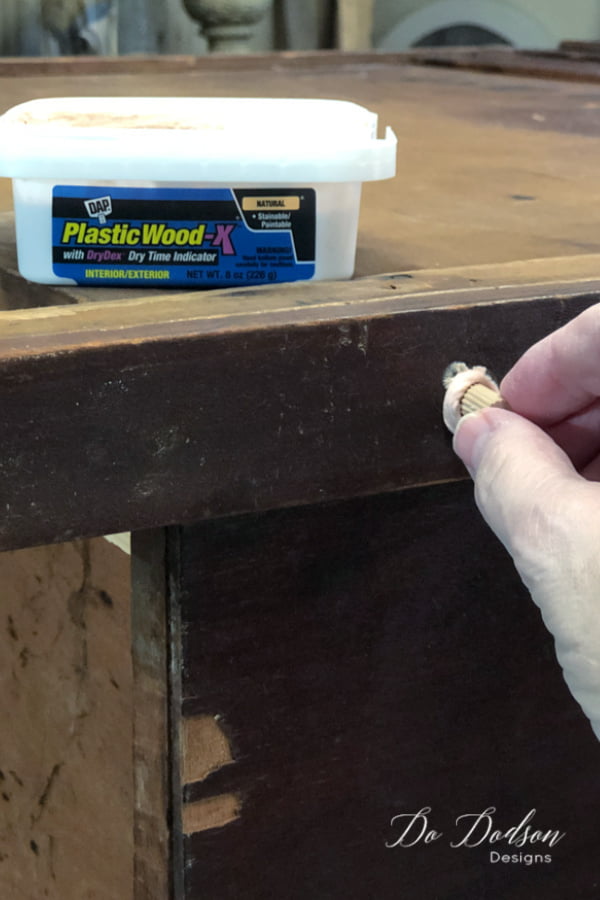
I add a bit of the wood filler to the end of the wood dowel before it is inserted to make sure it has a solid connection at the end of the hole.
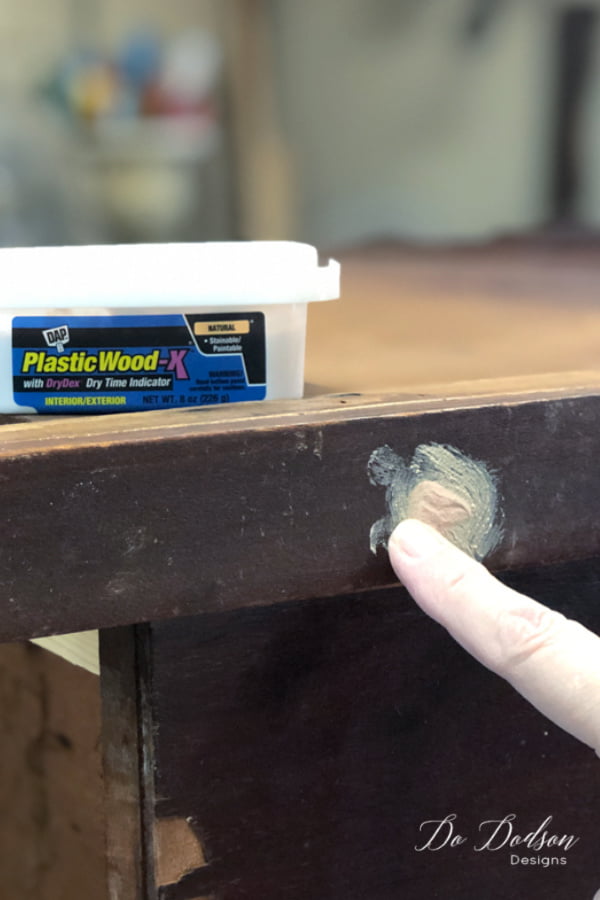
Add extra wood filler to cover the holes and allow them to dry. I gave it a quick sanding with my electric sander and Tadah! The leg is strong again and ready for paint.
Good as new! Don’t you just love a happy ending? For sure this one was a challenge but I get great satisfaction from these types of makeovers. This dresser also needed some chipped wood repair. CLICK HERE to see how I fixed that issue too. It was a HOT MESS! Do you have a favorite makeover that sticks in your mind? One that you spent days working on and then you didn’t have the heart to sell it so you kept it? LOL, I’ve been there many times. I’d love to hear your story. Feel free to share with me in the comments section or just send me a quick, HEY. I love hearing from you. Happy repairing!
Update on this dresser… It’s finished and I added a cool restoration hardware finish that looks amazing! CLICK HERE to see the completed look.
Until the next project… xo, Do

Awesome Do! Love the fix on this leg. Great ideas, thanks for sharing.
Yes, ma’am! Thanks for stopping by. 🙂 xo
I love those ragamuffins too…lol. Great fix my friend. XO
Ragamuffins… lol, I love it! Thanks, friend. xo, Do
You flow efficienrly with assurance!
Your tutorial assured my steps to redo an old Lincoln desk!! Yep I kept it!
TY!
Yay, Grace! You can do this! And just think how proud you’ll be once you fix it. Lincoln desks have long legs, right? Let me know how it turns out. 🙂 xo
Love your detailed information regarding repairing the broken leg on a dresser. How do you fix a dresser drawer that
won’t stay down in the back when you pull the drawer out? Almost like a track or a break at the back? Not sure if this explanation is clear but, would love a visual on how to repair it. Thank you
Hi Mary,
Without having a good visual, it’s hard to know the exact problem. It does sound like a track but that depends on the age of the piece. Some dressers don’t have tracks and it could be a structural issue. I would suggest laying it on its back and removing the drawers. This is a great way to diagnose those issues. Good luck with your project. 🙂 xo
4 years later and I found this when I am in need. I have a vanity with a smaller crack in the leg but the part that worries me is it has an antique caster for it. I would like to reinstall it because it is super heavy and the wheels moving would be amazing. In addition I would also like to add two legs to the back where I can’t tell if they were sawed and sanded off or if intentionally left off. The front has the center legs but the back does not. Any thoughts? I am definitely going to use your process for the repair for now. I thought if I filled it in I could redrill for the caster.
Hi Sarah! You absolutely can drill into the filler when it’s dried. Bondo dries super hard. If it’s good enough for car repairs, I’m certain it would work for a caster. I’m glad you found me. Be sure to sign up for my weekly emails so you never miss a new project. Thanks for reading.
xo Do
I have what turned out to be the bottom half of a dresser. I bought it many years ago for $25, and the seller threw in an old mirror and frame. The dresser was painted white. I didn’t know the top was some kind of particle board type stuff until I stripped the paint off. the dresser was solid oak (except for the top) with walnut veneer on the drawer fronts that had a black striping type trim. I purchased a piece of birch plywood and my dad helped me make a top from it. My brother hand re-painted the black striping on the drawer fronts. I stained and finished it with satin polyurethane. I have been using this dresser for 40+ years. Oh, the mirror frame was from the 1840’s or so. It had the original mirror in it (that crumbled when I removed it). So I cleaned it up, bought a piece of mirror to replace the original, sealed it with polyurethane and it hangs on the wall above the dresser. I love doing refinishing as you never know what you will find under all the old dirt and paint!
Hi Sherry!
I love hearing about others transformations. You did a great job salvaging this one. For me, it’s the journey of unknown territory. Thank you so much for sharing. 🙂