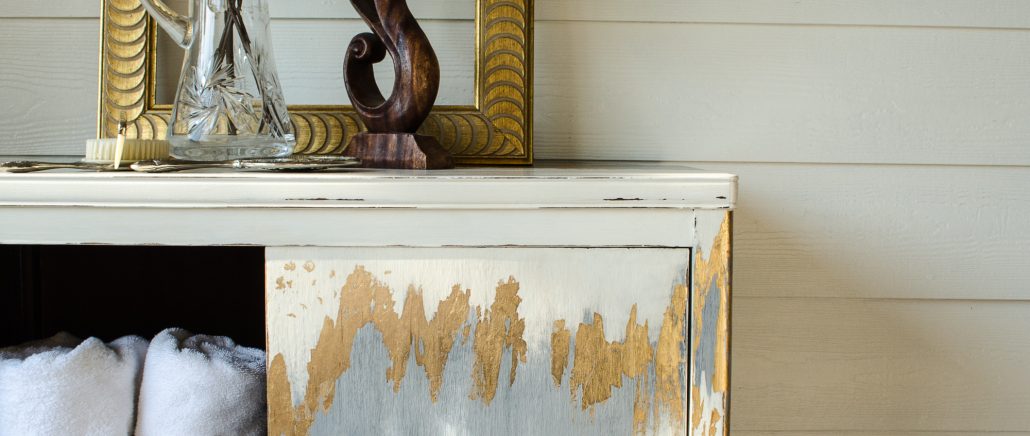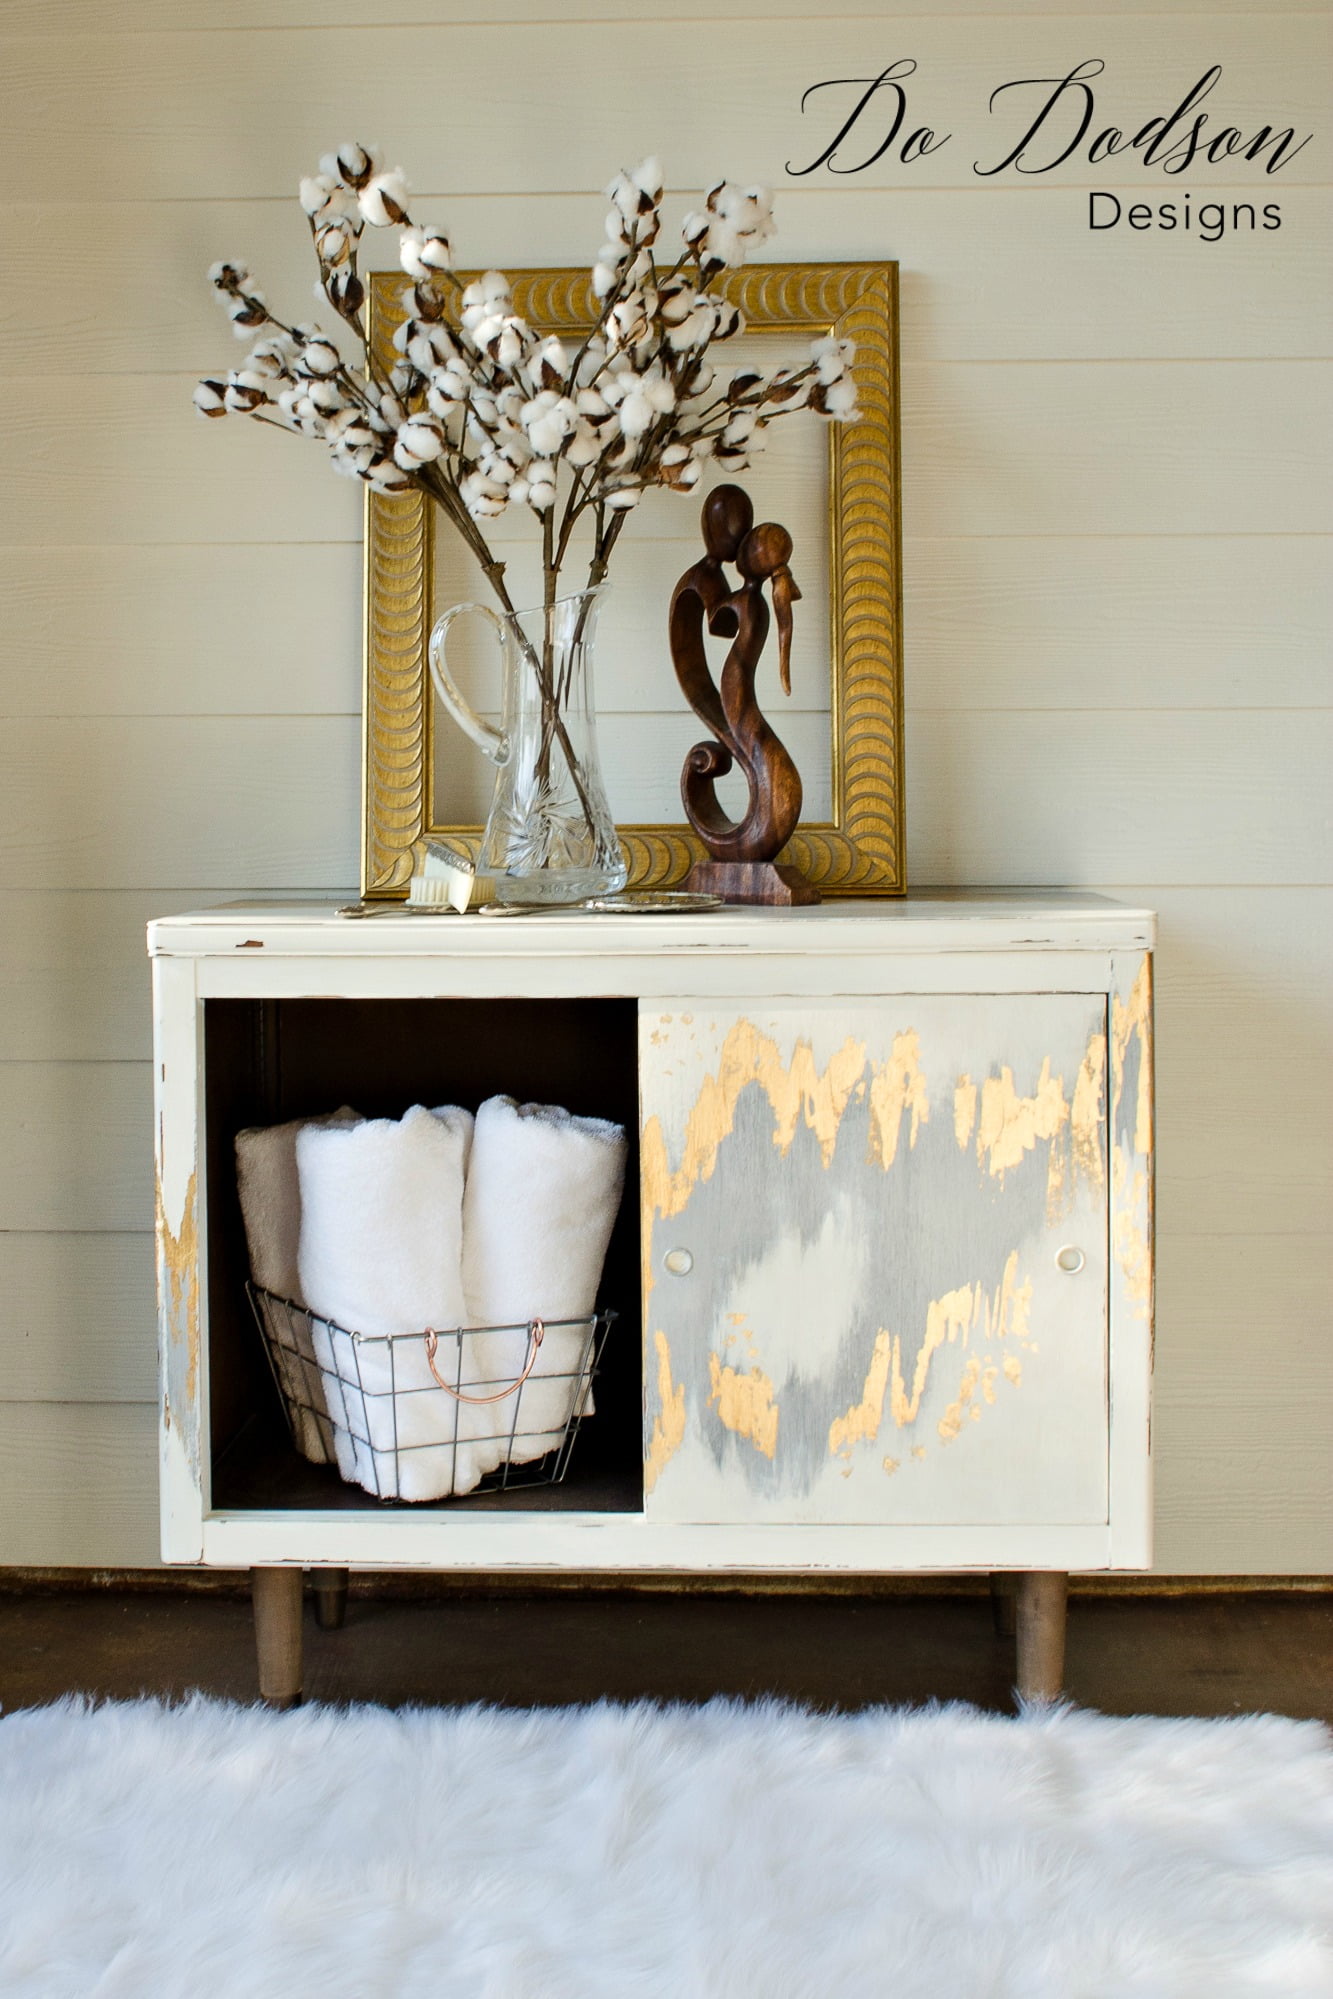
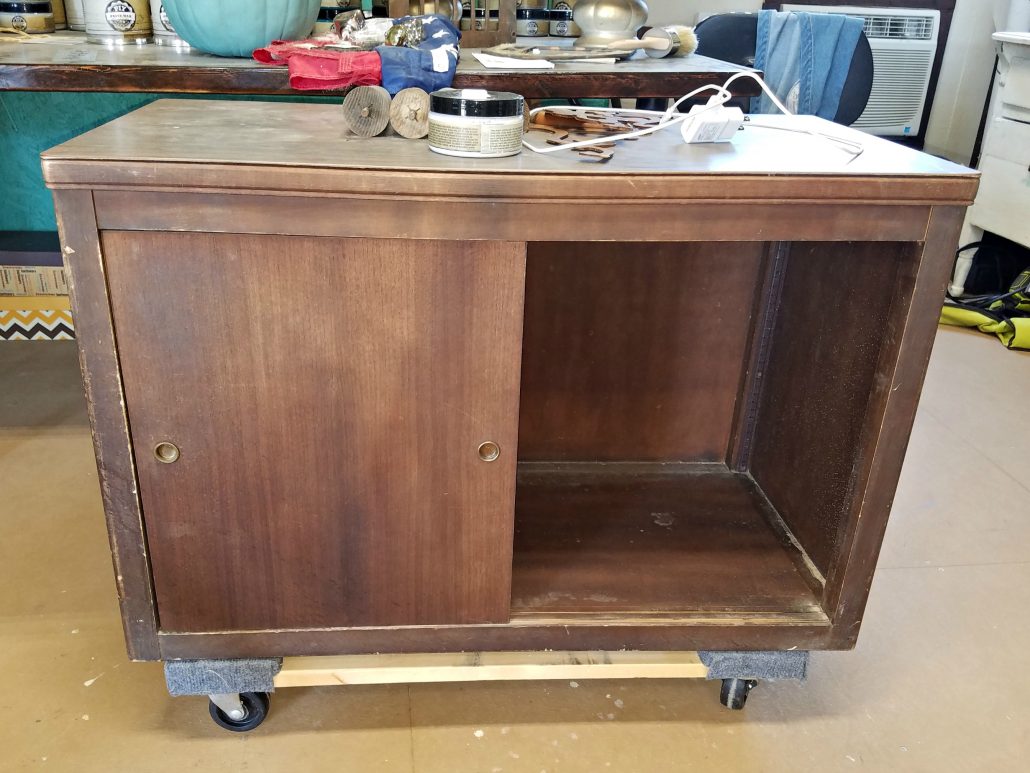
I grabbed this Mid Century Modern Cabinet at a steal for $5. SCORE! The only issue it had was the door was broken but still functional, I thought to myself; this would be the perfect piece for a little modern art design. I’d been playing around with gold leaf and really loved the way it gave the furniture a pop of… WOW!
As you can see, this cabinet has missing legs in this picture, and that’s because I got in a hurry. I believe two of them are sitting on the top of the cabinet, along with who knows what. Creatives are known for their untidiness. Ha! I don’t disappoint.
This post contains a few affiliate links to help you find the products I use. You are not charged extra to use any of the links, but any income I make will be used for more fun projects! To see my full disclaimer, click here.
Are you ready for a gold leaf furniture makeover?
My inspiration for this gold leaf furniture project came from a painting of all things. About 5 minutes after I decided to do this makeover, I scrolled through Pinterest (every day) and came across a beautiful modern painting. My inspirations come from everywhere. Sometimes it’s nature, and sometimes it’s random. I wasn’t looking for what I found, but it did stop me in my tracks. The abstract art painting had the most amazing colors of gray, metallic gold on a white background. It was definitely not my usual style, but I felt compelled to break away from the norm. What’s the worst that could happen? I’d have to repaint it. Been there and done that!
Let’s Get Started
Supply List:
- Zinsser 123 Primer
- Butter Cream (substitute)
- Drift Wood (substitute)
- Silver Metallic paint
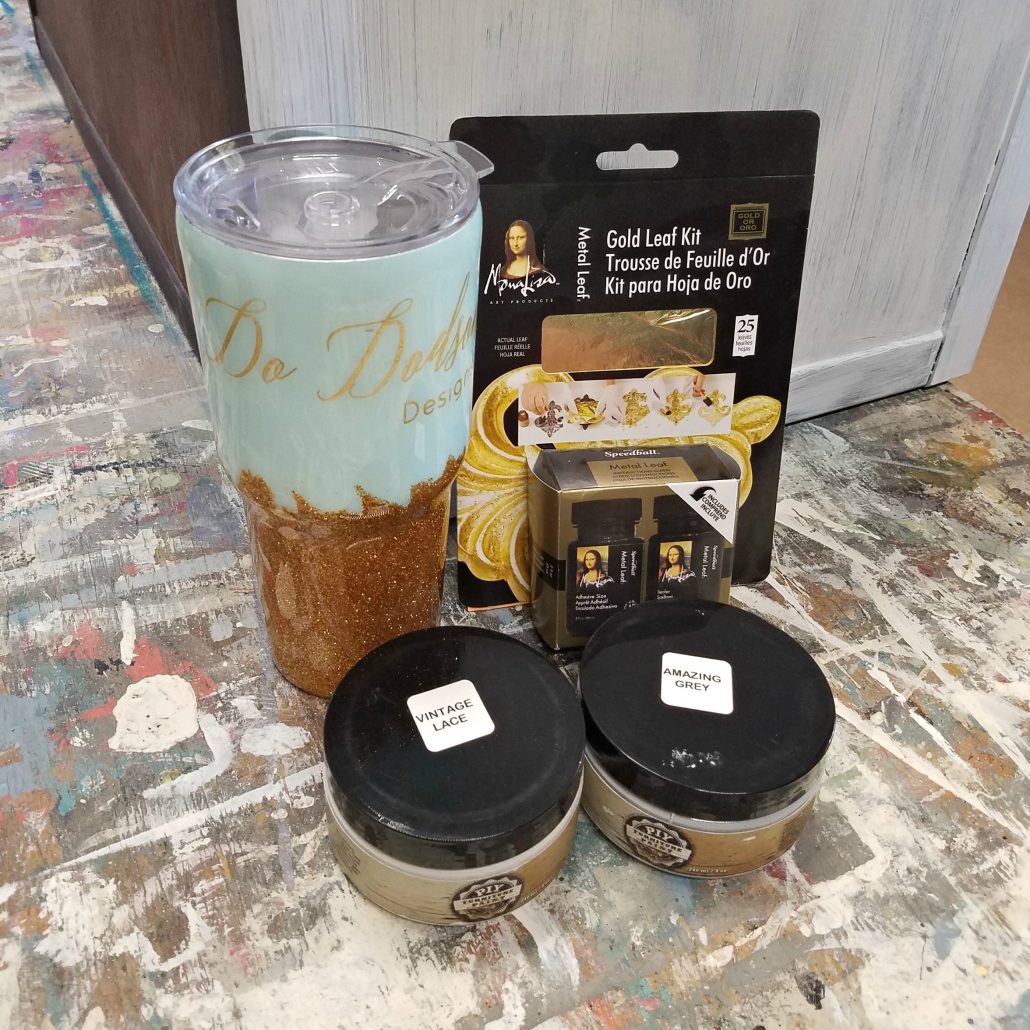
- Speedball Gold Leaf Kit by Mona Lisa
- Top Coat
About The Paint
I began this makeover painting the whole exterior with Zinsser 123 Primer. I applied one coat and allowed it to dry. About an hour at room temperature, and it was ready to go. I used chalky-based paint for the base coat in a cream color. A good substitution is Dixie Belle’s Butter Cream.
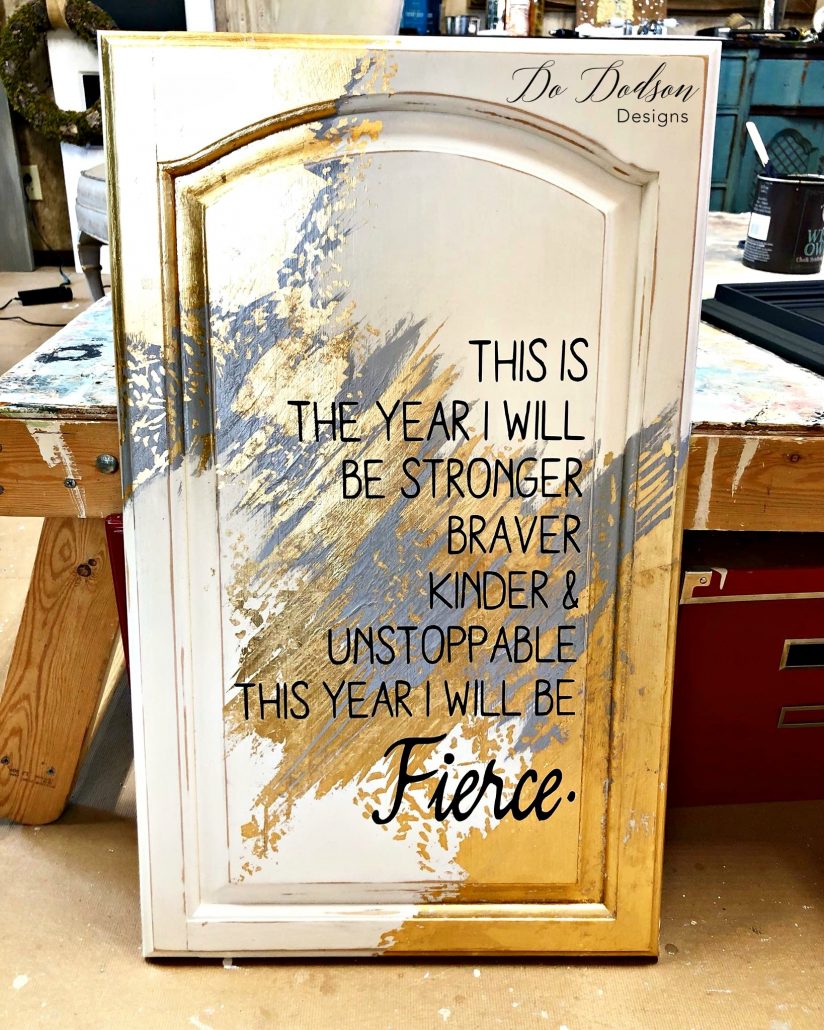
Now comes the fun part. I used a Gray Chalky Paint, but you can also substitute Drift Wood. Apply the gray using brush strokes with an up and down motion. Starting from the top of the cabinet and worked your way down the side, around the front, to the opposite side, and up on top again. One big swoop! I wanted a consistent pattern that would flow and cause your eye to travel with the design.
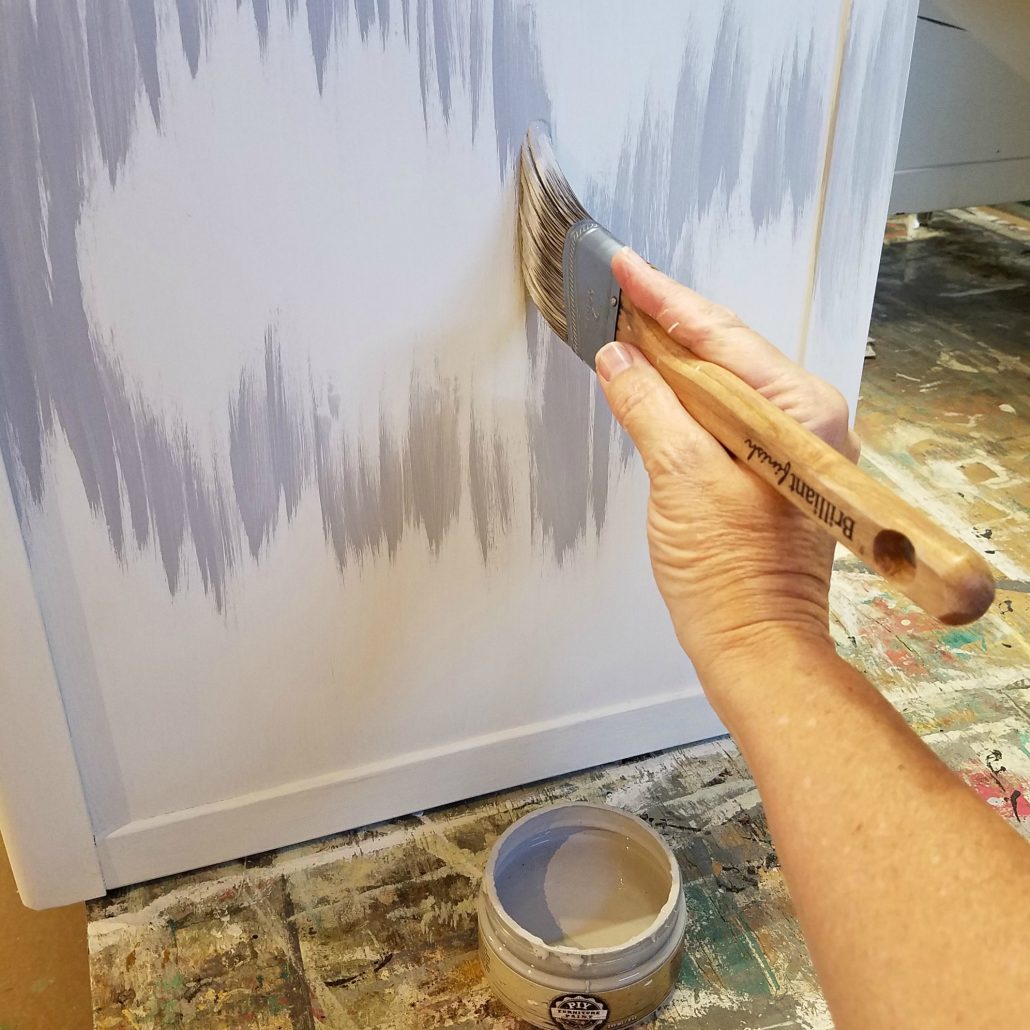
Step It Up A Notch With Metallic Silver
After I had created an outline of my design, I went back and added metallic silver paint. You can substitute Dixie Belle’s Silver Metallic paint. Layer and overlapping the previous gray creating a depth of field.
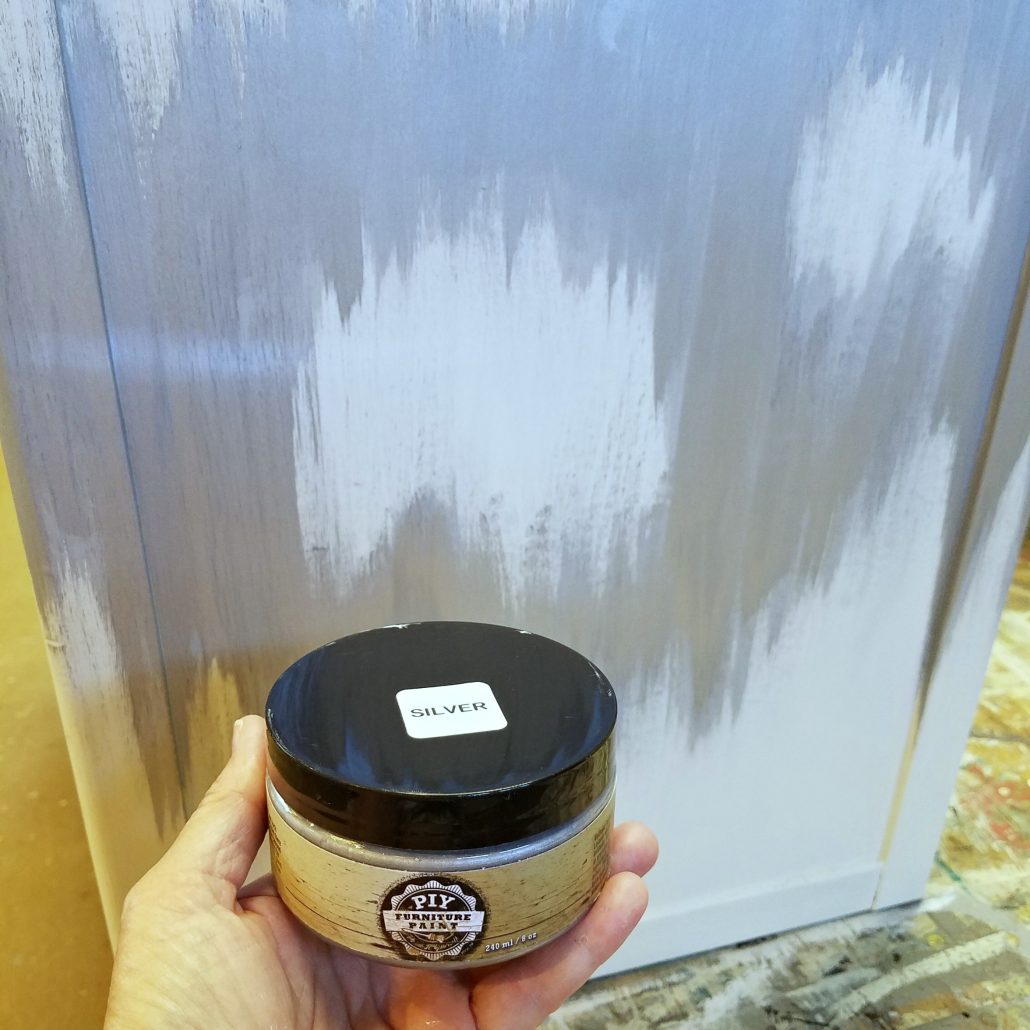
Sanding And Distressing
I used a block sander to smooth and soften the lines of the painted areas. Sometimes, I don’t know where to stop. I distressed the whole piece, even the edges pretty good. At first, I was worried that it was too much with such a modern look. But, after standing back, I liked the look it was taking on. A mix of modern, glam, and rustic. Sounds crazy, huh?
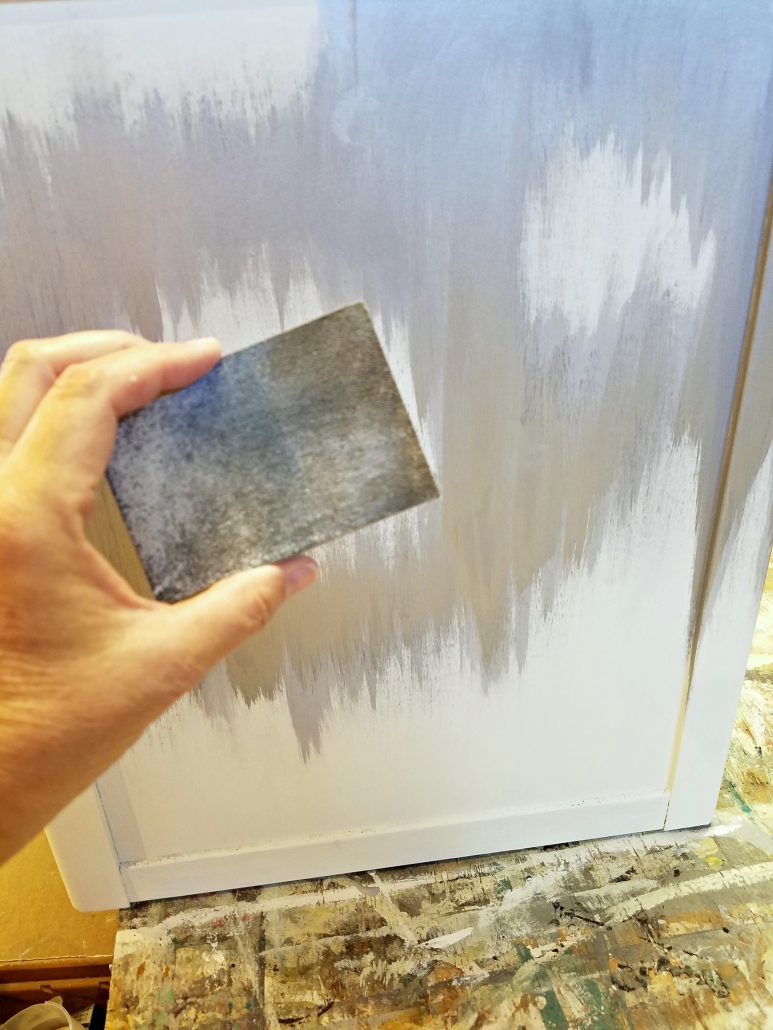
I Got Carried Away
NO pics. Wah, wah! It all went so fast and there was gold leaf everywhere. It was even floating in the air. Seriously fun!
Pretty simple, actually. The kit I used is called Speedball by Mona Lisa. It comes with 25 sheets of gold leaf, glue, and a sealer. Before I started, the directions recommended that the surface you are applying to be sealed first. I used a top coat to seal the whole piece first. It’s a polyacrylic sealer that has a beautiful satin sheen. I applied one coat.
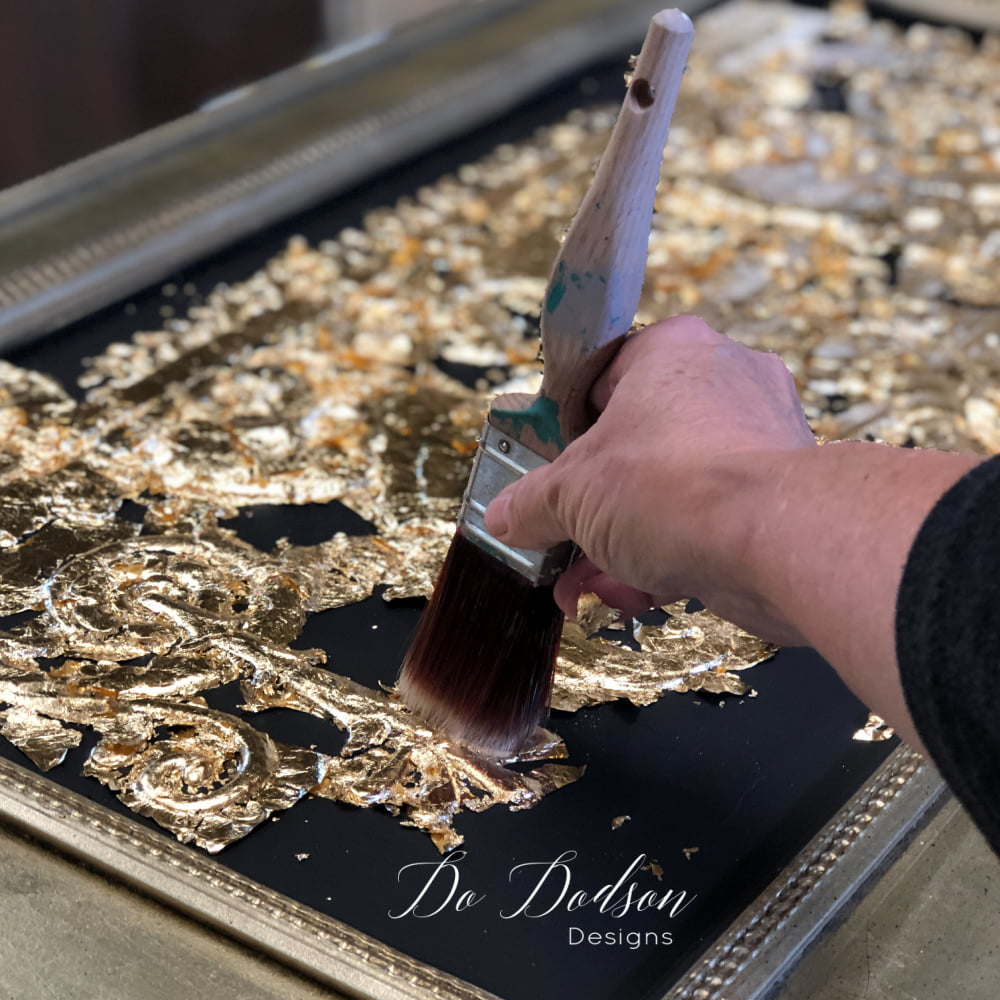
Next, I took a small artist’s brush and went to town on the glue. I added it to only the areas I wanted the gold leaf. After applying, I allowed the glue to get tacky before applying the sheets of gold leaf. I laid the sheets over the glue and then smoothed over the surface with a soft cloth. This is where the gold started raining from the heavens! It was EVERYWHERE! Do not do this in your home unless you are prepared to do a massive cleanup.
Shortly after I cleaned everything up, I applied 2 coats of the sealer with the kit over the gold leaf areas with the small artist brush. This will keep the gold from discoloring and oxidizing later on. After all that work, I want to make sure that the gold stays gold. The results were breathtaking. I never dreamed something so chaotic could be so visually stimulating.
MCM Gold Leaf Furniture Makeover
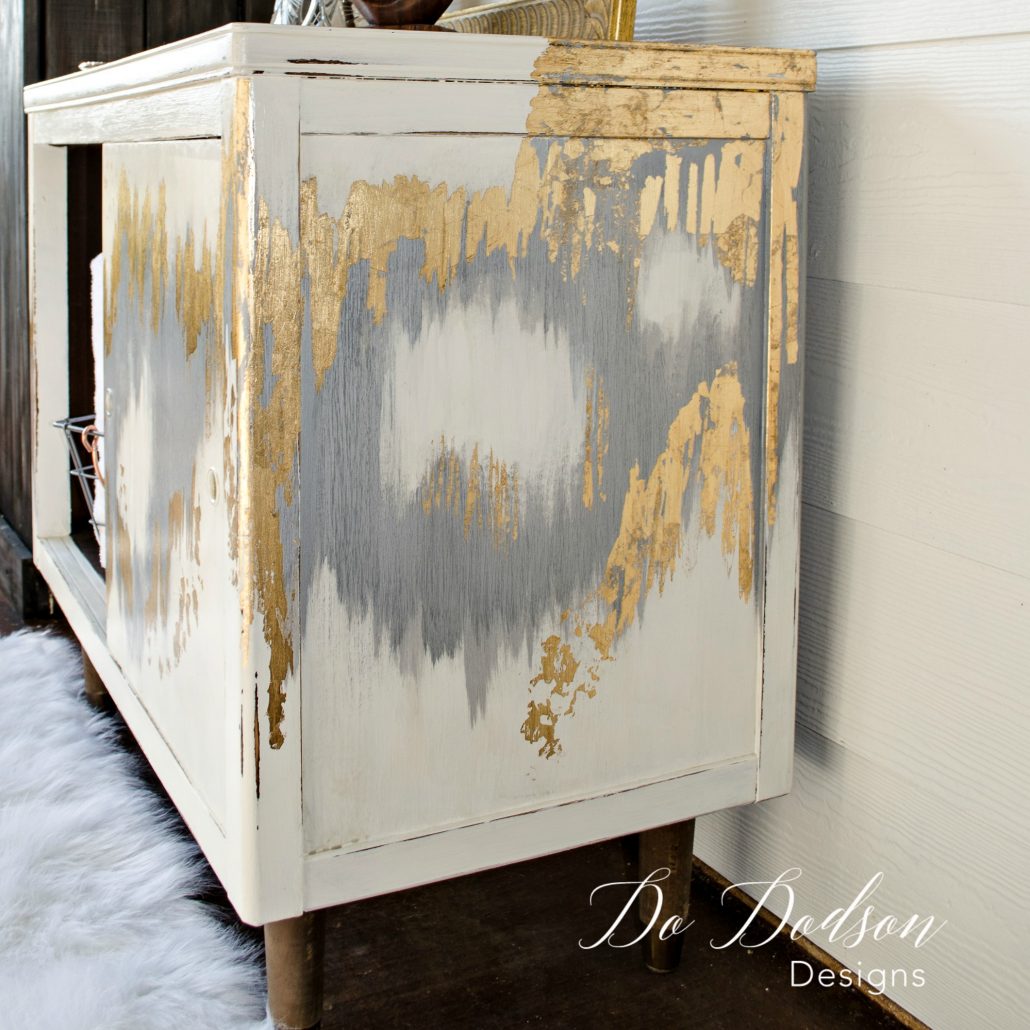
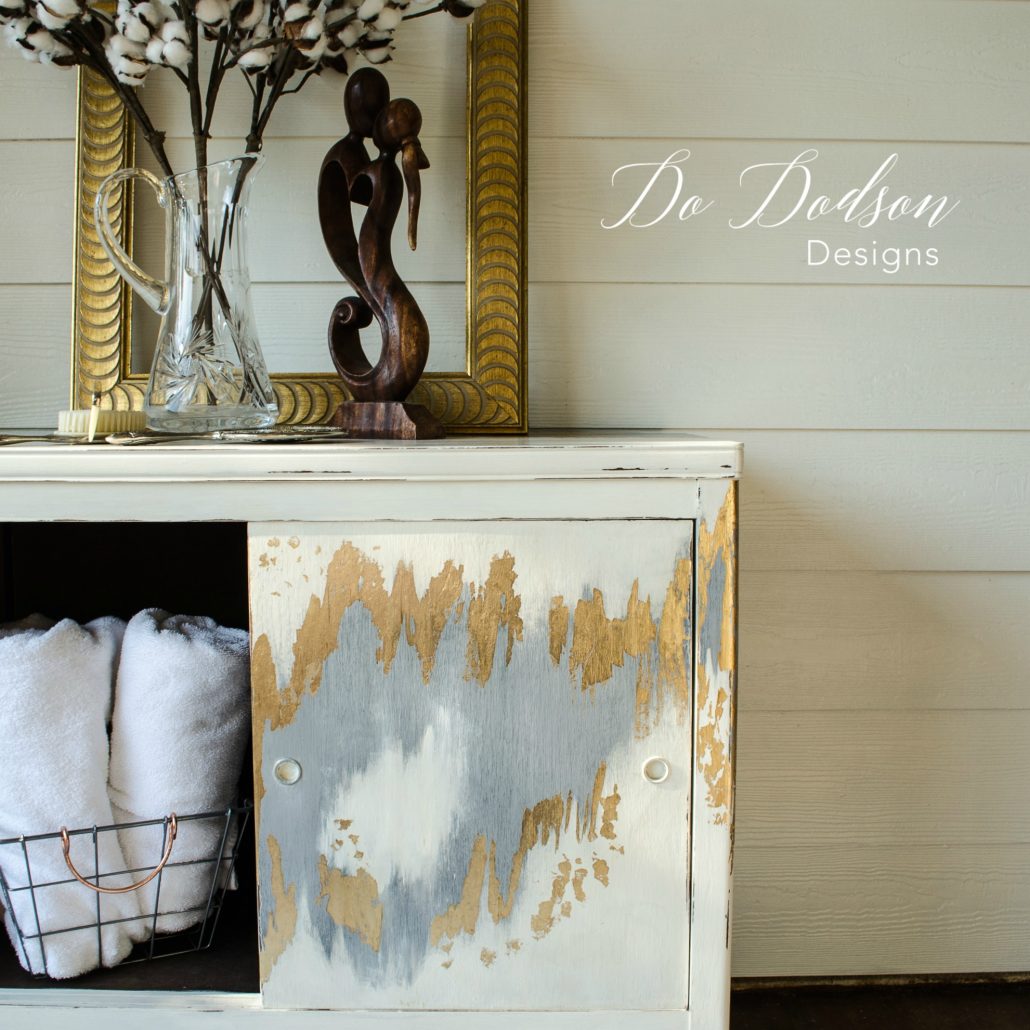
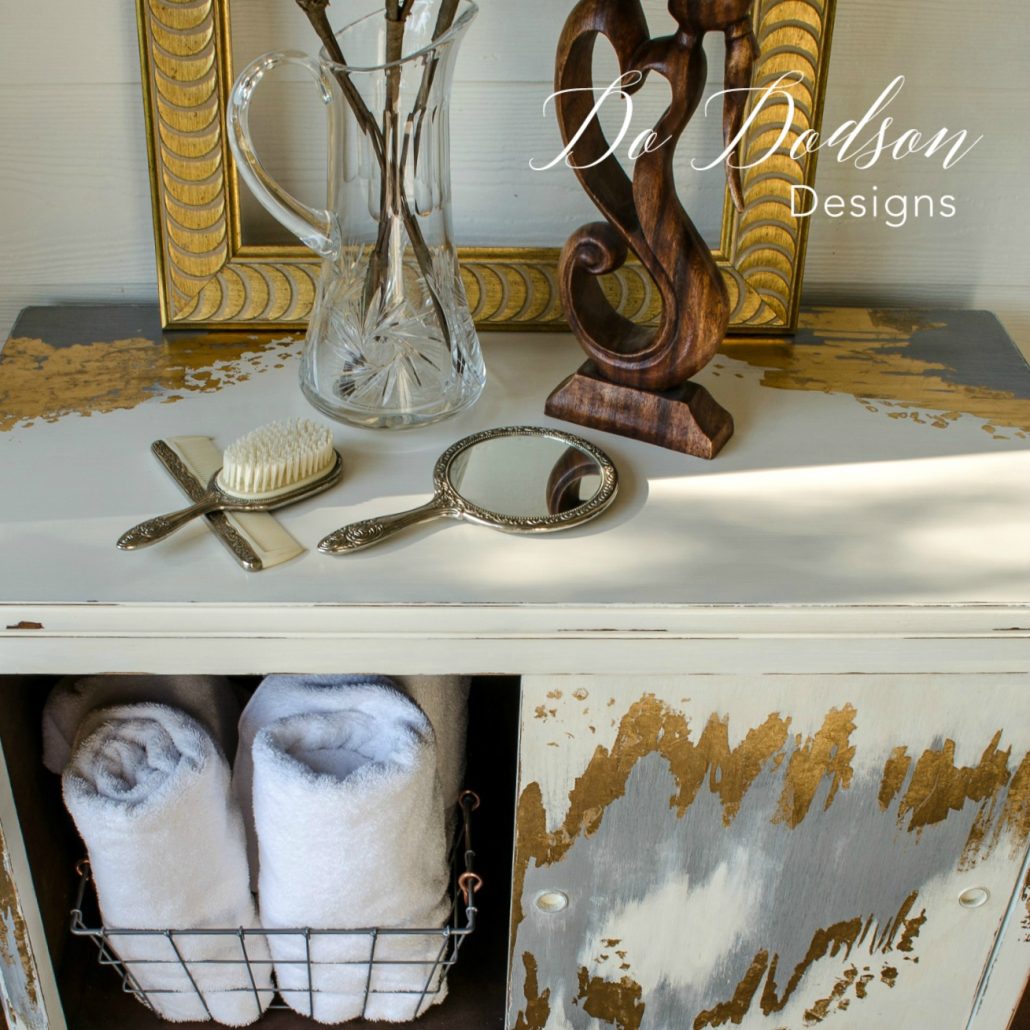
Oh, and as for the missing door? The design that I created will work with the door in either position, to the right or the left. Ya, I thought of everything on this one.
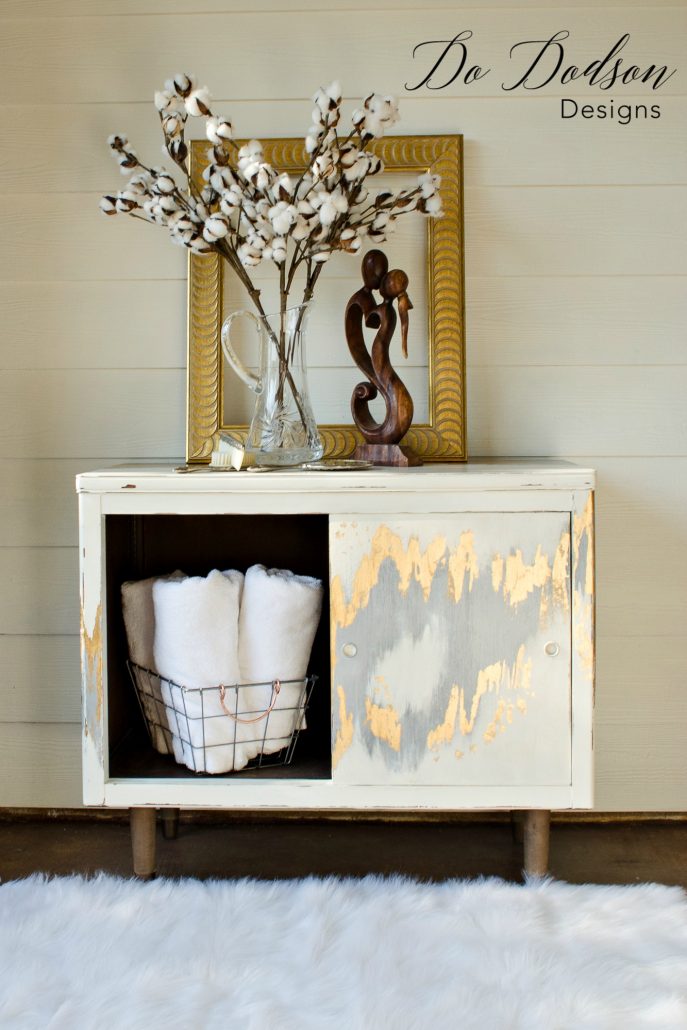
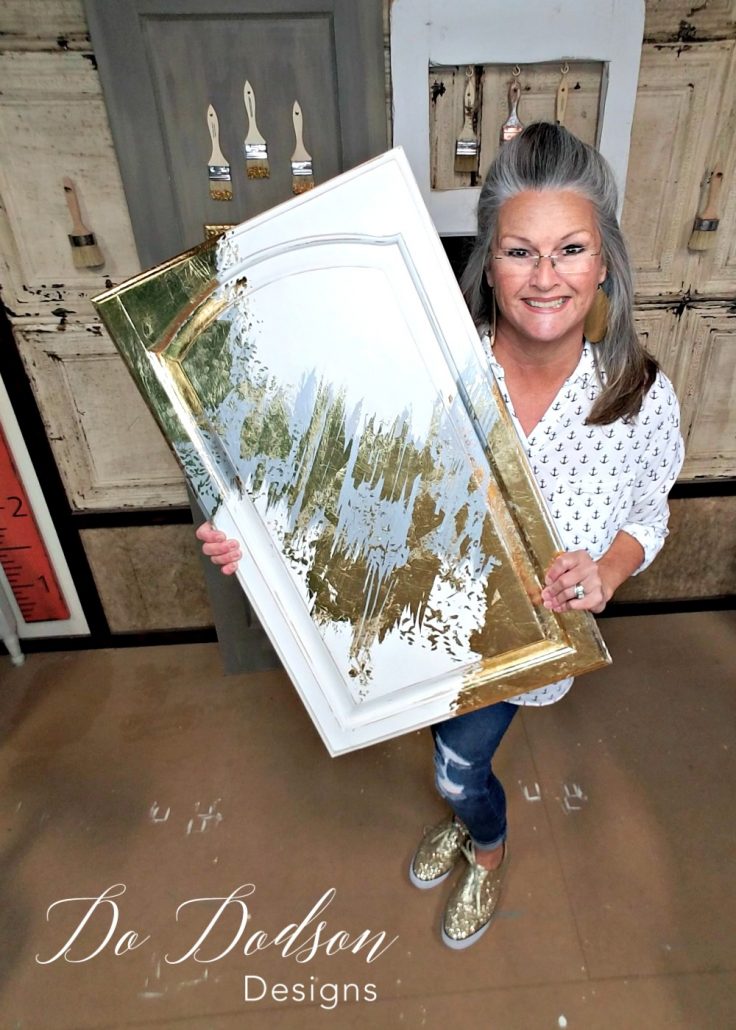
To say I love this shiny GOLD stuff on my furniture is an understatement. I have a few others to share with you if you’re totally obsessed with the metal leaf makeovers. CLICK HERE to see 12 amazing metal leaf-inspired makeovers from another talented furniture artist. And if you fancy GOLD, check out this gold leaf POLKA DOT inspiration. It’s so cute! You can find this video tutorial and many more in my private library, The Art Of Painting Furniture.
Until the next project… xo, Do

