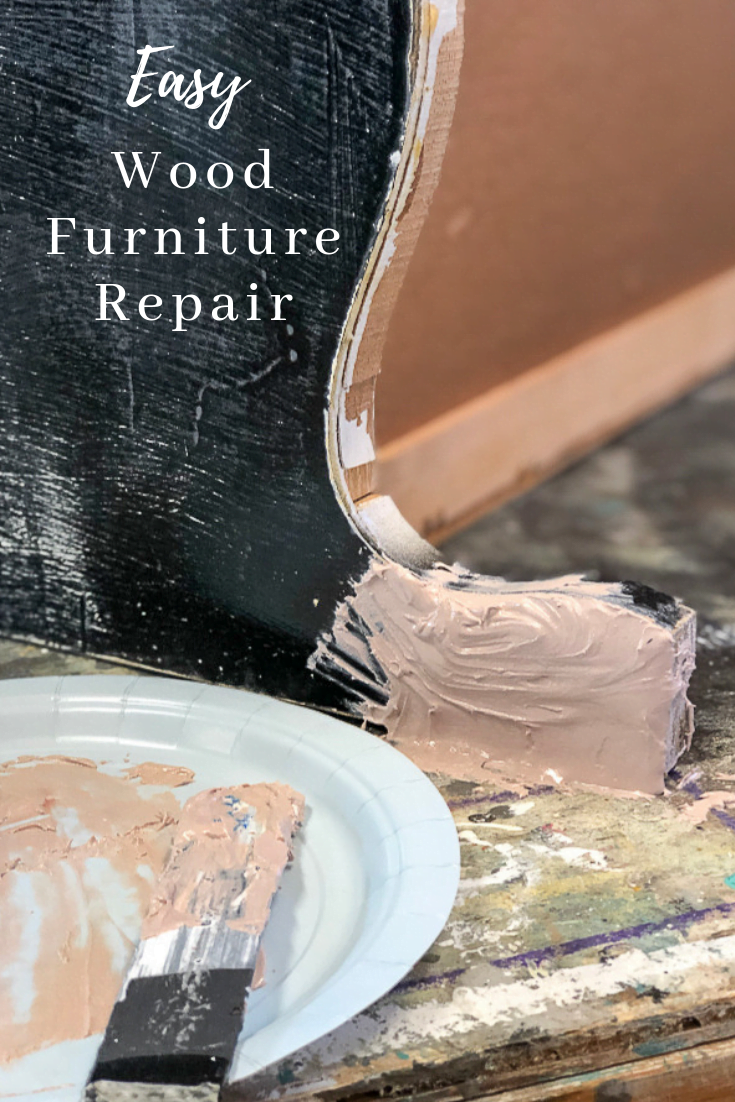
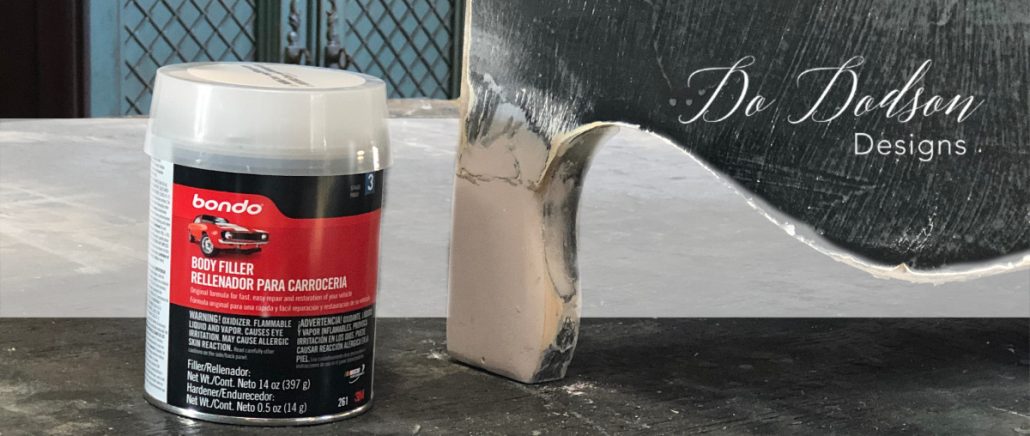
I’m excited to share this furniture repair project with you! Furniture repairs can be costly and time-consuming. That was before I discovered Bondo for my wood furniture repairs. It’s not just for auto body repairs.
This post contains a few affiliate links to help you find the products I use. You are not charged extra to use any of the links, but any income I make will be used for more fun projects! To see my full disclaimer, click here.
Quick and Easy Furniture Repair | Wood Damage
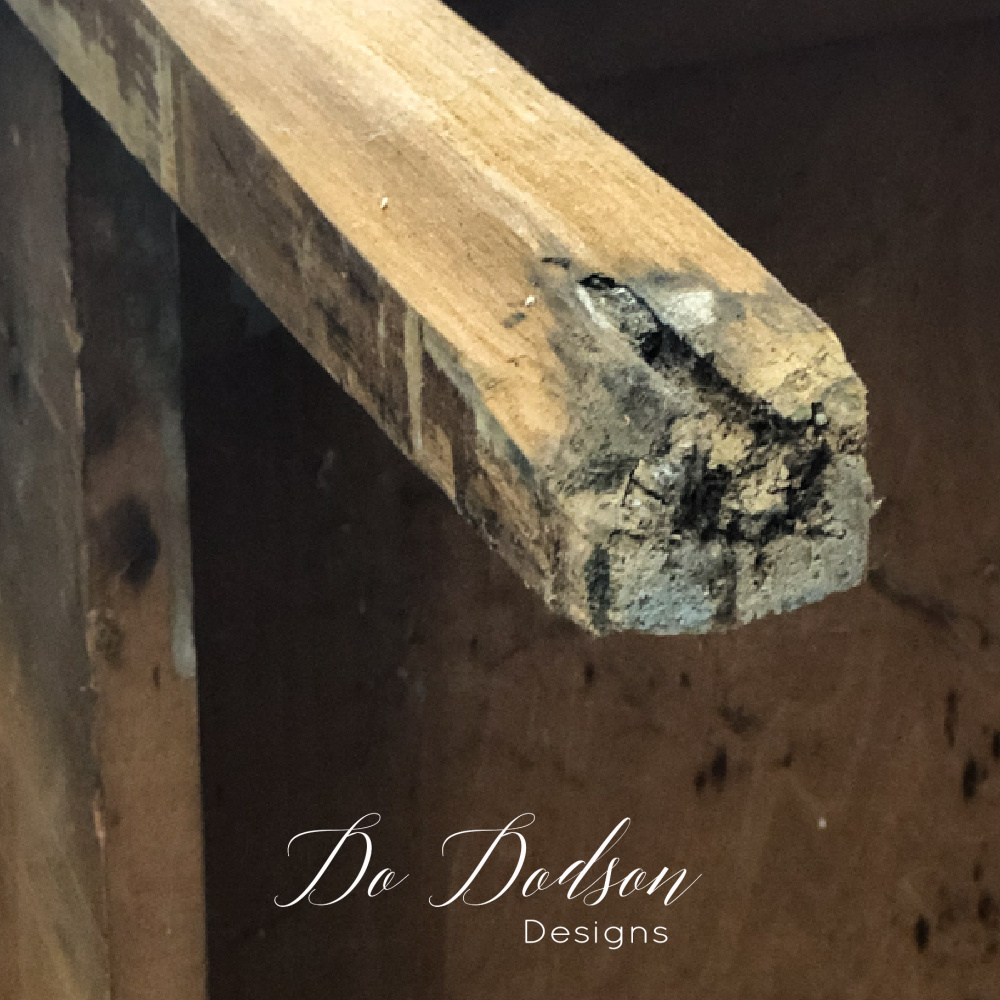
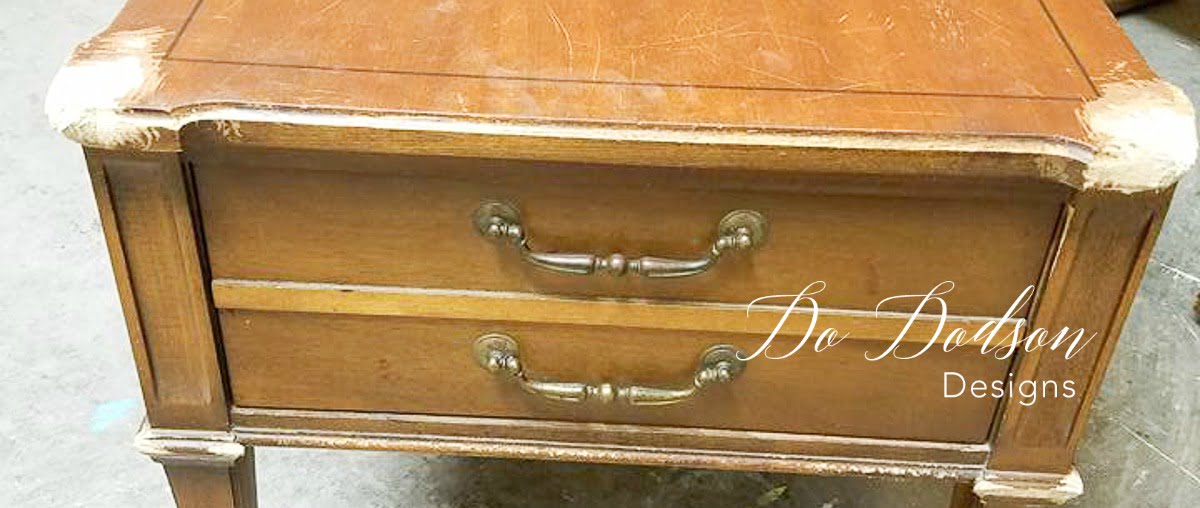
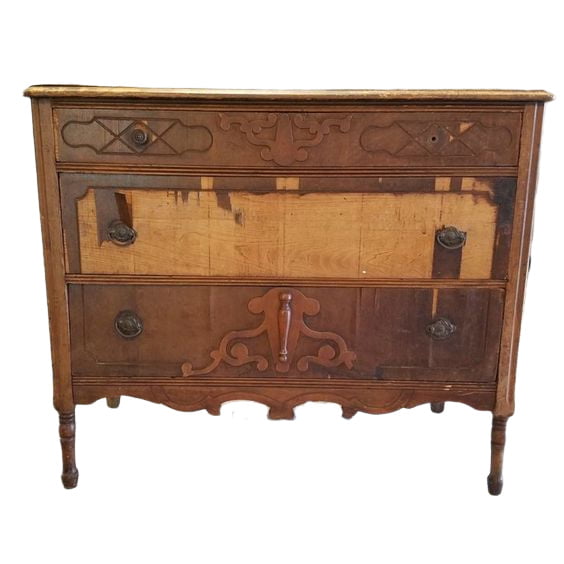
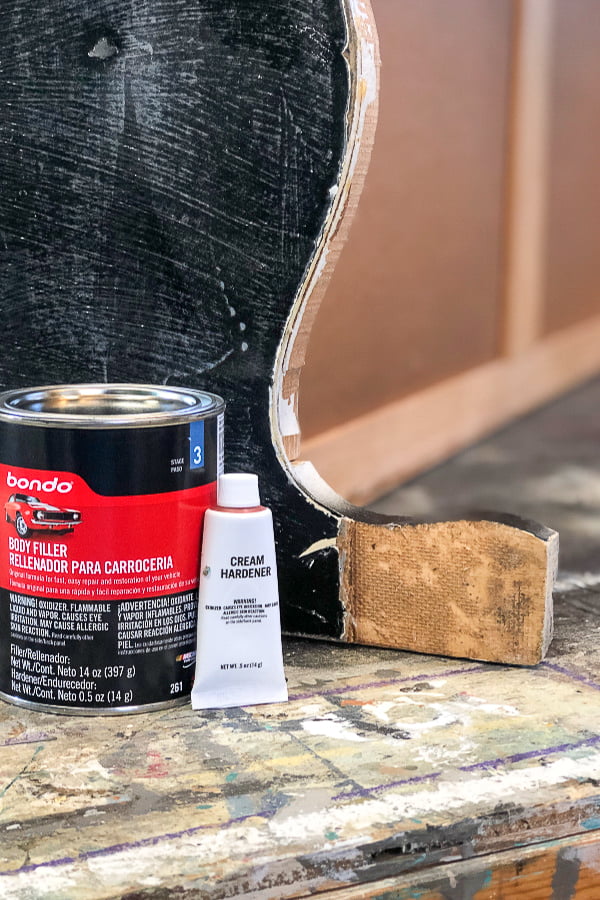 This french provincial dresser has a few issues. The biggest one is the obvious wood damage on the back legs. The thick wood veneer had been broken off leaving a gaping section about 1/4 in deep.
Supply List:
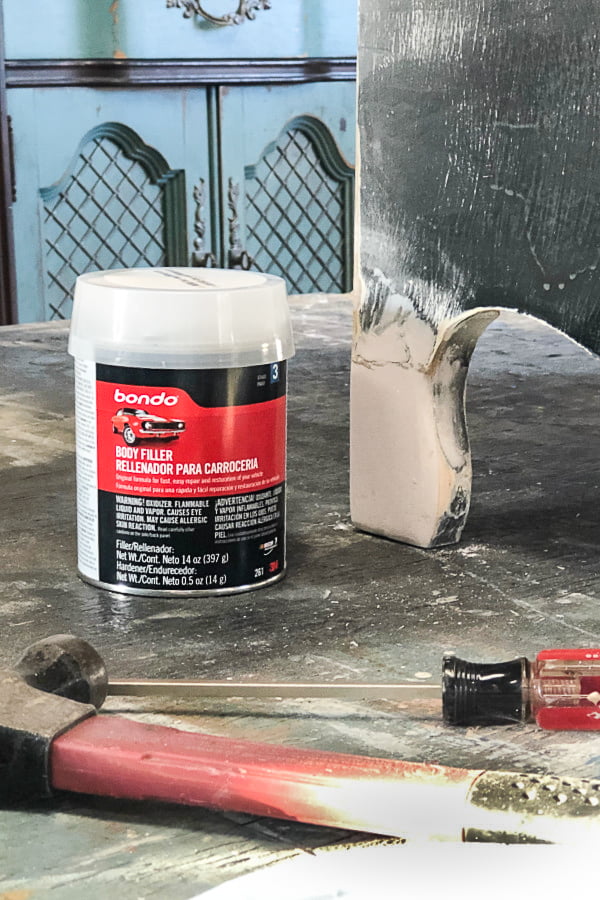
Mixing The Bondo for Furniture Repair on Wood
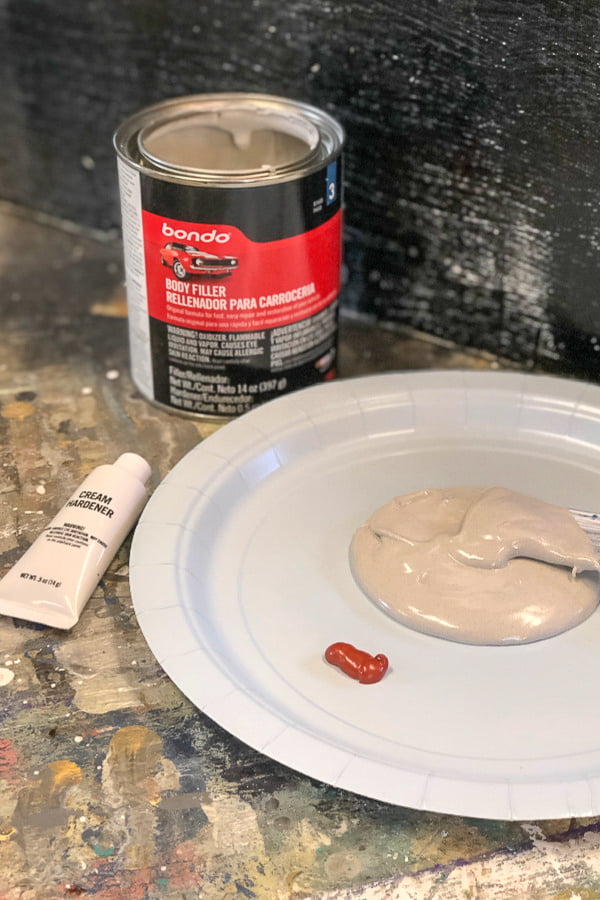 The Bondo comes as a kit and has two products that are combined to make it activate. Without the cream hardener, the Bondo will not thicken and harden.
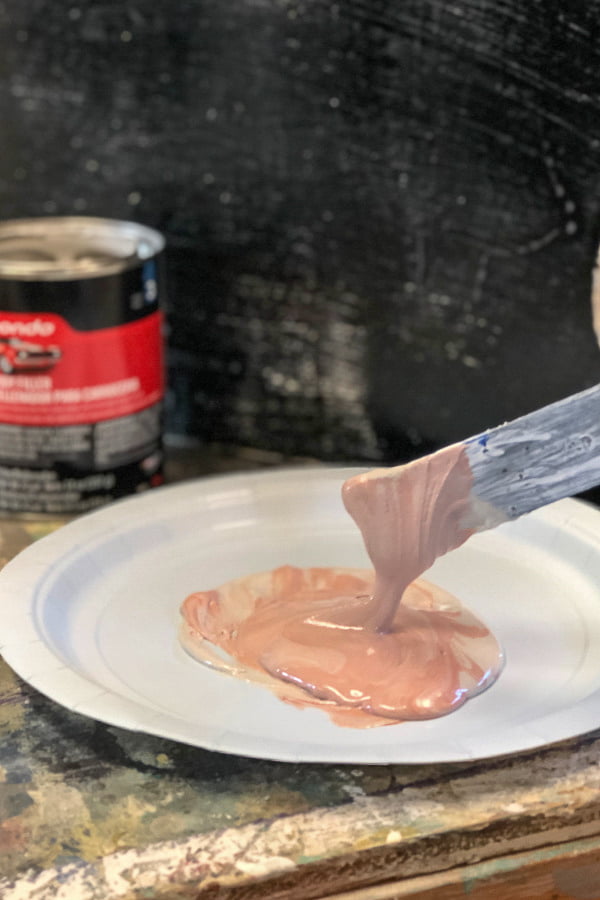 First off, this stuff has a very strong odor so I was careful to work in a well-ventilated area. I mixed the Bondo as per the directions on the package. It was easy to mix and turned a pink color after mixing.
Application Of The Bondo For Furniture Repair
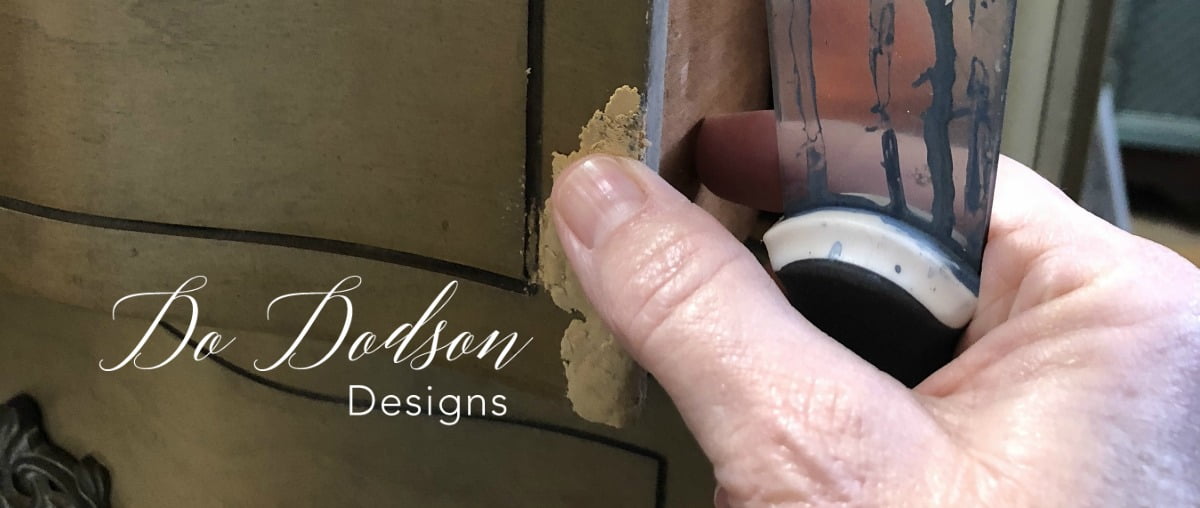
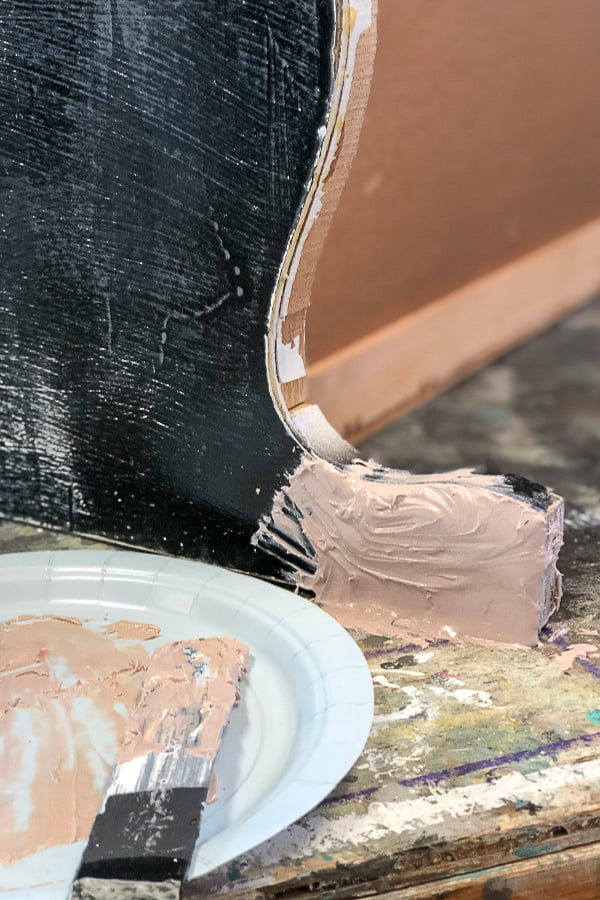 There’s nothing magical or special about the application. I just smoothed it on with a wooden craft stick and applied it thick. Just above the level needed to match the wood. The Bondo was dry after about an hour and was ready for sanding. The furniture repair project was coming along nicely.
Sanding The Bondo
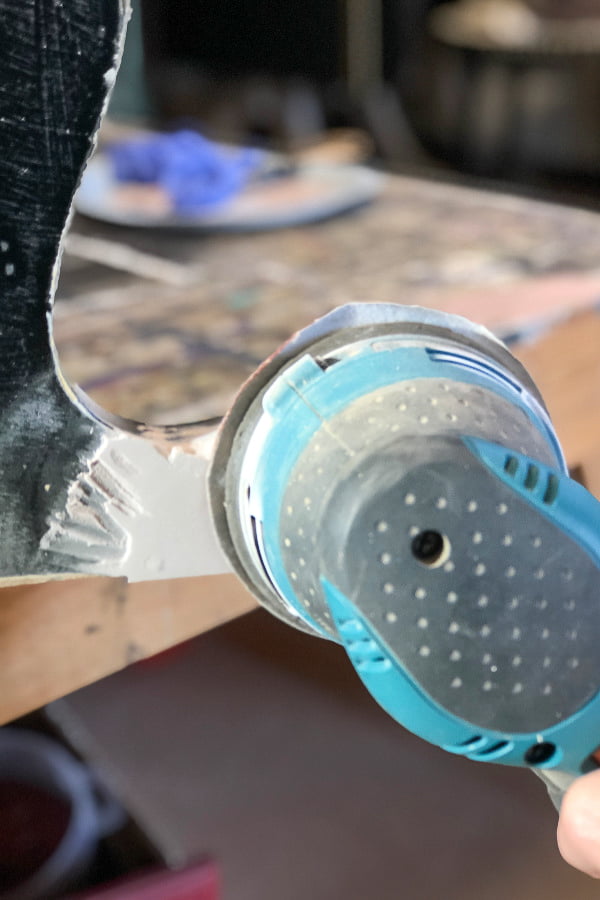 Sanding the Bondo was quick and easy with my Orbital Sander. I used 180 grit sandpaper to start with and finished with 220 grit for a super smooth finish.
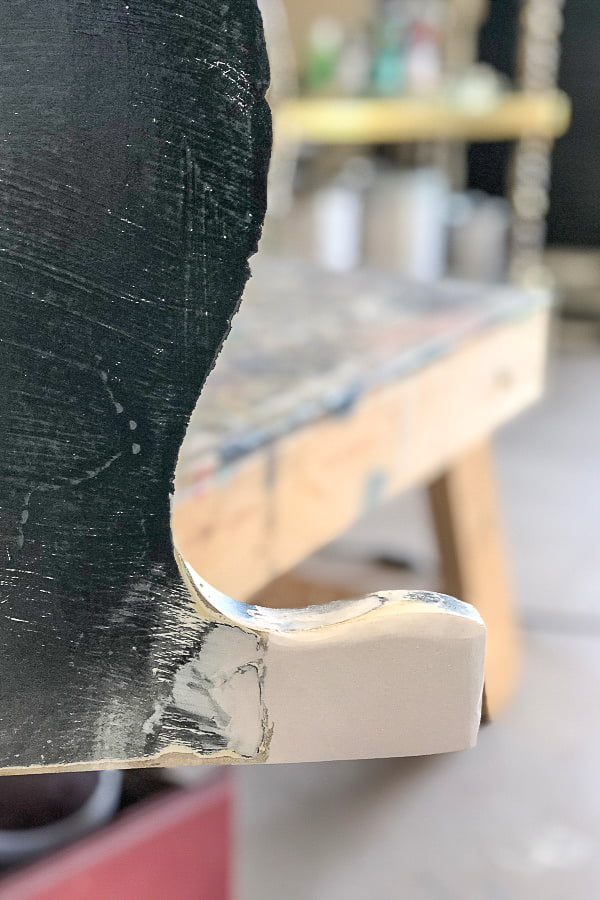 From start to finish it took me about an hour to do this wood furniture repair.
Using Bondo to repair wood damage was super easy and I’ll be using this product again. I wished all projects were easy to fix. I’m sure this won’t be the last. Thanks for stopping by.
Until the next project… xo, Do

I just picked up the exact same stuff the other week to repair an MCM dresser! I haven’t done it yet, but happy to have your routine and pics as always!
Oh great Liz! I’d love to know how it worked for you. Have a super week!
Thanks for sharing! Now I won’t be passing up furniture that I think is “too junked out” to save!
……and Happy Birthday! My BD is tomorrow, my name is Donna and I am also a nurse! And of course we love saving and creating things. Lots in common. Plus my husband shares my craziness too. Isn’t it fun?! Have a great “birthday week”!
Happy Birthday to you, Donna! yes we do share a lot in common. So glad you stopped by. 🙂
Great I did the repair but unfortunately the stain which was used throughout the cedar chest does not hide the repair job. I do not want to paint it. So how do I cover so it looks blended?
I’m so sorry Mary. That stinks! I usually paint over my wood filler, so I’m not sure how to get it to match.