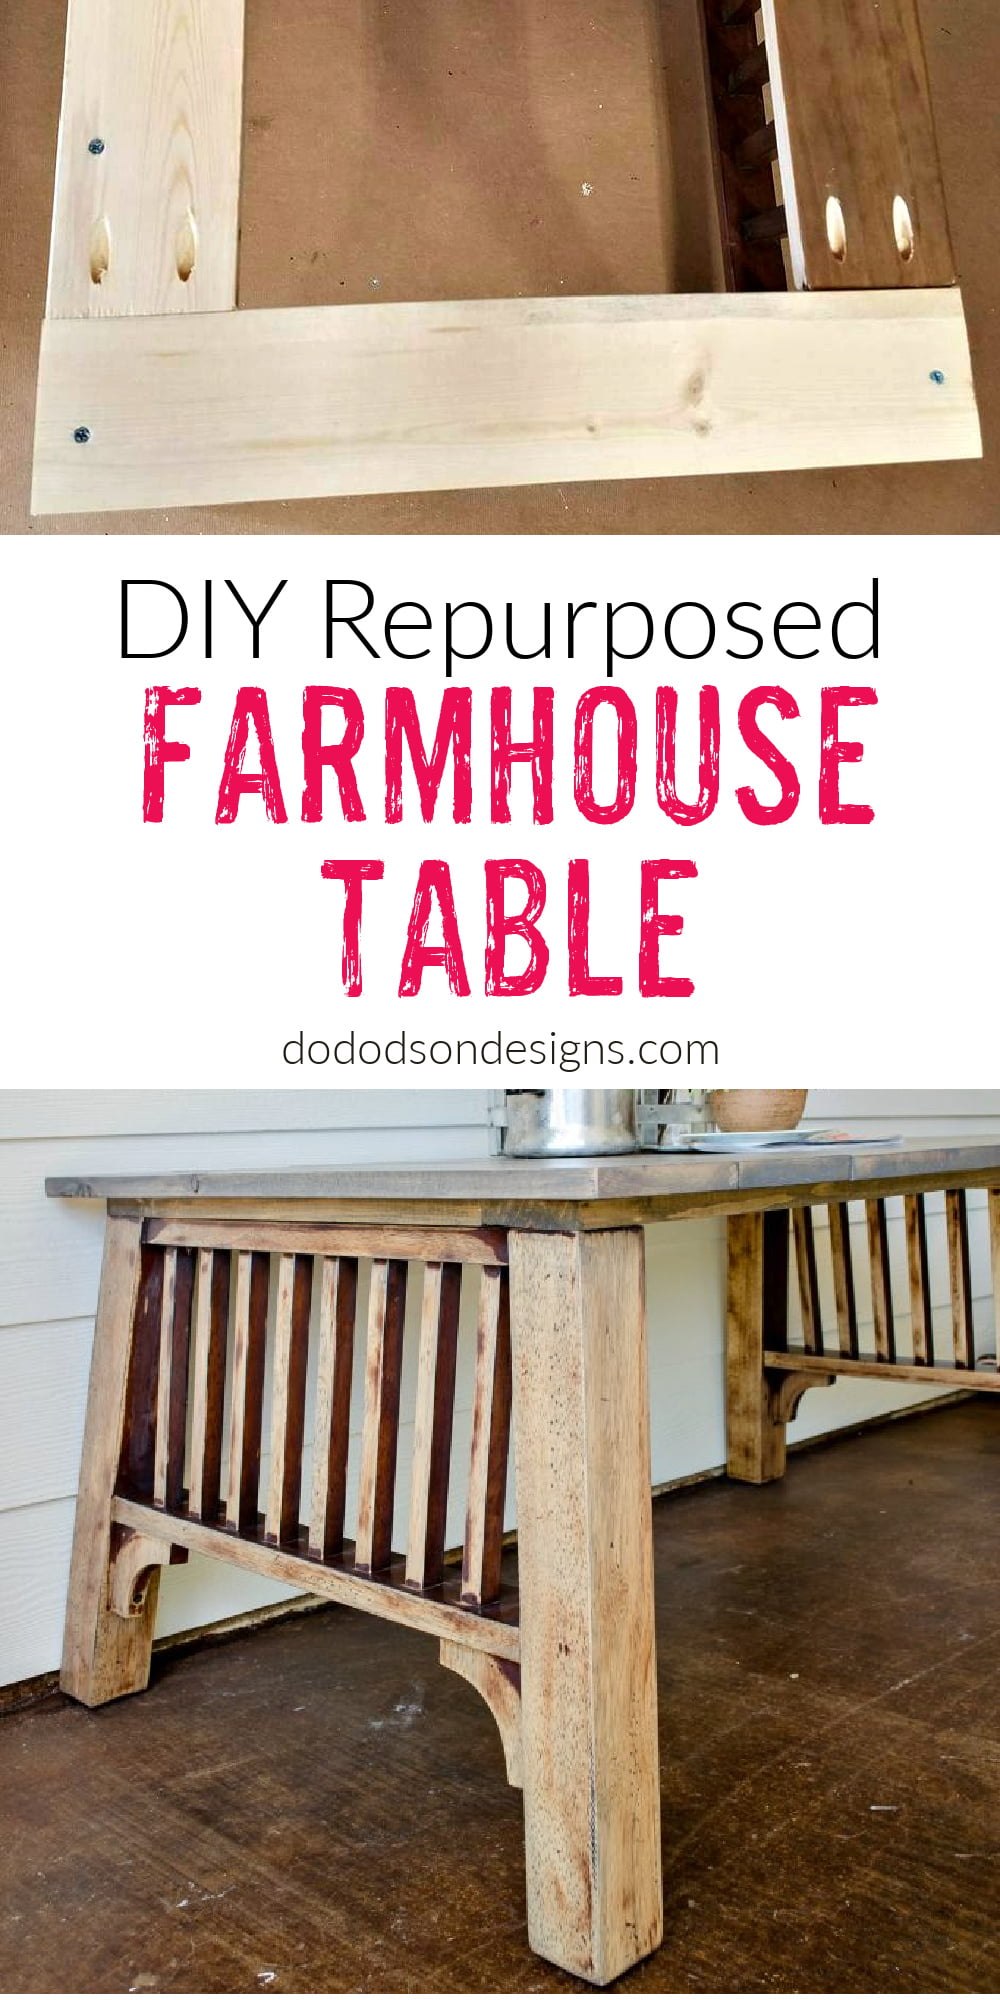
My friends laugh at me when I tell them that my car automatically starts to shimmy and slows down when garages sales and curbside junk is near. I ain’t even kidding! I’m always on the lookout for roadside treasures, and when I spotted these leftovers, the wheels immediately started turning in my head. Oh, the possibilities! This looks like a DIY Farmhouse table in the making.
*This post is not sponsored and all opinions are my own.
This post contains a few affiliate links to help you find the products I use. You are not charged extra to use any of the links, but any income I make will be used for more fun projects! To see my full disclaimer, click here.
Curbside Junk to DIY Farmhouse Table
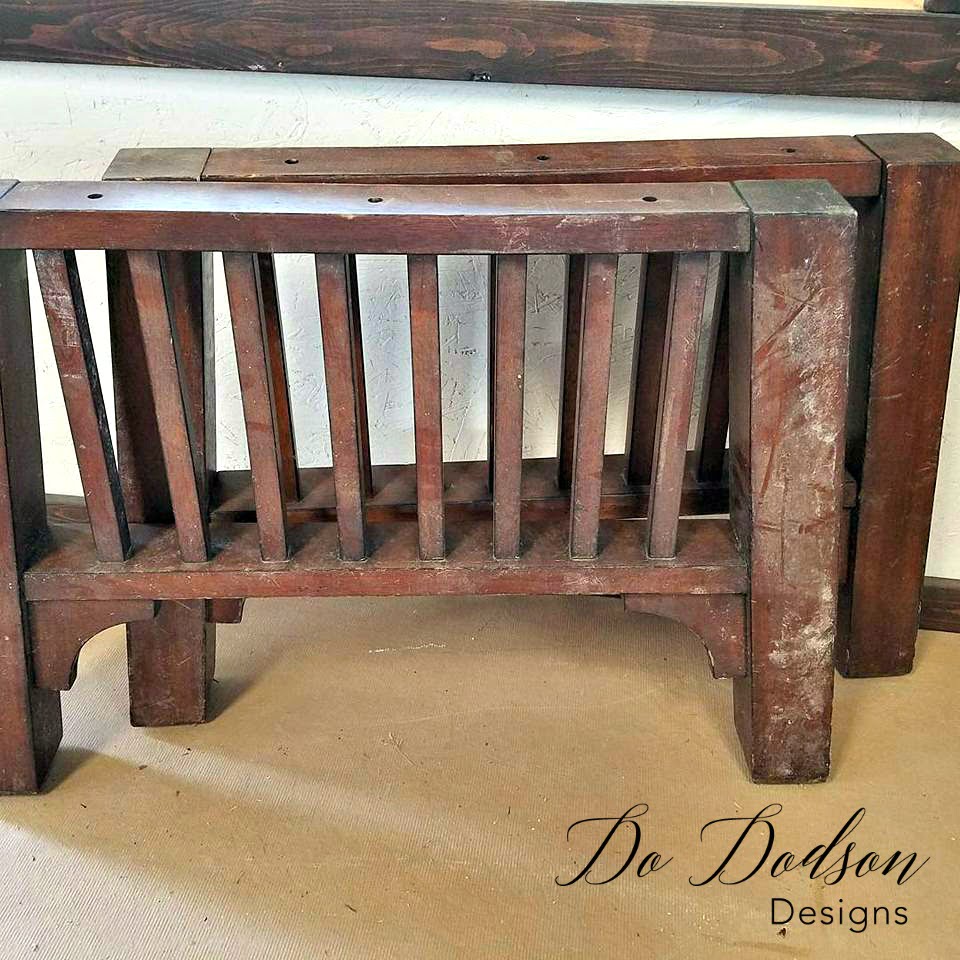
I ended up with 4 perfect end pieces that appeared to be parts of a day bed, but I’m not sure. Either way, they would make a beautiful base for a farmhouse table with a matching end table. Now all I had to do is to build a tabletop.
Supply List:
- Kreg Jig Pocket Hole Kit
- Drill
- 1×6 spruce/pine stain-grade lumber
- 1×4 spruce/pine lumber
- Compound Miter Saw
- Orbital Sander
- Wood Glue
- Minwax Classic Gray Stain
- Minwax Poly Wipe on Satin Finish
- Cheese Cloth
Building The Tabletop For The Farmhouse Table
To build the tabletops, I started building a frame that would attach to the base out of 1x4s. I’ll be using my Kreg Jig, and if you’re into woodworking, it’s a must-have tool if your a DIYer.
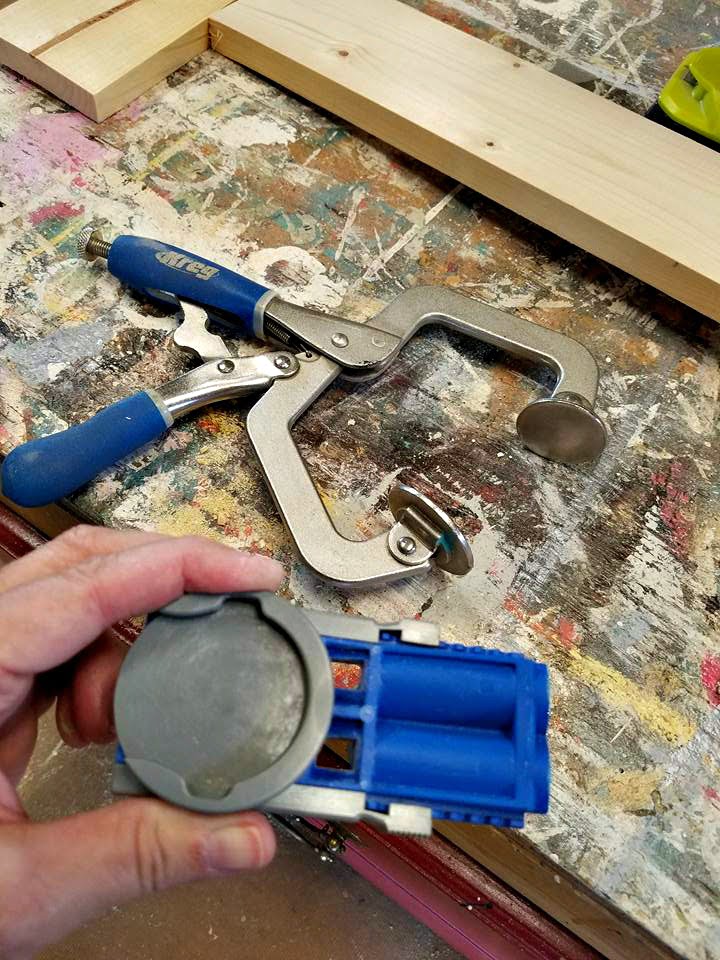
It’s niftier than a pocket on a shirt! Well, that’s what my Grandpa would say. I’m pretty happy with the results it gives. The union of two boards should be super strong, which is what you get when you use this tool.
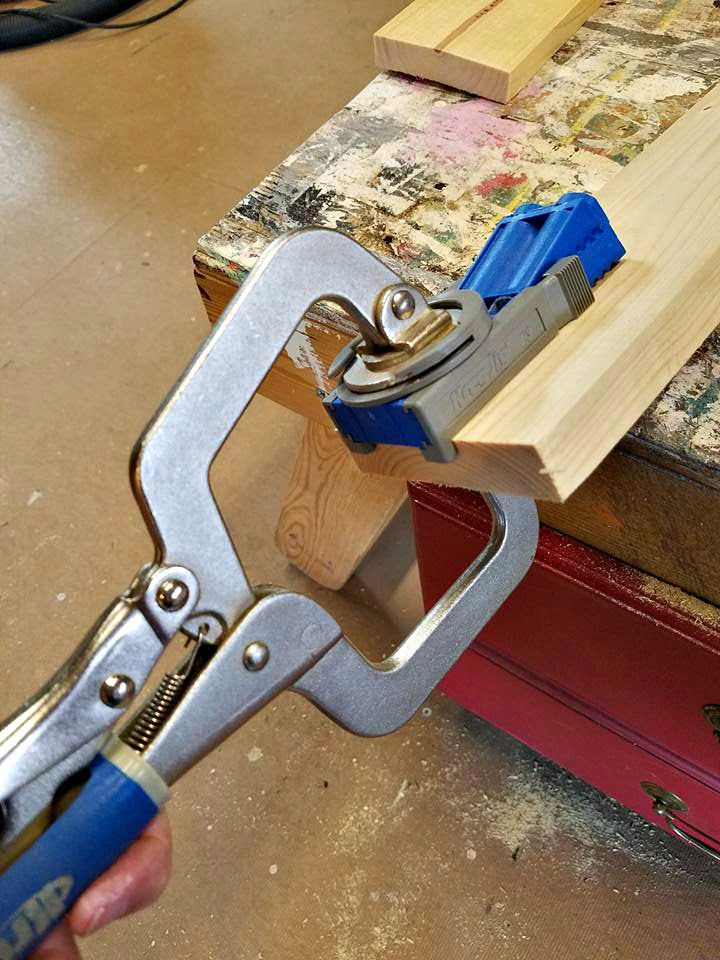
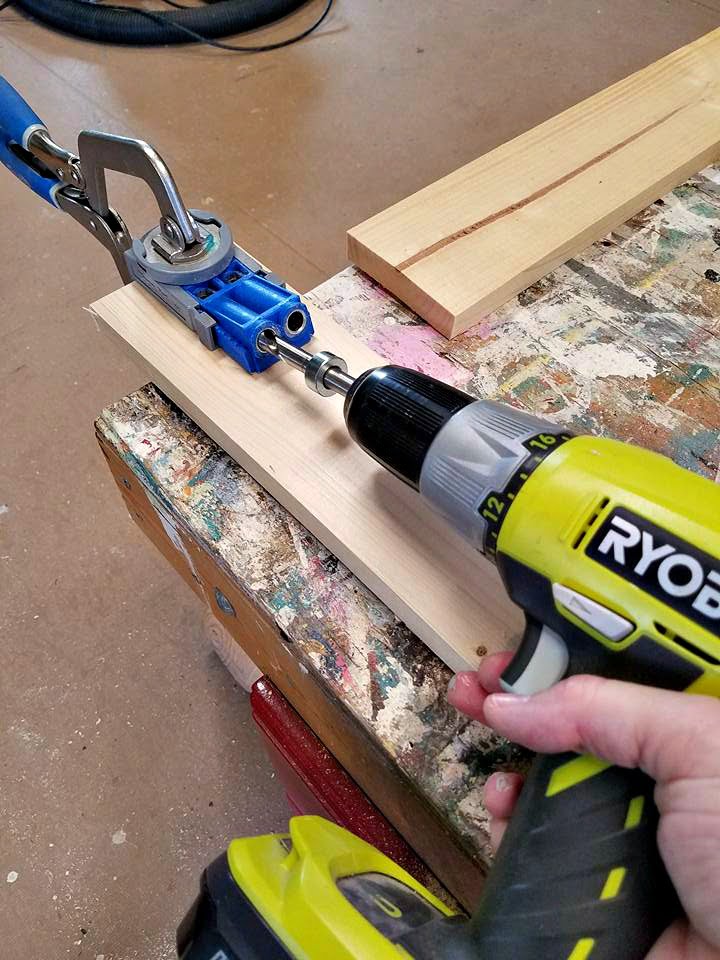
As a side note, I also applied wood glue to the ends that join before attaching the screws. This gives it a bit of added strength. I don’t want any disaster when the grandkids stand on top of it and pretend to be King Kong. It happens!
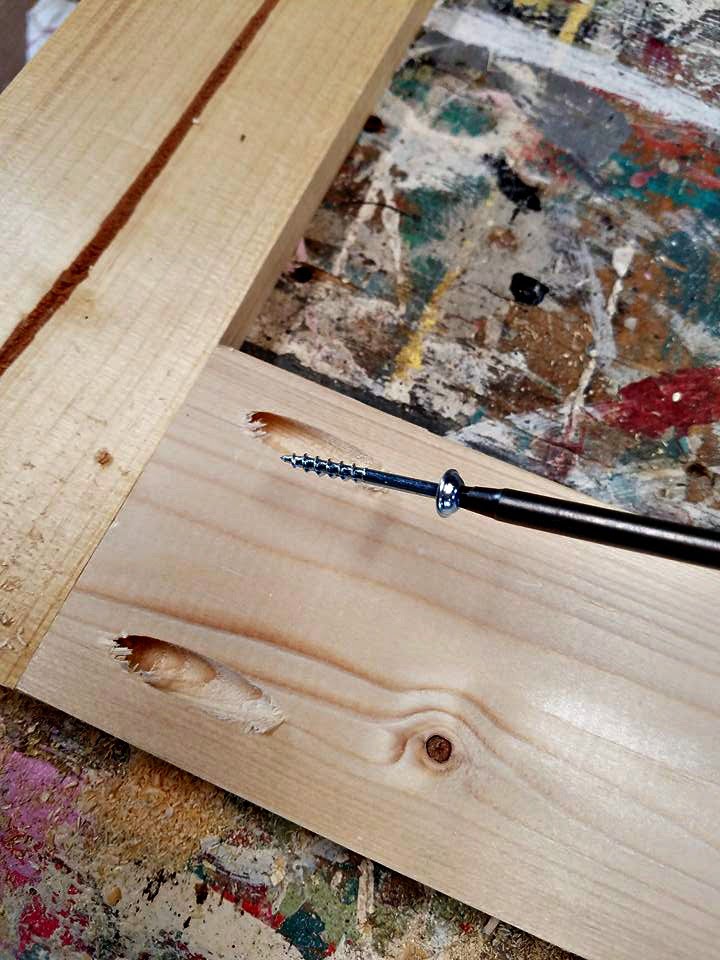
I connected the tabletop base to the lower leg base with wood glue and screws—nothing hard about this design. The boards will lay across the base to create the completed farmhouse tabletop.
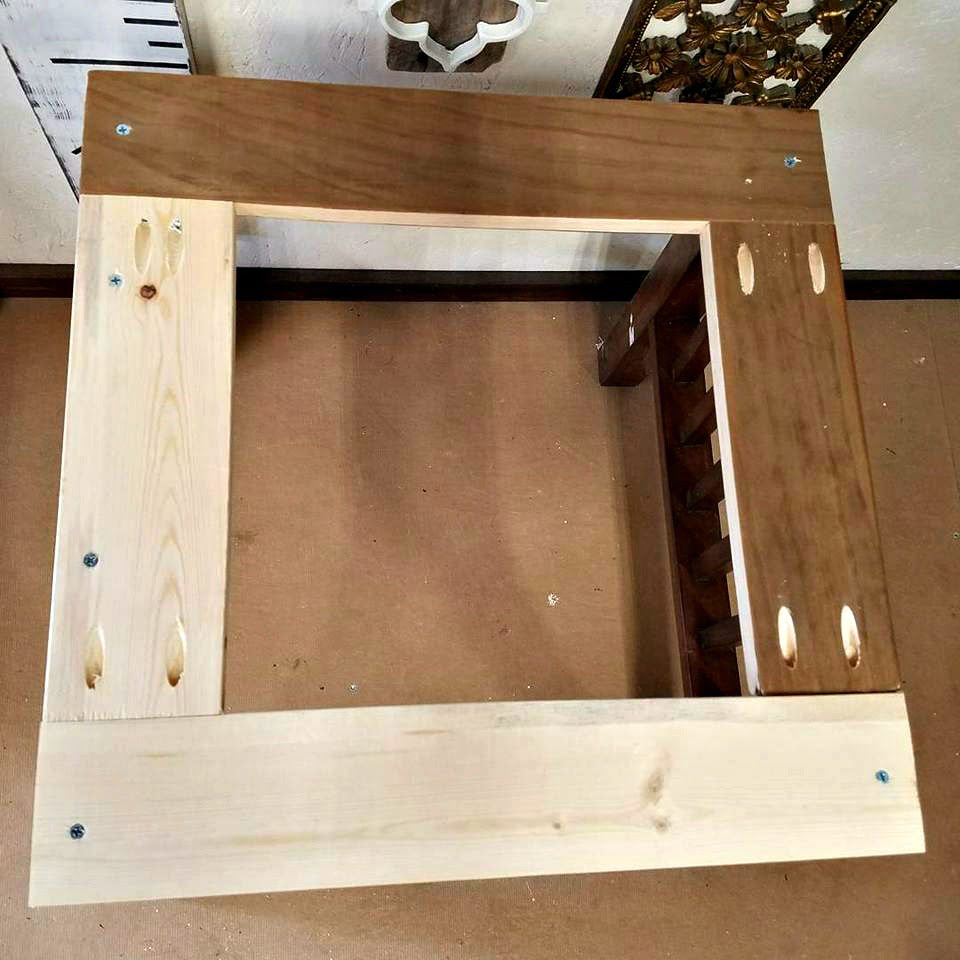
For the top, I used 1×4 stain-grade pine and cut each one to the appropriate length with about 2 inches overlapping all the way around the base of the table.
After sanding and cleaning the new tabletop and the leg base of the table, I applied Minwax Classic Gray Stain to all of the wood. It was so easy to apply. I just used a low lint cheesecloth and wiped it on. Beautiful!
Staining The Farmhouse Table
Applying The Topcoat On The Farmhouse Table
After allowing the stain to dry overnight, I applied 3 top coats of Minwax Poly Wipe-On in a satin finish. I lightly sanded in between each coat (after it was dried) and wiped off any dust with a clean cloth before applying the next coat. The results were are a durable, beautiful surface.
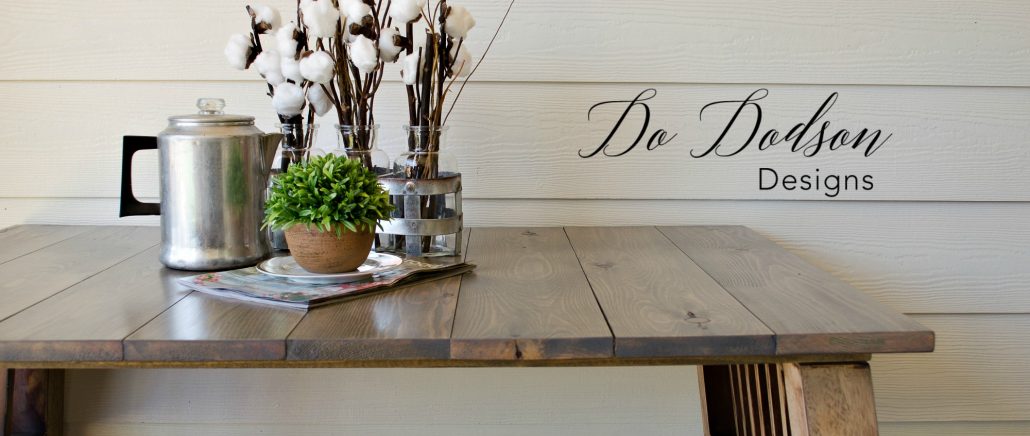
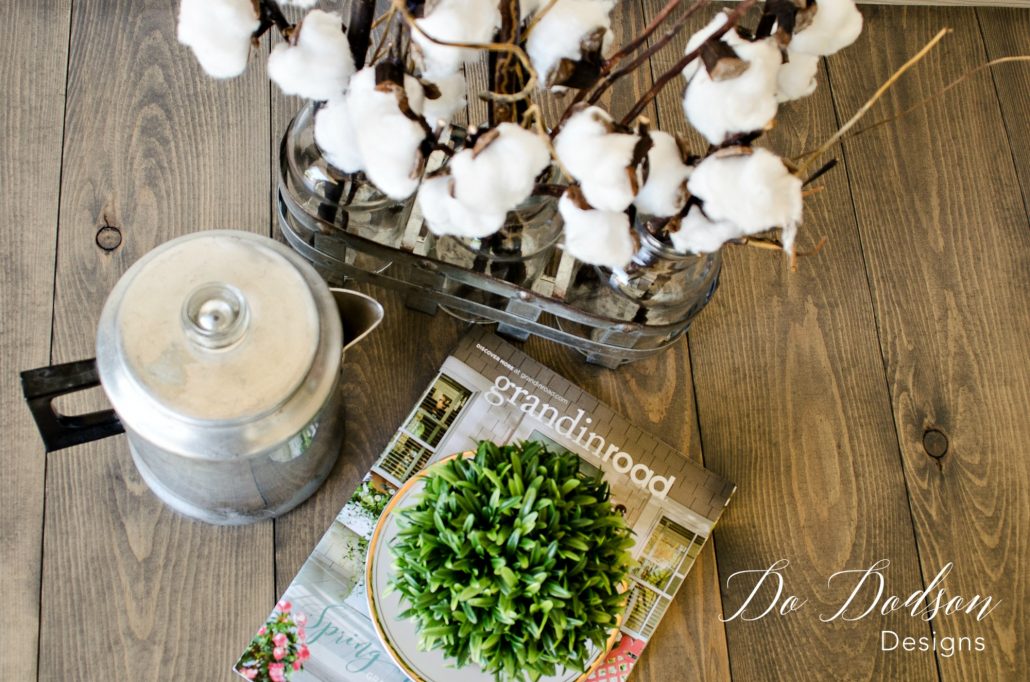
Look at all that beautiful wood on my new farmhouse table! The gray stain was the perfect choice and gave it that weathered wood look I was wanting.
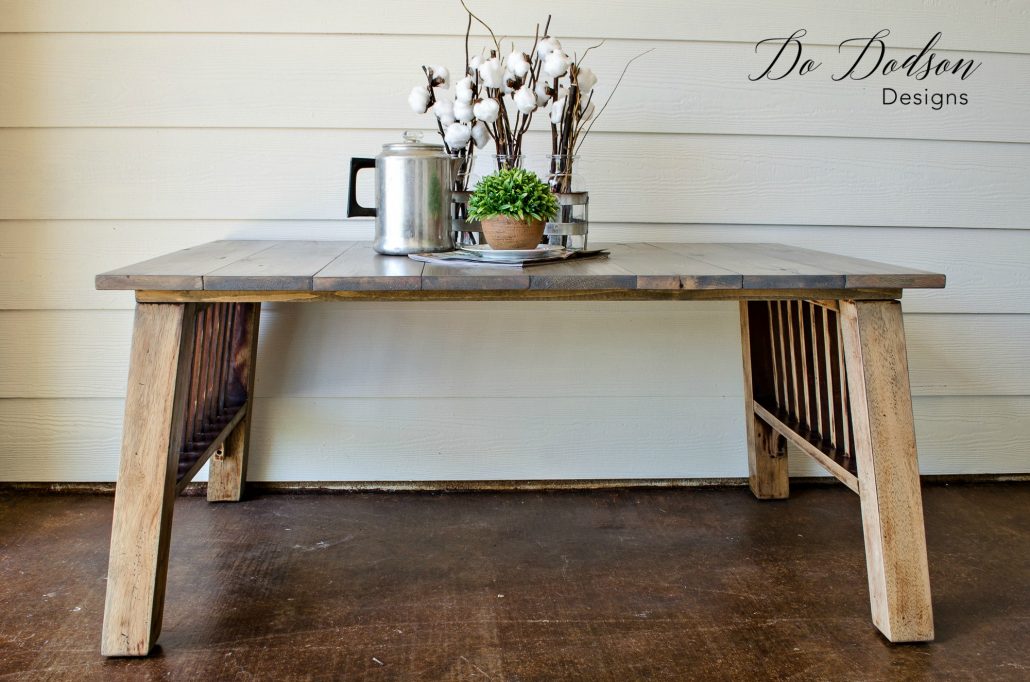
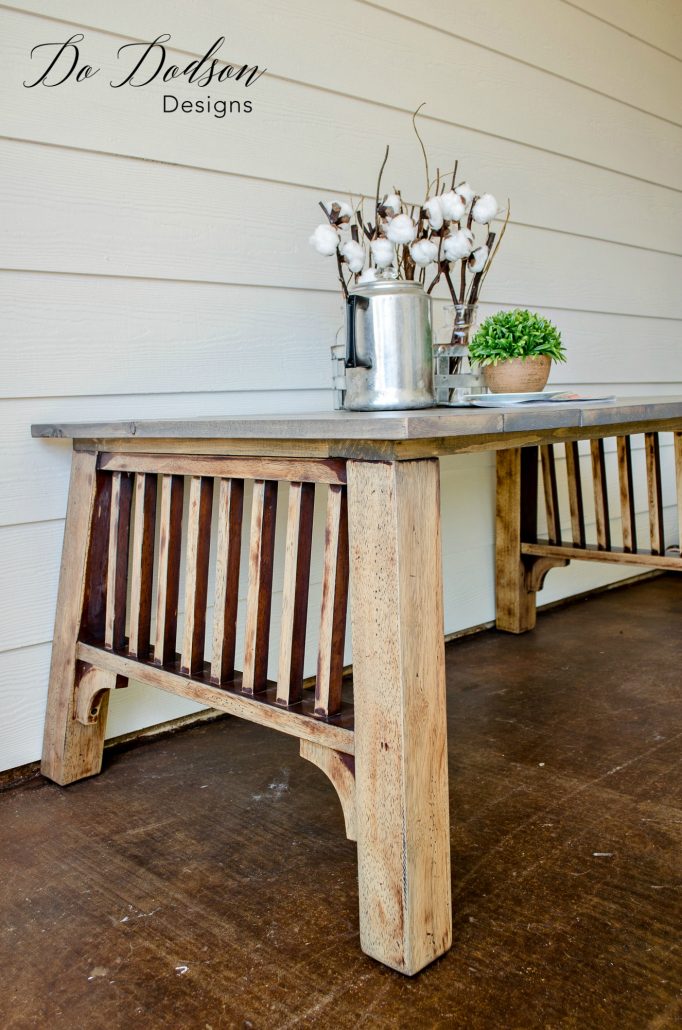
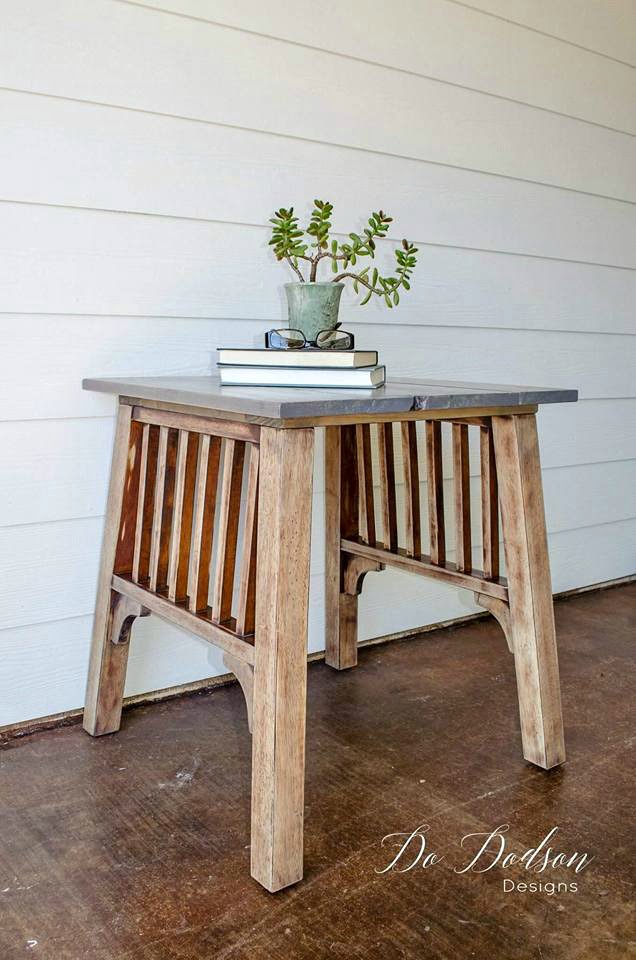
EEEEK! I could do this kind of DIY salvage project everyday! What an amazing find. All because someone threw out their junk on the side of the road.
Thanks for joining me today, and I hope this inspires you to do a little more curb watching for all the goodies that lay on the side of the road. 🙂 You never know when you will find that perfect something to create your farmhouse table.
Until the next project… xo, Do

