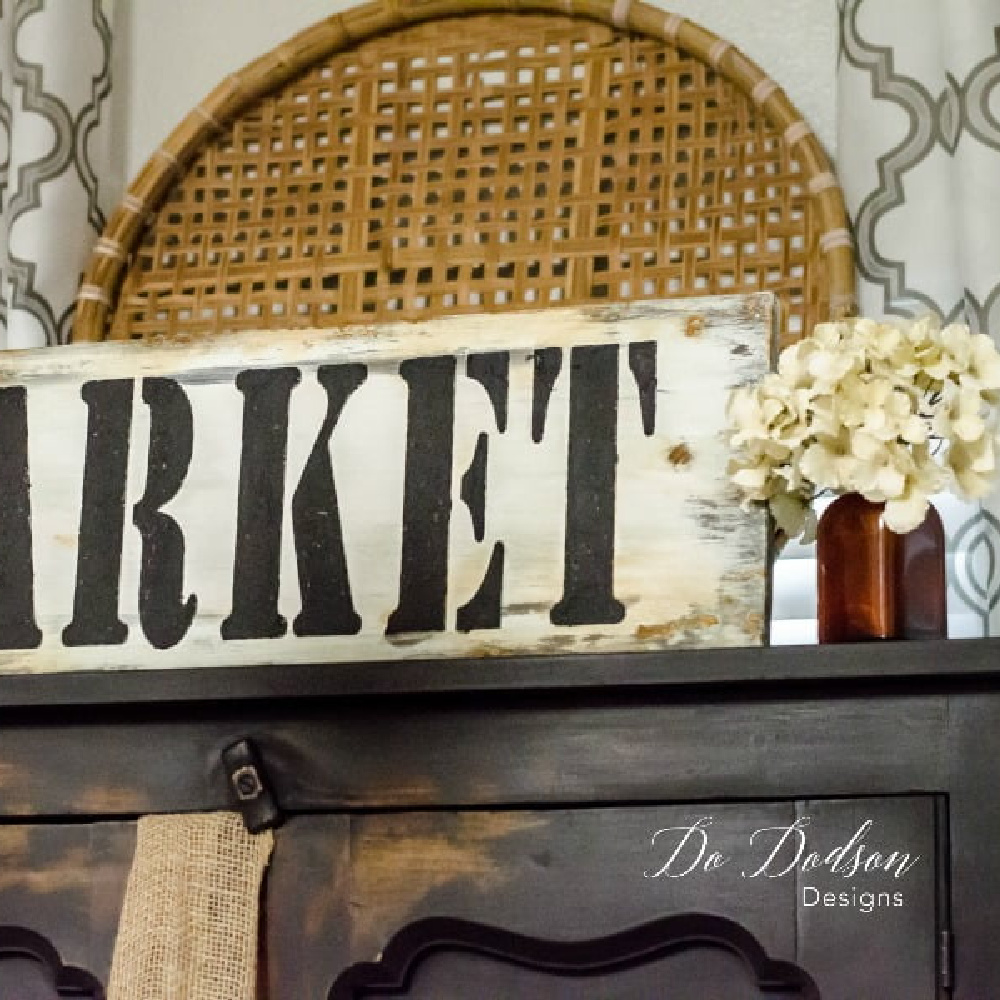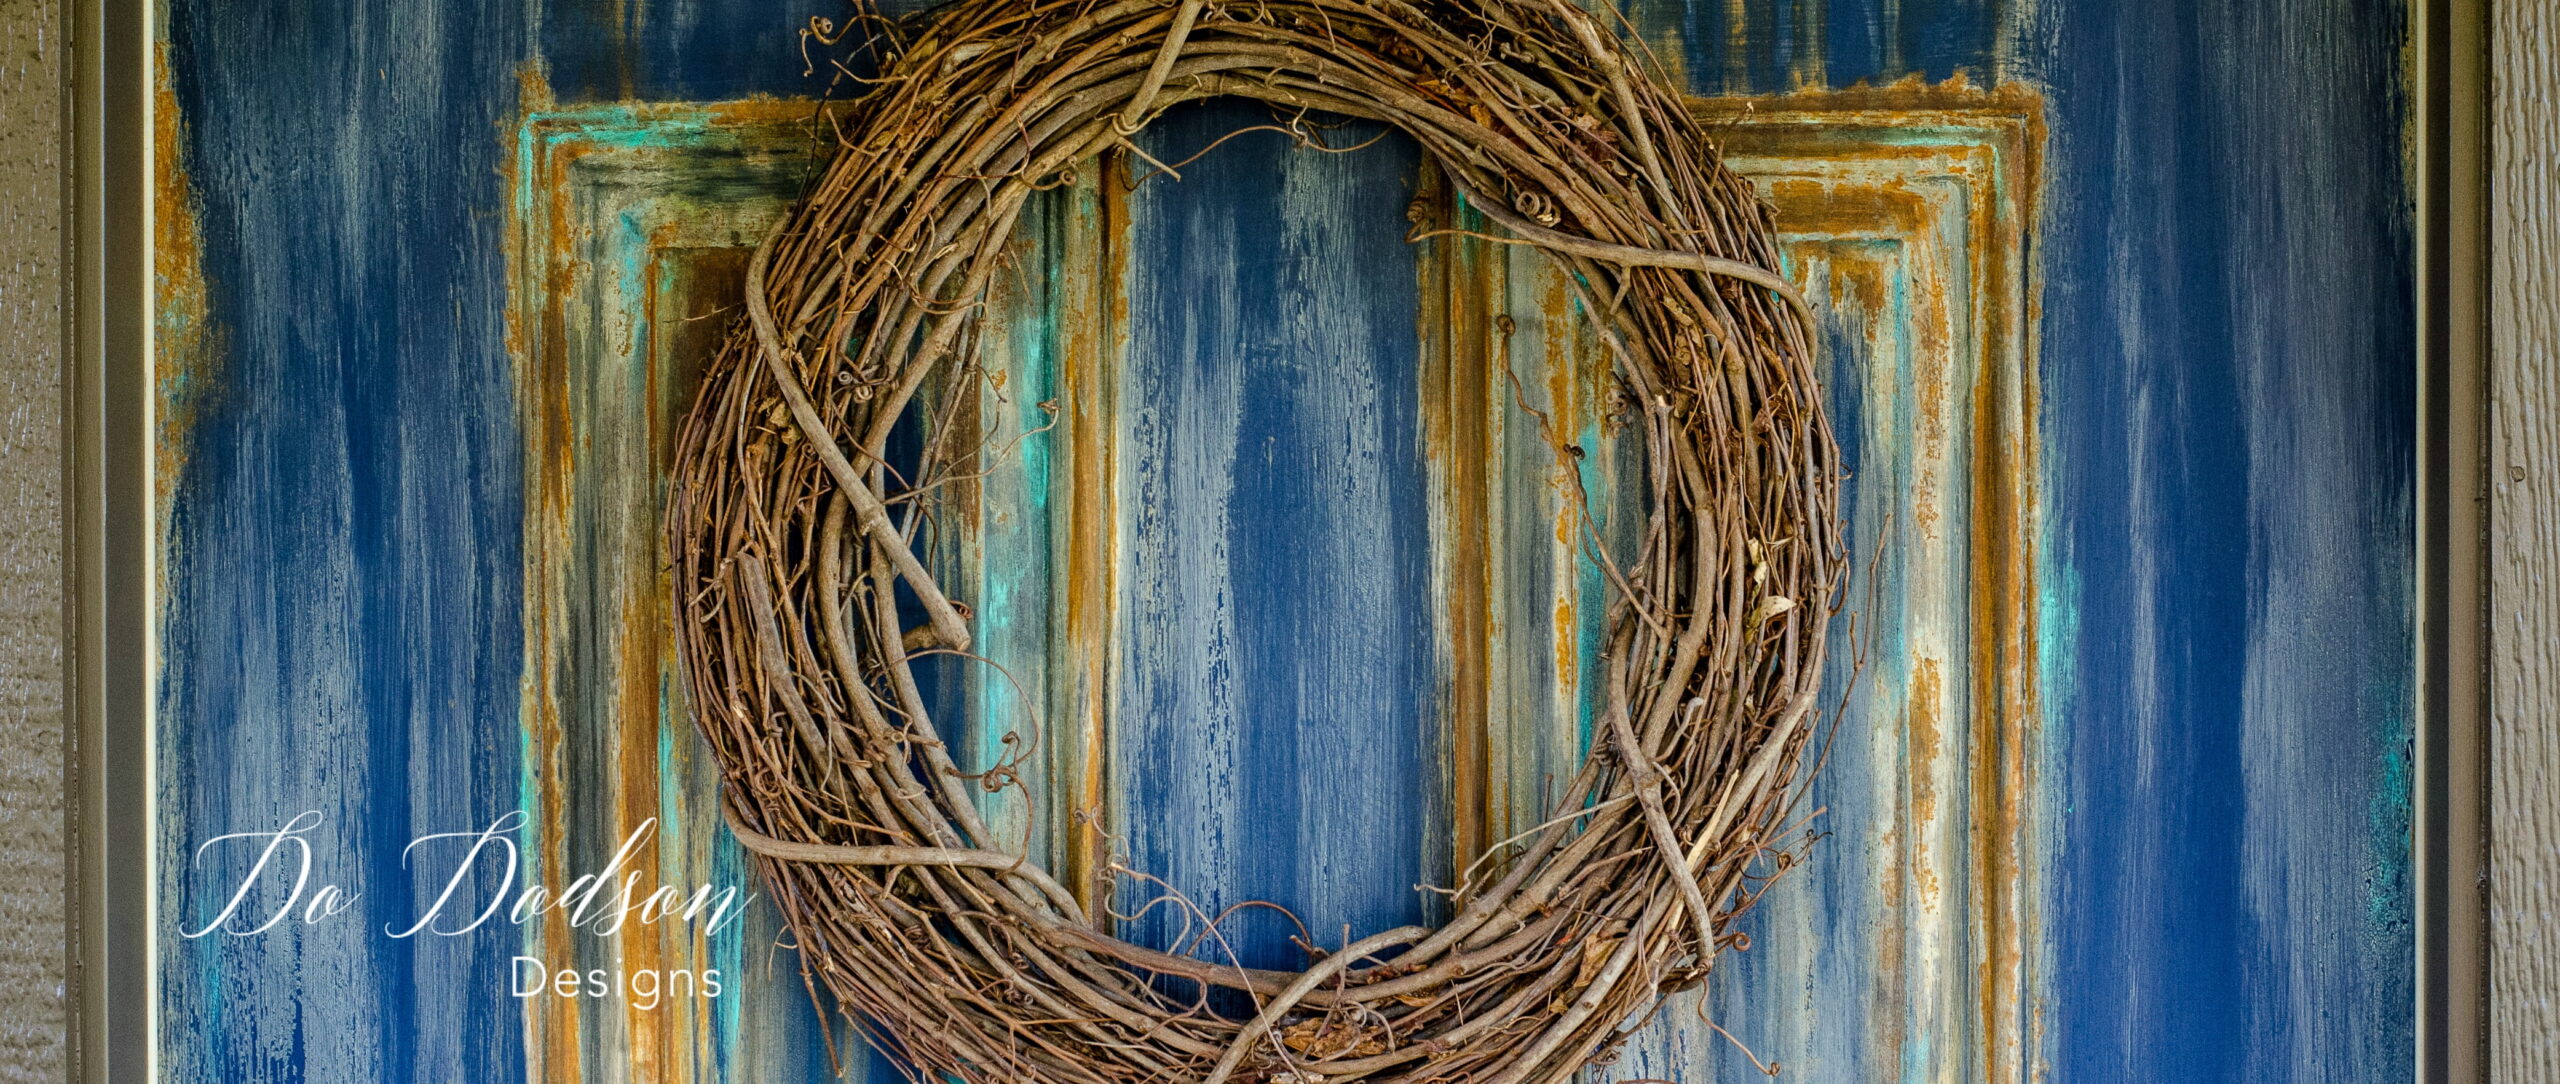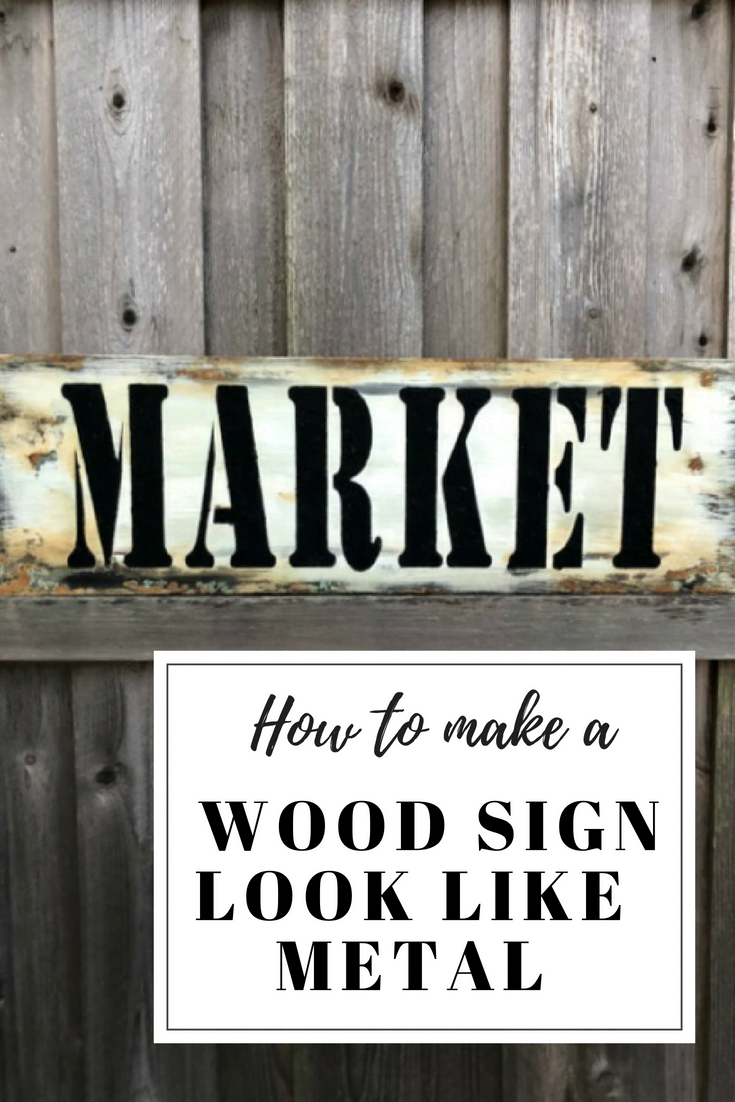
Ever since I found this product that makes everything look rusty and old, I can’t get enough. Today I’m making a raised stencil Farmhouse MARKET sign that will look like metal. Recently I’ve painted several pieces of furniture, including my studio door, with Iron Patina Paint. So why not a sign? I can always use a cute sign in my kitchen. Let’s get started.
This post contains a few affiliate links to help you find the products I use. You are not charged extra to use any of the links, but any income I make will be used for more fun projects! To see my full disclaimer, click here.
How I Made A Farmhouse Market Sign Look Like Metal
I started with a 1×10 board scrap from another project. It just happened to be a perfect size and I didn’t even have to break out my saw. SCORE! I love it when that happens.
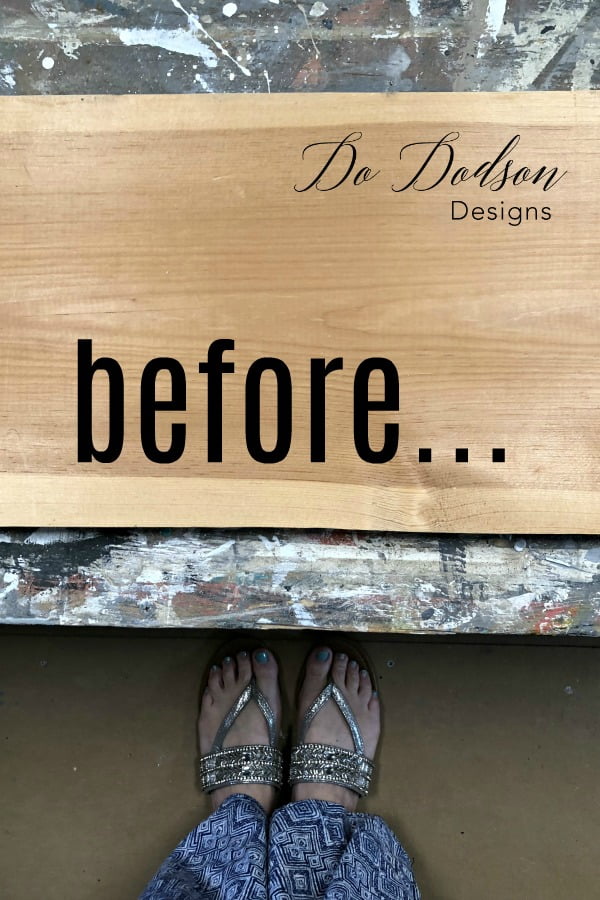
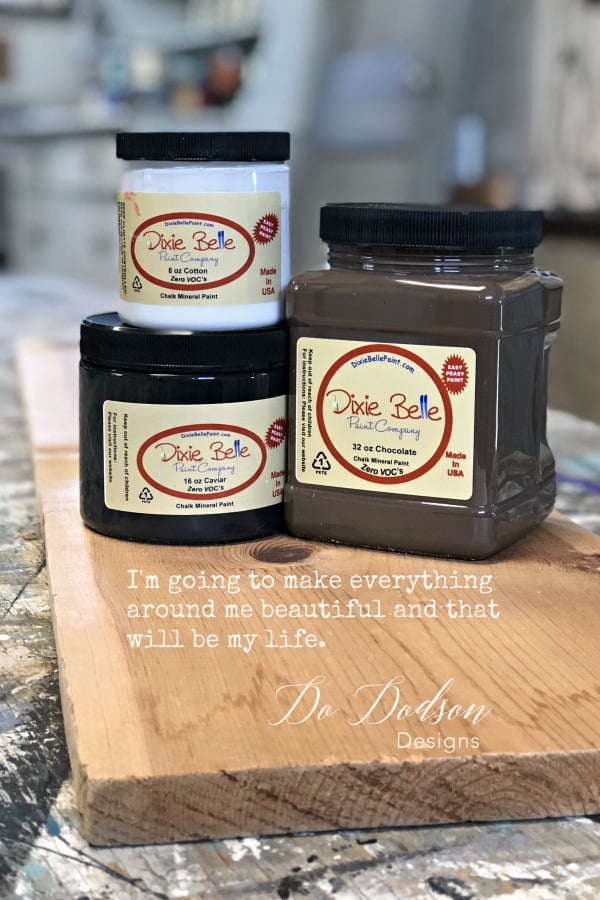
Here is a list of the products you will need to recreate your own MARKET sign.
- 1 X 10 board or scrap lumber 28 inches in length
- Reusable MARKET stencil
- Dixie Belle Paint Brush
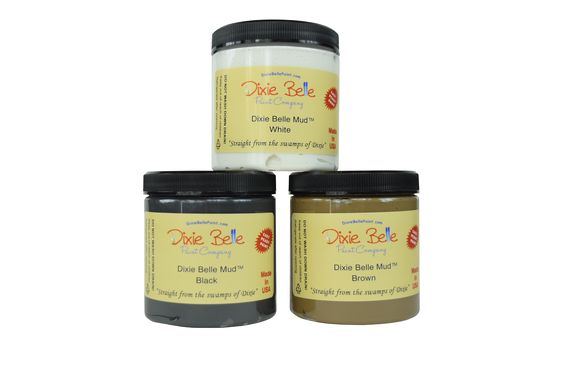
- Dixie Belle Black Mud with a spatula
- Caviar Mineral Chalk Paint
- Cotton Mineral Chalk Paint
- Chocolate Mineral Chalk Paint
- Iron Patina Paint
- Green Patina Spray (rust activator for Iron Patina Paint)
- Cotton cloth for wet distressing
Painting The Farmhouse Market Sign
The first coat of paint I applied to the whole board was (white) cotton chalk mineral paint. After the white paint had dried, I painted about 1 inch from the edges all the way around the board with (black) Caviar.
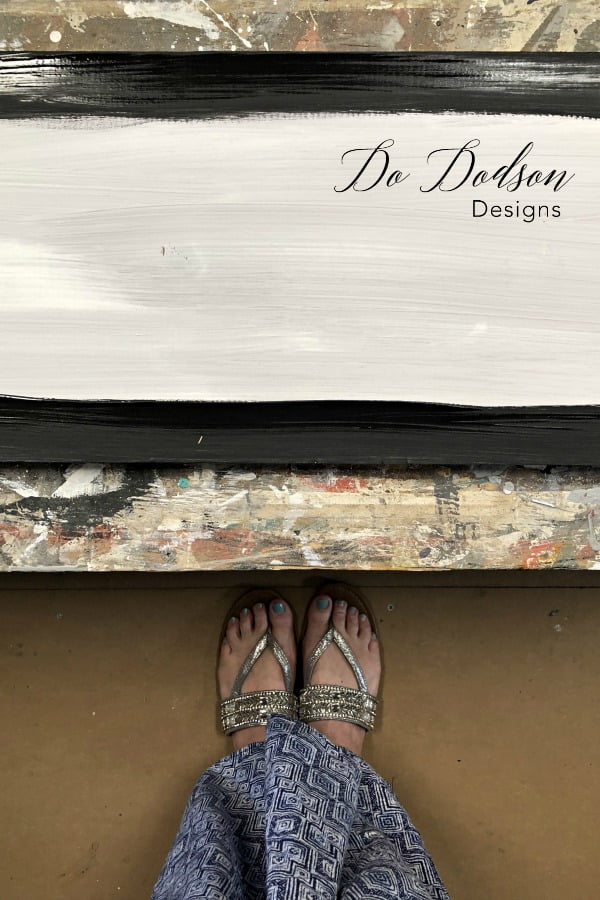
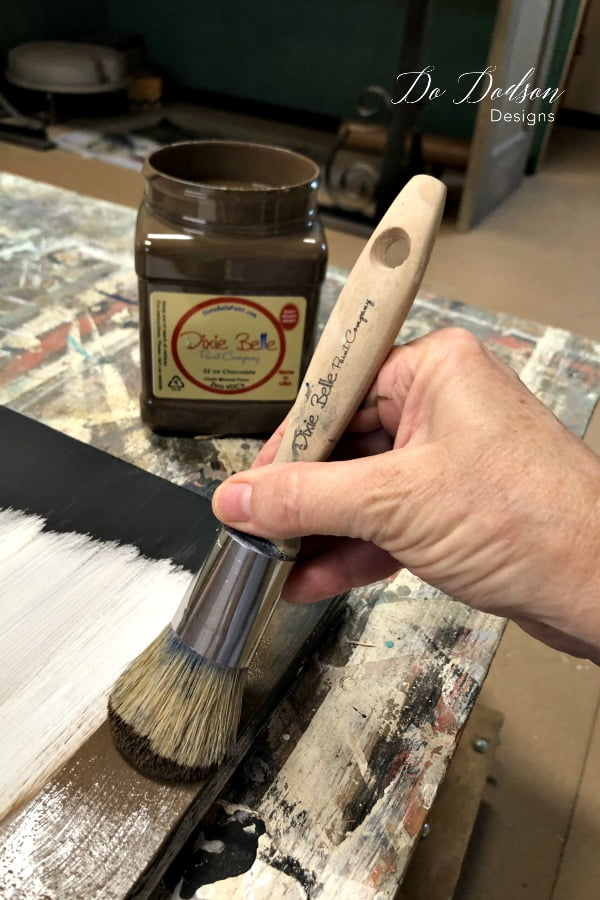
After the black was dried I painted (brown) chocolate on top of the black. Just around the border of the sign.
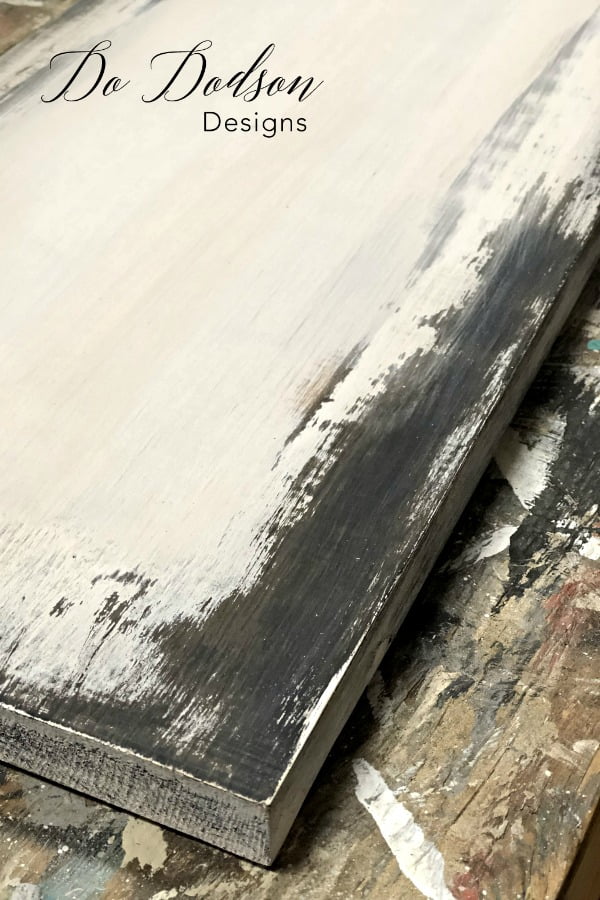
Wet Distressing
The next step was super easy and created a weathered worn look on the wood sign. I used a damp cotton cloth and wiped back a lot of the paint around the edges of the board to allow multiple layers to peek through. When wet distressing, it’s best that you do it pretty soon after the paint has dried. If you allowed the paint to cure overnight, the paint will be harder to remove.
Farmhouse Market Sign Stencil
I wasn’t able to get a picture of the stencil because I got carried away and applied the MUD before I knew it. The stencil was laid flat on the board and secured with painter’s tape before using the spatula to apply over the Market stencil. It was really easy.
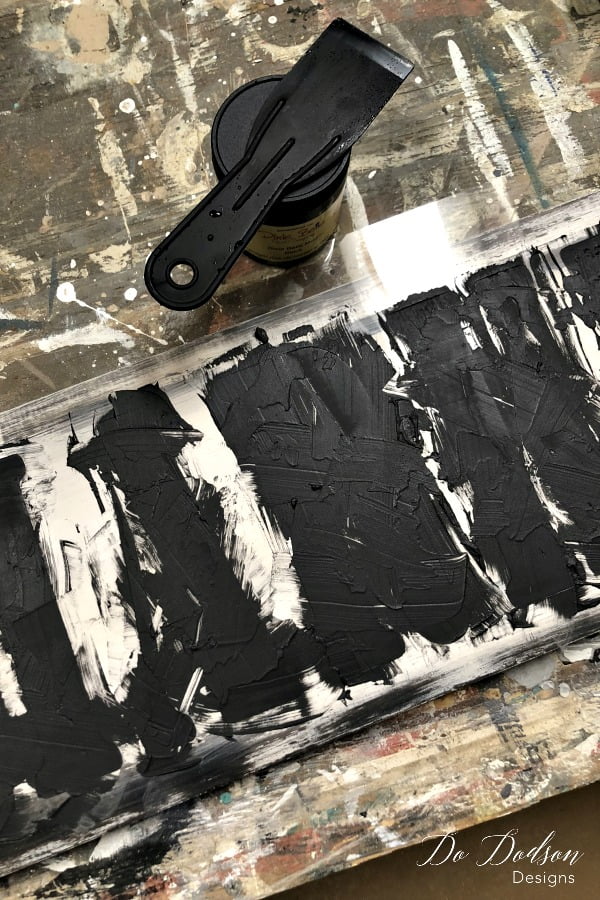
“MARKET” wording measures 7″ tall and 22.5″ long and is made from heavy-duty reusable material.
I used the Dixie Belle Mud (thick paste-like substance) to create a raised stencil with a spatula. You can apply it smooth or rough. I like the rough texture look so I applied it in a crosshatch pattern. Just randomly. I removed the stencil immediately after the application of the Mud and washed it with warm soapy water and patted the stencil dry. The stencil is heavy-duty and reusable. What a cool look! The letter really stands out!
Application of Iron Patina Paint on the Farmhouse Market Sign
So, I got carried away and missed taking pics of the next step. Probably the easiest step of the whole project. It’s rather simple so I’ll explain it here in detail.
Apply the Iron Patina Paint in the areas where you want the rust to show. I used a sponge to apply the Iron Patina Paint and just dabbed it on in spots. Immediately while the patina paint was still wet, I sprayed over the wet paint with the green patina spray. I made sure my board was laying flat when I sprayed the activator. This allowed the activator to pool in some areas and that’s totally what I wanted. What happened when I did this, the Iron Patina Paint started to bleed out a bit into the other paint. That’s a good thing. It makes for a more realistic look… in my opinion. Now here was the hardest part… I had to wait! Wait until it got all rusty and crusty. This process can take up to 6 hours.
After the activator did its thing, it was done. No need to seal the sign unless I was going to use it outdoors. If that were the case, I would have definitely used Dixie Belle Gator Hide for ultimate outdoor protection.
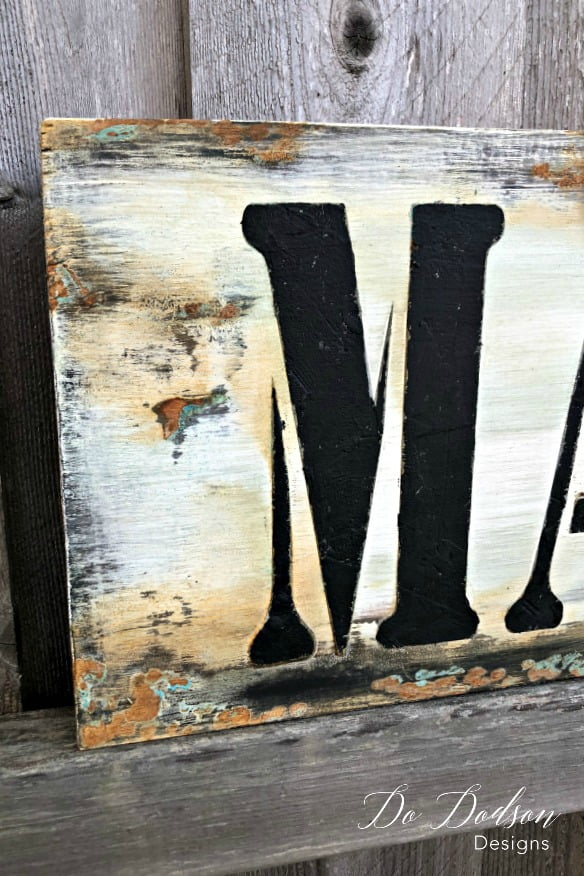
The Finished Farmhouse Market Sign
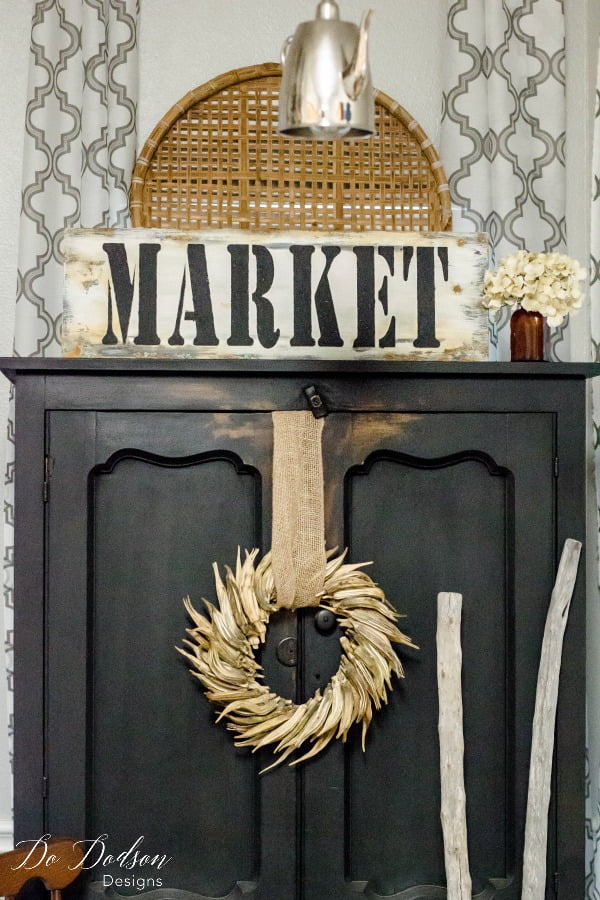
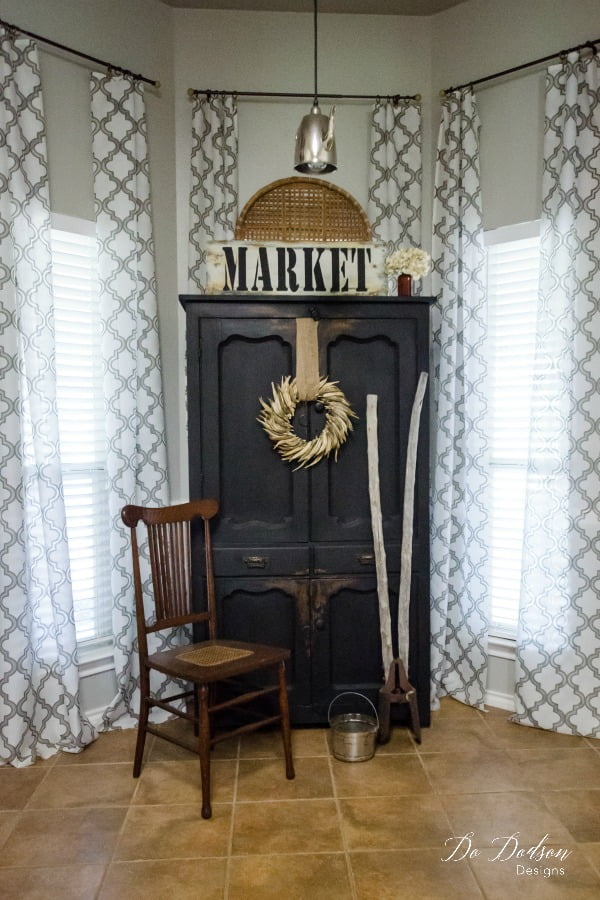
I’m pretty stinking happy with the market sign and it looks great sitting on my vintage pie safe. I painted the pie safe and used a wet distressing method to give it a farmhouse look too. CLICK HERE to see the full makeover.
I’ve spent years making my new home look old. Ha! All I ever wanted was an old farmhouse. Well, until that time… I’ll just keep on adding farmhouse decor to my spaces. Why do we always want what we don’t have? Are you this way too? I’d love to hear from you. Drop me a comment below. 🙂
Until the next project… xo, Do

