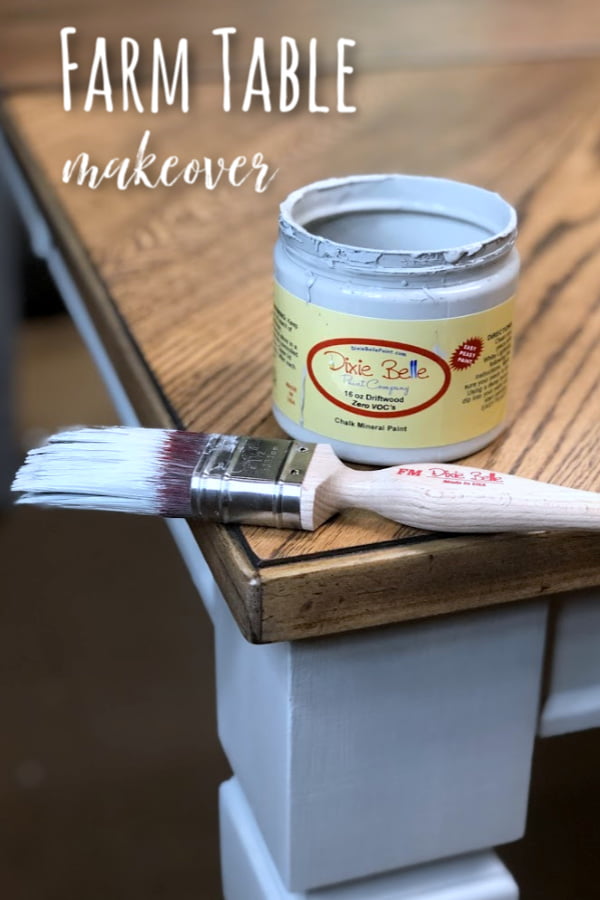
I get a lot of questions about painting furniture, but when my niece called and asked, “Aunt Donna, can you give me some advice on painting a farm table and chairs?” It knew it would be a huge undertaking for her. I was like… can you send me a pic? Well, the picture she sent was of a pub table with four chairs. OMG! It had been painted before. That’s not my idea of an easy makeover. Let’s say I knew I needed to do this one for her. How hard can a table and four chairs be, right?
This post contains a few affiliate links to help you find the products I use. You are not charged extra to use any of the links, but any income I make will be used for more fun projects! To see my full disclaimer, click here.
Farm Table Makeover
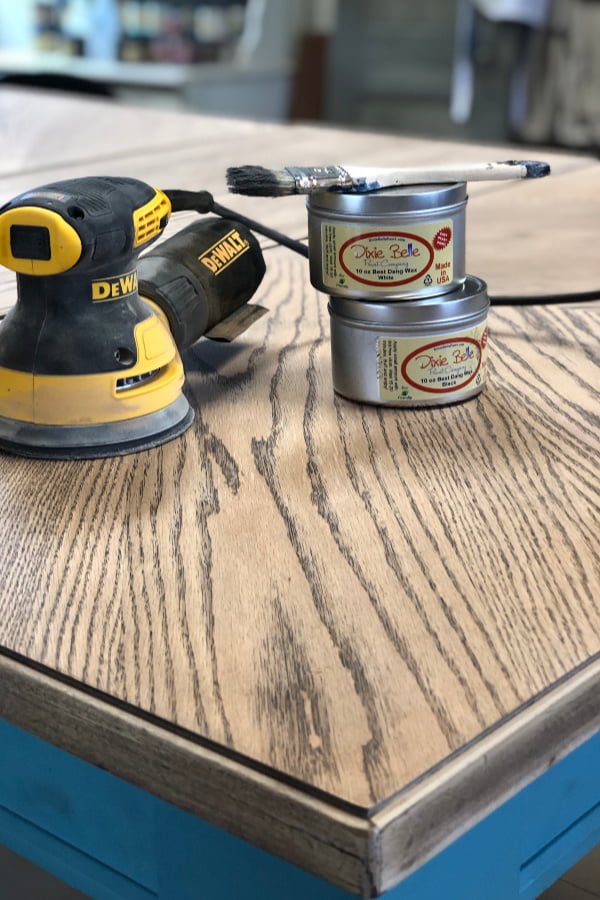
Supply List:
Refinishing The Table Top
- Citri-Strip
- Plastic Wrap
- Chip Brush
- Plastic Scrapper
- Odorless Mineral Spirits
- Steel Wool (superfine)
- Paper Towels
- Orbital Sander
- 220 Grit Sandpaper
- Gator Hide
- Blue Sponge (Gator Hide applicator)
Painting The Base Of The Farm Table Base & Chairs
Removing The Varnish From The Farm Table Top & Chairs
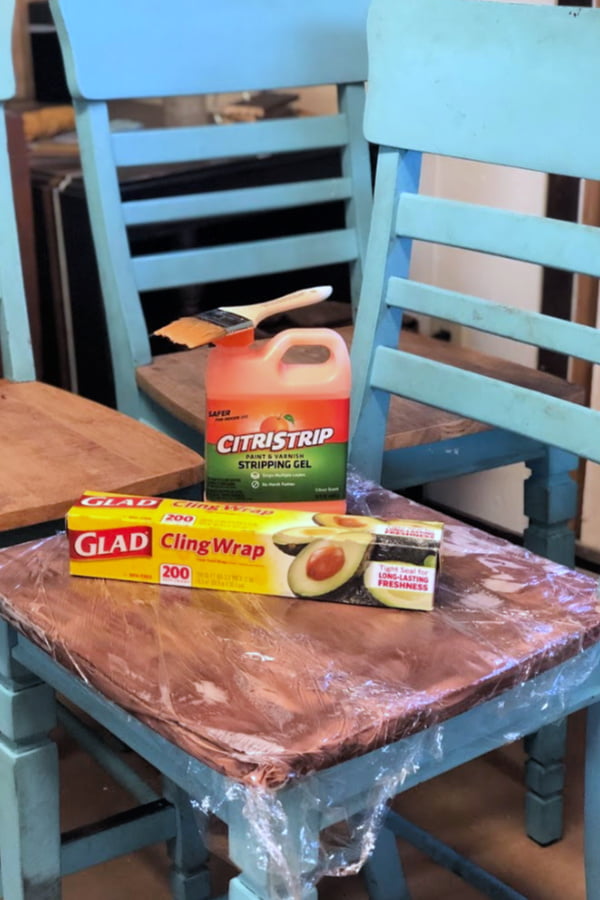
The first project at hand would be to strip the old varnish off of the farm table top and the seats of the chairs. For this, I used a product called Citri-Strip. I applied a thick layer of the orange-scented gel (that’s safe for indoor use) with a chip brush. While the orange gel was still wet, I added a plastic wrap over the gel to keep it from drying out. This helps with the breaking down of the old varnish. The longer you can keep it wet, the better it works.
Scrapping The Old Varnish Off
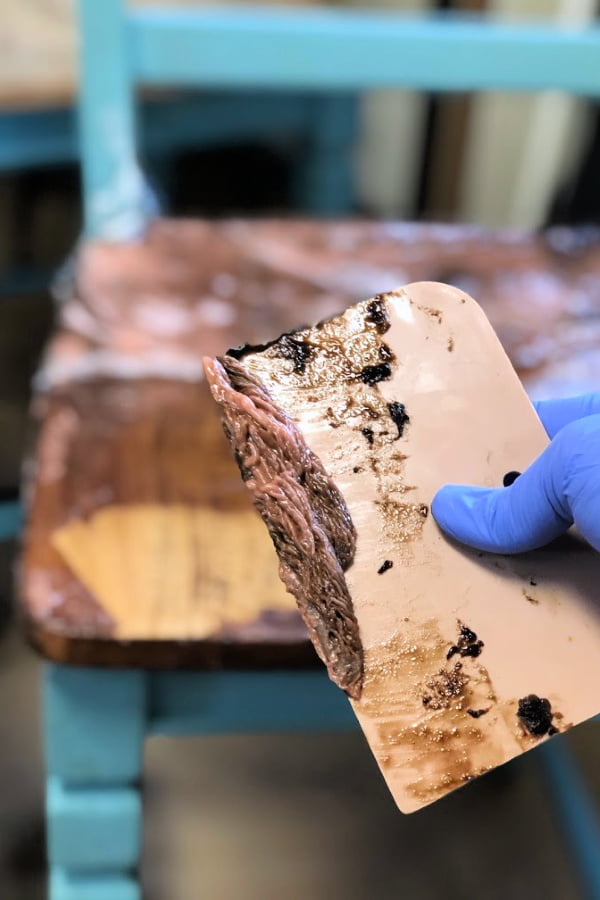
After about 30 minutes, I lifted the plastic wrap to check the process. With a plastic scraper (caution, using a metal scraper can cause damage to the wood), I carefully removed the melted varnish by scraping gently over the wood. This is a messy process, and you will need a huge trash can and lots of paper towels. Once the old varnished was removed, I used odorless mineral spirits and fine steel wool to loosen any remaining varnish and wiped the wood clean with a paper towel. The farm tabletop was pretty saturated and needed to dry overnight. The next morning I lightly sanded the wood with 220 grit sandpaper to remove any leftover dried varnish. After a quick dusting with a lint-free cloth, it was ready for the next step. The WAX!
How To Add Colored Wax For A Stained Wood Look
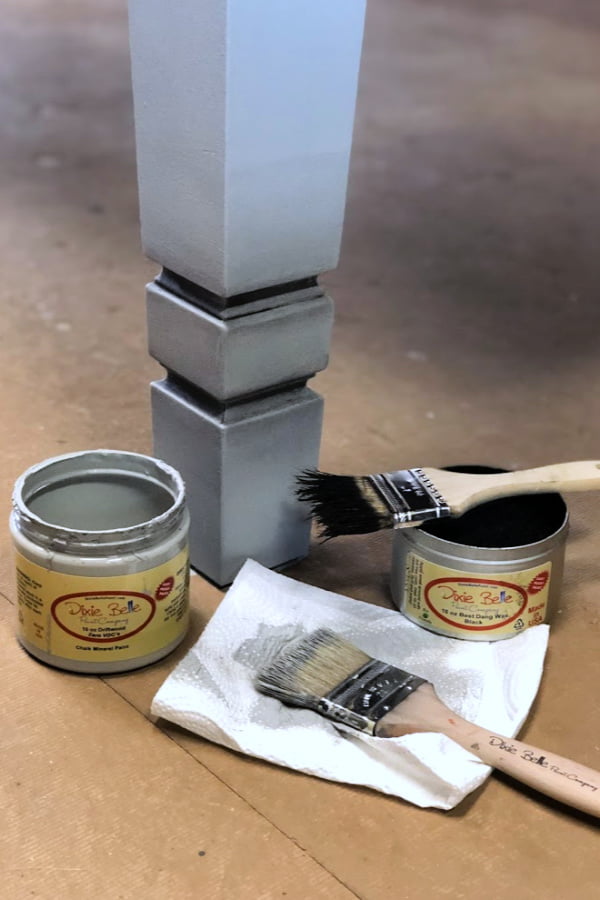
Now for the fun part! I used Dixie Belle’s white and black wax to add color to the raw wood.
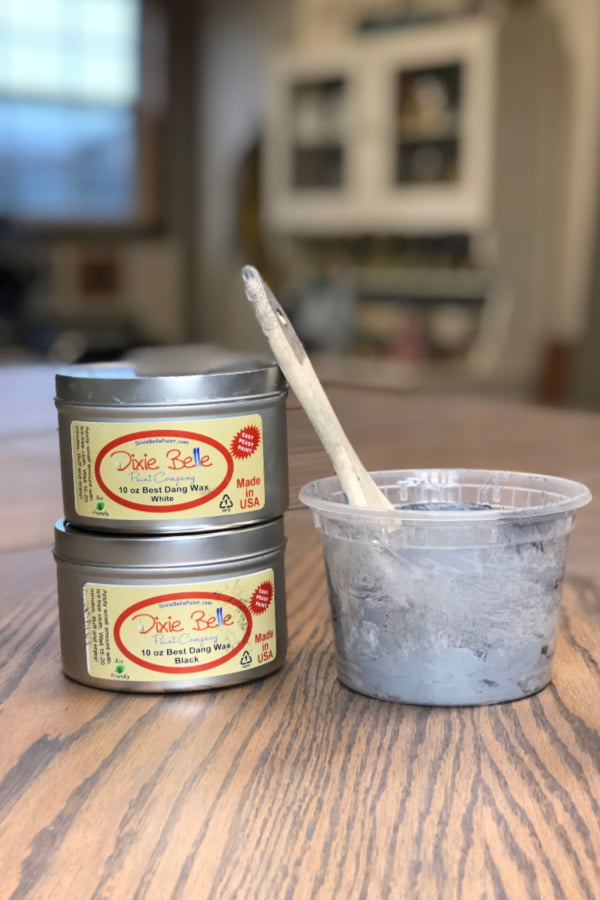
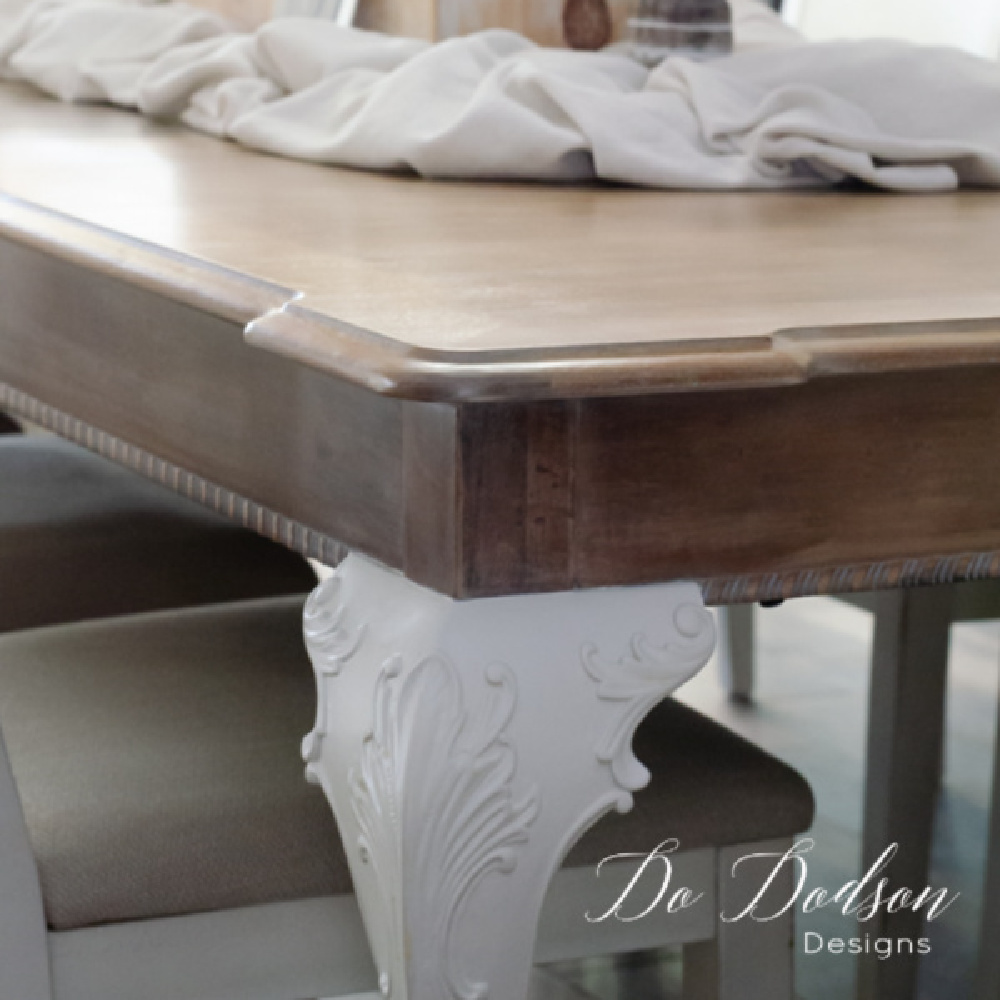
With a paintbrush, I applied the black wax over the wood farm table and chair tops. After the application, I wiped the remaining wax away with a soft cloth to create a dark wood tone. Allow the wax to fully dry (24 hours) before applying the second color.
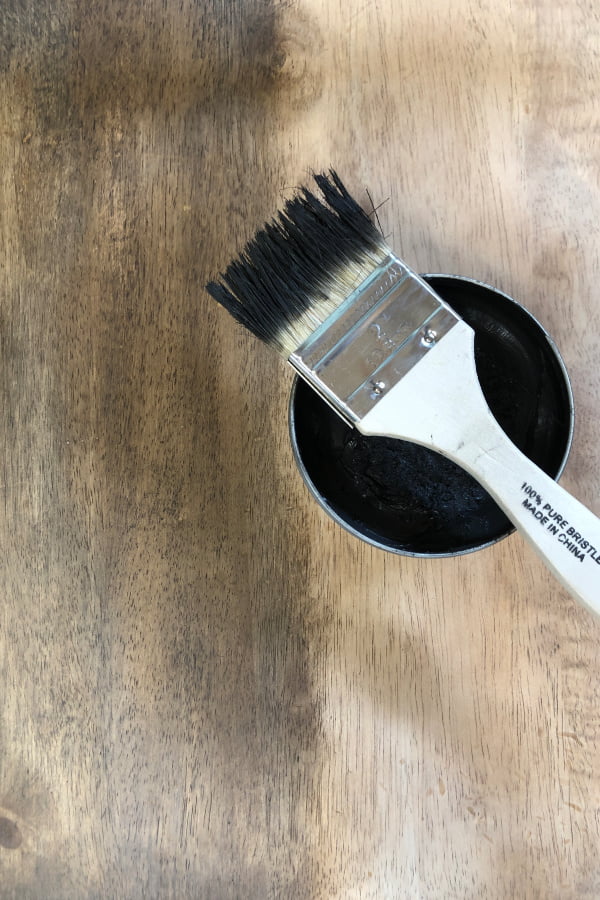
Customizing Colored Wax
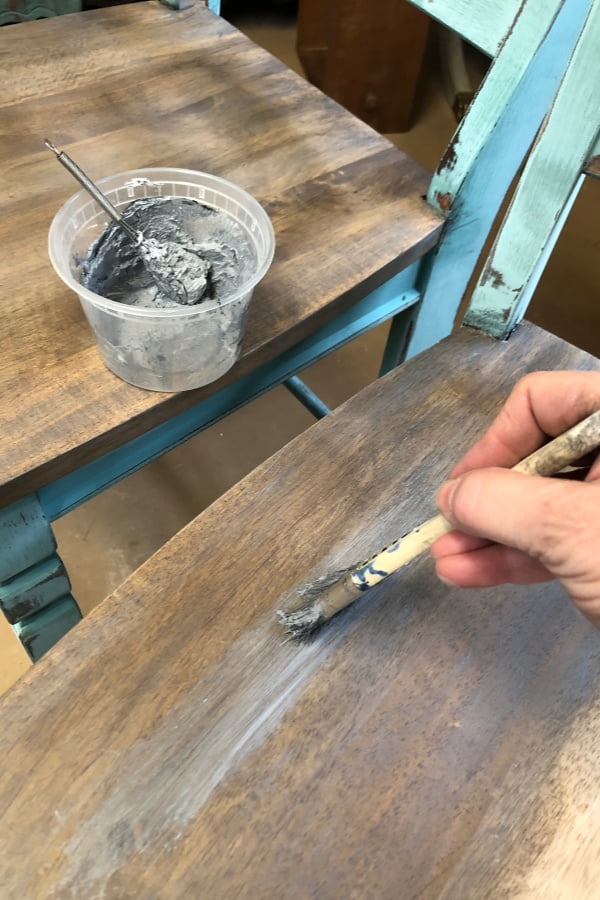
The look I was going for on this tabletop was a bit of a weather gray look. Using the black wax and the white wax, I mixed the two in a plastic bowl to create a beautiful gray wax. I applied the gray wax in the same fashion over the whole top. This created just a hint of gray.
Sealing The Wax Finish On The Farm Table Top
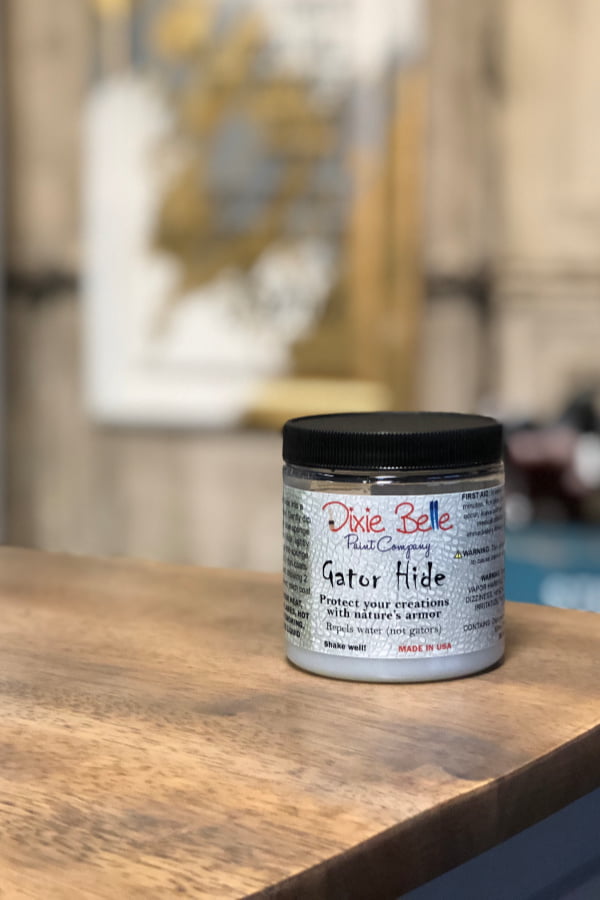
To seal the top of the farm table and chairs, I allowed the wax to cure before applying the topcoat. This can take several days, and it’s best not to rush this step. Dixie Belle’s waxes are water-based and can be used in fashion with a water-based topcoat.
Preparation Before Painting
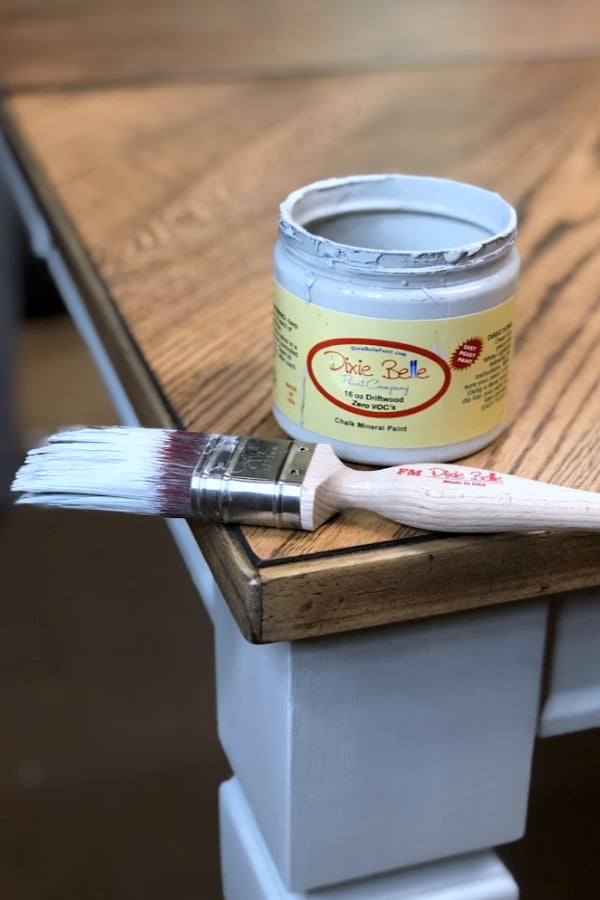
Before painting any surface, you will need to clean it thoroughly. The table had been painted prior, so the prep work is a bit different. The table had been painted with chalk-based paint and had a wax finish which is fine. The trick would be to remove as much of the wax as possible to get proper adhesion. You can paint over some waxes after fully curing, but I didn’t want to take that chance. The surface was first cleaned with White Lighting and rinsed with water. A light sanding over the painted surface removed most of the wax. One coat of the Driftwood covered the base of the chairs and farm table like a champ! One coat coverage is unheard of, and most of my projects require two. I’m super happy about this! Especially because I’m not too fond of painting chairs.
Adding Shadowing With Colored Wax
Dixie Belle waxes are water-based and can be used with their chalk mineral paint. The black wax was applied in the insets of the legs and buffed with a soft cloth to create a shadowed effect. I blended the Drift Wood chalk mineral paint over the wax to create a blended look. Oh, this was too cool, and I couldn’t wait to share my discovery.
How about that cow art? I’m in L O V E with her! Get one too by CLICK HERE to learn where to purchase!
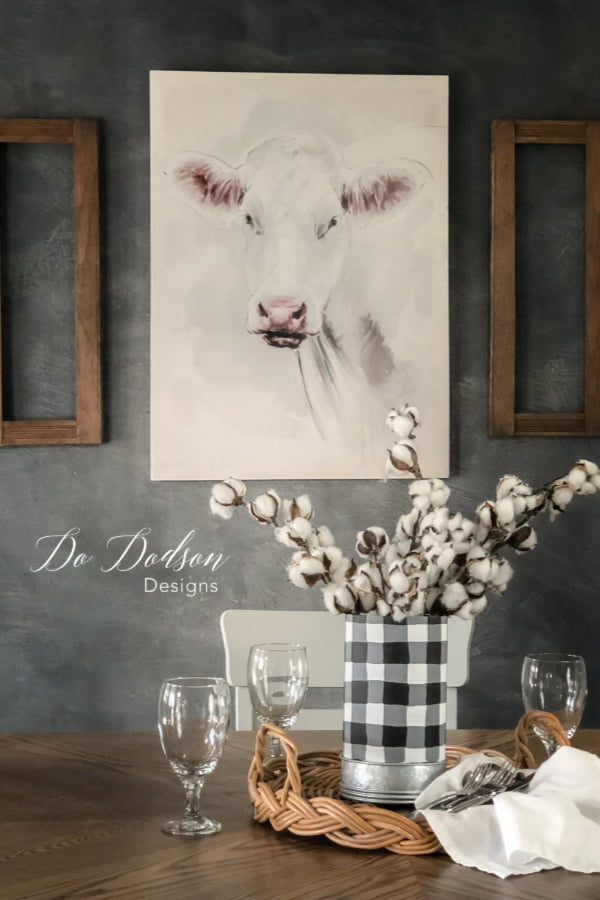
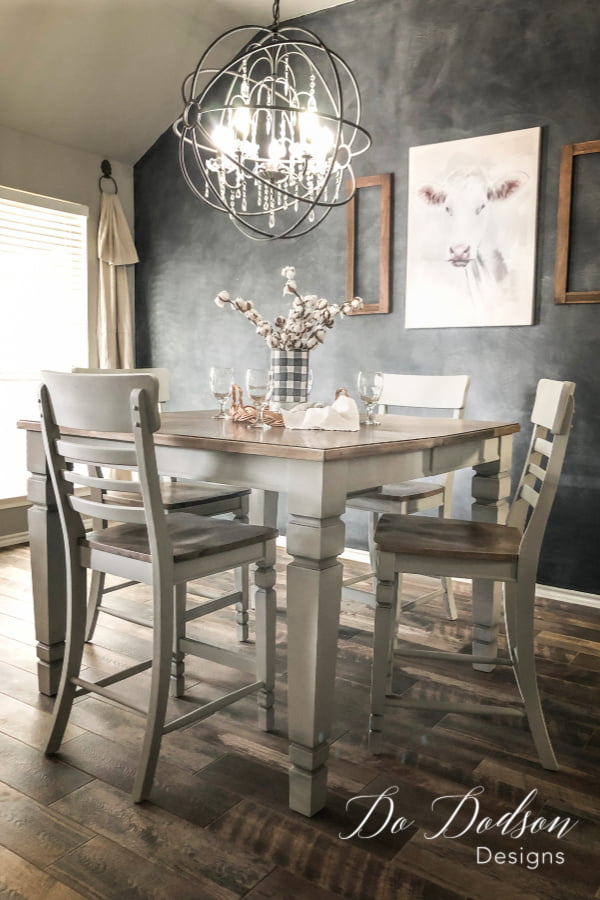
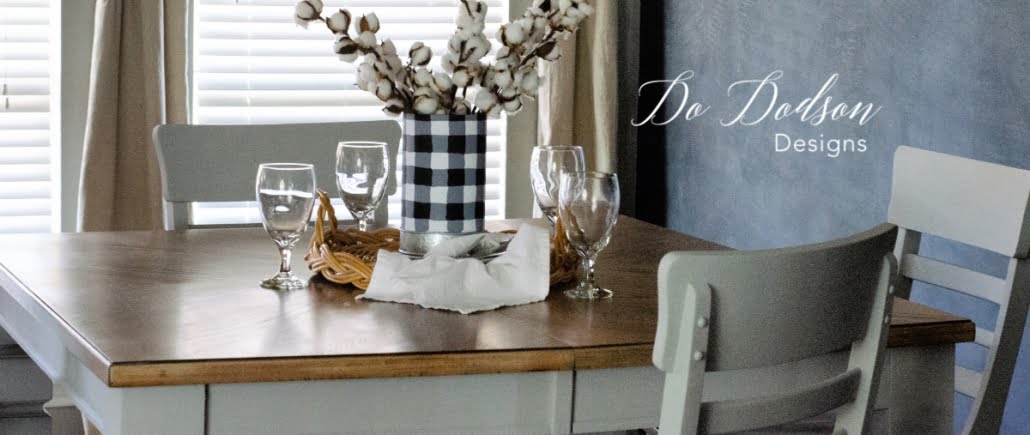
This was a huge project, but the results were so worth the effort. Even all the wailing and gnashing of teeth on those chairs! Ugh! There were so many of them! Ha! This was my big project for the year. Hmmm… a nightstand is sounding pretty good right about now.
*update on this post… Since this makeover, I have a new table, and I can’t wait to show you. It’s all about whitewashed wood. OMG, I almost died refinishing it, but it was worth it! CLICK HERE to see it now.
Until the next project… xo, Do




Absolutely beautiful!!! Thank you for sharing the versatility of Dixie Belle wax and paint. Love it!
Thank you Rebecca! I love it too. ?
xo, Do
Just beautiful. I have that same table and 8 chairs in storage and I am petrified to start it, maybe I will give it a go with your great advise… and a bottle of Tylenol.
Thanks Melissa! Yes, it is a huge job but just take your time. Enjoy the process.
xo, Do
Do
When trying to watch your tutorials I am not able to hear or adjust volume. Is there a problem on my end or is this by design?
Hi Cheryl! If you hoover over the video with your cursor, you will see a volume indicator that you can manually adjust. Of course I don’t want you to miss anything. Thanks for reaching out to me. Happy painting!
xo, Do
Newbie here- You did not say how long the wax takes to cure so how long?
Hi Julie! That depends on the temperature and humidity. Remember, it’s a water based product so drying times may vary. I allowed mine to dry 48 hours before applying the Gator Hide. Hope this helps.
Hi I have a beautiful table and chairs, natural light wood very sturdy and want to give a makeover, I am looking at the pictures of Farm table make over, I love the results. Do you have a video on this, I am a beginner this is the first thing I am going to try.
Hi Lucy! I do! As well as all of my video library of paint finishes. You can get them all here. https://dododsondesigns.com/the-art-of-painting-furniture-private-subscription-group/
Happy painting!
xo, Do
You did a great job on this dining set. I would have never thought to make the color with wax. Hopefully some day i will get to makeover a dining set. You don’t know how much i appreciate you. It is amazing all i know i have learned by reading and watching.
Happy to share with you, Cheryl! 🙂
Although I taped the base of the chairs around the spindles, some paint got on the chair base. I tried carefully scraping it off but cannot got that clean finished look on the base. What would you suggest?
Hi Randi,
Spindles are difficult to tape around and get the results you are looking for. Try using a small artist brush to cut around those difficult areas. It’s time-consuming but in the end, the results are worth it. Good luck.
🙂 Do
I’ve got a question on the repair of a diningroom table that is laminated. I’ve been told to use a damp towel and an iron to soften the laminate, then squirt in glue. Press down to get the laminate to lay flat and cover with plastic wrap and clamp it down to seal it.
Do you recommend something different?
Hi Diane,
Yes, that would be the best option. The same repair is used on wood veneer as well. Good luck with your project. 🙂