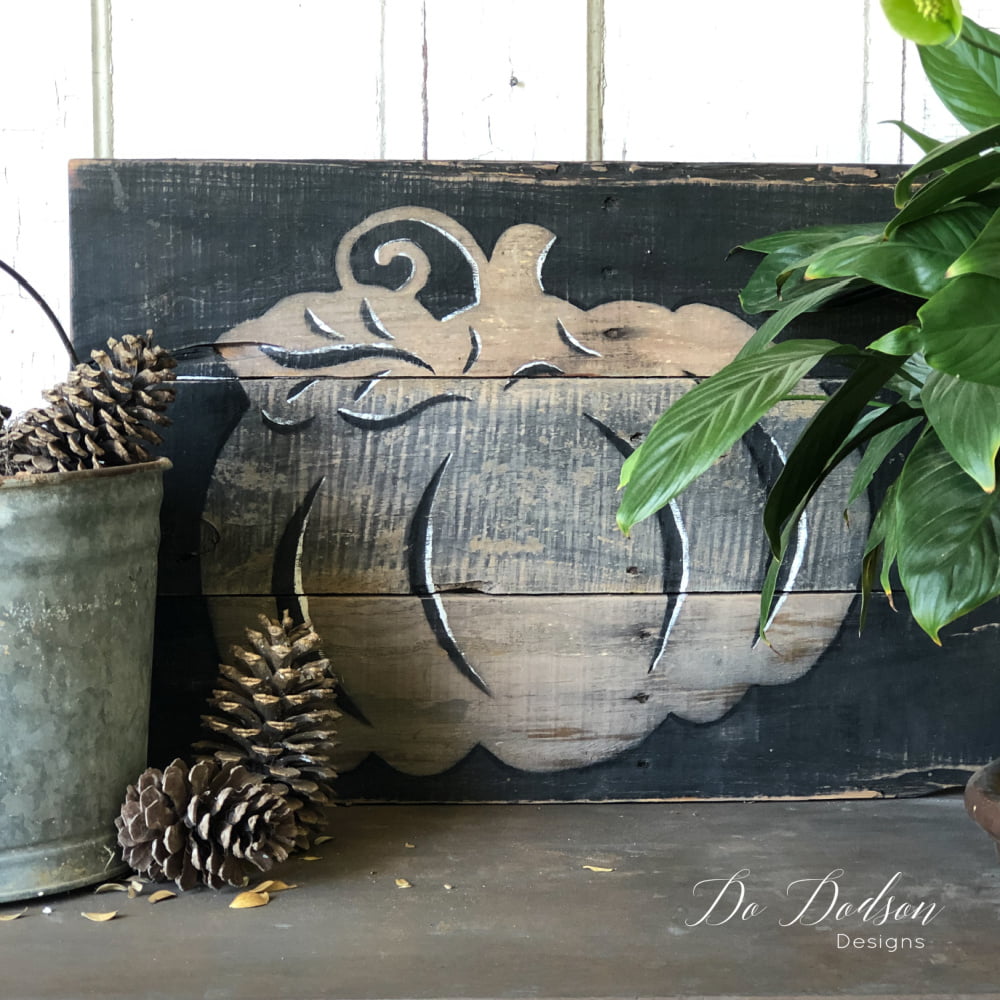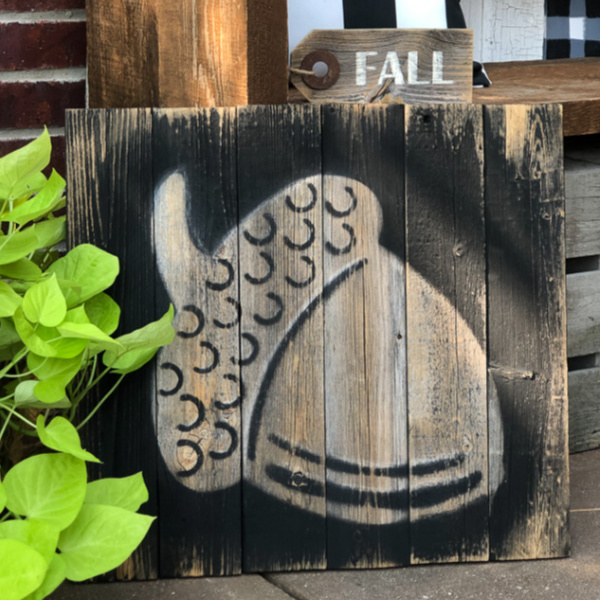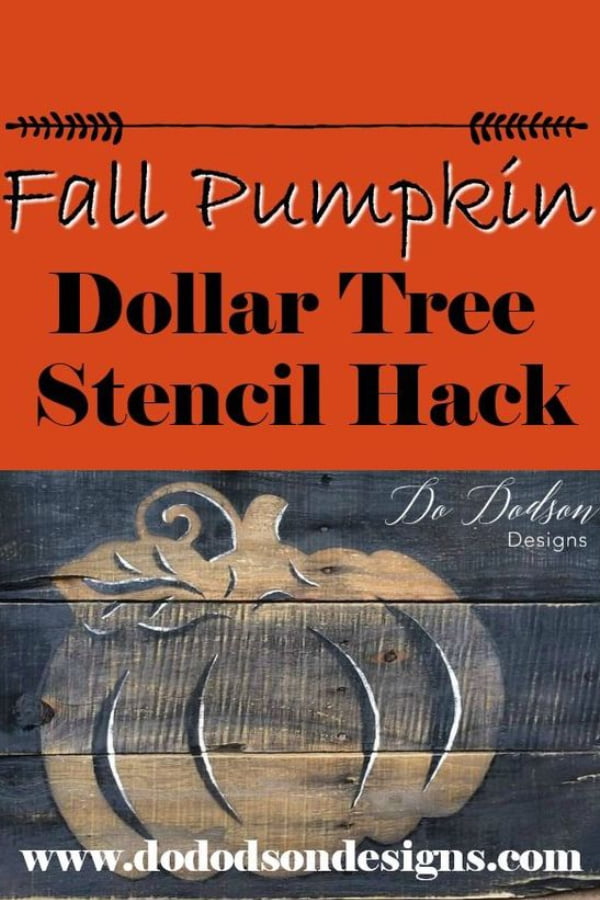
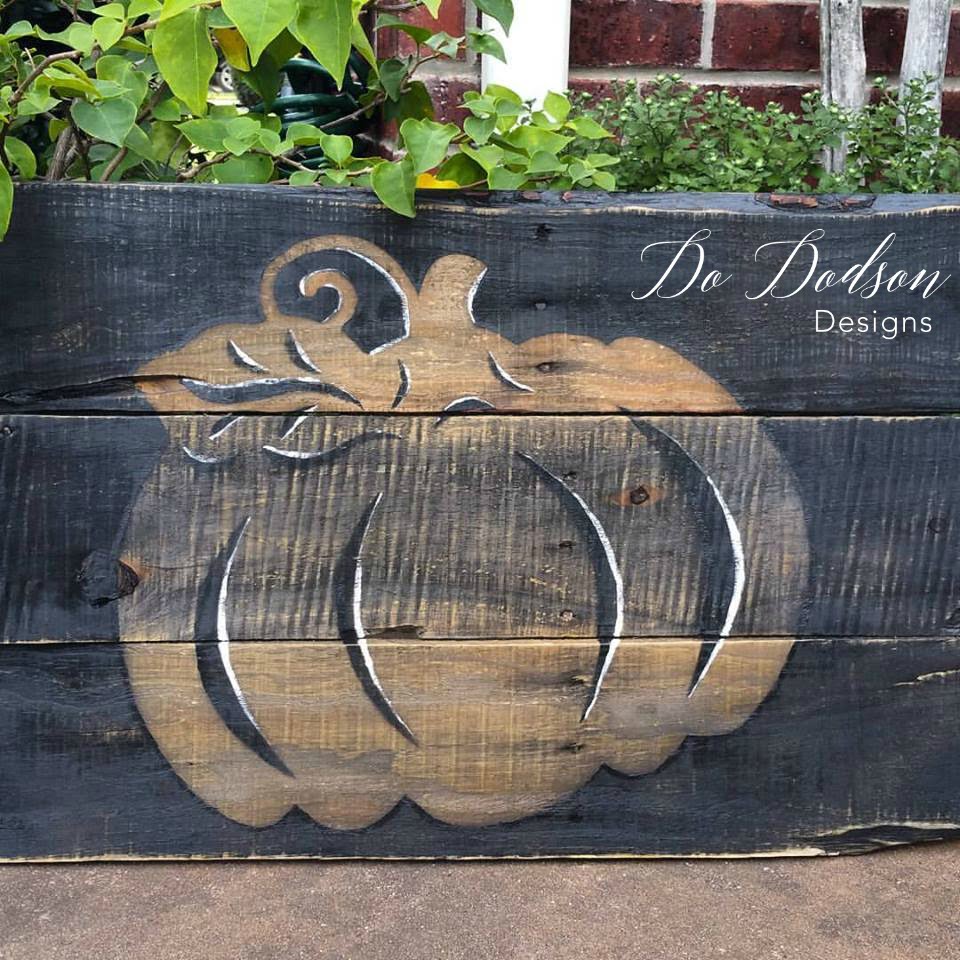
I wait all year for Fall to roll around and feel lost when it’s gone. To say it’s my favorite time of the year is an understatement. I couldn’t wait for the Dollar Store to put out all their Fall decor. So many things to play around with for $1. I found several felt placemats in multiple patterns that I quickly realized would make great stencils—one of the best hacks in my arsenal of tricks. So easy, and hey, it was $1! SCORE! Fall decor!
This post contains a few affiliate links to help you find the products I use. You are not charged extra to use any of the links, but any income I make will be used for more fun projects! To see my full disclaimer, click here!
PROJECT #1
Watch The Video Tutorial Here…
PROJECT #2
Double Sided Vintage Window Fall Decor Idea
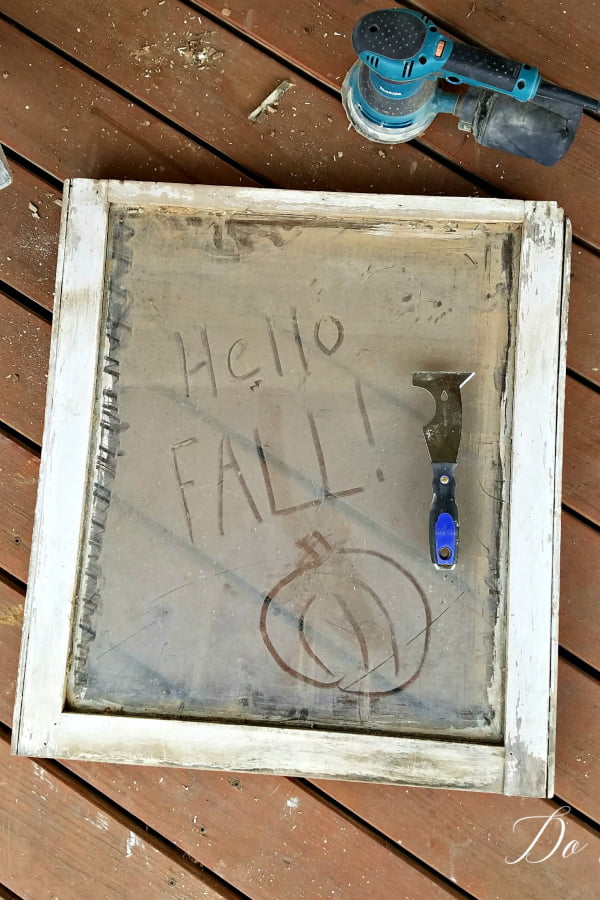
This chippy old window was a freebie when I purchased an old door from a junk dealer. I paid a little more than I wanted to for the door, so the window sealed the deal. SCORE! The ideas were dancing in my head for Fall decor. I love old vintage mirrors, and this old window would be perfect for a mirror, plus it had great potential for being a two-in-one project.
Product List: (click the items below to find where to purchase)
- vintage window with glass intact
- Rustoleum Chalkboard Spray Paint
- Dollar Tree Felt Mat (design of your choice)
- Spray Bottle (water and vinegar mixture 50/50
- Looking Glass Spray Paint
- Chalk Sticks
- Chalk Eraser
Chalboard Paint – Fall Decor
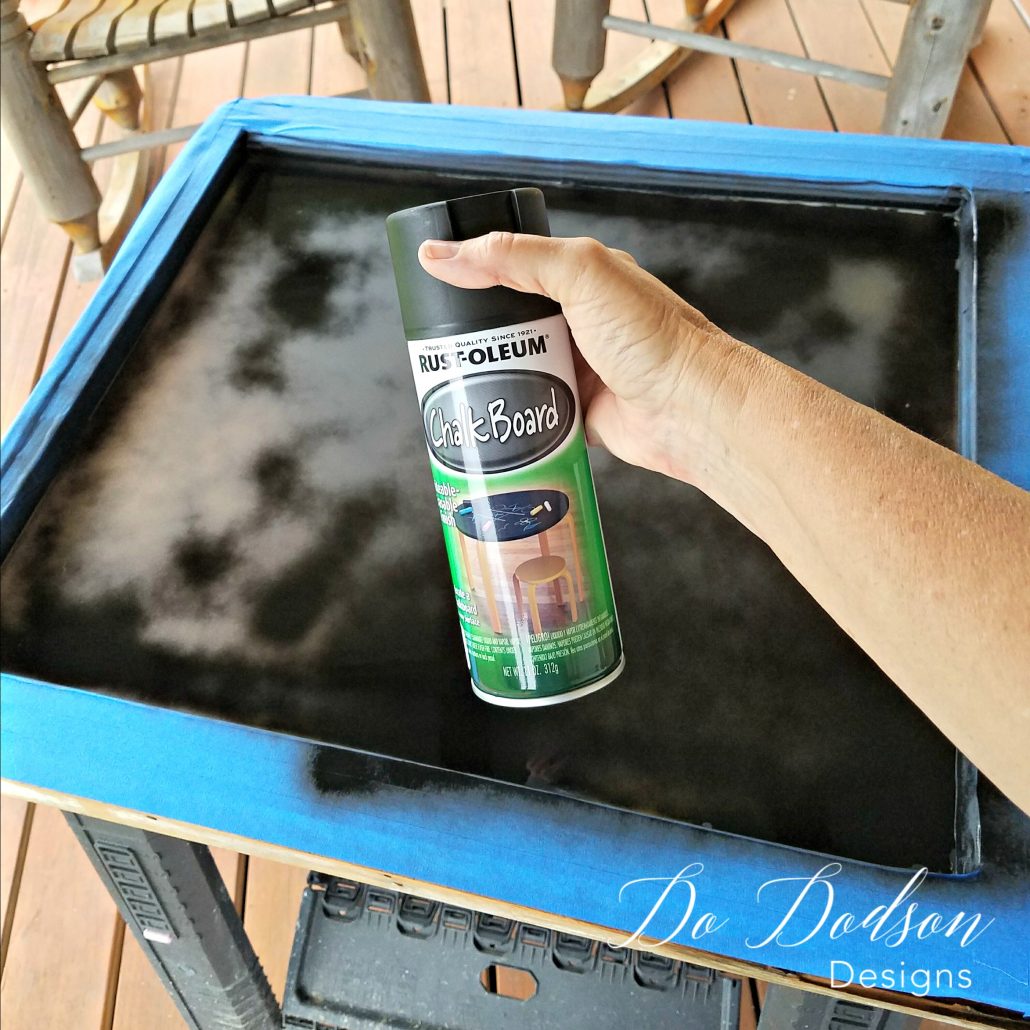
After a quick sanding, cleaning of the vintage window… and a tape job to protect all that chippy painted goodness on the frame, I used Rust-Oleum Chalkboard Spray Paint for the back of the window. Three coats were applied with ample drying time between coats. (always follow directions on the can)
After that, I flipped the vintage window over and added the STAR OF THE SHOW! The Dollar Tree felt thingy. I know, genius, right? See where the two-in-one project is headed? Read on…
Priming The Chalkboard Side
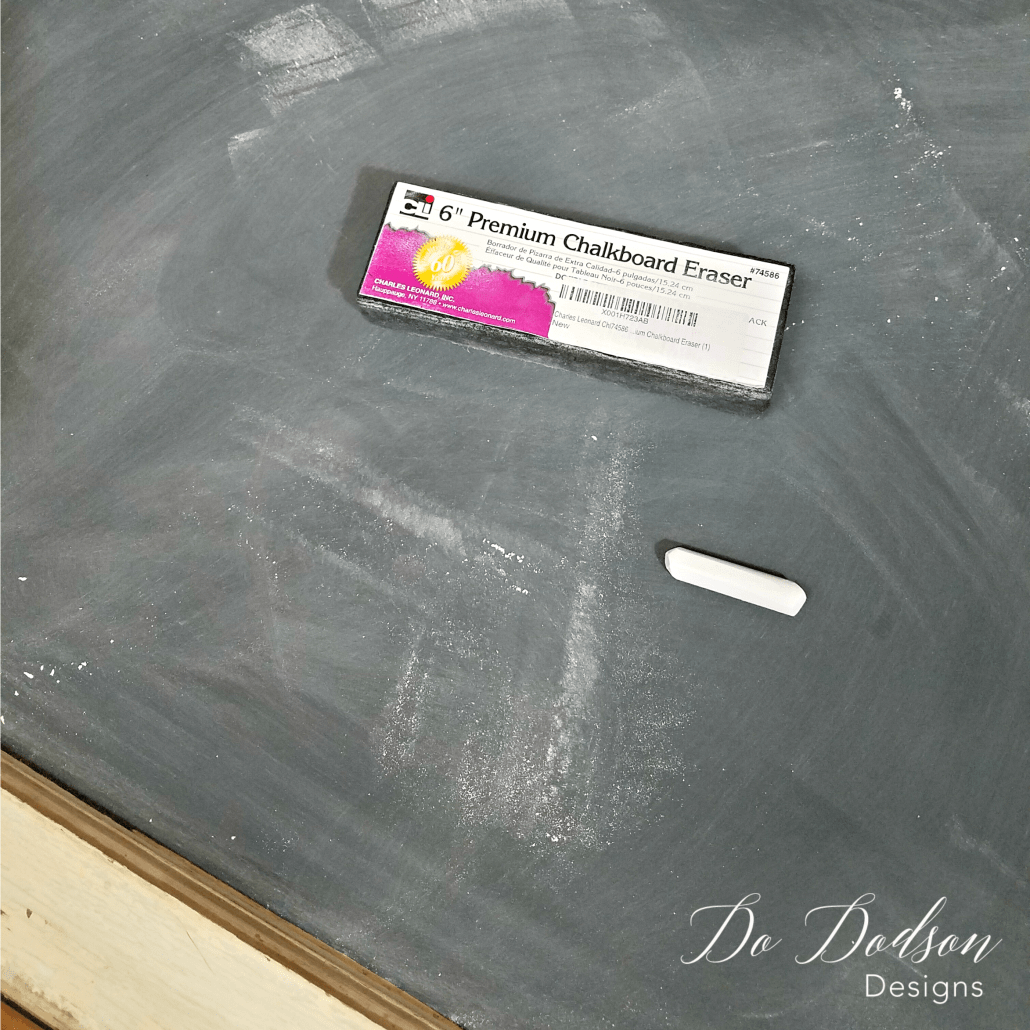
Don’t miss this step, or you’ll have ghosting on your beautiful chalkboard. Be sure to prime your chalkboard with chalk before using it. If you miss this step, whatever you write on the board will leave a faint outlining even after erasing. To prevent ghosting, lay your chalk flat and rub the side of the chalk stick over the board covering. Next, rub the chalk into the board with a soft cloth or chalkboard eraser. I prefer the eraser because it leaves a light layer of chalk on the surface and makes for a beautiful, soft gray look on your board.
Flip The Vintage Mirror – Fall Decor
Now, for side #2. Make sure the glass is clean. I used a good window cleaner and made sure that it was dried well before the next step.
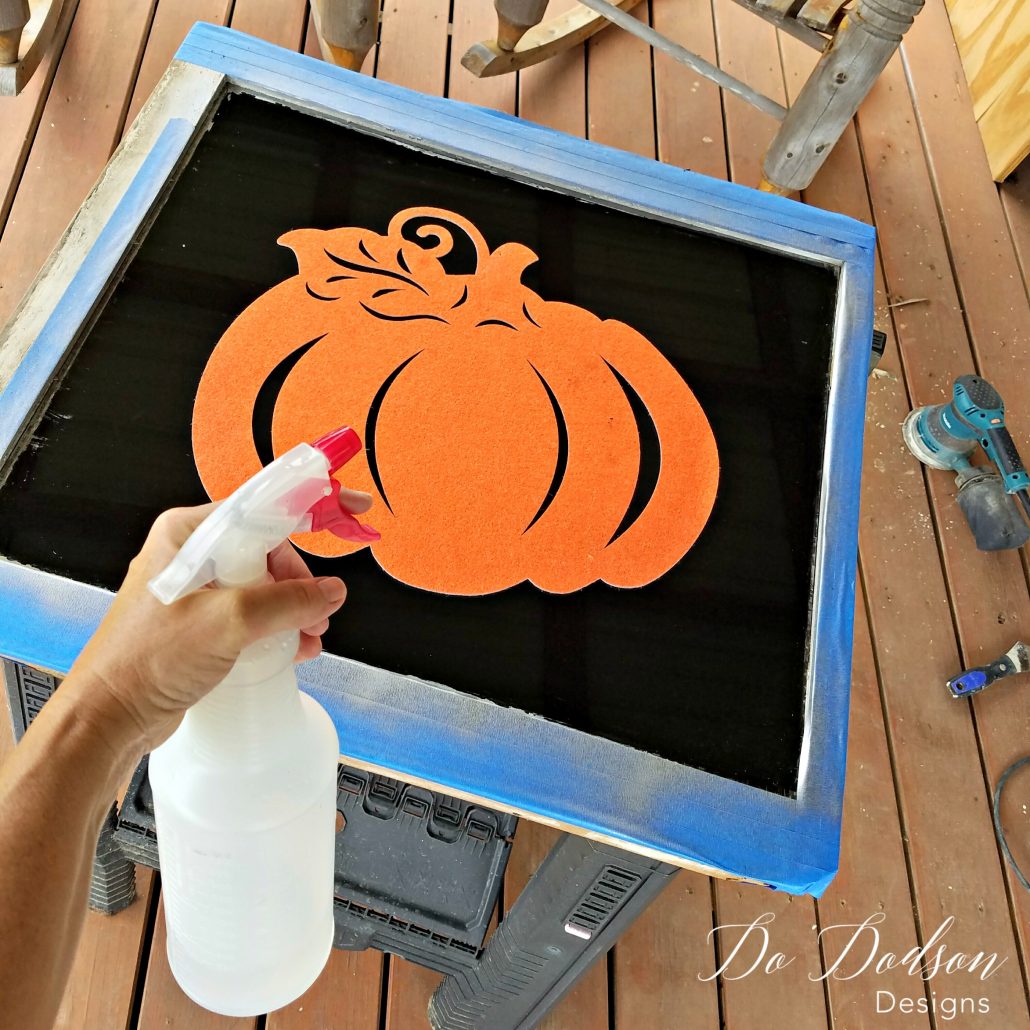
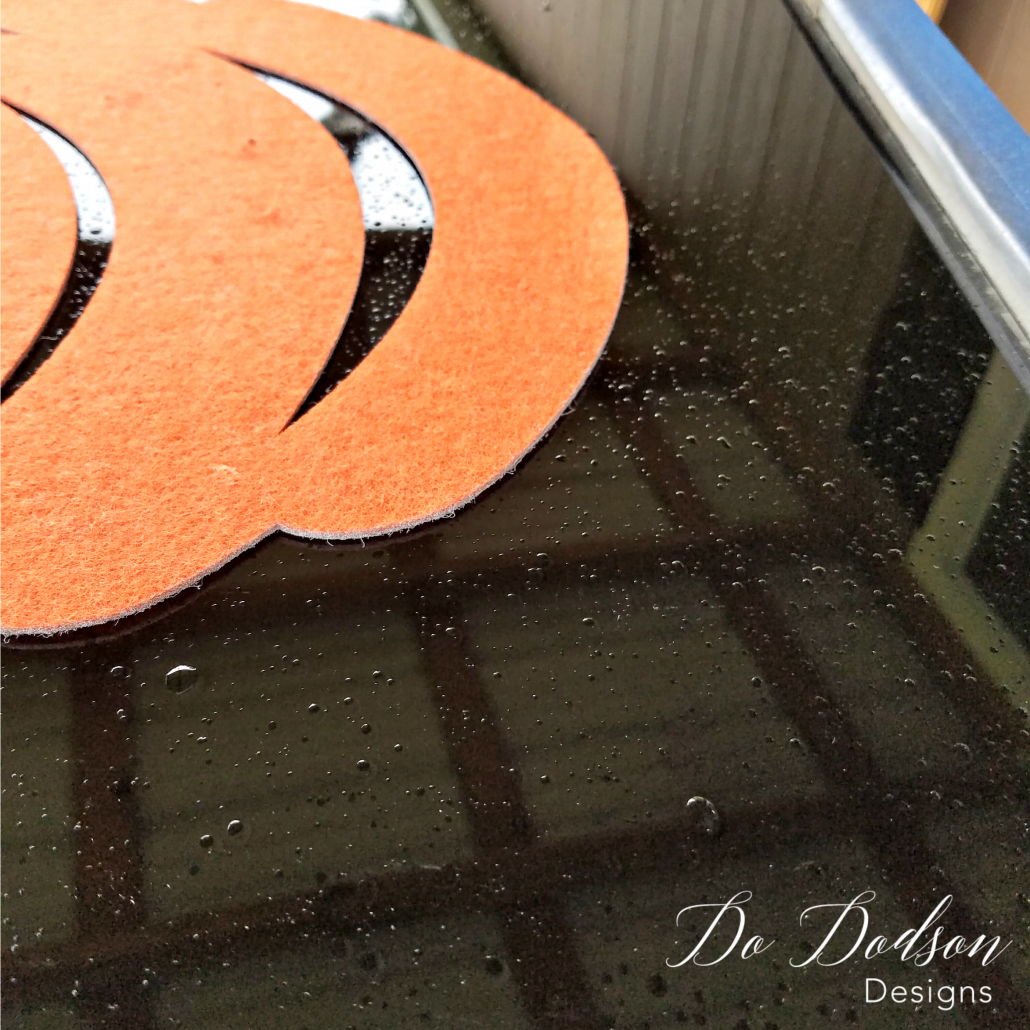
Lay the felt pumpkin thing right on top of the glass.
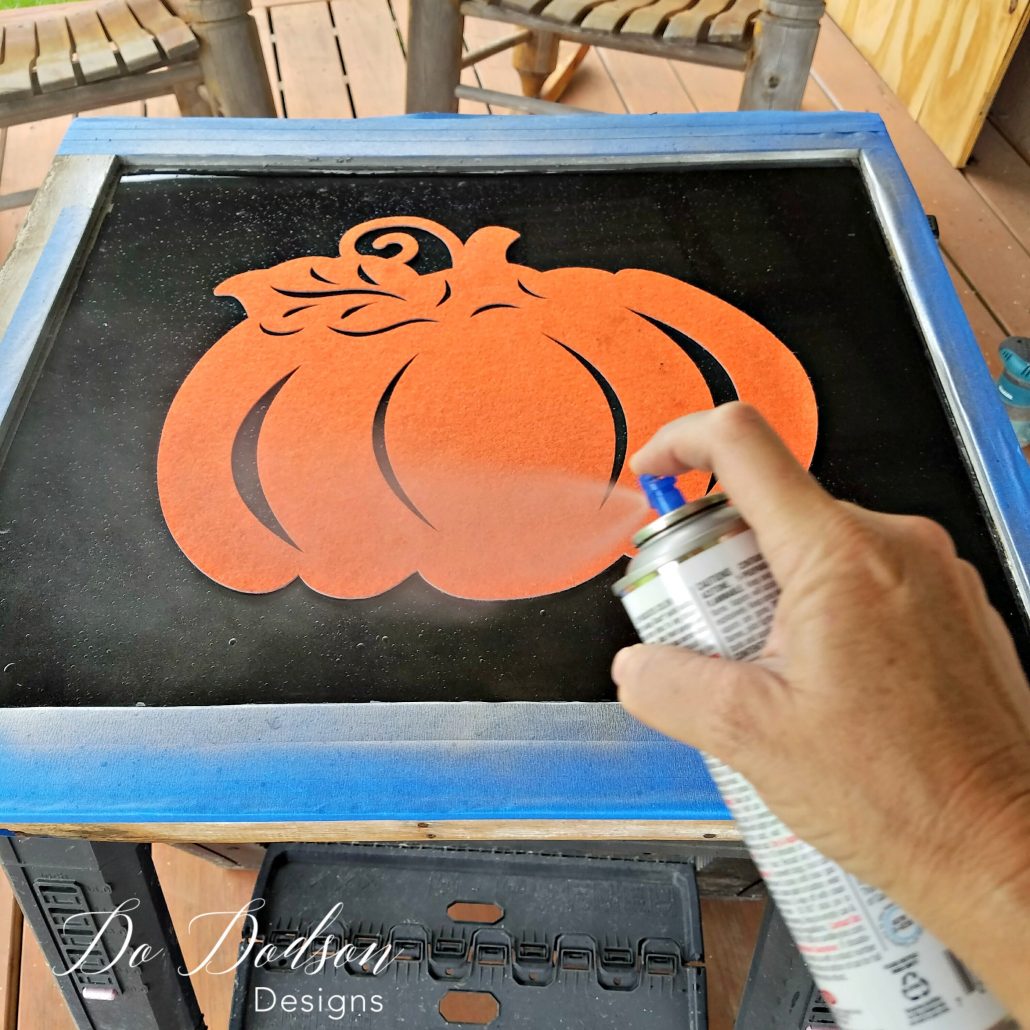
I added a mixture of water and vinegar (50/50) to a spray bottle and adjusted the sprayer to just a bit more than a fine mist. Lightly spray the window with the mixture to leave water droplets lying on the glass. Not too much.
Adding The Mirrored Effect
The looking glass spray is hard to find in stores where I live. I found this one on Amazon. It works well!
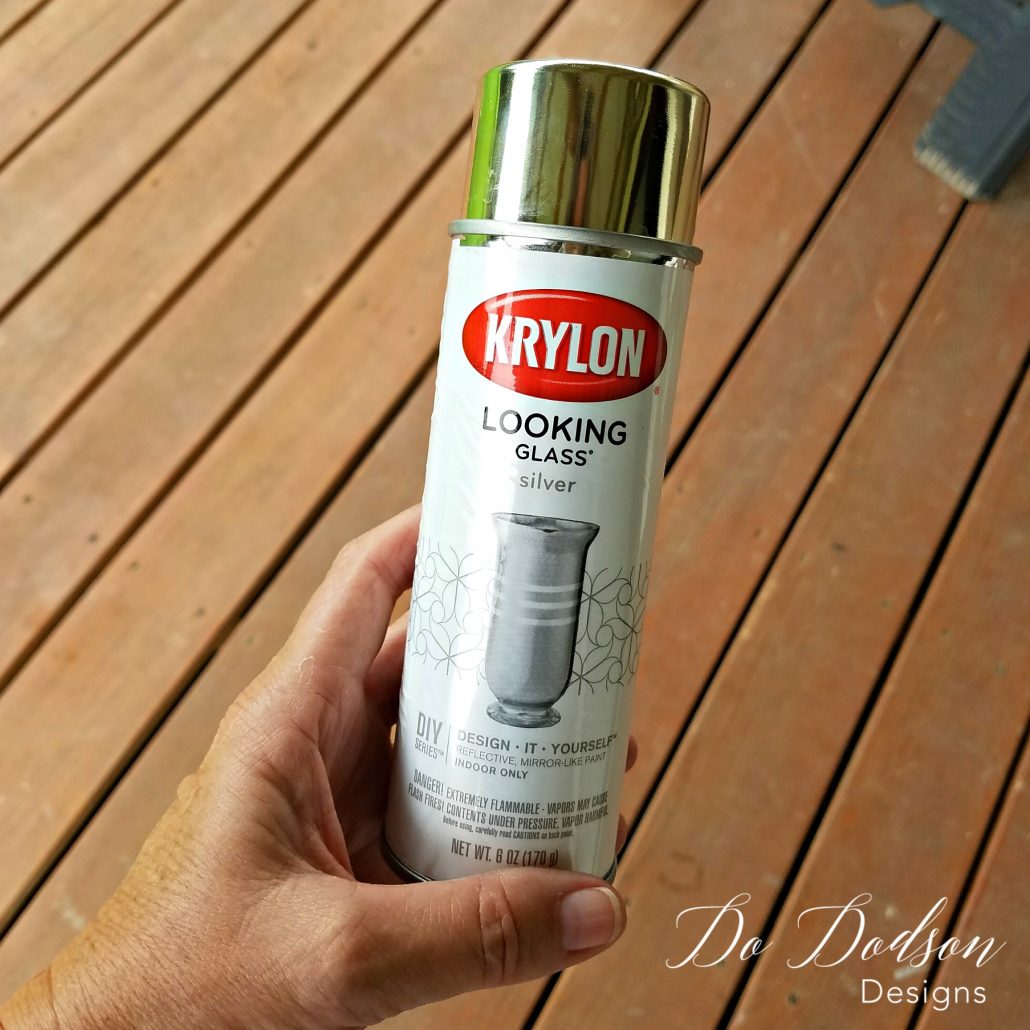
Now, the magic begins! I used Krylon Looking Glass Silver spray paint and evenly coated the whole window right over the pumpkin stencil thingy. I just used one coat. Quickly I could see how the water and vinegar mixture repelled the paint. The paint dried very quickly, within a few minutes.
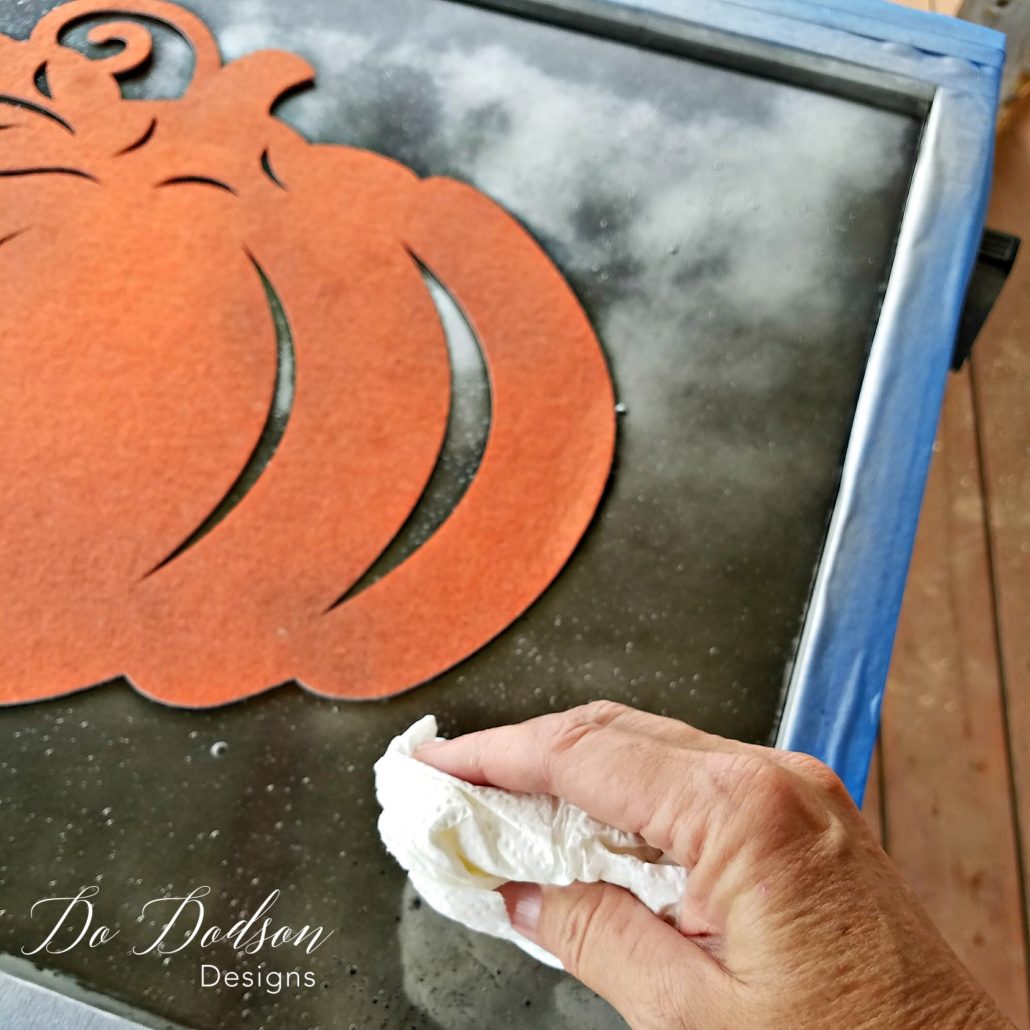
Next, use a paper towel to gently blot the surface to remove the water after the paint dries. Flip the vintage window over and you’ll see a beautiful antiqued mirror with the outline of a pumpkin.
Looking back, a soft cotton cloth would have been better. The paper towel was a bit rough. DO NOT wipe away the water spots! It will scratch the surface and cause streaks. Trust me on this one. This was actually my second attempt.
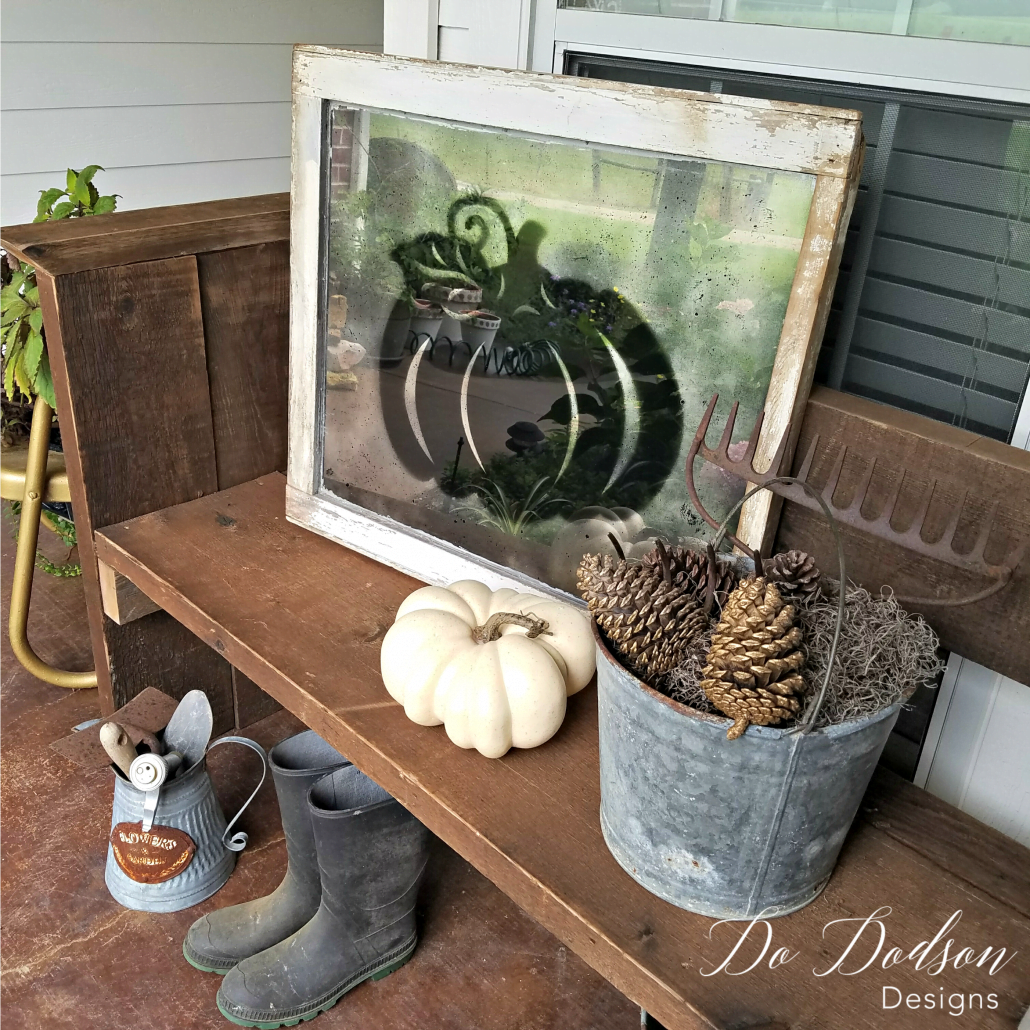
Vintage Mirrored Fall Decor
Here’s how the vintage mirrored turned out! So stinking cute!
The Chalk Board For Fall Decorating
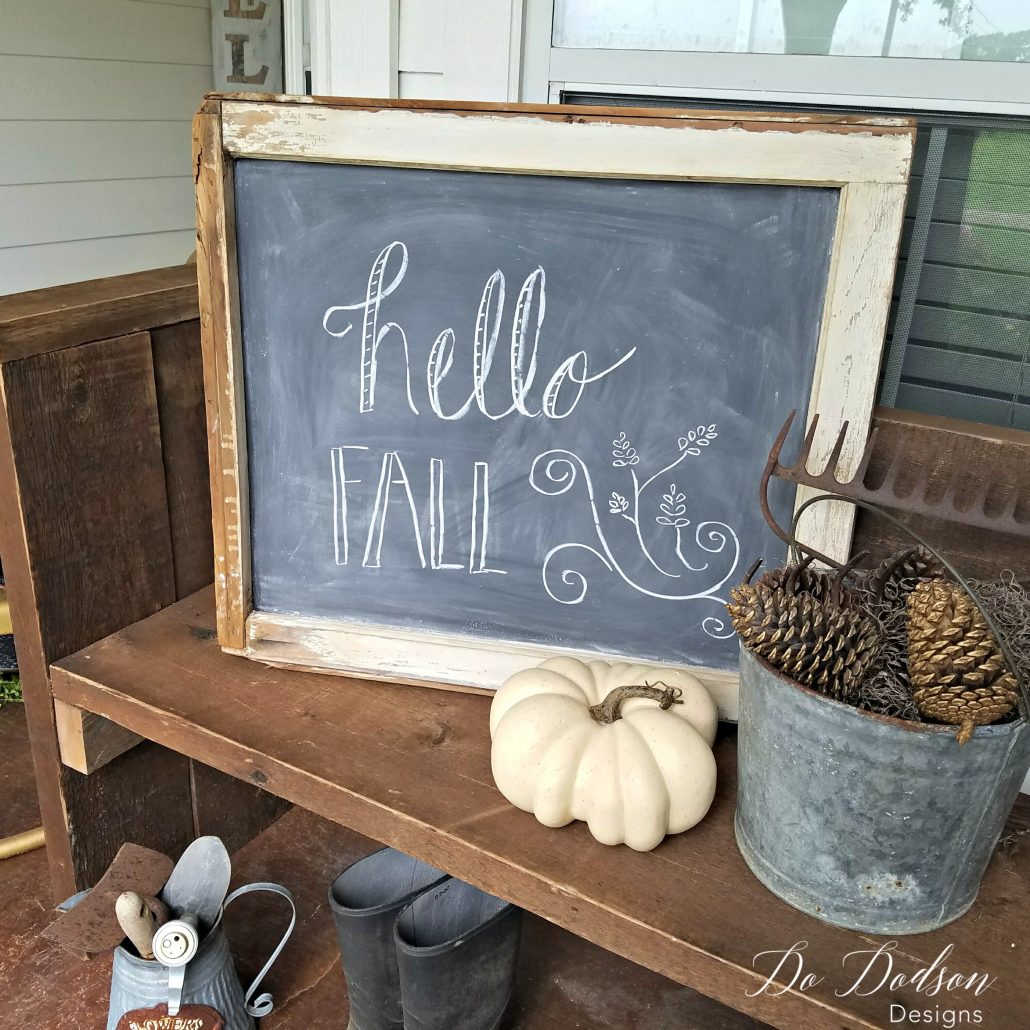
When I get tired of the vintage mirror, I flip it over and chalk a personal message. Don’t you just love a chalkboard?! I can now use this window all year round. Indoors as a cute chalkboard or outdoors for Fall Decor.
Or this one…
So, what do you think? I’d love to hear from you. Share your comments, ideas, and feedback below in the comment section. Or say, “Hey! Let me know you were here.
I also have more Fall decor ideas to share. Below are links to other DIY Fall budget-friendly ideas that you’re gonna want to check out. I LOVE this time of year!
Until the next project… xo, Do

