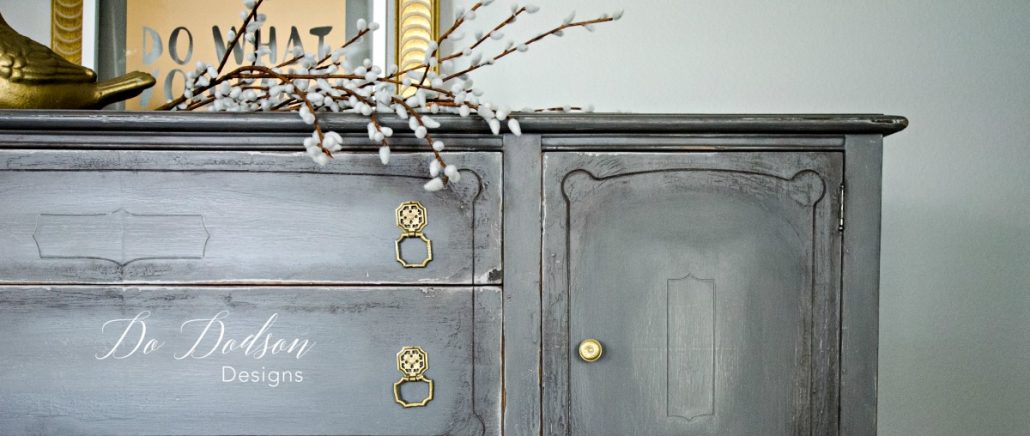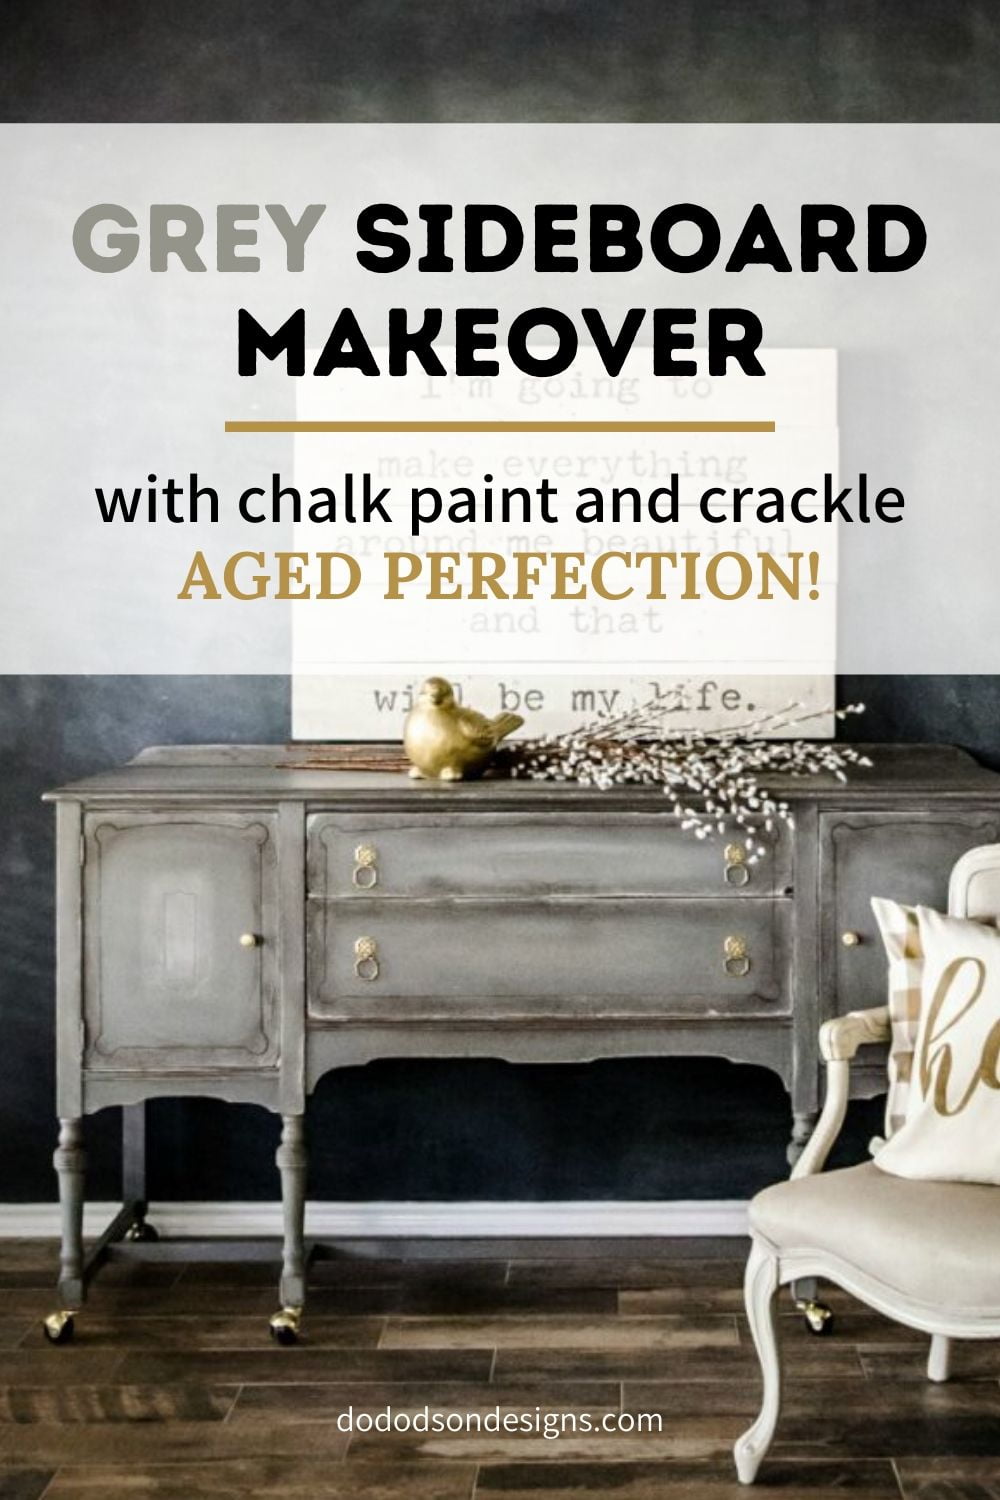
The grey sideboard that welcomes me in my front entryway has been a favorite piece of mine for a few years now. It’s houses everything from saran wrap to props for my furniture staging. Every few years I like to update those statement pieces to freshen up the look in my home. We creatives get bored with the same ole same ole. Changing the paint color is the obvious solution… but I LOVE grey.
This post contains a few affiliate links to help you find the products I use. You are not charged extra to use any of the links, but any income I make will be used for more fun projects! To see my full disclaimer, click here.
Grey Sideboard Makeover Before |Second Time Around
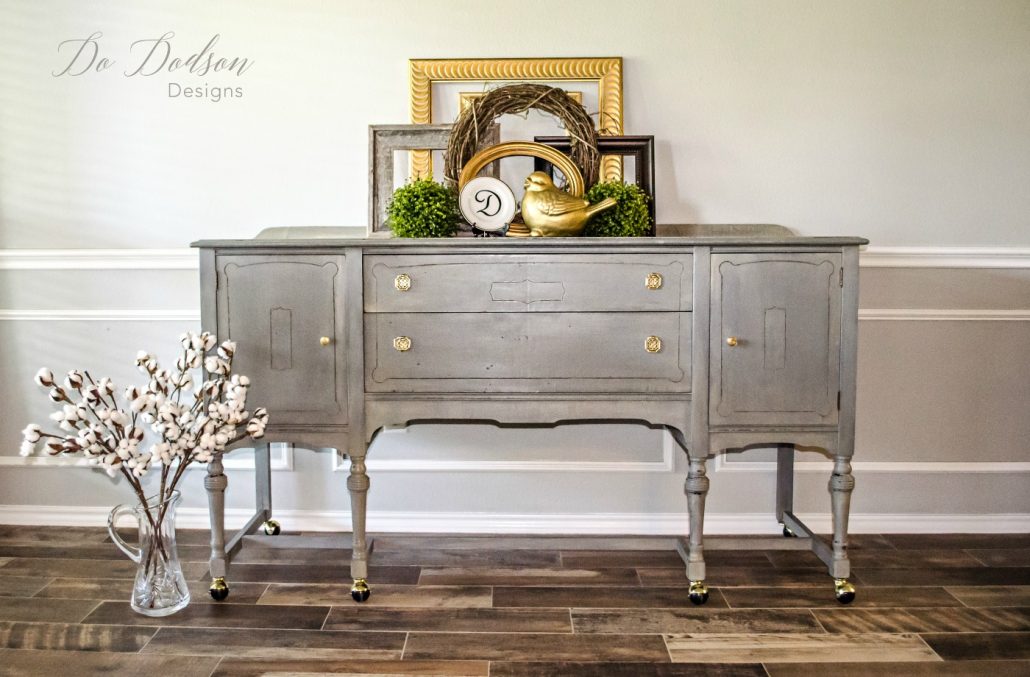 I know what you must be thinking. The grey sideboard really wasn’t bad as is, but it needed some major repairs to the legs and after the repairs ha, it d been done it needed a lot of touch-ups. CLICK HERE to see what repairs had to be done. And because I’m using Dixie Belle paint I am confident that I can just paint right over the existing finish with no problem.
One of My Favorite Quotes
 This is one of my favorite quotes by Albert Einstein that hangs on my studio wall. I have a few and I display them all around my home and studio. Today’s project is all about the creativity of the unknown. Rarely do I have a clear picture of how a piece will turn out. I have an idea but I allow my creativity to pave the way. My intelligence was tested on this piece for sure. But all in all, it turned out just like it should have.
Products Used To The Create This Finish
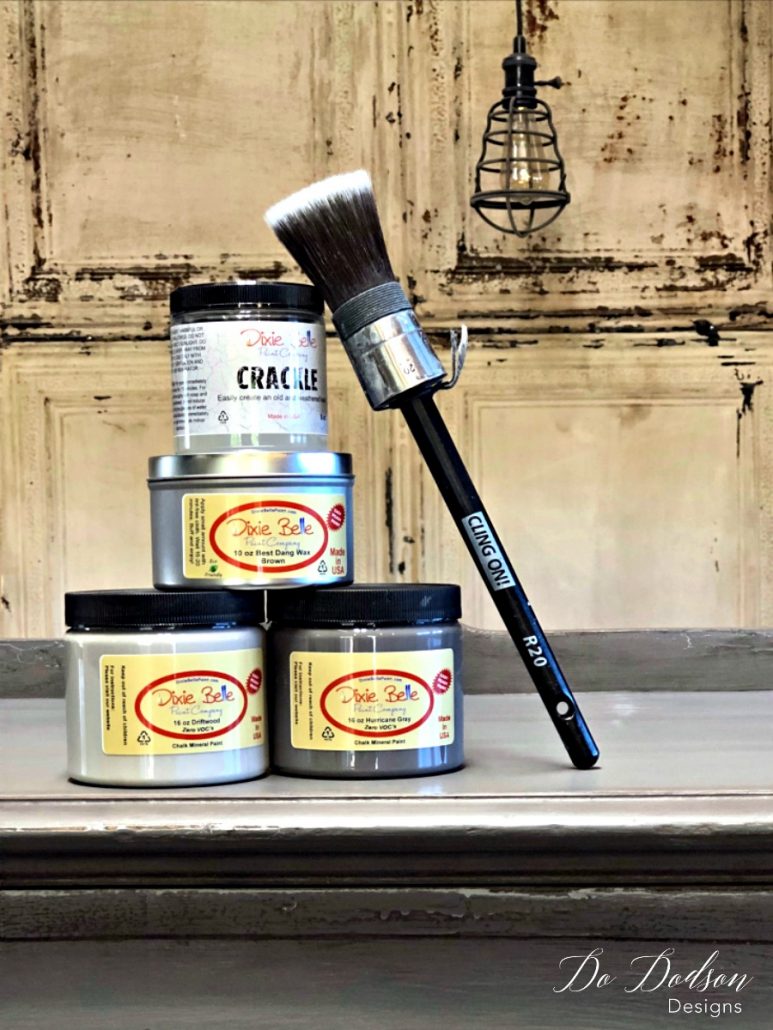
Below is a list of the products I used for this grey sideboard makeover. Click the supplies in the list below to see where you can purchase them for your next project.
But before you paint, don’t forget this important step. ⇐
Applying the Crackle To The Grey Sideboard
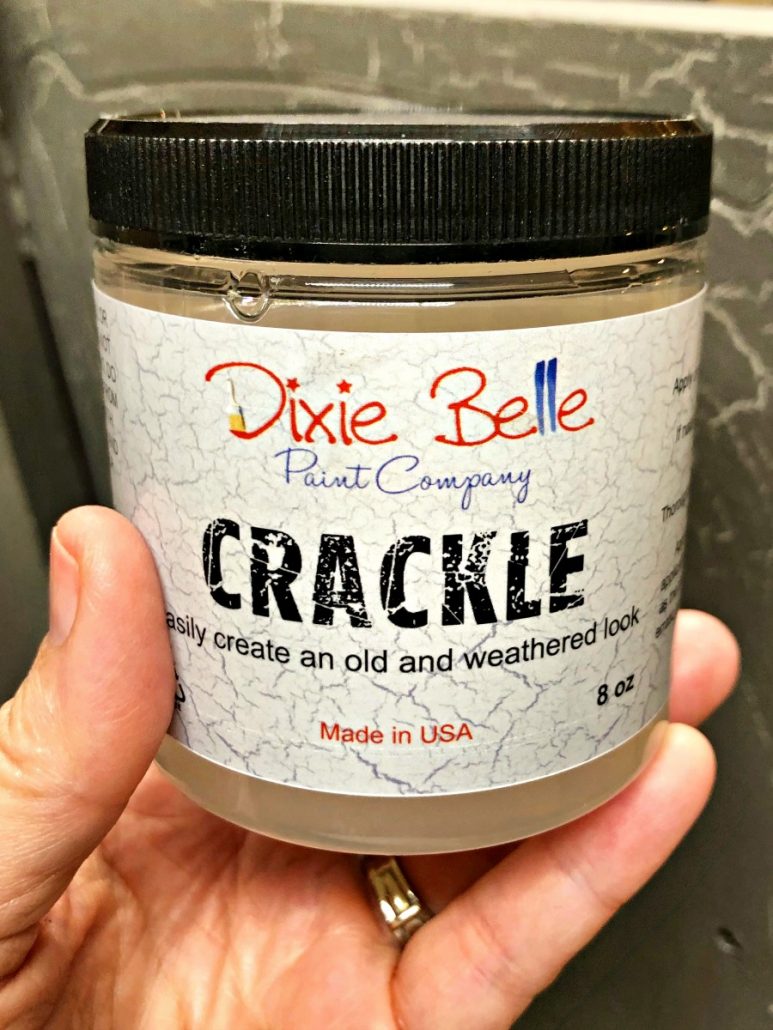 The base coat of the grey sideboard was repainted with Driftwood. It’s a beautiful light shade of gray. After the paint had dried, I applied the crackle to the front of the doors and drawers in specific spots where I wanted to add texture and character. Thicker in some places and thinner in others. The areas where it was applied thick began to drip making it appear as paint drips but in a more controlled fashion. As a result, I ended up with the weathered, crackled chippy finish.
After a few hours, the crackle was dry to the touch. A darker shade of grey called Hurricane Grey was painted over the whole sideboard. This will allow me to have two beautiful colors of grey when I add the distressing.
The Results of The Crackle
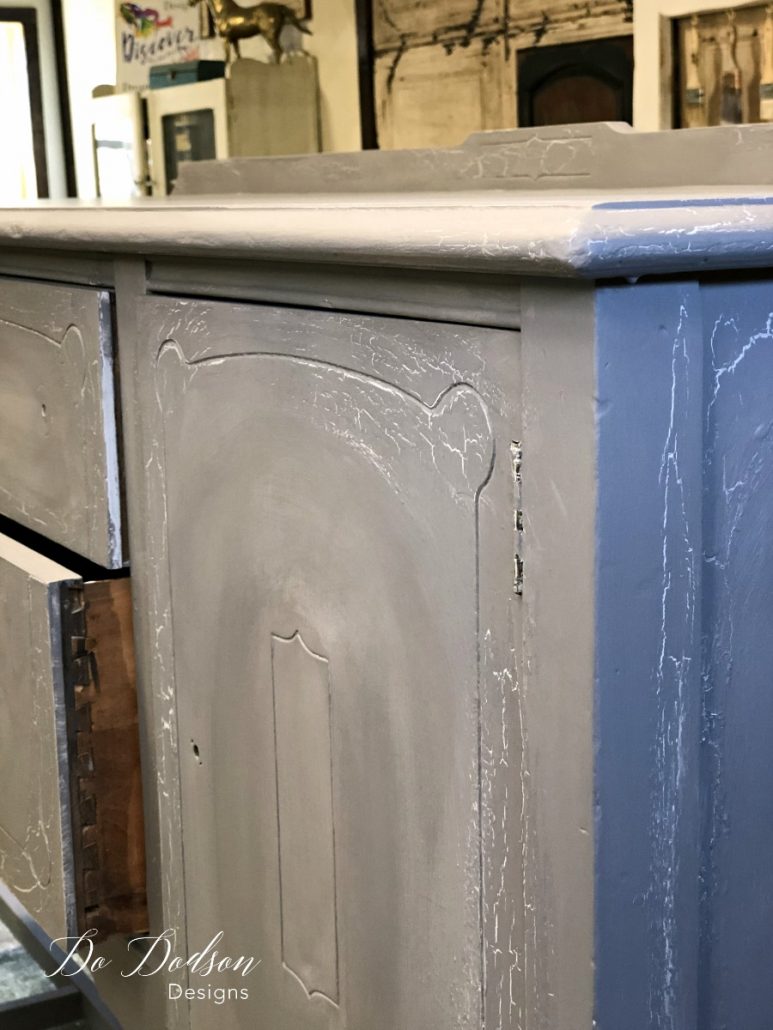 Awesome crackly goodness! I love this stuff, but my idea for using the crackle wasn’t just for the crackle effect. My idea was to add texture and paint drips. Allowing the crackle glue to drip in certain spots was exactly what I had envisioned it would look like. The crackle also allows the lighter gray color underneath to show through.
The grey sideboard was sanded with my Orbital Sander and distressed heavily to allow the lighter gray to show through and even the dark wood in certain areas. Dark brown wax was used to accent the texture created by the crackle and a clear wax was applied to seal the finish.
Aging With Crackle
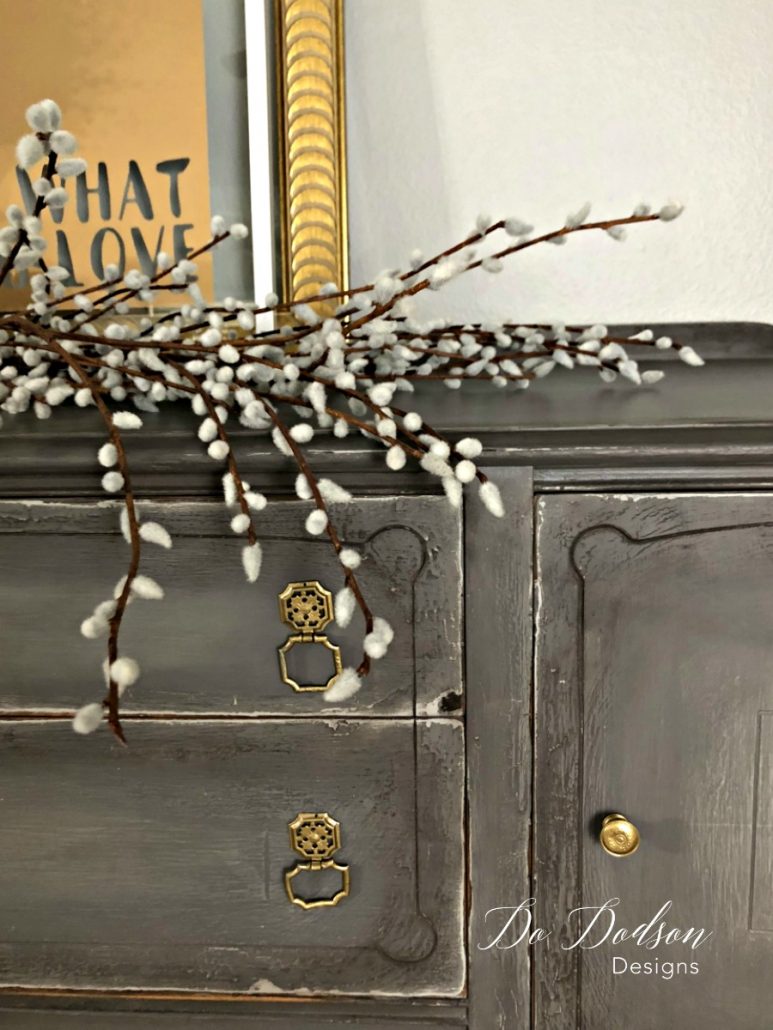

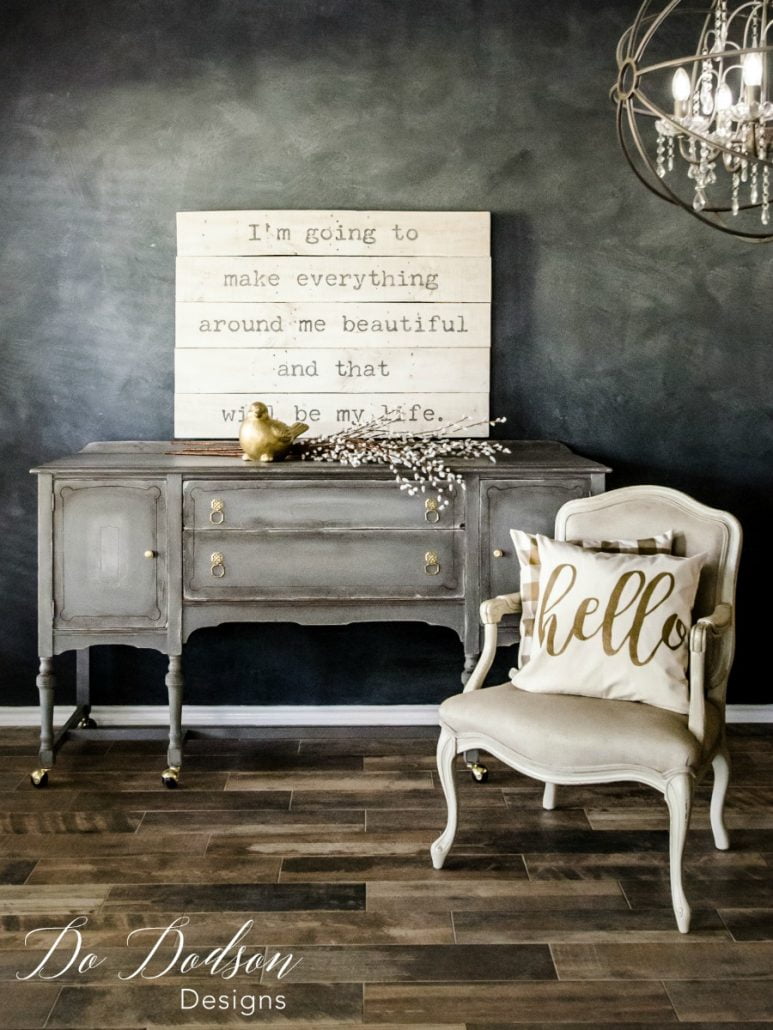
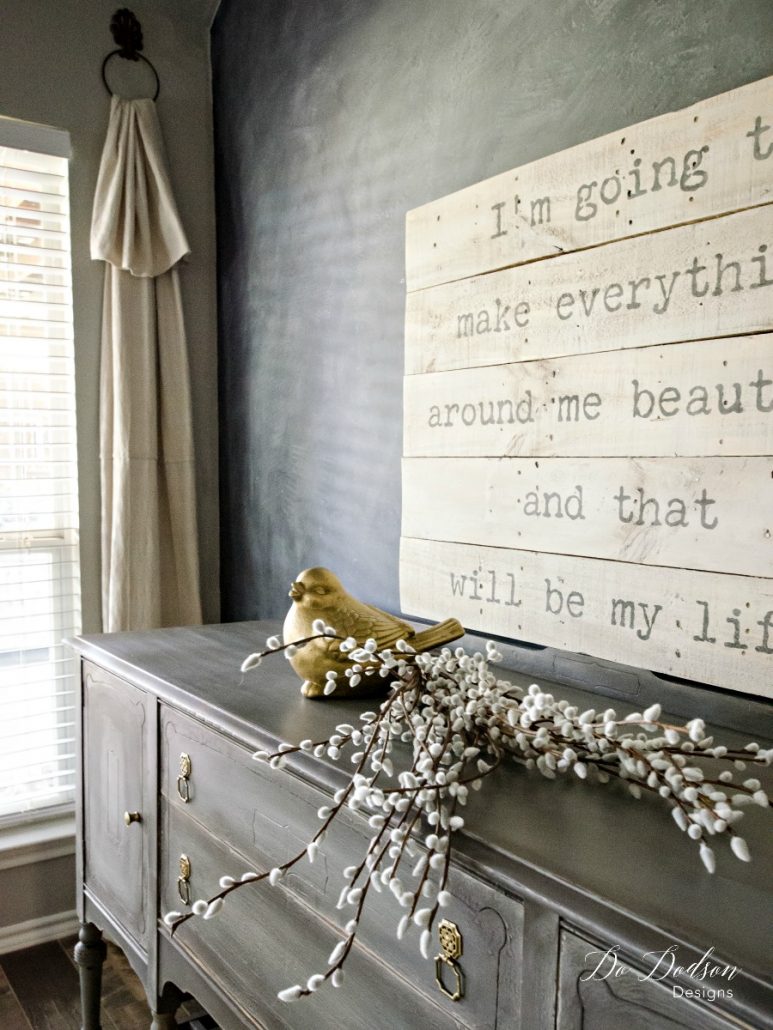
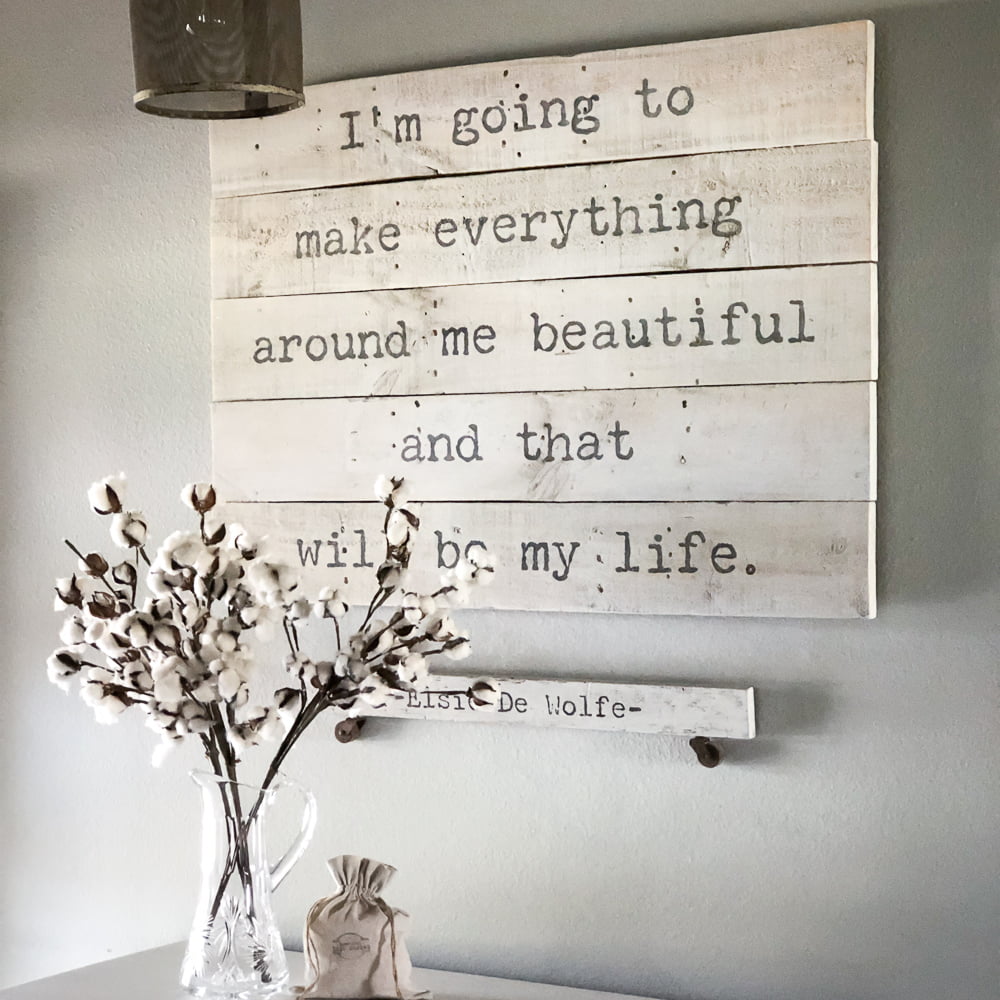
“I’m going to make everything around me beautiful and that will be my life.” This famous quote hangs in the entryway of my home as a reminder that beauty is all around and it’s up to me to make it happen. ~Elsie De Wolfe~
Thanks for stopping by to see my grey sideboard makeover… a second time. Who knows? You may see it again with a new look. The great thing about the paint I use is that it can paint over it with no problems. As a creative, that’s important to me.
If you love unusual finishes, you will love the texture and design of this piece. CLICK HERE to see this fun makeover!
Until the next project… xo, Do
Don’t forget to PIN IT NOW… for later!

