
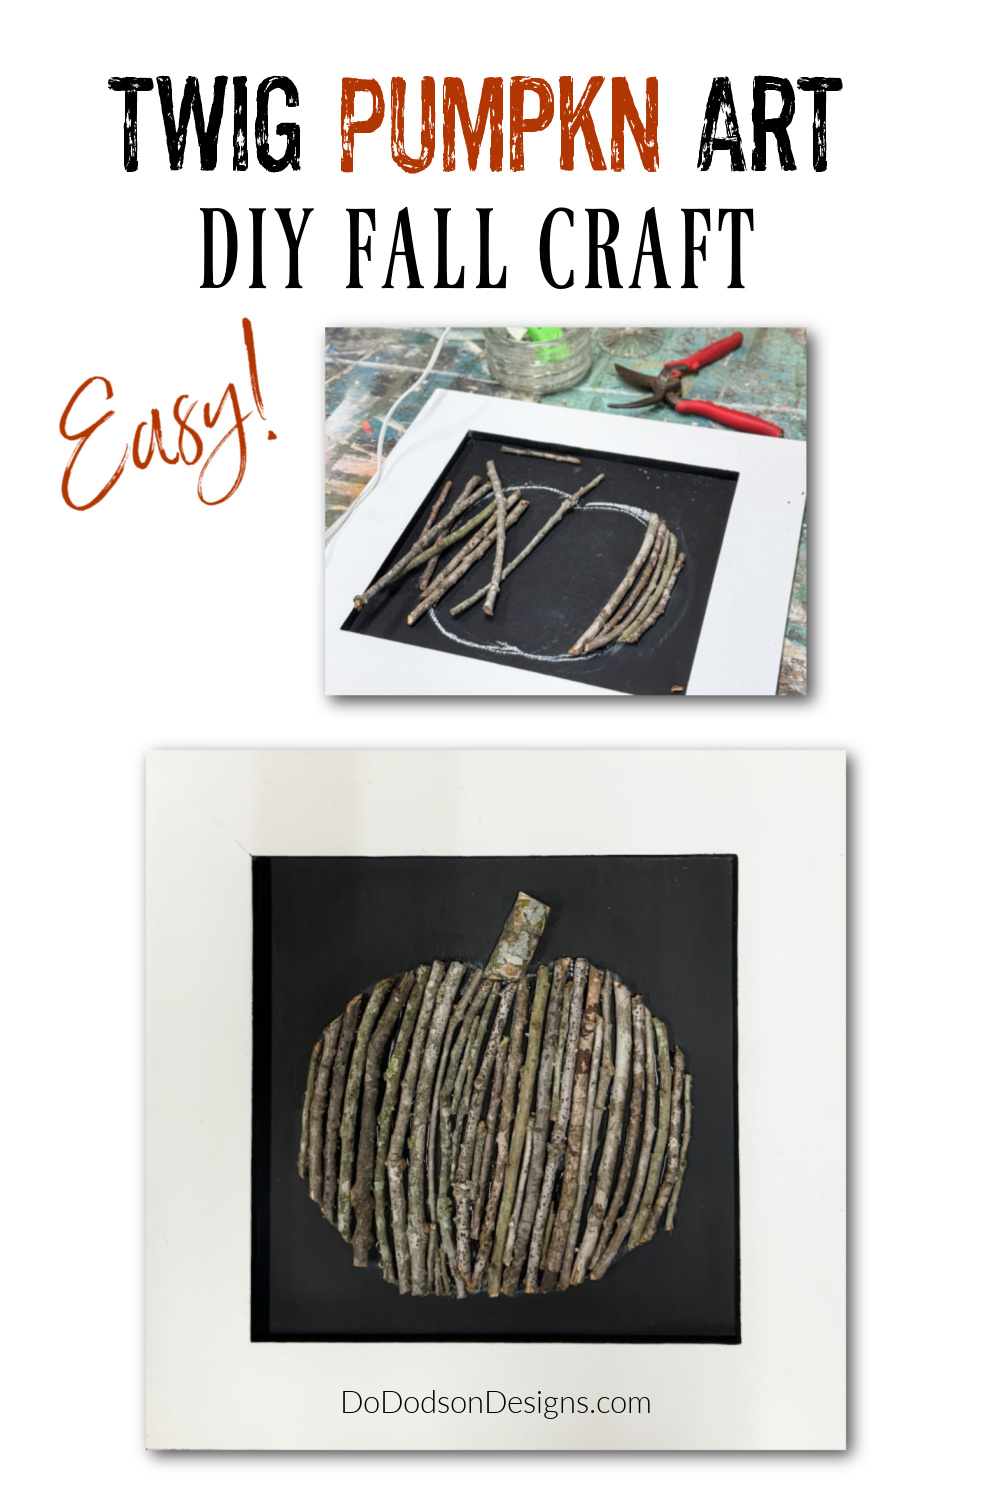
Need a quick Fall project to help decorate your home with this year? This is it, my friend! Learn how to create rustic DIY twig pumpkin decor from FREE twigs and branches from your yard in minutes. I know you’re going to love this idea. It’s the perfect Fall craft for kids or adults.
Thanks to Dixie Belle Paint Co. for sponsoring this post. While I was compensated to write this post, all opinions are my own.
* As an Amazon Associate, I earn from qualifying purchases and through other companies as well. You will not be charged extra when you purchase through these affiliate links, but any income I make helps me create more amazing DIY projects to share with you! To see my full disclaimer, click here!
Mimosa Craft Day at Do Dodson Designs!
Once a year, my (nurse) friend and I (retired nurse) get together early one Fall morning for our annual craft day. As far as I can remember, it’s always been a Fall project. It’s our favorite time of the year.
But before we craft, we must nourish our bodies. So we indulge in Mimosas, bacon, and chocolate. It’s a girl thing. Don’t knock it until you’ve tried it.
Many blog posts have been written from those craft days, and I thought I’d share some of my favorite pumpkin crafts with you today. You may not see her in the background crafting, but I guarantee you she was there refilling my glass with a paintbrush in her hand. Kristy and I have the BEST time together!

You may remember these pumpkin projects.
And just so you know, I copied this project (giving her full credit) from Karianne Wood at Thistlewood Farms—a talented blogger friend. CLICK HERE to see the original DIY wood twig pumpkin inspiration.

SUPPLY LIST:
Here is what you will need to create a fun DIY twig pumpkin to decorate your home for Fall.
- twigs and branches from your yard or a neighbor
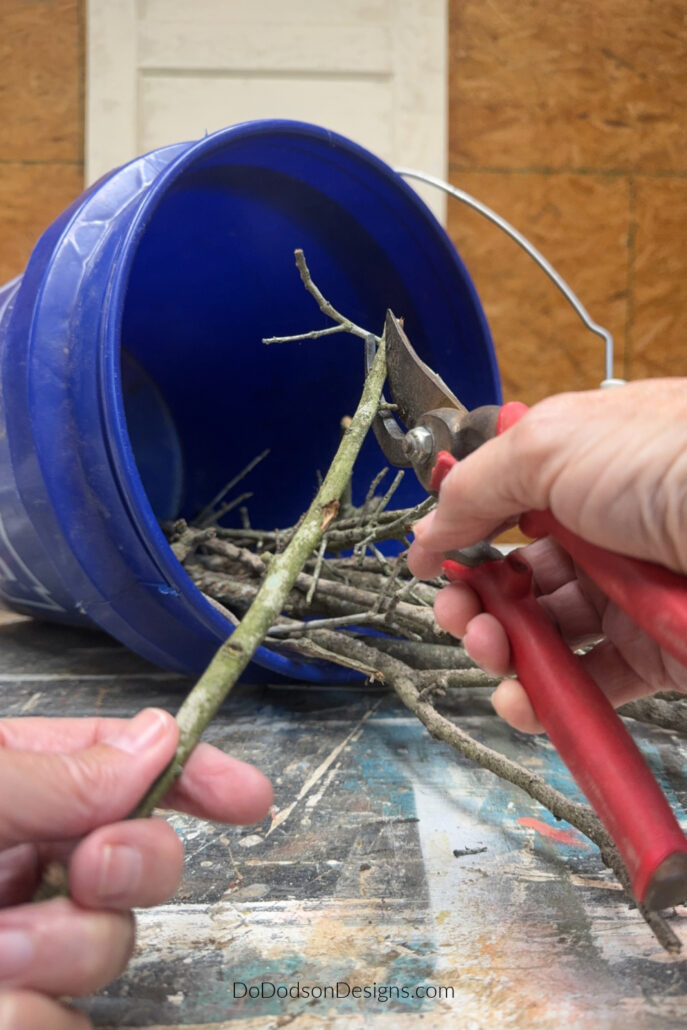
- yard nippers or pruning shears
- hot glue gun (wood glue for kids)
- finger protectors
- the base for your pumpkin art (wood sign, old picture with frame, etc.)
- Cotton Chalk Mineral Paint (craft paint)
- Caviar Chalk Mineral Paint (craft paint)
- paintbrush 2-inch mini
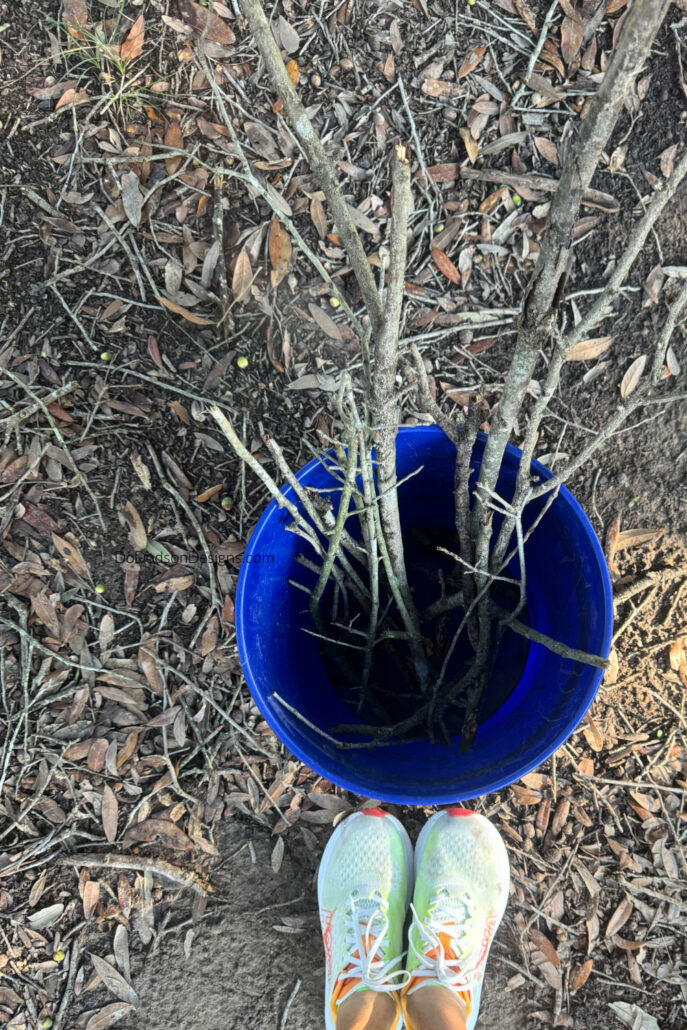
STEP 1: Gather Your Twigs For Your Pumpkin
When gathering twigs and small branches, be mindful of the sizes you need for your twig pumpkin. Also, consider if you want curved twigs for the outer curved areas of the pumpkin. Get creative with it!
Even the tiny twigs can be used to fill in the gaps in your twig pumpkin decor.
What are the best types of twigs to use for a twig pumpkin project?
It really doesn’t matter. Use whatever you can find. If you have more than one tree species, try mixing different types of wood.
We have various varieties of oaks in our yard, and I gathered whatever I could find. If you have dead branches still attached to the tree, those will be your best bet to use.
Gathering from the ground is okay, too, but you may have to clean away dirt and tiny insects. Yuck!
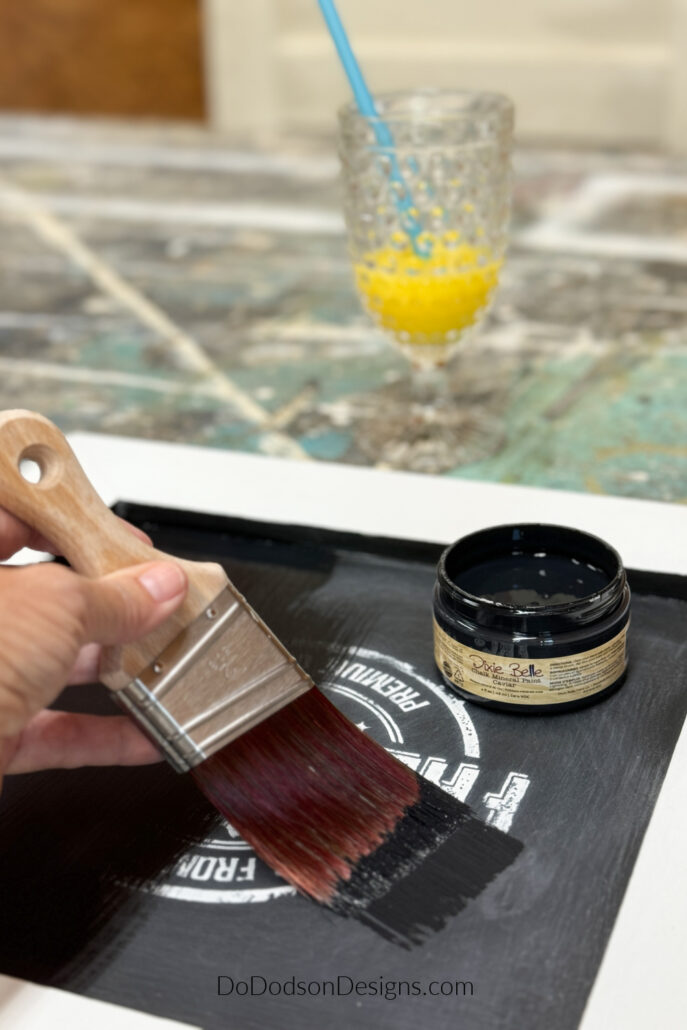
STEP 2: Paint Your Background Color
To get started, you’ll need a wood signboard. You can also use a thrift store wall art piece and paint over it—that’s what I did!
Don’t forget about that scrap wood you have lying around. Anything flat and paintable is fair game.
I’m using Dixie Belle’s black caviar chalk mineral paint as the base color of my twig pumpkin creation. Chalk mineral paint is a chalky-based paint perfect for crafts like this one.
Apply two coats for full coverage and allow dry time between each coat.
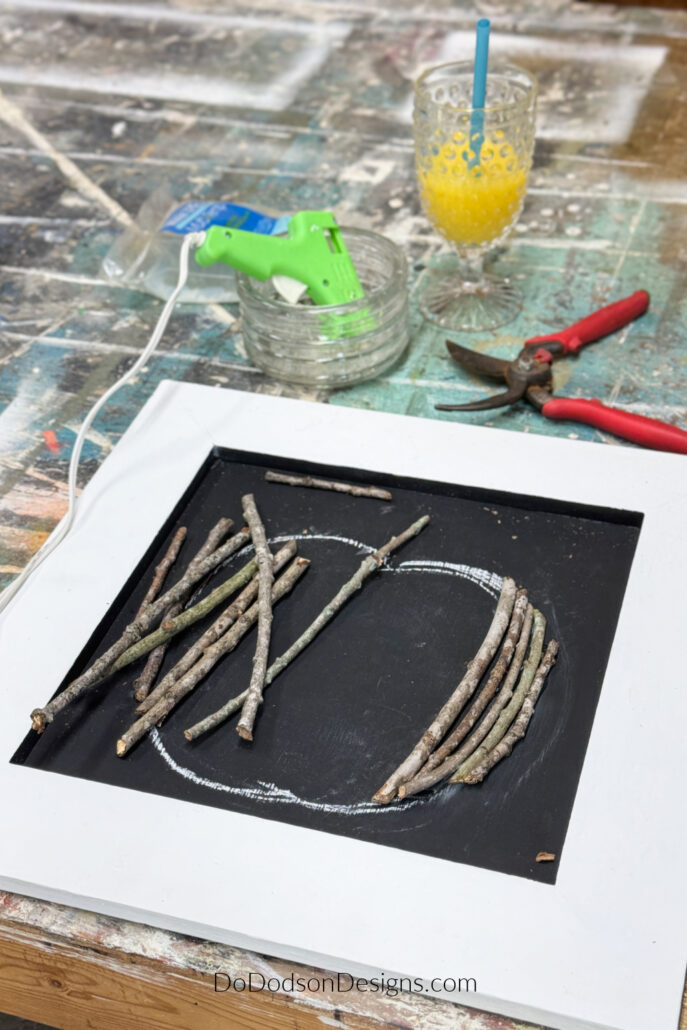
STEP 3: Draw The Outline Of The Pumpkin
Oops! I got in a hurry and didn’t get a picture of me drawing the pumpkin outline, but I think you get the gist. It’s probably the Mimosa’s fault.
Using a chalk stick, I created an outline of the pumpkin after the paint had ample time to dry between coats. You can also use a pencil for this.
It took multiple tries to get my pumpkin perfect for my liking, and I think my “friend” was laughing at me behind my back. Haha, sometimes she knows me better than I know myself.
Because the paint is chalk-based, you can wipe away the chalk outline with a damp cloth. So, no worries if you can’t draw a pumpkin on the first attempt. Obviously, I can’t either.
STEP 4: Cutting The Twig Pumpkin Pieces
Using heavy-duty pruning shears, carefully trim the extra branches away from your twigs. You’ll want clean, smooth pieces that can sit beside each other. I cut mine to the length I needed as I went. It was easier that way.
If you don’t have pruning shears, you can always snap the twigs with your hands to the desired lengths.
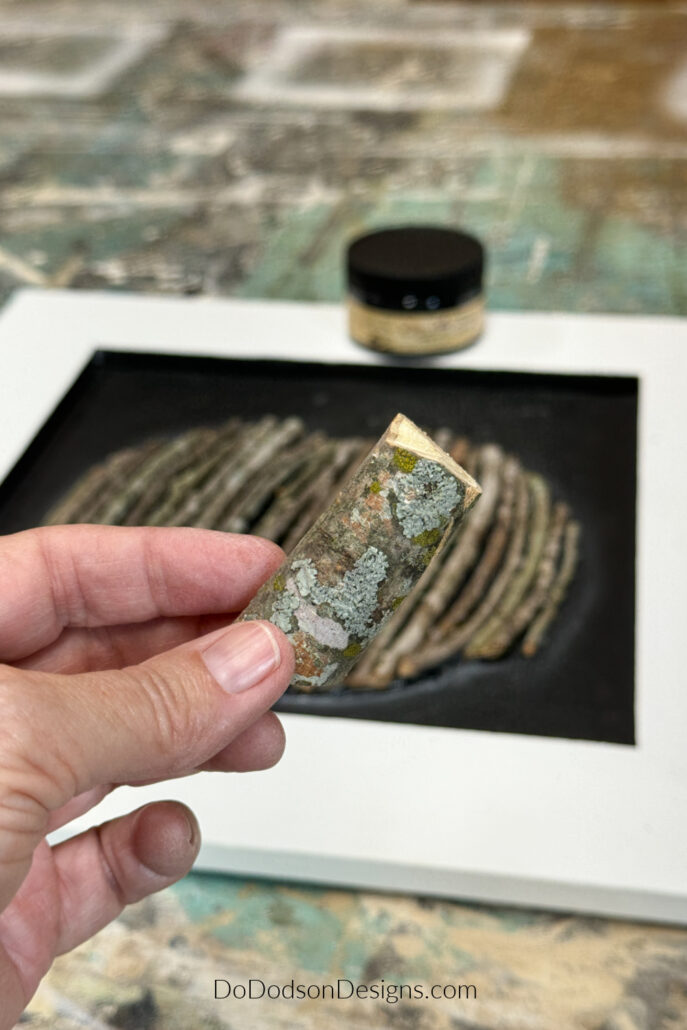
Be sure to save the smaller pieces to fill in the gaps in the pumpkin, as there will be gaps.
STEP 5: Creating The Twiggy Pumpkin
Now comes the fun part. Start gluing the twigs inside the outline of your pumpkin. Be sure to wear finger protectors when working with hot glue.
I started from the side and filled in from right to left, gluing my sticks vertically because that’s how my brain works. Or you could start from the middle and work your way out.
My friend filled her pumpkin in from the bottom, working her way up horizontally.
STEP 6: Attaching The Twig Pumpkin Stem
You’ll want a large stick or small branch (depending on the size of your pumpkin) for the pumpkin’s stem. This is where your creativity comes in. However, you do you. It’s your pumpkin.
Consider cutting the stem at an angle. Not all pumpkin stems are perfectly straight. I’ve never seen a straight stem. Have you?
Secure the stem in place using glue.
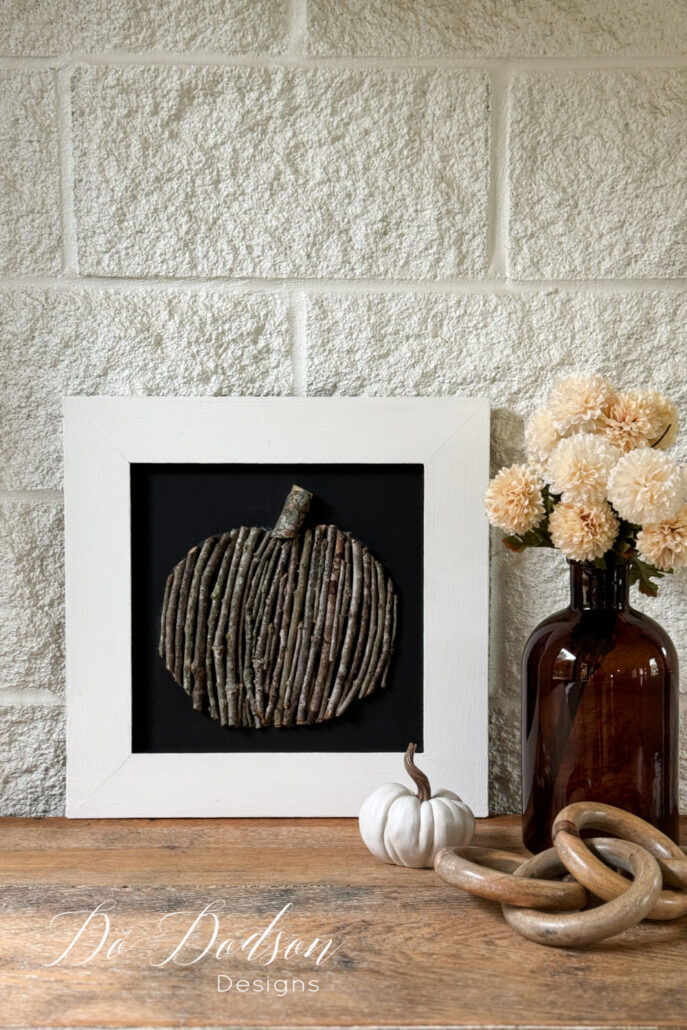
The different colors on the branches, I think, give the pumpkins an earthy, organic look. Beautiful! This neutral decor piece will work well with any Fall color scheme.
Well, I think Kristy’s looks better than mine. Mine looks like an apple. haha
Maybe they need a little embellishment now that I look at them from a distance. Maybe a bow? What about a few leaves? What would you do to these twiggy pumpkins to add a touch of Fall?
Despite the outcome, we had so much fun.
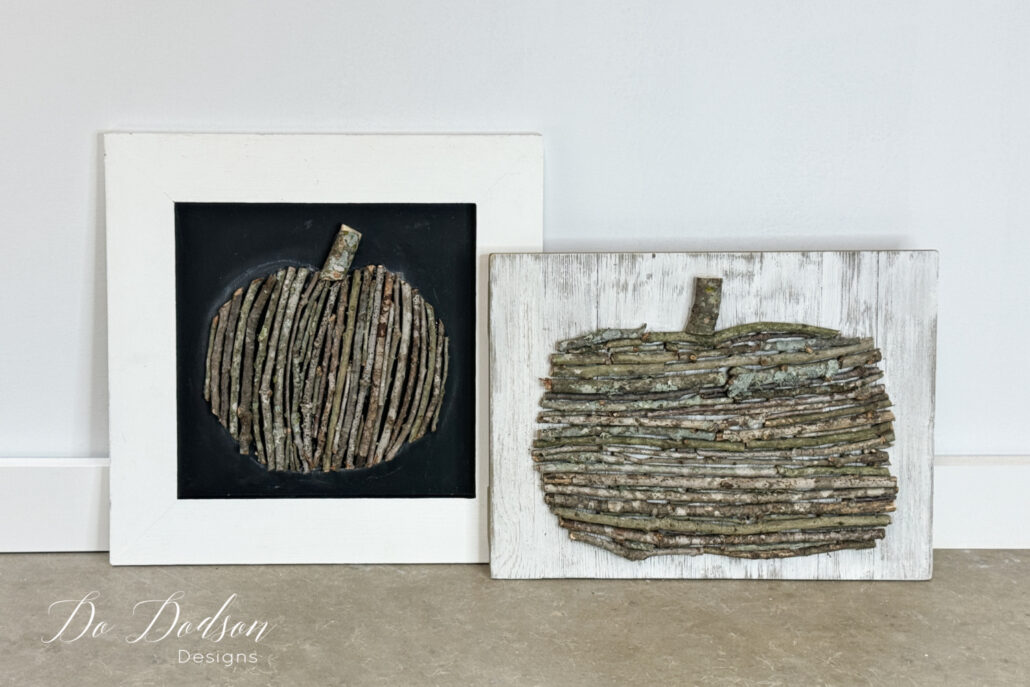
The Twiggy Pumpkin Art Project
I think they both turned out cute, even with a Mimosa in our hands. 🙂
Because most of my fall decorations are somewhat neutral, this works great for me and my farmhouse vibes.
But you can always add your colors to the mix. That’s what I love about neutral decor.
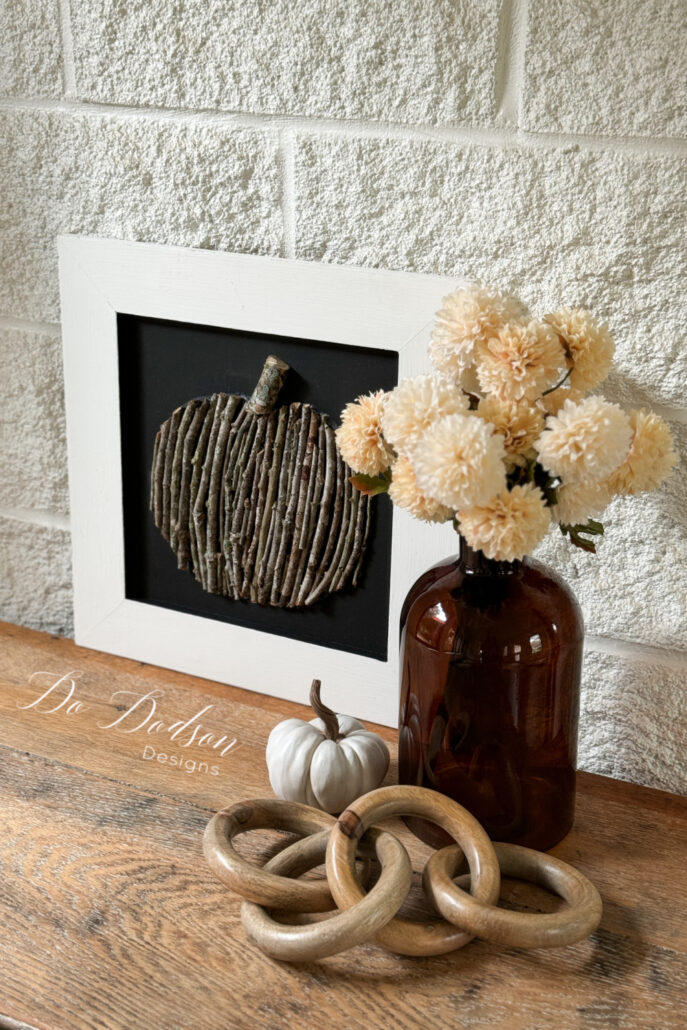
I hope you enjoyed my Twiggy project and that it inspires you to walk in nature. Gather those twigs and branches and create your own twiggy pumpkin decor.
As always, I would love to hear your feedback and thoughts on this DIY Fall project. What would you do differently? You always have the best ideas, and sharing is caring.
Remember to pin this to your DIY Fall Decor board on Pinterest or share it with your crafty friends. It just might be the perfect project for your craft day with the gals. Cheers!
Until the next project… xo, Do
Super cute and easy! Adorable Do! Enjoy your weekend my friend. XOXO
Thanks, friend. You DO the same. 😉
Sooo cute – and looks easy ! Thanks for sharing !
Thanks. I’m glad you enjoyed it.
Awww. This is really cute. I may need to make one too !
Thanks for sharing
I’m glad you enjoyed it. Thank you. 😊
Do, this is such a great and easy project. Love it!
Thank you. I love an easy project! Instant gratification.