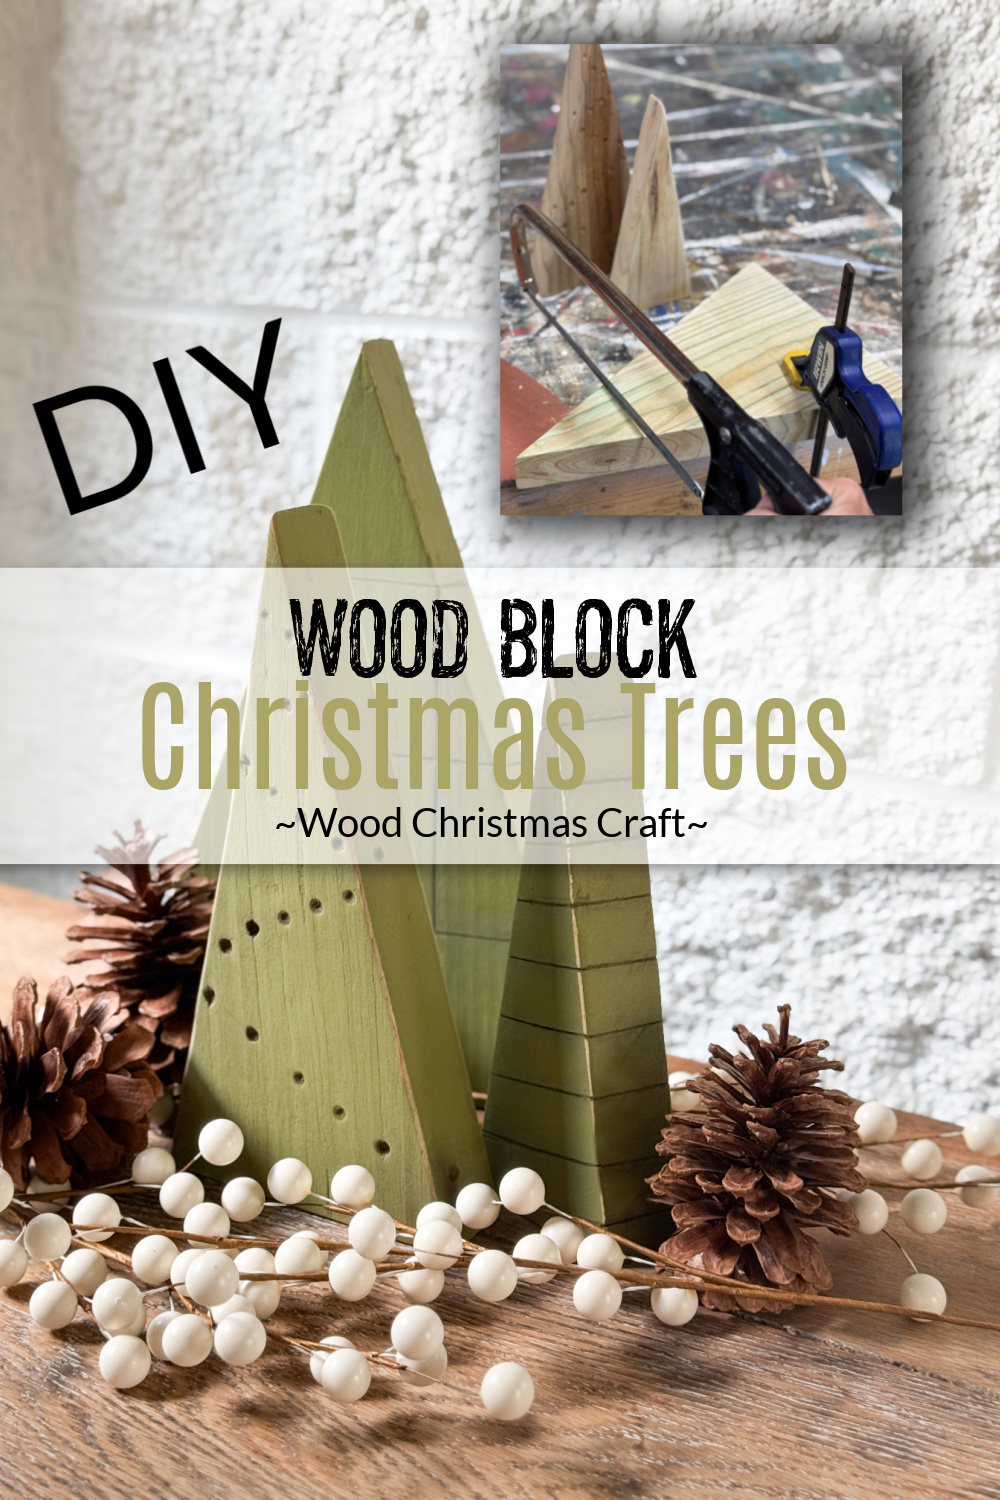
Hey, triple D friends! This year, I made these easy wood block Christmas trees from my scrap pile to add to my DIY Christmas decorations. You know my love for woodworking and my endless wood stash. If you love making holiday decor and cute wood block Christmas crafts, this idea is a fun, budget-friendly DIY project you don’t want to miss out on.
Thanks to Dixie Belle Paint Co. for sponsoring this post. While I was compensated to write this post, all opinions are my own.
* As an Amazon Associate, I earn from qualifying purchases and through other companies as well. You will not be charged extra when you purchase through these affiliate links, but any income I make helps me create more amazing DIY projects to share with you! To see my full disclaimer, click here!
DIY Wood Block Alternative Christmas Tree
Christmas and wood scraps are the perfect combination for me. I lay awake at night, dreaming up ways to use them to decorate our home. Call it a blessing or a curse, but I get great satisfaction from coming up with these wood block Christmas craft ideas.
So, if you have leftover wood blocks waiting for the perfect DIY project, get out your woodworking tools, and let’s make some charming farmhouse Christmas tree decor.
Here is what is dreamed up.
For more Christmas DIY projects, check out these ideas.

SUPPLY LIST:
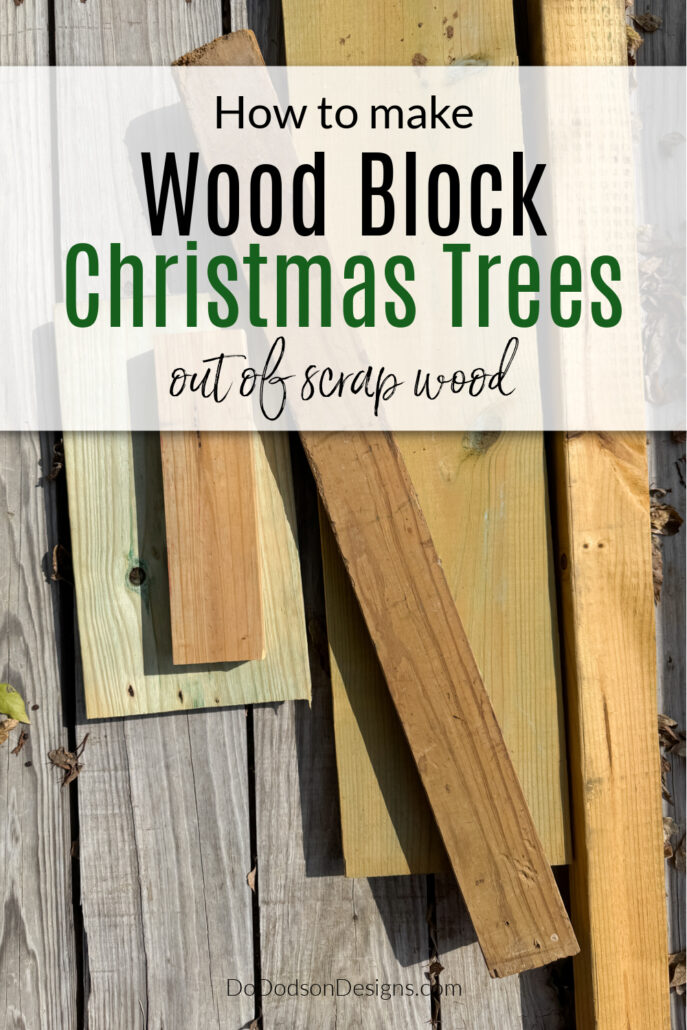
- scraps of wood blocks (2×4, 2×6, 2×10)
- framing square (or anything to make a straight line)
- carpenters pencil
- tape measure
- clamps for woodworking
- circular saw
- wood sander (SurfPrep Sanding System) is my preferred sander
- hacksaw blade
- Everglades SILK All-In-One Mineral Paint
- synthetic chip brush (paintbrush)
- Best Dang Wax (white)
- Dixie Dirt (earth brown)
STEP 1: Cutting The Scrap Wood Tips
Before starting your wood block DIY Christmas tree, you must decide its height. I’ll make three trees today—one from a 2×10, one from a 2X6, and one from a 2X4.
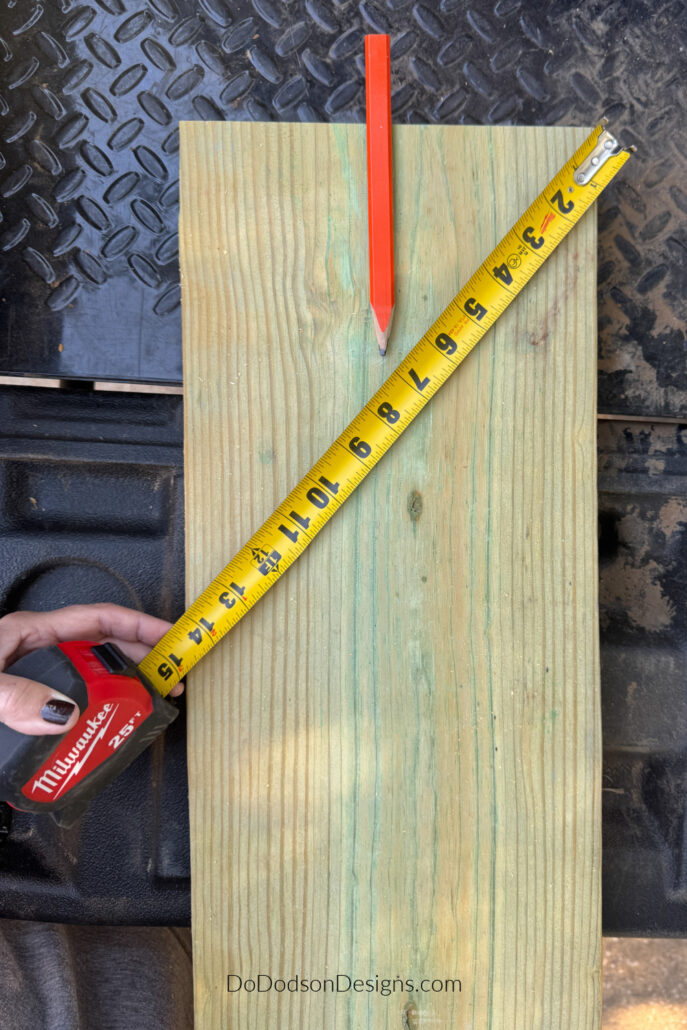
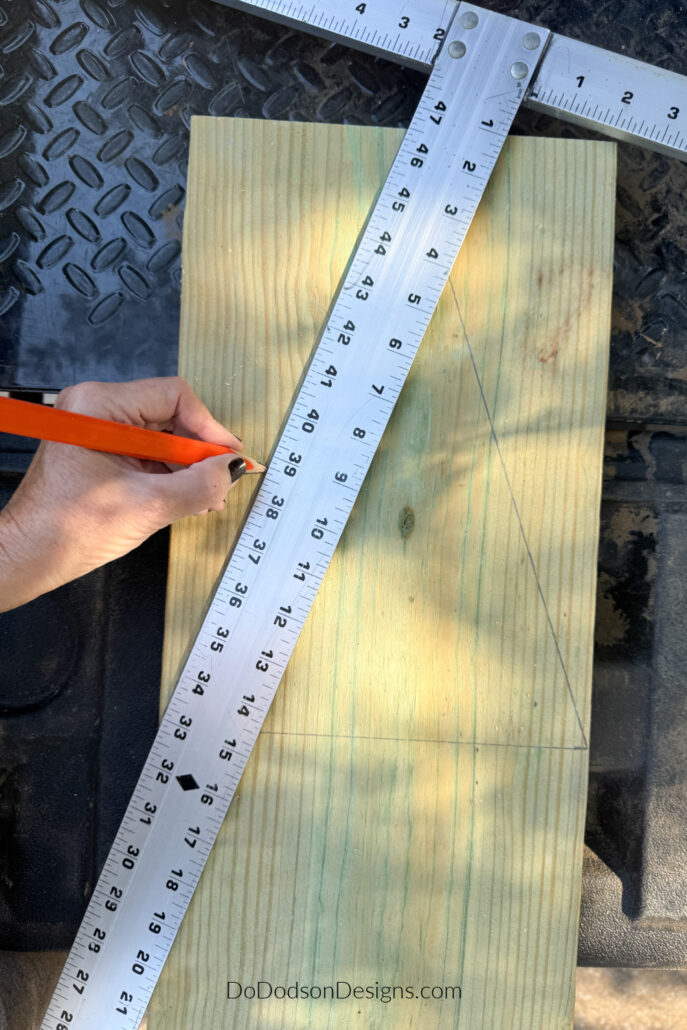
I’m using a 2X10 for the first tree and will use the whole board width. Since this tree will be 13 inches tall from tip to base, I marked the board 13 inches.
Next, find the center of the board. The easiest way to find the center without a calculator is to use your measuring tape and measure from the top corner to the opposite side of the board using only even numbers, such as 2, 4, 6, 8, 10, 12, 14, etc.
I measured from the top corner across 14 inches to the opposite side of the board. Seven inches will be the center. It’s crazy how this works, but I’m not mad about it. It has made my woodworking projects so much easier.
This will work for any size board. Easy enough? You’re welcome!
Refer to the photo below if this confused you because it did me when I first heard about it.
Using a straight edge (carpenter square) and a pencil, draw out the shape and angle of your Christmas tree.
Always Ask For Help
With the tree pattern visible on your board, cut out your design using a circular saw.
Truth be known, I don’t have a workbench, so I make due using what I have. I use two saw horses and a piece of plywood to create a table, using clamps to secure my boards to the plywood as I cut. I didn’t make the table that day because I was in a hurry. However, any solid surface will work if the clamps secure the boards. NEVER cut boards without them being securely fastened down.
If you have never cut boards with power tools, I urge you to get help, and please don’t try this without supervision. Even in all my years of woodworking, my hubby still gets nervous when I pull out the saw.
BUT… I get super nervous when he pulls out the saw. That’s why I do all the cutting in our home. 🙂 I married an electrician and an all-around handyman, but woodworking isn’t his strong suit.

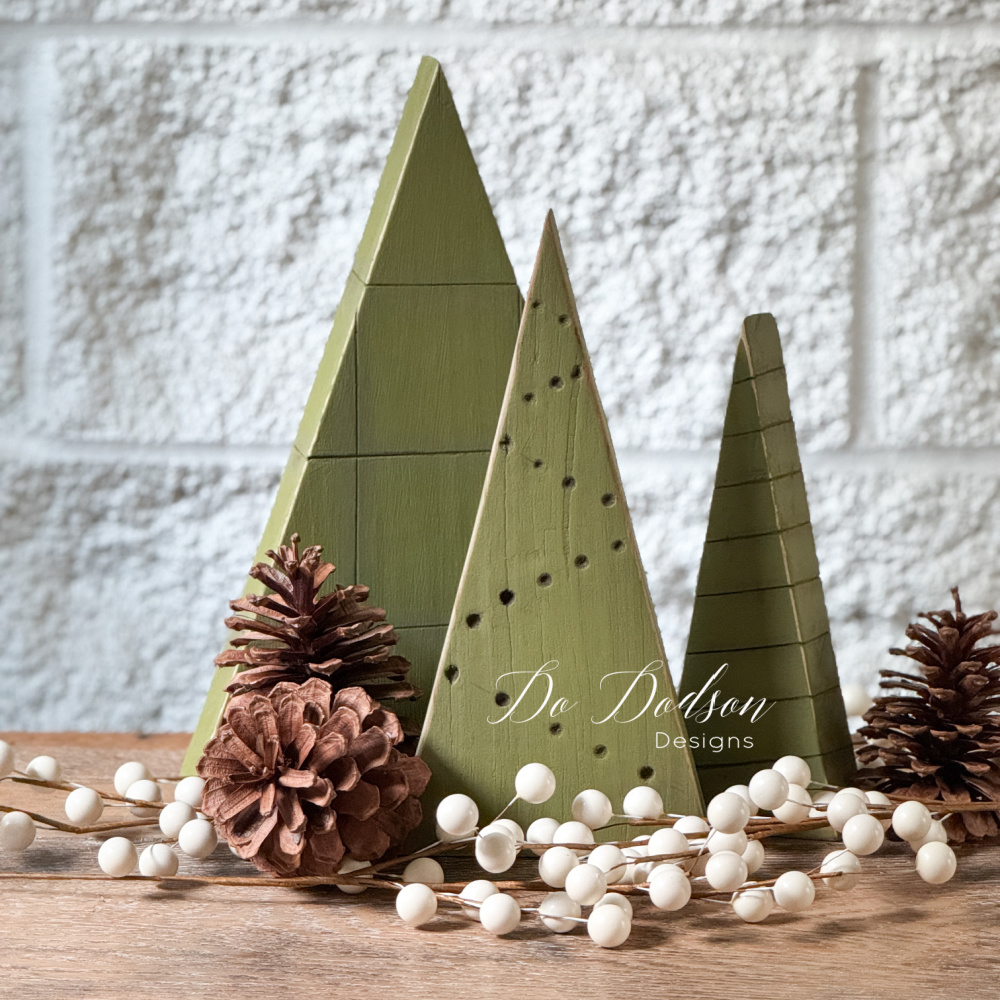
It was so exciting to see my wood block Christmas trees taking shape.
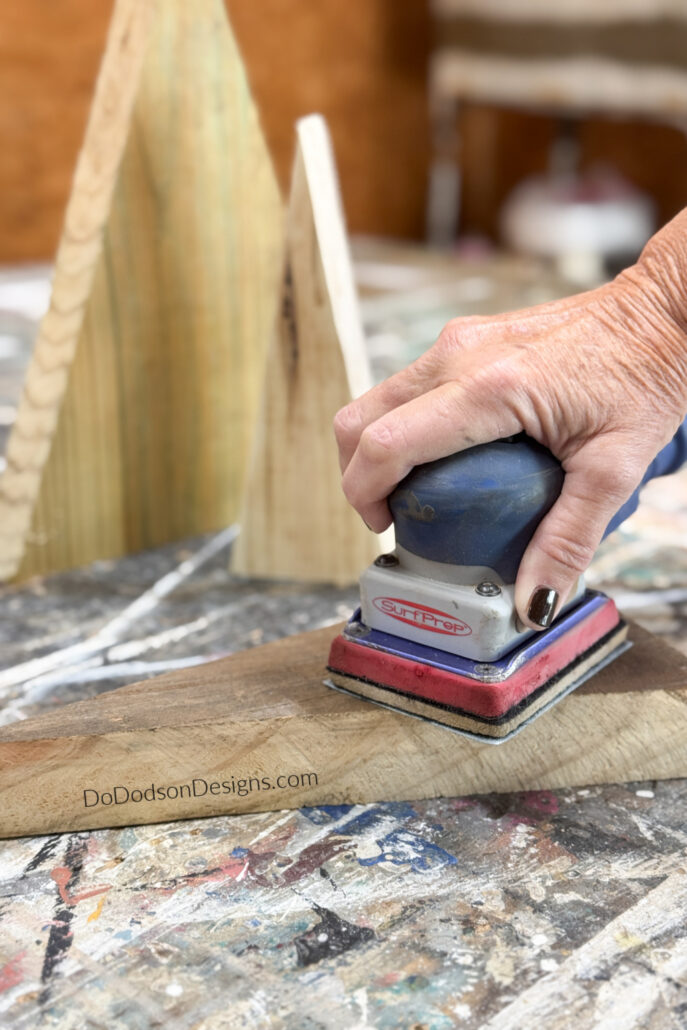
STEP 2: Sanding The Wood Blocks
Next, to smooth the wood and prepare it for paint, I sanded and smoothed the surface using a pretty abrasive sandpaper. I started with 180 grit and finished with 220.
To learn more about my amazing sander, CLICK HERE. As you can see, it’s been well-loved.
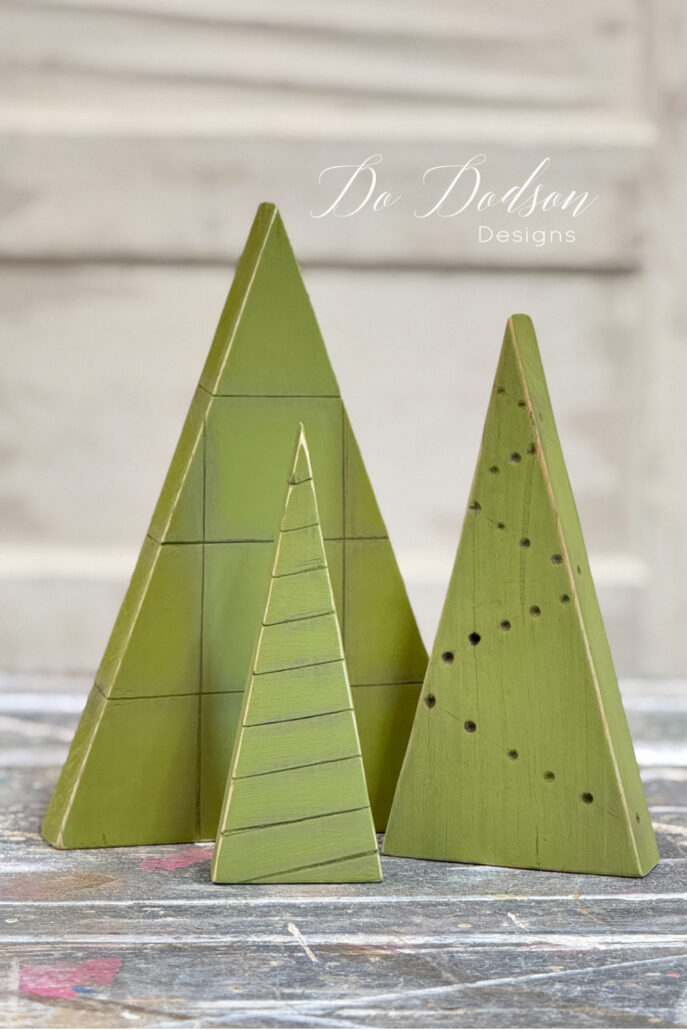
STEP 3: Designs In The DIY Christmas Tree
Of course, I could have skipped this step and just painted the wooden Christmas trees, which would still be super cute. But things were dancing around in my creative mind, and I wanted more for my rustic trees.
I knew what I wanted but couldn’t figure out how to achieve it.
When this happens, I always go to the man behind the scenes. Bless it! His mind never stops, either. We are two peas in a pod, as “they” say. I’ve never figured out who “they” are.
When I told the hubster my idea, he quietly exited his comfy recliner (not even a word) and walked out of the room, only to reappear a few minutes later with a tool in hand. He had the solution. Then he handed me the hacksaw saw. Gosh, I love this man!
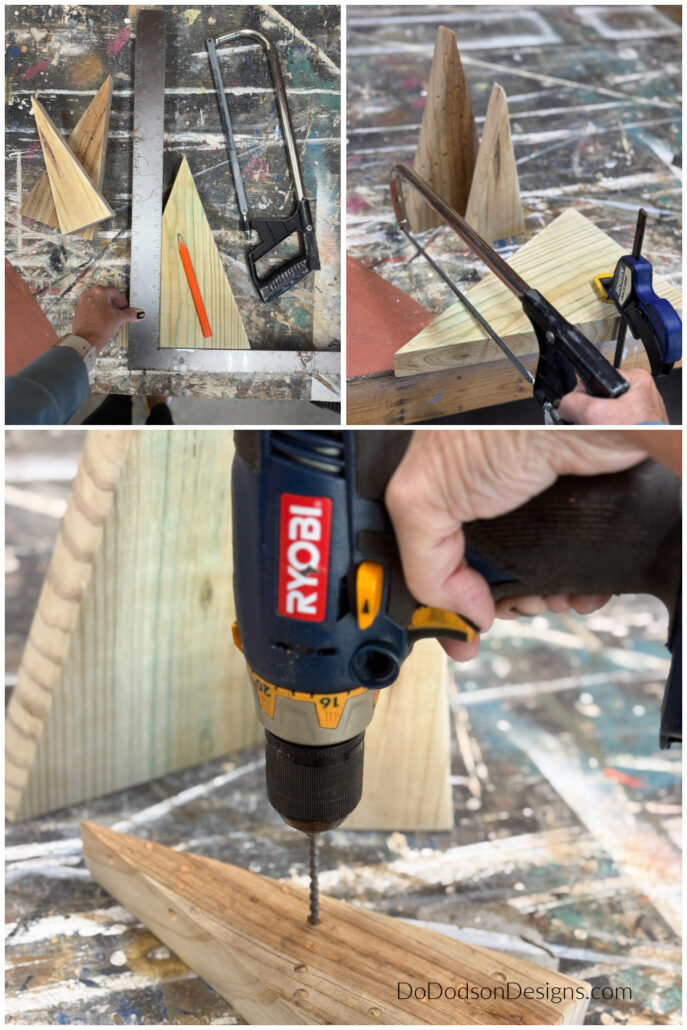
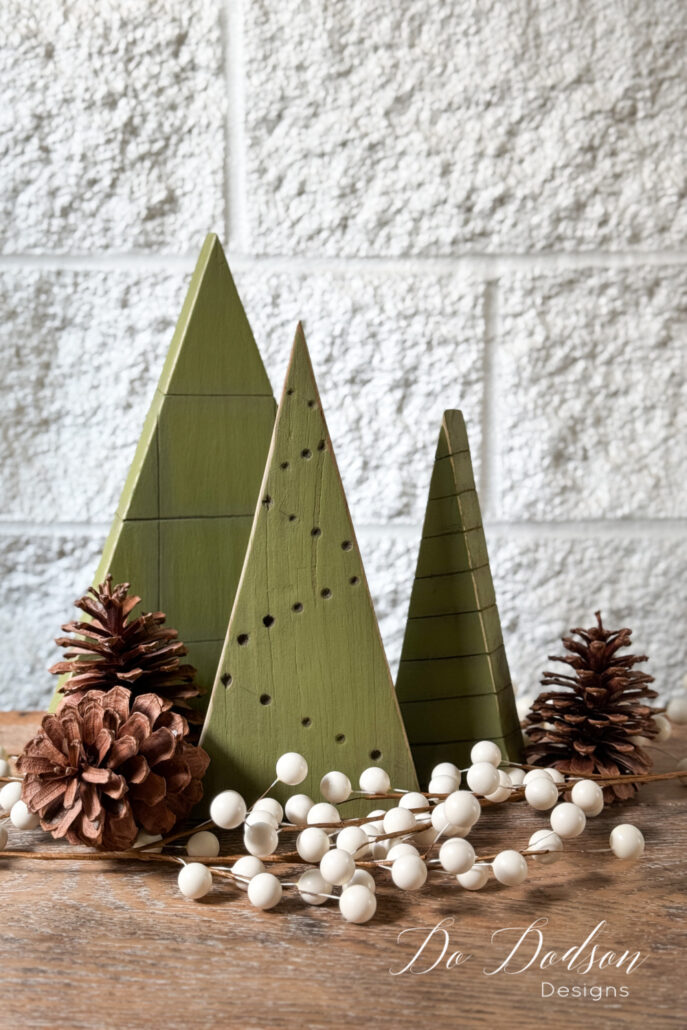
Using a hacksaw blade, I sawed across the surface of the wood blocks to create grooves, lines, and squares. The straight blade limited my designs, but I liked where this led.
Then, my head kicked into overdrive when I noticed my drill bits. Ha! Grabbing the drill and a small wood bit, I drilled shallow holes in a pattern back and forth that took on the shape of Christmas tree lights. NICE!
Next, lightly sand any rough edges with 220-grit sandpaper to prepare the wood for the next step. Wipe away any remaining saw dust with a soft cloth.
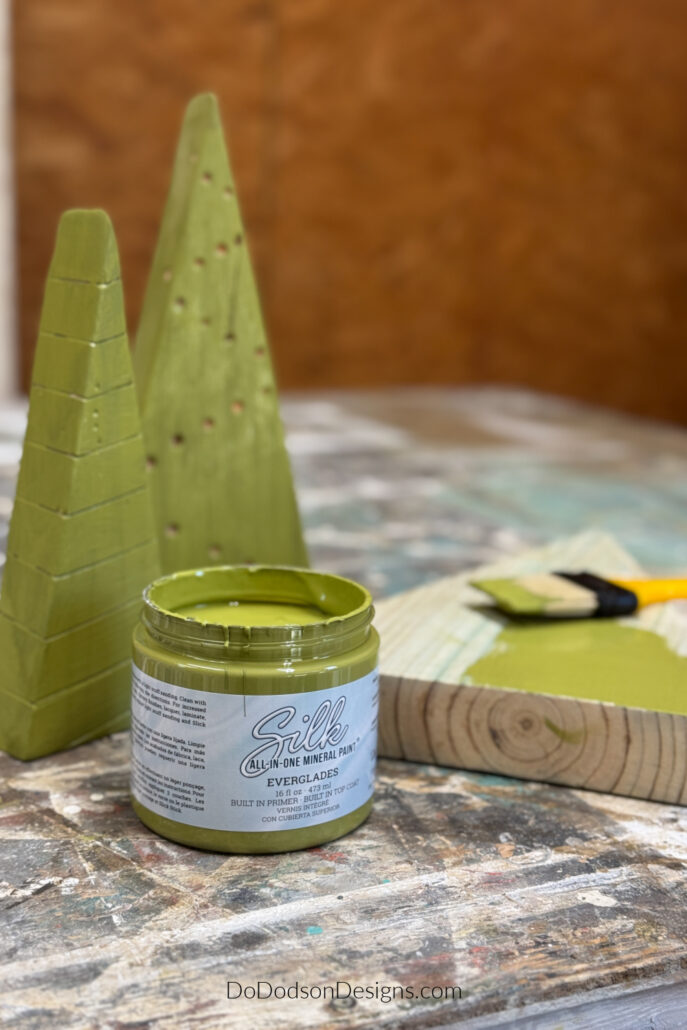
STEP 4: Painting The Wood Block Christmas Trees
Using SILK All-In-One Mineral Paint in the color Everglades, paint two coats, allowing ample dry time between coats. I LOVE this color!
This is an all-in-one paint, perfect for wood crafts like this one.
STEP 5: Depth And Dimension
Here’s where the Christmas party starts!
To add depth and dimension to the designs, I used Dixie Belle’s Best Dang Wax in white. I brushed it into the grooves of the wood design with a stiff stencil brush, allowing some to overlap on the painted wood surface. I then rubbed the extra into the wood using a soft cotton cloth to create a soft highlight over the paint.
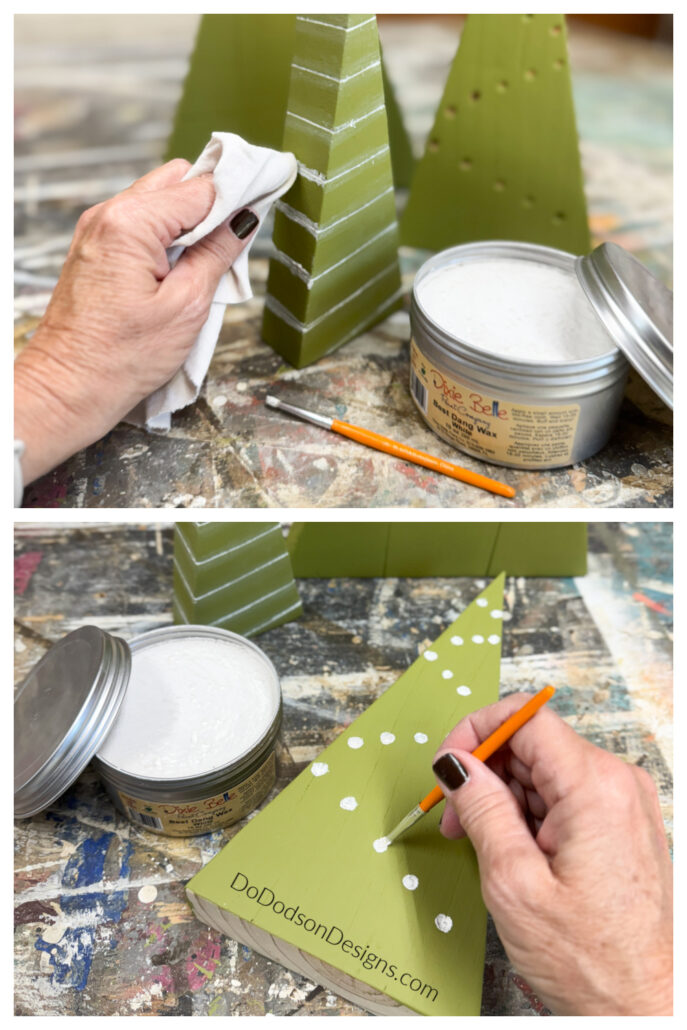
Add Some Dirt!
And then I did the dirty unthinkable!
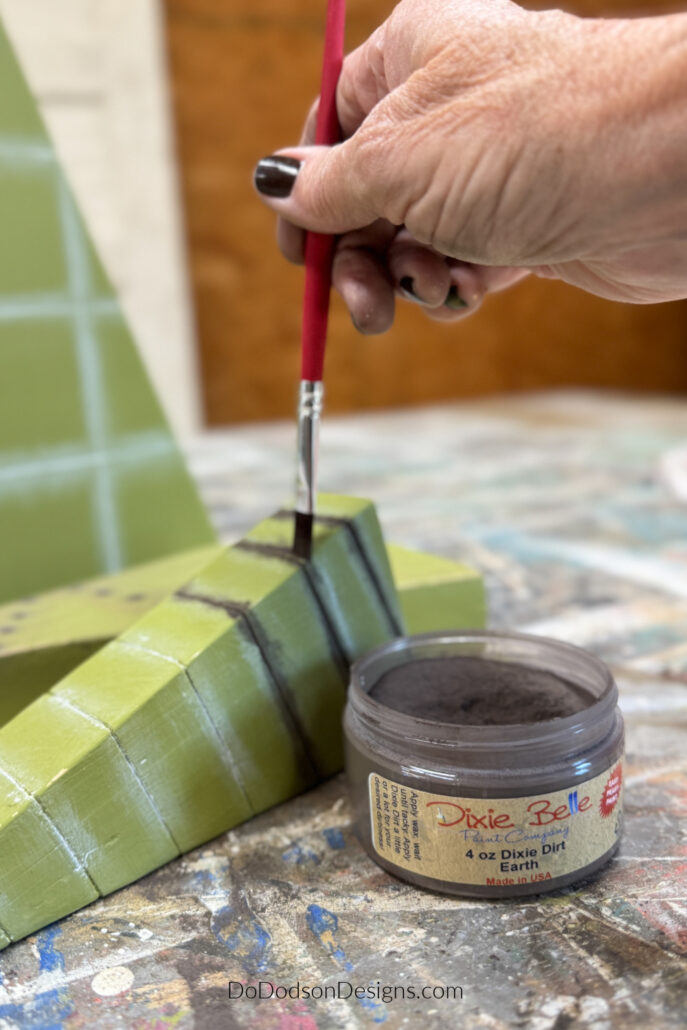
Using Dixie Belle’s Dixie Dirt in the color earth (rich brown), I dusted the powdery substance over the waxed area while the wax was still wet.
Dixie Dirt will adhere to the wax and dry on the surface, creating depth and dimension in your craft projects.
After applying, I waited a few minutes and gently brushed away the remaining dirt with a clean, soft brush.
Using a clean, soft cotton cloth, gently rub the darker areas into the paint for a beautiful, dirty, aged look.
They turned out so good. These fun Christmas crafts would make cute shelf sitters on a Christmas mantel and could even be used as the perfect gift for a crafty friend or family member this holiday season.
Tabletop Christmas Trees
These little wooden beauties give off a rustic woodland vibe, and that’s exactly what I had envisioned. It’s time to put up the Christmas tree!
This is putting me in the Christmas mood. You think I’m kidding, but I’m not. Ha!
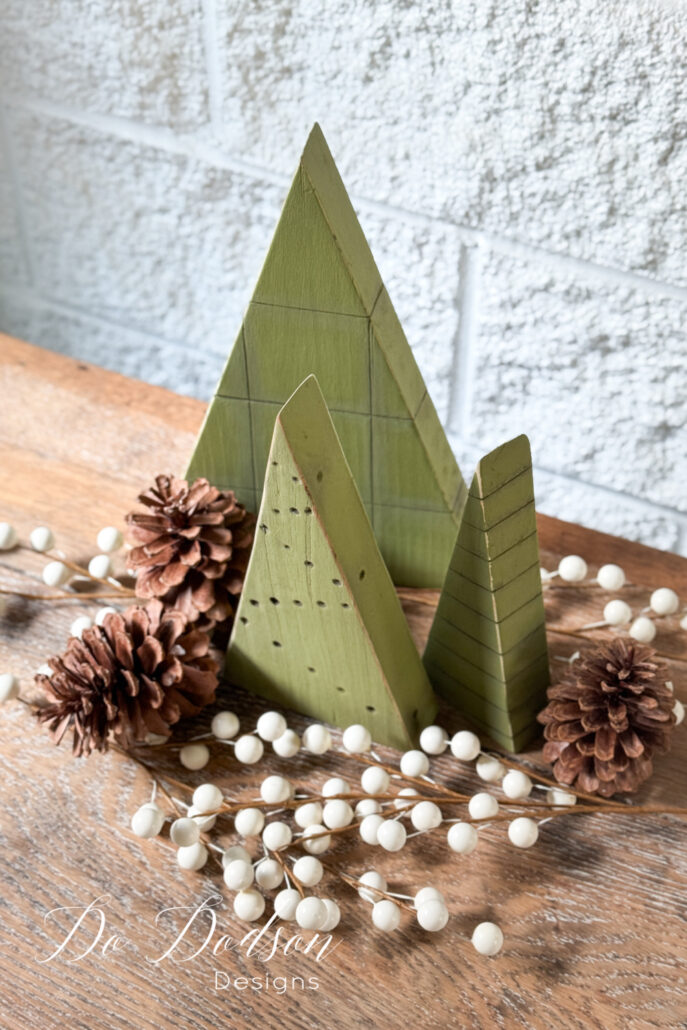
I’m pretty sure these will be used as centerpieces on my holiday table when decorating.
Maybe they can even be an alternative Christmas tree for those who can’t manage a big old tree. I’m sure that day will come for me, too. I’ll be ready!

Thanks for joining me today, and a reminder to save those scraps! Let me know what you think about this Christmas wood craft project in the comment section below, or say hi so I know you stopped by.
Until the next Christmas craft project… xo, Do
Love your scrap wood projects and these are super cute, Do! 🎄🤗
Thanks, my friend. Christmas will be here before you know it. 🙂
I love these trees! They are so cute for winter.
Thank, friend! Are you ready for Christmas? I have three trees up. 🙂
So awesome, Do! I have some scraps left over from a recent kitchen cabinet refinishing project. They might be perfect for something like this. Wishing the best <3
You’re welcome! I hope they DO! But if not, save them for the next one. 🙂