
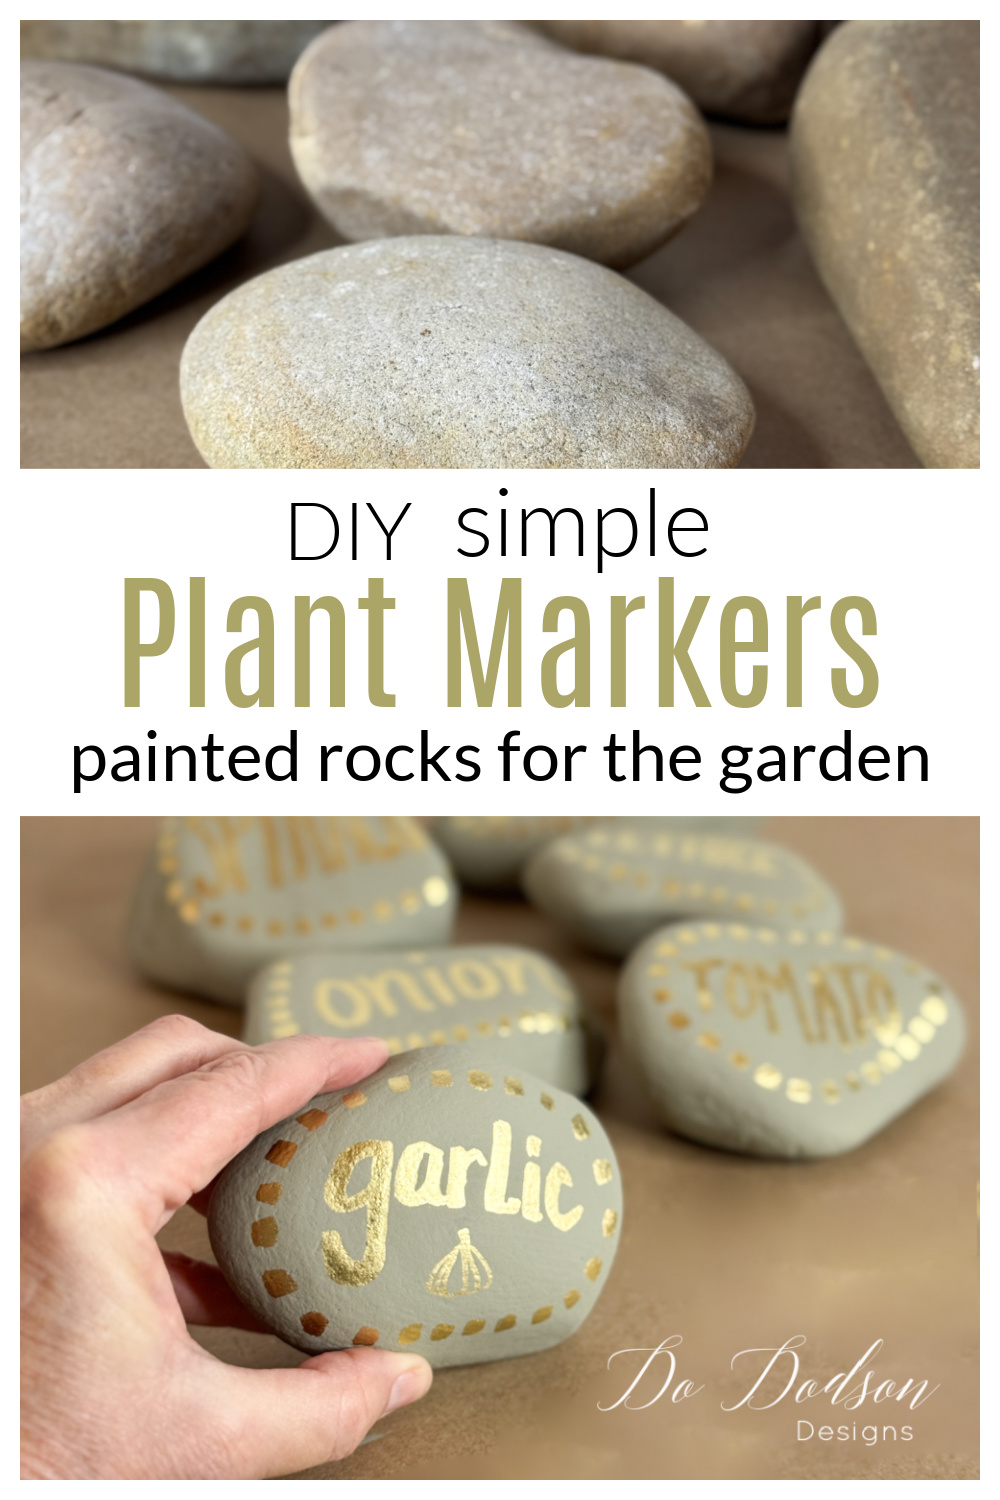
Looking for a fun and creative way to label your garden plants? Try making these DIY plant markers with rocks! This simple and customizable project will add a fun, creative touch to your garden.
Thanks to Dixie Belle Paint Co. for sponsoring this post. While I was compensated to write this post, all opinions are my own.
* As an Amazon Associate, I earn from qualifying purchases and through other companies as well. You will not be charged extra when you purchase through these affiliate links, but any income I make helps me create more amazing DIY projects to share with you! To see my full disclaimer, click here!
DIY Plant Markers Using Rocks
As age would have it, I’ve decided that old ladies (like myself) should be able to grow veggies. It’s healthier than the store-bought, and how hard can it be to make a garden?
My vegetable garden planning is in progress, and I’ll give you a sneak peek at the end of this tutorial.
After planting several rows of various seeds, I decided I needed plant tags to help my aging brain remember what was planted where. Using the seed packets attached to a twig like my Daddy always did wasn’t going to work for me. I need a pretty vegetable and herb garden! LOL, you know me.
After searching on Pinterest (my all-time favorite DIY platform), I decided that river rocks would be an excellent option for DIY plant markers. This would be a fun way to add a pretty touch to my veggie garden.

What You’ll Need To Make DIY Plant Markers
- river rocks (smooth rocks)
- Olive Wood Chalk Mineral Paint
- chip brush paintbrush
- Gold Marker (chisel tip) paint marker
- Gator Hide (optional) water-repellant top coat
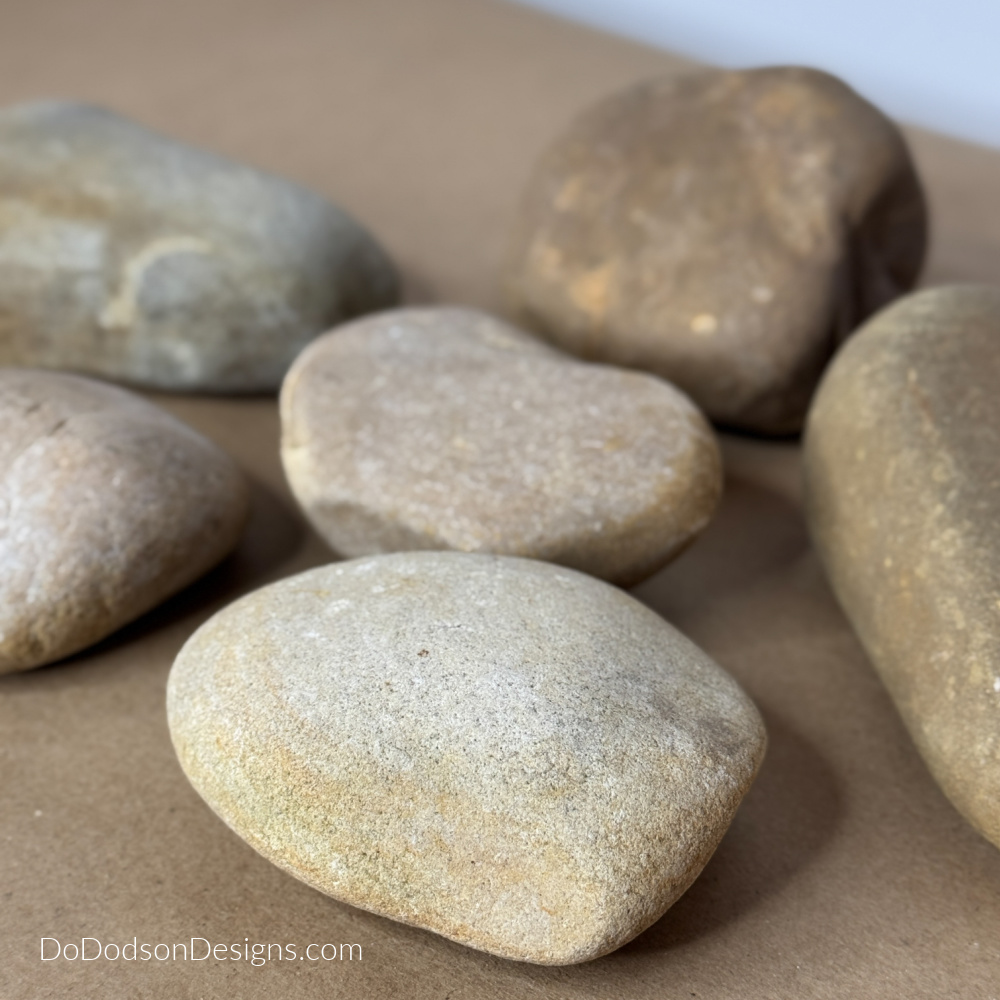
Collecting Rocks For Garden Markers
When searching for stones to make these plant markers, consider the smoothness of each rock. You’ll also want a smooth side when adding the names of each plant.
I use a lot of river rocks in my flowerbeds, and it was the best option I had on hand.
They come in many shapes and sizes, so if you have a friend who likes rocks like me, you might want to shop at their house. Tell them you want to paint them and see their reaction. LOL
If you don’t have rocks, a smooth-surfaced brick would work, too.
Cleaning And Prepping The Rocks
Wash each rock with warm water and use an old toothbrush to remove dirt that could be trapped inside tiny holes.
Next, allow the stones to dry completely by sitting them in the sun, or you can put them in your oven on an oven-safe baking sheet at a low temperature (100 degrees) for several hours to dry them out quickly.
This step is necessary because rocks are porous and absorb water. Even if they appear dry, the stones can hold water inside.
Painting Rocks For Plant Labels
Let’s talk paint! If you want the paint to stick to your rock, I suggest using Dixie Belle chalk mineral paint. I have painted many clay pots and outdoor porous containers enough to know that this paint will NOT wash off. Have you tried it on clothes? Oops! It’s not coming out in the washer.
I needed plant markers in my garden rows until the seedlings had matured enough for me to identify the plants. After that, they will be removed and stored, ready for use again for the next planting season.
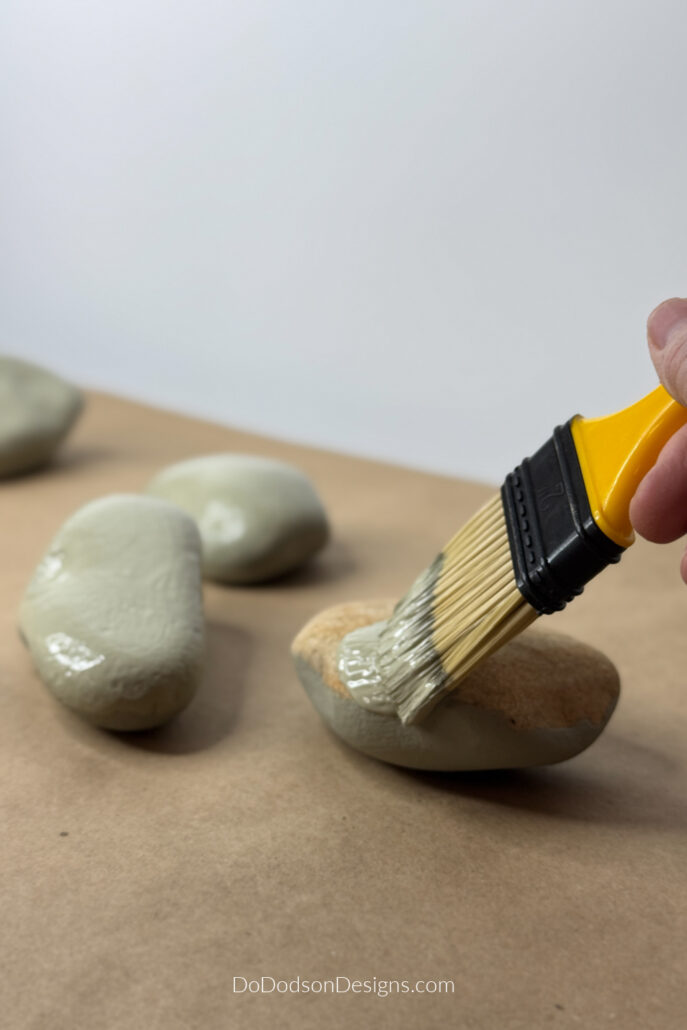
Using a soft paintbrush, apply the paint to the rocks, painting one side, allowing the paint to dry, and then flipping it over to paint underneath.
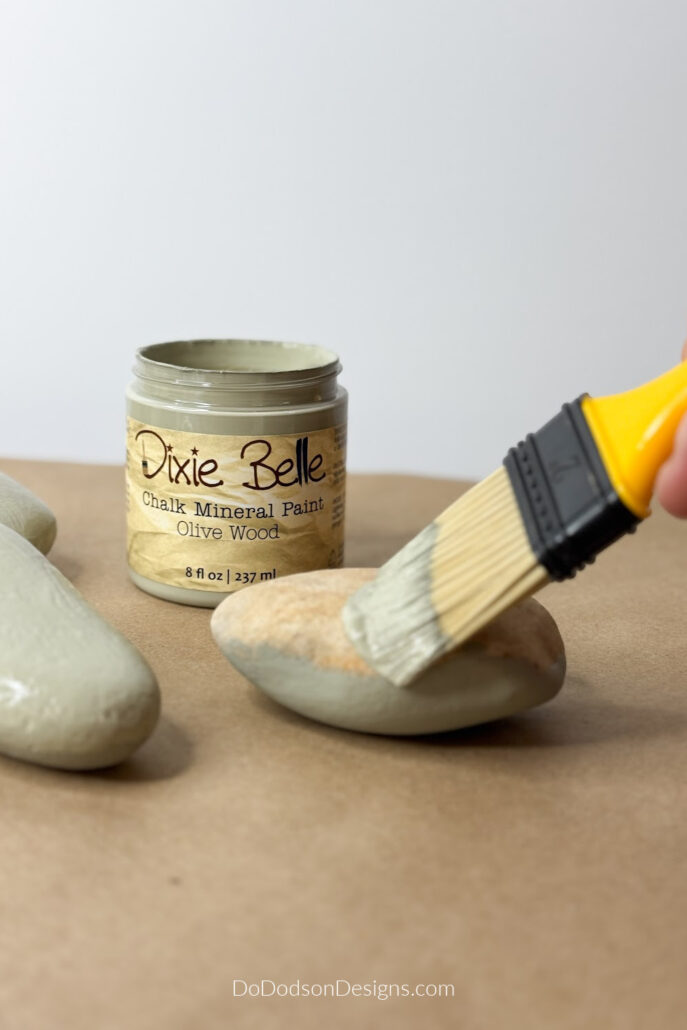
I used two coats of Olive Wood (a beautiful shade of green) and allowed it to dry for 24 hours. The second coat ensures the surface is smooth if the rocks have tiny holes.
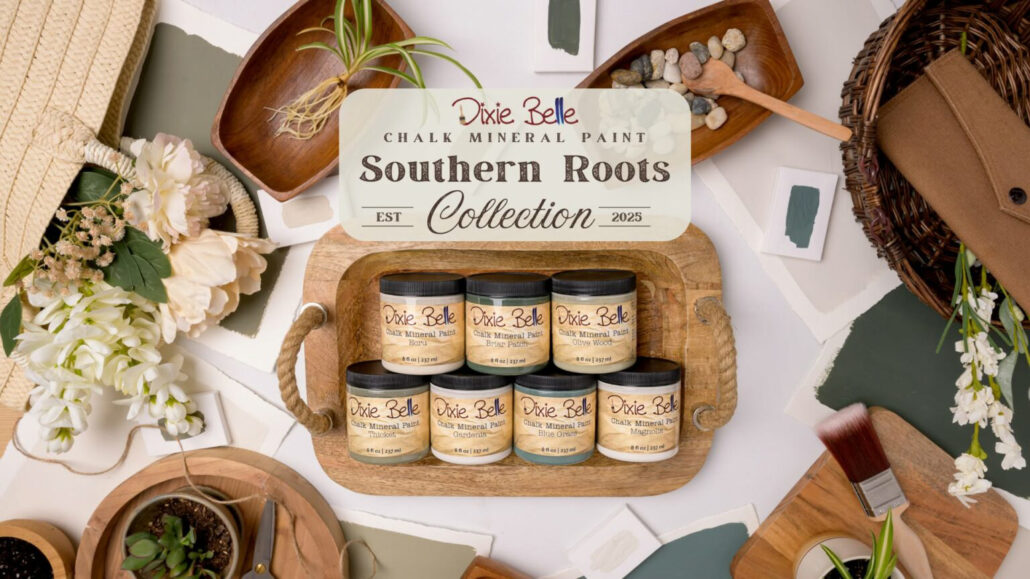
If you love this color, check out the new Dixie Belle’s Southern Roots Collection release. I love these earthy tones, and any of them would be beautiful on any DIY project.
Adding Plant Names To Garden Plant Markers
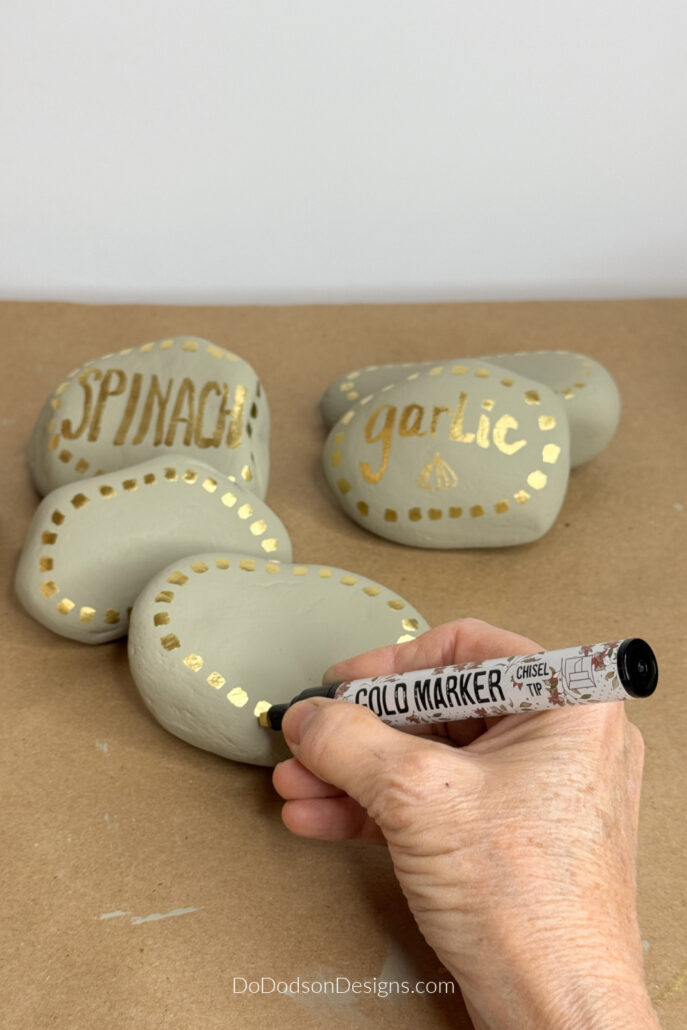
Here comes the fun part! Dixie Belle now has a new oil-based gold marker with a chisel tip.
This gold marker is perfect for writing on smooth surfaces.
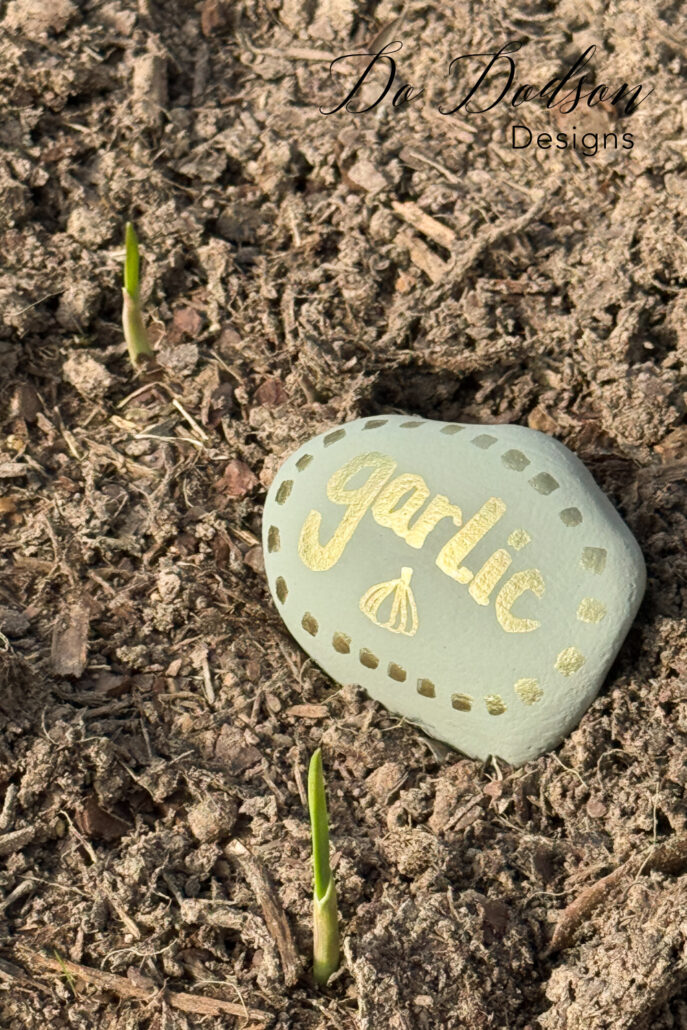
I started by making a decorative border around the rock—little squares. If you’re not so bold and prefer ordinary, skip this part. Otherwise, go for it. Create a fun design.
I did a few practice runs with my penmanship on paper before attempting. The spacing of the letters is important if you want the words centered on the rock.
I draw an imaginary line down half of the rock and then count the letters to determine the placement.
If you’re writing HERBS, you know the R will be the center of the rock. At least, that’s how I do it.
The reflective shimmer is gorgeous when the light hits it just right. It’s like LIQUID GOLD in a marker.
The gold marker is oil-based, so it’s a great option, but it does take 7 days to cure fully, even if it’s dry to the touch. I don’t mind the wait because I know these will hold up nicely, even outdoors, and with the frequent watering of my garden veggies.
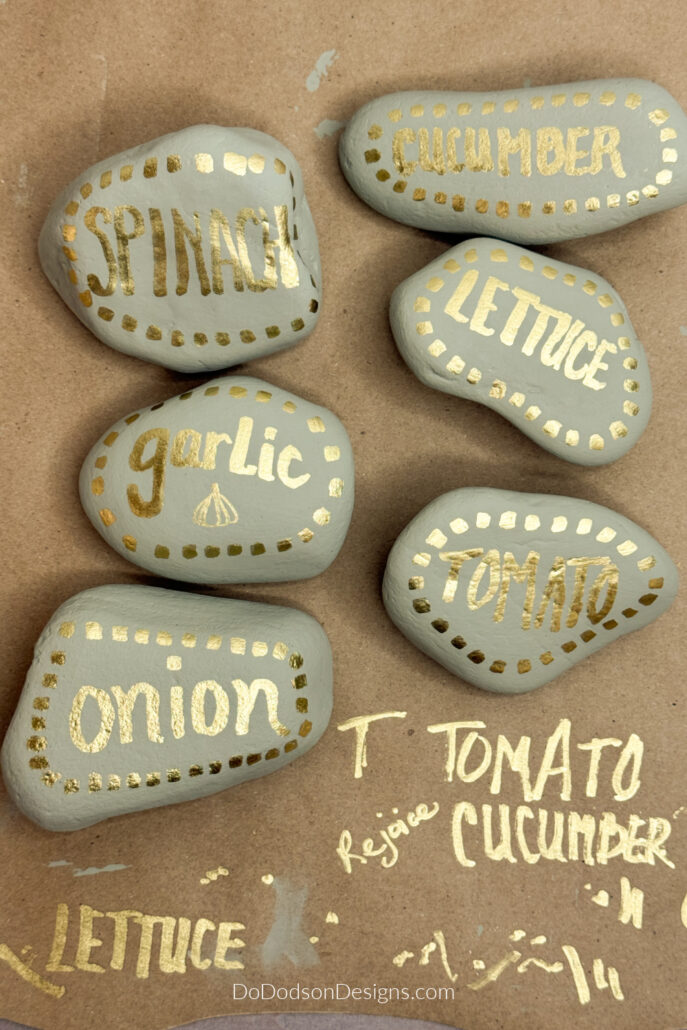
I went over the letters twice with the gold marker to make the GOLD pop because I’m extra like that.
I also used a few paint stir sticks I had on hand. These make great garden markers as well. Now you have two options.

Optional: Sealing The Paint
Okay, I tried it both ways—one with a water-repellant top coat and one without.
After painting and lettering the rocks, I added Dixie Belle’s Gator Hide to a few of my painted rocks to add a water-repellant layer.
I did notice that the topcoat dulled the brilliance of the gold somewhat. After the top coat dried, I went back over the lettering again with the gold marker, which fixed the issue.
The other rocks I didn’t seal.
It’s been two weeks, and they still look great. I found that the rocks held up nicely without adding a water-repellant sealer. Only time will tell.
Once again, I only use the plant markers until my seedlings are identifiable. So, they will be stored in the garden shed for safekeeping until my next garden season. Nothing lasts forever outdoors.
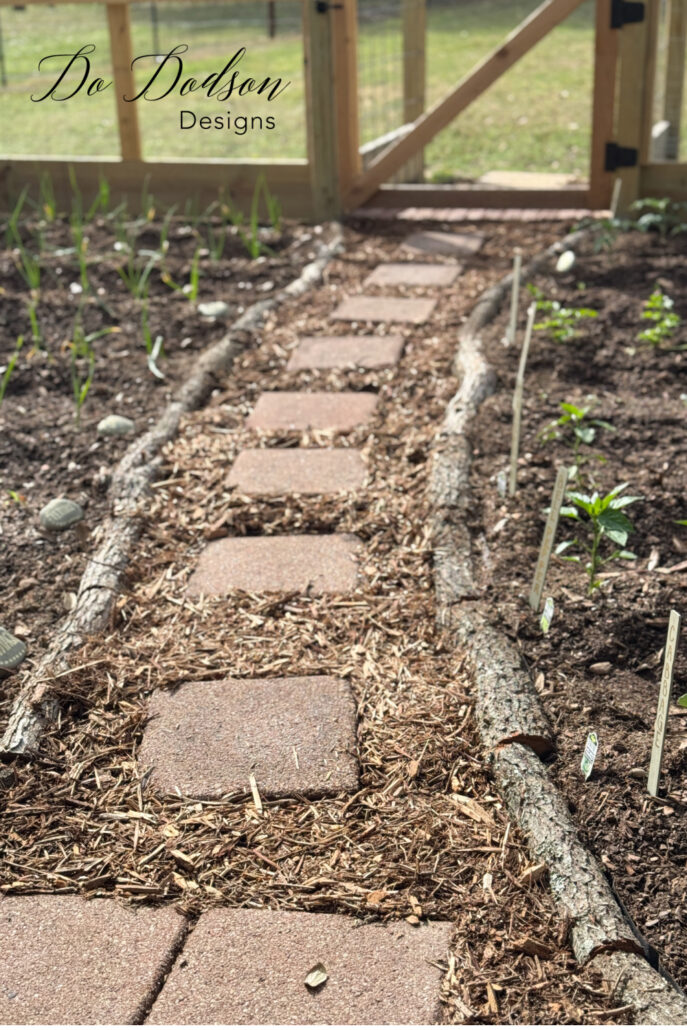
My Garden
I’m so excited to share this with you: I have an enclosed garden! I started it last fall, and I’m almost done with the planting part.
This project began as a chicken coop from the previous owners. I grew up on a farm, so the logical thing to do was to grow a garden where all those chickens pooped. LOL.
It was a lot of work getting it to this point, but I’m so happy with the results. I have a few more things to complete, and I promise to share them with you. I’m going to have a potting bench with running water. It’s very primitive!
There’s GOLD In My Garden!
And, of course, the painted garden markers turned out so stinking cute! I feel like a bougie gardener now.
These DIY plant markers helped me track what went where in my garden. I got a little carried away with the seeds and knew I needed a way to label them.
But aren’t they cute?!

“Oh, Mr Honey Do, I don’t think my garden is large enough.” Stay tuned for the completed garden makeover. 🙂
Hey, thanks for hanging out with me today. I hope you enjoyed this fun tutorial on how to make DIY plant markers. Remember, you can also use these to label inside large containers as well.
Until the next project… xo, Do
Only you can make rocks “rock” 😆 … I love this idea Do! I have this gold pen as well but haven’t used it yet so I really appreciate the heads up about it dulling the shimmer when the Gator Hide was applied. Enjoy your gardening my friend. Hugs XOXO
LOL, I like that. Rocks that rock. Only you could come up with such a cleaver response. Thank you so much. I’m having fun watching it grow. 🙂 xo