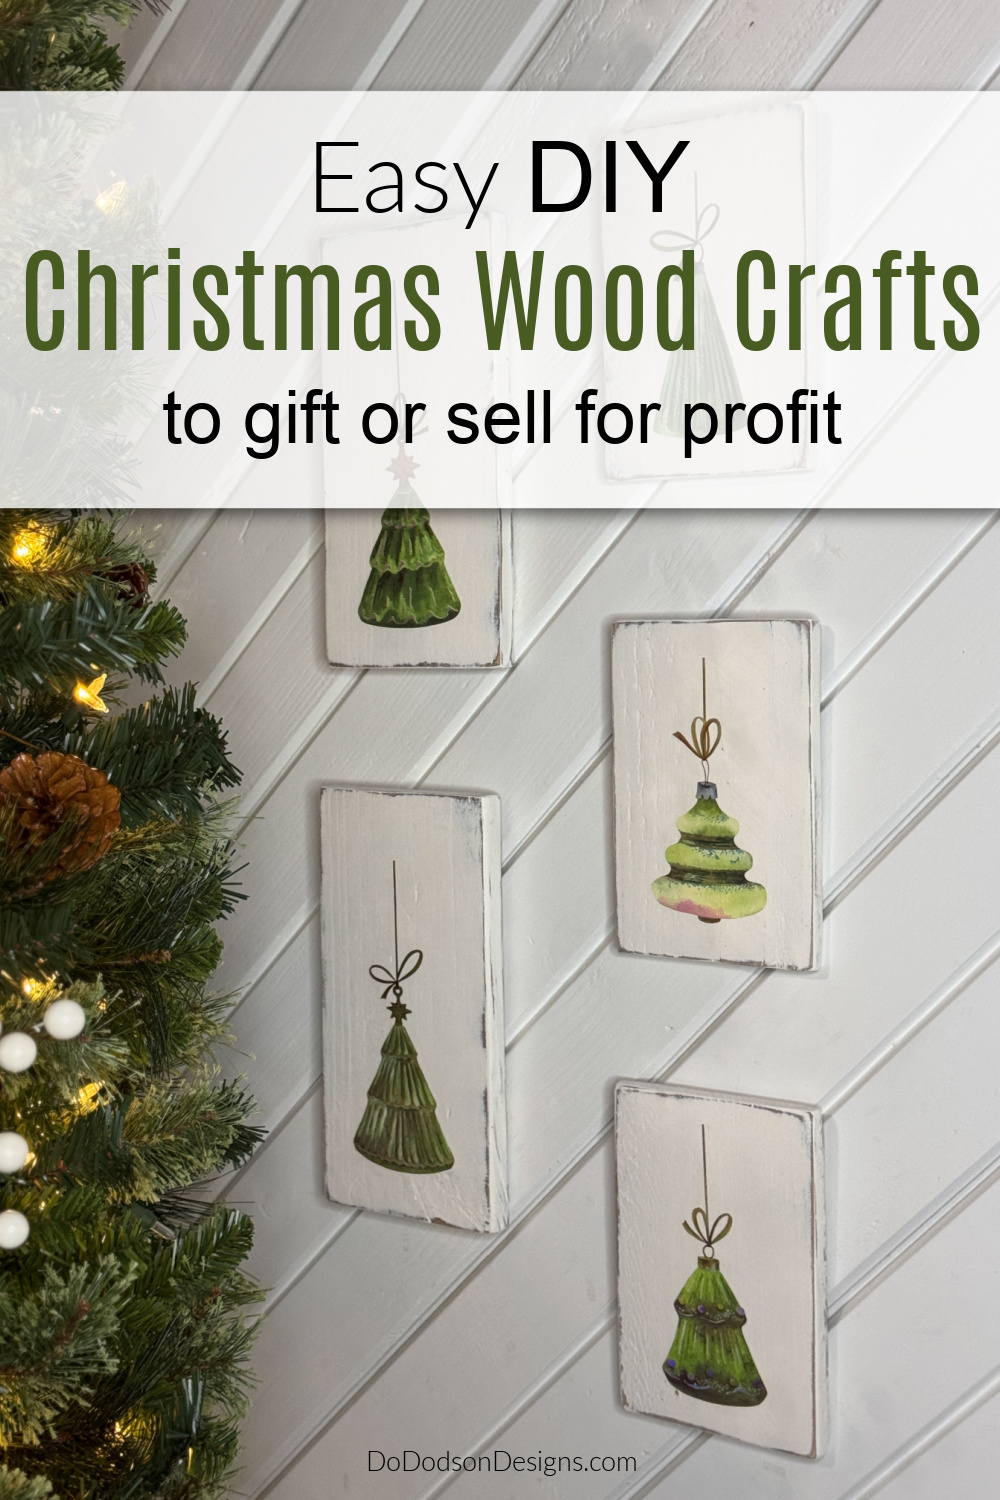
It’s the easiest Christmas wood craft I’ve ever done. And if you love simple woodworking projects, this is the easiest way to make quick Christmas decor this holiday season. Maybe you need a homemade gift idea? Or what about selling your wood crafts for extra cash? Simple Christmas wood crafts typically sell very well this time of year. That’s cha-ching in your pocket!
Thanks to Dixie Belle Paint Co. for sponsoring this post. While I was compensated to write this post, all opinions are my own.
* As an Amazon Associate, I earn from qualifying purchases and through other companies as well. You will not be charged extra when you purchase through these affiliate links, but any income I make helps me create more amazing DIY projects to share with you! To see my full disclaimer, click here!
Christmas Decor | Scrap Wood Ornaments
Have you started the countdown to Christmas yet?
I sure have, and I couldn’t wait to dig through my scrap wood pile for this quick and easy wall art idea. I love decorating on a budget, and I’m all about saving money.
I’d been searching for ideas to decorate the bare wall under my stairway, but I didn’t want to overdo it because my Christmas tree was also there. And for the record, I no longer hang ornaments on my trees. We have four-legged kiddos.
I made Christmas ornaments that can’t be broken. Yes, Virginia, there is (a Santa) such a thing. See where I went there? haha

More Wood Christmas Craft Inspirations
I have shared many of my wood Christmas crafts on my blog here and on Pinterest in recent years. If you want more inspiration, here are a few of my past favorites. Each one has an easy-to-follow tutorial. Check them out below!
Now, for today’s project.

SUPPLY LIST:
- scrap or wood pallets (lightweight cedar lumber)
- miter saw
- electric sander with sandpaper (my FAVE!)
- pencil
- synthetic chip brush
- Tobacco Road VooDoo Gel Stain
- Butter Cream Chalk Mineral Paint
- Holiday Hologram- Water Slide Transfer
- sawtooth picture hangers
- hammer
- tiny command strips
Step 1: Measure And Cut Scrap Wood
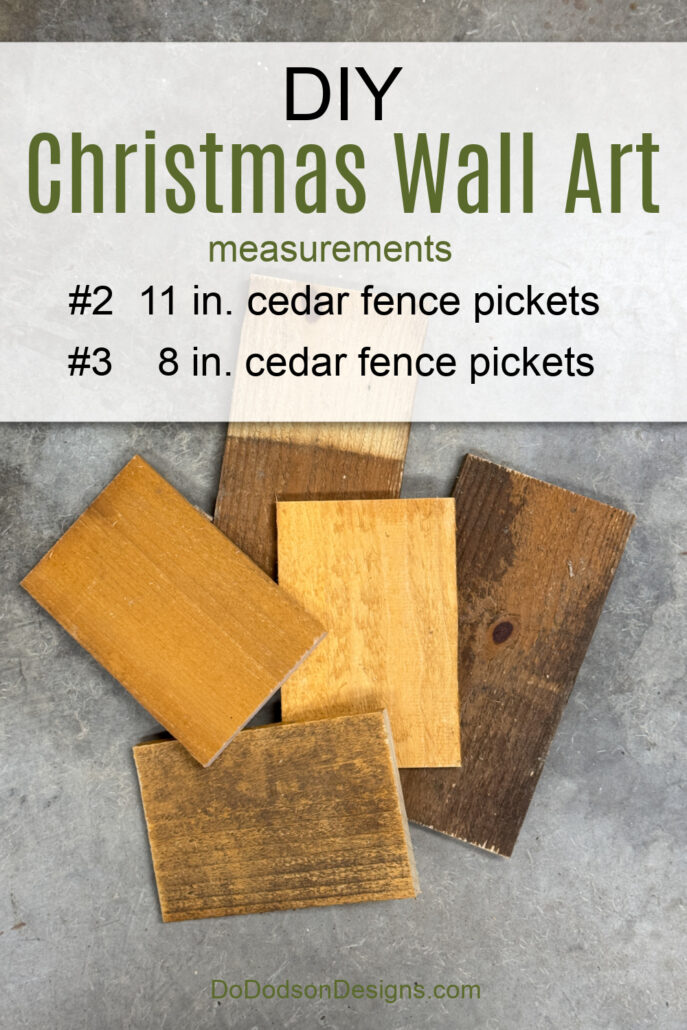
For this project, I used cedar fence pickets measuring 5 1/4 in width. Old fence pickets are typically lightweight, making them perfect for wall art.
The length of the lumber consists of two boards cut at 11 inches and three boards cut at 8 inches.
This set will consist of five pieces to make a Christmas wall gallery.
Step 2: Sand The Edges Of The Scraps
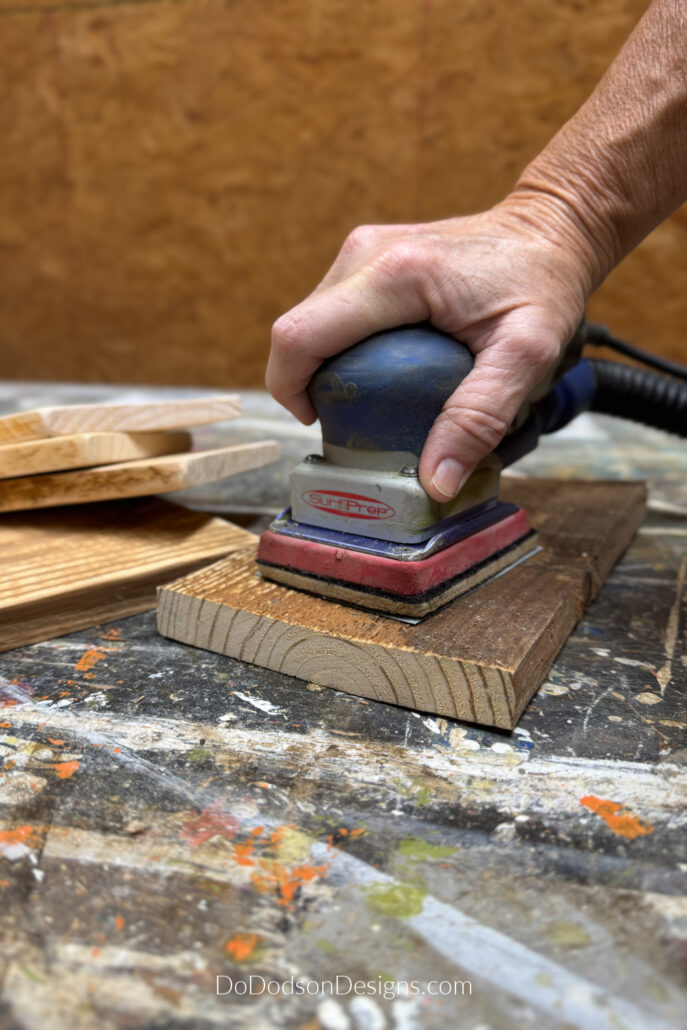
After cutting each board to the proper length, be sure to sand the boards well, not just the edges but also the front side.
You’ll want a smooth surface to work with.
Step 3: Stain And Paint
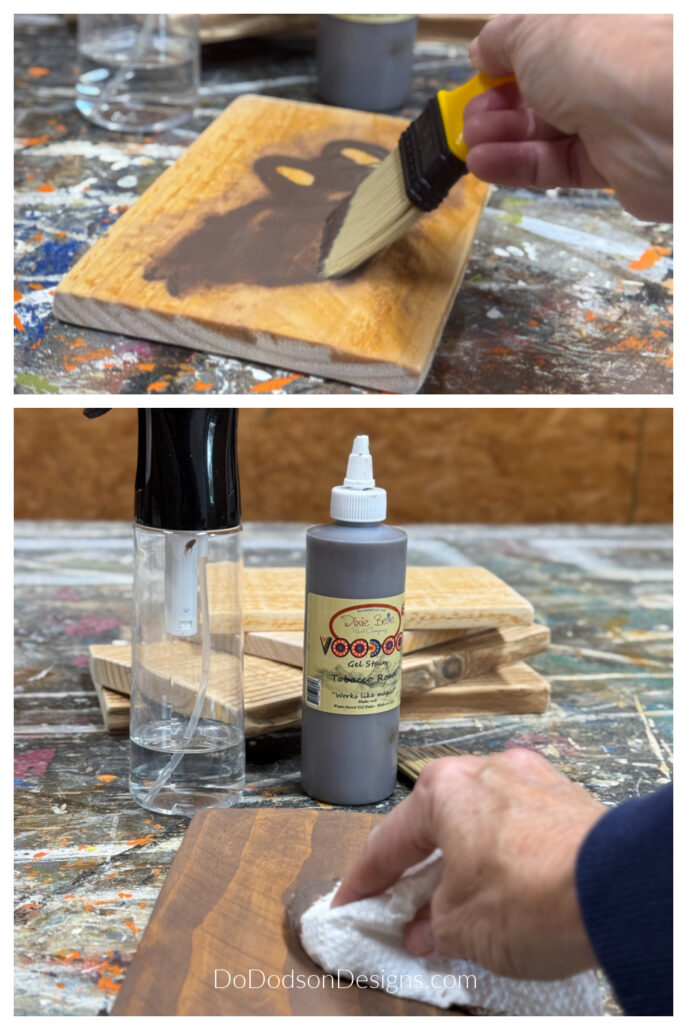
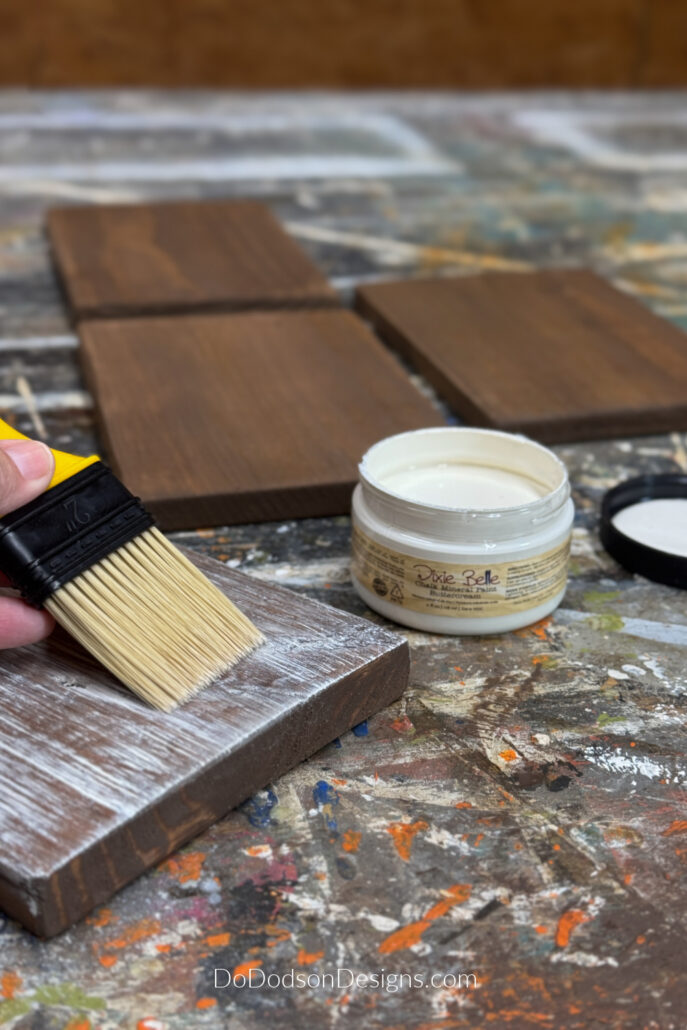
To give my scrap wood ornaments a rustic look, I added a water-based stain (Dixie Belle’s VooDo gel stain in the color tobacco road) to the wood for a darker appearance. After painting it with lighter-colored paint, I was able to distress the wood to reveal a darker wood through the paint.
*TIP: When applying the water-based stain to bare wood, spray a light mist of water over the surface before adding the gel stain to help ensure equal staining.
This can be applied with a brush, sponge, or soft cotton cloth. Remove any remaining stain on the surface with a clean cotton cloth and allow to dry.
Next, paint the front and side surfaces with two coats of buttercream chalk mineral paint, allowing each coat to dry completely between coats.
I chose buttercream because a light surface will help the transfer stand out, and it also happens to go perfectly with my farmhouse style. However, you can use whatever paint colors you like.
If you plan on making multiples of these for sale, you can spray paint them with Dixie Belles chalk mineral paint, too. That would speed up the process, and you could create them on an assembly line.
Step 4: Distressing The Wood
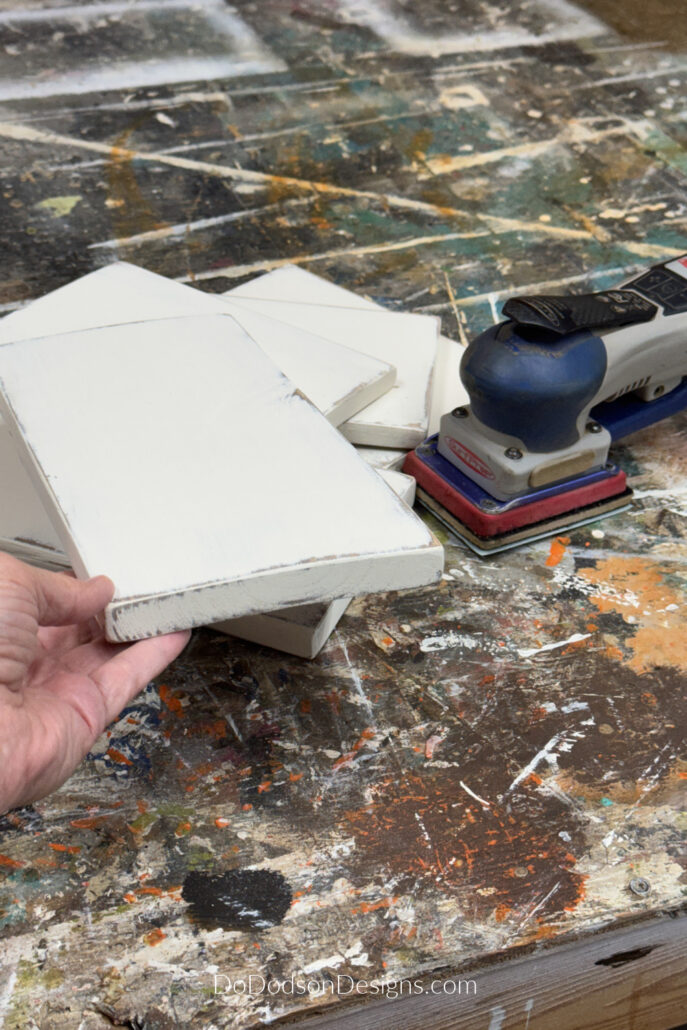
Once the paint has dried, preferably overnight, lightly sand the surface with 220 grit sandpaper to smooth the top of the surface and prepare it for a holiday transfer.
Also, distress the edges to add a rustic farmhouse look.
You can sand by hand or use an electric sander.
Wipe away any remaining dust from sanding with a soft cloth.
Step 5: Water Slide Transfers | Christmas Ornaments
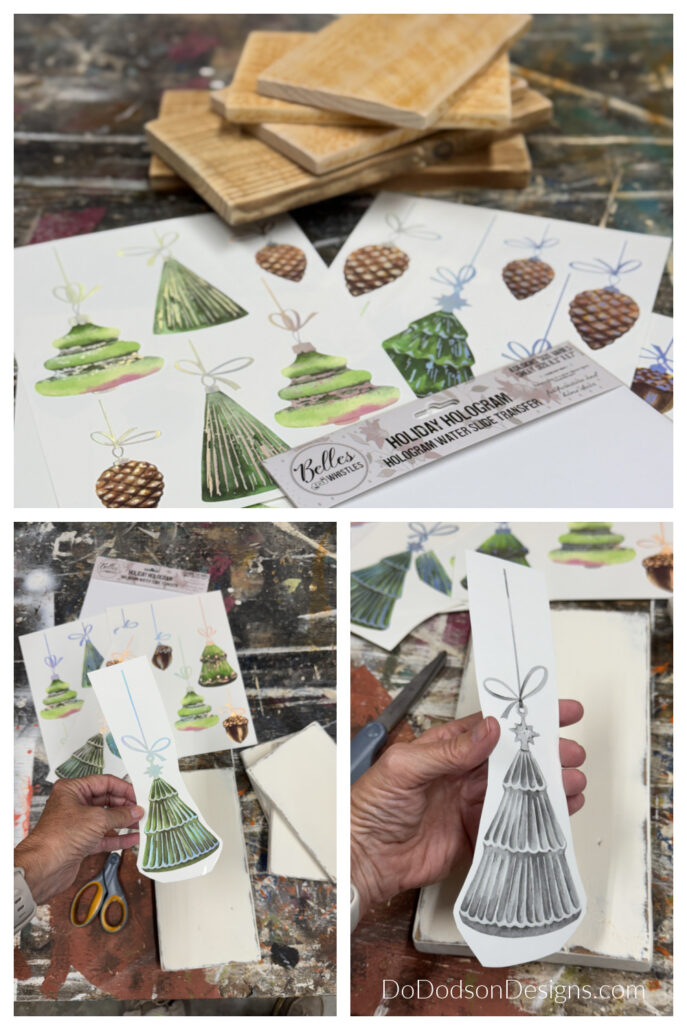
The transfer I’m working with today is the new Hologram Holiday Water Slide with beautiful Christmas ornaments and pine cones. There are four sheets to a package, and you will have more than enough for several projects.
Let me say this now: this was the most effortless transfer I have ever applied. Here’s how it’s done.
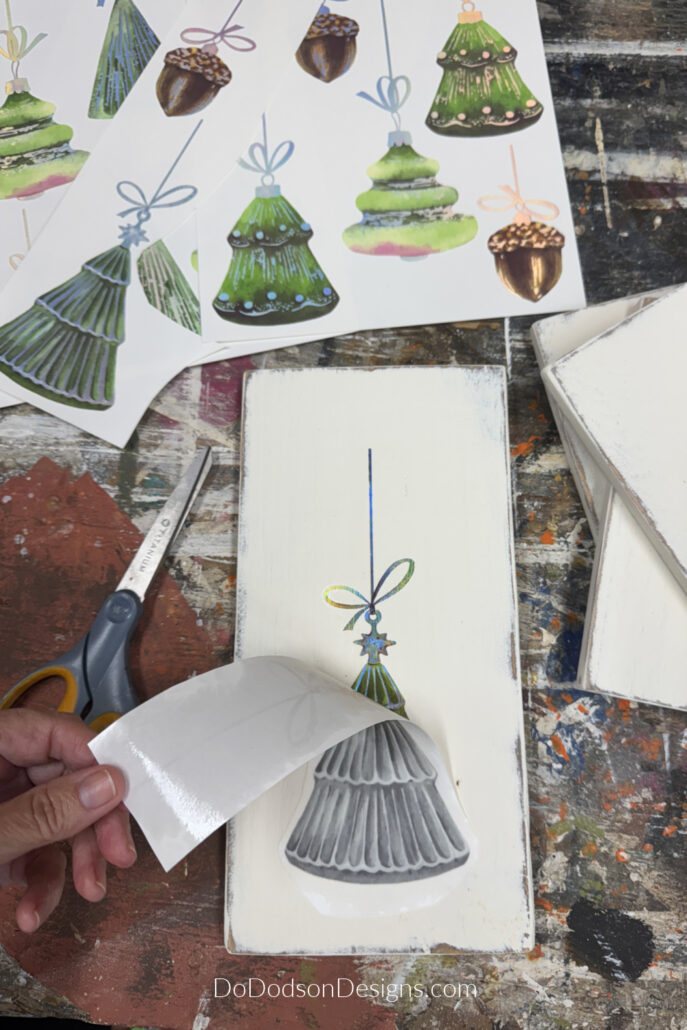
Cut the transfer design you want to apply to the painted wood surface.
Notice the backside has the transfer design picture on the back, allowing for perfect placement.
Next, remove the transparent film from the transfer.
Place the transfer, colorful side down, on the wood. Gently press it over the transfer using a damp cloth, ensuring it is moist with water. Not too much, just enough that you see that it is absorbing into the paper.
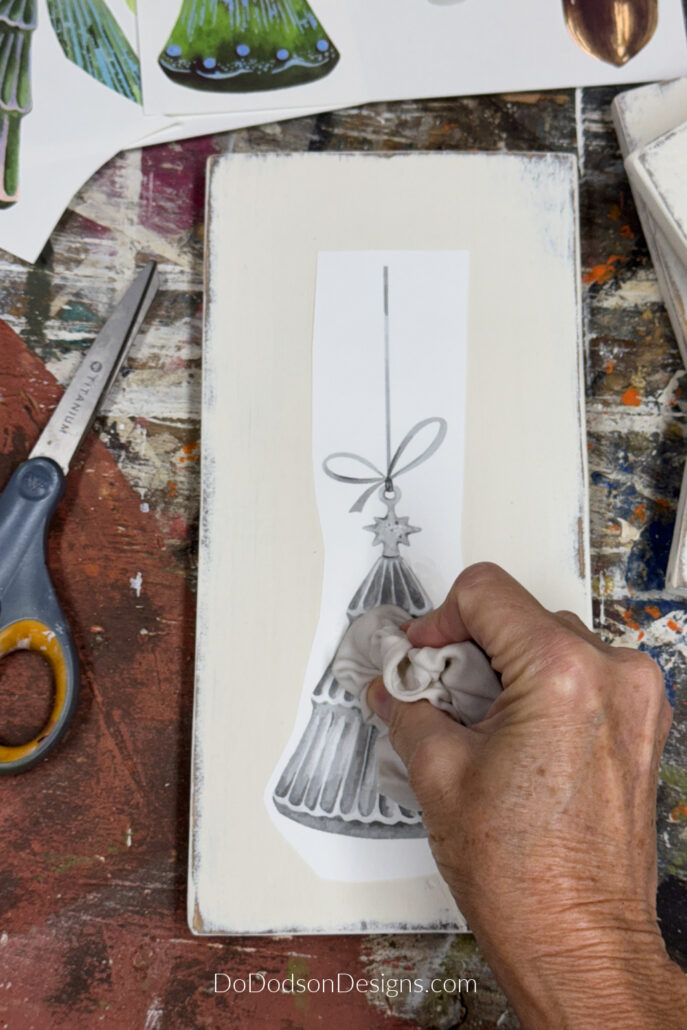
Carefully remove the backing from the transfer.
Step 6: Add Picture Hanger
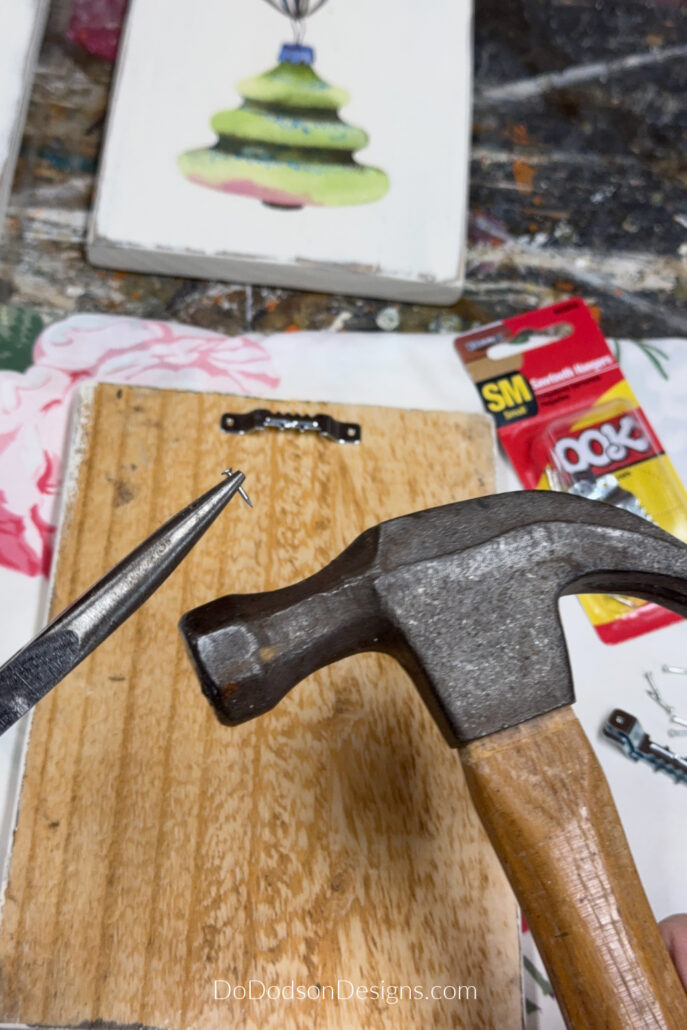
Add a small sawtooth picture hanger centered in the back to complete your new Christmas wood craft wall decor.
*TIP… Use a pair of needle-nose pliers to hold those tiny nails to get them started in the wood. This is the best picture hanger tip ever! My fingers may be smaller than a man’s, but not small enough for these tiny things.
My sweet man taught me this trick.
If you don’t fancy using old-fashioned hangers, consider drilling holes in the top piece of the wood and adding a decorative hanger with twine, jute, or ribbon.
Tips For Selling Your Wood Crafts
With your assembly line in place, making many of these scrap wood Christmas crafts for a Christmas craft show would be easy. You could sell them individually or in a set.
If you hold workshops at Christmas, they will make an excellent girl’s night out crafting with your bestie. Who doesn’t love creating with a friend?
Here are a few places to consider selling your wood crafts this holiday season for a nice profit.
- Etsy
- Facebook Marketplace
- family and friends
- craft fairs
- local markets
- Christmas craft show
- TikTok
Displaying Them As A Gallery
This is my favorite way to display them. I used different ornament designs on each one, making this a custom gallery wall.
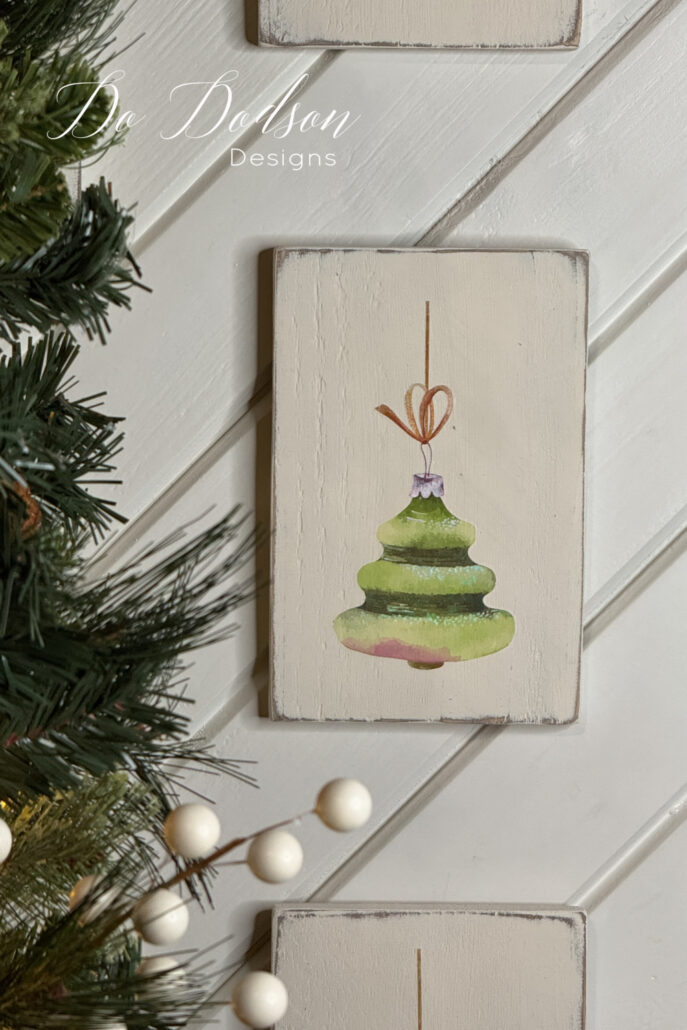
I love how these wooden Christmas wall ornaments accent this wall.
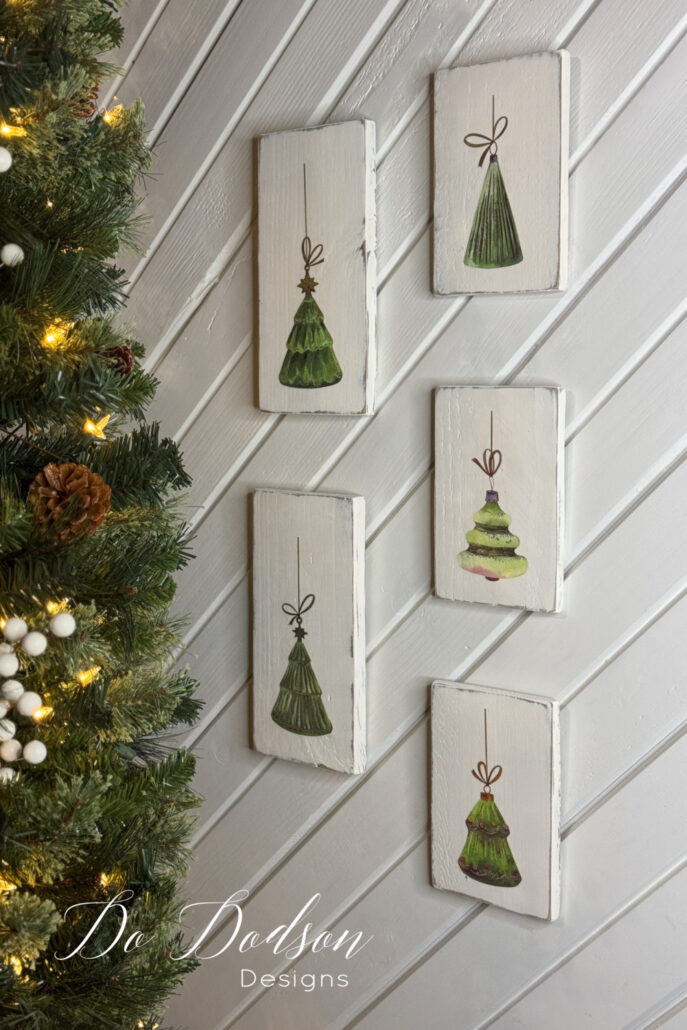
Bonus! They are safe from my four-legged friends, who might otherwise bat them around the room. 🙂 But then again, I have Grands that might try the same thing.
I can also see them displayed or hanging from a fireplace mantel. Oh, the ideas in my head.
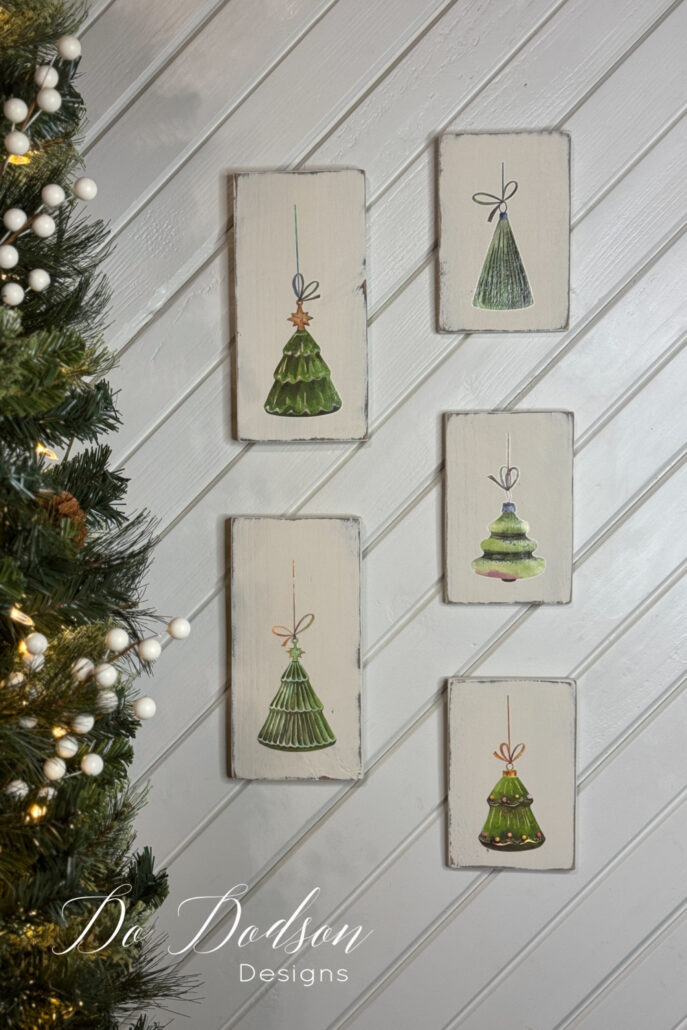
So, what do you think about these easy DIY Christmas wood crafts? What would you do differently to customize yours? Share your ideas in the comment sections to help inspire me and the other readers. Great minds think alike!
Thanks for joining me. Remember to pin and share with your crafty friends. I’ll be back soon with another scrap wood Christmas project. Stay tuned!
Until the next project… xo, Do

I really love these!!! I’m going to have to do this project!!!
Thank you, Janie. Have fun creating and thanks for reading. 🙂
I haven’t tried the waterslide transfers yet, but they look awesome! I love this gallery wall idea and bet these cuties would sell out fast at any craft show or online shop. Thanks for sharing and have a super duper weekend my friend! XOXO
Thank you, my friend! I love the simplicity of the design. I plan on making more with the acorns for a Winter display. Have a good week. 🙂
Hi Do Dodson!! I love these! I don’t have scrap wood pile but I believe they sell these at dollar store. I love these ornaments! Thank you for sharing.
I never thought of that. Maybe a craft store sells these wood blanks. That’s a fantastic idea. I’ll look the next time I go. Thanks for sharing. 🙂
Oh! And thank your sweet man gor the tip with the needle nose pliers. I definitely needed that.
Hey Cheryl,
He’s pretty darn handy when it comes to figuring out these things. I struggle sometimes. 🙂
Love these, Do! They look great on the wood pieces and hanging. Very nice.
Aren’t they? I love how they turned out. Have a great week, my friend. 🙂
They are charming indeed (and simple to make). Just wondering if you had to have fixings on your wall to hang them? Also is it necessary to stain the wood before painting?
Hi Audrey! No, it isn’t necessary to stain before painting unless you want a dark distressing. To hang them without damaging the wall, I used command strips. It’s my secret weapon. Have a wonderful week and thanks for reading. 🙂