The good old Dollar Tree… What would we do without this store? I have seen so many great projects, especially around the holidays, that was created for next to nothing with their $1 goodies. Today, I want to share a fun DIY hack on how to create a faux concrete Dollar Tree pumpkin. I was so happy with the way they turned out; I just had to share this with you.
This post contains a few affiliate links to help you find the products I use. You are not charged extra to use any of the links, but any income I make will be used for more fun projects! To see my full disclaimer, click here!
Watch the full instruction on this video.
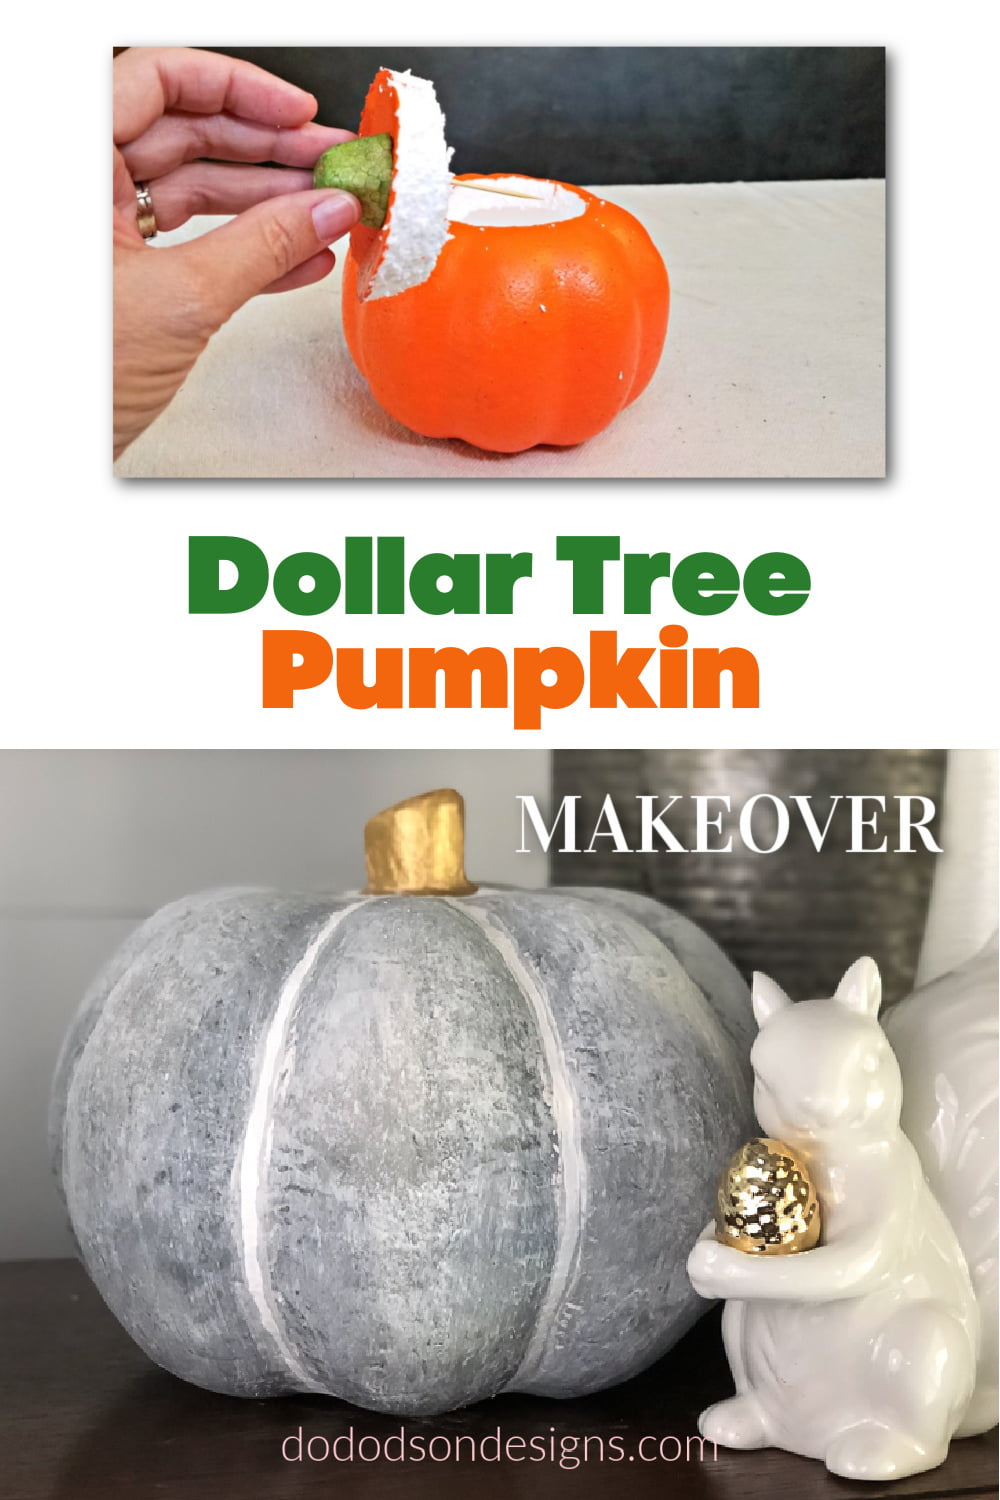
Dollar Tree Pumpkin Makeover – Faux Concrete Finish
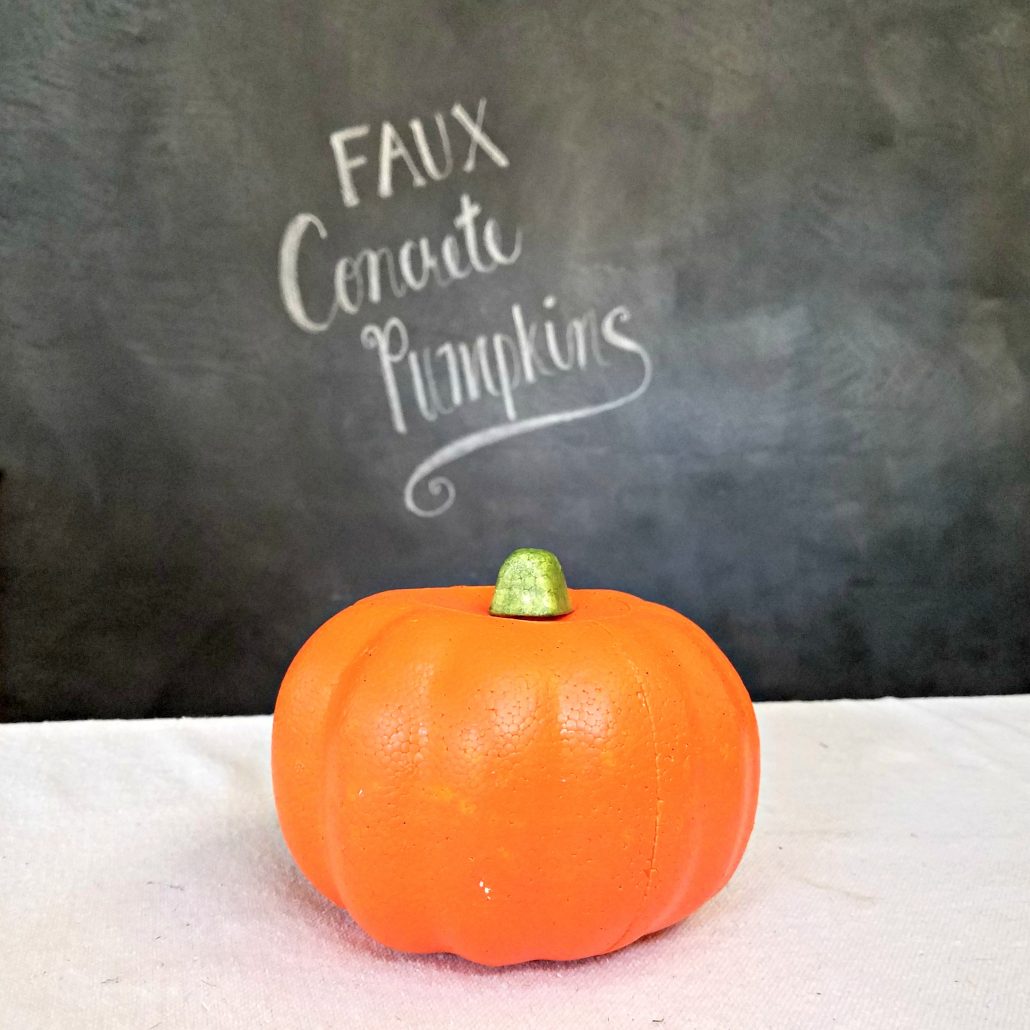
Here it is! ORANGE and begging for another color. Let’s tone it down for a softer look. Here is what you will need to create this unique look on your dollar tree pumpkin.
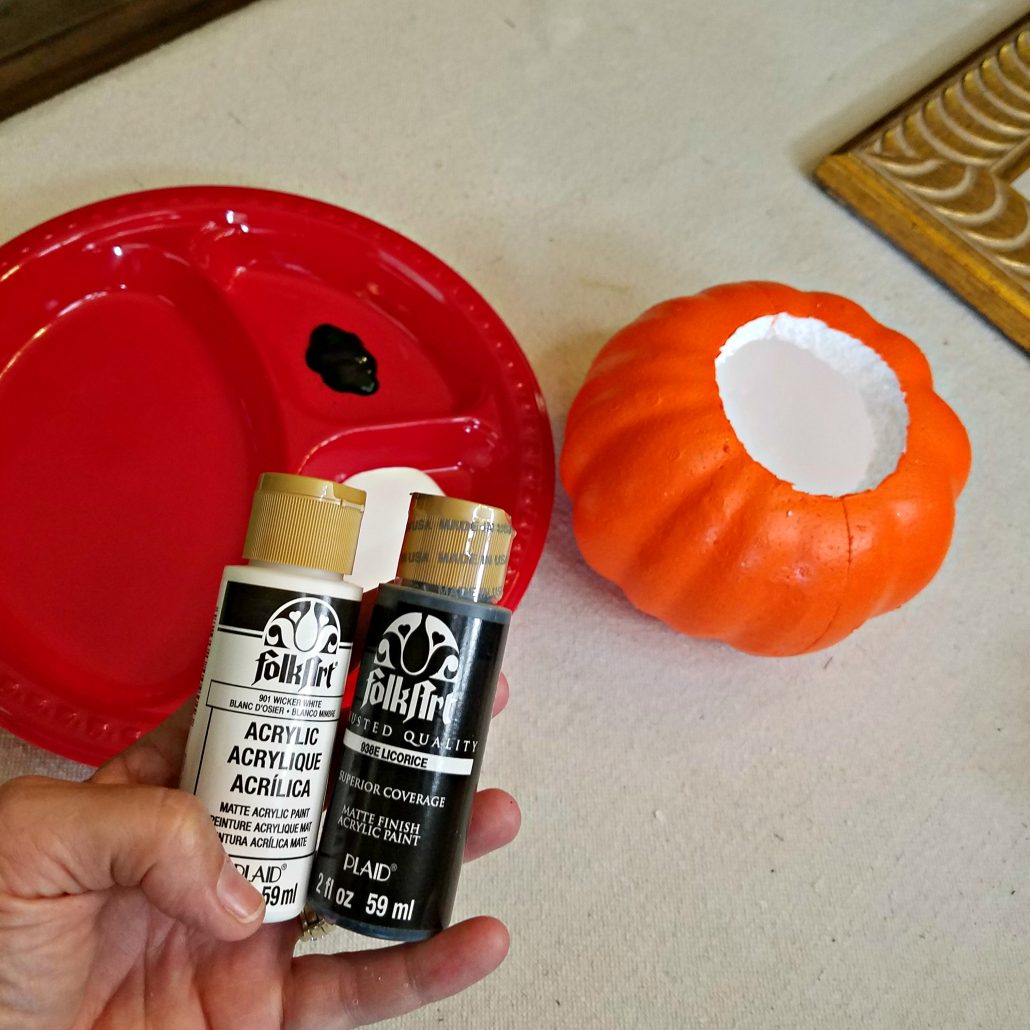
Supply List:
- A Dollar Tree carvable pumpkin
- Folk Art Acrylic craft paint (licorice) or Chalk Mineral Paint
- Folk Art Acrylic craft paint (wicker white) or Chalk Mineral Paint
- cutting device (knife)
- Paintbrush
- disposable plate
- flour (from your kitchen)
- Metallic Gold Paint
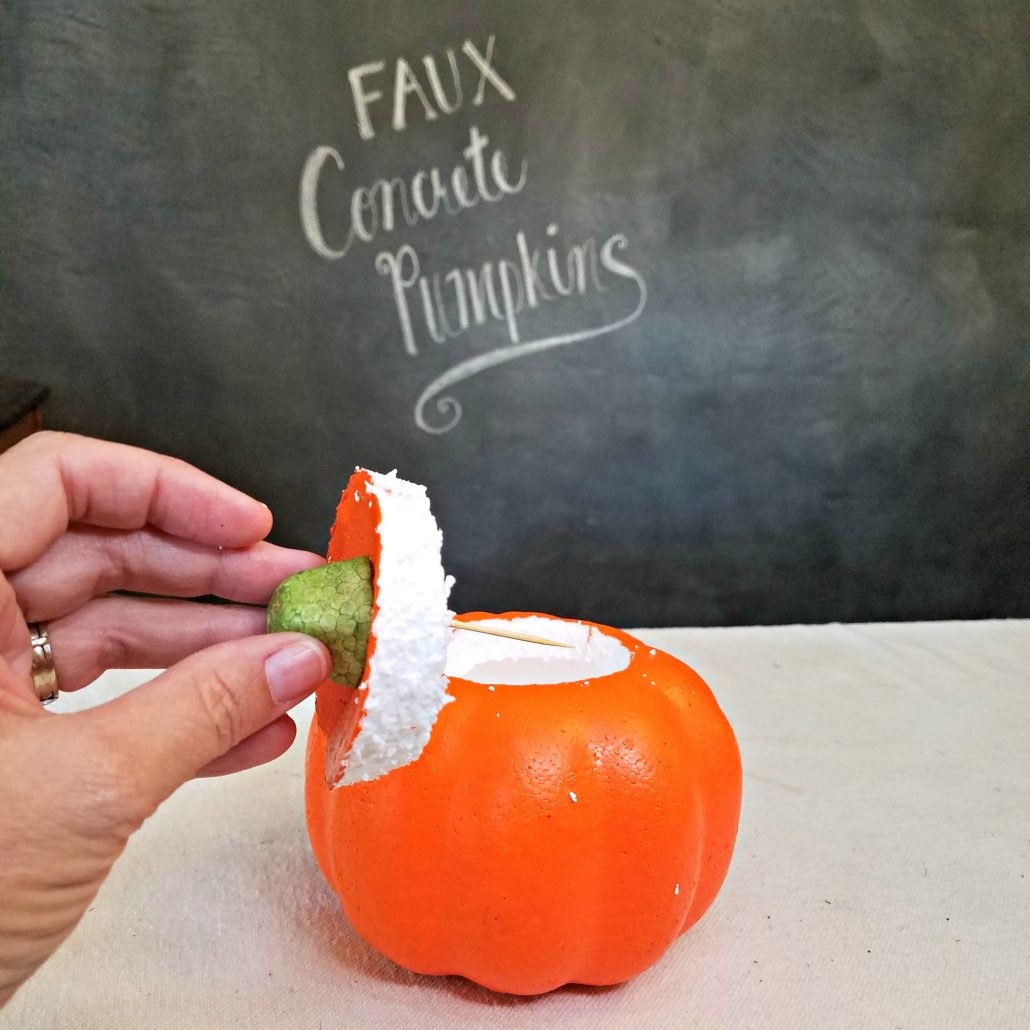
Carve Your Pumpkin
The first step is to carve an opening into the top of your pumpkin, just like when you carve your real pumpkin to remove the insides. This step is not necessary, and if you like the look of the whole pumpkin, by all means, leave it intact and paint the whole thing. It would be beautiful as well.
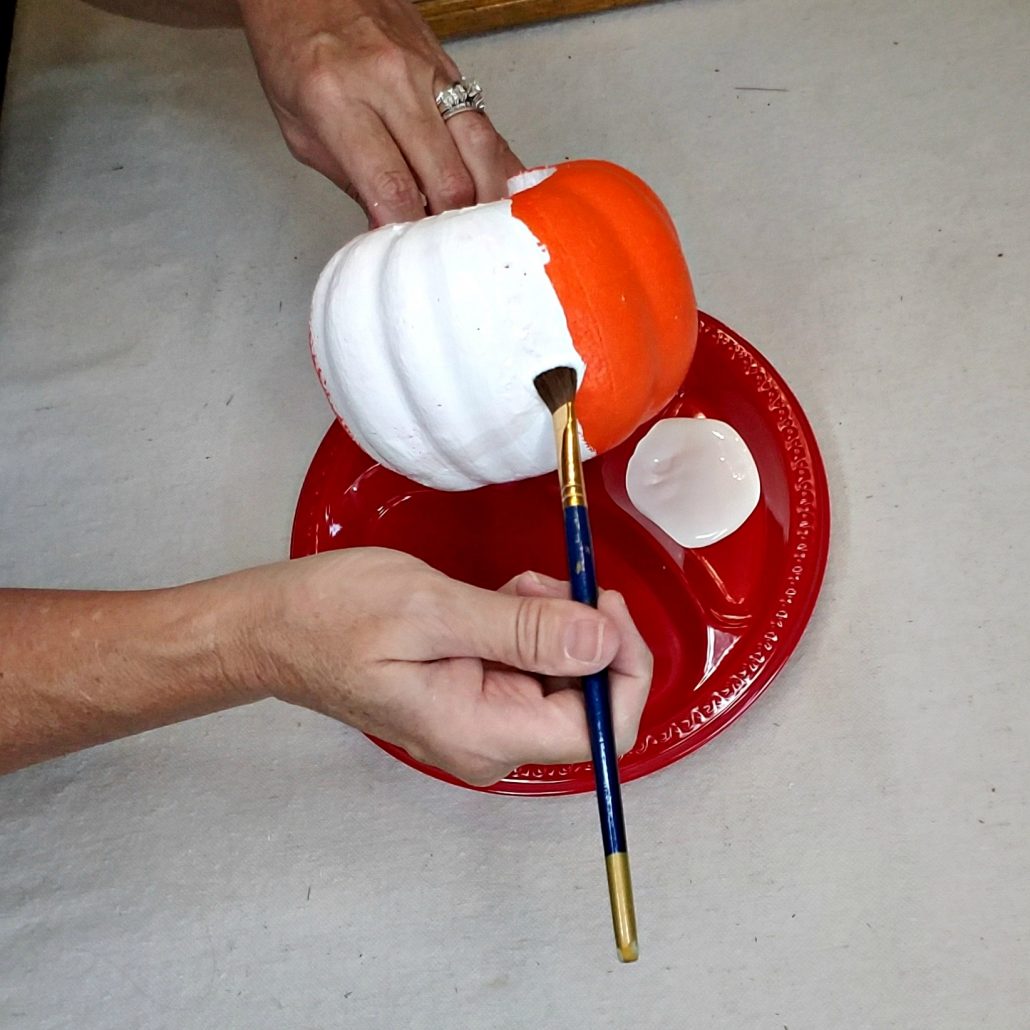
Painting Your Dollar Tree Pumpkin
I started with the wicker white paint and painted the whole dollar tree pumpkin in a rather sloppy fashion. I really wanted some texture on the pumpkin, so just slathered it on. It covered the pumpkin in one coat. Allow the paint to almost dry but not fully. I used my blow dryer to speed this process up.
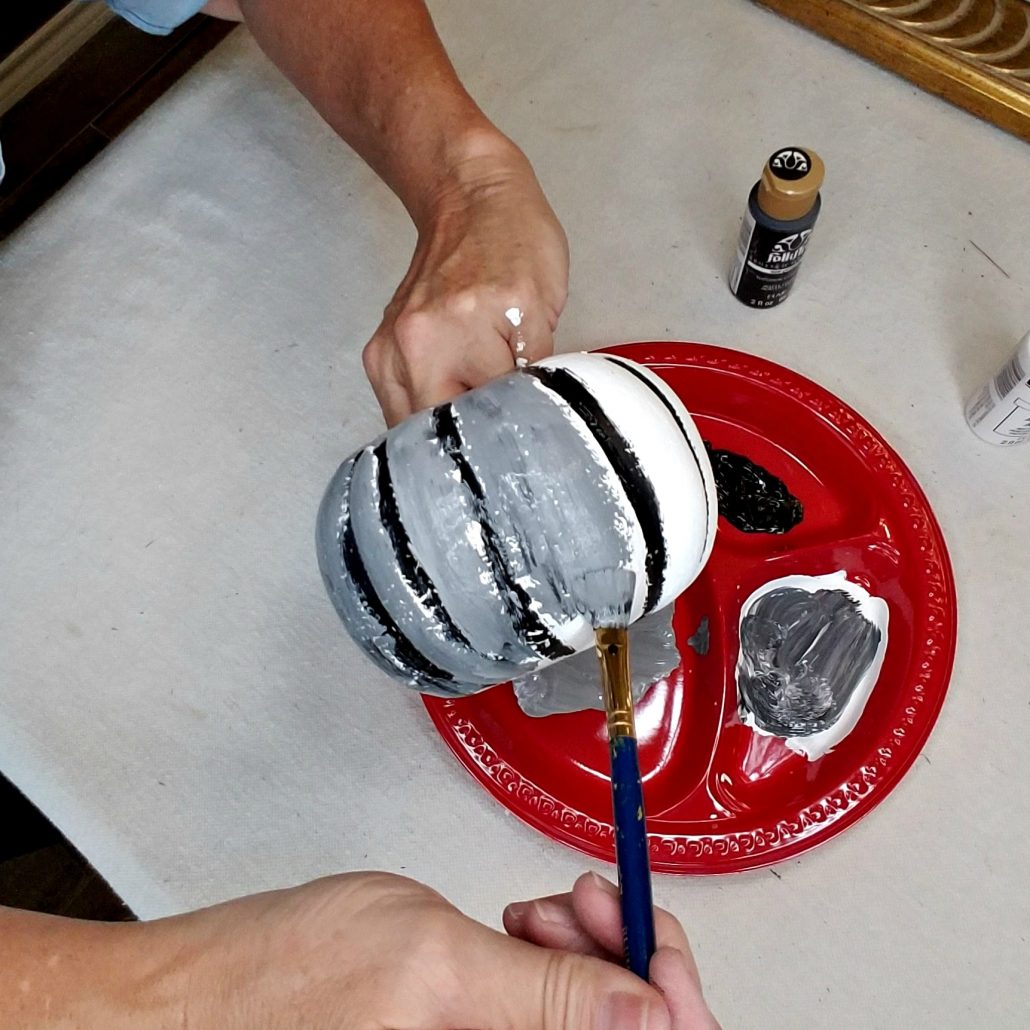
Then I applied the black in the creases of the dollar tree pumpkin only. Not allowing it dry, I immediately went to the next step. I mixed a bit of black with my white paint to create a beautiful gray color—the color of concrete. Be careful not to add too much black to the white. The black will quickly overpower the white and be too dark; I just used the black on my brush and mixed it in the white.
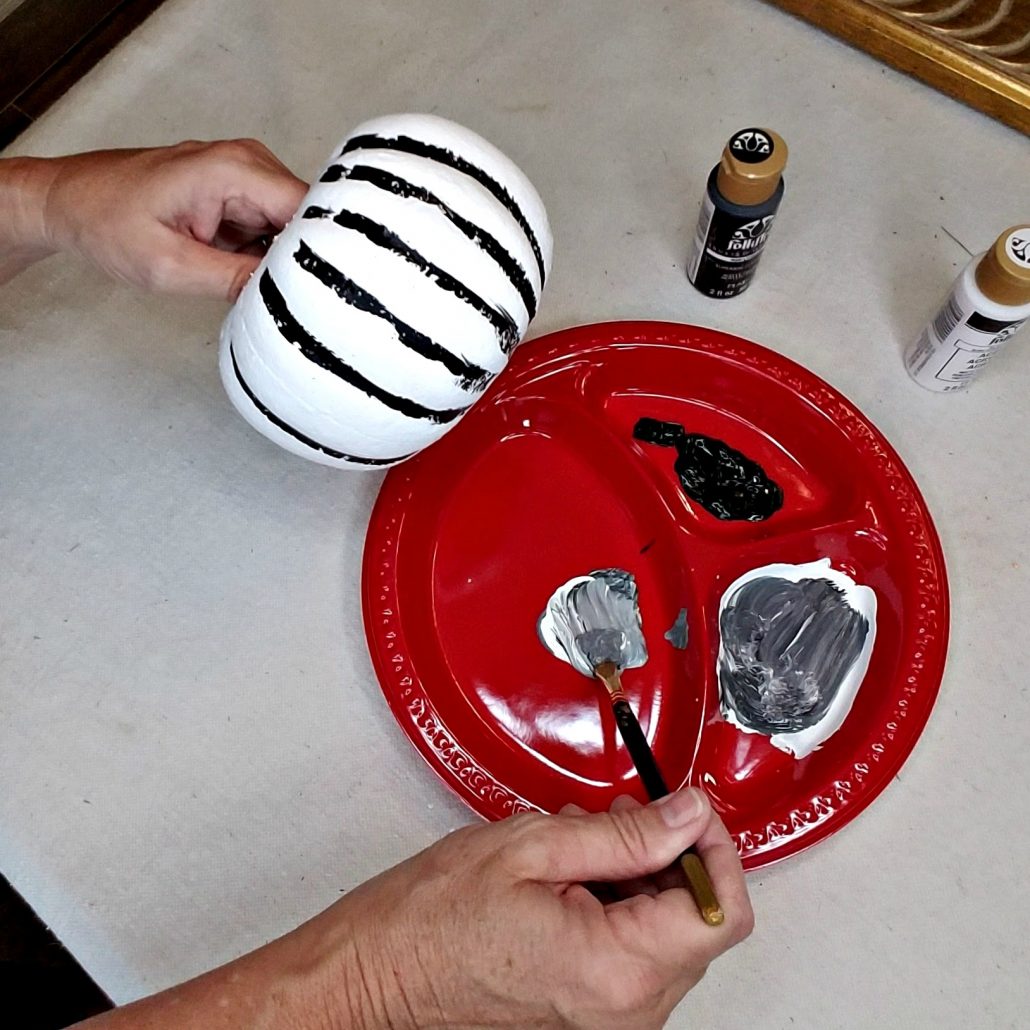
First, I painted in between the black indentions with the gray. Again, I added the paint in a good amount. I built up the paint in some areas higher than others to create an uneven surface.
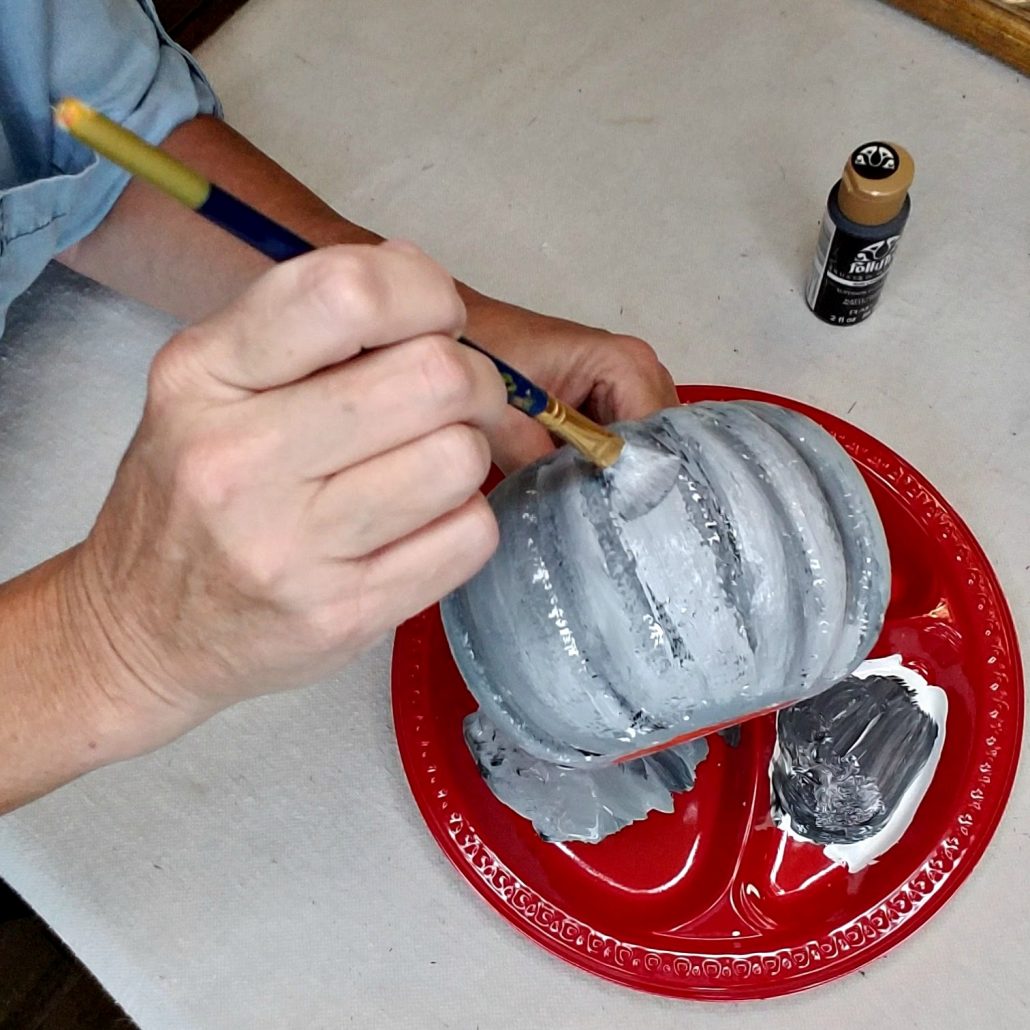
After the whole dollar tree pumpkin was painted with gray, I went back with the same brush and blended the gray with the black. I wasn’t worried that some of the white was showing, as this gave it character and the look I wanted.
Adding Texture To Your Dollar Tree Pumpkin
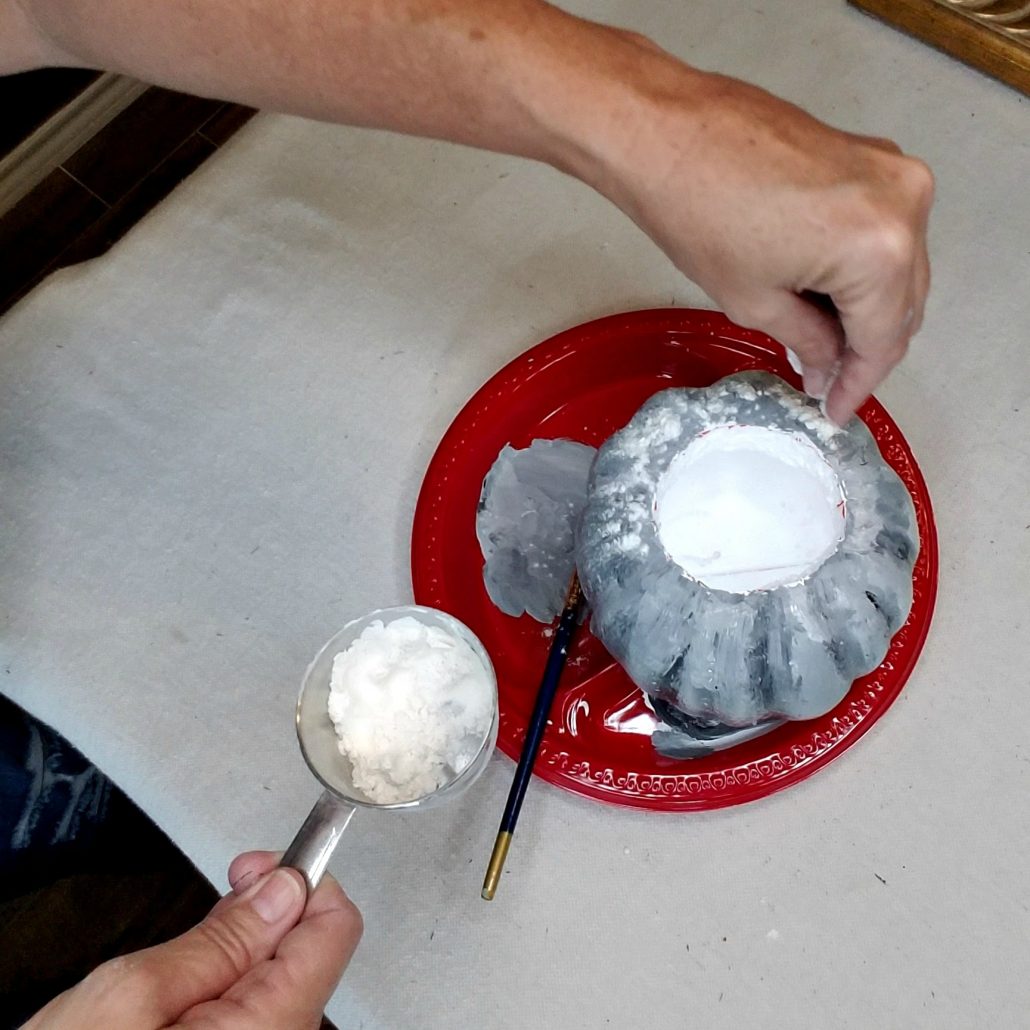
Quickly after the gray was blended and still wet, I took some ordinary all-purpose flour from my kitchen and sprinkled the flour on the top part of the pumpkin. Just sprinkled in on here and there. Some areas had more than others, and that is perfect. Again, I was creating an uneven finish on the dollar tree pumpkin.
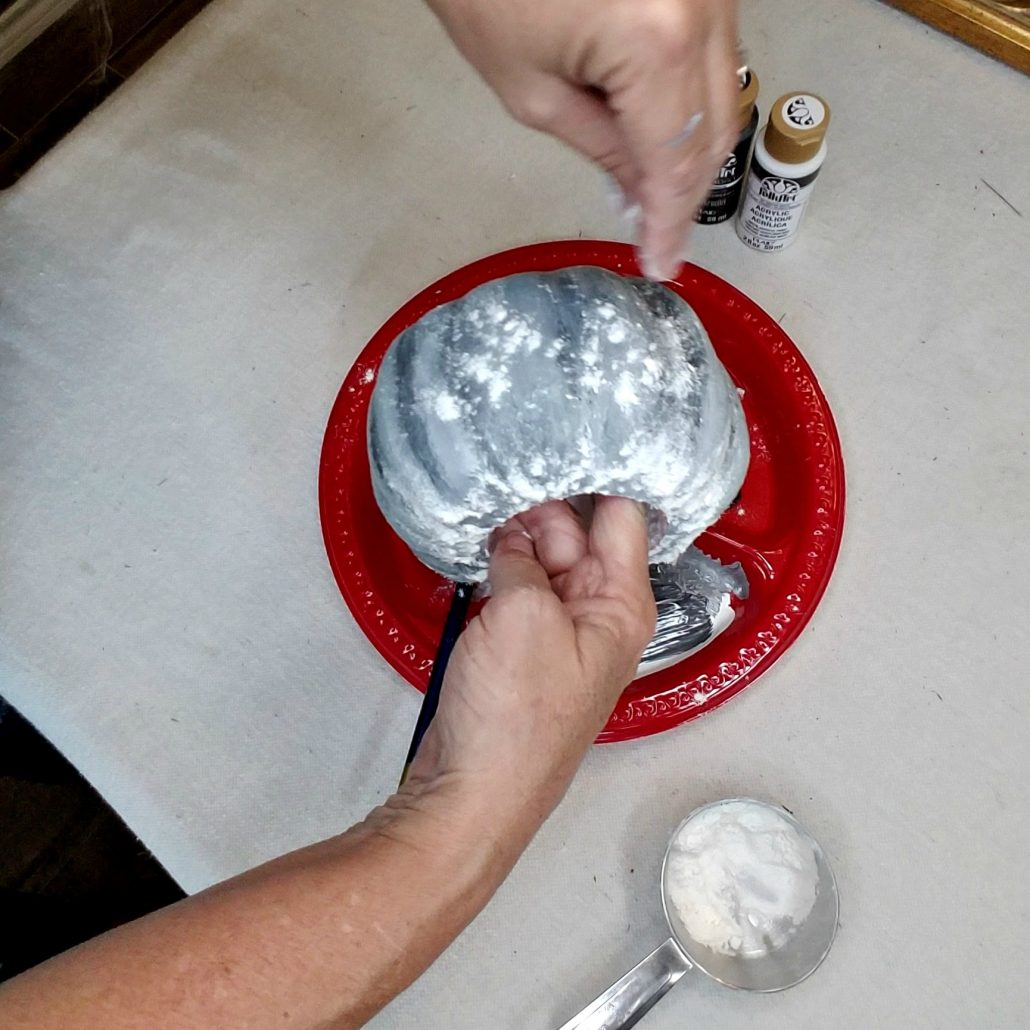
With the same brush, I dipped the brush in the flour and lightly dusted the whole dollar tree pumpkin. This created a matte, powdery finish that looks very much like concrete. I allowed the paint to dry overnight. The next morning I dusted off what was left of the flour on the surface of the pumpkin. It was so cool!
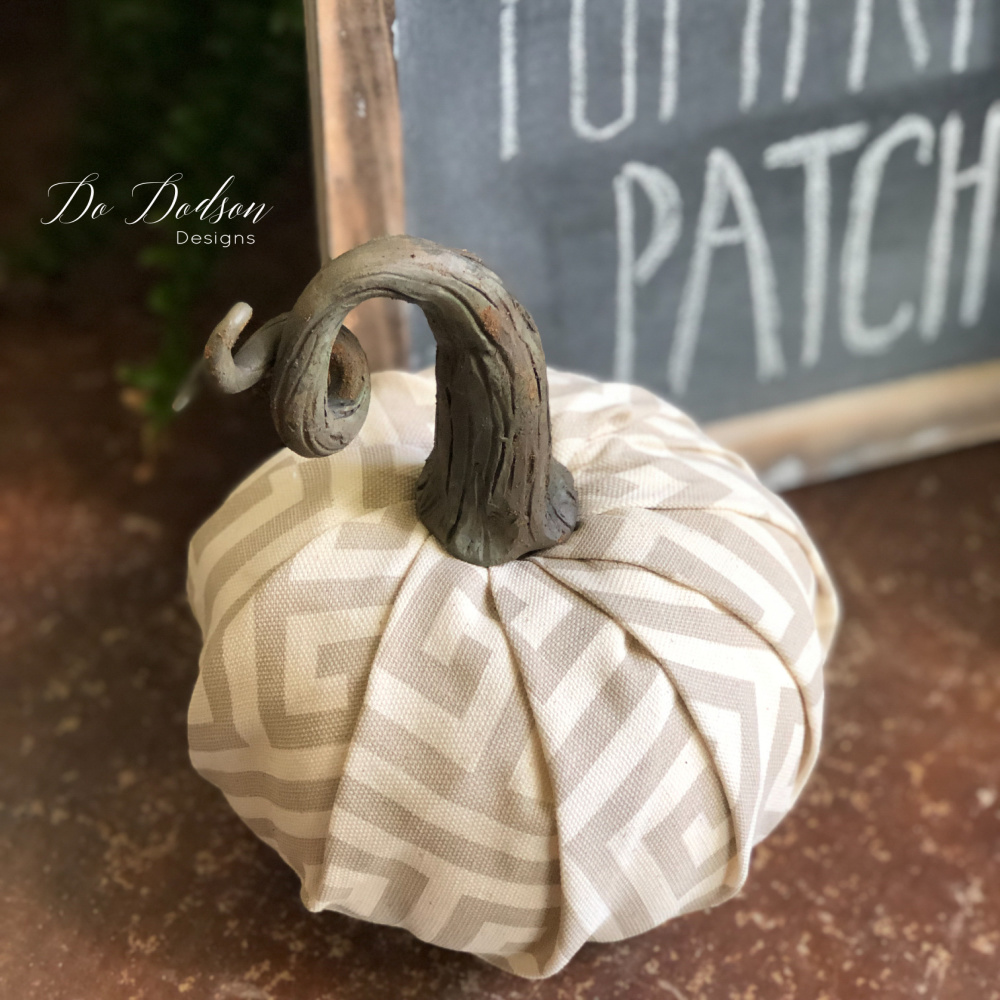
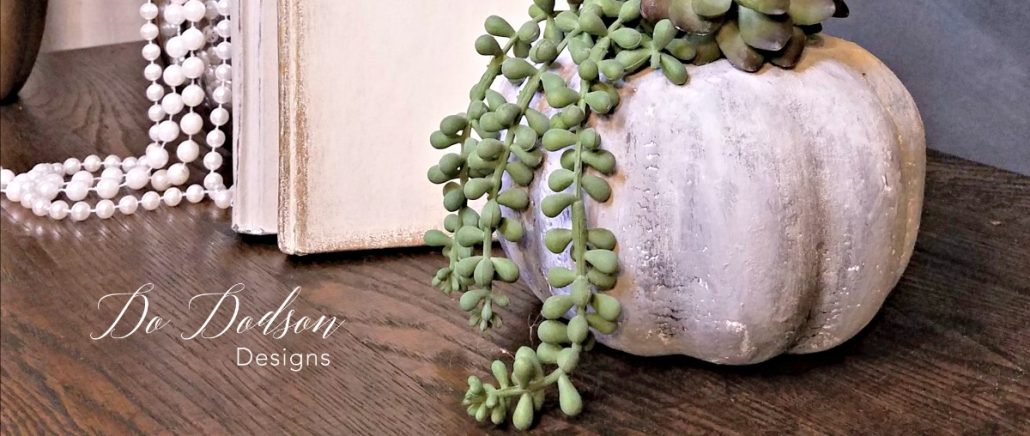
Same Technique Used On Another Pumpkin
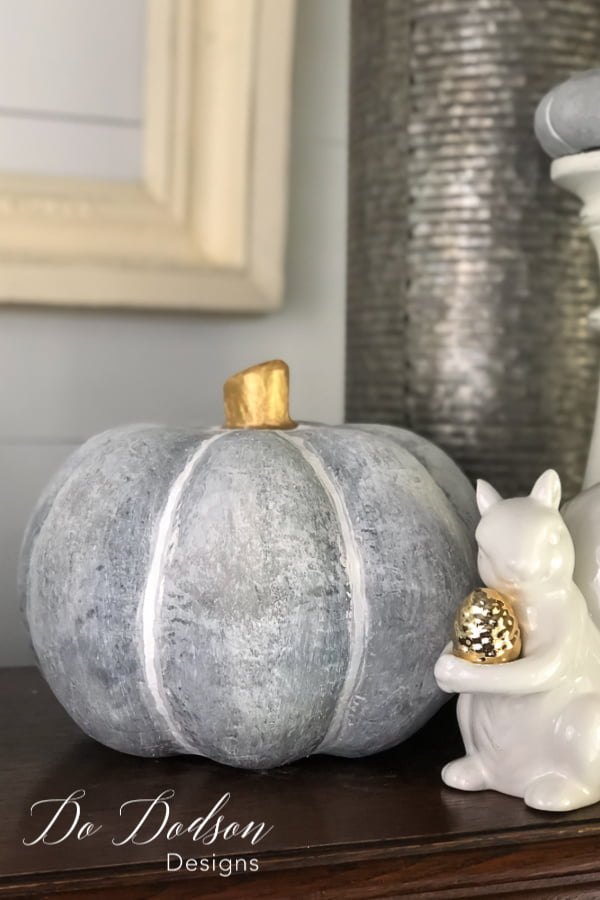
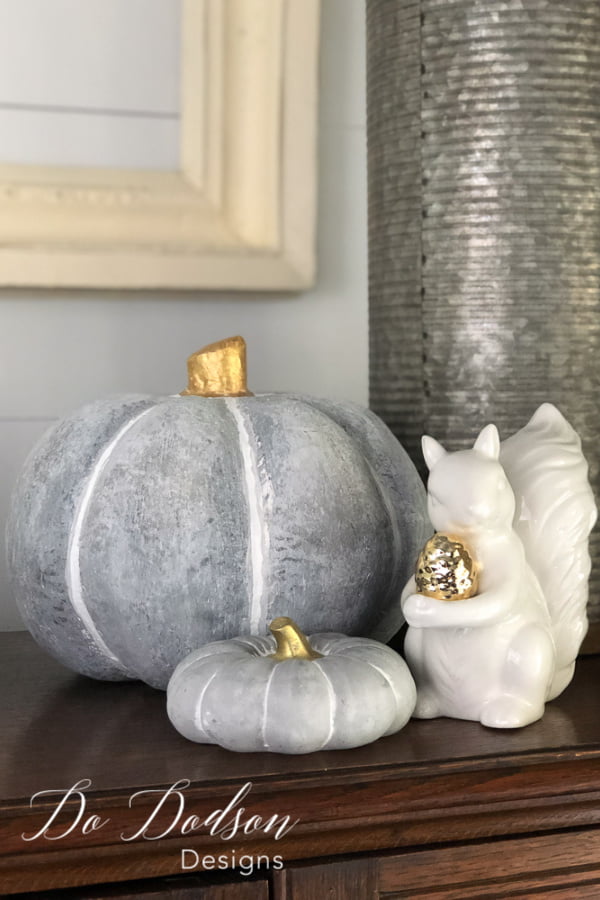
I used this same technique on these Hobby Lobby pumpkins too. The pumpkin stems were painted with Metallic Gold paint.
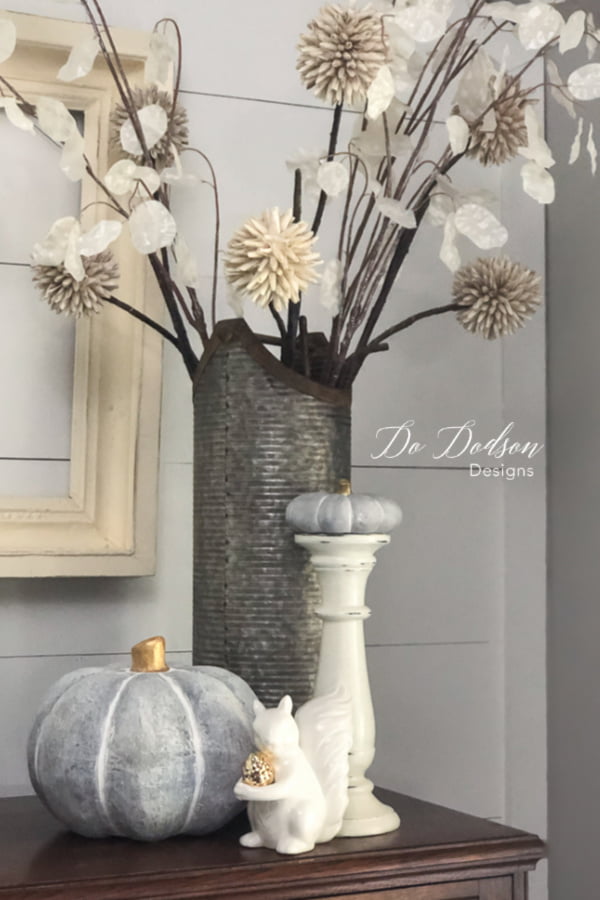
Thanks for stopping by, and I hope this inspires you to look around at all the opportunities to create beautiful home decor for Fall on your Dollar Tree budget. I love sharing with you, so check back often for more ideas. Or check out more DIY budget-friendly ideas below.
Until the next project… xo, Do