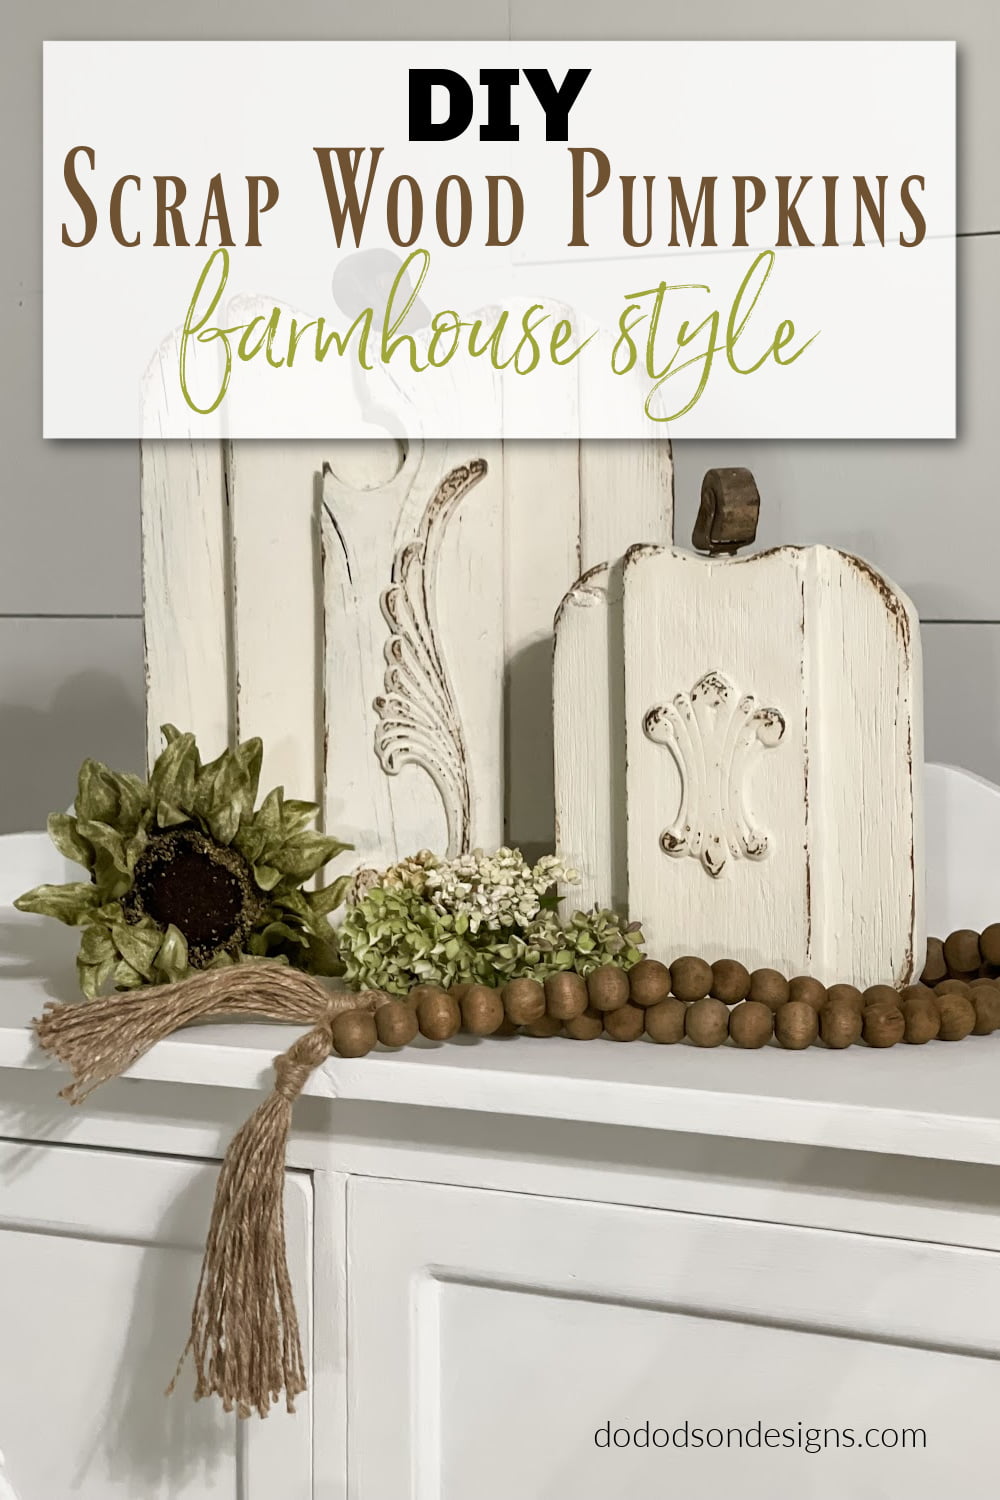
Making wood pumpkins are a great way to save money while decorating your home for Fall and these little beauties took me less than 3 hours to make. Oh, and it also helps if you save a lot of “good” junk. I used repurposed fence pickets, leftover hardware, and wooden appliques from some of my furniture projects, and it paid off big! Read on…
This post contains a few affiliate links to help you find the products I use. You are not charged extra to use any of the links, but any income I make will be used for more fun projects! To see my full disclaimer, click here.
Gathering Supplies For Your DIY Wood Pumpkins
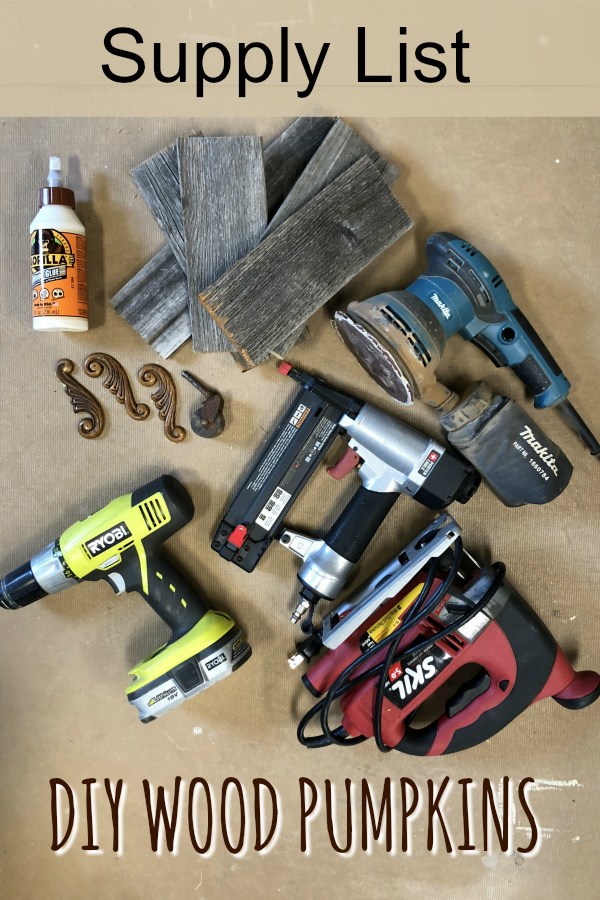
Here are the supplies that you will need to make your DIY wood pumpkins.
- Wood Scraps (fence pickets 3.5 in width) or pallet wood
- Gorilla Wood Glue
- Staple Gun
- Jig Saw
- Sander
- Drill
- Wood Appliques
- Vintage Caster Wheels
You can also paint your DIY wood pumpkins with mineral chalk and patina paint. CLICK HERE to see all the amazing colors available to you to use on your next DIY project.
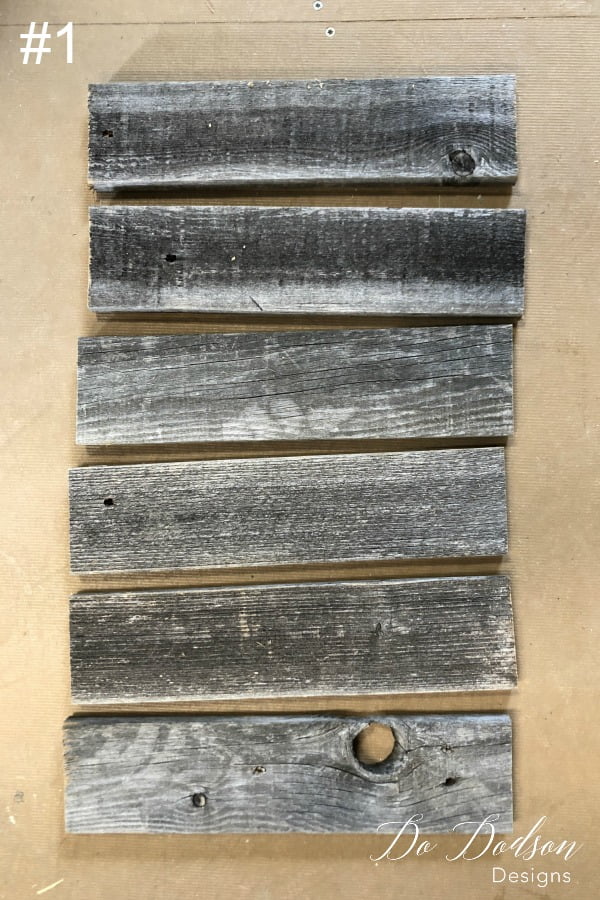
Step #1
Gather your wood. You’ll need 5 pieces. The length will depend on how tall you want your pumpkins to be. It’s totally up to you. These are about 12 inches.
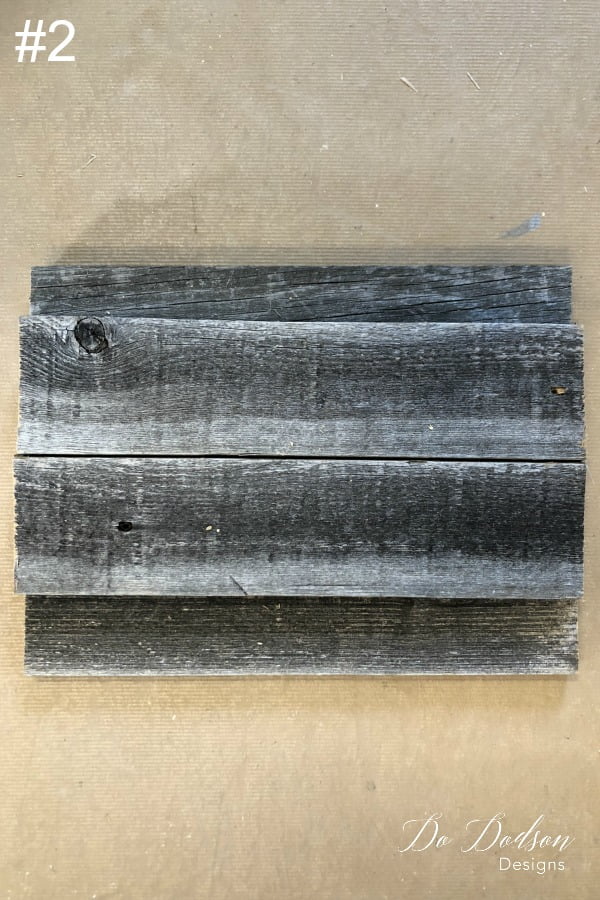
Step #2
The 2nd step is to stack 2 of the boards on top of the 3 bottom ones.
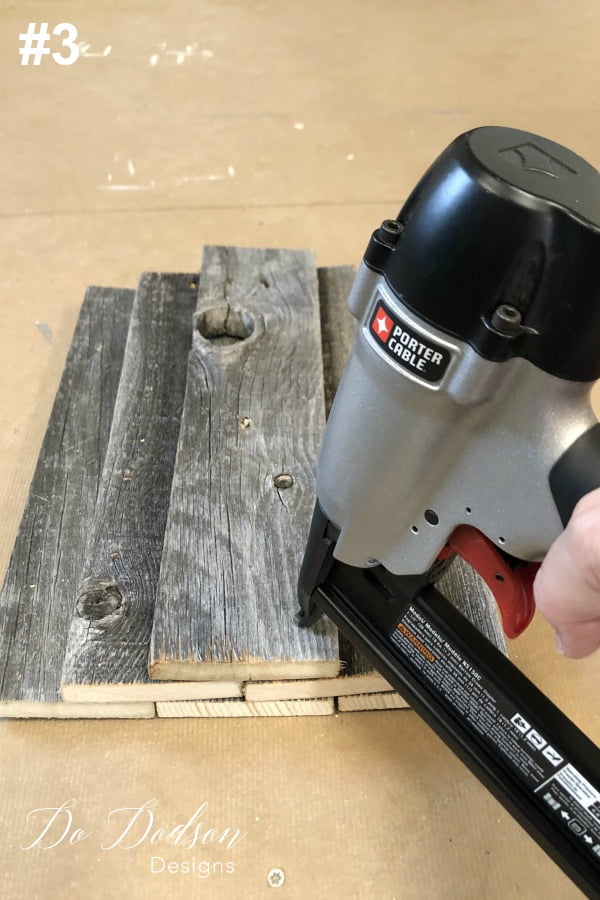
Step #3
The 3rd step in making DIY wood pumpkins is to stack the last board on top of the last 2 and secure them together using a staple gun. Flip it over and continue securing the wood pumpkin with the staples from behind.
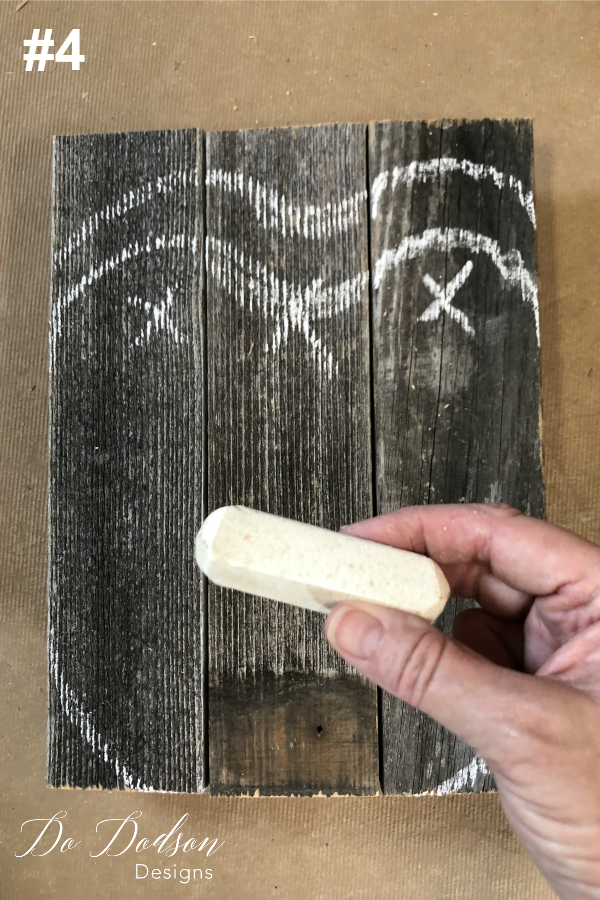
Step #4
The 4th step in making DIY wood pumpkins is to mark your pattern with a piece of chalk. It doesn’t have to be perfect. Just eyeball it.
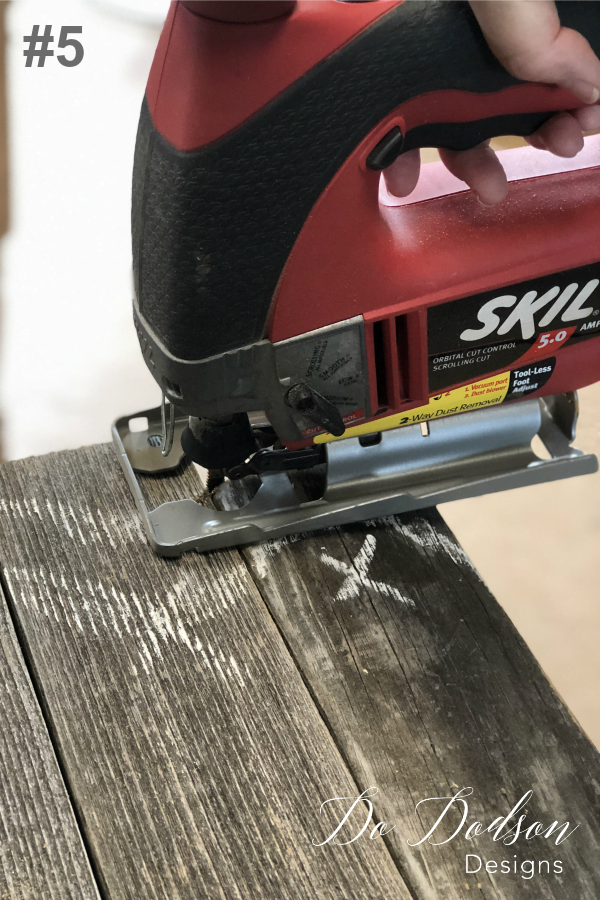
Step #5
The 5th step in making DIY wood pumpkins it to carefully cut your design out with a jigsaw.
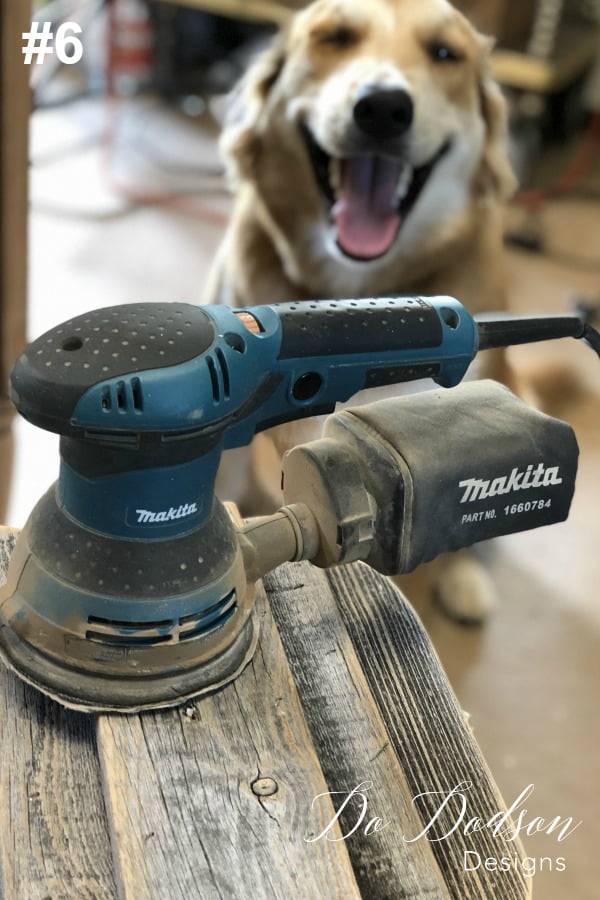
Step #6
The 6th step in making DIY wooden pumpkins is to sand the pumpkins smooth. Don’t forget the corners.
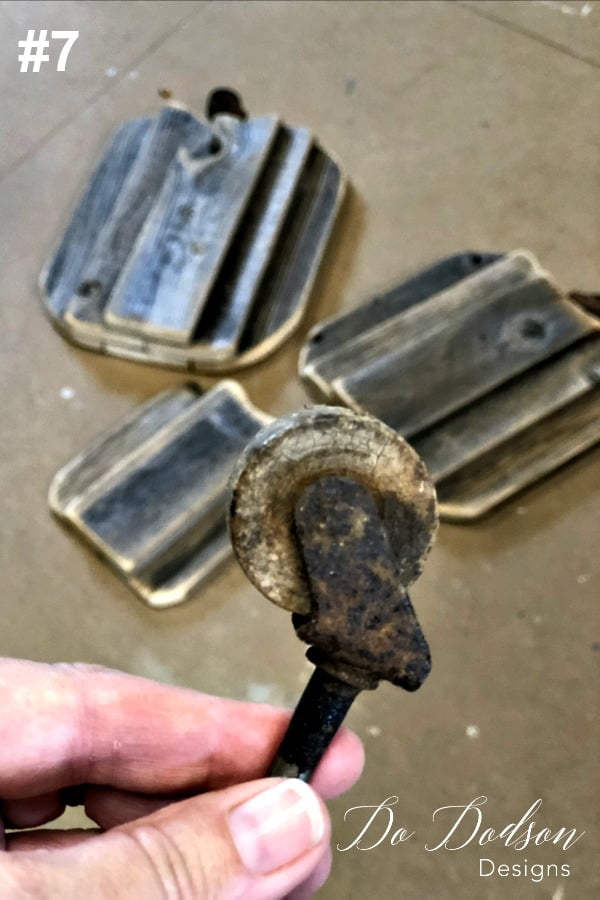
Step #7
The 7th step in making DIY wood pumpkins is to find something that can be used as a stem. I had these leftover vintage wooden rollers from a furniture project, and I liked how they looked. All rusty and crusty!
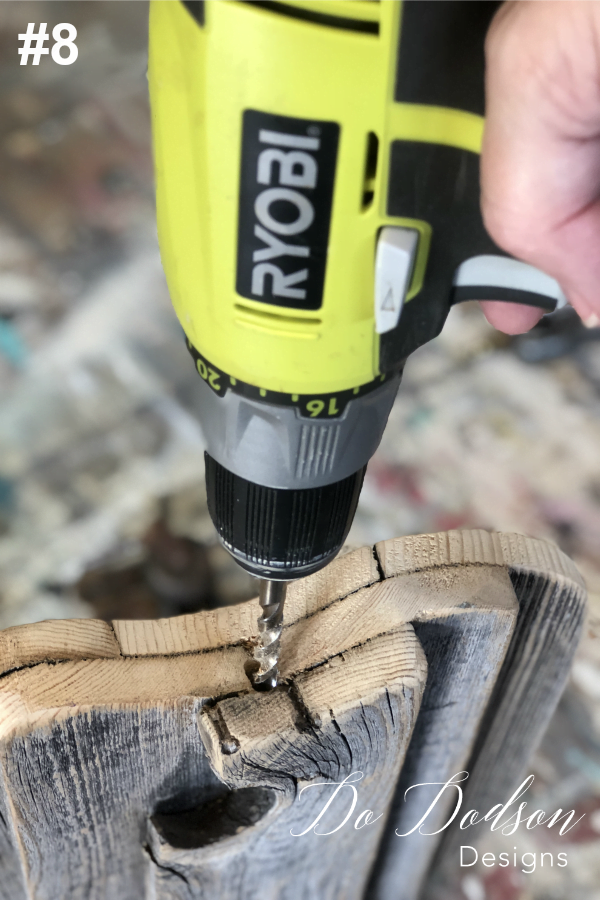
Step #8
The 8th step… Drill a hole for the stem. You can also you those beautiful Hobby Lobby Knobs too!
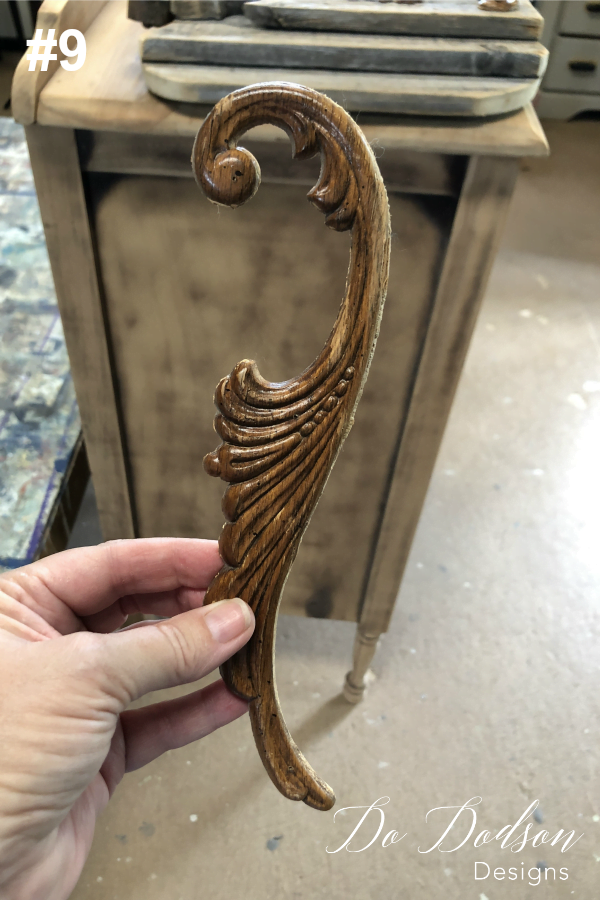
Step #9
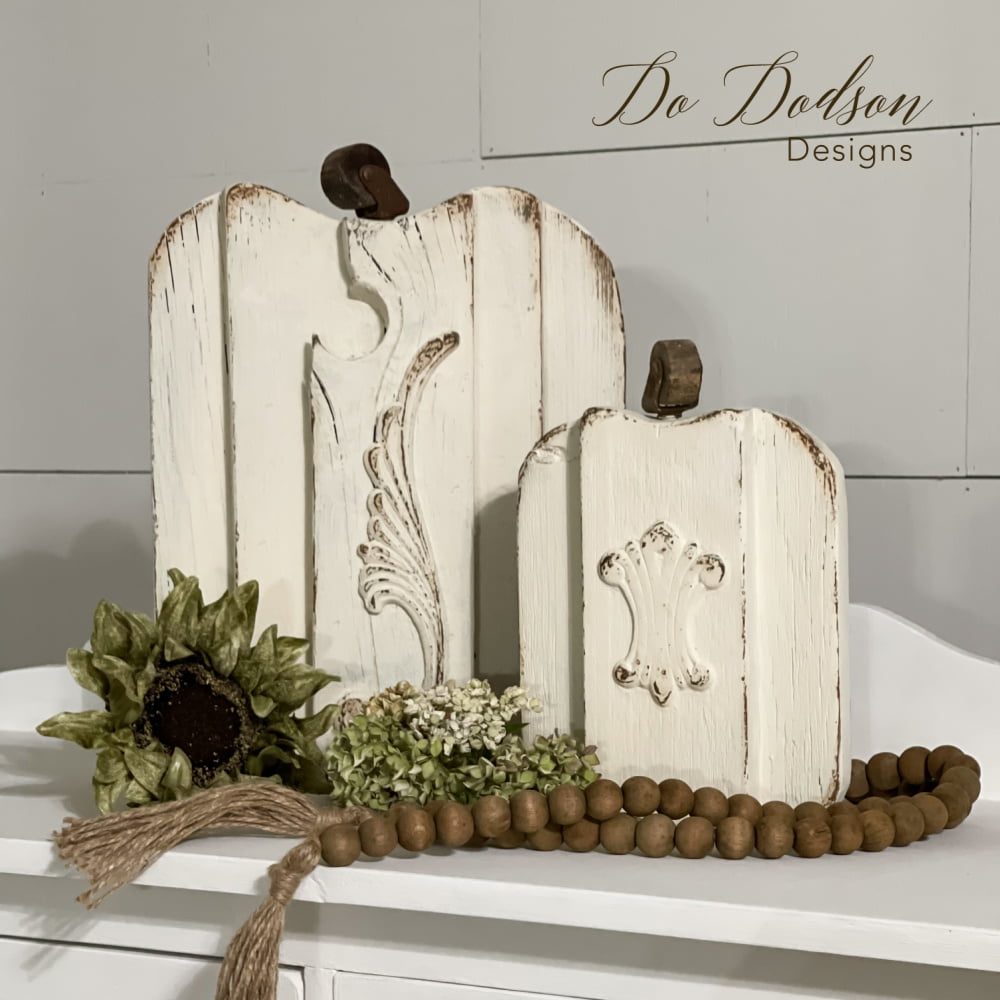
The 9th and final step in making these amazing pumpkins is to find something decorative that I can glue to them. I found these left-over wooden appliques that I saved from another furniture project. I think I’ll add them. You might even try stencils. They would look adorable too. Personalize them with a monogram. I LOVE that idea.
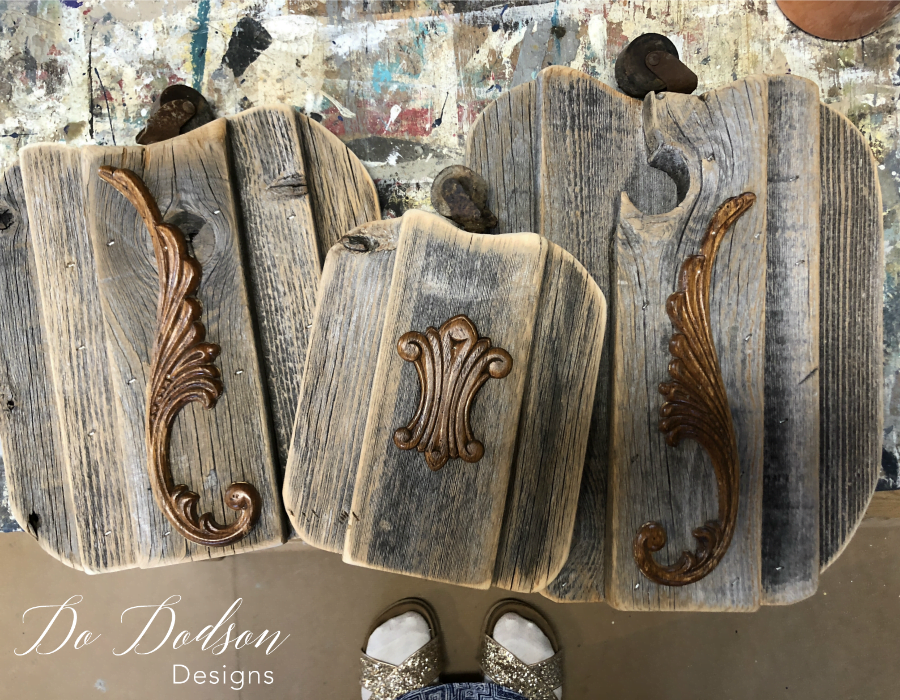
Leave them as is… Wood Pumpkins
Or Painted Wood Pumpkins!
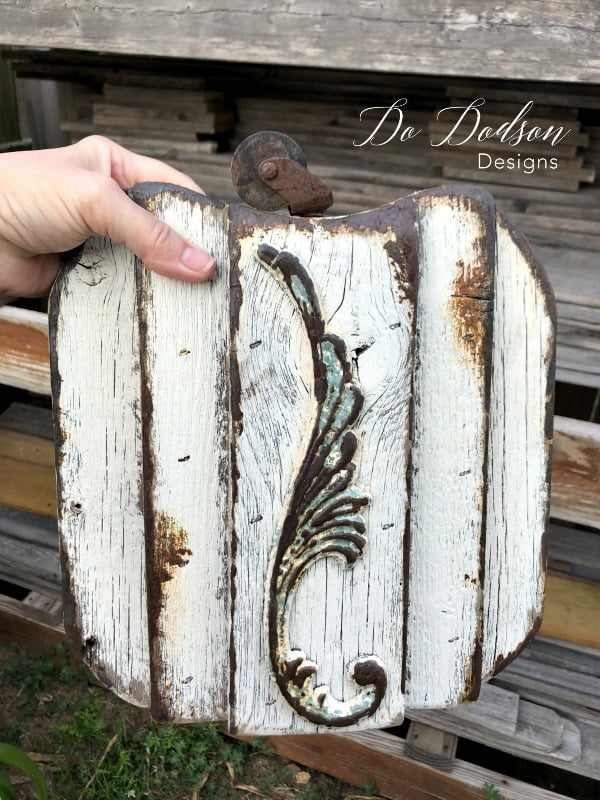
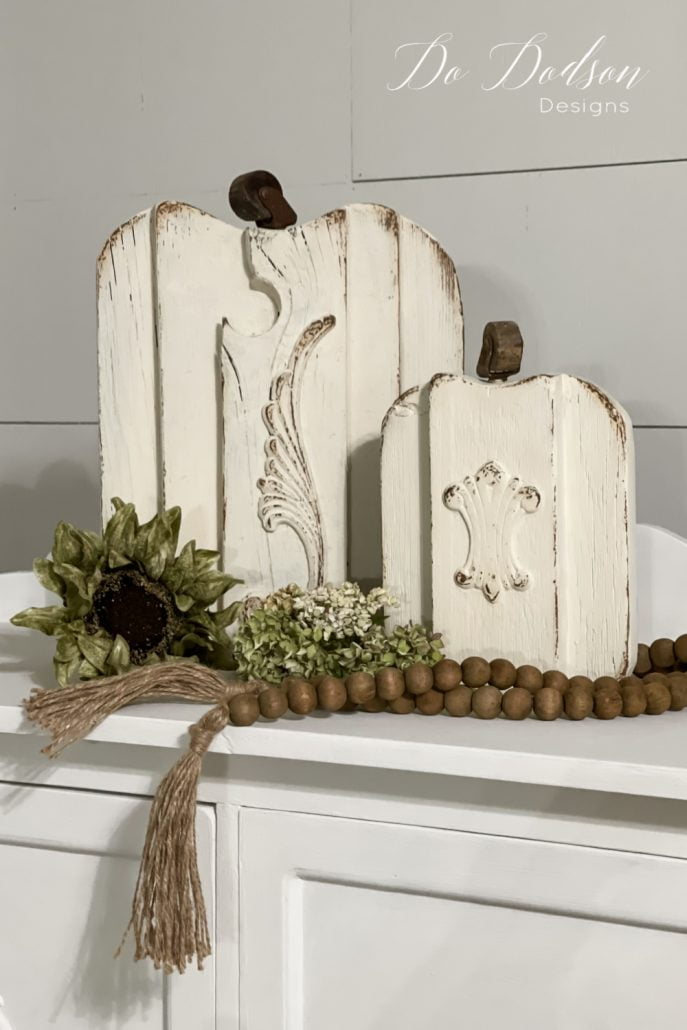
These were so fun to make and give that farmhouse feels that I oh so LOVE! Painted or unpainted, both styles have their place: front porch, coffee table, or mantel.
And the great thing about these is that they will stand alone without support due to the layered wood and flat bottoms.
So, what do you think? I’d love to hear your feedback on this project. And as always, I would love for you to share this with your friends or pin this idea to your favorite FALL board on Pinterest.
For more DIY Fall decor ideas, I’ve listed a few more blogs you might want to check out below. Fall is my favorite time of the year!
Until the next project… xo, Do

