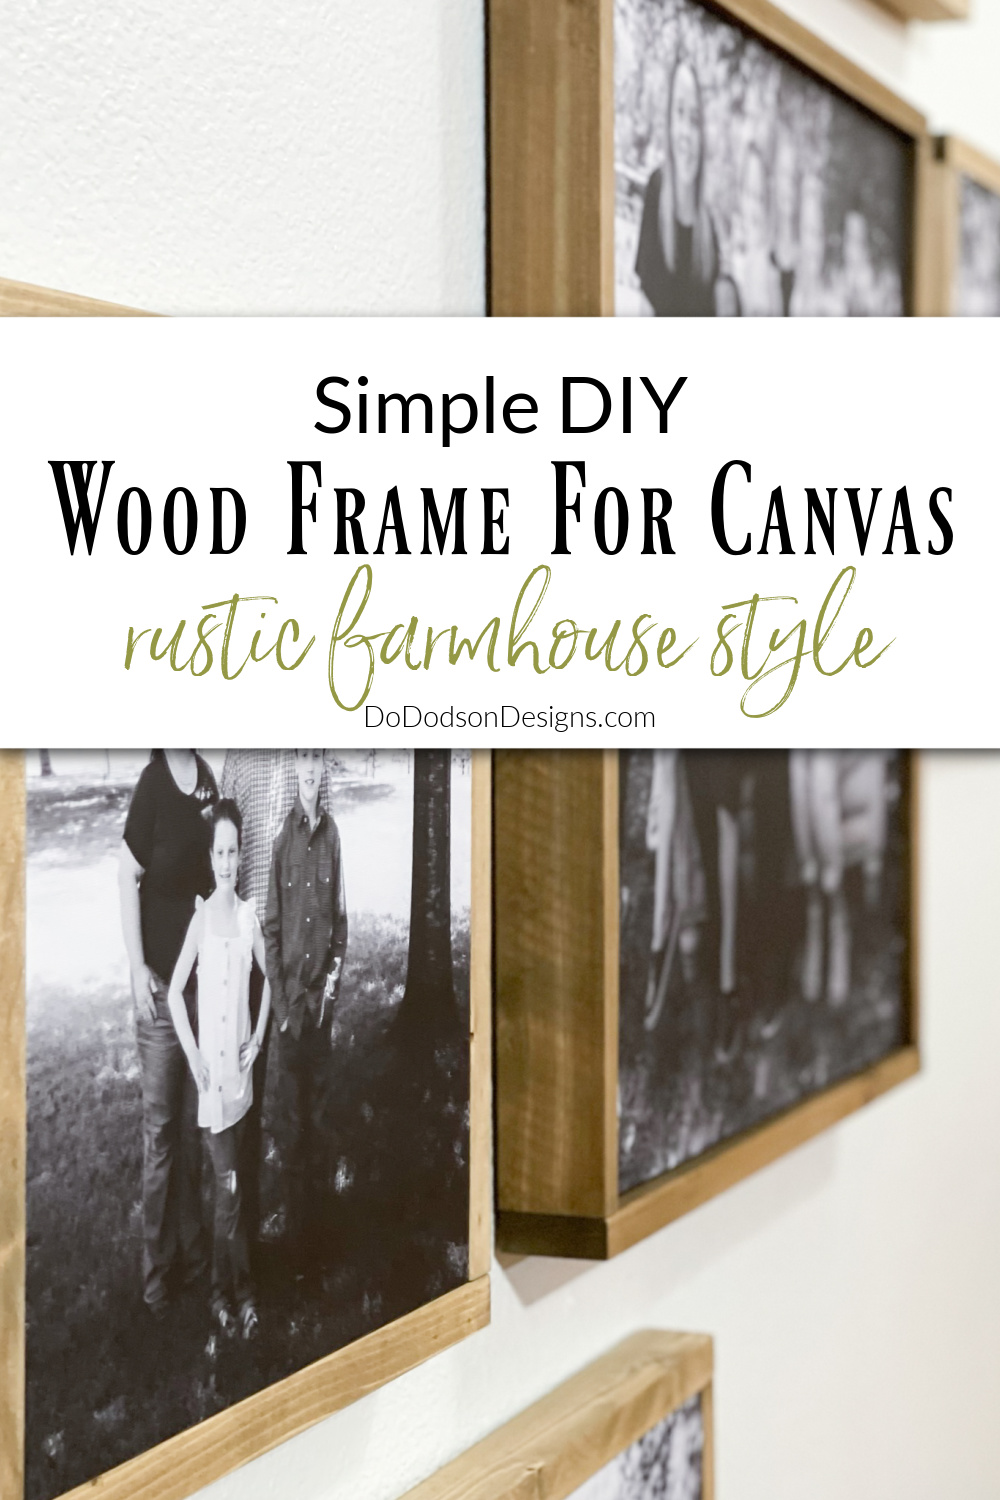
Hey friends! If you have a favorite piece of art or canvas picture (or two or three) that you’d like to hang on the wall but don’t want the hassle of mounting and framing, you can make your own rustic wood frame for a canvas out of scraps.
Thanks to Dixie Belle Paint Co for sponsoring this post. While I was compensated to write this post, all opinions are my own.
* As an Amazon Associate, I earn from qualifying purchases and through other companies as well. You will not be charged extra when you purchase through these affiliate links, but any income I make helps me create more amazing DIY projects to share with you! To see my full disclaimer, click here!
They Needed A Wood Frame
Last Spring, I managed to get my whole crew in the same spot at the same time for a photo session. This can be very tricky with a large family, and it’s been years since we have all been together under the same roof.
We have 7 Grandkids and not one picture of us all together. So, I did what any sneaky Mom would do. I bribed our four boys and their wives. I told them I had a photographer coming (not me this time), and everyone was getting a FREE photo session. Guess what? It worked! They all showed up, and I got my photos. SCORE!
I quickly ordered them on canvas, thinking I could hang them on the wall, and that would be it. After hanging them, I knew right away that they needed more. The canvases needed a wood frame to make them stand out against the white wall. A little contrast with warm wood color.
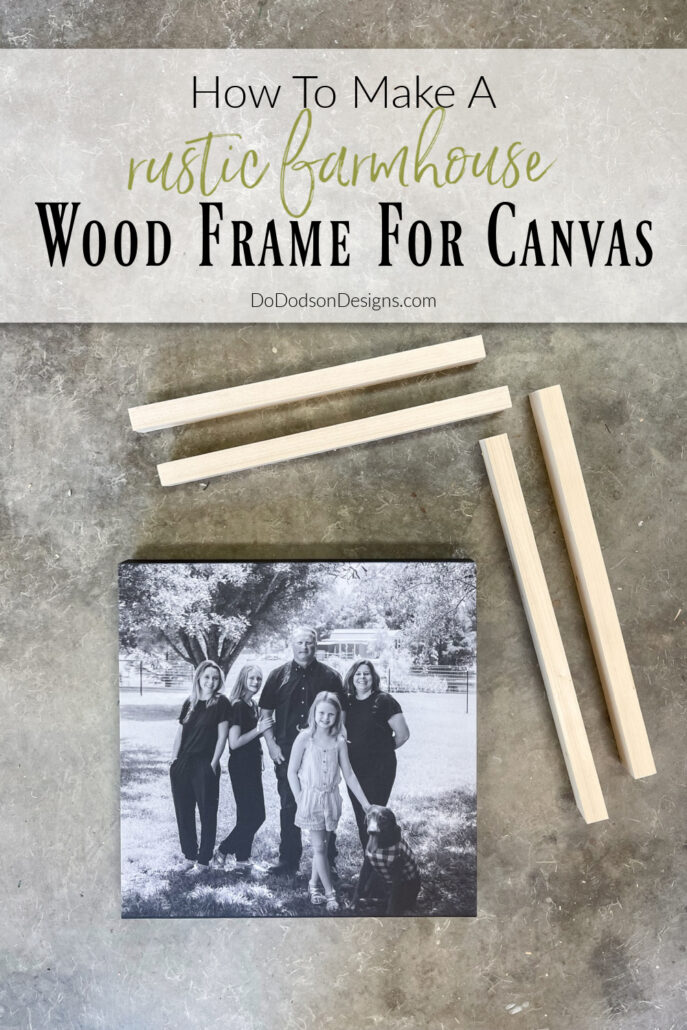

SUPPLY LIST:
- scrap wood lumber or 1X2 wood, select pine
- chop saw
- electric wood sander (power tools)
- finish nails
- pneumatic nail gun or brad nailer
- Golden Ash No Pain Gel Stain (your choice of wood stain or paint)
- applicator pad (for gel stain)
Types Of Wood For Canvas Frames
The type of wood you choose is up to you, but I find that select pine is inexpensive and easy to work with and is best for this simple wood frame. You can customize the frame with paint or match a stain color to compliment your home decor.
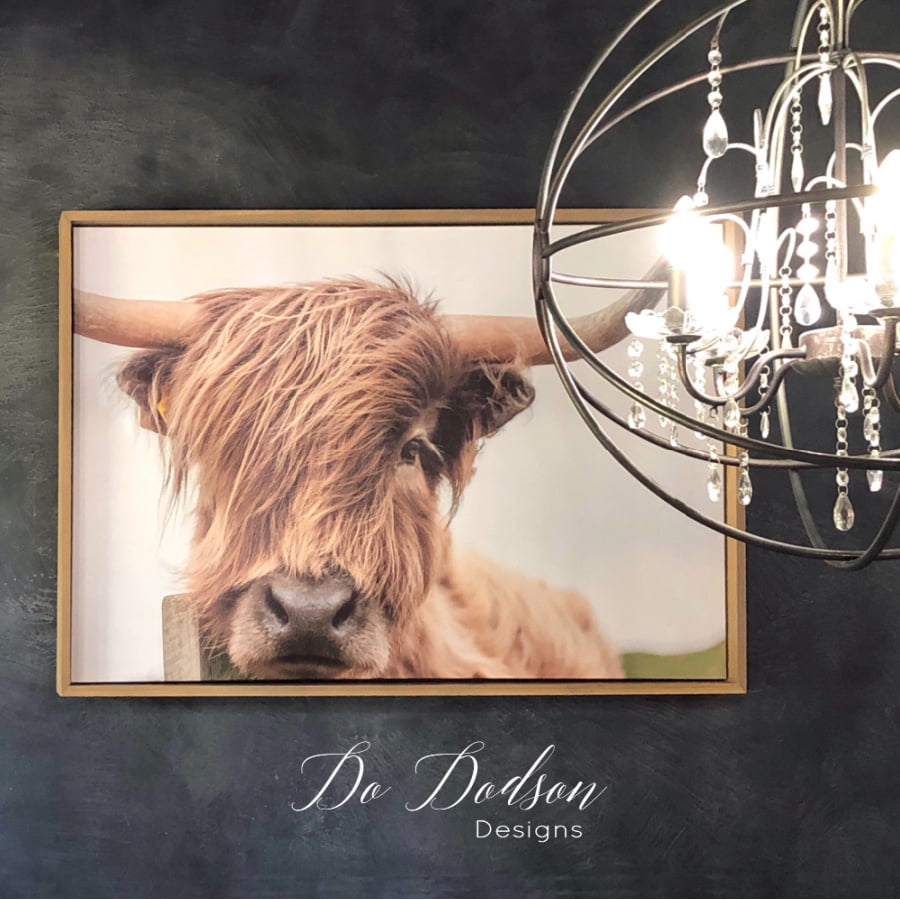
I used maple wood (better for staining) for a floating frame I made a few years ago for my canvas artwork that now hangs over my coffee bar. Canvas floater frames can make even an ordinary canvas picture look high-end, and it’s affordable compared to having it done professionally.
This DIY wood frame is actually pretty quick to make and low cost, especially if you have scrap wood lying around like I do.
CLICK HERE to learn how to make a floating frame for your canvas artwork. I think you’ll LOVE the depth and dimension it adds to the wooden frame.
Measure And Cut Your Pieces Of Wood
Depending on the size of your canvas, you’ll need to cut two different sizes. Two pieces will be for the sides of the frame, and the other two pieces will be for the bottom and top of the frame.
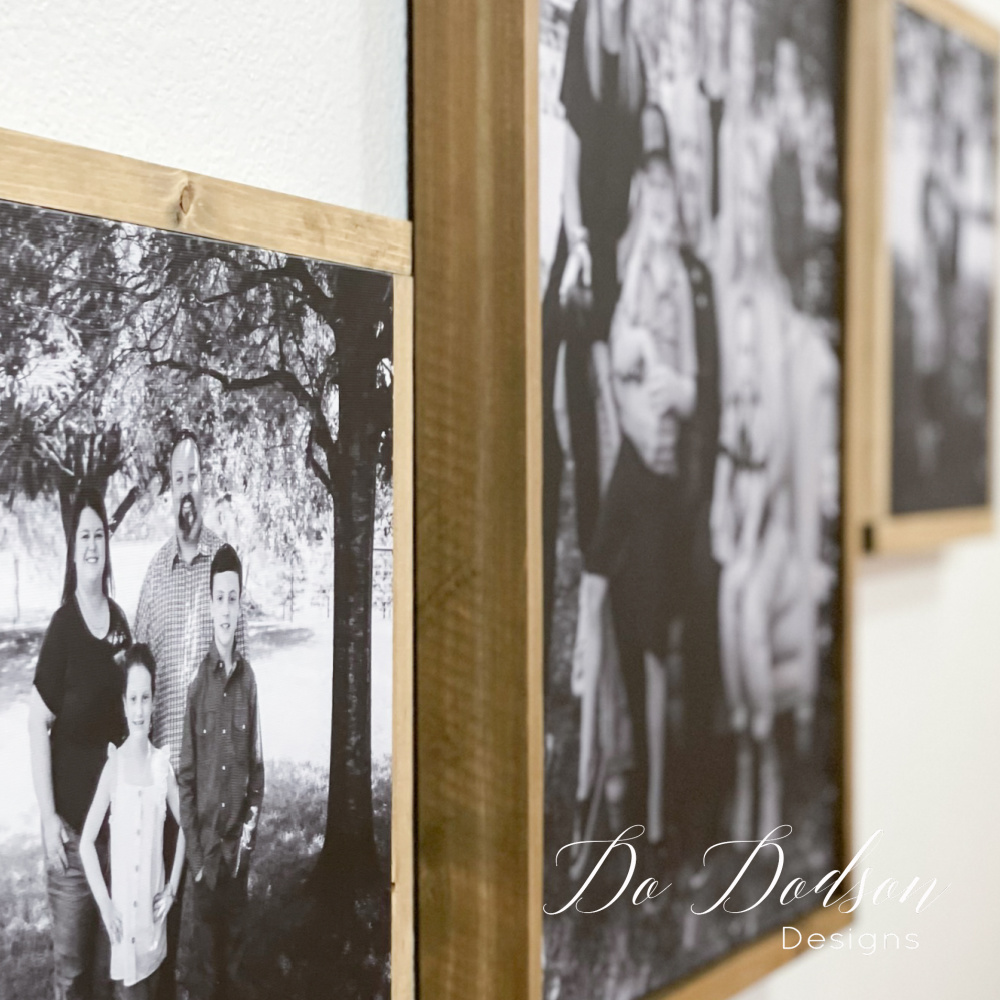
This is a simple frame with butt joints. No need for those fancy angles or a miter box. Each side piece will butt directly up to the top and bottom pieces that overhang, giving it a rustic farmhouse look.
* Example: My canvas is 12X12 inches, so the side pieces I’ll need are two 12 inches pieces that are cut the same size as the canvas.
STEP 1: Cut two side pieces the same size as the canvas.
STEP 2: Measure for the top and bottom pieces and add the extra needed to match up with the top and bottom pieces.
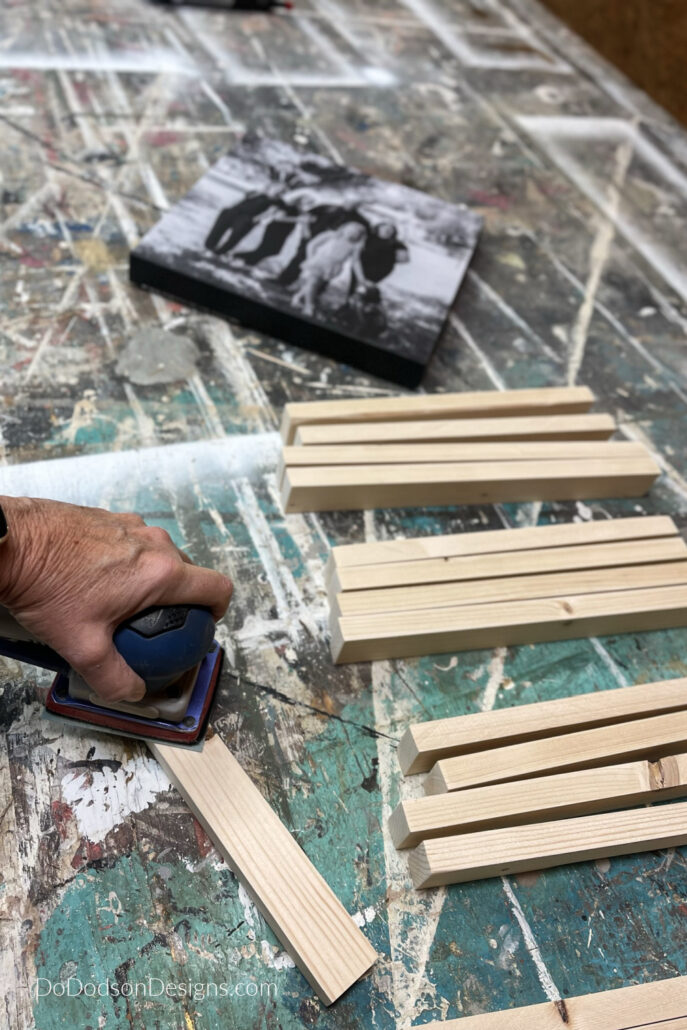
STEP 3: After cutting the wood pieces, lightly sand with 220 grit sandpaper to smooth out the rough edges. The wood is ready to paint or stain and should be done before assembling the frame.
Choosing A Wood Stain Or Paint For Your Frame
I chose to use an oil-based gel stain for my wood picture frame. Well, it’s not technically a picture frame, but it is a frame nonetheless.
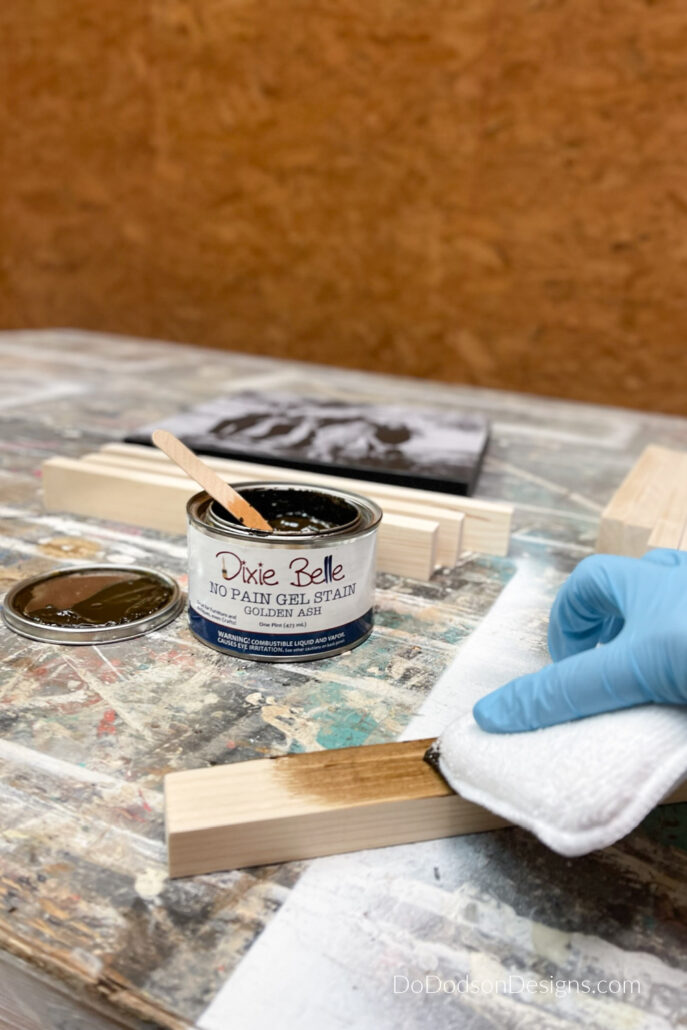
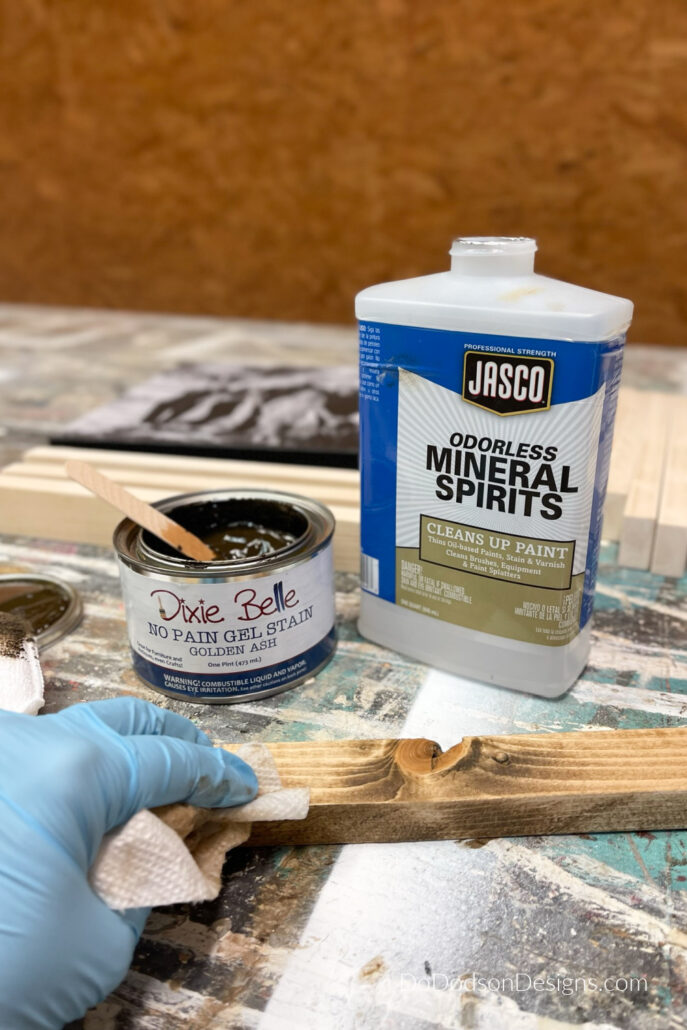
I used golden ash by Dixie Belle Paint Company in their No Pain Gel Stain line. It has warm tones with a tint of gray. Here’s how to apply it.
STEP4: Apply the gel stain with a clean cloth onto the raw wood, being sure to cover all the wood. Then wipe away the excess that is left over for a beautiful finish.
This oil-based product will dry in a few hours, and there is no need to seal or add a top coat. It has a built-in sealer, which makes it perfect for small DIY wood projects like this one.
One coat is all you need for this project, but the stain can also be layered to deepen the color or can be toned down by using odorless mineral spirits.
To get a lighter finish in the same color, simply wipe the stained wood immediately after applying the gel stain with the odorless mineral spirits and a clean cloth to thin the stain. This is a gorgeous look and gives the wood that rustic farmhouse finish that I love, and it works especially well if your wood has lots of wood grain and knots.
Or, if you love painted frames, think of the endless possibilities of using chalk mineral paint. I like the idea of a painted wood frame for canvas too.
The Frame Assembly
Lay out your pieces on a flat surface and hand-fit them together tightly against the canvas. The wood edge of your canvas frame should fit perfectly together if you measured and cut it correctly.
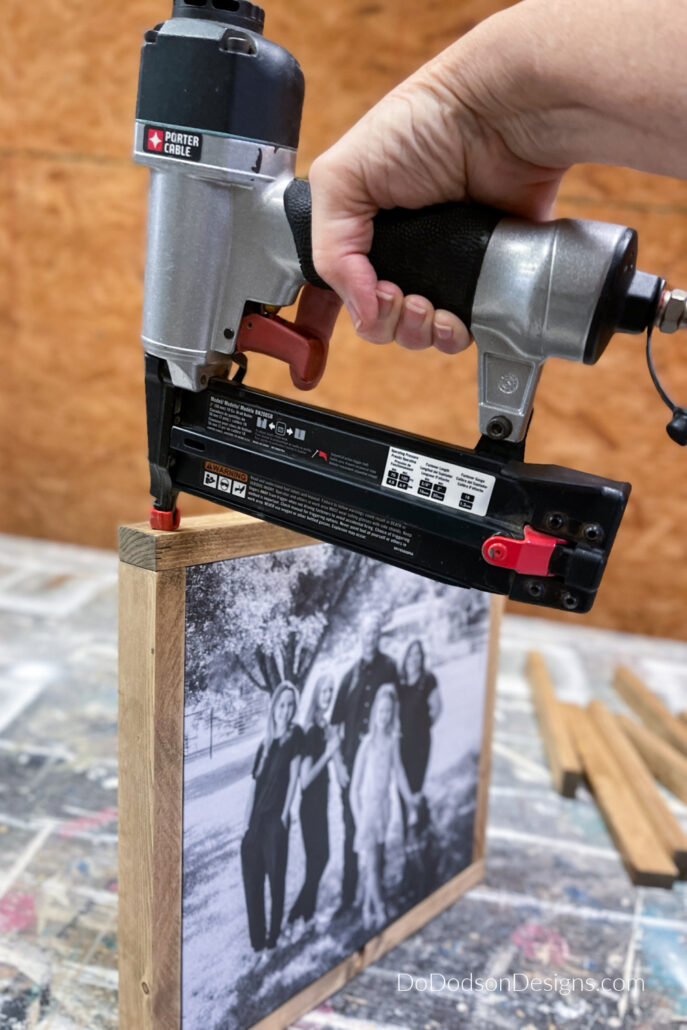
With a nail gun, brad nailer, or just regular old finish nails and a hammer, secure the wood ends together tightly against the canvas frame.
You may need an extra pair of hands to hold the wood frame in place while you nail it.
I only nailed the wood-butted ends. I did not nail the wood to the canvas prints for fear of damaging them. The frame itself fits very snuggly against the canvas, so I’m not worried about it slipping out, and the hanger is attached to the back of the canvas and not the frame.
Custom Framing That Didn’t Break The Bank
Custom framing can be very expensive, and with this simple DIY method, you can give your canvases the look they deserve.
Here’s what they look like on my wall now. Chunky but not too chunky. I love them so much.
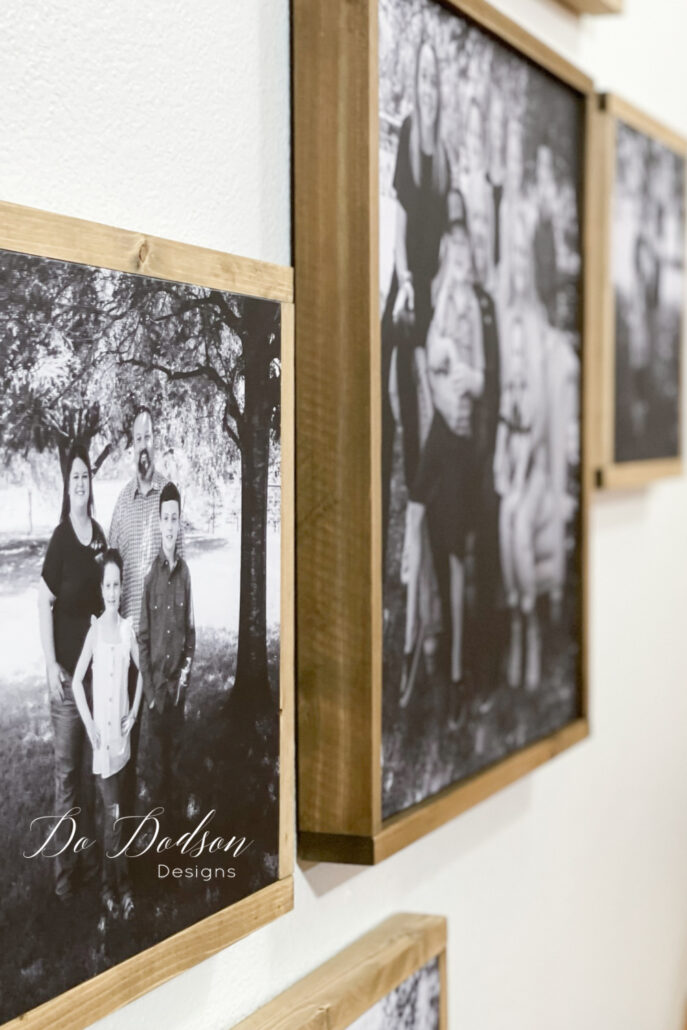
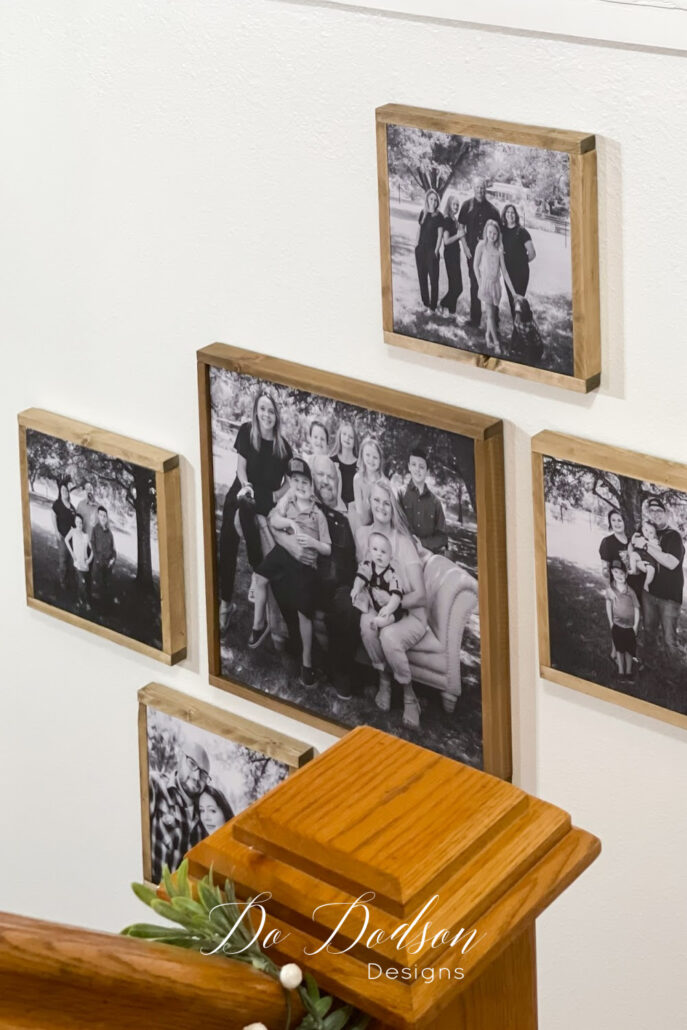
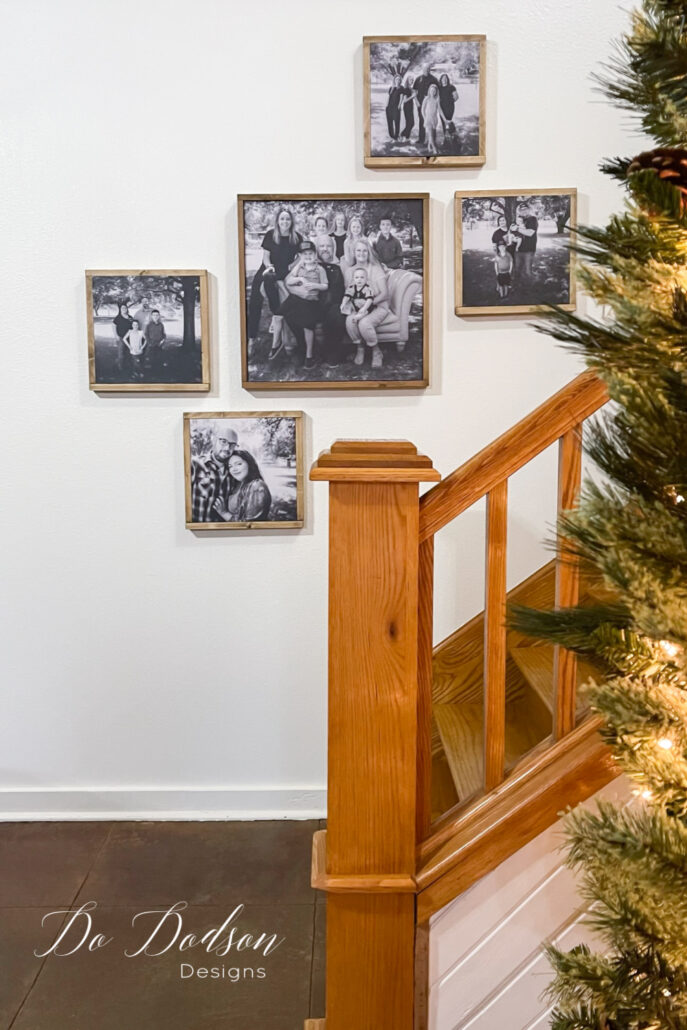
I got my photos, y’all! Do you know how happy this makes me? And even better, I have custom wood frames that match my rustic farmhouse style. The right frame really does make all the difference.
Hey, thanks for joining me today, and I hope you have enjoyed this quick and easy DIY tutorial for making a wood frame for a canvas, and as always, I love hearing from you. Drop your comments and let me know what you think about this DIY project. Or just say hi so I know you stopped by. Don’t forget to PIN this, please. 🙂
Until the next project… xo, Do


Love your family ‘gallery’ wall and the custom frames look amazing! And HAPPY BIRTHDAY my friend! Enjoy your special day.🎈🎂
Thank you, Denise!
It was a nice quiet Birthday, and I enjoyed the downtime. 🙂 xo
Beautiful! I love this.
Thank you, Renea! Have a fantastic week, my friend. 🙂 xo
What a great idea for your canvases Do! I know it means so much to us mama’s to have our peeps all together at the same time. What a great idea to gather your group! 🥰 Pinned!
Thank you, Cindy!
One of my best moves! LOL, they are quite the crew when they are all together. Our home gets VERY loud. I love it!
🙂 xo
Well Happy Birthday Donna! I turn 59 in March. You look amazing and not a day over 40. The photos are fabulous! I wish I had a big family. I do have 2 adorable grandbabies that I adore though. I wish my daughter was still here to watch them grow. Thank you for sharing your wonderful photos.
Thank you, Cheryl. I am sending you a big hug. I’m so sorry. Having a missing family member is heartbreaking. Try to hold tight to those good memories and those grandbabies, and I pray that will be enough until you meet again. 🙂 xo
I love the rustic charm of these simple frames. This is definitely a project that I will do in my own home. Thank you for sharing, Do.
I laugh every time the kids are over because now that they are “on the wall,” they like to rearrange the photos in the gallery. My boys are so competitive and always want to be #1. LOL, Silly boys. Happy New Year, friend
I laugh every time the kids are over because now that they are “on the wall,” they like to rearrange the photos in the gallery. My boys are so competitive and always want to be #1. LOL, Silly boys. Happy New Year, friend.