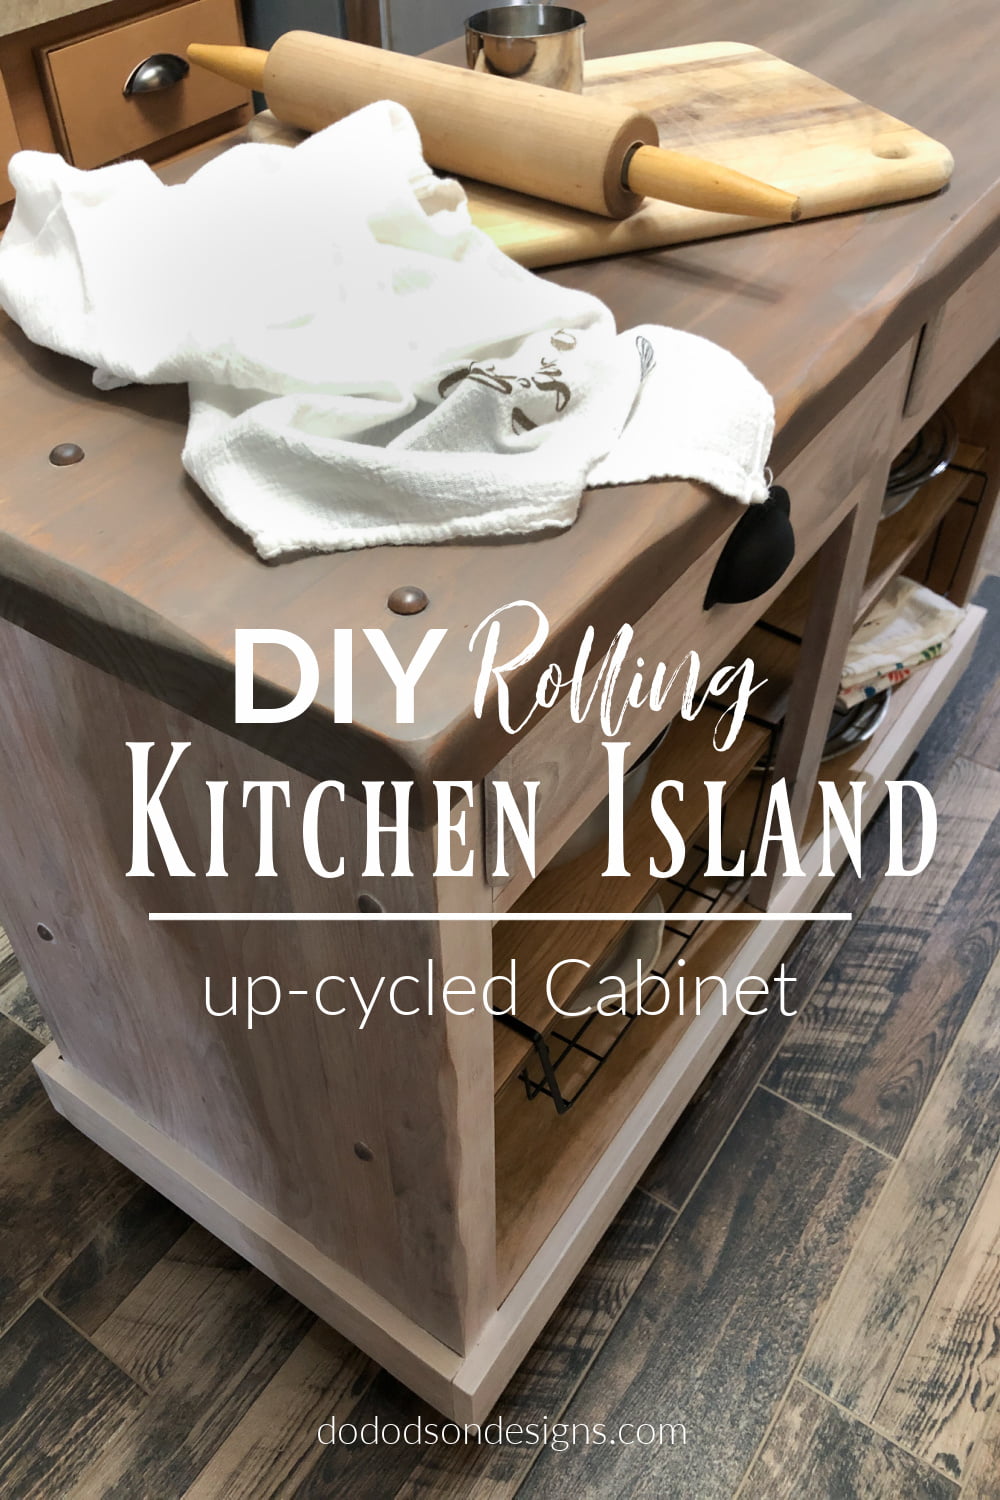
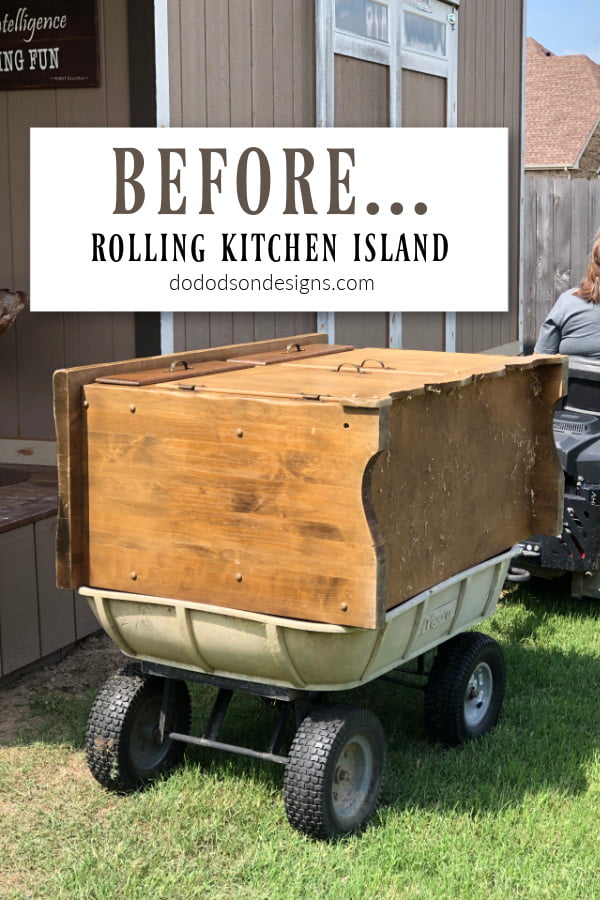
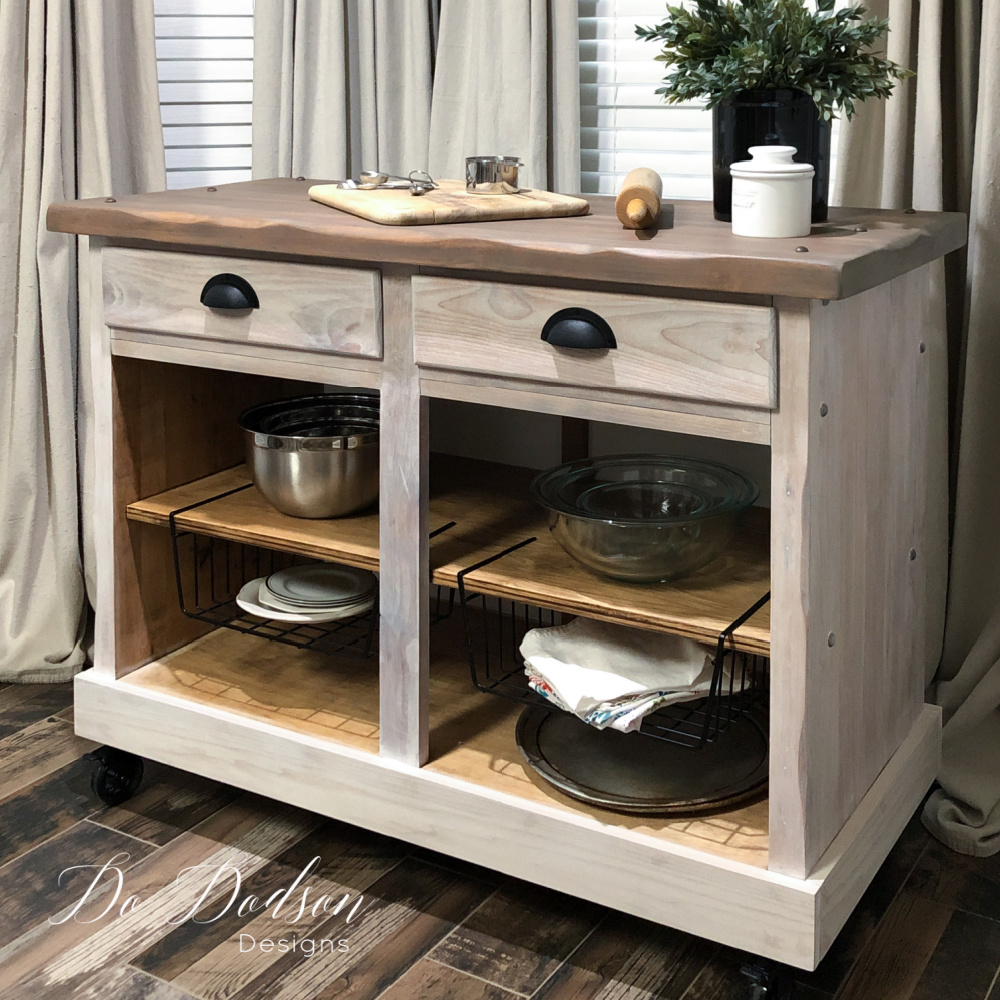
I never intended for this project to be a rolling kitchen island. When I find and purchase old furniture, I don’t always get a clear picture of what it really looks like until I pick it up. But if the price is right, I buy it. Most of the time, it works out, or I scrap it for hardware and parts. The truth is… this cabinet was a bit of a disappointment when I picked it up and even left it in the back of my truck, where it got rained on all night long. The next day I figured if a piece is that sturdy, it deserves a second chance. I’ve secretly always wanted a kitchen island but never had space in my tiny kitchen. This is a great option for those small kitchens with little counter spaces.
This post contains a few affiliate links to help you find the products I use. You are not charged extra to use any of the links, but any income I make will be used for more amazing DIY projects to share with you! To see my full disclaimer, click here!
DIY Rolling Kitchen Island | Upcycled Cabinet Project
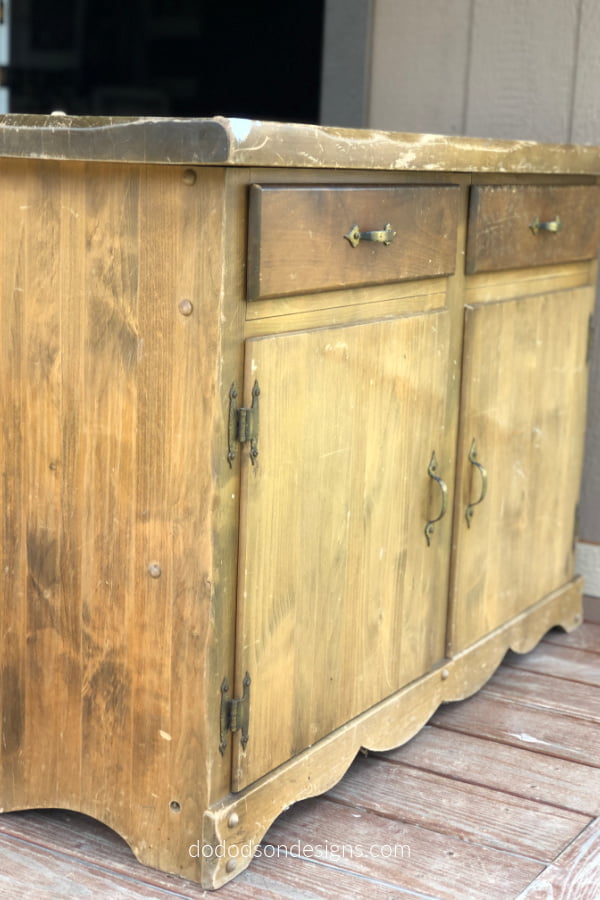
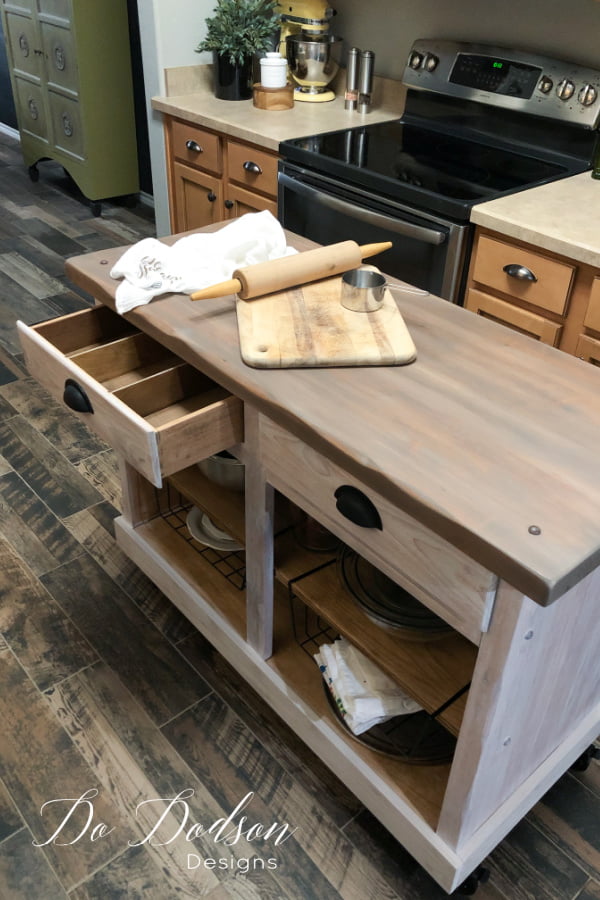
Literally, it was a “rolling kitchen cabinet” before it was even a thing. Ha! During the transfer of this cabinet via my lawnmower, I saw its full potential. The top and sides were made out of butcher block and super heavy. It’s unusual for sure, but what else is there to do with the butcher block cabinet other than add wheels? It also had these wooden knobby things and ugly hardware. Later I discovered they were wooden plugs that covered the screw holes. Not a fan of them at all.

Product List For This Project
- Solid wood cabinet
- Surfprep Sanding System (Use my code DOIT10 to get an additional 10% discount)
- Wood Filler
- Cart Wheels
- Under Shelf Basket Storage (wire baskets)
- Cup Pulls (cabinet hardware)
- Wood Glue
- 1X4 Poplar (Bottom Trim)
- Pneumatic Nail Gun (you can use the old-fashioned nails and hammer)
- Drill
- Chop Saw
- Hemp Seed Oil
- Gel Stain (Pickling White)
- Gel Stain (Walnut)
- Applicator Pad
- Cotton (chalk mineral paint)
- Gator Hide (Top Coat)
Power tools help any DIY projects if you have them but can be done the old-fashioned way. It took me years to build up my tool kit, so don’t get discouraged if you don’t have everything in the product list above. It takes time.
The Demo
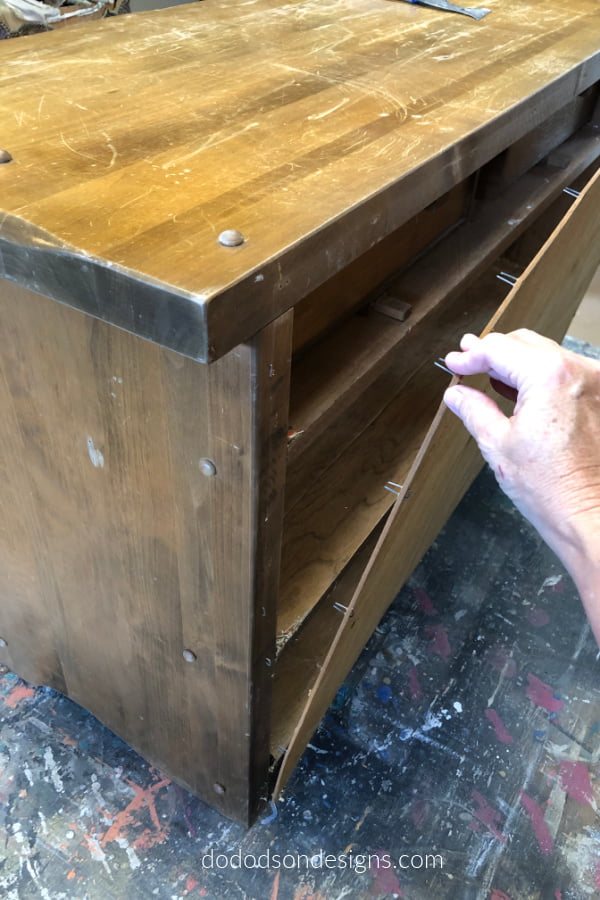
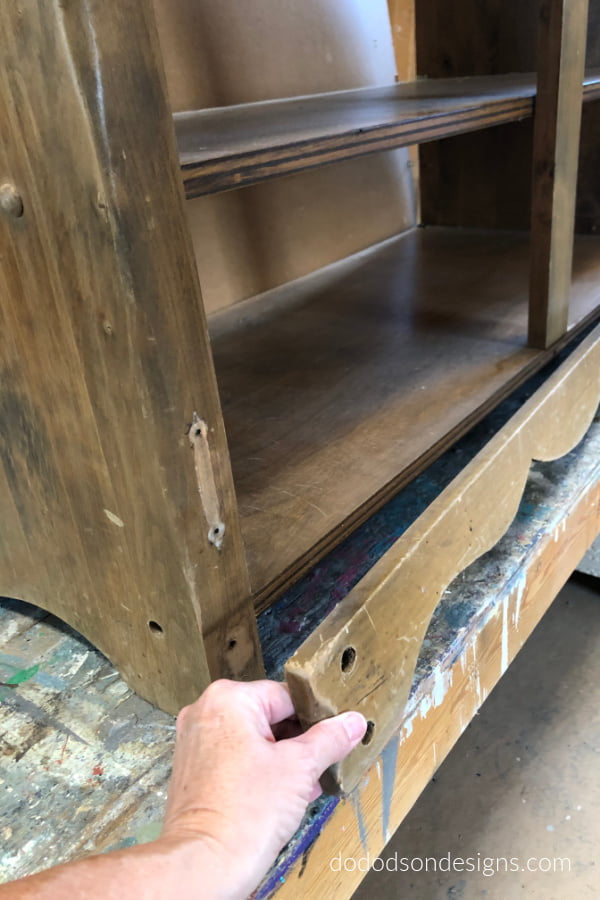
First things first… to start with, I removed the cabinet doors, hardware, wooden plugs, and the backing. The rain messed that up, but everything else was clean and intact. Oh ya, I also removed this decorative board across the front too. I’ll replace it with a simple 1 X 4 to give it a more simplistic farmhouse look. At least that’s what I’m going for—time to start rebuilding this cabinet into the rolling kitchen island that I have always wanted.
I’ll Never Use Chemicals Again! Surfprep Sanding System
With all this lovely butcher block wood, I knew I couldn’t just paint over it. So, I grabbed my Surfprep Sander with 80 grit paper and started stripping back the old varnish. If you do nothing else for yourself this year, get yourself this tool. It has been a game-changer when working with wood. I wouldn’t say I like using chemicals, and this method beats them all, hands down. Here’s a quick video of me showing you the process. It took me 7 minutes… “7 minutes” to sand down the top of this cabinet. WATCH the video below to see what I’m talking about.
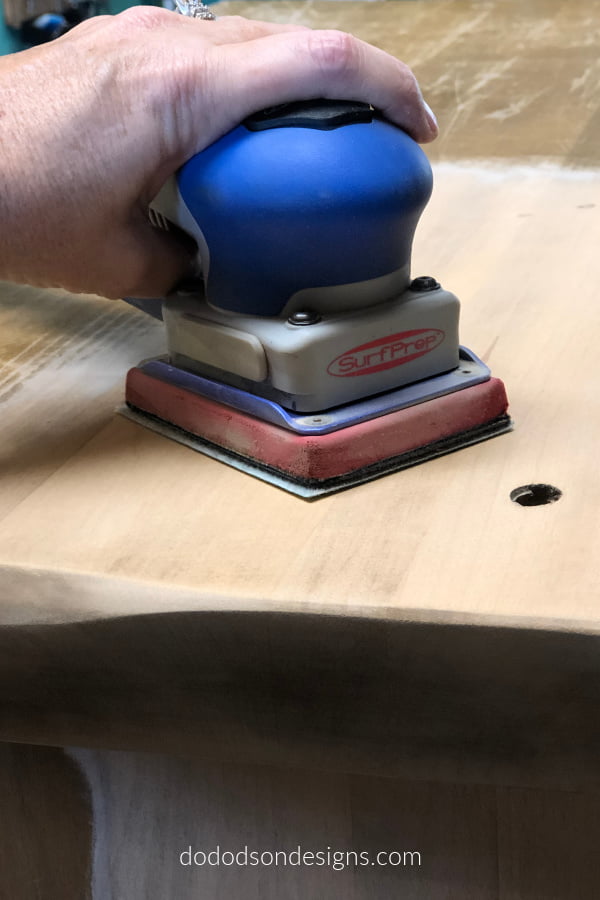
7-Minute Stripping With NO Chemicals… watch the video.
Modifying The Base For Wheels
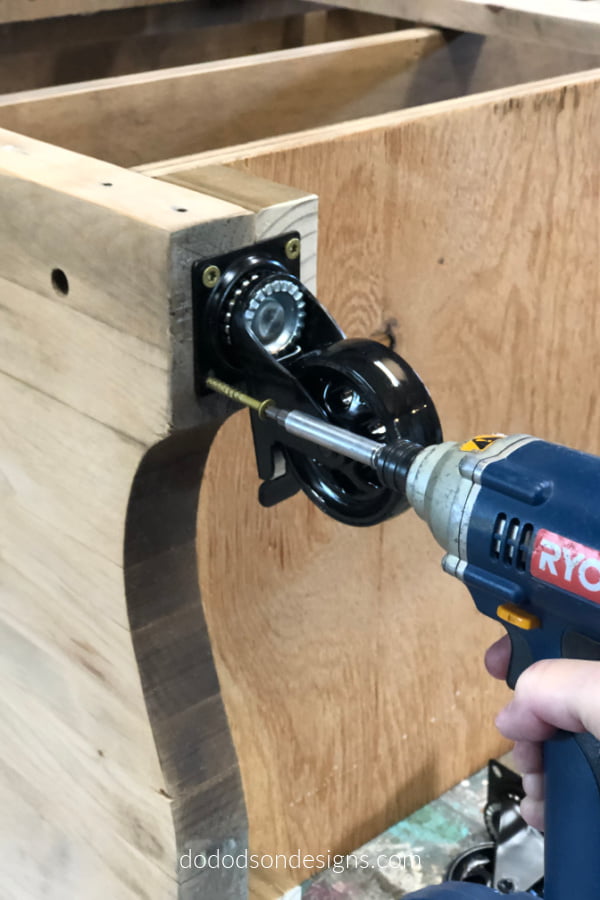
Adding wheels to any piece of furniture will take a little planning. The first thing you’ll need to do is turn the furniture upside down and check for any structural issues. There were none with this piece. Shocker! But I also knew that the wheels I chose would not fit. With the butcher block being the base, I cut a piece of 2 X 4 and screw it to the butcher block to create a stable base for the wheels.
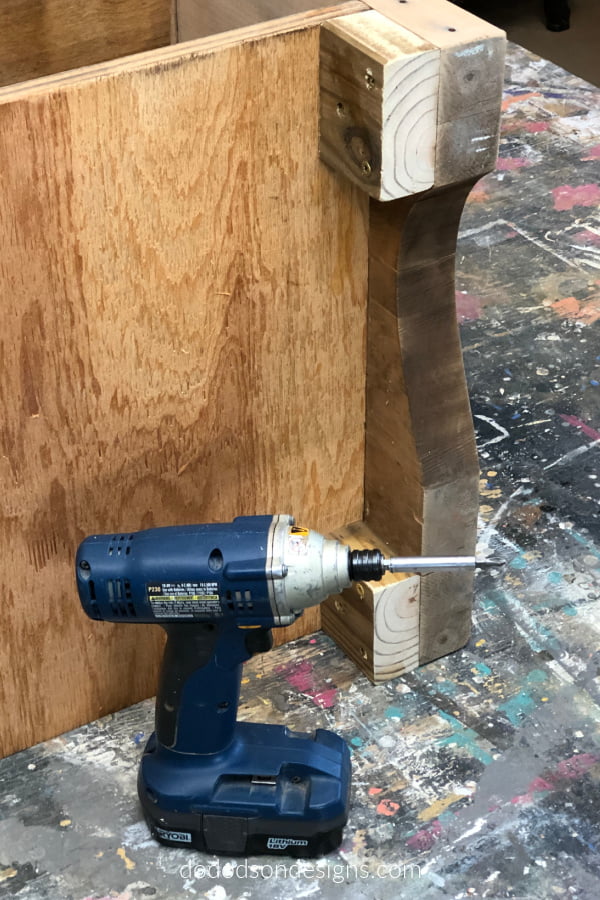
Attaching The Wheels To The Base
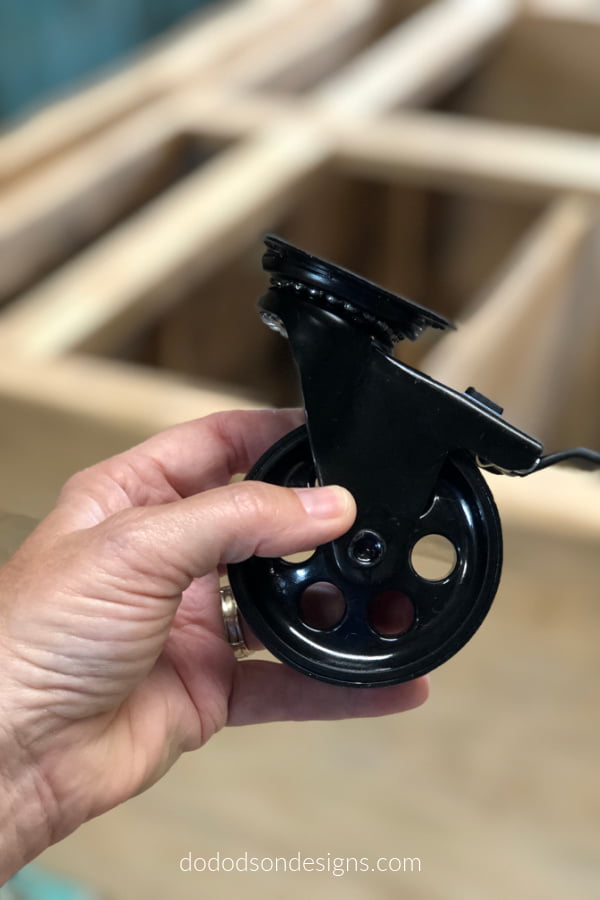
Check out these wheels! This sweet ride is going to have Mag Wheels. Actually, it’s more of an industrial farmhouse look.
I have to share this with you… I told my hubby that the rolling kitchen island would have an industrial farmhouse vibe when I’m done with it. He immediately started laughing and told me to quit making up design styles. Ha! He really didn’t know it was a thing and told me not to be telling everyone that. Silly guy. I spent the rest of the evening proving him wrong on Pinterest. 🙂
Securing The Base Of The Rolling Kitchen Cart
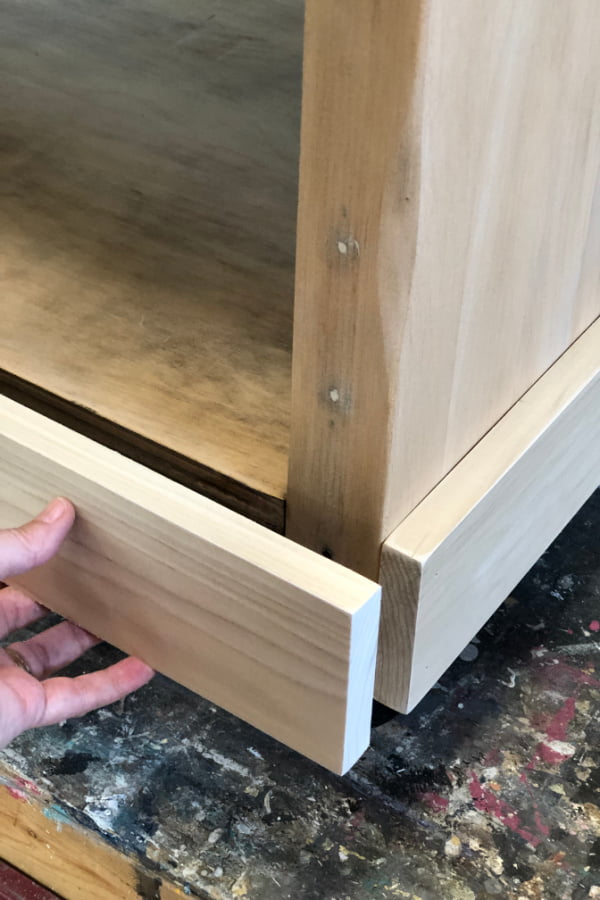
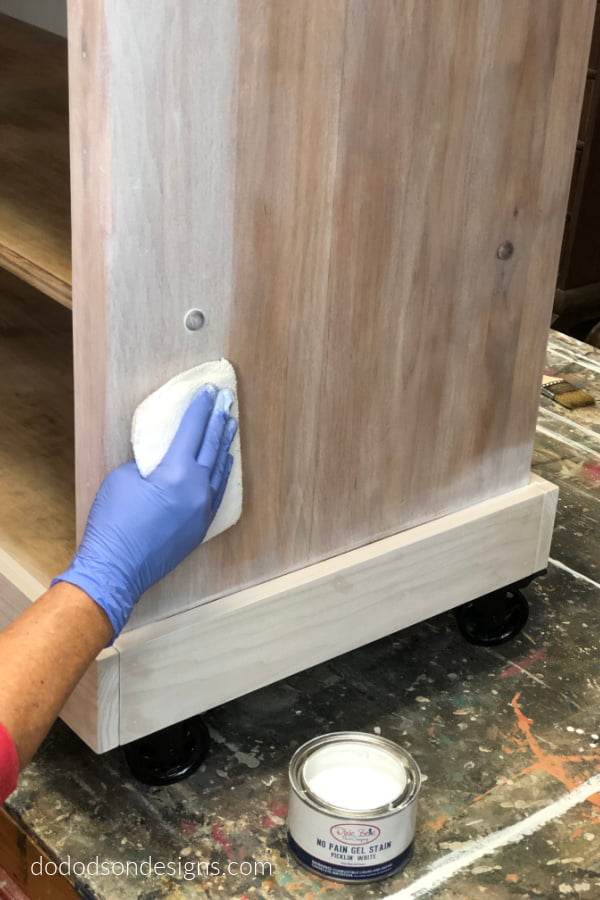
Since I removed the baseboard across the front, I wrapped the whole rolling kitchen island in 1 X 4 poplar wood to give it more stability. The boards were square cut instead of the usual 45-degree cuts. It was the best option to match the butcher block’s raw wood, and I liked the boxy feel of it.
Finishing The Butcher Block On The Rolling Kitchen Island
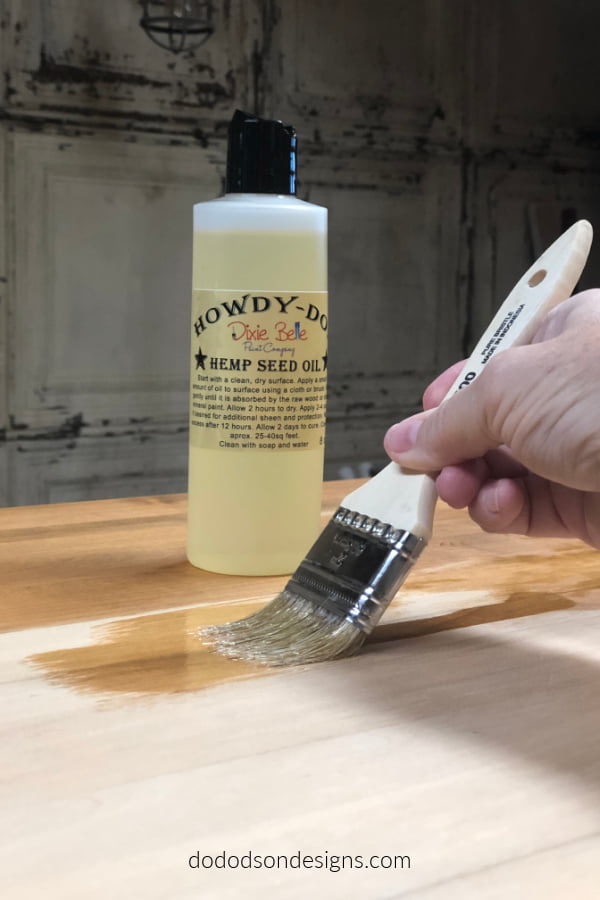
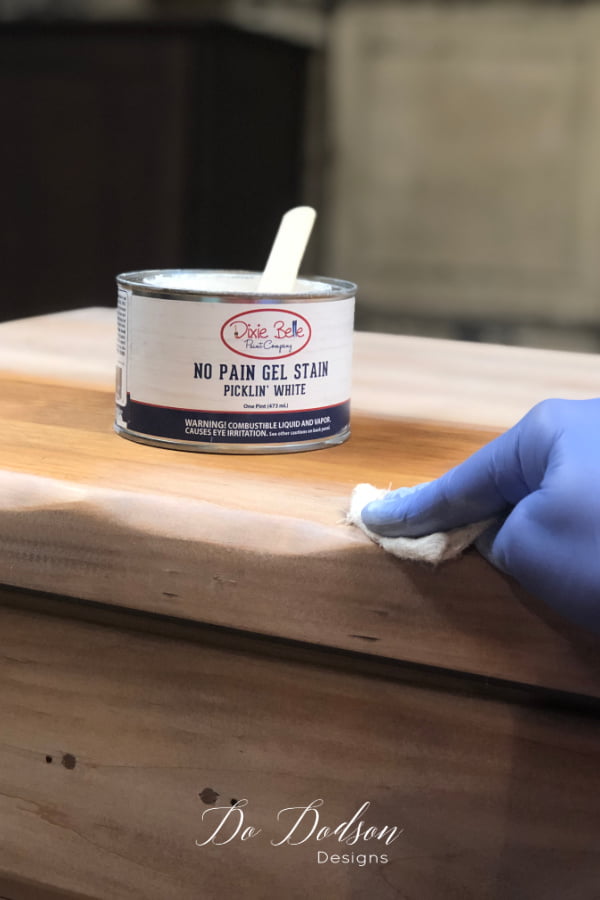
To condition the butcher block top, I added a coat of Hemp Seed Oil with a chip brush and wiped it back with a soft cotton cloth. The wood was super dry and really needed the oil to help preserve it. However, I was not too fond of the yellow tones that the oil brought out of the wood. So, after 24 hours of dry time, I went back with a Pickling Gel Stain and the Walnut Gel Stain (oil-based, so I know it will be okay to use) and wiped it on the wood in the direction of the wood grain. This did the trick! I only used the walnut stain on the top. The base of the cabinet is pickling wash only.
Updating The Back Of The Rolling Kitchen Island
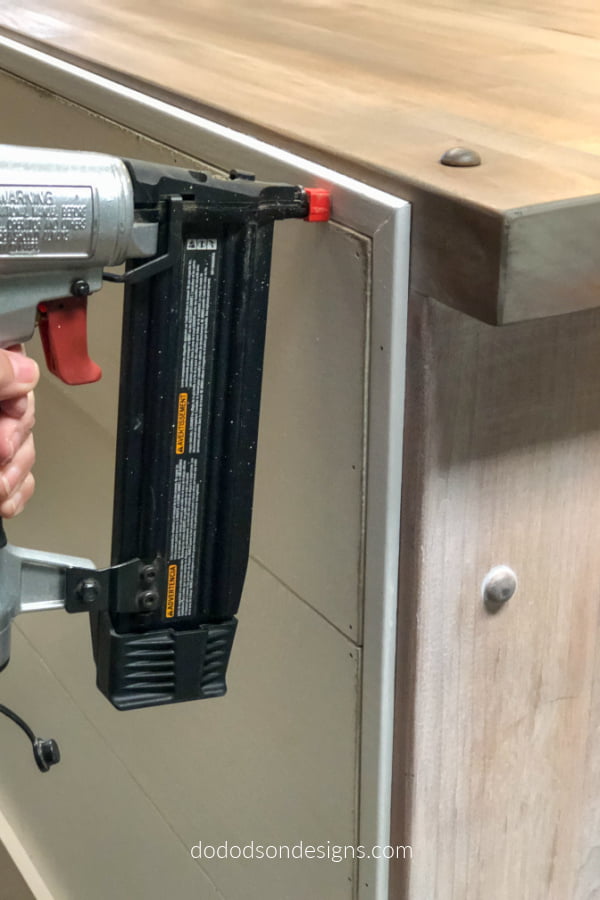
Now for the back of my rolling kitchen island. I cut three sheets of 1/4 inch plywood and created a faux shiplap backing with a small piece of trim to finish it off. It was painted with Cotton chalk mineral paint and sealed with Gator Hide. I also sealed the inside of the cabinet with it too. This topcoat works well on raw wood finishes too.
This Is How It Turned out!
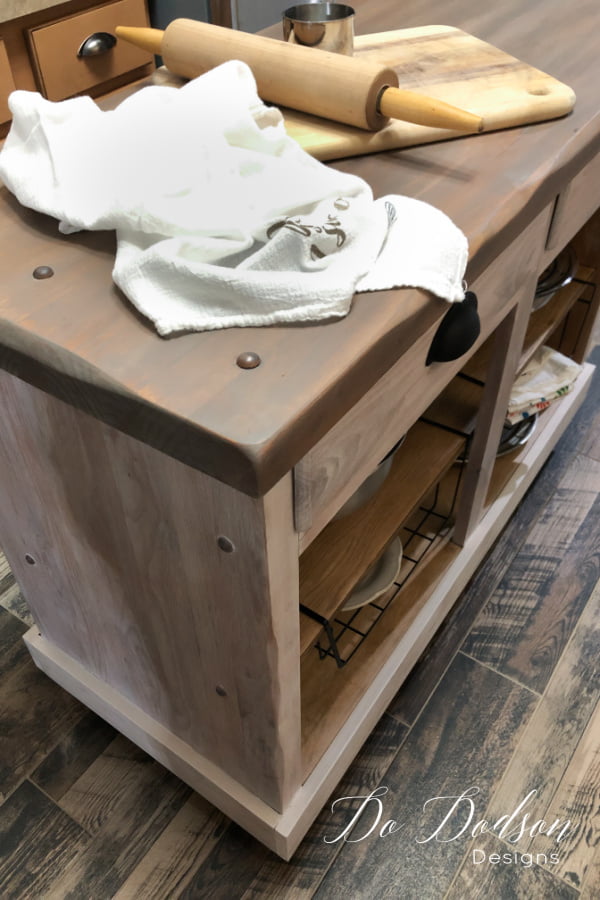
I wasn’t sure it would even fit in my small kitchen space. But with the wheels, it’s easy to maneuver when I need a little extra room to move around. I’m pretty sure I’ll be using it a lot during the holidays too. I’ll fill it up with desserts, plates, silverware, and napkins and roll it right to the dinner table. Instant dessert cart!
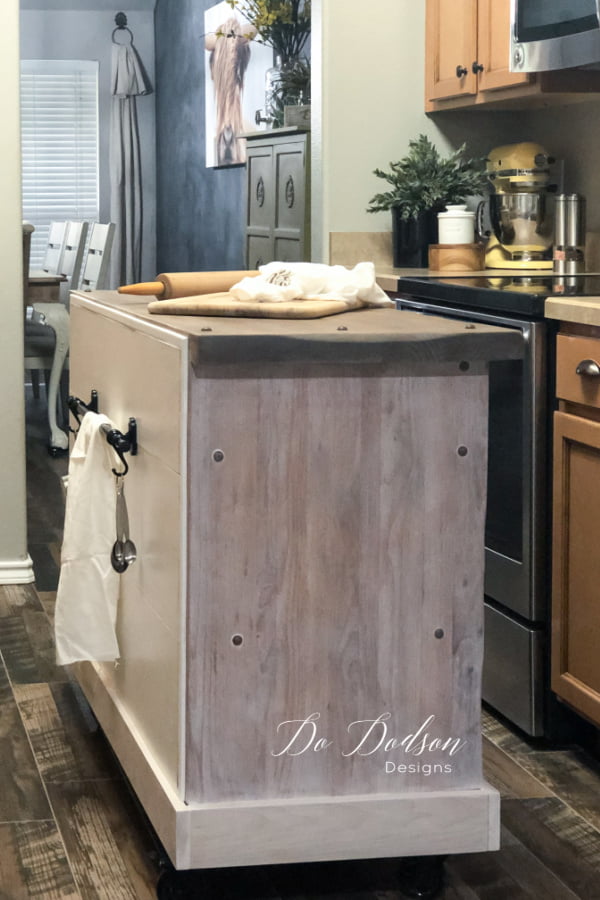
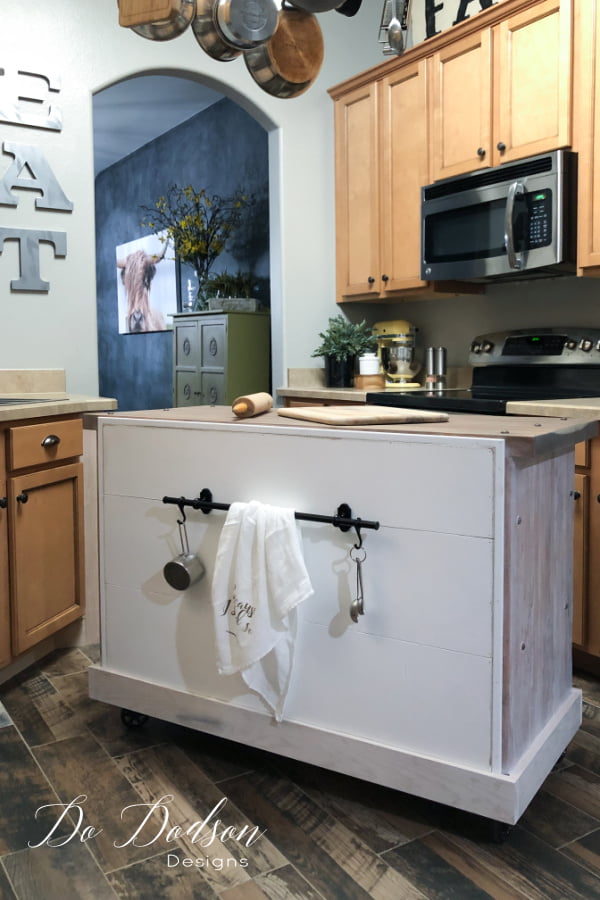
Because the back is basically flat, I added a steel kitchen organizer from IKEA with hooks. Here’s another idea… hang coffee cups from the hooks and add coffee for an instant rolling coffee bar. Gonna need that with the desserts! 🙂
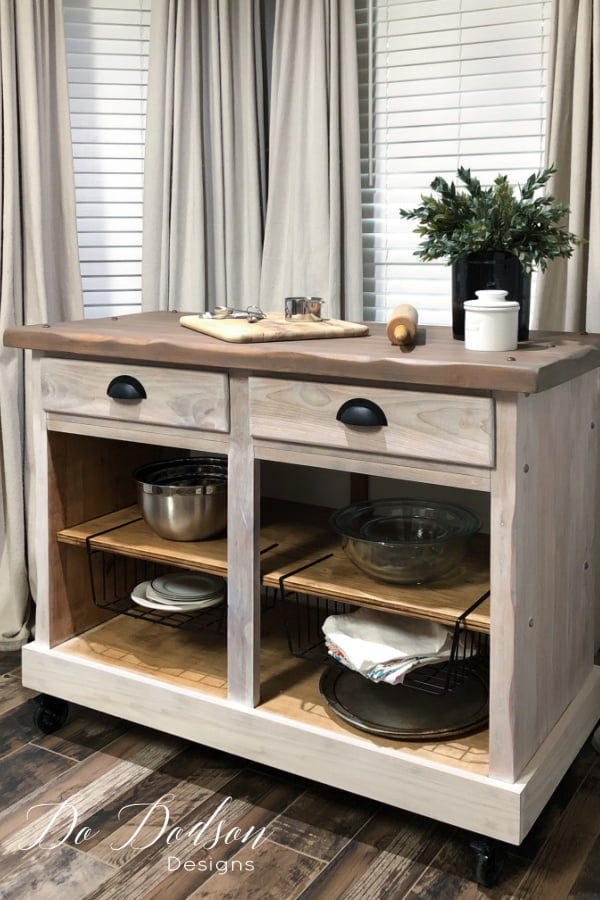
Since the cabinet openings are pretty large, I found these wire shelf baskets to help utilize and organize the space. I’m pretty happy with how it turned out. Not bad for a cabinet that sat out in the rain overnight. And I’m even okay with the wooden plugs now.
Lately, I’ve been obsessed with woodworking (can you tell?), and I was searching Pinterest for inspiration when I found this fun DIY by Sawdust 2 Stitches. She turned an old garage sale cabinet into an ah-mazing DIY Kitchen Island too.
So, that’s it. I’d love to hear what you think about this rolling kitchen island/dessert bar/coffee bar/storage/additional counter space… etc., etc. It will get used in many ways. Drop me some love below… or not. I’ll still love you. 😘
Until the next project… xo, Do


Do, you have the magic touch. This is an awesome handy wheeley kitchen island. I love it.
I have it on a sticky note to get my self one of those SurfPrep sanders. Thats if I can find it here in Ontario Canada where I live. I don’t do furniture restores as you do but I have twiddled a little in the past so I’m glad you showed this handy little sander because I do have a few pieces of furniture here and there I might just get around to doing.
Thank you for your videos, suggestions, ideas, knowledge and best of all your jokes that make me laugh.
Take care my handy little furniture make-up artist.
Loving you too
xo <3
Hi Brenda!
You make me blush. 🤭 I love my sander but not sure it is sold in Canada. You can purchase it on-line. If you ever decide to take the plunge… I have a discount code to save you some money. Have a fantastic week my friend. Thank you for your kind words. 🙂 xo
I’m smitten with this makeover Do! I need/want one for my kitchen! 😉
It was such fun, Denise! Thank you for stopping by. I appreciate you. 🙂
I love it. The colors are perfect and so versatile. Great find
Thanks, Terri. I try to keep the major pieces neutral in my home. I find it much easier to add a pop of color than to re-paint furniture or cabinets. 🙂
Love your rolling kitchen island!! ♥️
I have a project similar to this to tackle. This definitely helped me!
Yay! So happy that it helped you. 🙂
Very nice!!!
Thank you, Donna. 🙂
I feel your pain! Have leaped before I looked too! But it came out great!
I would like to add one small quirk I would of chalk boarded the back and possible wrote PUT ME BACk or Roll me home .
Just a thought.
Debbie
Debbie! Why didn’t I think of that??? That is a great idea and when I get tired of the towel bar, I’ll do that. Thanks for sharing. 🙂
How do you know what is “ok to use” on a butcher block. I have been looking into using activated charcoal and beeswax for a diy cutting board or something to display food on. What are other suggestions?
Hi Jan,
I won’t be using the Rolling Kitchen Island for a cutting block but I do use the Hemp Oil on my cutting boards and it is food safe. That would be my suggestion and the easiest to apply. 🙂
This is SUCH a cool transformation! I subscribe to all your emails and loovvvvveeee your work but this has to be one of my faves! Great job, I learn A Ton from you and you inspire me weekly! Keep up the great work!
Yay Reese! I’m happy that it has been beneficial to you. My Granddaughter’s name is Reese. ❤️ xo
So glad you saved it. Love the wheels.
Hey Cheryl,
The wheels were the most important part. Thank you always for your kindness and support. 🙂 xo
Amazing transformation, you are truly inspiring.
I’m so happy you enjoyed it. Thank you so much, Michelle. 🙂
The computer said this was a duplicate comment so I hope you get it. I have not seen this post before.
This is fabulous! You did an amazing job and I love it. Thanks.
What else do you use those pads for from Dixie Belle? I don’t remember seeing them. Thanks.
Hi Lori, I use them for staining. I just finished some kitchen cabinets and they’re great for that too. I like to cut them in half because they are so big. More bang for your buck.
I send weekly emails with new posts on Mondays. If you haven’t signed up for my weekly newsletter and want to receive them as soon as they are published, there’s a sign up on every blog or my home page here. https://dododsondesigns.com/ 🙂
I absolutely love this Donna. You have such vision with your projects. Thank you for your constant inspiration x
Thanks, Jane! Glad you enjoyed it. 🙂
Years ago, I made one for a friend out of a full sized dresser. She needed storage and seating, so we added a table top from a different kitchen table, cut it to fit, but overhang the back by 14”, on one end I added ikea wire baskets that she stood her plates in and a bar for coffee cups on top of those and the towel bar on the other end. We covered three sides with shiplap. Later my husband removed the towel bar and made a flip up board to extend the countertop, so now she can seat four people if she wants, or just use the extra counter space when needed. She didn’t want wheels, but we added bun type legs to the bottom.
That sounds fabulous and I love the idea of the flip-up board. I’m sure she adored it and such a special gift too. Thanks for sharing your creativity. 🙂
I love the new it turned out! What a great idea. I love the country feel that your rolling island gives. Love farmhouse style!
Thanks, Debra! It was a fun project. I have many more on the blog, and I hope you’ll join me there. Thanks for stopping by. 🙂
Such a great idea, love it 😍. You’re the best !!!
Hey Penny! Thank you so much. I’m glad you enjoyed it. 🙂 xo
I absolutely love this. You are an amazing lady. You can visualize what an object can be and look beyond what it is. Love, love, love it.
Thank you, Kathy! My mind is a scary place to be. LOL, I do enjoy the journey when transforming these pieces. Have a wonderful weekend, and thanks for reading. 🙂 xo
Hi Do! They just don’t make them like this anymore!! I have a question about the surf prep. Yes I would love one but I don’t see that happening anytime soon. What make is work so good? It can’t be the sanding pad . Can it? It is hooked up to an air compressor. Well alot of sanders can be hooked up to a compressor. I would love to know the secret because it is drool worthy. 🙃
Hi Cheryl,
Yes, it can be hooked up to a shop vac. For me, it’s the pads under the abrasive. When sanding furniture, you don’t always have a smooth flat surface. The pads allow me to do more delicate sanding on veneer and those hard-to-reach detailed wood areas. Also, it’s an industrial sander, meaning it will last much longer than most. If you’re refurbishing a lot of furniture, it makes sense to invest.
Another biggy for me is less vibration, and it’s smaller, which is helpful with my arthritic wrists and hands. It, for sure, is drool-worthy and a great investment. There’s no way I could have got this far in my business without it, not to mention all that sanding I did in our new home. It saved me thousands of dollars doing the prep work.