Who doesn’t love getting freshly baked goods as a gift? It’s a great way to share some Mamma love with your family and friends. I do it all the time. But have you ever thought about sharing the recipe on the container you delivered them in? It can be a part of the gift, and you don’t have to worry about getting your plate back. Oh yeah! They will love you, even more, when they see the recipe plate you made them. Yes, you could share a recipe card instead, but they tend to get lost 9 out of 10 times. Guess what? It’s hard to lose a plate. And it makes a cute kitchen wall decor.
*This post is dedicated to my grown “they will always be little boys” cookie-eating sons X4. ❤ ❤ ❤ ❤
This post contains a few affiliate links to help you find the products I use. You are not charged extra to use any of the links, but any income I make will be used for more amazing DIY projects to share with you! To see my full disclaimer, click here!
What You’ll Need To Create A Recipe Plate
So, how does one go about making a recipe plate? Well, it’s almost too simple. Here’s what you’ll need.
Gather Your Supplies
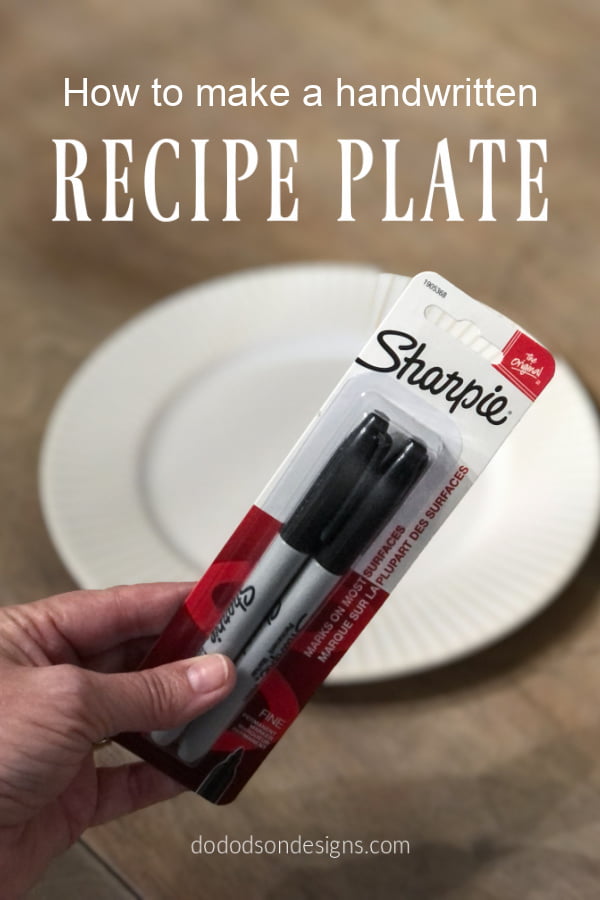
- black sharpie pen (fine point) permanent marker
- gold sharpie pen (medium point oil-based)
- rubbing alcohol
- Q-tips
- painters tape
- microwave, oven, and freezer safe plate (Dollar Store)
- oven
- D ring picture hanger (I have been known to use a coke can tab also. It works!)
- E 6000 craft glue (to glue to picture hanger in place)
Read this before proceeding:
*I’ve read a ton of other blogs on this subject, and most agree that unless you want the permanent marker to be “permanent” on the plate, you will need to use an oil-based marker. I used both on this plate, and even after washing it in the dishwasher, it didn’t rub off, but it did fade a bit. This recipe plate is meant for decoration only, but if you must wash it, wash it by hand in cool water with mild soap. That’s my recommendation.
Lay Out Your Recipe On Paper First
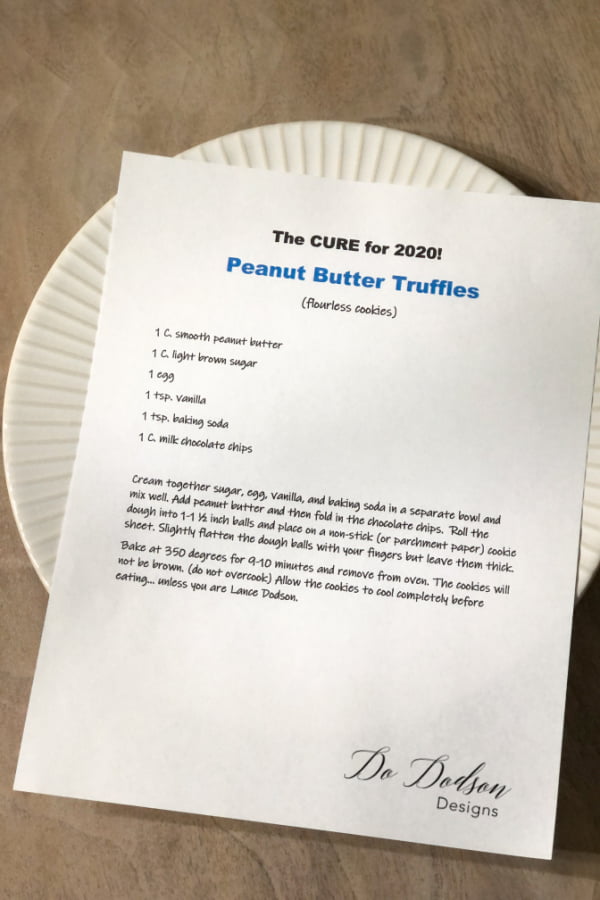
- Lay your recipe out on paper first to get an idea of how much space it will take on the plate. I created a word document and printed it off. This will help you know the size of the lettering. If the recipe is long and detailed, you may need to use a large platter. You can only write so small with a sharpie marker. Use the fine point for writing.
- Make sure the plate is clean before you start. Use rubbing alcohol to remove any oils from the plate and allow it to completely dry. This won’t take long as the alcohol evaporates quickly.
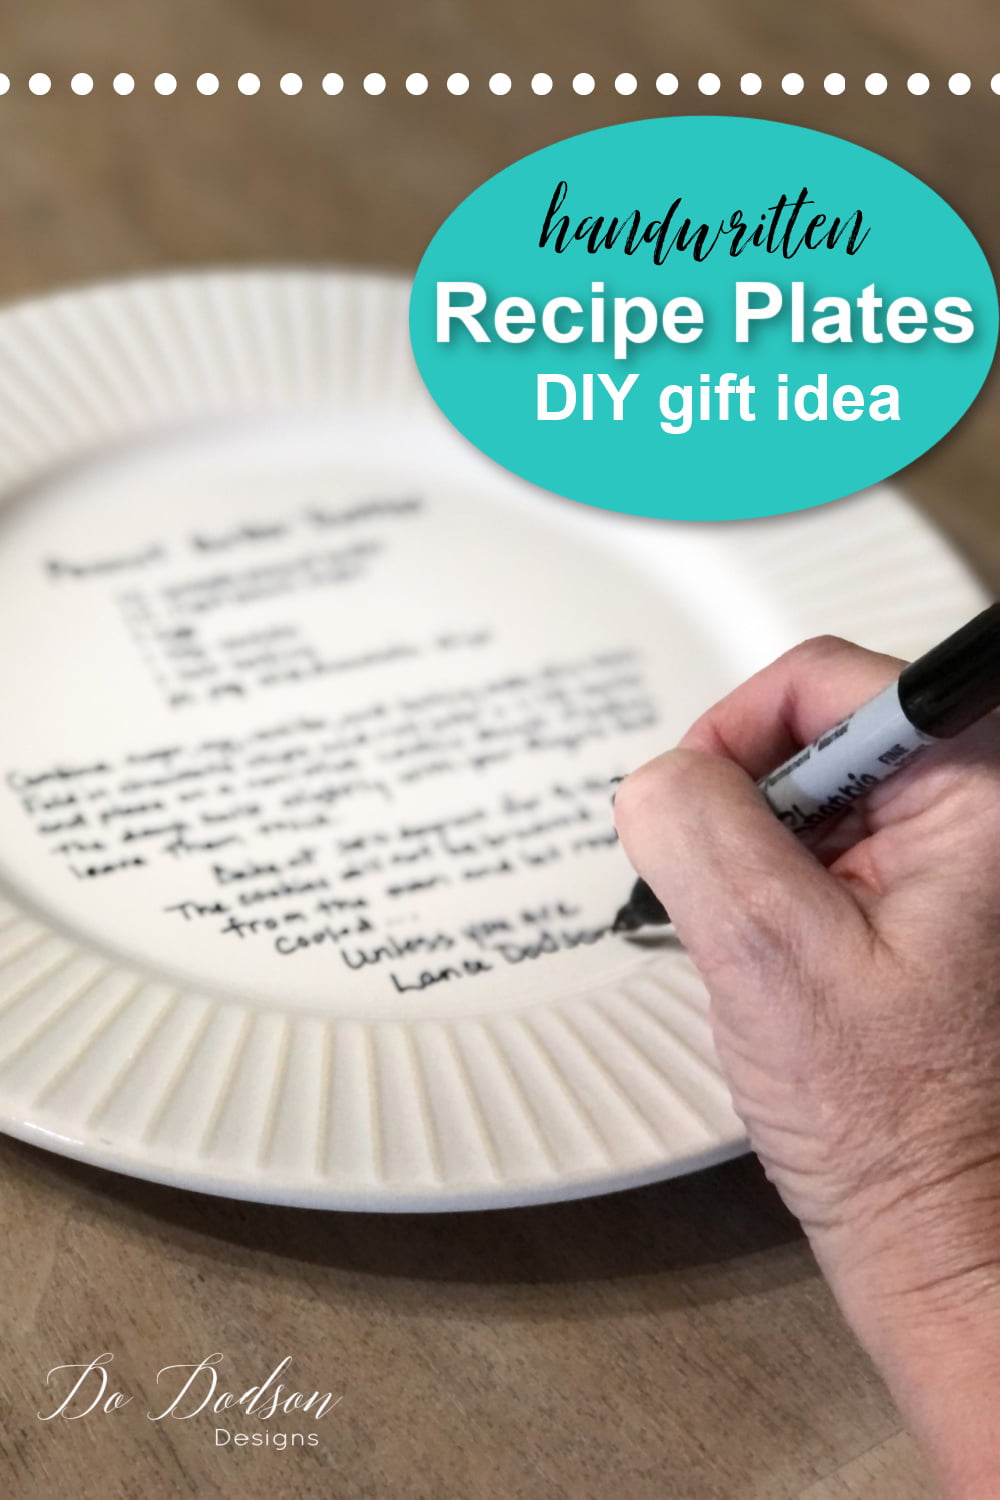
- Don’t obsess over your handwriting. I’d like to tell you that my script is amazing… but after 33 years of nurses’ notes, well let’s just say that mine resembles that of a doctor’s penmanship. That’s why I print. 🙂
My Grandma’s recipes? Most of them were barely legible as they were scribbled on random pieces of paper. They are precious to me, and I know your loved ones will feel the same about yours no matter how you write.
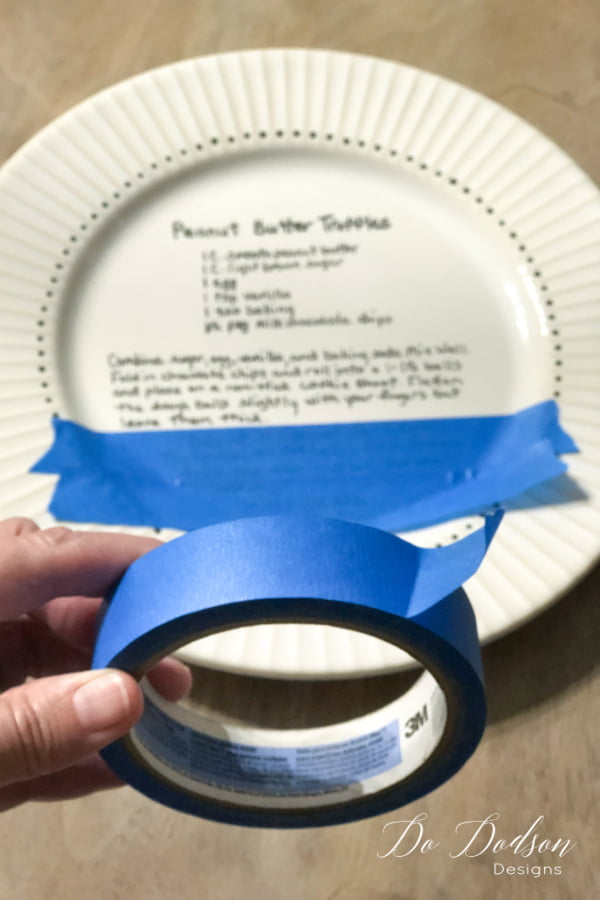
Use Painters Tape As A Guide As You Write
4. Use painter’s tape as a guide to keeping your words straight and in line. Start with the title of the recipe and work your way down. You can use the same piece of tape and move it as you write down the plate. Just be sure to replace the tape if the permanent marker comes in contact with it. It will leave a mark on the next line. Again, it’s simply a guide, and I wrote just above the tape line.
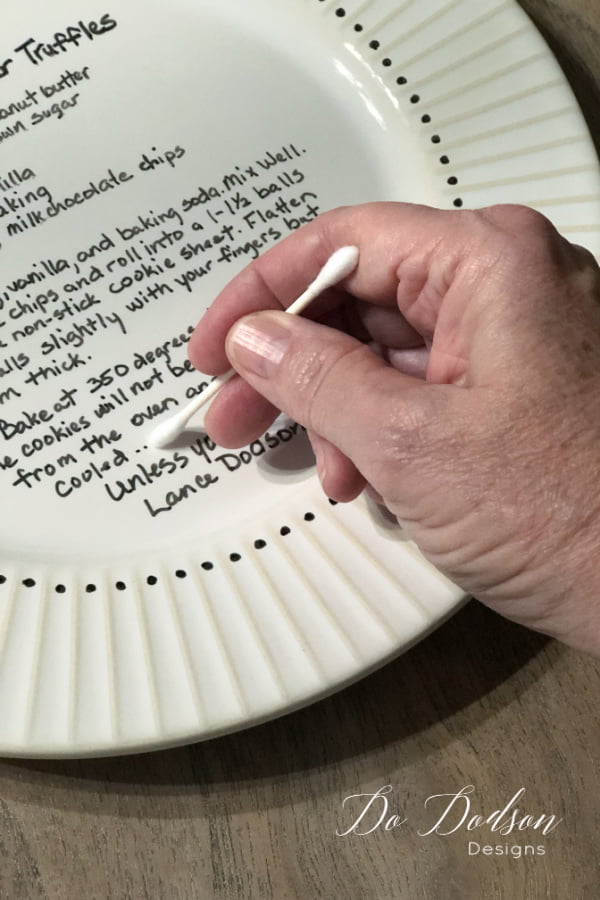
Correcting Minor Mistakes On Your Recipe Plate
5. This will happen! Your hand will shake and slip, and you will more than likely spell something wrong. I missed a whole ingredient in my first attempt. If it’s a minor mistake, you can remove the marker with rubbing alcohol and a Q-tip. This can get messy if you use too much alcohol on the Q-tip. Blot the alcohol on a paper towel first to prevent drips and runs on the plate. Do this immediately while the marker is fresh.
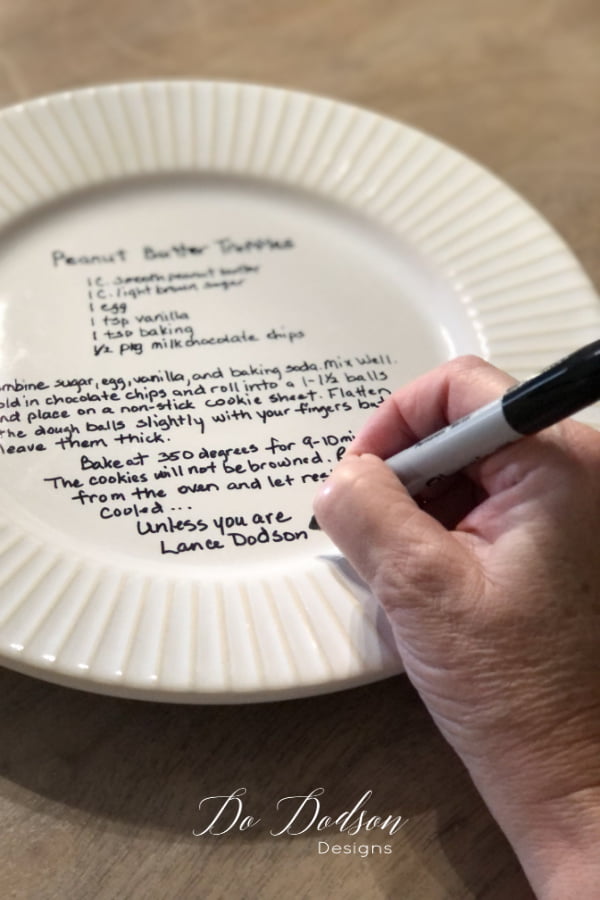
Add Personalization To Your Recipe Plate
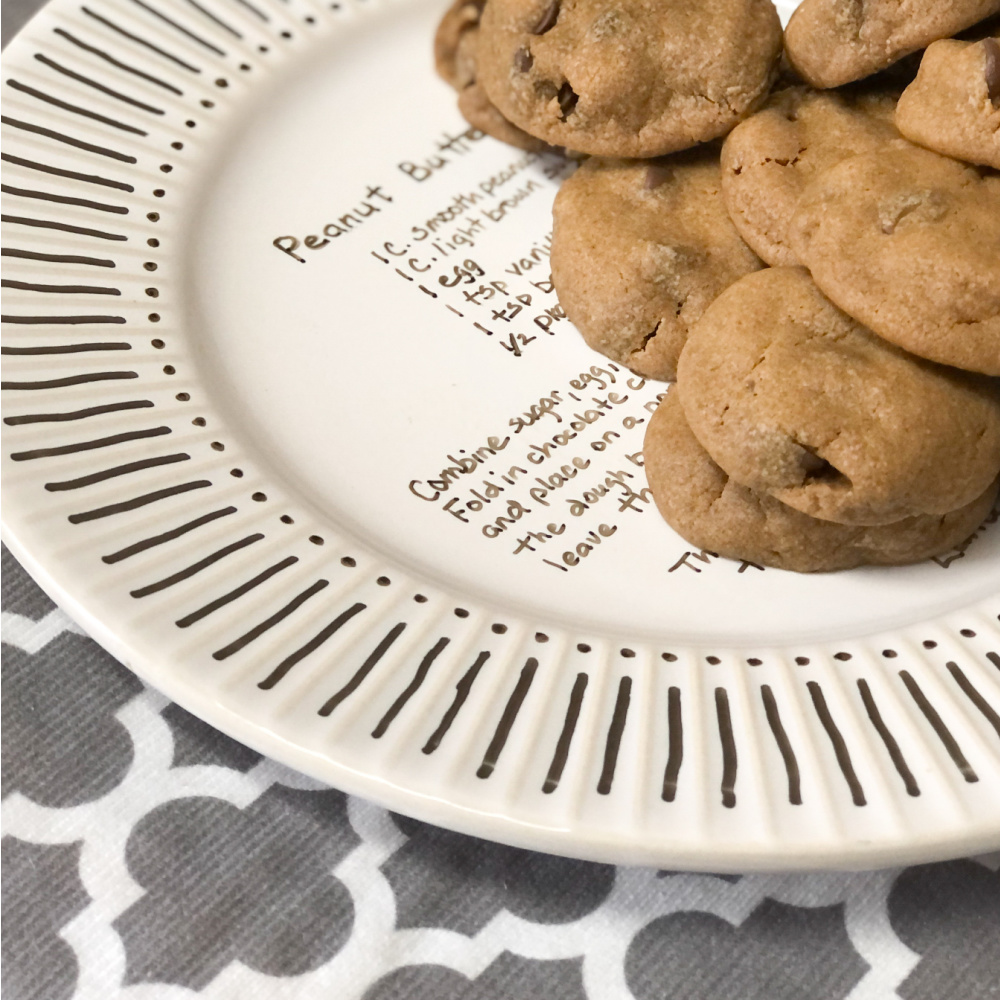
6. This recipe plate was made for my grown son. These were/are his favorite cookies. My fondest memory is when he would eat the cookies right out of the hot oven, knowing full well that I would holler at him. He was so sneaky! There was no way he could wait long enough for them to cool! That kid! So, why not add a little personal note or memory to make it even more special?
Setting The Permanent Marker
7. After you have completed your recipe, you can also decorate your plate if you want. I used a GOLD oil-based marker to create lines around the edge of the plate and some tiny dots. Have fun with it and create your own designs. Allow the recipe plate to dry for 24 hours before the next step.
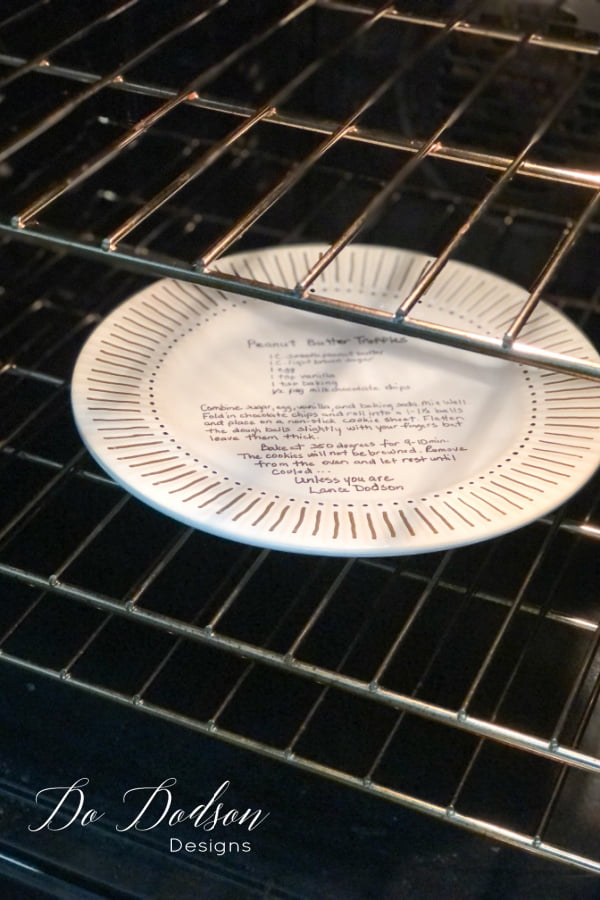
8. Place your plate in a cool oven, set the oven temp to 425℉, and bake for 1 hour. Turn off the oven. DO NOT remove the plate from the oven. Allow it to remain in the oven until it has completely cooled to room temp. I like to do this before I go to bed; that way, I won’t be tempted to open the door. It’s like baking cookies. You gotta look!
9. Add a D ring hanger on the back so it can be hung on the wall. I used E 6000 craft glue.
Add The Goods To Your Recipe Plate!

I can’t wait to see the surprise on his face after eating all those cookies and seeing his favorite recipe. Now he can have those cookies anytime he wants. That doesn’t mean that you get to quit making them for him. They’re always better when Mom makes them. Oh, and don’t forget to sign your plate. I flipped mine over on the back and left my “xo, Love Mom.” Who knows? Maybe he will pass it down to his children someday.
I hope you have enjoyed this simple but oh-so-meaning full-gift idea. Sharing great food is all the sweeter when you share it with loved ones.
People that love to eat are the best people.
Julia Childs
Until the next project… xo, Do
Love this idea for recipes! You share such awesome fun ideas and I love it. I also the video of the blending and that gorgeous navy color. Definitely the color for my home. It’s beautiful. I learned how to blend from you because I’ve been trying to let dry before I started. The sealer of the gator coat awesome! Learning so much. Love your site. Thank you Terri French
Yay, Terri!
I’m so happy that you are enjoying this blog post. I share more of my furniture finishing techniques in a private video library as well if you want to learn even more. You can learn more here. https://members.dododsondesigns.com/join-the-art-of-painting-furniture-subscription-group/
Have a blessed day. xo 🙂
This is so cute! Love the recipe idea. I do drawings on plates with my niece. So much fun. 😊
Thanks, Wendy! I have several coffee mugs the Grands have made me using this method.
Does this keep the art on the plate after being washed and can they go in the dishwasher after. I was given one and the smallest touch of water washed it away. So I want to try this technique and wondering how it does with water.
Hi Courtney,
I would recommend washing these handwritten plates in the dishwasher. These are more for decoration than anything but I have been successful hand washing them. When I give these as gifts, I always let the recipient know that it should be hand washed with a mild soap and water only.