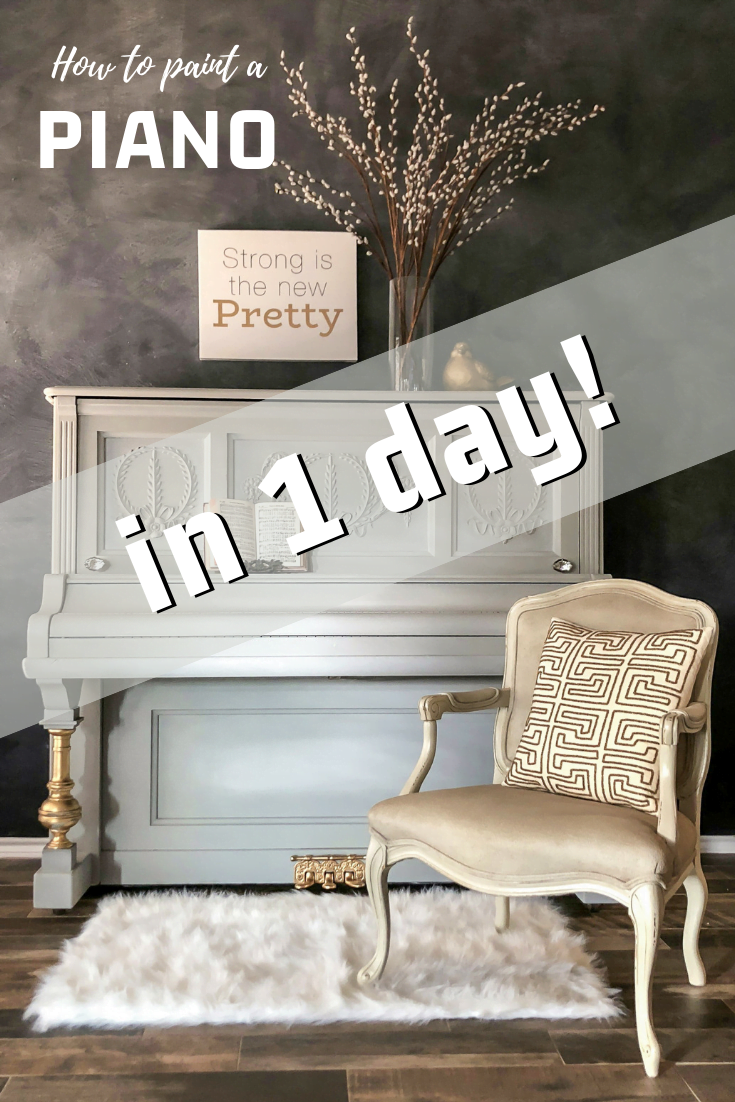
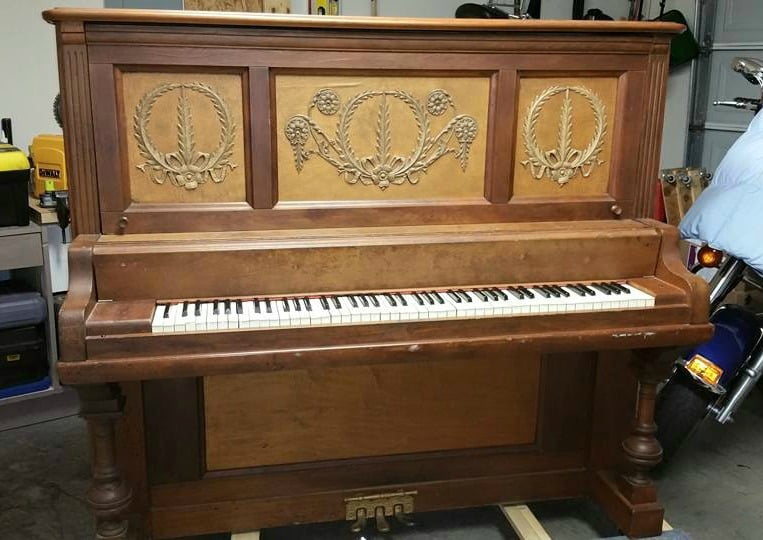
Have you ever wondered how to paint a piano? Well, before you even consider painting one, you might want to head to the gym and pump some iron! I’m not even kidding. These suckers are heavy! These regal beauties can weigh anywhere from 300 to 900 lbs. My guess is the 500 lbs area. Thank goodness it had rollers. But guess what? They were rusty! Kind of like me. Ha! I don’t roll as well as I used to either. I would give anything if I had a video of how we (hubby and I) got this sucker in the house. Let’s just say it ain’t happening again. It is here to stay!
This post contains a few affiliate links to help you find the products I use. You are not charged extra to use any of the links, but any income I make will be used for more fun projects! To see my full disclaimer, click here.
How to Paint a Piano in 1 day!
Watch the replay LIVE below as I teach you how to add highlights on painted furniture.
Cleaning and Prepping the Piano for Paint
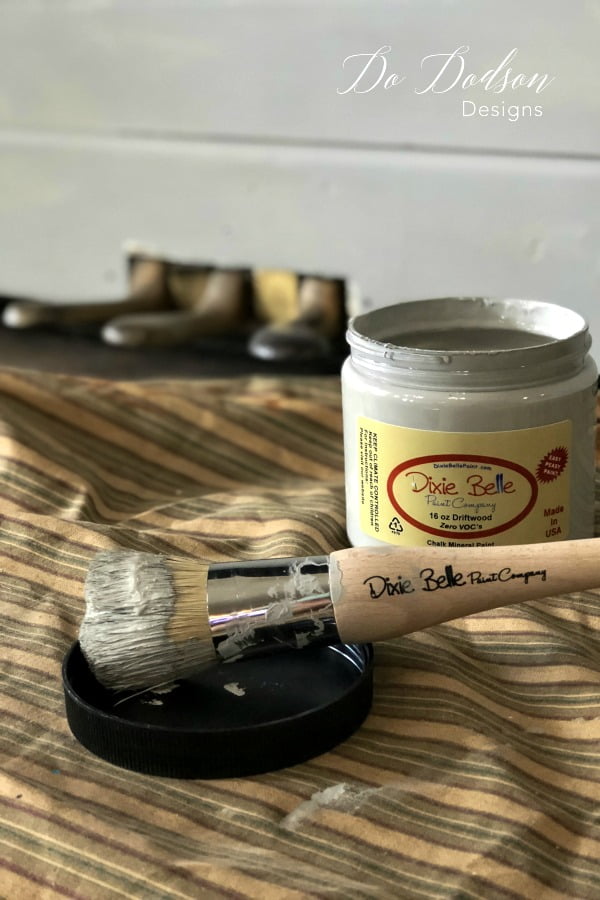
Prepping is the most important step in painting furniture. That’s why I use Dixie Belle products. I know that I’ll get a great finish every time and they know how to paint a piano! Here is what I used for this makeover. Purchase your Dixie Belle Products HERE.
How to Paint a Piano with Chalk Mineral Paint
After the prep work was done, I painted 2 coats of a beautiful grey color called Driftwood. It’s one of my go-to greys in the Dixie Belle line. I blended another lighter color called Fluff (a beautiful white) on the areas that would normally receive the first light. What is the first light? Well, let me share a tip with you about highlights. The first light is the area of the furniture that is touched first by the light. That would be any protruding area. Here’s the best tip for highlighting these areas. Put your piece near a window and look at where the light hits it first. These areas will be lighter. This is called highlights. I like to add these highlights to my furniture to give it the appearance of light. I do this with a lot of my pieces, and it really makes a difference.
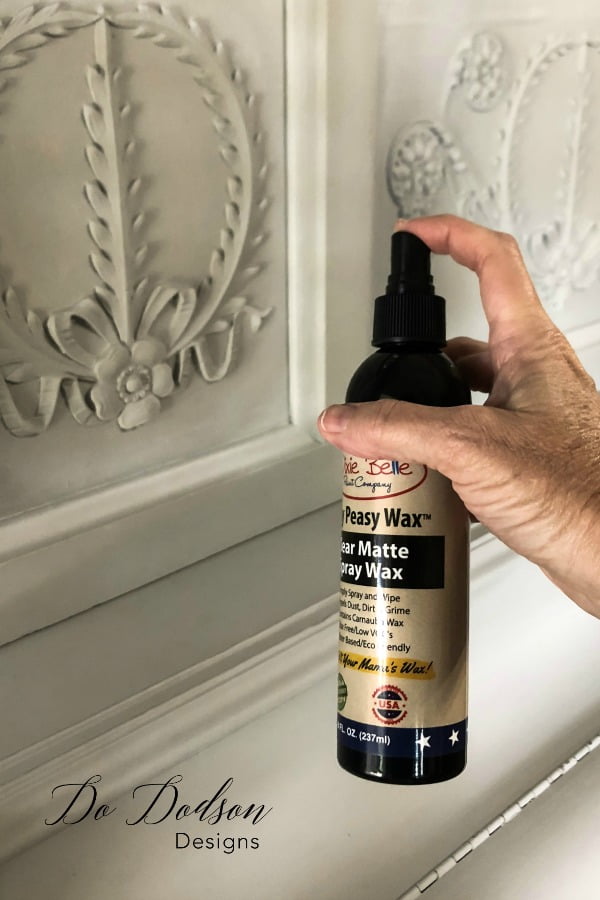
Applying Easy Peasy Spray Wax
I love a waxed piece! For furniture that isn’t considered a high traffic piece… meaning it won’t be touched a lot, I still prefer wax. Easy Peasy Spray Wax is a game changer! No more messy brushes and sore shoulders from buffing. Spray it on, let it dry, and lightly buff. That’s it!
Highlighting With White Wax
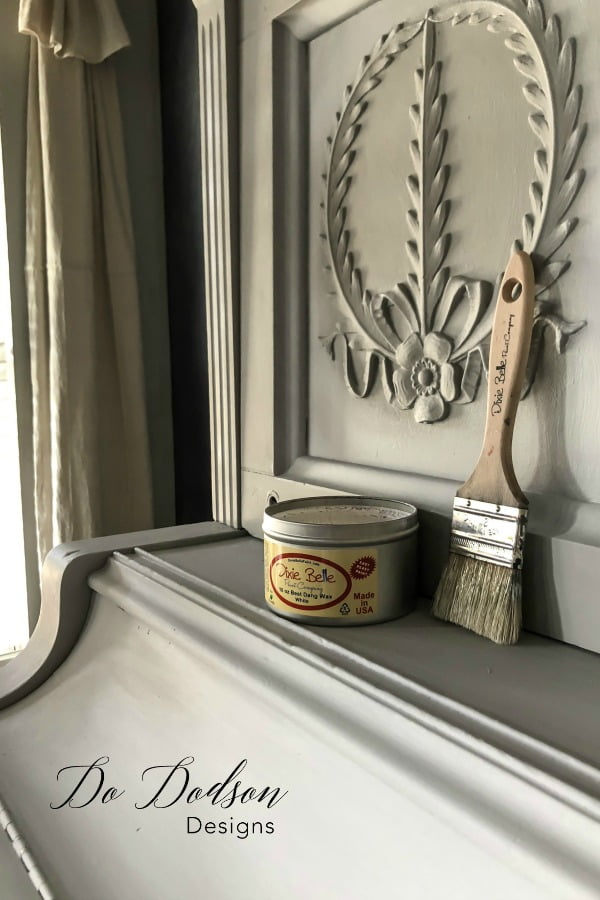
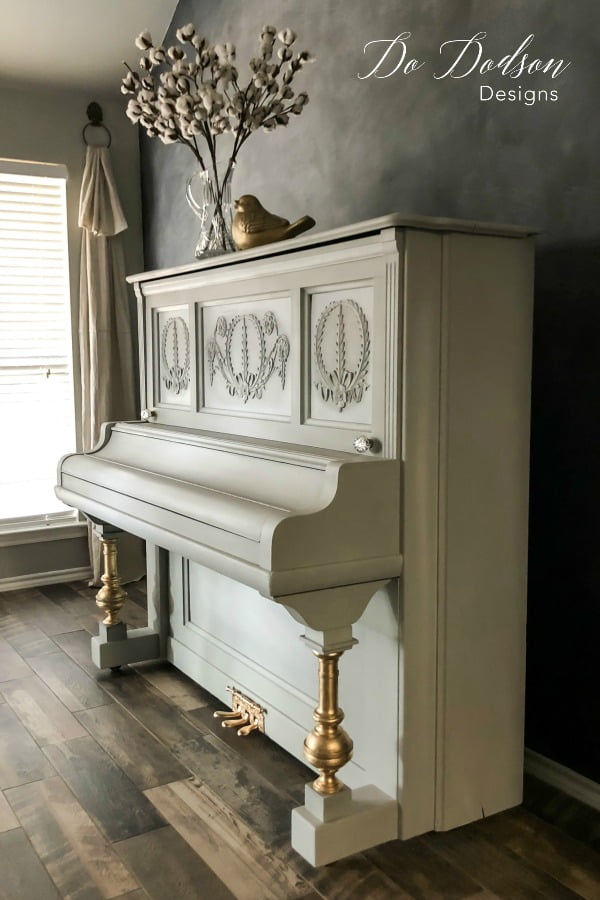
After the Easy Peasy Spray Wax had dried, I used a white wax to create even more highlights in specific areas. This was applied with a chip brush and blended to a flawless finish. When using colored waxes, using a clear wax first will help you control the look you want. Of course, I had to add a bit of gold. Those big, beautiful legs deserved the attention.
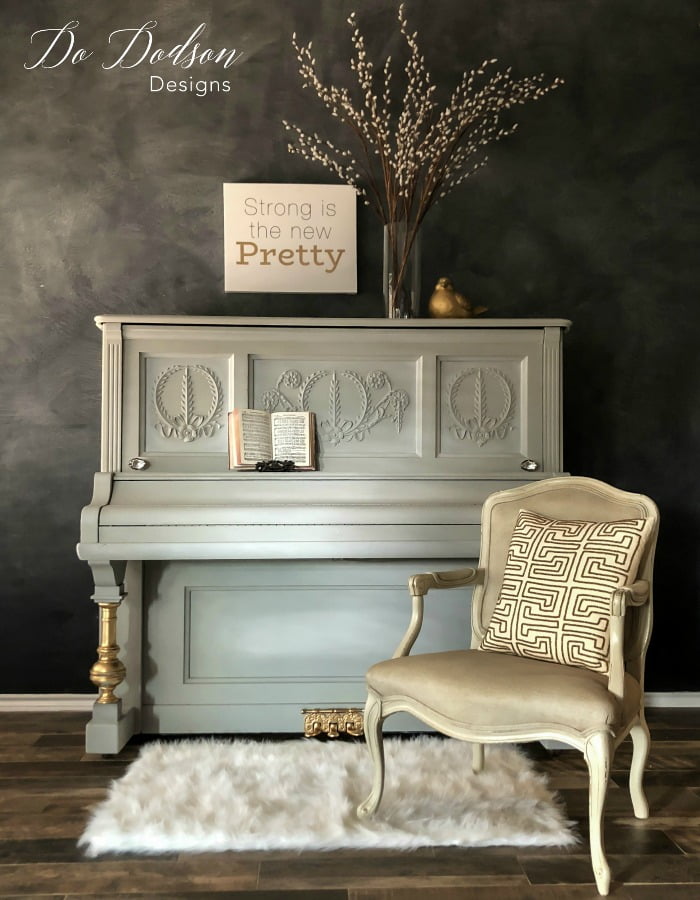
And… this is how to paint a piano in 1 day!
Did you enjoy this project? I’d love to hear your thoughts about painting a piano. Drop them in the comment section below. Or if you would like more paint makeover inspirations… Check out this colorful makeover!
Until the next project… xo, Do


This is so pretty. I’ve read this post 3 times just to look at the piano again! I need some of that gold paint too ?
Thanks, Wendy! The legs are gold leaf but the liquid gold paint was perfect for the foot pedal. It still looks great after almost a year. xo, Do
Hi Do, I just bought some imitation gold leaf in different colors. I’ve never goldleafed before, any tips? I know about sealing after and before. Is imitation or real easier to apply? Thanks
Hello! You bet I DO. Here’s a link to a blog post with my free ebook on applying gold leaf to your furniture. Hope this helps. Oh, and hey, send me a pic when you’re done. I love a good makeover!
Here’s the link… https://dododsondesigns.com/black-furniture-gold-leaf/
xo, Do
Hi,
About how much paint did it take to do 2 coats?
Hi Leann, I used just a little over 16 oz for the piano. 🙂
Beautiful work and the piano looks so much more beautiful after. I love the paint technique on the wall behind the piano. Is there a tutorial or post about how you did it and what products you used ? Thank you.
Thank you, Stephanie! I sure do. Here is the blog post on my wall. xo 🙂 https://dododsondesigns.com/perfect-chalkboard-wall/
How much of each item do I need if I want to replicate the look? Also is gold leaf still for sale?
Hi Holly,
You’ll need 2 16 oz jars of the driftwood and 1 8oz of the Fluff for a large piano. The gold leaf can be purchased from Amazon. Look for the products list in this post and click on the products to find where you can purchase them. Good luck! Let me know how it works out for you. xo, Do
This is beyond stunning! Thank you for this super informative blog post and video! I am going to attempt this. My daughter plays the piano constantly though, and I plan on having my little one start lessons too, so its a high traffic item! What would you recommend for a strong long lasting finish?
What a great project, Andrea! You’re gonna create so many memories and think of the photo opportunities with your girls. I would use a chalk-based paint and a topcoat. It’s the easiest. Dixie Belle I think has the most durable. You can find it here and they ship. https://dixiebellepaint.com?aff=80
Best wishes and send me pics when you finish your masterpiece. 🙂 xo
How lovely this is! Any thoughts on how I can do my 5’7” baby grand?
Thanks, Christina! I would say to pick a color you love that will go well in your home and paint away. I can only imagine how amazing that would look. PLEASE, send pics if you do. 🙂
Hello Donna! This piano is stunning. You are my inspiration for refinishing my piano. I am just curious if you used Dixie Belle’s Metallic “Gold Digger” paint for the pedals? And did you put a top coat of some sort on them? My piano will get played often, so I want to ensure it is protected. Thank you for sharing your talent!
Thanks, Morgan!
Thank you! The pedals were painted with a liquid gold leaf, but I doubt they would hold up to everyday use. You will see rubbing, but this can also be a beautiful look. It shows the history and a well-loved piano.
Best wishes with your piano. I love these grand ole pieces.
Happy New Year! 🙂 xo