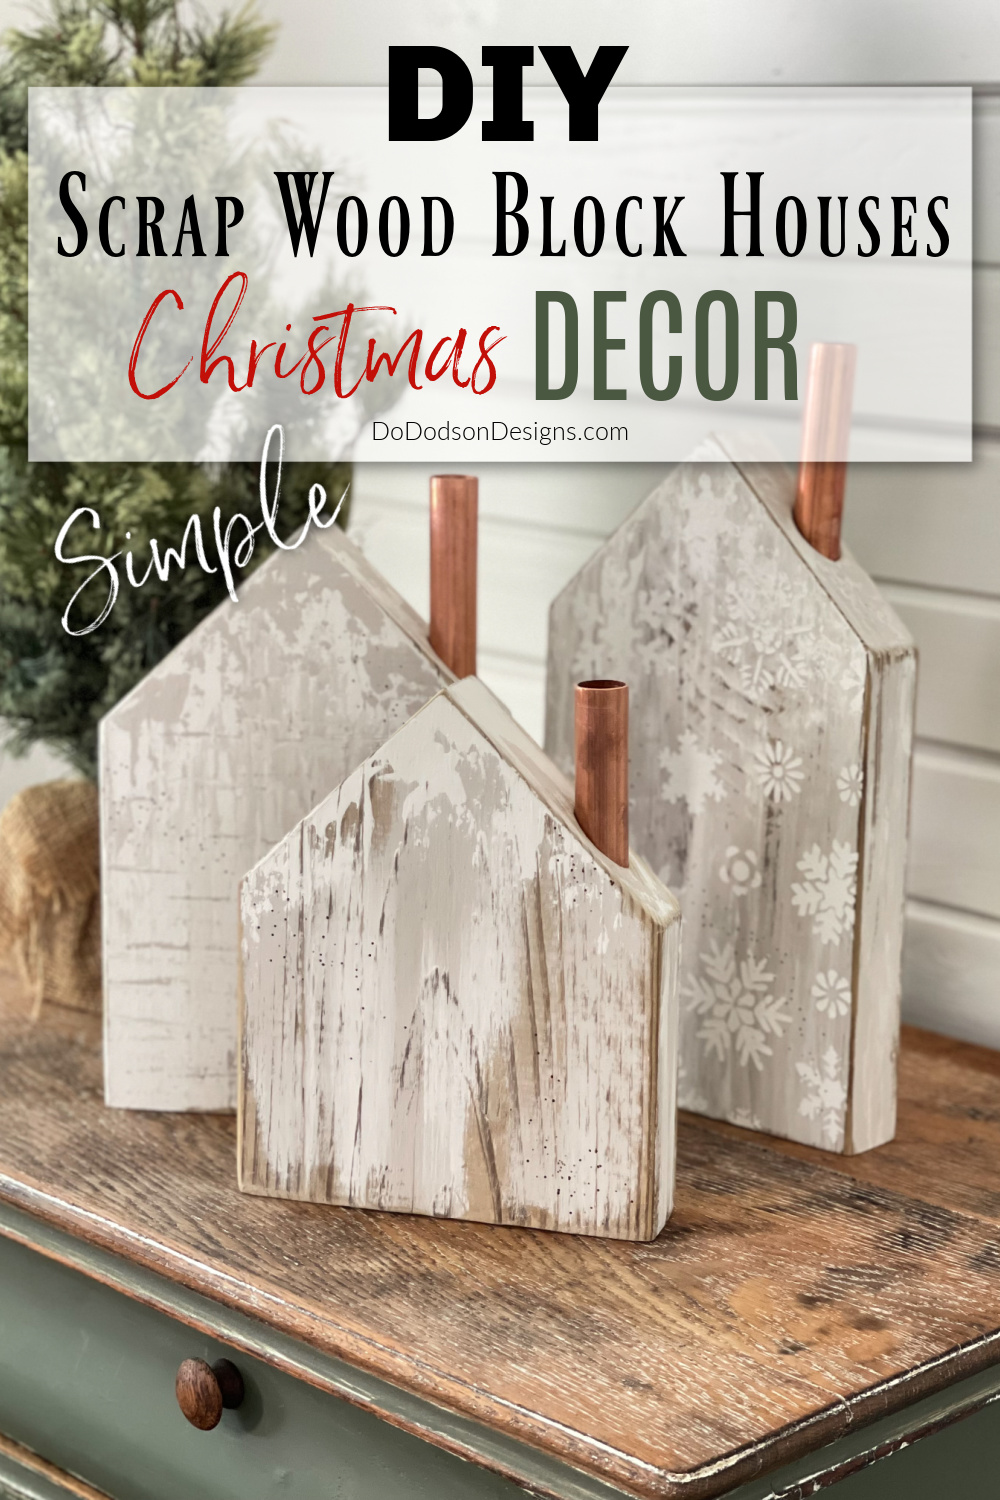
In just minutes, make these DIY scrap wood block houses that are so cute you will want to make them over and over again. A friend of mine made these last year for extra cash at Christmas time, and she couldn’t keep them on the shelves. So, I thought I’d give it a go and share them with you here. Move over Hobby Lobby!
Thanks to Dixie Belle Paint Co for sponsoring this post. While I was compensated to write this post, all opinions are my own.
* As an Amazon Associate, I earn from qualifying purchases and through other companies as well. You will not be charged extra when you purchase through these affiliate links, but any income I make helps me create more amazing DIY projects to share with you! To see my full disclaimer, and privacy policy, click here!
Making Houses Out Of Wooden Blocks
It hasn’t been that long since I made another version of these wood block houses from some of the same scraps that I saved from our recent home renovation. Do you remember? We had just moved to the country to our forever ranch home. His time, I’m adding a creative chimney. Here’s how I did it.
STEP 1: To make the house shape is fairly simple. Cut scrap 2X10 boards into the lengths you want. Since I was doing a grouping of three wood block houses, I cut them in various sizes. Each one is a bit taller than the next. Use a 45-degree angle for the pitch of the roof.
Now you have a set of unfinished wood block houses!
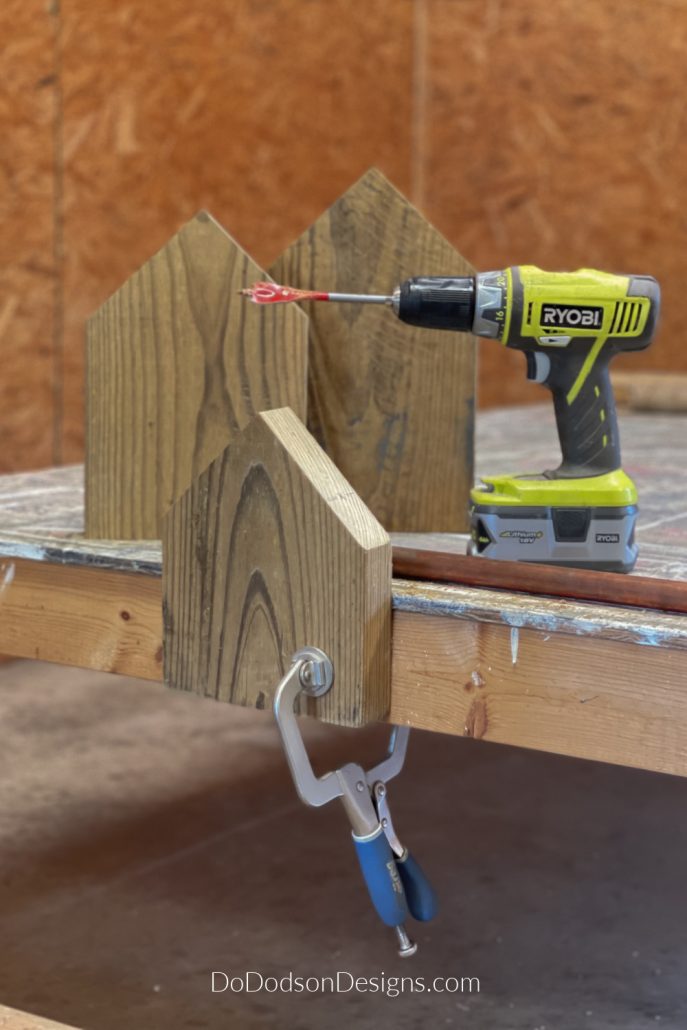

SUPPLY LIST: Here is what you’ll need to make these. Let’s DO this!
- scrap wood blocks (I used 2X10s for this project), various lengths
- wood clamps
- 3/4 inch copper pipe
- drill & 7/8 inch spade wood bit
- pipe cutter
- rosin flux paste (to clean the copper pipe) cleans and prevents metal oxidation
- Terra Clay Paint Moon Beam
- Terra Clay Paint Desert Tan
- putty knife
- paint brush
- sand paper
Drilling Holes For A Creative Chimney
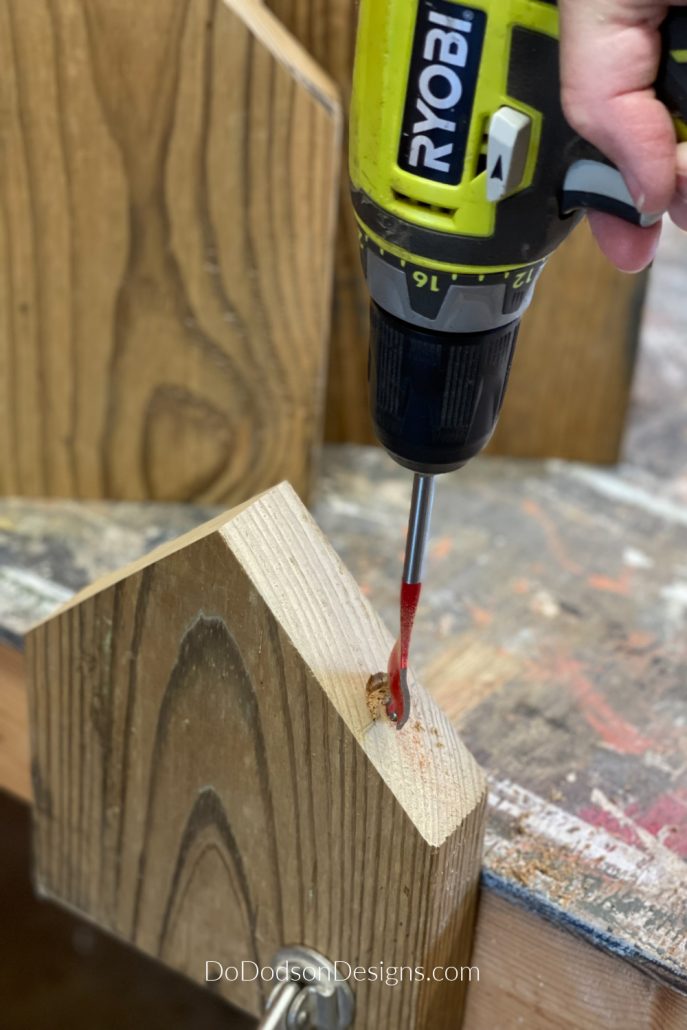
STEP 2: With a spade wood bit and a drill, make a hole about 2 inches in depth at the top part of the “roofline” of the scrap wood block houses. Drilling these holes can be a bit tricky if you don’t have a way to secure the board while drilling the holes. I used my wood clamps and secured the boards to my table. This allowed me to use both hands to guide the drill bit.
Cutting Copper Pipe
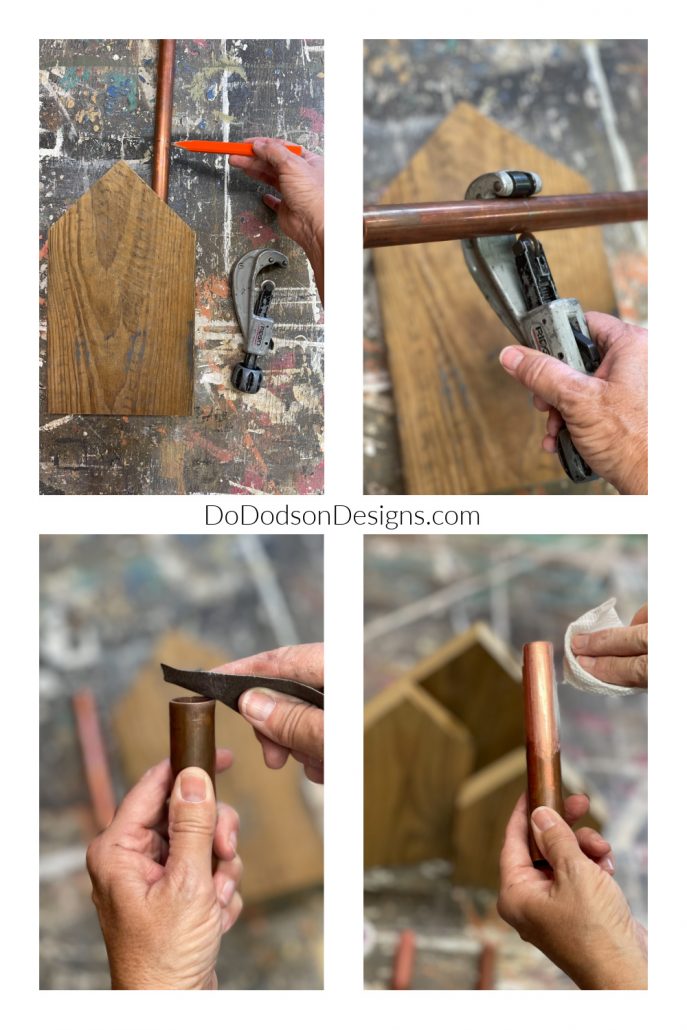
STEP 3: Insert the copper pipe into the hole, mark it for cutting just above the roofline, and cut off the measured piece with a pipe cutter. Once again, my hubs always have the right tool for the job. I need to remember to put it back where I got it. You know how those guys are with their tools.
STEP 4: After cutting the pipe, sand the rough edges smooth with sandpaper.
STEP 5: Did you know that copper pipes can be cleaned to look new? I used a product called rosin flux paste that is used to clean and prepare the pipe for soldering joints. Maybe that’s a bit too much info but all you need to know is that this stuff is magic. Wipe it on the copper pipe and wipe it off. It removes the oxidation leaving the pipe bright and shiny. Or you can use a different metal pipe and spray paint it.
Adding Texture And Creativity To Scrap Wood Block Houses
Move over chalk paint! There’s new paint in town. Terra Clay Paint. It’s clay-based paint with NO RULES! That means your creativity can be endless. It’s a thicker paint (clay-based) and can be reactivated with a spritz of water. It’s eco-friendly, has low VOCs, has a matte finish, and it’s fast drying. Drying times are at 77 F and 50% relative humidity. Cool temperatures, high humidity, thickness, and or poor ventilation will extend drying times. It’s the perfect paint to use indoors on crafts.
Here’s how I used it to create amazing texture on my scrap wood block houses.
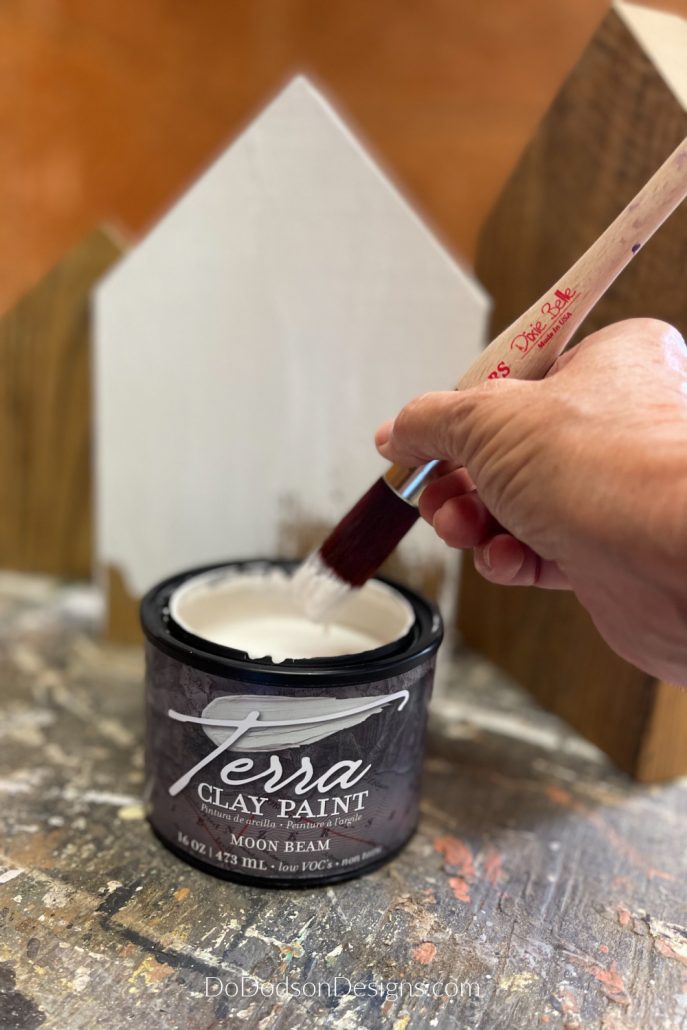
Paint a based coat on your project and allow it to dry. You can use any paintbrush you like to apply the paint but if you want added texture, use a natural bristle brush. This shade is called Moon Beam.
You can use any paint you like to decorate your DIY block houses and if you have acrylic paint on hand, use that to add a touch of fancy to them. Extra is always a good idea.
How To Use A Putty Knife To Create Texture
Lightly mist over the first coat of paint using a spray mist water bottle. This will reactive the paint and make creating texture on the scrap wood block houses fun.
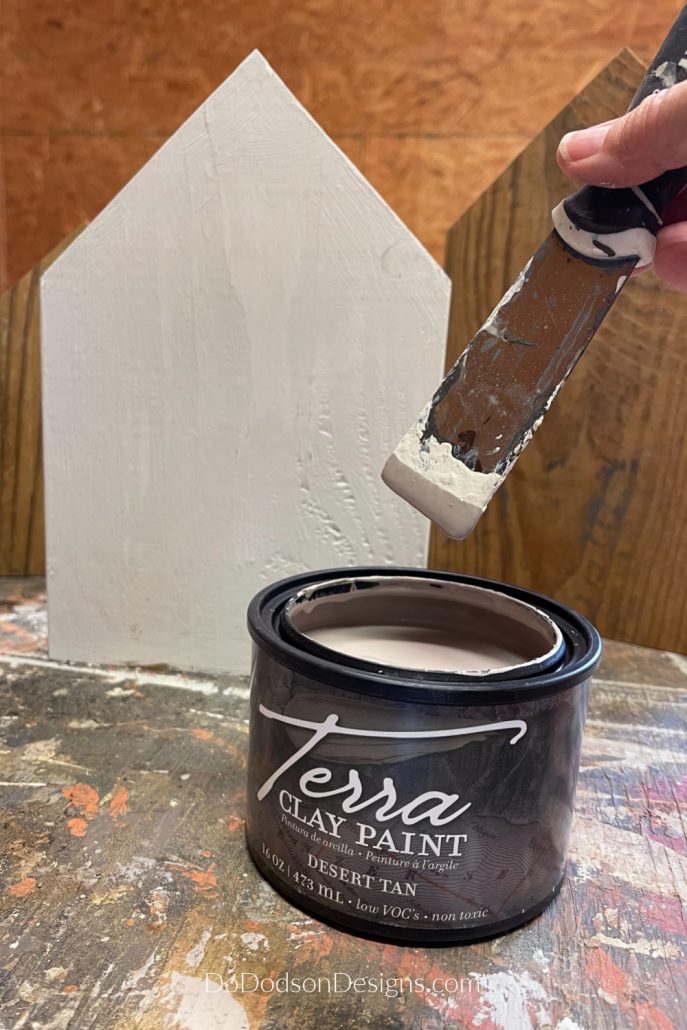
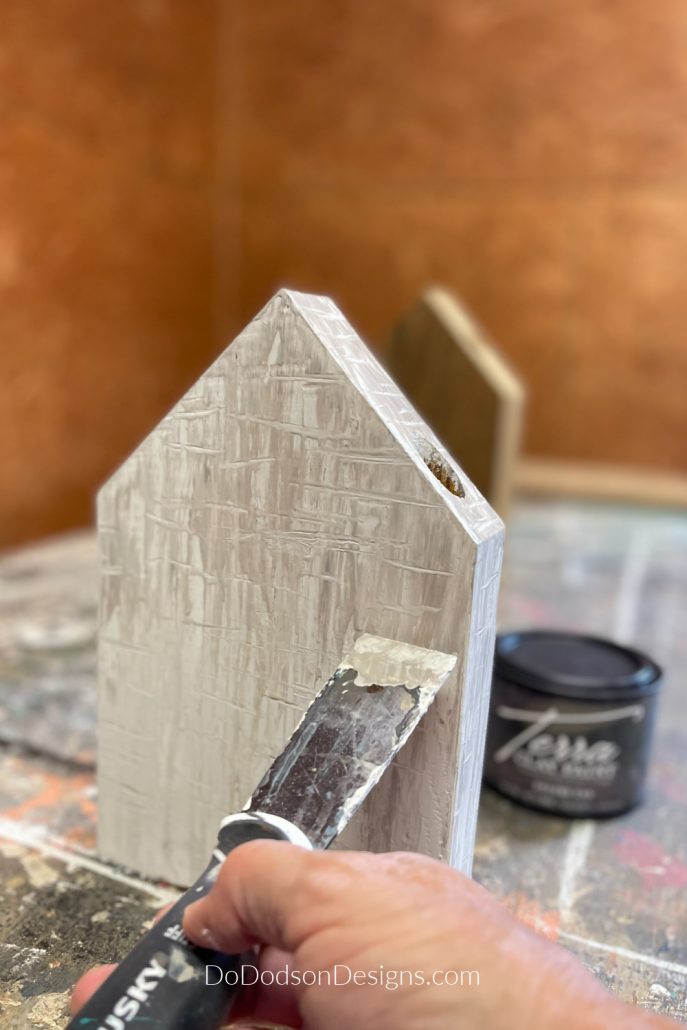
Using a putty knife, dip into another color or shade of Terra Clay Paint paint and drag it across the surface where you want to texture. Remember, there are NO RULES here.
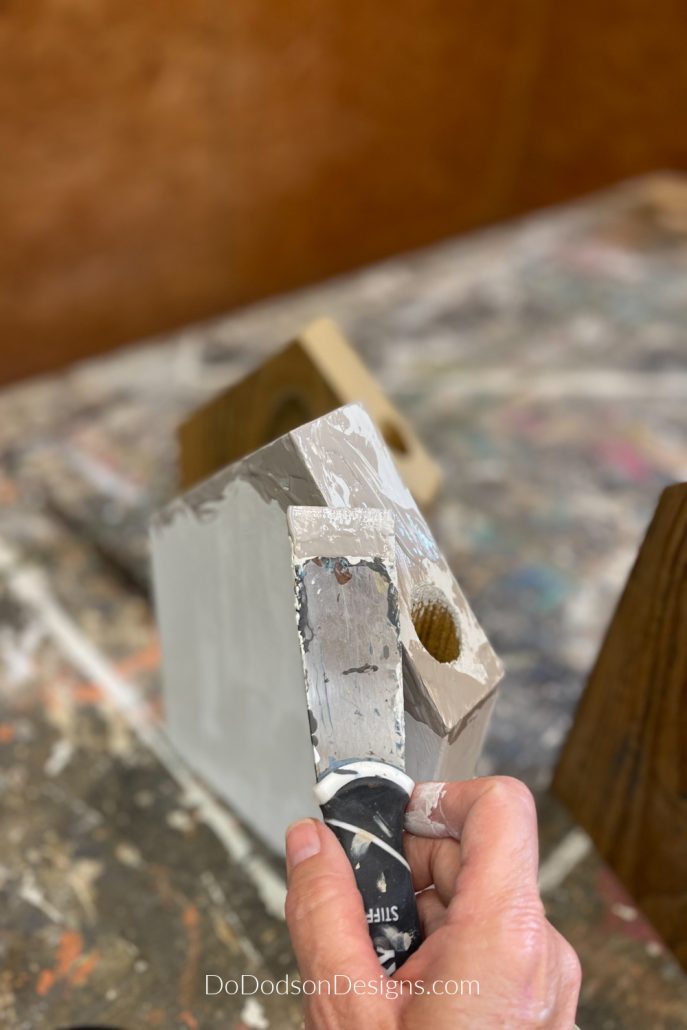
Continue to mist the water over the paint and keep dragging that putty knife. The water will keep the paint moving and will give you the freedom to express your vision. I feel like I’m in 5th-grade art class again. NO RULES! Just fun.
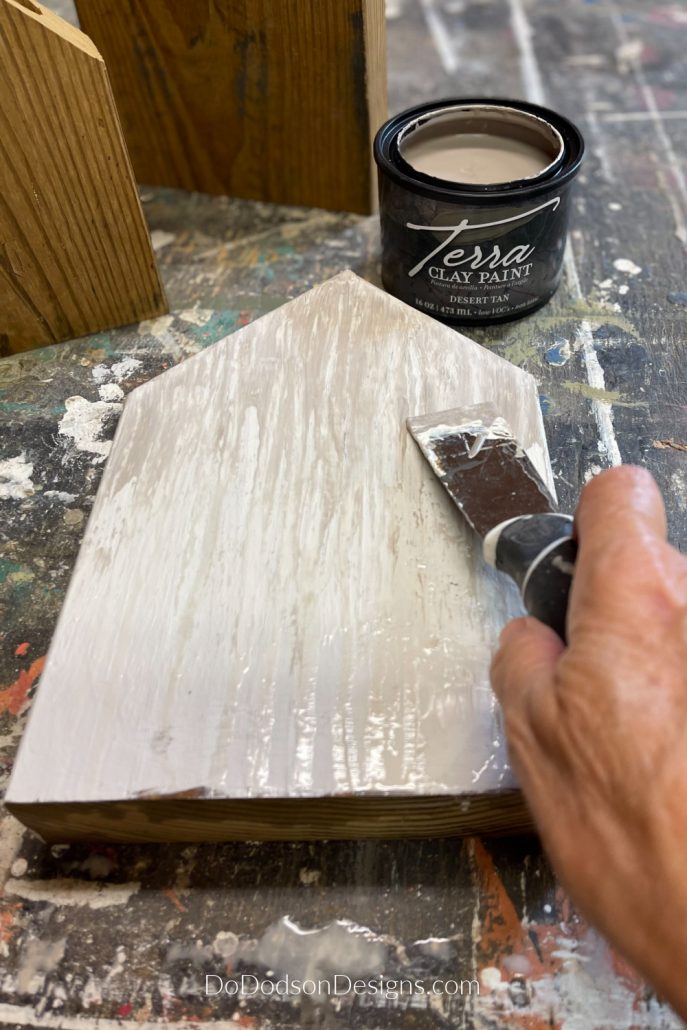
For this block house, I wanted a brick or wood look. For this scrap wood block house, I used the putty knife once again and made small scores in the paint in a random horizontal pattern.
Stenciling With Terra Clay Paint – Scrap Wood Block Houses
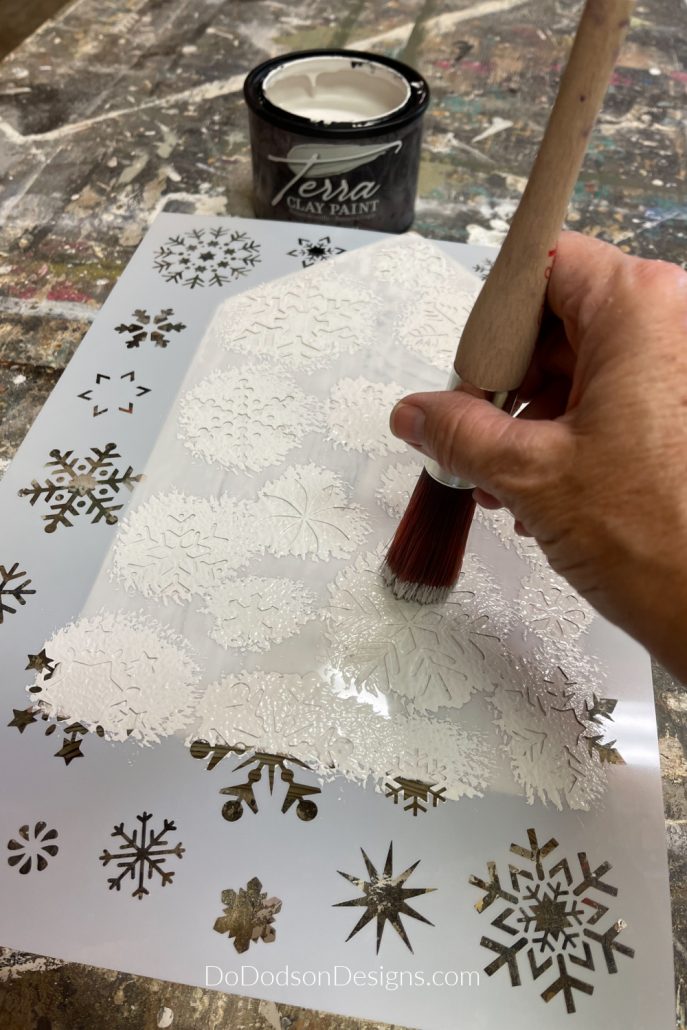
I could resist when I found this stencil in my Christmas stash. As I expected, the Terra Clay Paint worked beautifully over the stencil to create a slightly raised pattern on the scrap wood block houses. The paint is thick enough that the bleed-through was minimal using the stencil.
Use a flat-bottomed paintbrush or natural bristle brush for the best results with a stencil.
After the paint is dried, you can use a sanding block or sandpaper to distress your project. If you want to seal your project, you can use Terra Wax or Dixie Belle’s Gator Hide or their top coats. I like the matte feel of this paint and for simple crafty projects like this, I don’t see any reason to use a sealer. Furniture makeovers, yes. But that’s another blog post.
Farmhouse Style Wood Block Houses
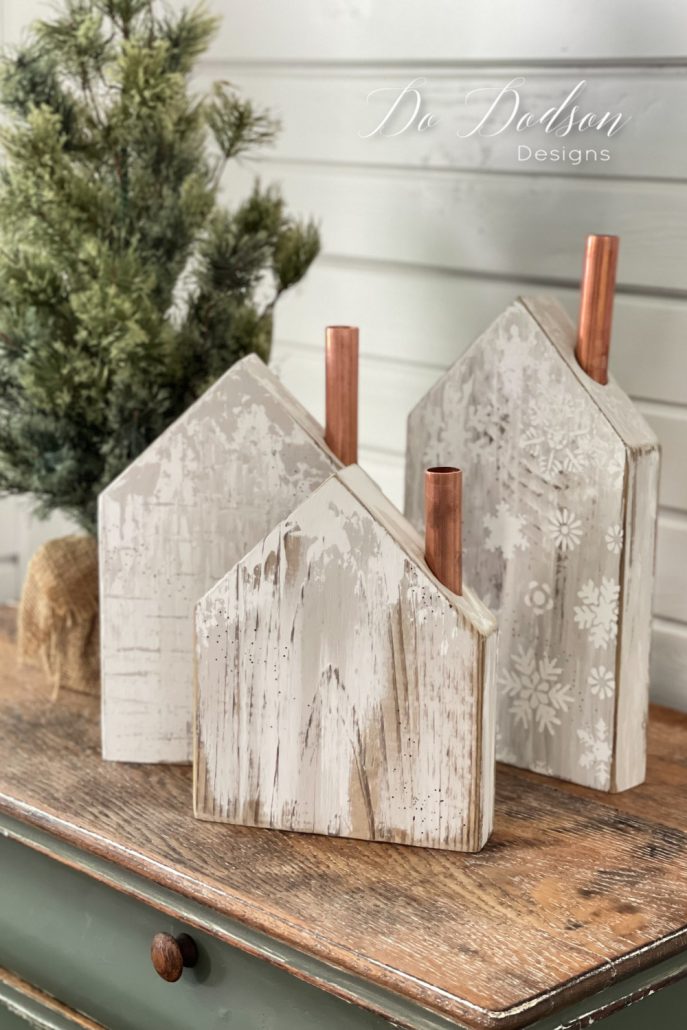
Aren’t these adorable? It always amazes me how just a few pieces of scrap wood can be recreated into beautiful home decor. I’m in LOVE with those copper chimneys.
Last Minute Update
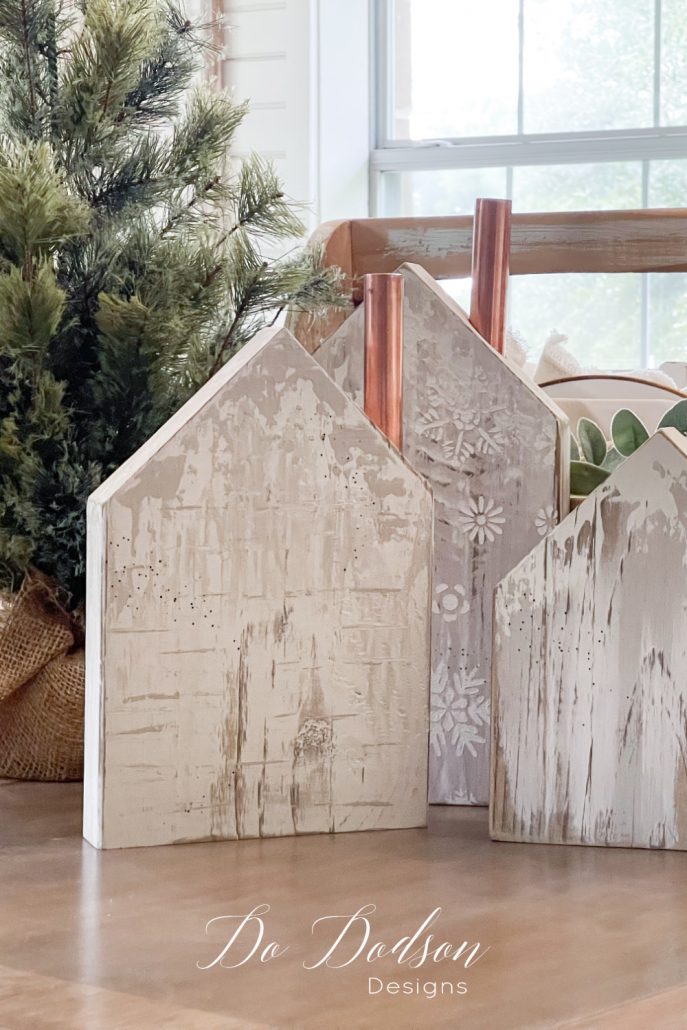
A few minutes after completing these scrap wood block houses I decided to switch out the copper chimneys for candle sticks. I’m not sure which look I like better but you better believe I’ll be using both.
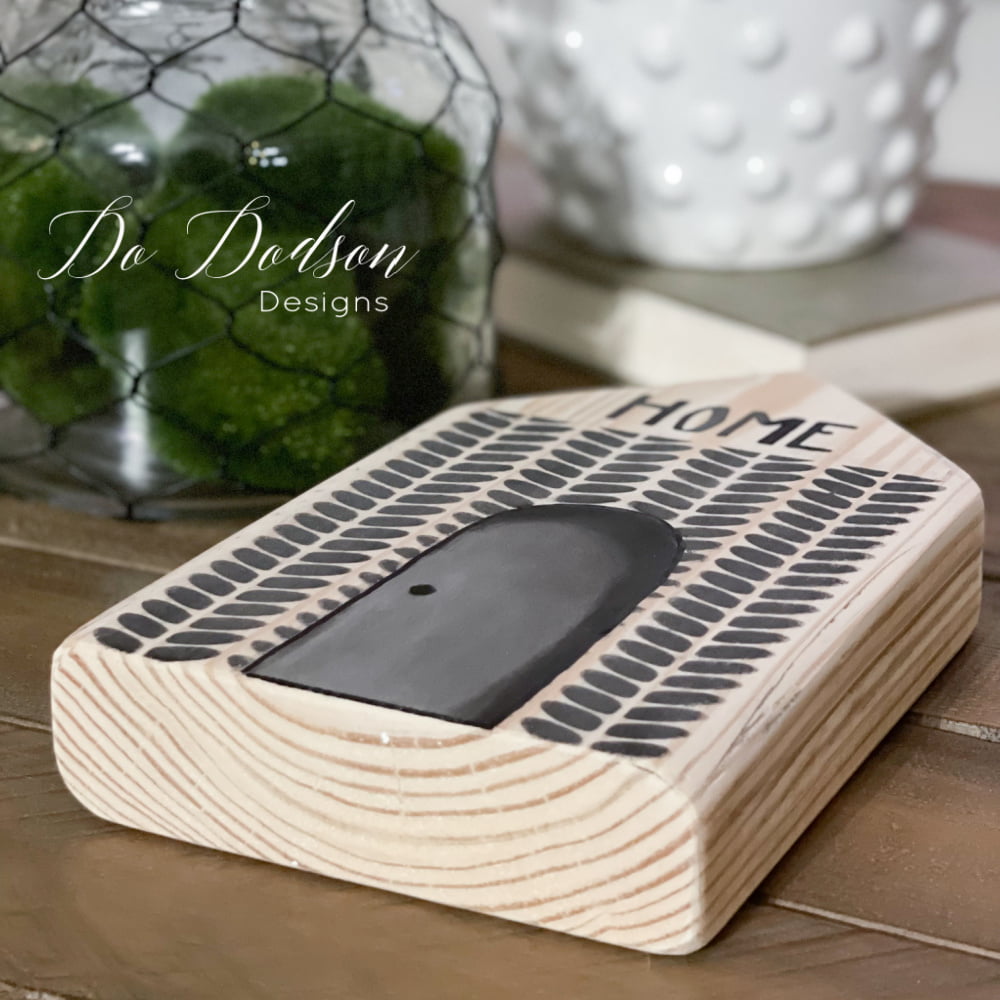
Try adding a tiny door with a permanent marker. It’s all in the details.
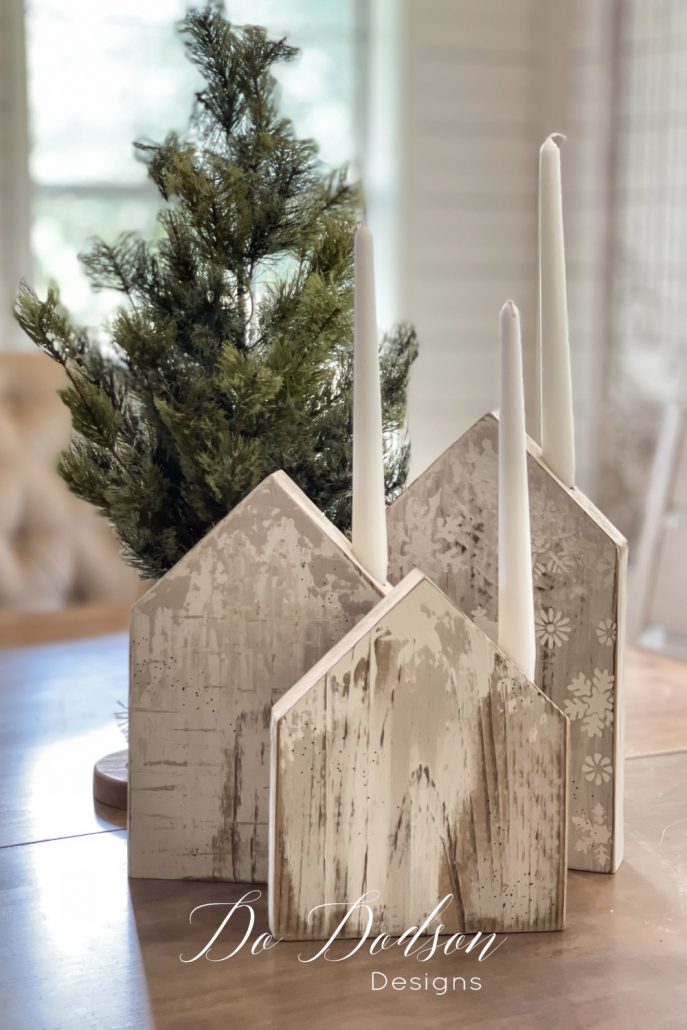
What do you think about these scrap wood block houses? Wouldn’t these make a lovely gift? Which is your favorite? The chimneys or the candles?
Hey, thanks for joining me today and as always I’d love to know you stopped by. Let me know your thoughts about this project. Would you like to see more scrap wood projects in the future?
Until the next project… xo, Do

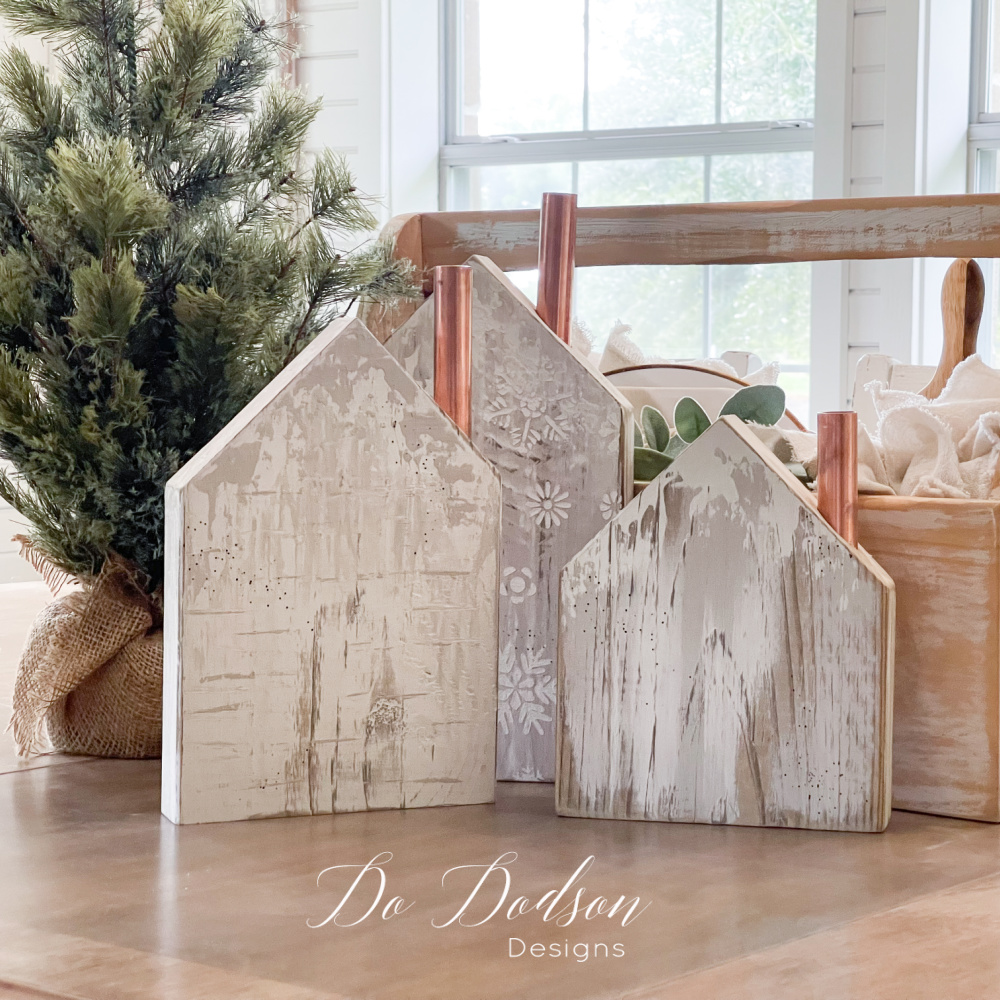
I love them both for differrent looks. Or mix em up.
“Mix them up” is a great idea. I think I’ll make a Christmas village. Thanks for the inspiration. 🙂 xo
Hi Donna! I love your scrap wood projects. I would love to be able to make some but my apartment is limited in space outside. I do love yours though. I can’t wait to try the new Terra clay paint!! I use Debi’s Design Diary DIY clay paint all of the time and it is amazing the texture you can create with clay paint. Blending is so easy also. Thank you for all of your great ideas. I like the copper chimney better I think. The candles are cut too though. I love your new house and everything you have done to it!! So pretty.
YES! The clay paint is super fun. I’ve used DIY too. Love them both. 🙂 xo
The pipes are cute, but copper is expensive. I love the candle idea, the best.
Hi Nancy,
Most of my projects are from scraps I have collected and saved. Candles are always a great choice. Thanks for stopping by. 🙂 xo
Yes to the question about more scrap wood projects! You have the best ideas Do! The houses are adorable with either the copper or the candles and I could see a whole village of these for a table centerpiece! Thanks for sharing. Pinned 🙂
I like how you think. Maybe a Christmas village. I have more scraps. LOL Thanks for stopping by, Cindy. 🙂 xo
Very nice
Thanks, Patsy! I’m glad you enjoyed the post. It’s good to hear from you. 🙂 xo
What a fun and easy project! Perfect for Christmas in July too.
That’s what I was thinking too, Tammy. I’m ready for Christmas now. LOL TEXAS HEAT
These are the cutest little houses. You always have the best ideas Do!
Hey Wendy! Aren’t they fun? This would make a fun craft for the kids. It’s always good to hear from you. 🙂 xo